Monday, 19 March 2012

Webber ordered from J.W.Developments on 01902 798303.

Hi
Well a nice quiet day today.
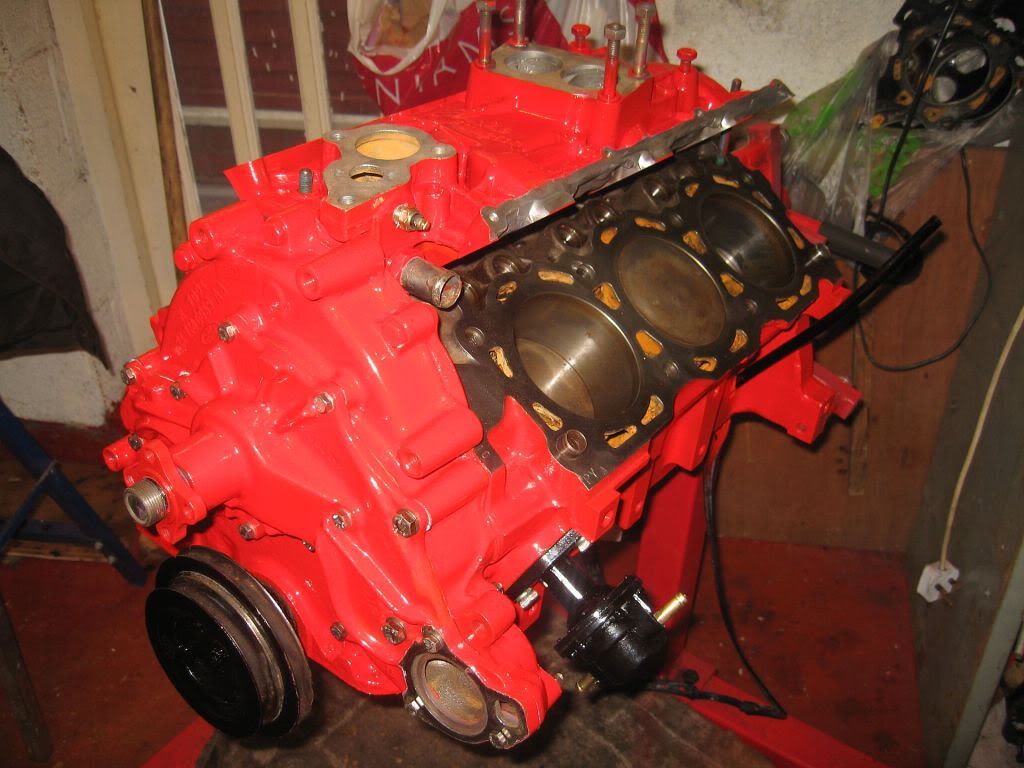
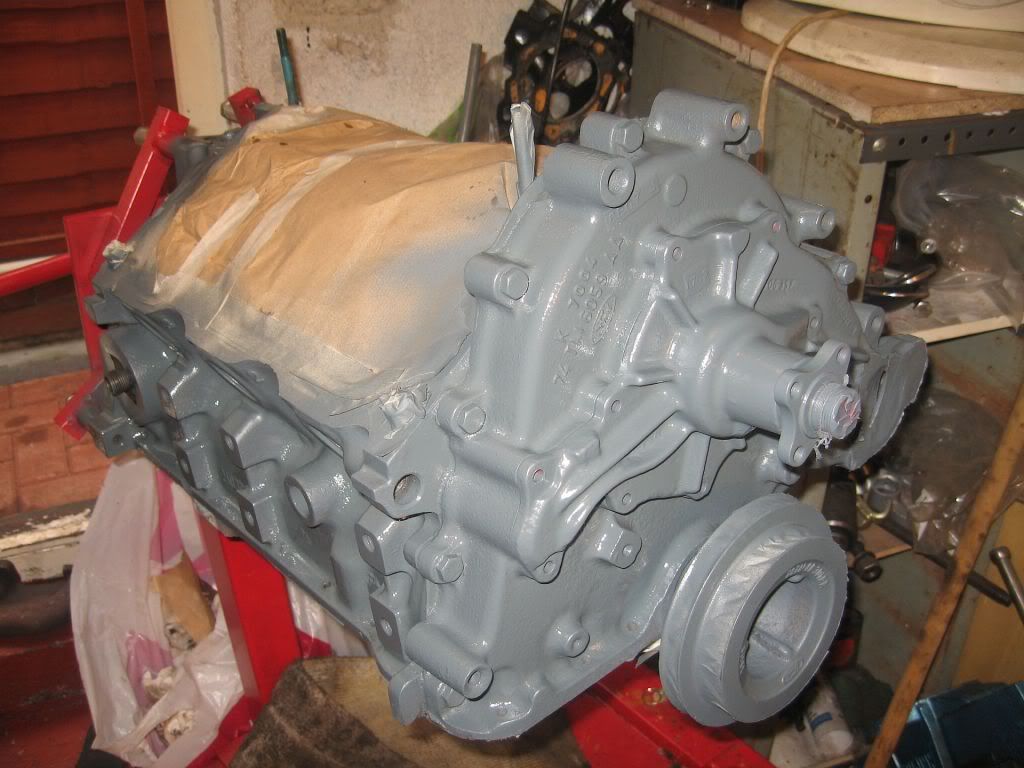
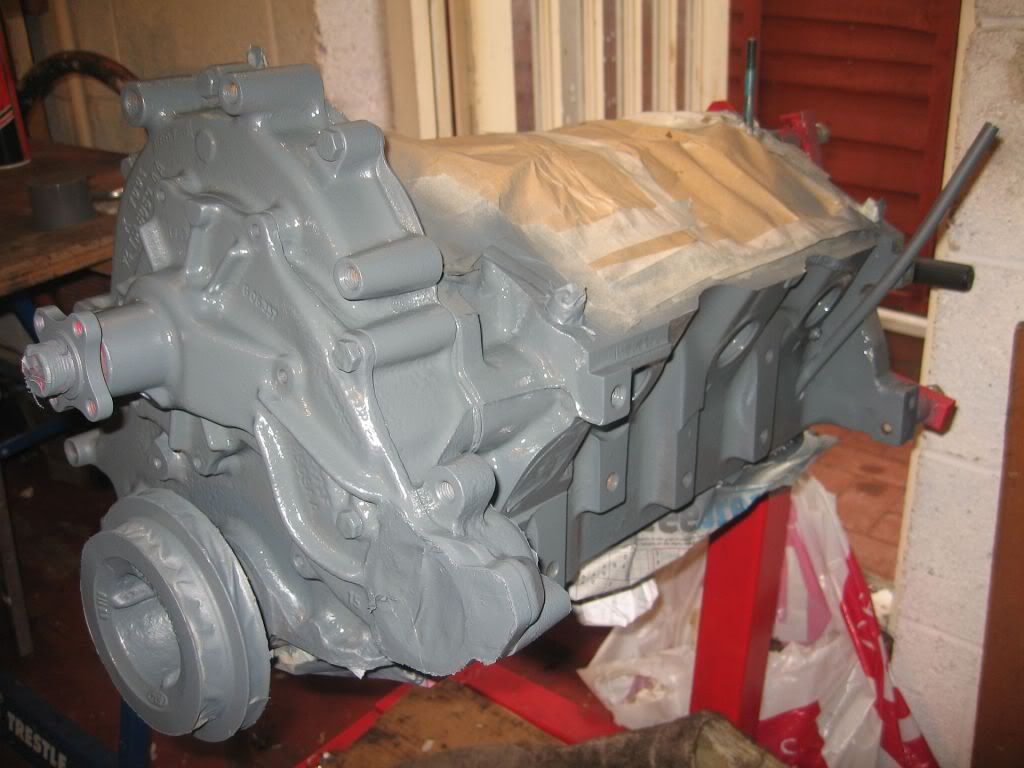
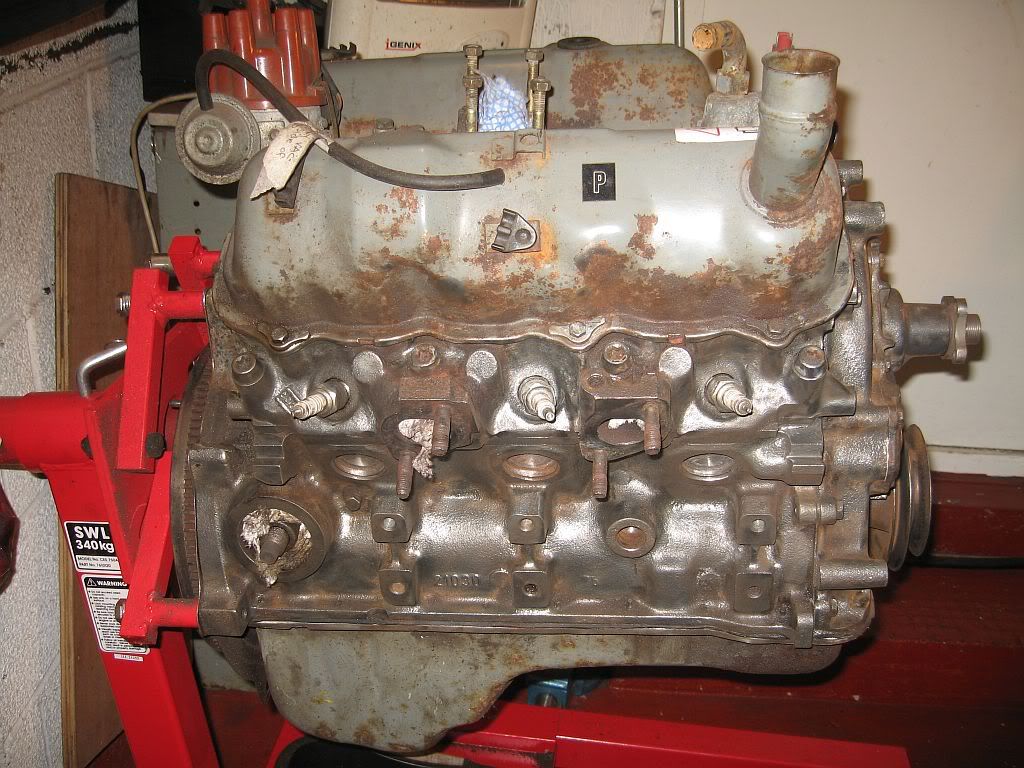
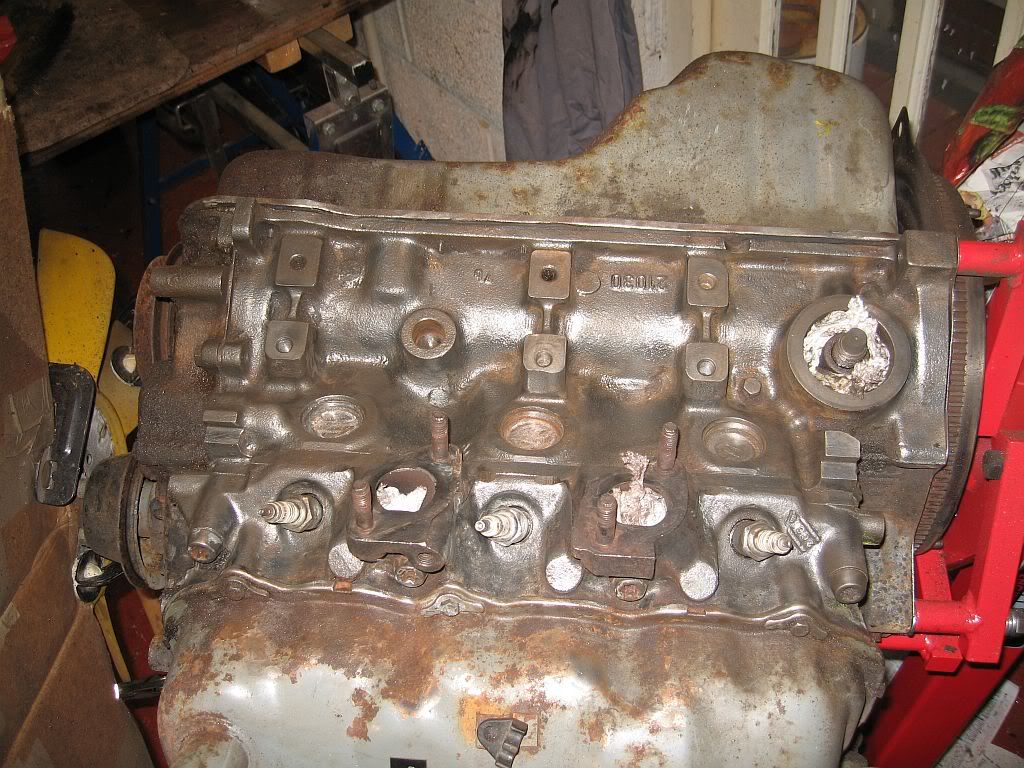
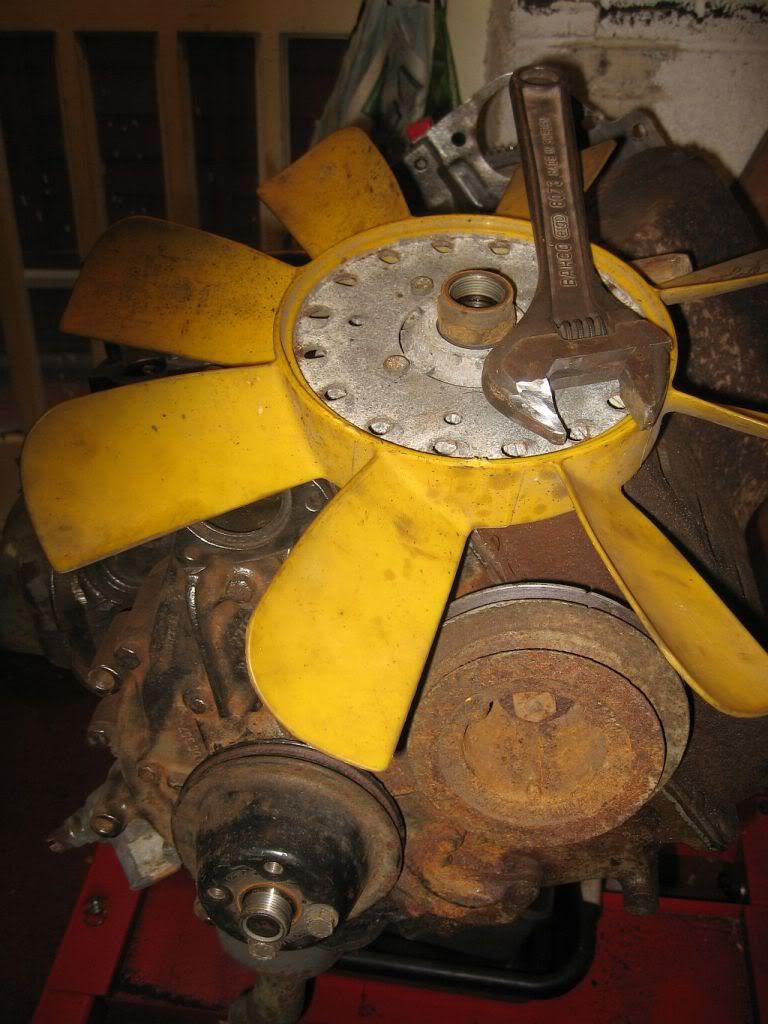
I have 3 coats of paint on the engine and its looking a whole lot nicer than than it did, I got the last coat on last night before bed and it was nice and dry this morning, I did a little more masking this morning and sprayed the pulley and dip stick black.
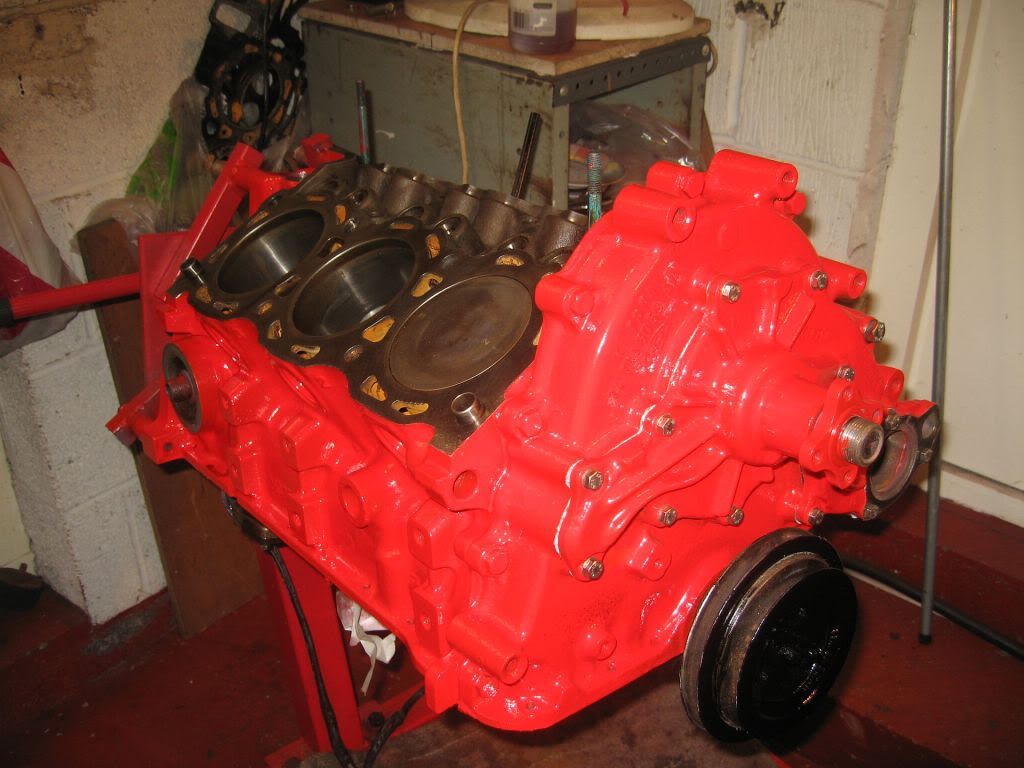
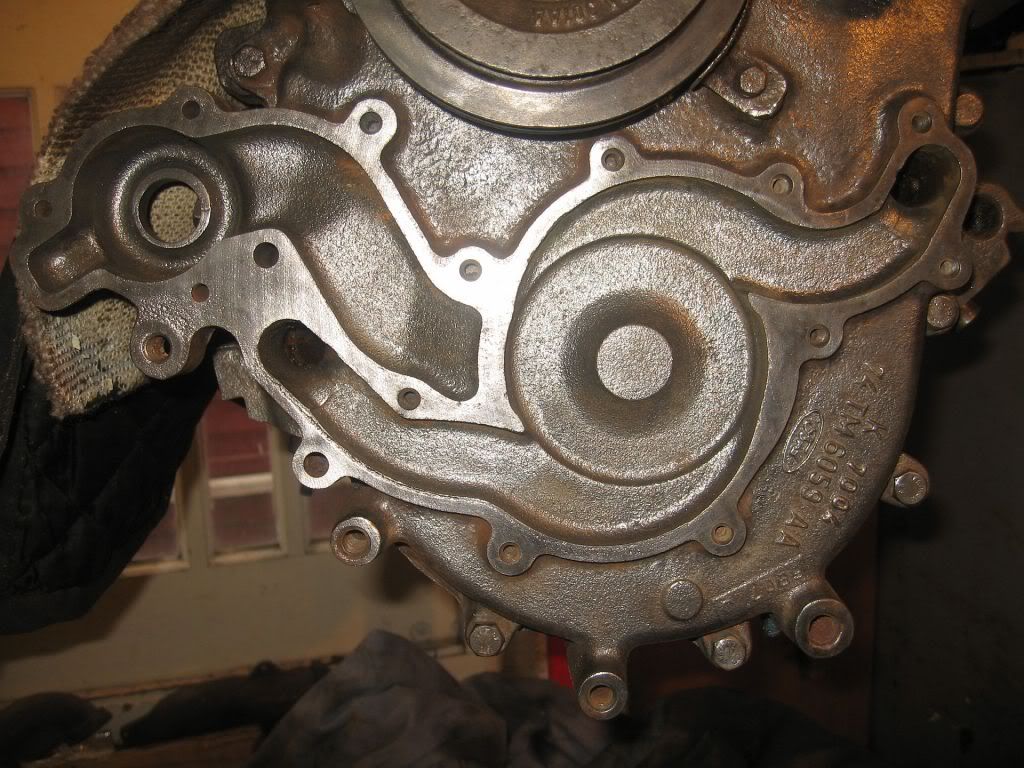
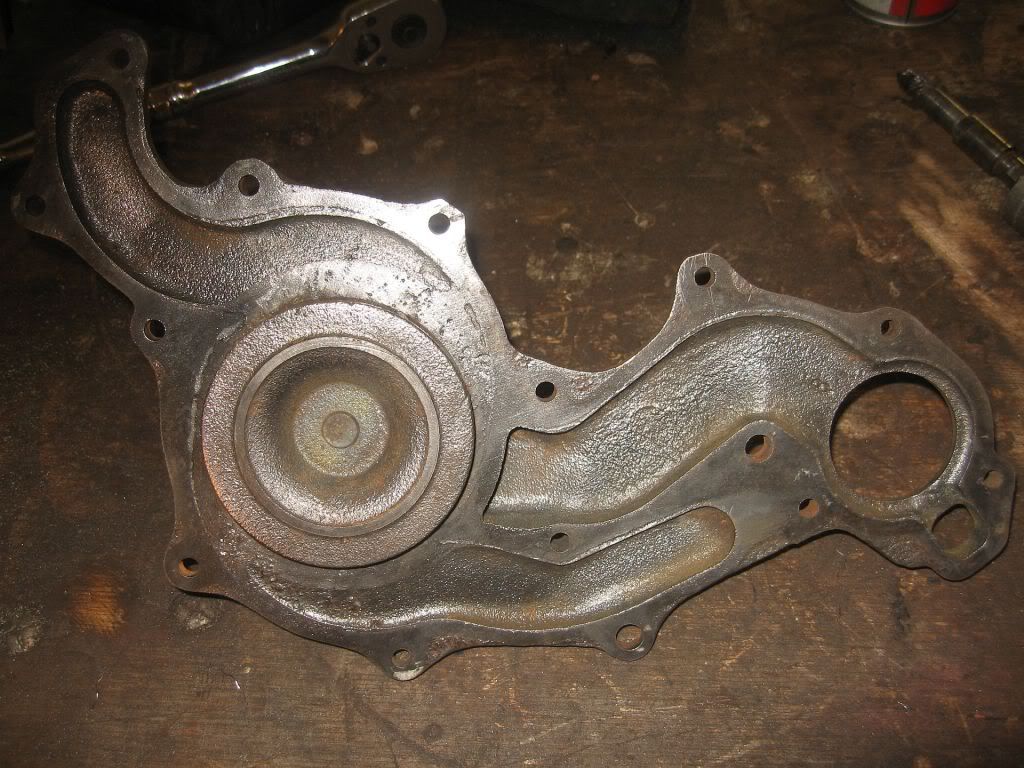
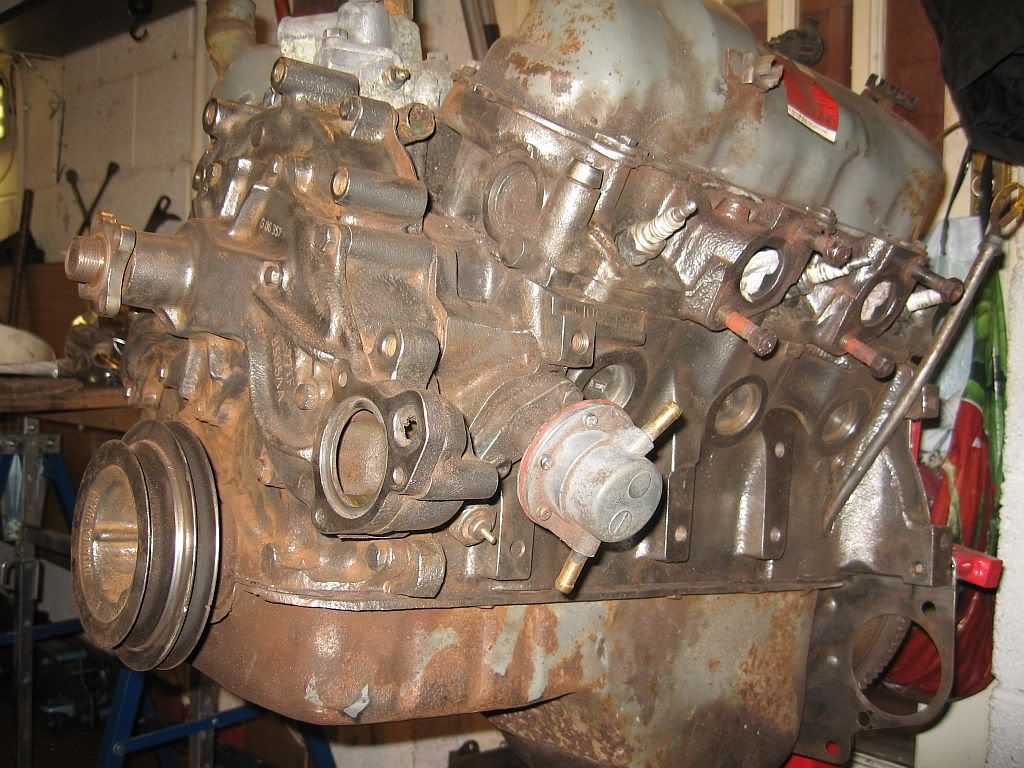
I have been and bought the stainless bolts for the water pump, sump and thermostat housing and have been able to fit the pump. The pump flange face had quite a bit of pitting around the edges running in around 5mm so i gave it a coating of Hylomar then fitted with the new gasket.
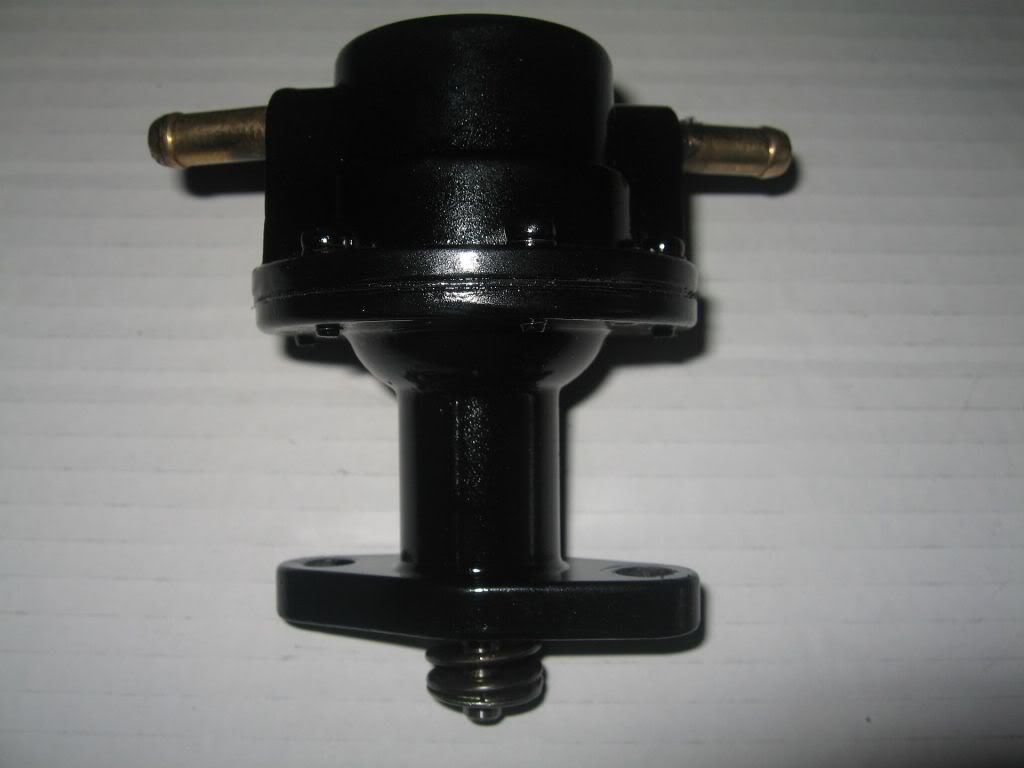
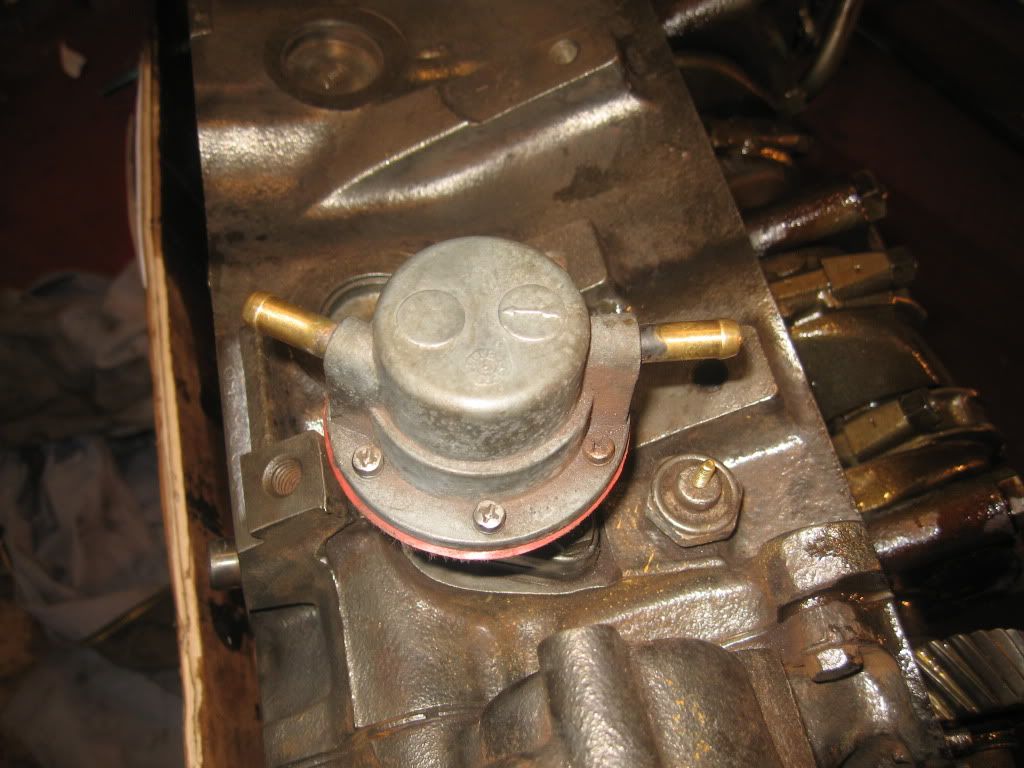
The fuel pump came next, these faces where pretty perfect so it went straight on with the new gasket.
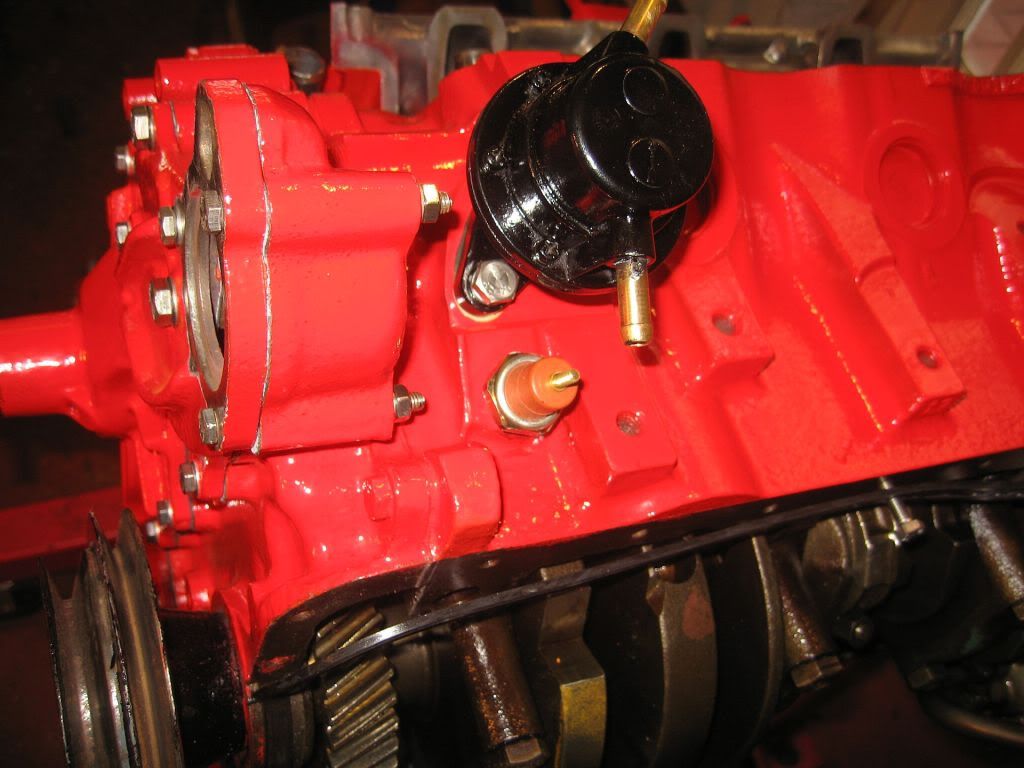
I also screwed in the oil pressure pickup with a little locktight to seal the threads, I may; when doing the interior look into fitting a proper oil pressure gauge on the dash and replace this with a pressure unit.
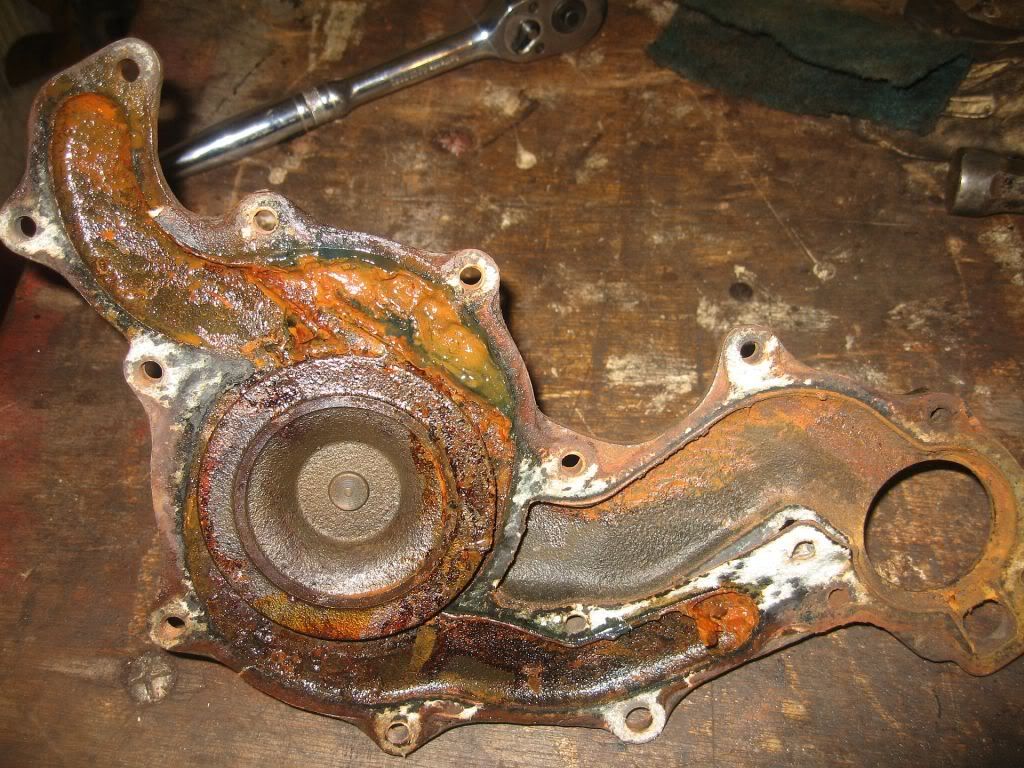
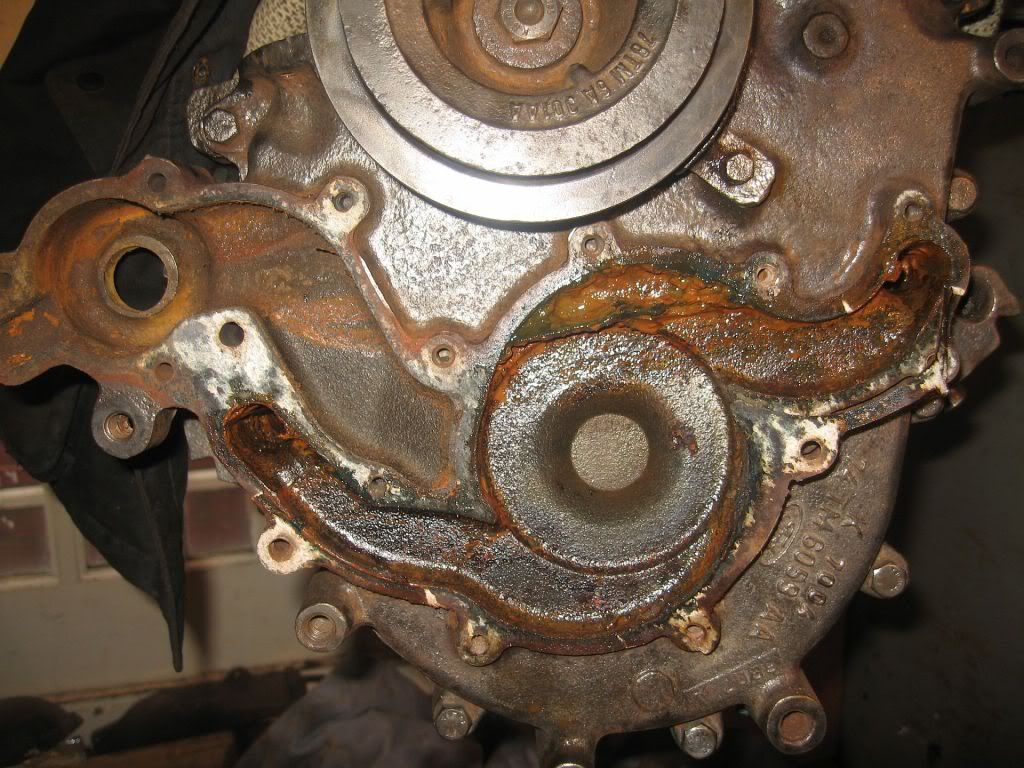
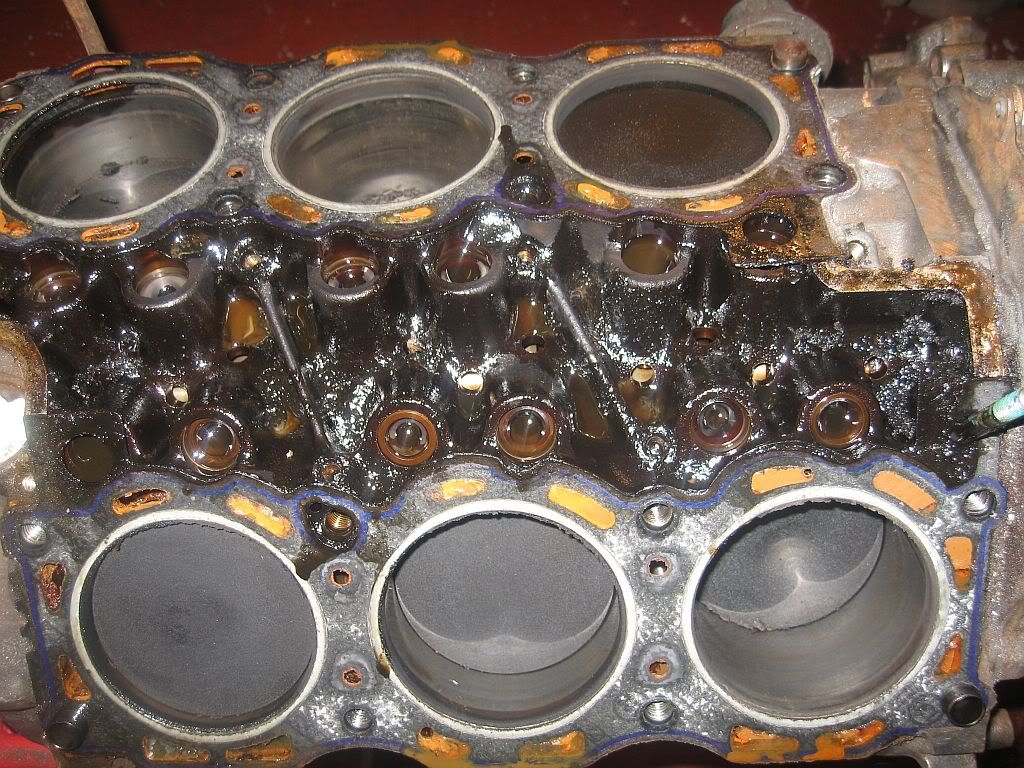
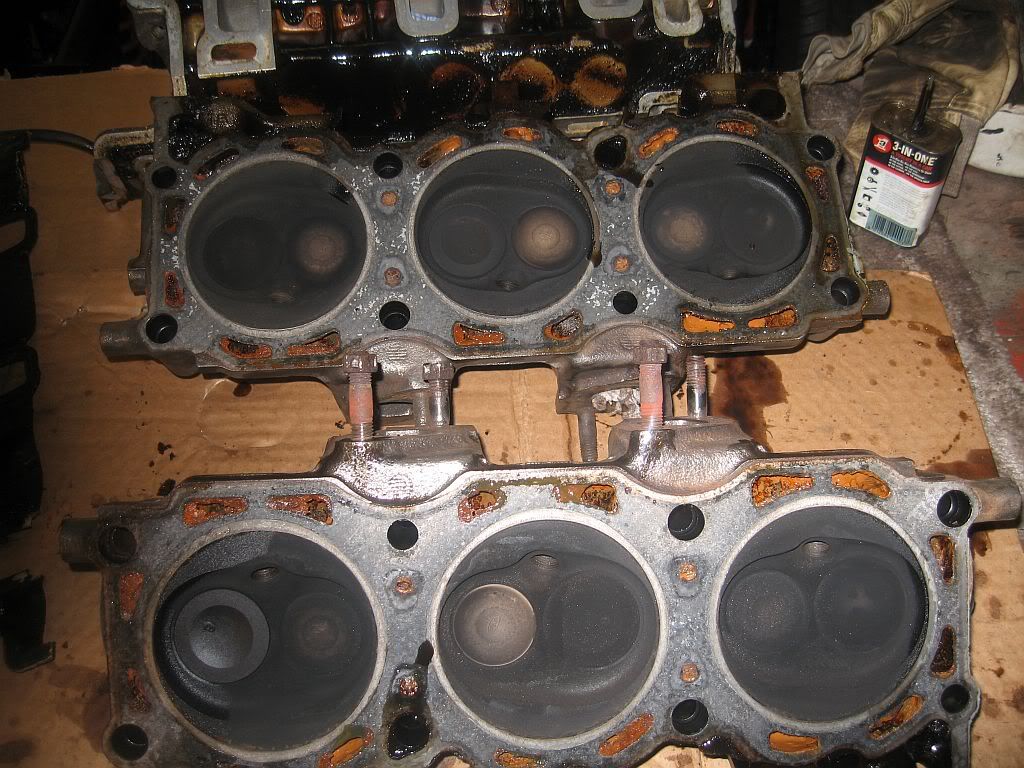
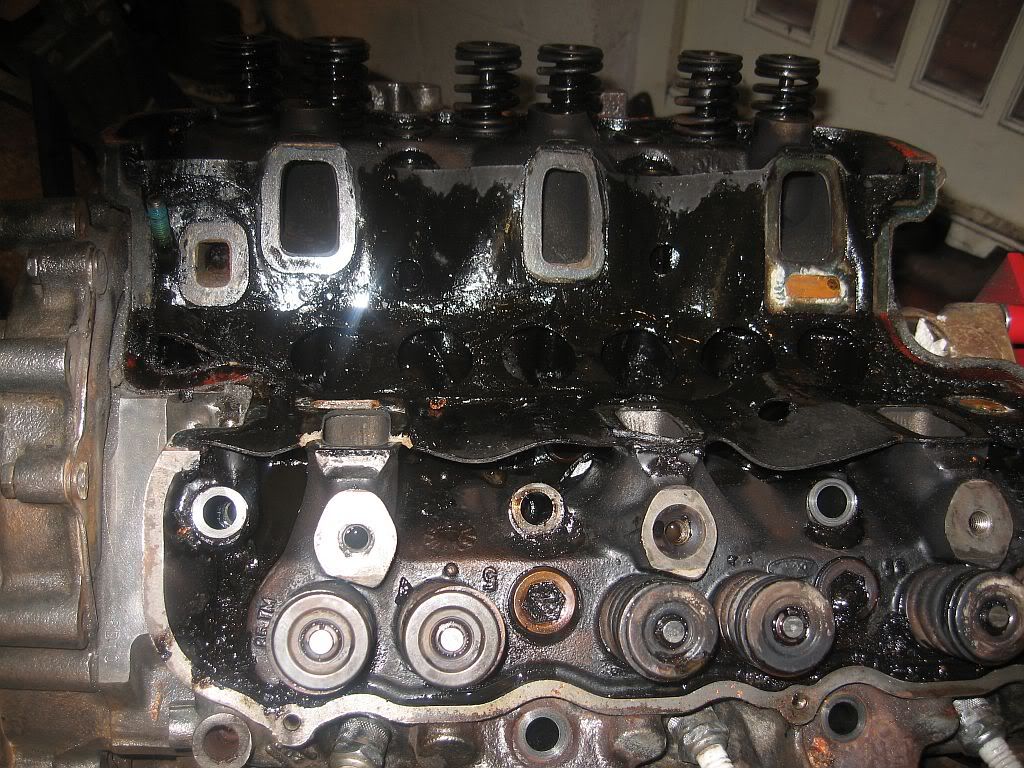
As you can see in the photos there are rust marks in the water galleries, I spent some time this morning scrapping as much of the loose scale as I could reach using a long thin chisel and blowing the debis out. I managed to get a good amount out but am still worried about loose rust getting into my new radiator core and blocking it. I had a talk to John Wade this morning and mentioned this and he uses a mixture of Sulfuric and other acids to clean out the waterways, unfortunately I am unable to get a hold of this acid mix. So I have trolled the internet and have found a Phosphoric acid tank cleaner, this is advertised as a de-ruster and de-scaller. I have wrote to the site asking if it will be any good for what I need and who knows it may be even work. 
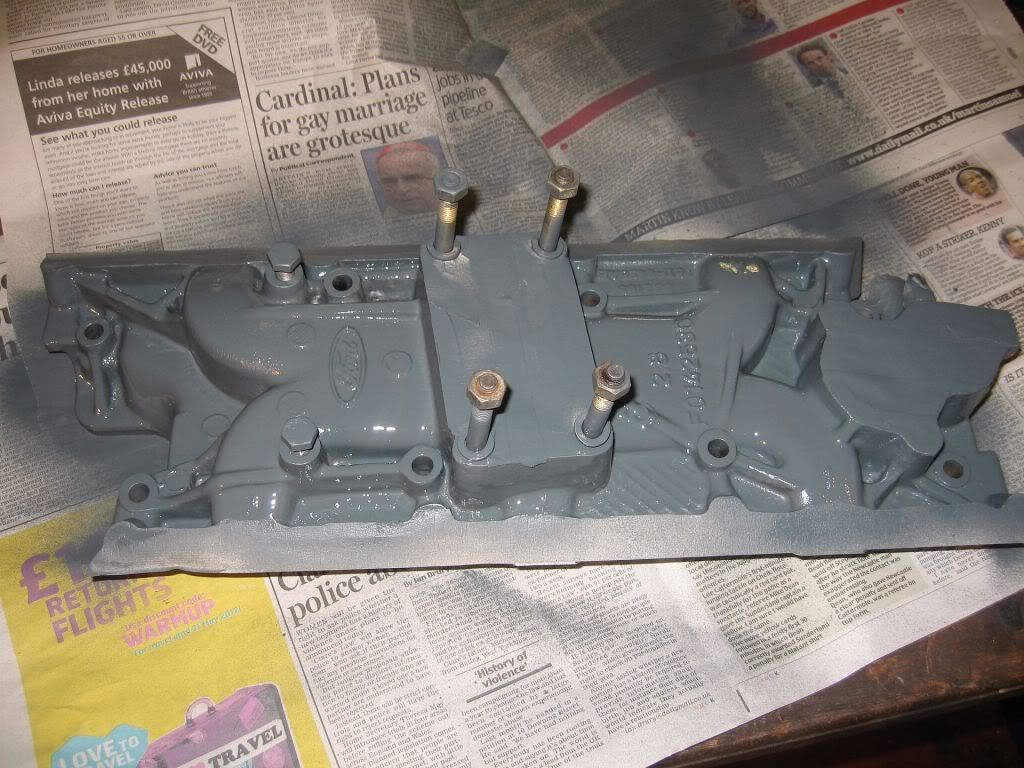
The rest of the day has been spent getting bits cleaned and painted ready for the sump and heads to arrive.
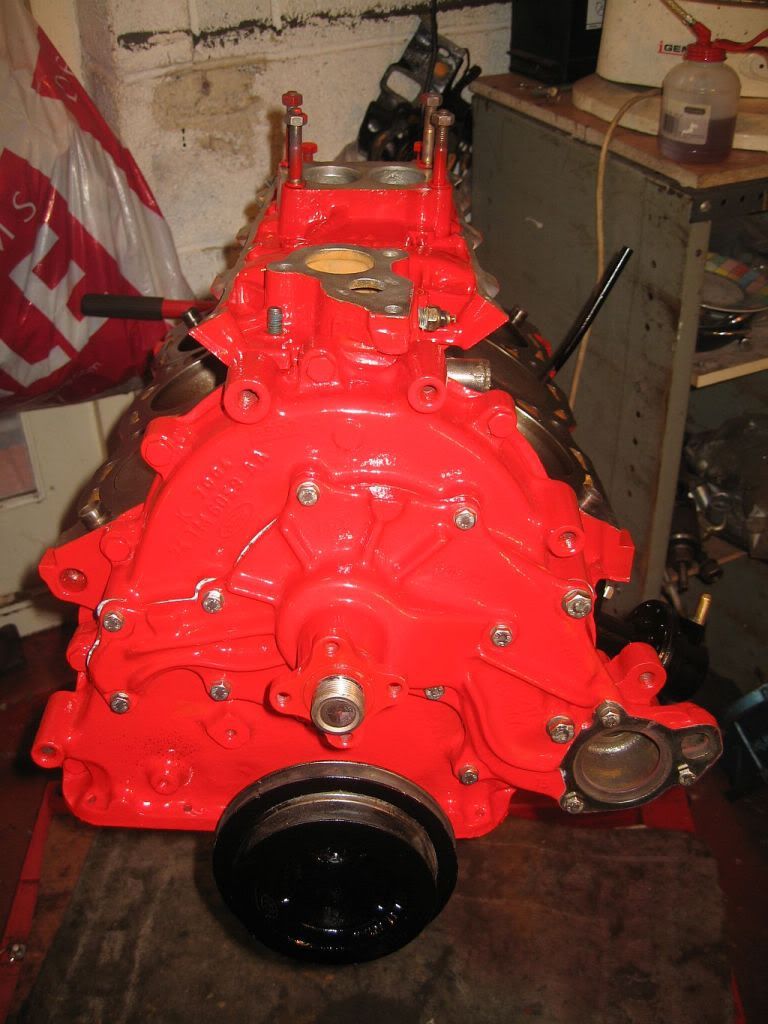
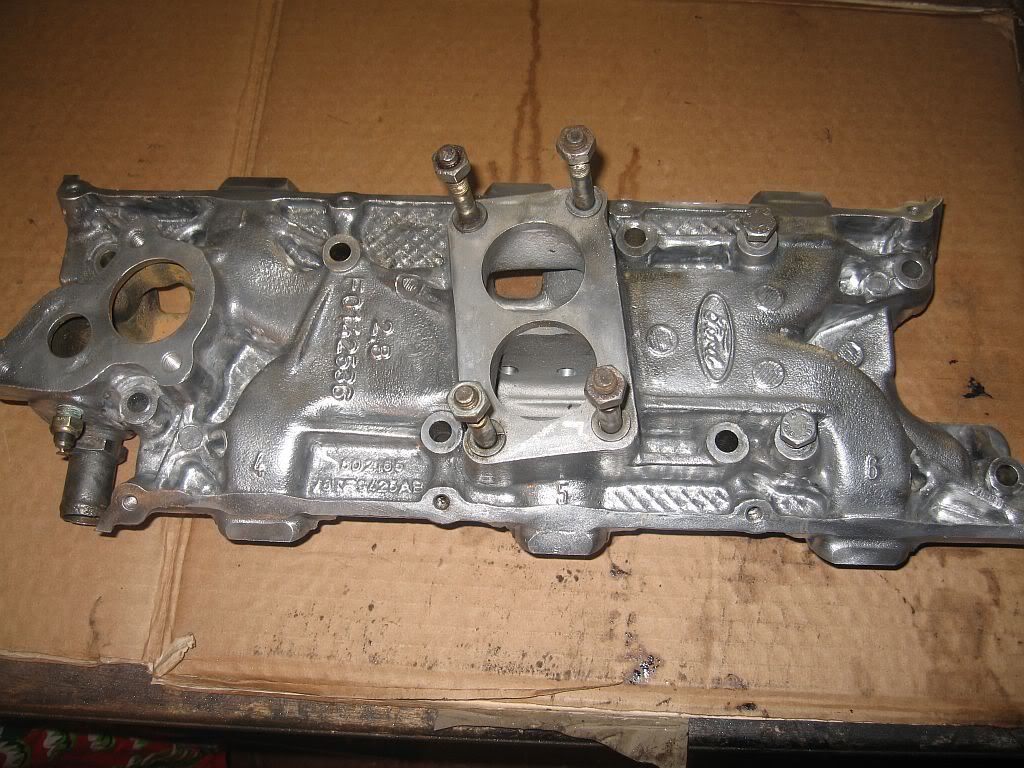
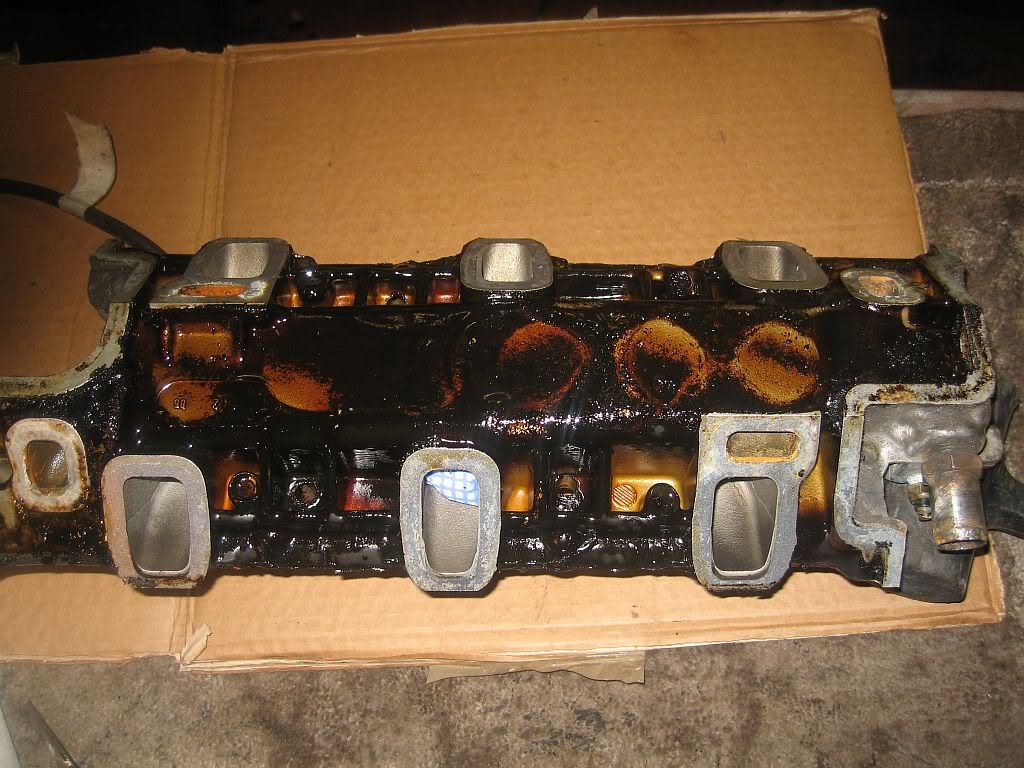
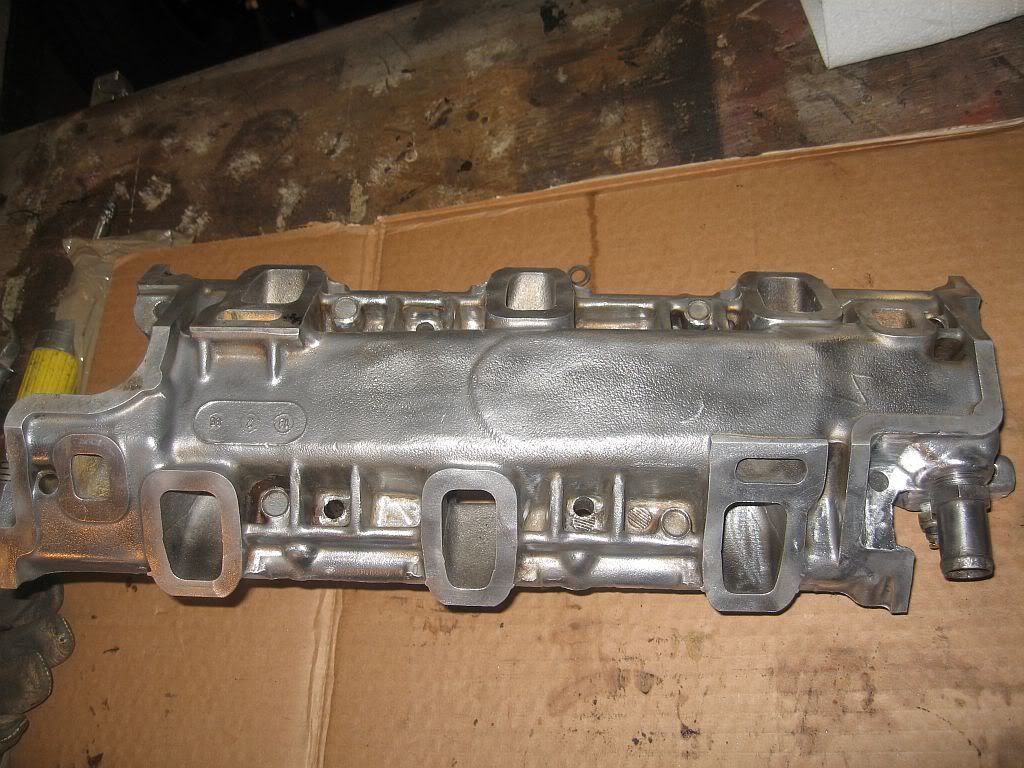
In these photo's I have loosely fitted the the air manifold

As I said I have been talking to John Wade today to confirm my carburetor, I was put onto John by Terry Borton as being one of the best in the business on Ford V6 engines and setting up Weber carburetor's for the Cologne V6.
The carburetor designed and setup by Ford for the Cologne is the Pierburg or Solex 38, I have been learning a lot about carburetor's lately, and the main thing I have learn't is that you just can't bolt on a Weber to a Cologne and expect it to work, it just don't happen. I don't know exactly what is required apart from re-jetting but there are a number of alterations that John does that allows the carburetor to work straight from the box with only the minimum of setting up.
So anyone wanting to get rid of their old Pierburg / Solex and have a lovely shiny Weber then you can contact John at J.W.Developments on 01902 798303.
Well last day home tomorrow, I have a trip to North shields to pick up my powder coating and then a trip south to the outskirts of Durham to pick up my heads, I was promised they would be ready so fingers crossed.
See ya
Paul

Saturday, 17 March 2012

Painting engine

Hi
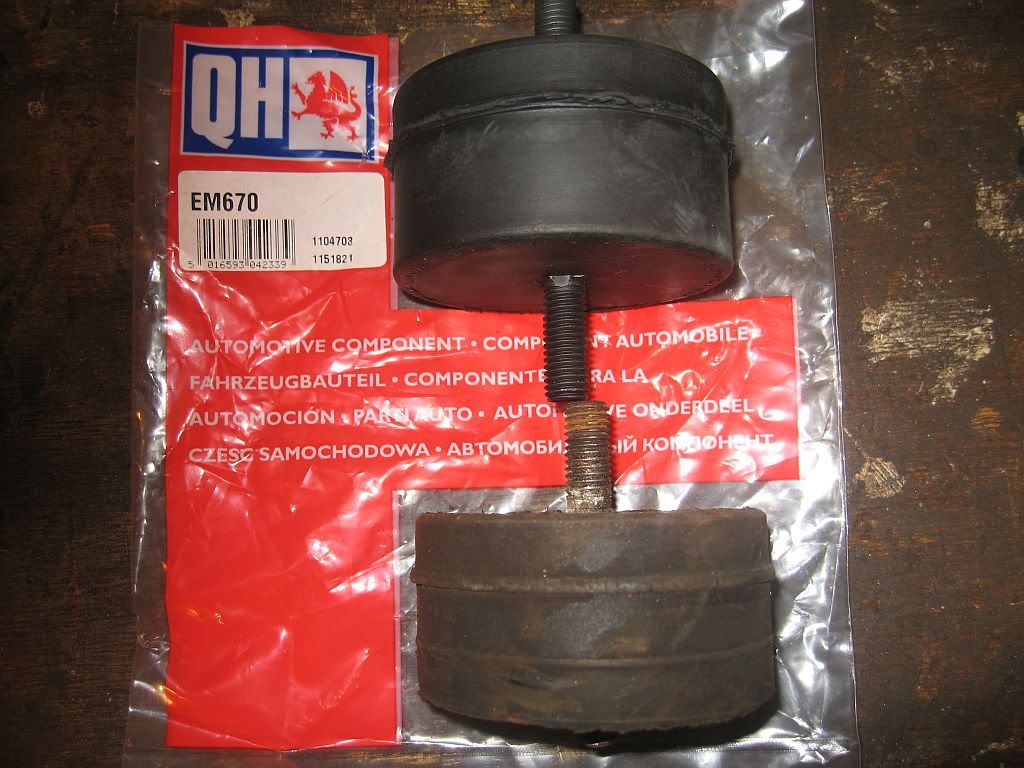
I had a delivery this morning of the new engine mounts, I only ordered them on Thursday and they arrived this morning costing £9.99p plus p/p.
They are advertised as for a Cortina / Granada and are pretty close on measurements. The width is a little smaller at 72mm as opposed to the 76mm fitted but the important bit is the height which is 41.5mm, the ones fitted are 40.6mm so pretty close and maybe they have squished down over the years with the weight of the engine.

I started the day with the removal of the 2 broken 6mm bolts on the sump flange, one came out quite easily using a pair of mole grips while the other needed chiseling flush and drilling and tapping.
The rest of the day has been spent prepping the engine for painting, its surprising that after all of the time and effort I spent cleaning, it still needed hours more. I first attacked with brake cleaner, this is a solvent based cleaner so it cleaned out the oil in the corners quite well and with the rotary wire wheel got all of the surface oil of the engine. I then steam cleaned all over which lifted the rest of the deep ingrained oils. 
The masking came next and all mating faces were buffed up first before applying the tape, and masking paper.
I have used an etch primer again on the bare metal and gave it 2 coats with an hour in between.

I have temporarily fitted the water pump as the masking off of that area would have been a little difficult, I have still to buy the stainless bolts for the pump and the sump but will get these soon.
While waiting for the first coat to dry I got to work on the inlet manifold masking this off and gave it a coat of primmer as well.
Hopefully I shall get the first coat of red on tomorrow morning and one later that day. Mothers day tomorrow so maybe nothing will get done
The fuel pump is dry and looks good painted black, I think the contrast against the red of the engine will look pretty good.
I have been in contact will Ray from the web site http://www.veesix.co.uk Ray also has a Panther interior business called RS Sewing Solutions, I have told him my requirements for the car which is everything and I have received his prices which are very reasonable. He is able to make everything from the mohair hood and cover, door cards, carpets even sun visors in matching leather. So I am going ahead and will be buying in bits. It will be quite a while before I am ready to fit the interior but if I start the buying now it will spread the cost as this is; next the respray going to be the most expensive part of the restoration.
Well that's all for now, time for a Guinness and a curry
See ya
Paul

Friday, 16 March 2012

Heads Dropped Off

Hi
Well the heads have been delivered to the Engineering firm for un-leading, I had a chat with the guy there about the valve stem guides and he agreed that they was no play or wear in the guides so they are not to be touched. The cost is around £25 per valve plus vat and I pick up on Tuesday.
After dropping them off we had the day out in Durham but I still managed to get home with time to spare for an hours work.

I thought I would have a go at removing the tabs left over from the removal of the gasket and it is not as straight forward as you may think for fitting a sump gasket.
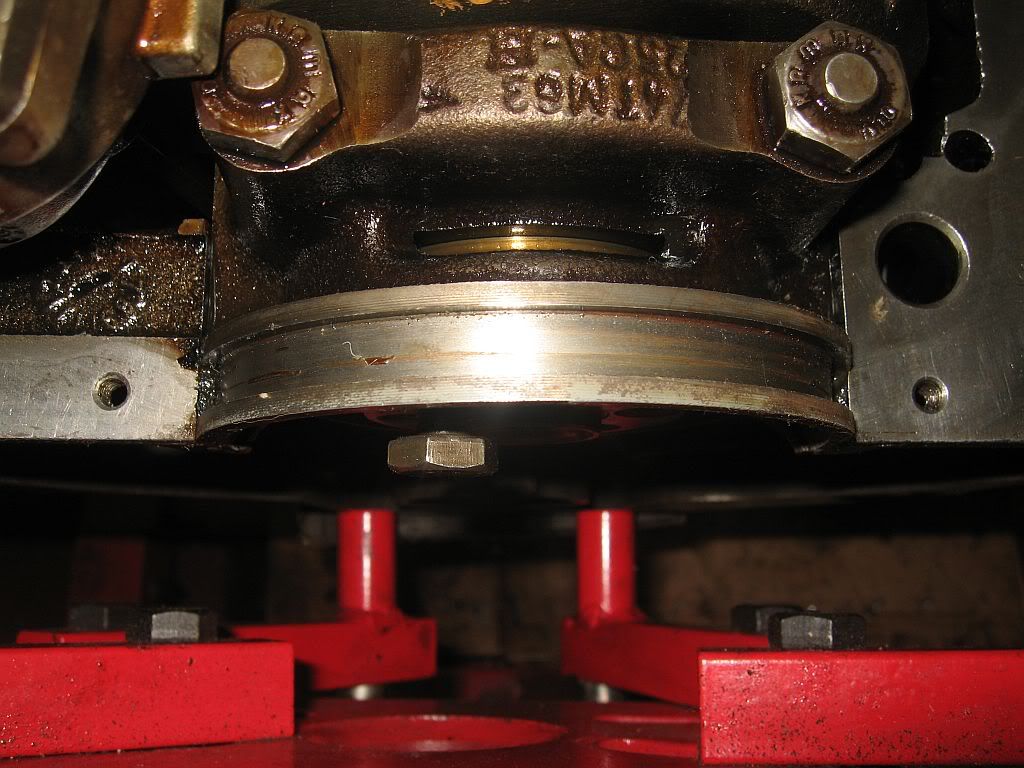
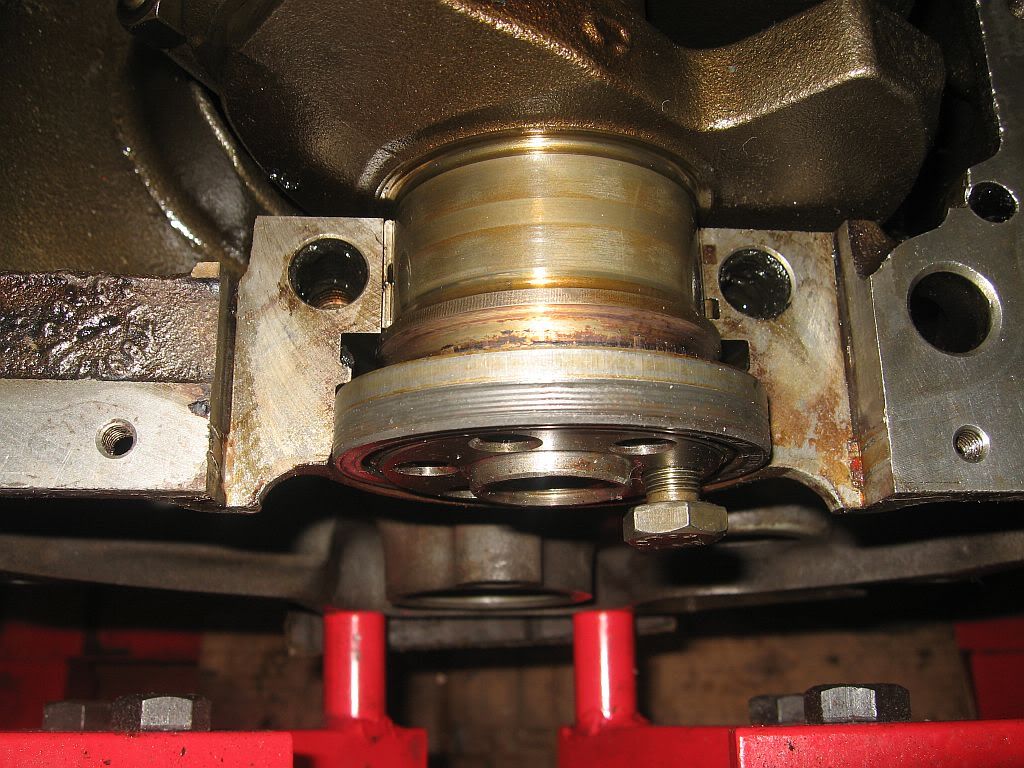
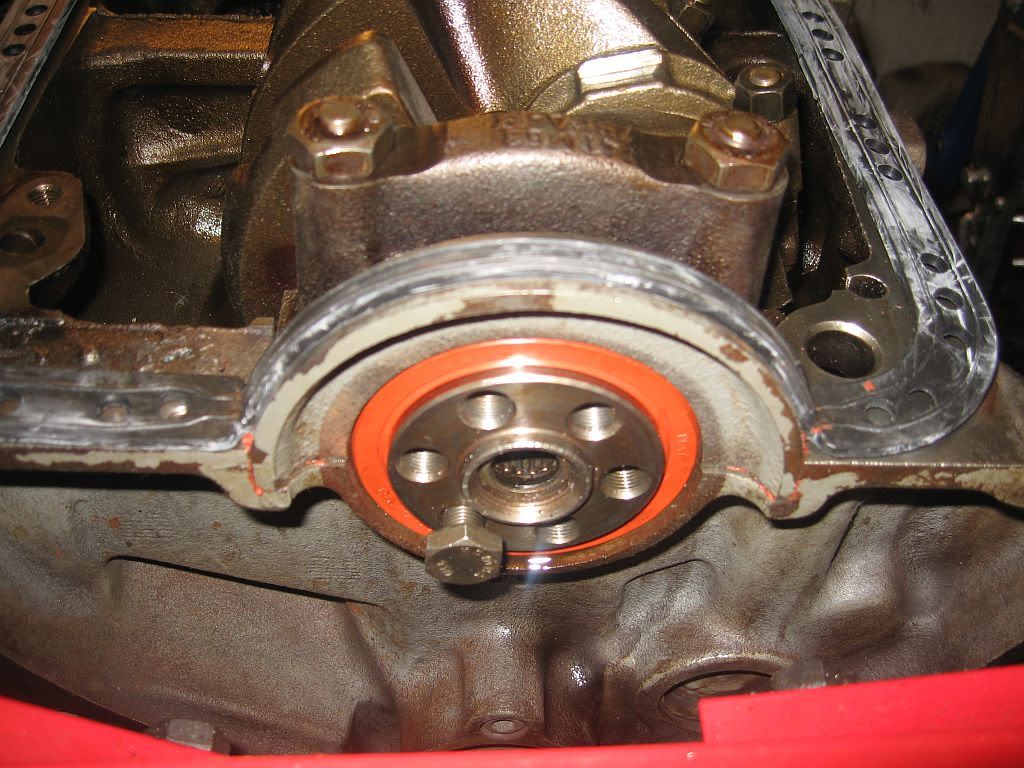
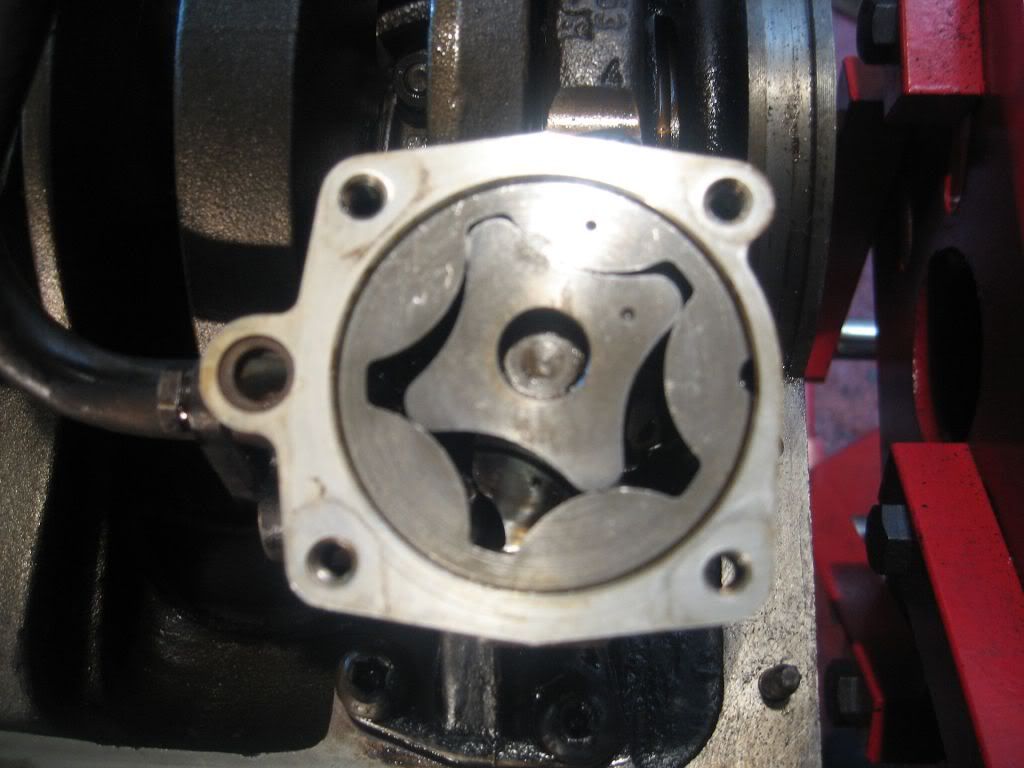
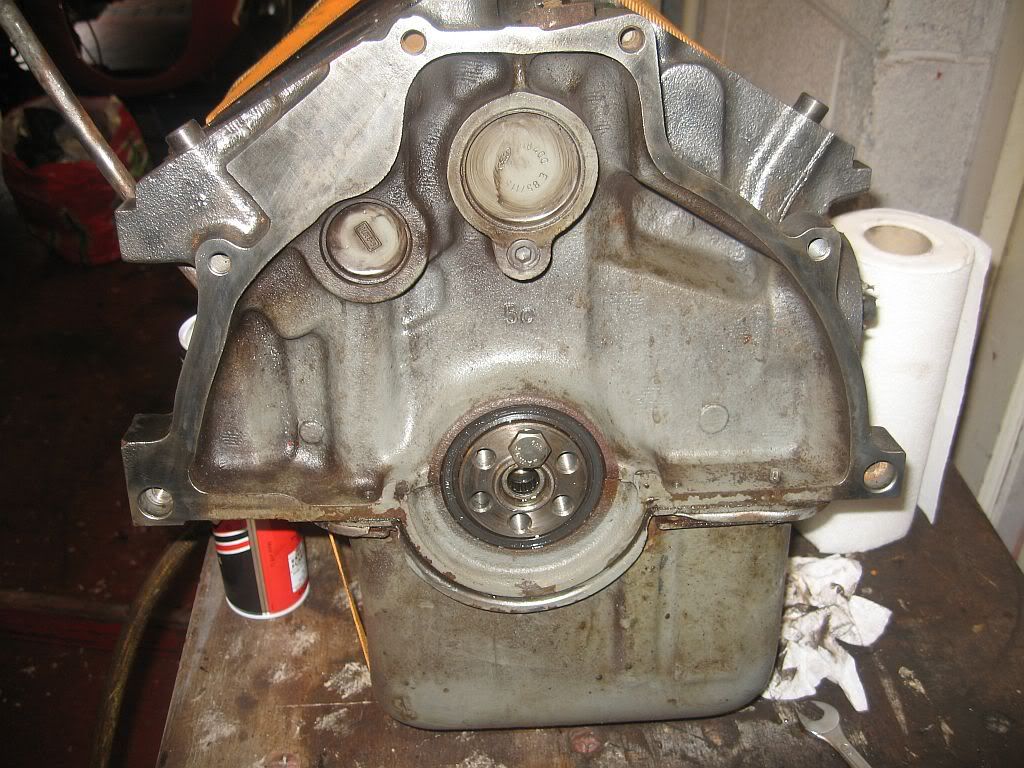
You can see the tabs on either side of the bearing cap and these penetrate around 10mm, you may also see at the top left of the photo the oil pump covering the nut for the cap. So the first job is the removal of the oil pump, this is straight forward just 2 torq bolts and remove, remembering to grab the drive shaft as it falls out and rolls under the car.
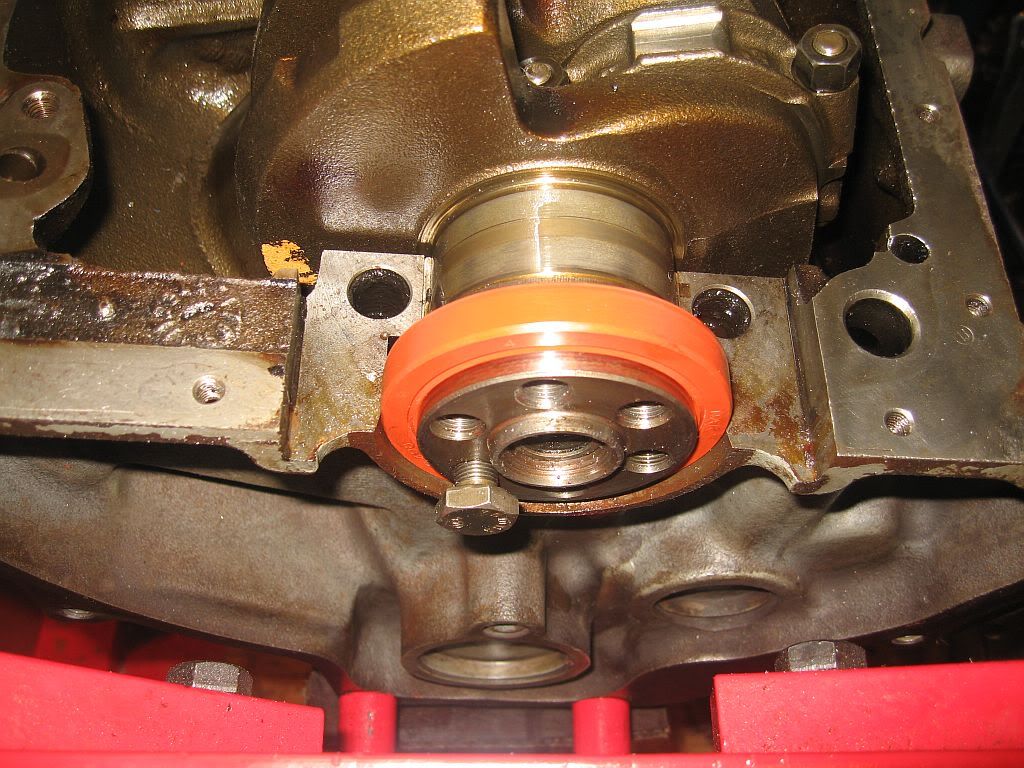
The nuts can now be removed, these have a torque of 95Nm so the breaker bar was used to get leverage and the nuts and the studs came out together, full of dirty black oil. The fit of the cap is very tight and sealed, so it required a good tap with a rubber mallet to raise it enough to get a lever underneath, but once the seal broke it came up easily. You can see in the photo the oil seal in its housing so I took the opportunity to change it while I could.
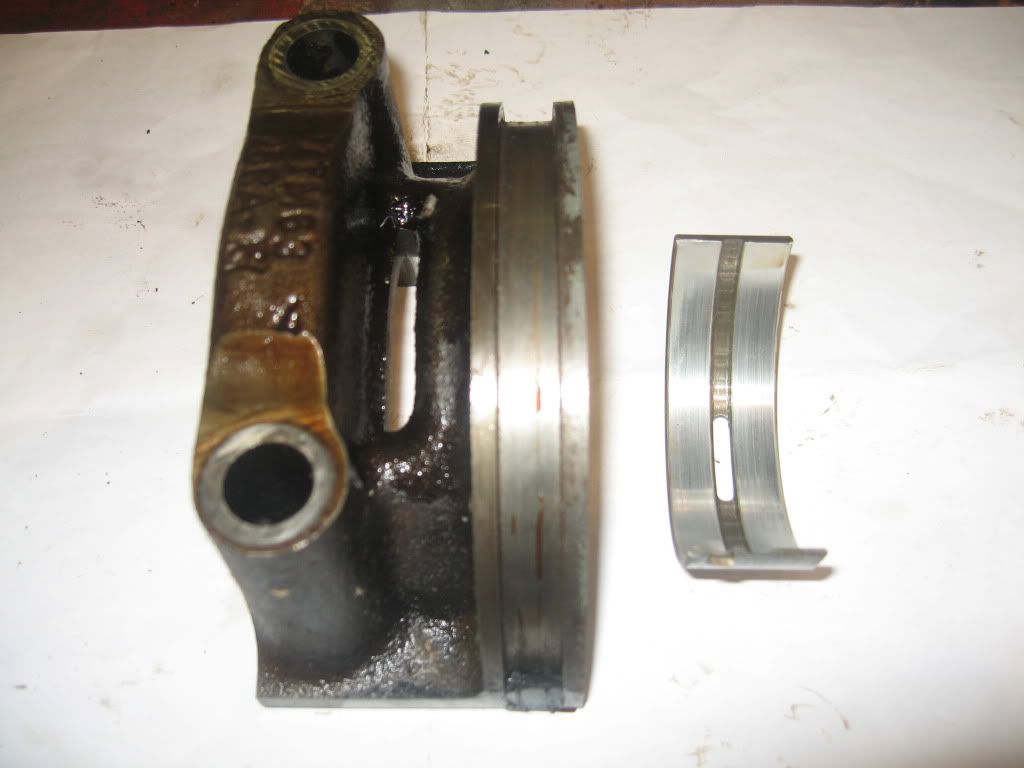
The removal of the cap also gave me a chance to check for wear on the bearing shell, I was a bit worried that by sitting in the dirty oil for so long would acid etch the shell but a spray and clean and it looks perfect.
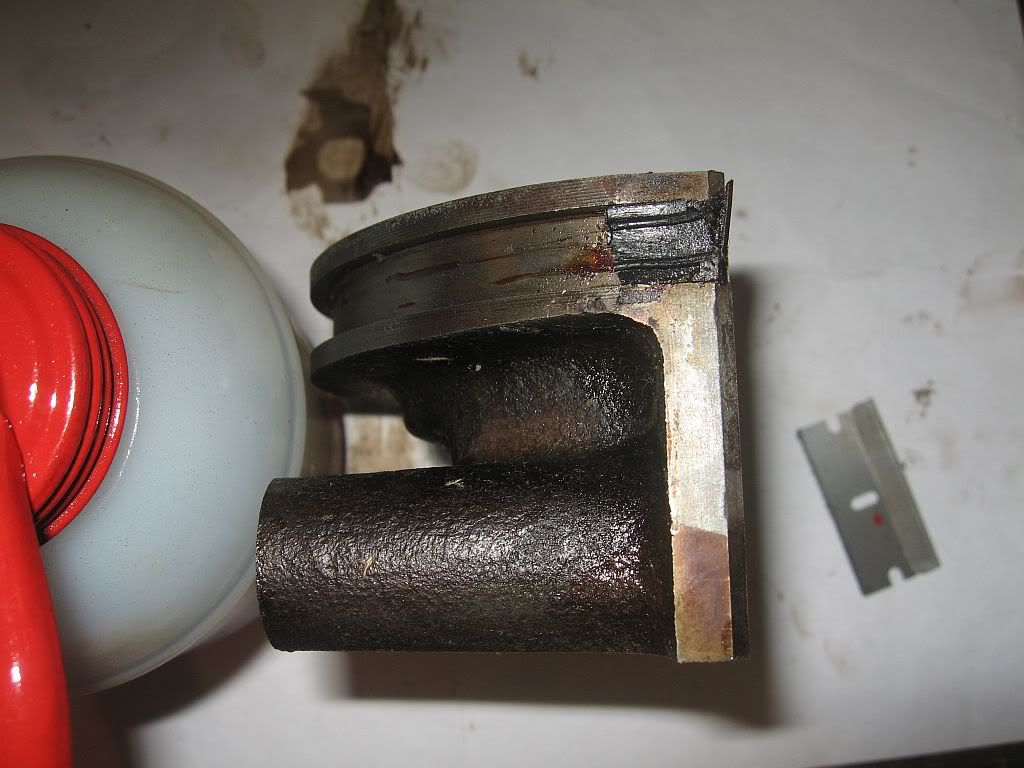
Nice and shinny with no wear or erosion, you can see in this and the next photo the rubber tabs that are left. It may be possible if removing the pan to work on the oil pump or to check the oil suction strainer to re-use the original gasket and not have to go through all this, but unfortunately I snapped one of the tabs when removing the pan.
These tabs are easily removed and the old sealant around the housing landing area was cleaned off with a razor blade.
The refitting was a bit tricky as the tolerances are very tight for getting the housing started, I sealed the landing area with Hylomar and also put some on the tabs, a good oiling and the shell was refitted. 
The upper section of the sump gasket is fitted into the groove and the tabs pressed as tight as possible before positioning the housing cap squarely down into its slot then started with a tap from the mallet. The tabs try to lift out a little as the cap is tapped down so these also need tapping down either side to keep them in place. Once down sufficiently the studs can be replaced and evenly brought down into its final position checking the tabs are going down with each turn of the nuts then torquing to 95Nm.
You can see that the tabs are as hard down as I was able to achieve but I will still put a bit of sealant into the corners before replacing the pan. I then replaced the oil pump and that was that. I must admit it is a bit of a workup just to change a sump gasket but I guess Ford has its reasons.
I would suggest that anyone removing their sump pan has a new gasket and a new oil seal available as mine snapped very easily.
I still have a snapped bolt to remove which I had forgot about then a good solvent clean before steam cleaning then ready for its coat of primmer, but that's for tomorrow.
See ya
Paul
Thursday, 15 March 2012

Engine Gaskets

Hi
Well back a little later than I expected, I did an extra weeks overtime as the ships 2nd Engineer took a sicky and since the redundancies took place there is zero slack in the system. After phoning all the 2nd's on leave and getting told where to get off they scraped the very bottom of the barrel and talked me into staying, so instead of going home I had to stay on in the 2nd's slot. Still the extra money will go into the restoration coffers.
I have only ordered one item when I was away, mainly because I forgot to measure the items I needed before I left; I was going to order the rubber fuel pipe and filters, the rubber engine mounts and the water hoses. I did manage to order the Thermostat to inlet by-pass hose from Tickover as this can only be one size, I know that the upper and lower radiator hoses come from a Fiesta and Allegro but no rush for them as yet. I will order tomorrow and fit next time home.

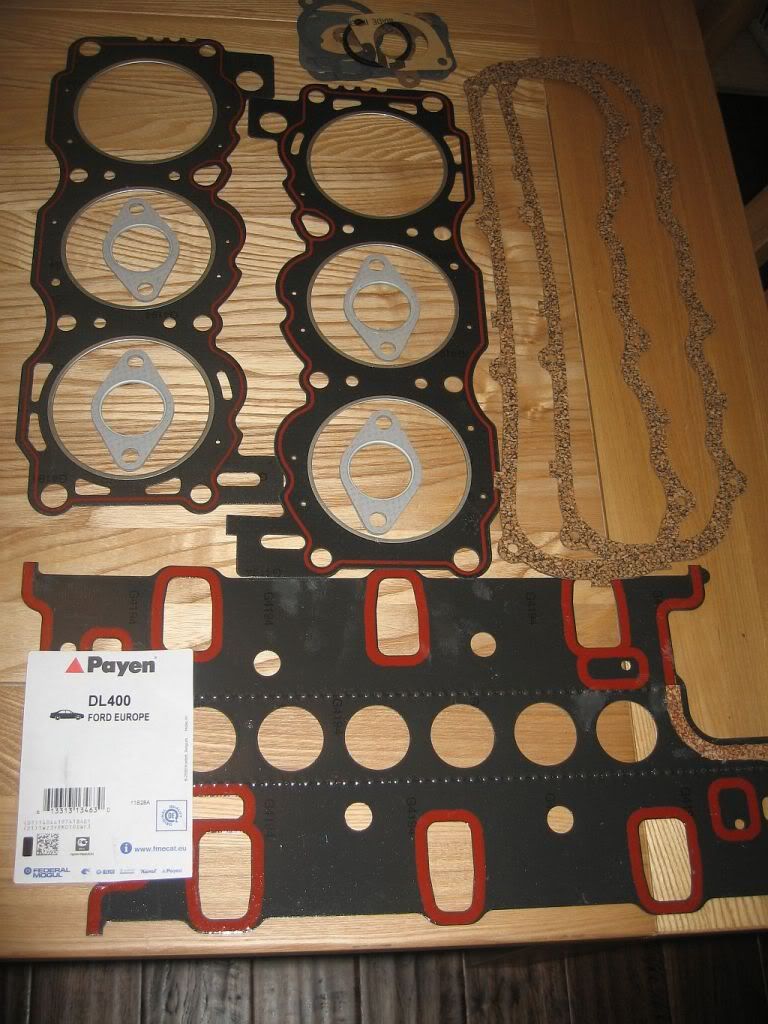
I spent most of the day waiting in for the courier arriving with my gaskets, I know its a little sad but these are the probably the best gasket I've ever laid eyes on. I am very glad I took Terry's advise (again) and ordered them. The one's from eBay bear no comparison.
They cost £50 plus vat & postage for the upper set from F.W.Thornton, also included with the set were the stem seals for the heads.
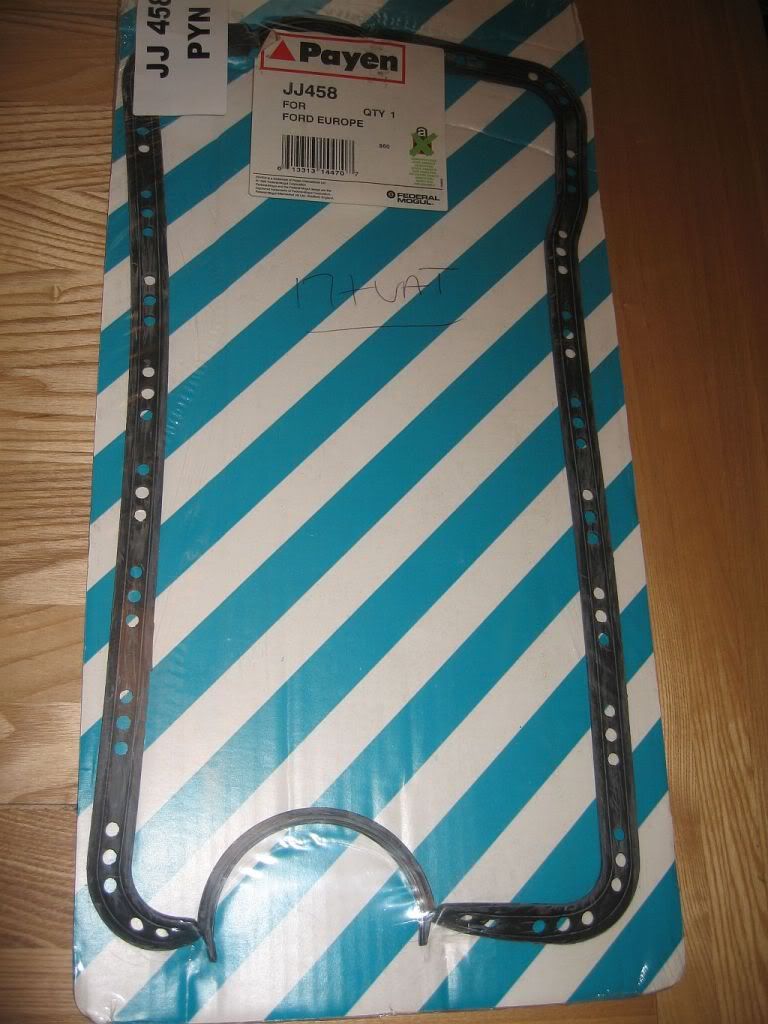
I have found out why my sump gasket is different from the cork one supplied in the bottom set I have, apparently my engine has been fitted with a 2.9 sump pan; don't know why as it is a 86 model. 
Somehow I doubt it makes it go faster.
This gasket cost £17 plus vat and postage, when I said in my last blog that I had to cut out the original it was the bottom tabs you can see in the photo that I cut. I have been told that I will have to slacken the bearing housing to remove the old one's then insert the new and torque up again.
I have also been busy getting the items ready for the powder coaters.
I had a bit of a hard time removing one of the rubber engine mounts from its bracket as the nut is welded onto the bracket and the threads from the mount was rusted solid. With minimal access I had to do a bit of a bodge job to remove it, no one will know once powder coated. 
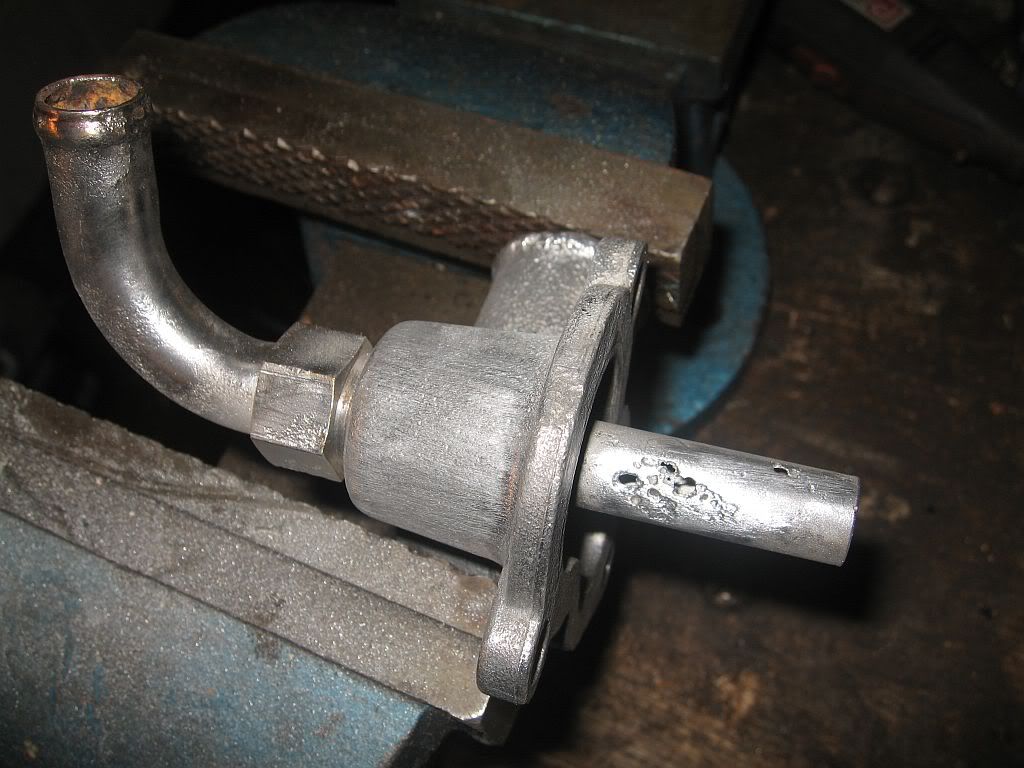
The aluminum water housing's got cleaned up as well, and after the rusty bits were sandblasted I found a bit more damage than I thought.
You can see the holes in the pipe that revealed themselves, these were filled with soft solder and filed clean.
Everything is now at the powder coater's, the price was a bit higher this time as there is a lot of masking to be done around the flanges and the interior of the sump but still well worth it and I pick them up on Tuesday.
I have also managed some painting, the fuel pump has had its second coat of black gloss and the water pump has has its first coat of bright red. While I was at it I gave the radiator another coat of black and its now ready to fit onto its housing.

I have had a change of mind while away concerning un-leading the heads and fitting a new carburetor, basically I will regret sometime in the future not doing so while the heads are off. So I have found a firm in the Durham area called Cleasby Precision Engine Services to do the job and I shall take them there tomorrow. It will cost £250 plus vat without new valve guides or £300 plus vat with, I have taken advise from a Cologne engine expert (John Wade) who say's that it is more than likely that at only 35,000 miles there will be no requirement for the valve guides to be changed, I have slid the valves up and down in the guides and there is next to no play to be noticed; so they ain't getting done.
The carburetor I have ordered from this very same expert is a Webber DGAS 38 with a manual choke, I could have gone for the automatic choke but I like the idea of pulling the choke and starting the engine like it used to be, it seems to add more of a feeling of involvement than just turning a key or as I may do: Pushing a START button. Also the fuel savings in this current climate will be welcome. 
I had a long conversation with John and learnt a lot, he has advised me to leave the original air intake on instead of fitting a shinny K&N as it supplies a whole lot more air and fitting a K&N air filter.
I also still hope to fit side exhaust pipes and have bought the correct size stainless manifold flanges from John, these are laser cut and one flange has a larger hole to take a bigger pipe for the siamesed side, I was going to make my own out of a piece of 10mm stainless I have, but drilling the center holes would have been a bit of a problem.
So tomorrow is a trip to Durham to drop the heads off, Lynne also has the day off so we shall make a day of it and get started again on Saturday. 
See Ya 
Paul

Tuesday, 21 February 2012

Water pump, Fuel pump, Oil pump

Hi
Well that's it for another 2 weeks, back to work in the morning its been a productive if somewhat dirty 2 weeks off. Cost me 3 boiler suits this time home as they where so oily and dirty Lynne wouldn't allow them in the washing machine, good job I have spent my life collecting them from every company I have worked for; stacks in the loft.
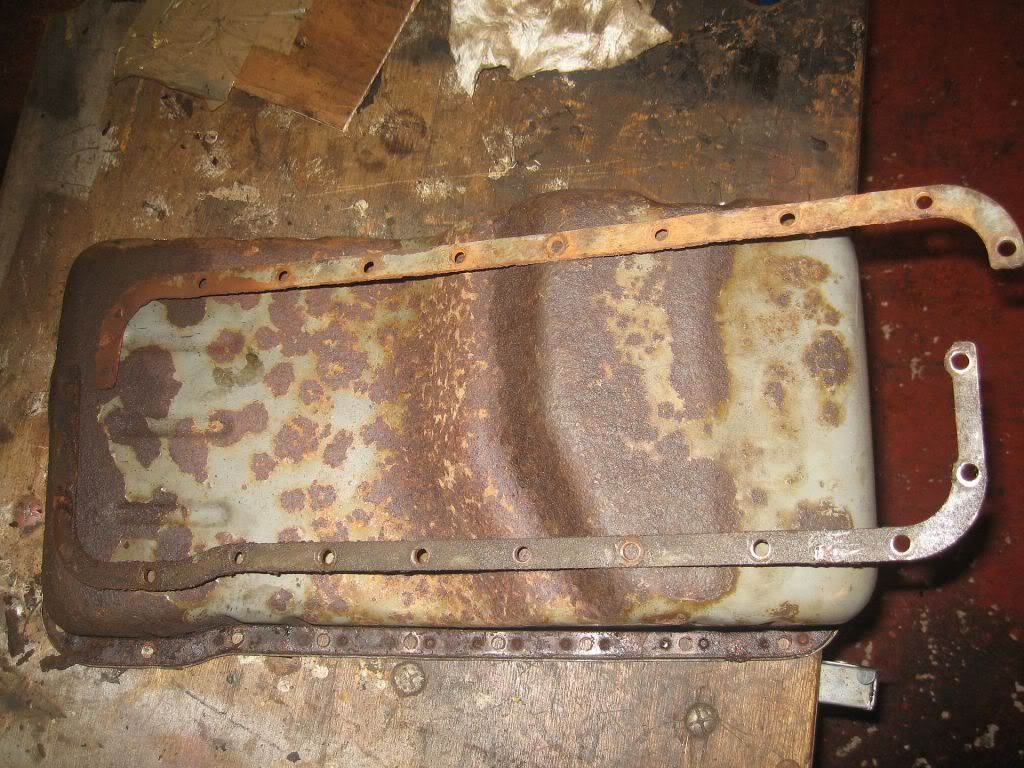
Just little bits and pieces today, I started with the underside as I reckon I'm about done on the top till the gaskets arrive. The sump backing flange came of easily, just 4 tabs to lever over and a screwdriver under to break the rust seal, pretty bad underneath. Something I have realised and the reason I am fitting a half spoiler is that there is zero protection from the elements (anyone have a full spoiler for sale), I am hoping the half spoiler does something about this as everything above halfway up the engine is in reasonable condition for the age and everything below requires either replacing or a lot of blasting. I had to get the needle gun out to get the rust of the sump where the flange sat, it is now in the powder coating pile.
After this I had to remove the original rubber gasket, this required cutting out on the flywheel side as the circular section ran around the bearing housing or seems so. Anyway its cut now, when I come to refit I will have to get a razor on the rubber to ensure its a nice edge and a good amount of hylomar to make sure it seals. I then cleaned as much of the crank and block area as I could and it looks a whole lot better, I was a bit worried about the oil ways being blocked with gunk so I squeezed a good amount of oil in the main oil way from the filter and let it run through then put compressed air down and blew everything out, I repeated this twice and then filled with oil again. I also took the cover of the oil pump to have a look inside and was surprised at how clean this was so a good spray with lubricant then oil and put back.
The fuel pump came out next, this looks quite new so it has just has a good clean then primed and its first top coat put on.
The water pump was a bit more difficult to remove as the bolts were well rusted but I attacked them with a file until I had a reasonable hex then the next size down socket and  out they came. I fully expected the inside of the pump to be gunged up and I wasn't wrong.
Just goes to show it isn't just engine oil that need changing regularly, it was just soft sludge and cleaned off easily, then a wire brushing and like new.
I have masked off areas of the pumps and have given it a good coat of primer.
The parts I bought of eBay have arrived, the new thermostat and the thermostat housing, front and back, the Granada they came from must have better underside protection as they are in good condition and are now in the powder coat box. I also received the timing plate, a little rusty but the numbers are very prominent, just need blasting and spraying. I imagine that the oil pressure switch works just fine but I am not going to take any chances so I have ordered a new one for £8.
Well that's it on the car, now to start clearing up the mess I've made.
See ya
Paul
Monday, 20 February 2012

Engine, Removing Tappets

Hi
Another day working on the engine, I am really enjoying this kind of work. I think its cleaning of the oil and dirt and seeing a nearly new; if somewhat rust pitted engine coming through.
I have also been on the phone and ordered a new set of Payen gaskets, I have already bought a upper and lower set of gaskets from eBay relatively cheap, but as the saying goes 'you get what you pay for'. The Payen set have been recommended by Terry B as being the best out there, I contacted F W Thornton who stock and will source Payen gaskets for any make or model. Excellent service, I called this morning and they had the sump gasket in stock but not the top end, by the end of the day they had tracked down and got in a set ready for dispatch. I have bought the later model rubber gasket as fitted to my engine, the set I have already has the earlier cork type in 4 sections, I have also bought the top end set that includes the head and intake gaskets plus the valve stem seals also I expect everything required for the thermostat housing. Costing £95 including delivery, very pleased.
I have carried on working on the heads and have them as far as I can go until I receive the valve stem seals then just a matter of re-fitting the valves and the heads are ready for fitting.
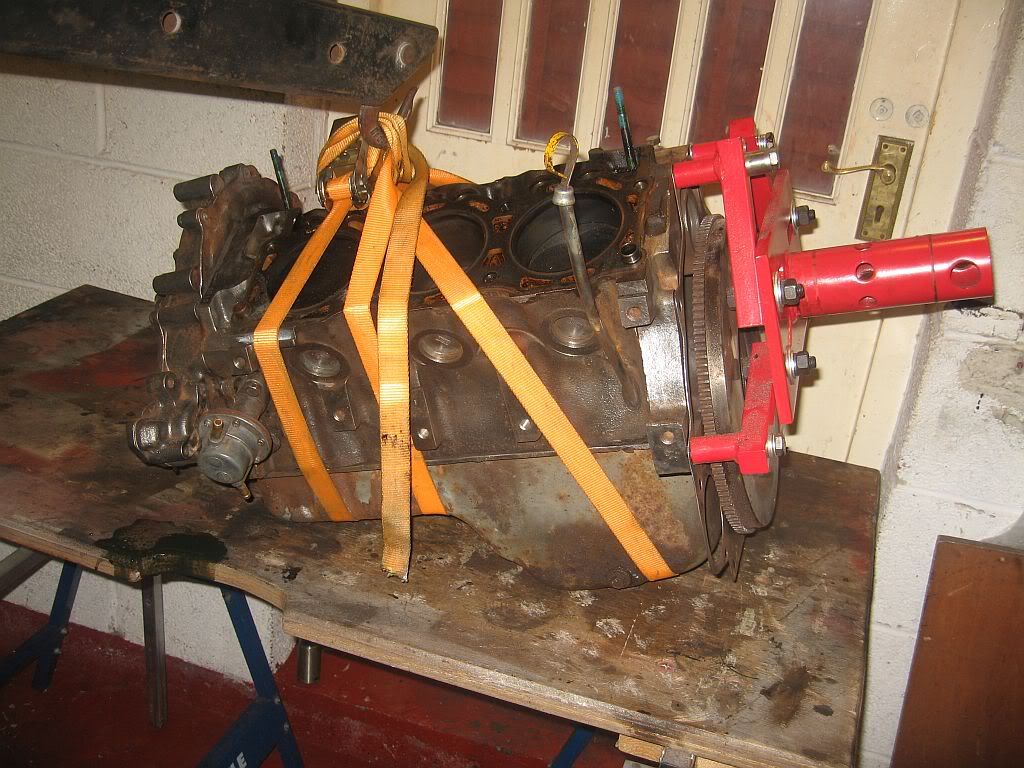
After I finished the heads I dragged the heaviest engine lifter ever created out again and rebuilt it, I should have realised when I first fitted the engine to the stand that I could not turn it over but it never dawned on me to try it.
Once removed from the stand I lowered the engine onto my workbench to remove the stands swivel mount.
Still a heavy lump even with the heads off.
My choices were to either remove the locating pins for the clutch fitting, fit spacers to the stand offs to give room to turn or to remove the flywheel, out of these three the removal of the fly was the easiest and safest also I needed to check whether the oil seal was good. I marked the flywheel's vertical position before removing the bolts and re-fitted a bolt to the flange to show the vertical  position on the engine.
The back of the flywheel has a number of balancing drill outs, so it is very important to reposition it correctly so I have backed up my pen markings with a good deep scratch in the vertical position. I cleaned up the flywheel and the back of the engine and had a good look at the seal, I have a spare but seeing as how this is not leaking I thought it best to leave well alone.
I then bolted the stand swivel back on and craned it back onto the stand.
Next was the tappets, but a good clean first, I had been giving this area a regular spray to loosen the oil and now it was easy to clean up, I also cleaned up the piston crowns and polished up the gasket faces. The engine turns nice and freely and a good oiling kept it that way.
The tappets are easily removed, I found that a long legged allen key worked very well at removing the tappets, I worked on one 4 tappet section at a time and turned the engine until each tappet was at its highest point before inserting the allen key and lifting.
A lot of dirty oil was trapped in the lube section and was released with the removal, a good clean and oil then back in and onto the next one.
I have also given the inside of the liners a polish and oiling, I turned the engine over for each cylinder a few times oiling and cleaning each cylinder until the paper towel came up clean.
Looks like a different engine from just a few days ago, will have to make the underside look the same but that's for tomorrow.
See ya
Paul
Saturday, 18 February 2012

Stripping heads

Hi
Looks like its going to be engine engine engine for the foreseeable future.
I did manage to get some parts bought though, a new 81 deg thermostat is on its way and I have also managed to buy a pair of thermostat housings front and back along with a timing plate, they look to be in good condition and with the thermostat cost around £25 far better than the £94 for a new housing and gaskets +£9 p+p. Once powder coated they will look like new, I have also bought some lapping paste and a spring compressor from Halfords and got to work.

I started on the air inlet manifold; I plugged the holes to prevent any oil and dirt getting inside the air intake section and gave it a good spray to loosen the oil. Once clean I again used the wire rotary brushes and gave it a good brush ready for a coat of primer.
These have been transformed with only a couple of hours work.
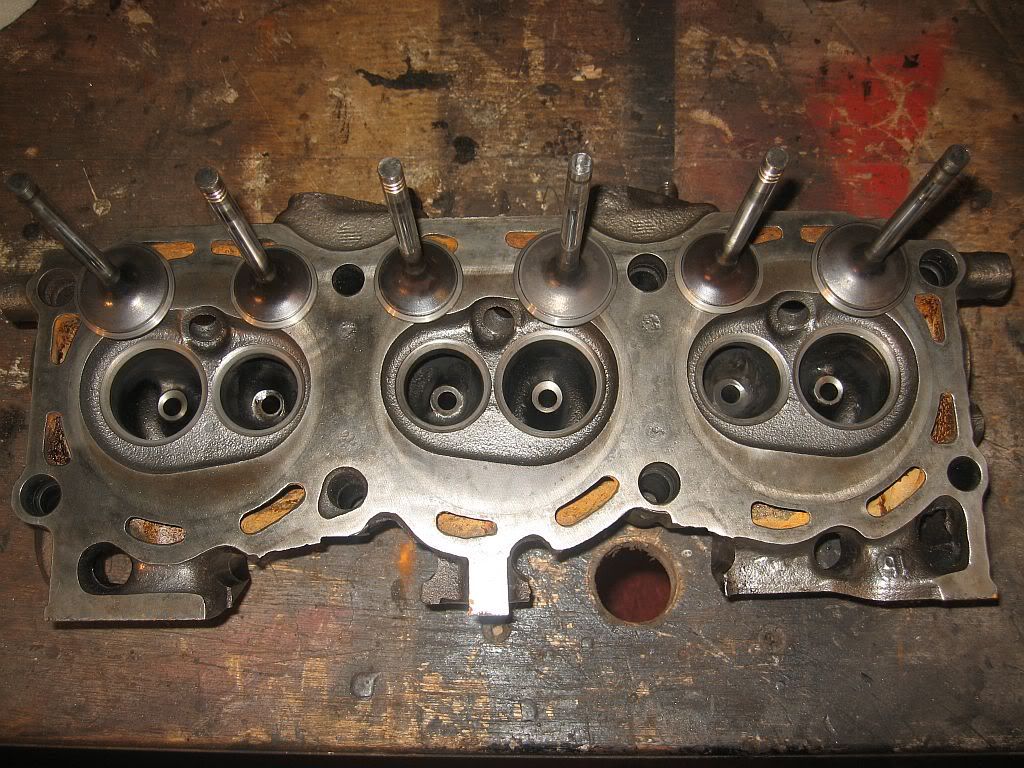
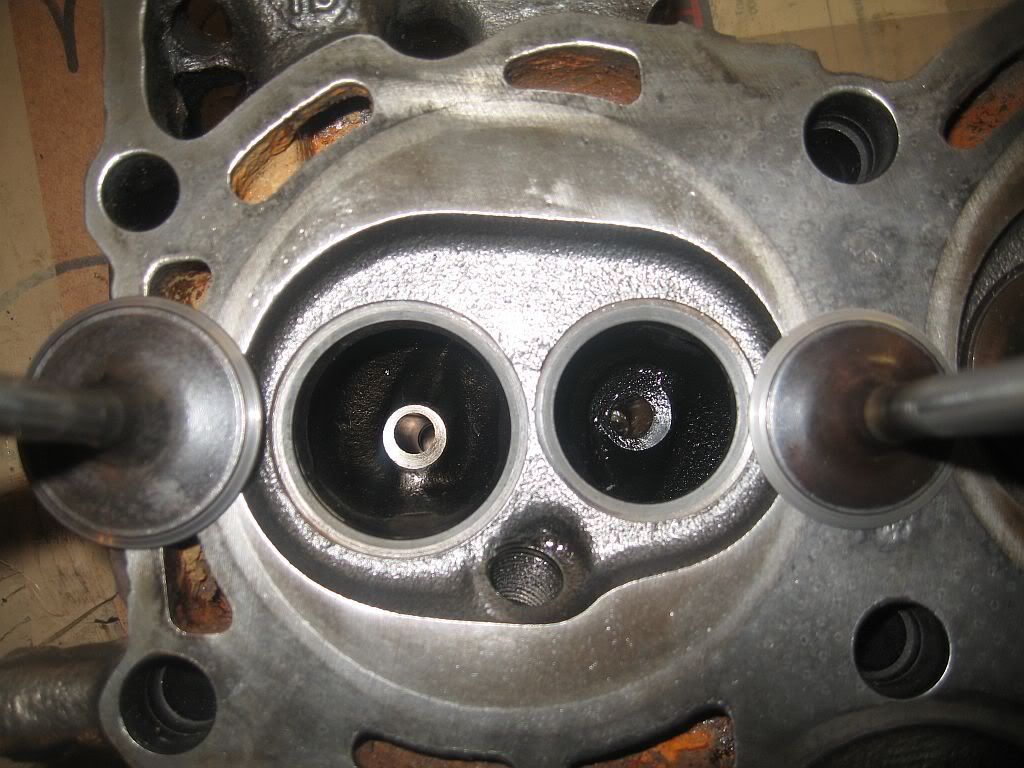
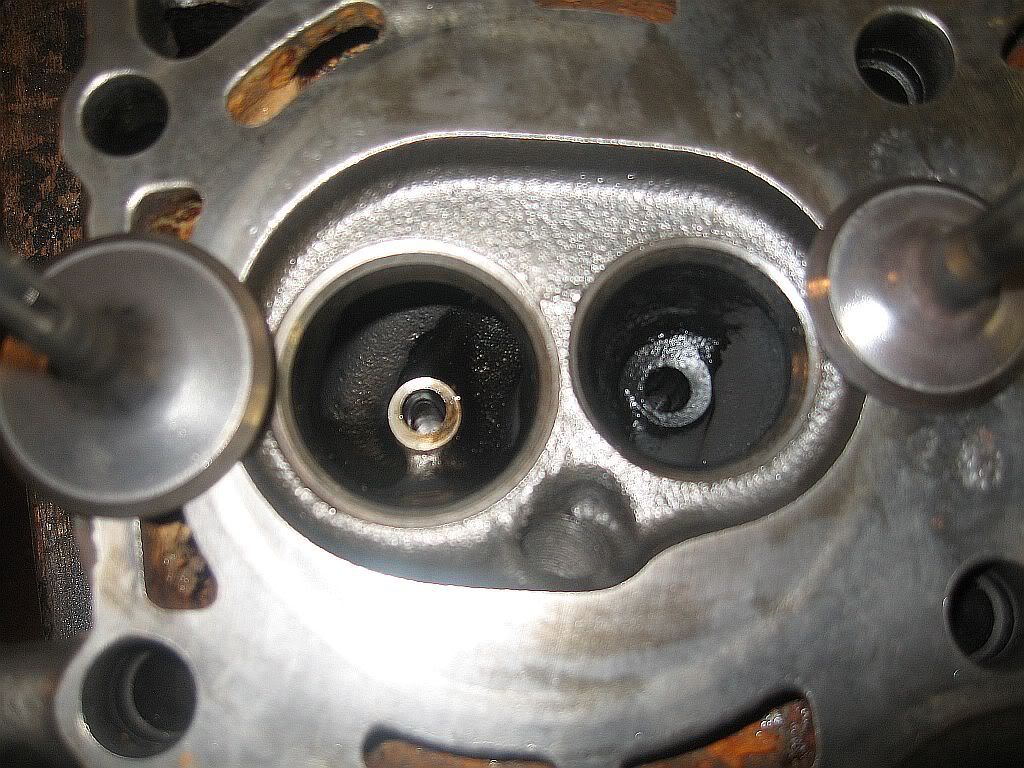
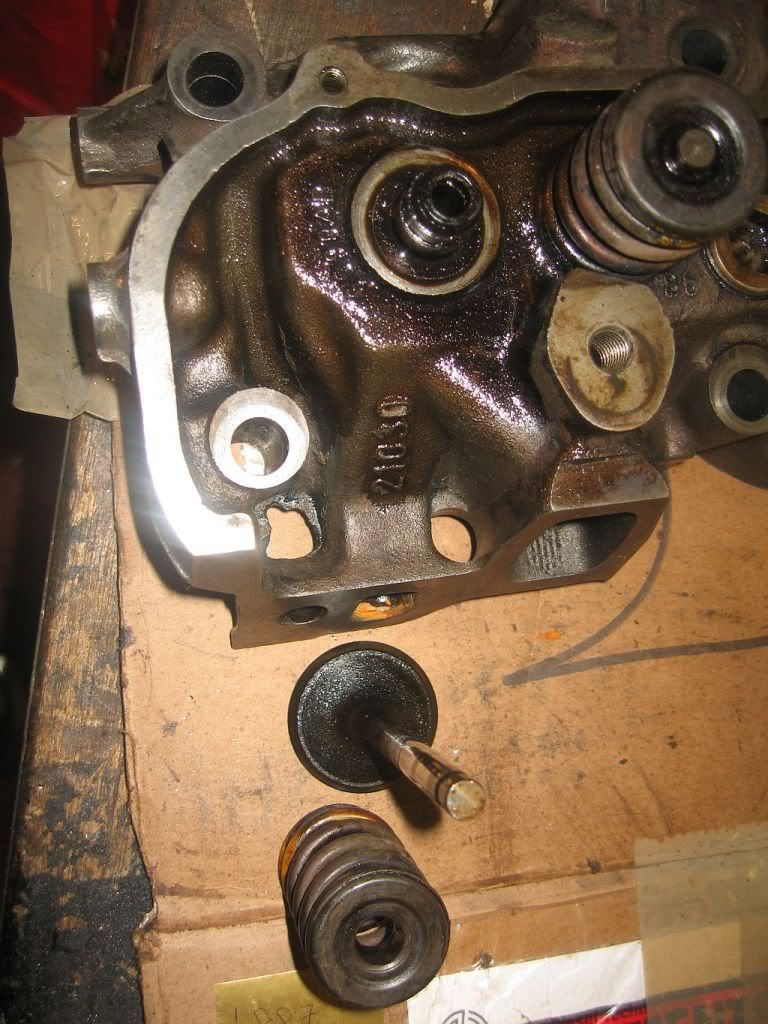
Next came one of the heads, I have to remove the valves not only to clean out the sludge but also to check for any damage to the valve seats and of course to give them a little lap. Well I'm pleased to say that there is no real damage to the seats, there is a little pock marking which I imagine is the norm for the millage.
I cleaned all of the oil off and again attacked with the wire brushes.
The photo is a little out of focus, the inlet is as you would expect in excellent condition but the exhaust has a number of pits.
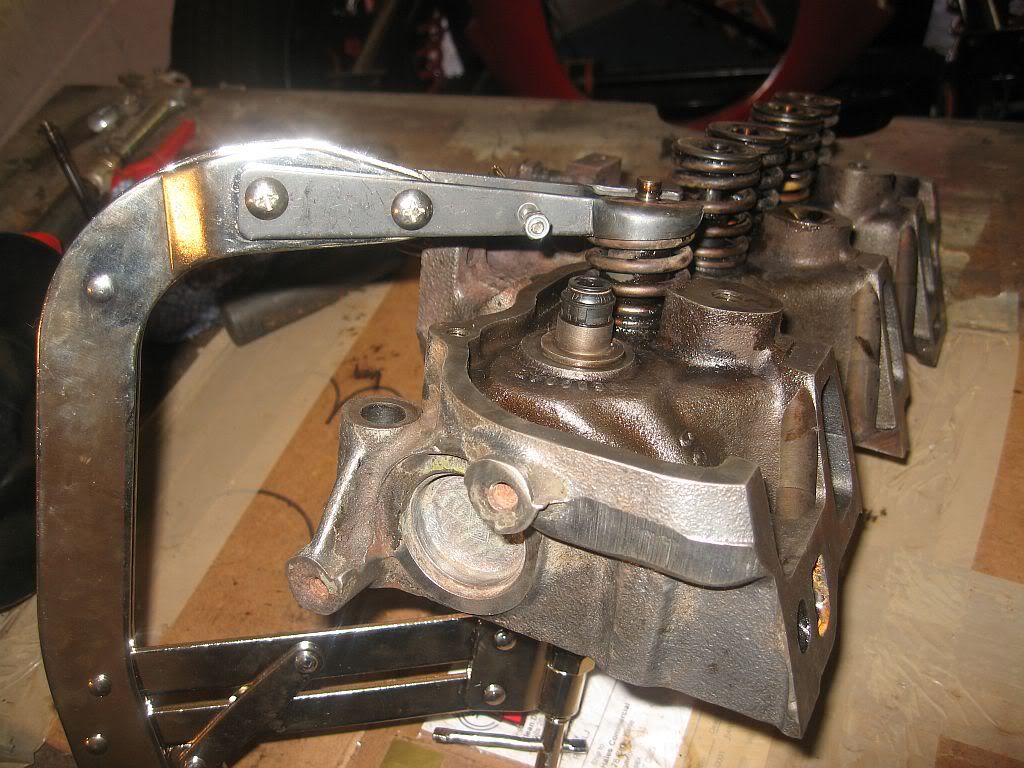
I removed the valves by compressing the springs with the special compressing tool.
This tool works on a cam type action, the head goes over the spring and the threaded anvil goes under the valve and tightened, the handle is then moved forward to close in a pliers type action. I was a bit weak for this and had to use a length of pipe to move the handle.
Once compressed the collets can be removed and the compressor removed, all the parts from each valve have been marked and kept separate ready for lapping.
You can see from this photo the oil and dirt coating the valve and spring, these soon cleaned up nice then I put them on the wire wheel and polished them.
I then lapped the valves in, the inlet just required a medium and fine lap while the exhaust required coarse, medium then fine to get a good finish.
I have only lapped one set in and shall carry on tomorrow if I get a chance.
I have a new set of rubber stem seals for the re-fitting of the valves but I am a bit unsure about the quality, I have sent an inquiry to a firm concerning a set of Payen gaskets as I have been told these are of the best quality and shall ask if they have oil seals as well before I re-build the heads.
See ya
paul


Friday, 17 February 2012

Stripping the Engine

Hi
A good day today I really enjoyed working on the engine, I do this for a living but its different when its at work and a fuel pump requires a crane to lift it and an injector has to be carried on your shoulder.
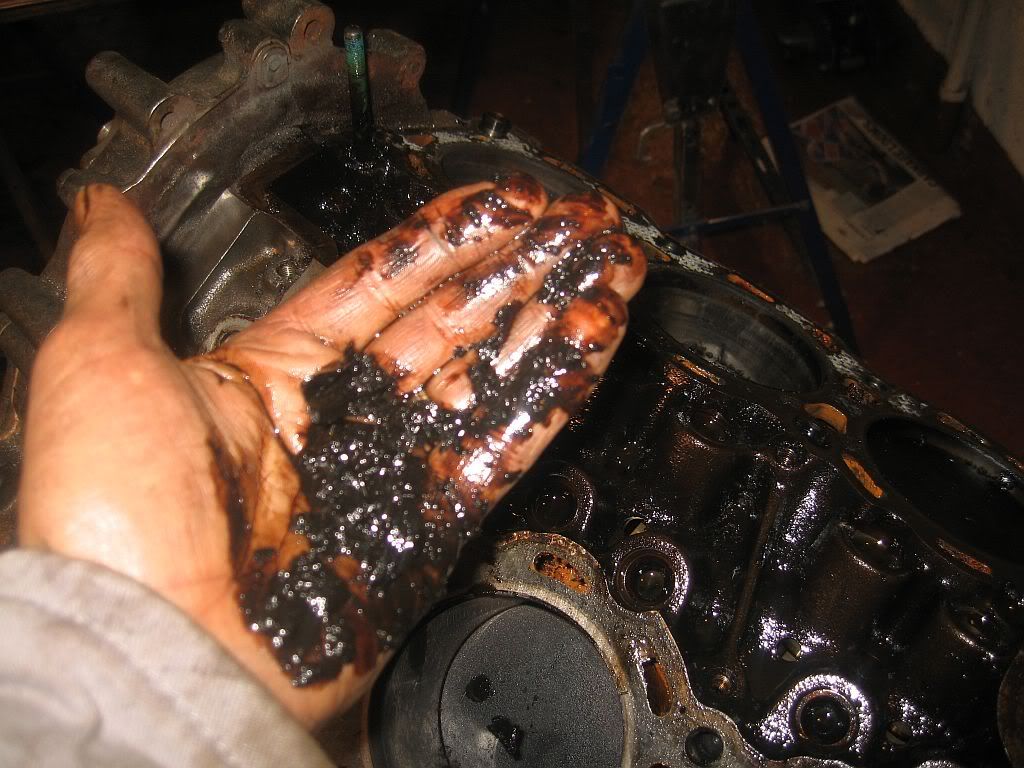
Also a lesson to be learn't for those out there who are somewhat reluctant to get your car serviced, strangely I was watching a  you tube video   I came across about not changing your oil regularly and guess what I found when I had a look at mine.
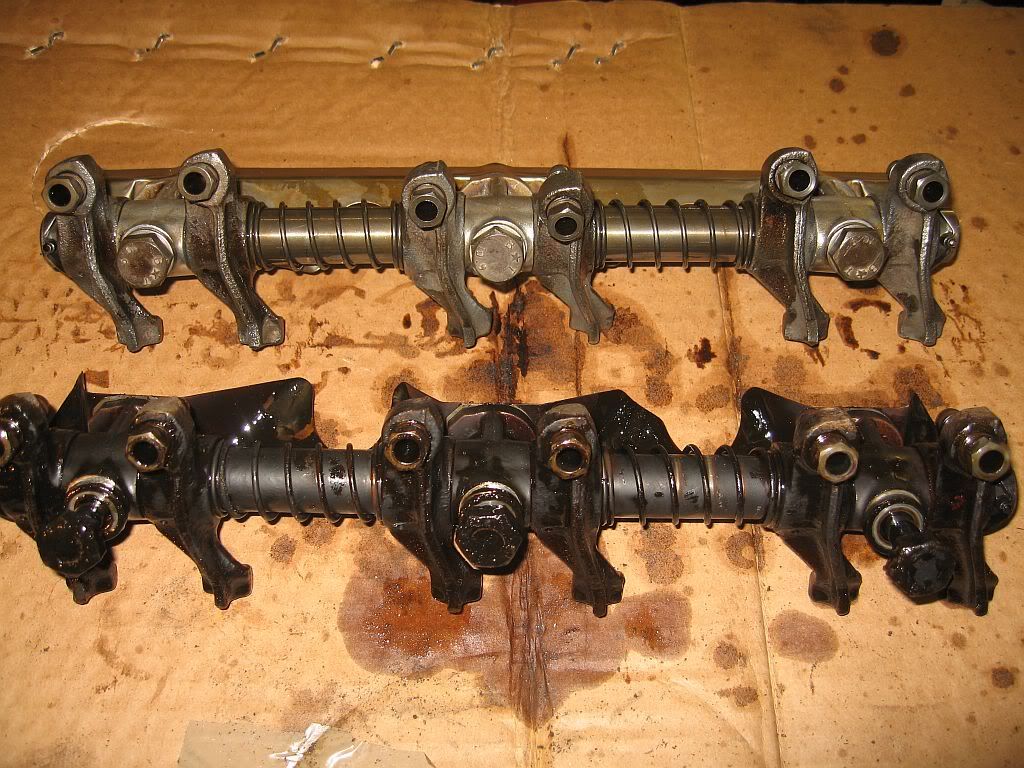
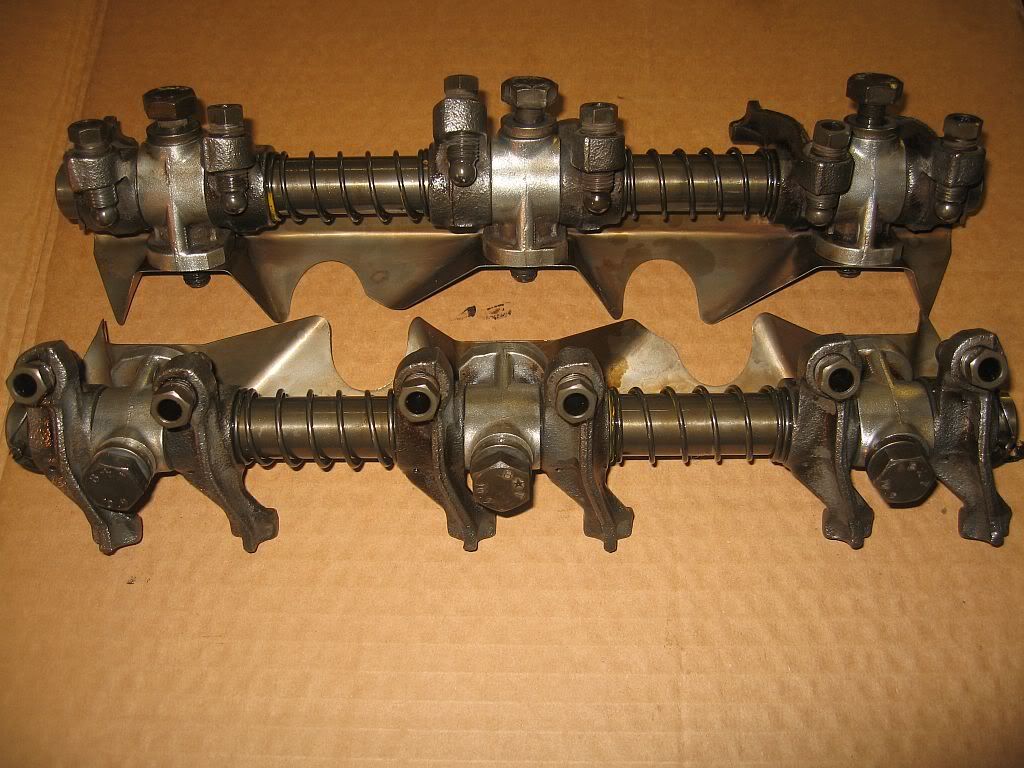
I started out this morning having to go and buy some more rotary wire brushes as I wore mine out yesterday and also payed a visit to the nut & bolt man at the flea market and stocked up on stainless nuts & bolts, got quite a collection now. I carried on cleaning the engine starting with the air inlet manifold and had this complete when I thought I'd get the rockers of and have a look inside, this is what I found.
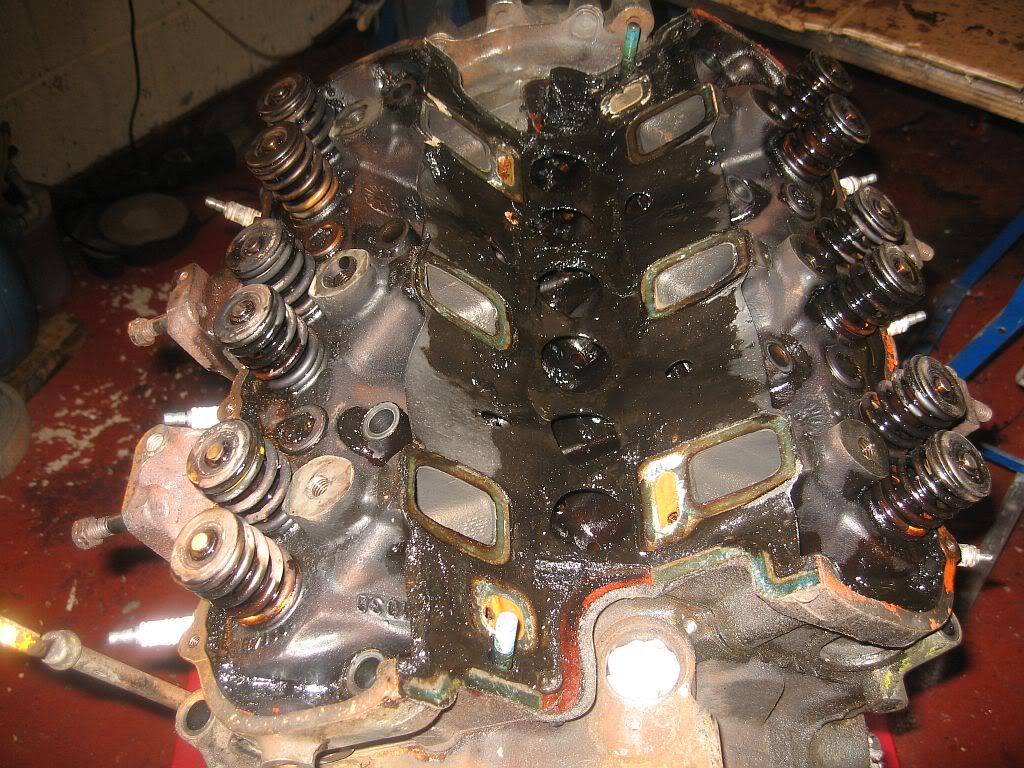
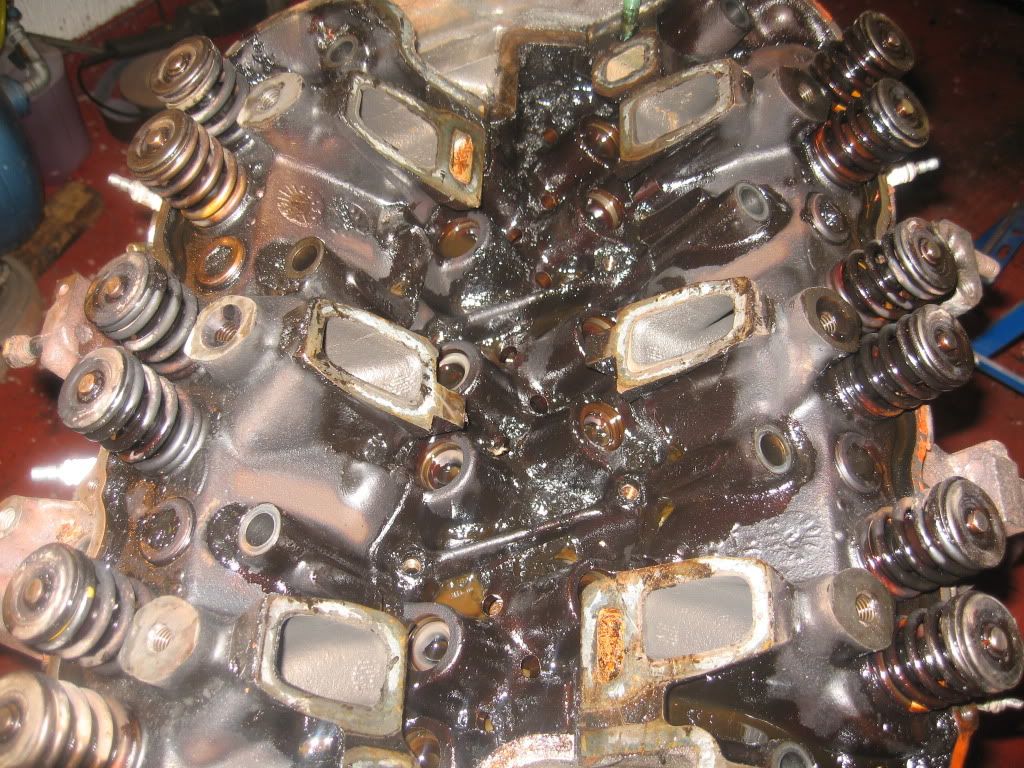
The dreaded black sludge; I guess this car has had either no oil change ever or its been a long time ago as it only has 35,000 miles on it, maybe 10 15 years ago when the last owner was keen.
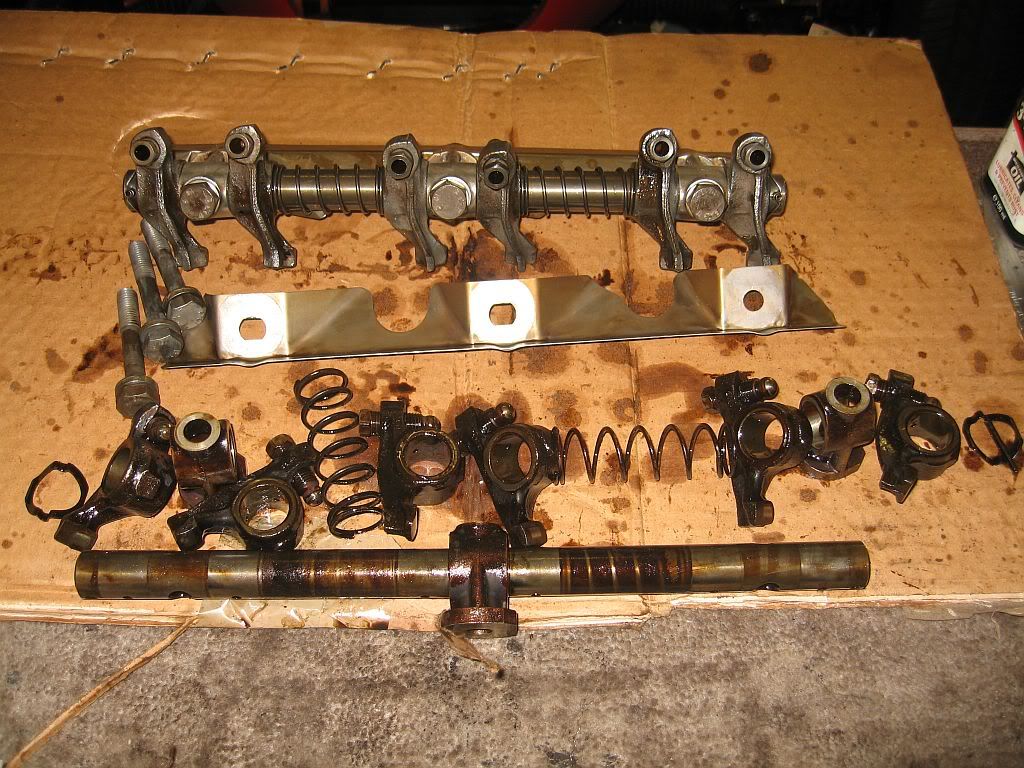
There is no way I would ever leave it like this so its back to my original plan of a full strip down and clean, it also leads me to wonder whether the last owner was diligent about the unleaded additive so I am going to remove a valve or two and check the seats. So where to start, rockers first so off they, came and got a good cleaning before putting safely away.
I stripped the first one and cleaned with white spirit and it came up nice in comparison the the other.
This one got the same treatment.
All clean
These were easy enough to strip and clean, I left the centre hold down in position and cleaned around as the Granada manual says that a groove is cut at the end and should face down for the oil ways, well there is no groove on mine. Maybe I have a later model, think I'll bin the Granada book and stick to the Capri, anyway I left the centre hold down in position so as not to lose the oil way position.
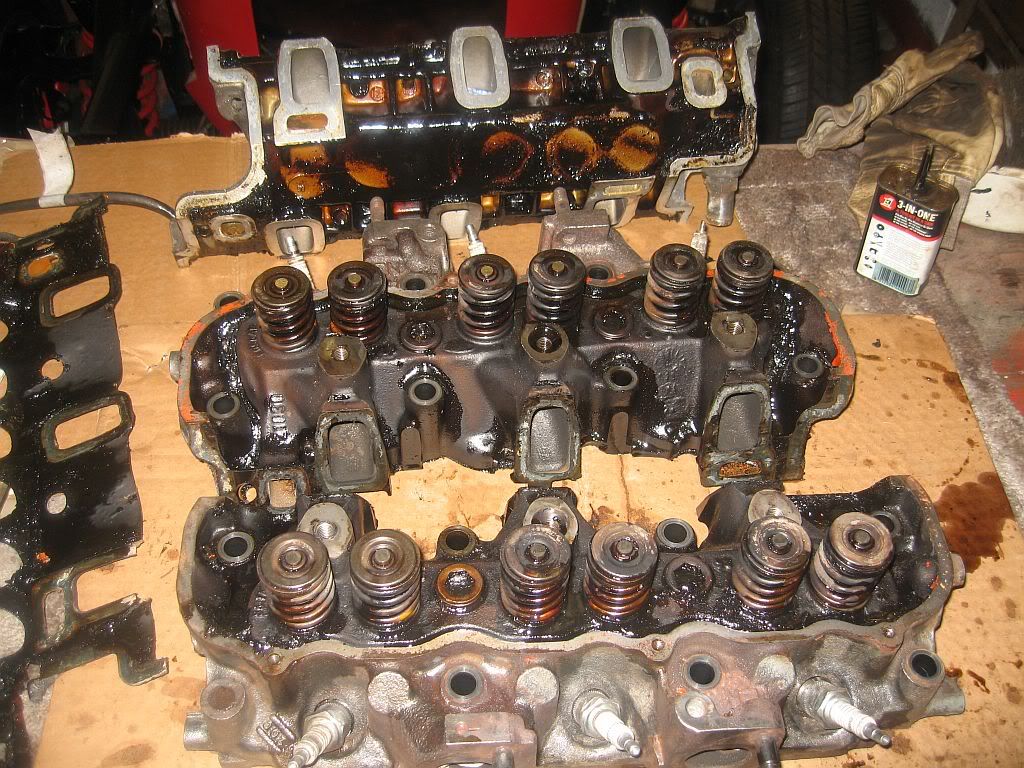
I next started on the heads working from the centre out I broke the torque on the head bolts and removed all of these, I then removed the air manifold bolts and nuts and was ready to lift. One problem that I had is that the engine stand is bolted to the bell housing holes, which is the only place it can go, unfortunately there are 3 clutch positioning pins that stick out of the fly wheel which prevent the engine from turning more than a few degrees either way as they hit the stand off. To remove the distributor I really should have have unit #1 at tdc but I can't turn the engine to get it there, the other problem I have is that the timing plate with the engine markings on is so badly rusted that there are no readings (just bought a used one from eBay) so it would be difficult to find where #1 tdc is. So I had to remove the distributor without it being in the correct position which I imagine will cause me all sorts of problems later on.
Once all the bolts were removed I took a large screwdriver to the corners of the heads and lightly levered until the seal was broken

 The air manifold lifted straight off
 The gasket was well stuck but a large knife slide around lifted it off.
Lots of sludge in the corners.
The heads came of next
On close inspection its not just black oil deposits but the waterways are also partially blocked and I bet the oil ways aren't much better.

So a lot of work ahead to get this mess cleaned up and a lot of learning, I shall buy a spring compressor tomorrow to check on the exhaust valves and see if there is any damage, I have a full gasket set already bought so no problem there. The main problem is getting the engine to turn, I may have to get the crane out again to take the weight while I fit spacers as I doubt I'll be able to remove the pins inserted in the flywheel but I'll give it ago.
See ya 
Paul
Thursday, 16 February 2012

Stripping the Engine

Hi
Today been all about cleaning the engine and removing parts, I started at 0830 and finished at 1700 and I reckon there is still a day or 2 left.
I started with the oil pan, it was pretty thick down in the depth's but once the heavy was removed and a good spray with thinners soon had it all clean. They was also a fair amount of rust on the flange area which should not be there, I cleaned all of the rust from the flange with a wire wheel so it should seal well. I still need to remove the flange strength bar that runs under the flange and is kept in place with knock over tabs. I had already bought a set of upper and lower gaskets, but I can see by the quality of the one that's on that the ones I bought are not of sufficient quality to go back as the sump gasket is in 4 pieces as opposed to the 1 piece rubber that's fitted. I have seen the rubber one in the Burton's for around £25 plus p&p, I originally said no chance at that price, but I don't want to have to remove it again so I'll bite the bullet.
The sump pan went back on before I started cleaning as the inside's are bad enough and don't need any more dirt inside.


I think because of the state and the long time it been sitting in the gunk I may remove a couple of the bearing caps and check the shells as I remember on the tv program A Jag is reborn that the bearing were damaged by acids in the oil after sitting for a prolonged period.
I am very pleased with the engine stand and I now realise that there would have been now way of doing it without the stand although it is very hard to turn, I would have had a smear of grease on the turning part if I had of realised.
I started on one side and removed the exhaust manifold, I managed to remove 1 nut with just the impact wrench but the other 3 would not budge even with heat applied so I had to resort to a chisel to split the nuts, even then it took a lot of persuasion to get the manifold of its gaskets.
Once of I got stuck in with the rotary wire brushes.

This was the really bad oily side and it is coming up very nice, when this was done I turned the engine and repeated on the other side.
The removal of the viscous fan took a bit of a effort, the Haynes manual for the Granada had every fan in apart from this model but I found it in the Capri manual, this fan has the temp controller fitted and instead of 4 bolts at the front, it has a concealed nut at the back. Unfortunately it is very difficult to get at without the correct spanner which is 32mm or 11/4" and only 5mm thick, you can fit an adjustable by removing 2 of the pulley bolts but the spanner still won't fit as the remaining 2 bolts won't let it slide in as the gap is to small. So I took my large adjustable to the grinder and made it fit, a couple of good whacks, remembering its a left hand thread and off it came.
With the fan off I was able to clean up the front of the engine.
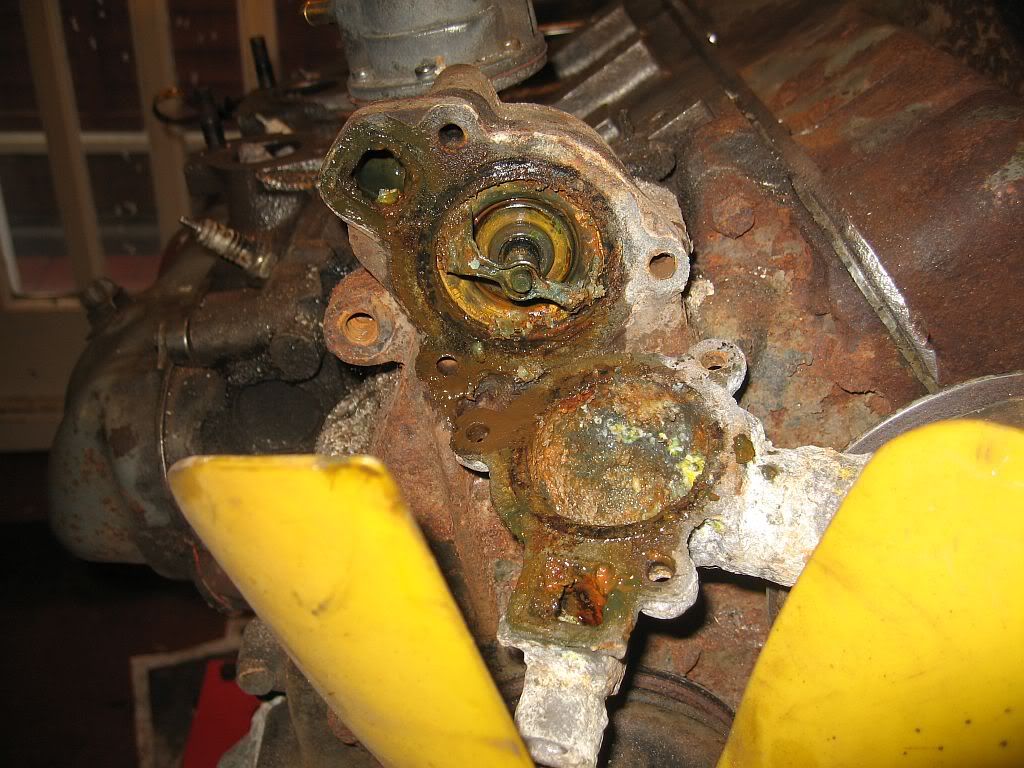
The water pump connection was removed and the thermostat housing, this was in a pretty bad state.
Somehow I don't thing this will have worked to its optimum performance, I need to look at the pump next and see what condition this is in, they are plenty of these available so no problem sourcing one.
Plenty to carry on with in the morning, especially the 3 sheared bolts that need drilling & tapping and who knows what else.
See ya
Paul