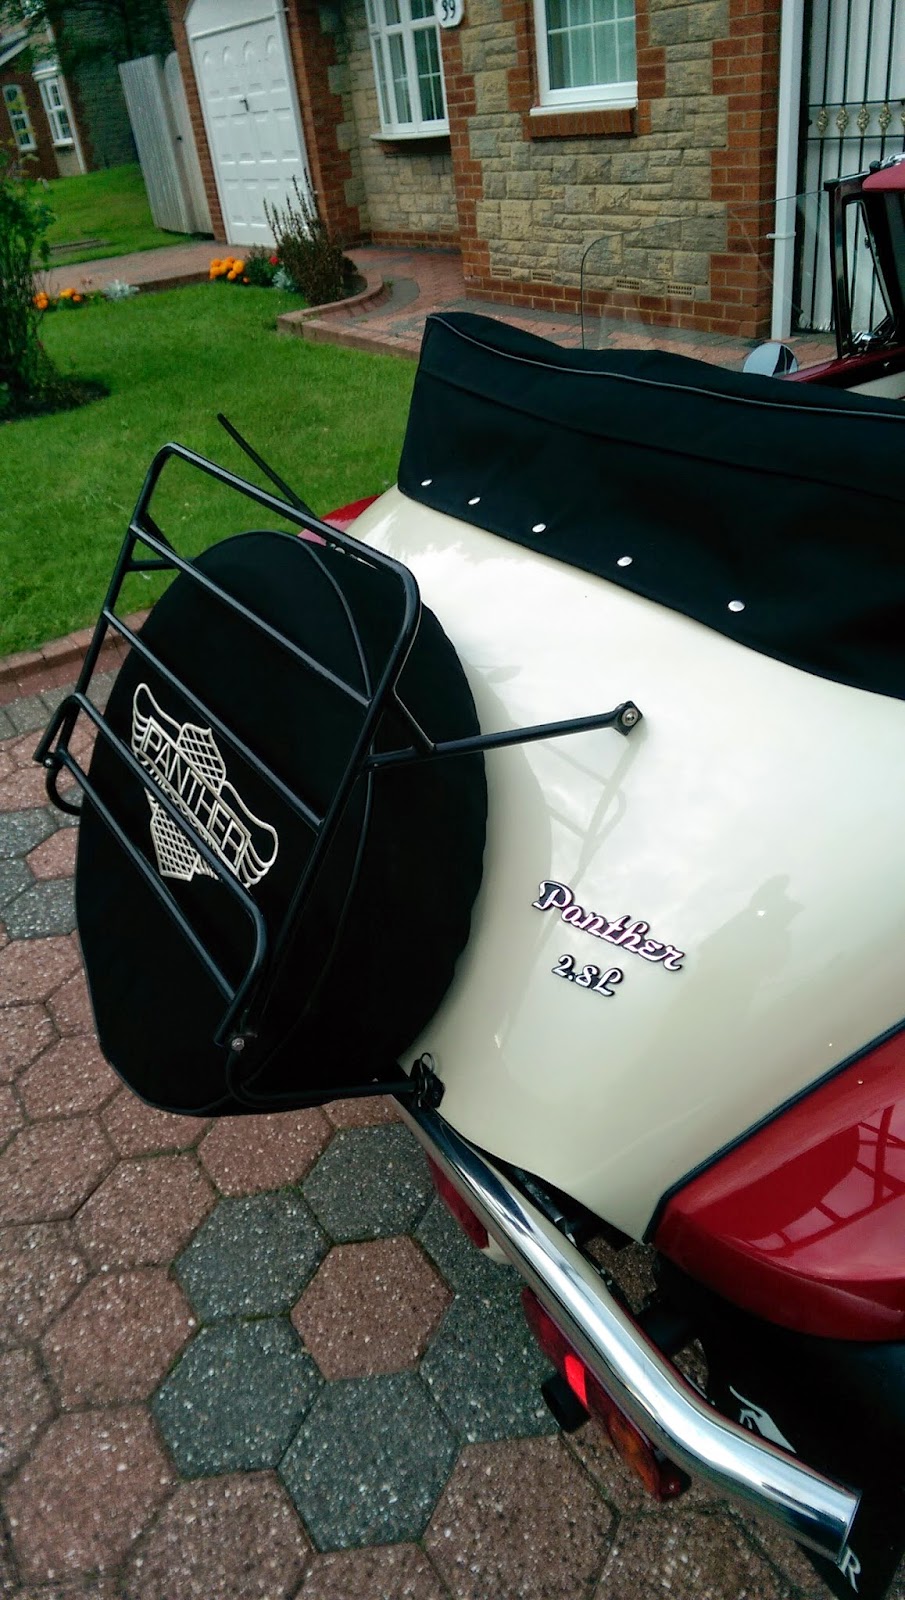
Saturday 16 August 2014

New Aerial

Hi

Just an update before heading off to work on Monday or Tuesday for another month.

We have been away for a little break to Appleby in Cumbria and stopped at the Manor House Hotel, the break was supposed to be the first outing for the car but unfortunately the weather forecast was pretty bad due the remnants of Hurricane Bertha hitting the UK. So we decided not to take the Panther as I had not finished sealing in places that I thought were in need, mainly because the sealant hadn't arrived in time.
Anyway the weather wasn't as bad as predicted and we still had a nice drive around a very packed Keswick, Ambleside and Lake Windemere in the Lake District.

On arrival home my parcels had arrived and the part I had been searching for for quite a while and that was a new aerial, the one I had fitted was a Rubber Duck and just did not look right, especially as I took a pair of scissors to it and cut it down in size.

The problem with finding the aerial is that not many are on sale with the base, lots and lots of bee stings out there but are just the aerial stick ready to screw into the base already on the car, I wanted the whole thing.

I finally found one while searching through eBay

It was reasonably cheap at £15 which is not bad seeing as it is for show only but the downside is that the chromed area is on mild steel which we know from experience will not last all that long.
To try and preserve it a while longer I stripped of the rubber and covered all of the metal area in wax and replaced the rubber then once fitted I waxed the upper chromed section, should last a few more years before changing.

So out with the old and in with the new, it can also unscrew from the base for when the cover is on.

The main worry when buying blind is that the angle may be out and it would stick out of the side somewhere but it is perfect, the booklet says it is at 52.5 degrees which I guess is just what was required.

The sealant also arrived and is a RTV sealant adhesive used on fitting sunroofs and the like.
So I got at it sealing everything I could, the main problem areas when I bought the car where around the leading edges of the doors under the quarter light seals so apart from the masses of wax oil that I sprayed in that corner I have now sealed the entrance area. I did try this when first fitting but soon found that the fluidness of the sealant allowed the rubber to be squeezed out instead of being trapped and compressing down between underside of the quarter light and the door. So it all had to be cleaned before fitting dry.
I have also sealed under the windscreen rubber and frame sides plus the step rubber separators, in fact any damm thing that got in the way of the sealant gun got a good squirt.

We have had a good run around the coast and have mostly emptied the tank and what a thirsty car this is, I originally filled with £50 of fuel and topped up at a quarter tank with another £40 to bring it back to the full mark and have only done 120 mile. With the difference in price of the original fill to the second fill I am getting around 20 mpg which is around 8 mpg short of what I should be getting so I think the carb requires a little more fine tuning as at times I can smell a little unburnt fuel in the air when pulled up and as there are no fuel leaks it must be from unburnt fuel in the exhaust.

Still its a great drive with plenty of power on tap and is a totally different drive from a modern car.


Not much more to do with the car apart from tuning which I shall take to a carb specialist when I can find one locally, then look at a twin exhaust and possibly wires but they are for the future.

Back to work for a month

see ya Paul


Friday 8 August 2014

Rear View Mirror

Hi

I had a good drive around this morning before taking the car back to the garage for the wheel tracking to be checked against the work I had done and very pleased I had.
Tony set up his gear.
and straight away found I was toed in by 1 1/2 degrees so he set to work adjusting the track rod end distances.
He set it up perfect but the wheel was still a little way out so he took it on the road then pulled up to make adjustments until the wheel was straight then completed the setting up back in the garage on the machine. I am pleased to say the tracking is again perfect and the wheel is centrally set up.

Another problem that was highlighted during the MOT checks was the speedo flickering and a trace of an oil leak from where the speedo cable enters the gearbox. I got under the car last week and had a look and saw that the problem lay in the internal spring circlip I had fitted, the original clip had disappeared during the restoration into a black hole so the one I used was not the original and it appears was not the correct thickness.

When I got under I realised immediately what the problem was as the cable wobbled a bit as the circlip was not pressing in hard enough so while at the garage I begged a circlip from Tony and fit in place along with the other. It took a little work to press it home but now the speedo cable is nice and tight, hopefully no more oil leaking, even if its just a trace.

Another job I got on with today was my version of the rear mirror modification, I know that there are a lot of mods out there as unless you are 6 foot 6" it will be very difficult for anyone to see over the hood cover.
I looked first of all for a new adjustable mirror on eBay with no luck so I bit the bullet and cut mine.

I started by removing the mirror
and then separating apart.

The idea is to make the mirror sit higher in the car which means reducing the length of the leg.
I masked of the leg and put some marks on to get and idea of how much material to remove.

I decided on the shorter of the two distances although both would have worked.

I used a air saw and cut the piece out.

I discarded the middle section and drilled a hole in both pieces as centrally as possible.
I then screwed in a self tapping screw in one side and cut the head of the screw, a little grinding to remove the thickness so to allow it to enter the other hole.
I test fitted then when happy I removed and filled the hole with super glue before putting back together.
The match was pretty close and with a file I got a nice finish, then a spray with primer.
and a couple of coats of silk.
I have only removed about 25mm from the leg but hopefully this will give me a better rear vision.

see ya Paul

Thursday 7 August 2014

Mud Flaps

Hi

Bit of deja vu today, I had managed to deface the rubber paint on the mud flaps while trying to remove dried on polish spots, I should have cleaned them as soon as I noticed them but typically I left them till later and after a couple of month they weren't going to come clean without a fight.

Unfortunately or should I say stupidly I used a scouring pad which also took of the white rubber paint, O well got to be done.

I jacked up the car and removed the wheel to access the rivets and removed the flap, then cleaned up with sand paper to remove the rest of the logo and scrubbed clean with detergent and a scourer. I then flashed up the computer  and vinyl cutting machine then made up some more templates.

Not easy to see as the material is transparent, I masked up the area and instead of using my air brush as I did last time and had a hell of a job cleaning it I decided on a small roller.

A couple of runs over it drying with the heat gun between coats and it came out all right'ish, not as good as the airbrush as the edges have a little run under, still not bad.

I have at last found a use for the fancy number plate bolts I bought (apart from the number plate) and that was to secure the mud flaps in position.

It now looks as good as it did before I messed up.


The opposite side didn't have the same damage but I still removed it to fit the bolts and during its clean up I decided to sand off the paint and start again.

Its a lot cleaner now and looks a lot fresher.

I also had ago at getting the stereo amplifier to work with my Pure DAB receiver and I was more  than a little surprised when it worked on the first plug in. The pure is designed to work by transmitting the DAB signal directly to a channel on the car radio but it also has a auxy out socket which I used and music started blasting out straight away. Planet Rock of course.
I have the aerial attached to the windscreen and have tucked all of the wires away neatly so I now have music.

I am booked in back at the garage tomorrow to have my tracking checked again, as I mentioned before, the steering wheel was out of centre when I received it back from the garage, it is now centre again as I disconnected the steering column from the rack.

I then straightened the wheel and reconnected.


You can see the rubber boot I fitted when first working on the car as the steering rod knuckles are very susceptible to seizing due to being open to the road dirt and water, a couple of universal boots fitted with a good amount of grease will keep them good for ever.
Anyway, the steering wheel is straight and the wheels look straight not pulling to either side when driving but I want to be doubly sure after working on it so in it goes again and this time I shall be there so I can see how its done.

See ya Paul

Wednesday 6 August 2014

Waxing and Polishing

Hi

Been home for two weeks now and busy as hell, but its been on decorating the house and not the car, but have managed some time and have spent the last 2 days on the car.

I have taken out my insurance through Lancaster and still had the agreed valuation document to send off which of course requires a bunch of photographs taken as proof so lots to do on the bodywork.

I had booked the car in at the paint shop for Monday to get all of the chips I hadn't fixed and for a machine polish, I was also not happy with the paint job on the back of the car in certain areas so had that re-painted.

I was given Rob to work on the car for the day as they where waiting for new equipment to arrive and where having a training day. 

But first Ant had a little drive.

The main chips where from fitting the windscreen, no matter how careful I was I still had a bit of damage, surprisingly 3 of my efforts past Robs inspection and the one on the front wing just needed a machine polish and got 9 out of 10.

This one I had not attempted.
Rob soon sorted it.


This is the one I worked on but I had rubbed through the lacquer onto the base coat.
It just need a fine keying before re-spraying.


The other main damage occurred while it was being worked on in the garage for its MOT and was a little more difficult as it ran through 2 colours.

I have started rubbing down in this shot but it had to go right back.


The other main section was the back end, I had put a few scratches in and unlike these small isolated areas most of the back would have to be done so we started by rubbing it back, I stripped most bits off and masked the others.
Rob got to work, it only needed a couple of coats of the base then the pearl on top.
Difficult to see a difference until the lacquer is applied.
Then the heat lamps.
All lacquered then the whole car was machine polished.
Anyone who has been in a paint shop knows that it is a major clean up afterwards and so it was for me, I spent over 6 hours yesterday cleaning the dust and dried polish sprayed all over, the car may have been masked but it still got inside.
So even after a machine polish I still went at it hand polishing with fine finishing compound and got into all of the edges that the machine could not get at, then with a battery toothbrush I removed all of the dried white powder between the rubber piping and the body.
The polished stainless steps where in a bad way so got to work with the metal polish.
Once all polished I worked on it with the G3 wax then polished all over.
The engine bay and new scuttle also had a clean.
I took a load of photos and have sent these off for the valuation, I am a bit unsure of what to value the car at but got a better idea after a talk to Val Bridges chairman of the Panther car club who said that valuations of the Panther mark values are being looked at and not to value to low. I'll see what they come back with.


I had been using the red hood cover that came with the car and it looked quite good but Ray had made me a lovely mohair hood that I just hadn't got around to fitting.
Before fitting I had to attach the buttons and elasticated clips.

Thankfully Ray had marked the centre so it was just a matter of positioning the hood and marking of for the first button to be fitted.

I had also bought a new anvil set and button fittings in preparation for the hood.
The first one was fitted then I positioned it each time and worked my way around.
I had also bought a metre of elastic and sewed this to the original clips.
I missed out a button on either side just under where the hood folds over as this would have pulled the cover out of shape.
It certainly looks good, well made Ray.
Mostly done now although I still have the mud flaps to remove and paint again as I messed one of them up trying to remove the dried on polish spots. 

see ya Paul