Saturday 24 November 2012

Body Work, Stainless cover

Hi
A quiet few days with not a lot done, mostly because I have been waiting for the wing piping to arrive and after calling them I found out the order had been put in the wrong pile so it wasn't processed, and the weather has been to wet and windy to get the car out of the garage. So not quite as much done as I was hoping but still a little progress.
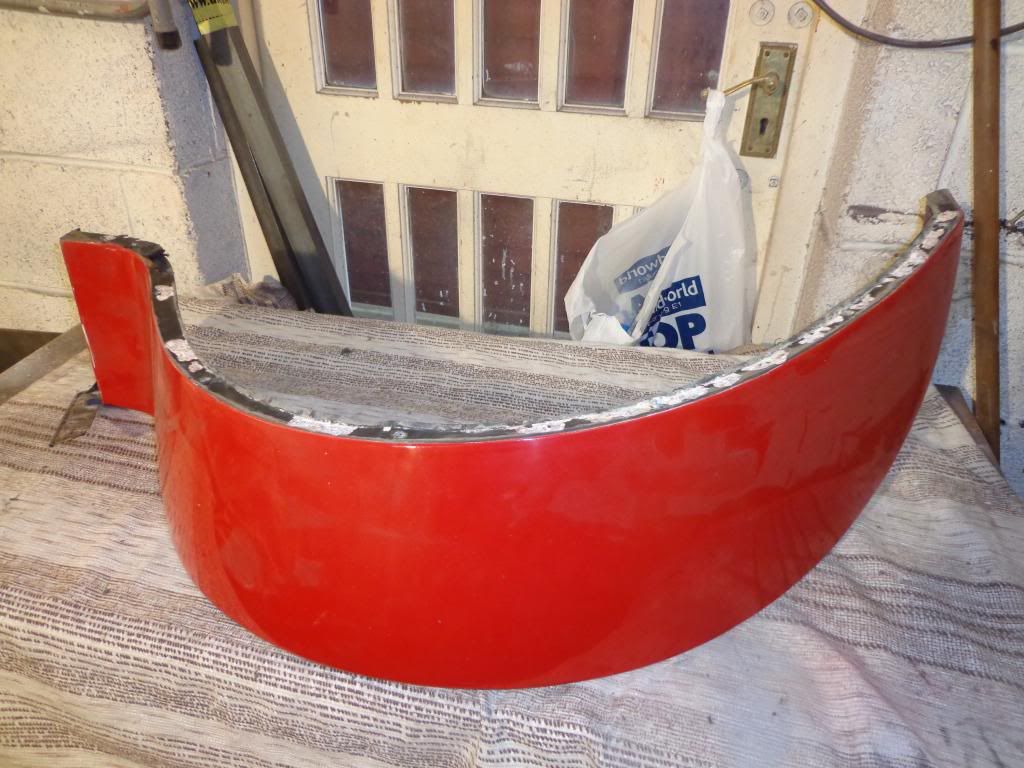
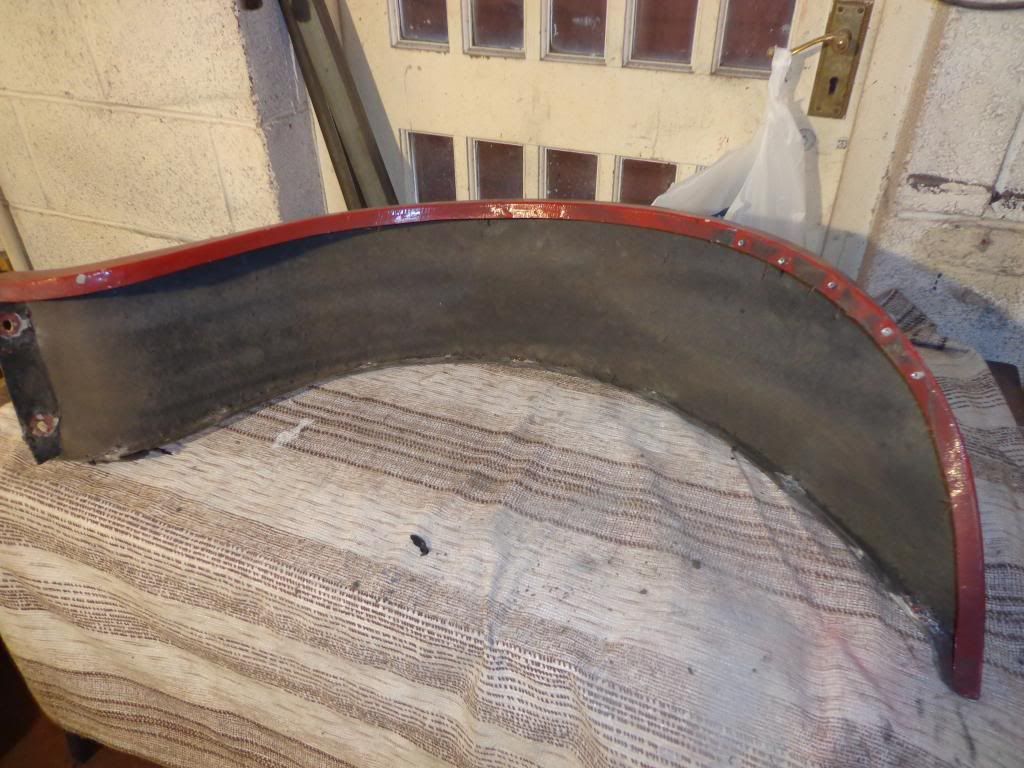
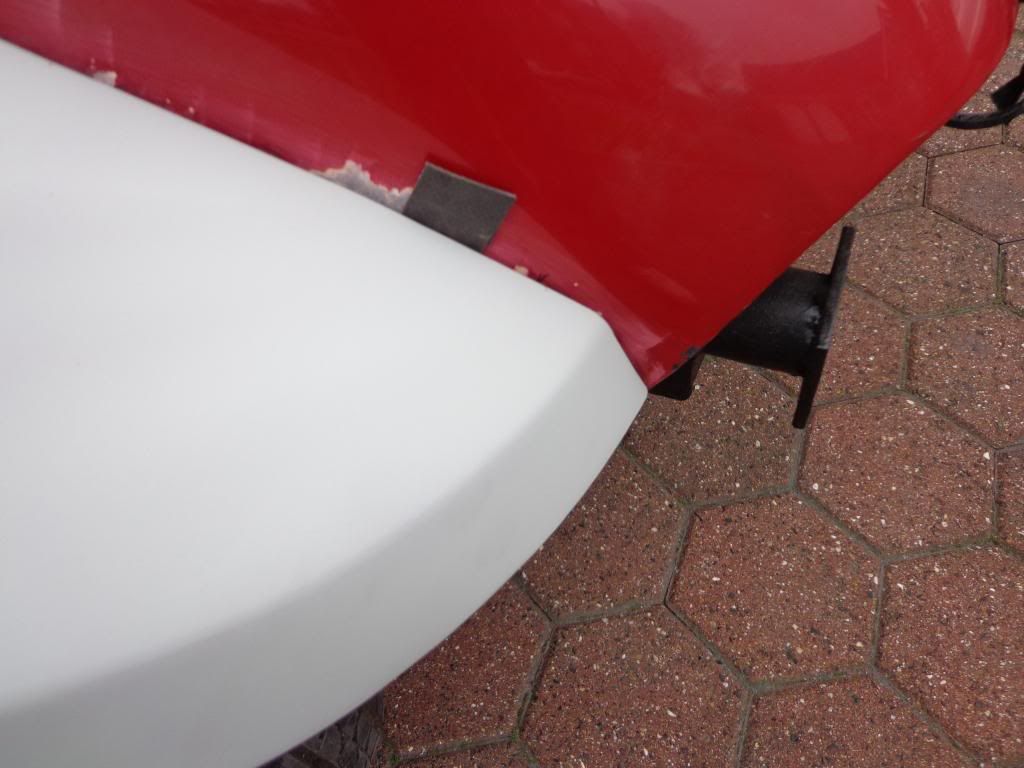
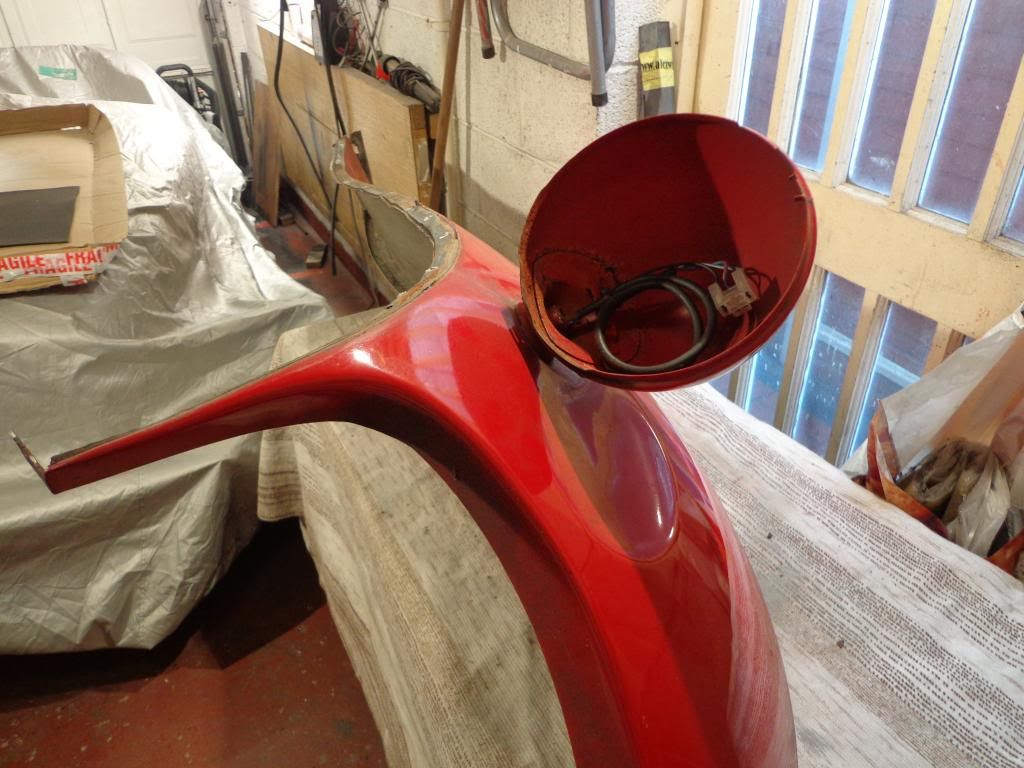
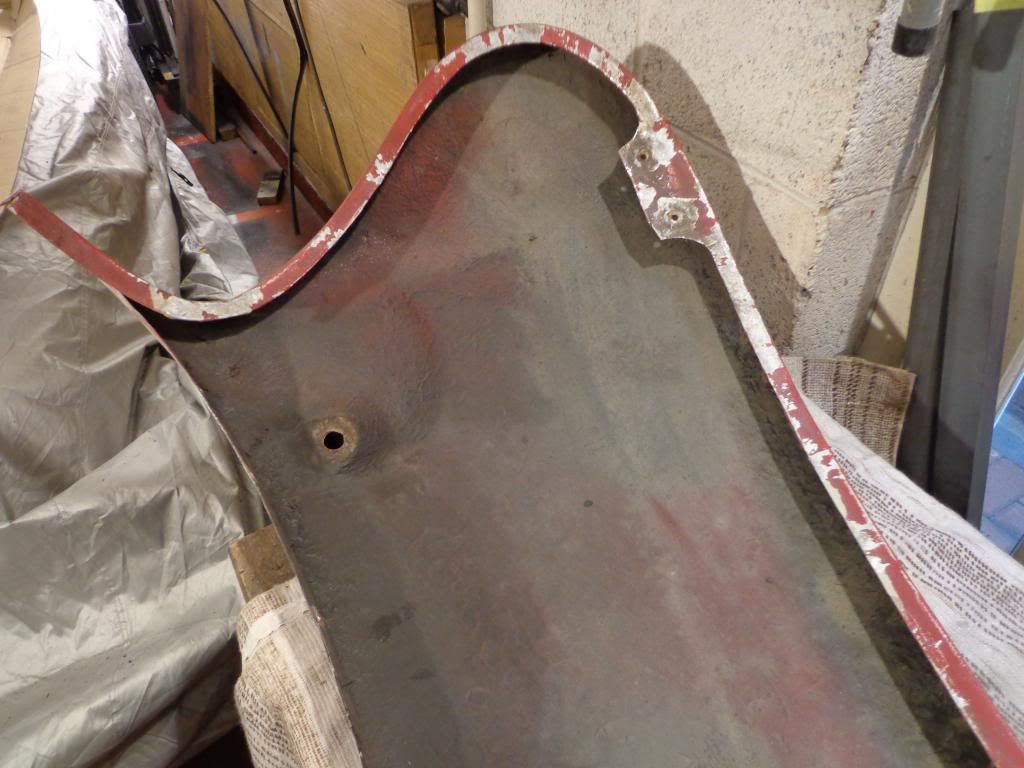
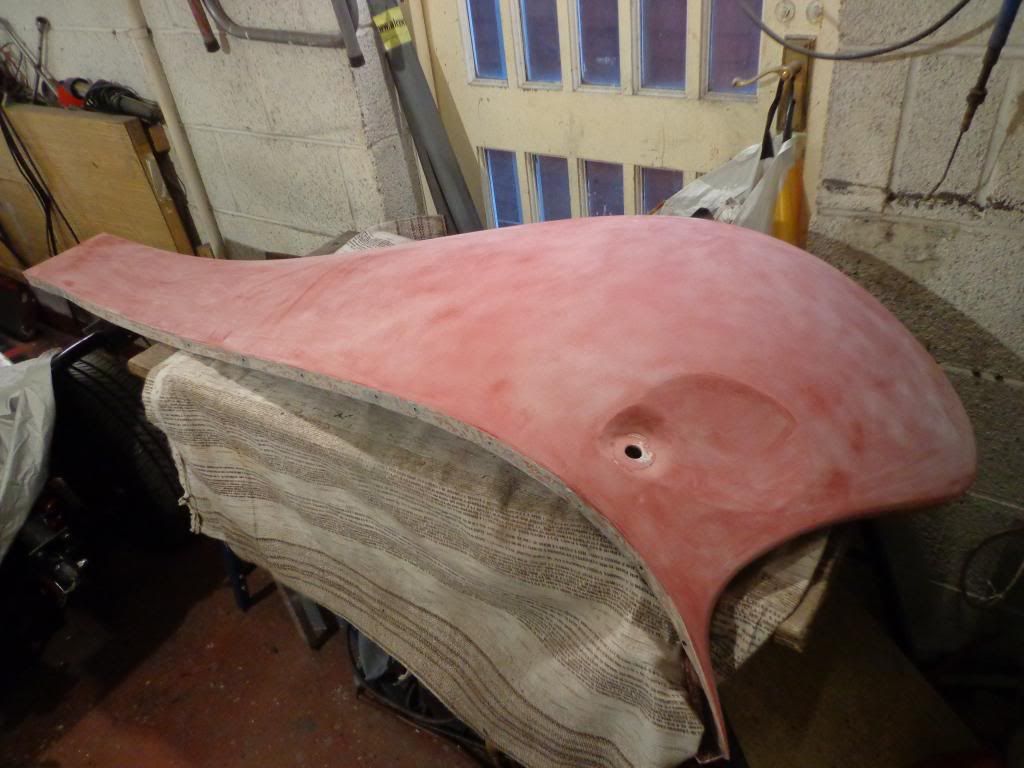
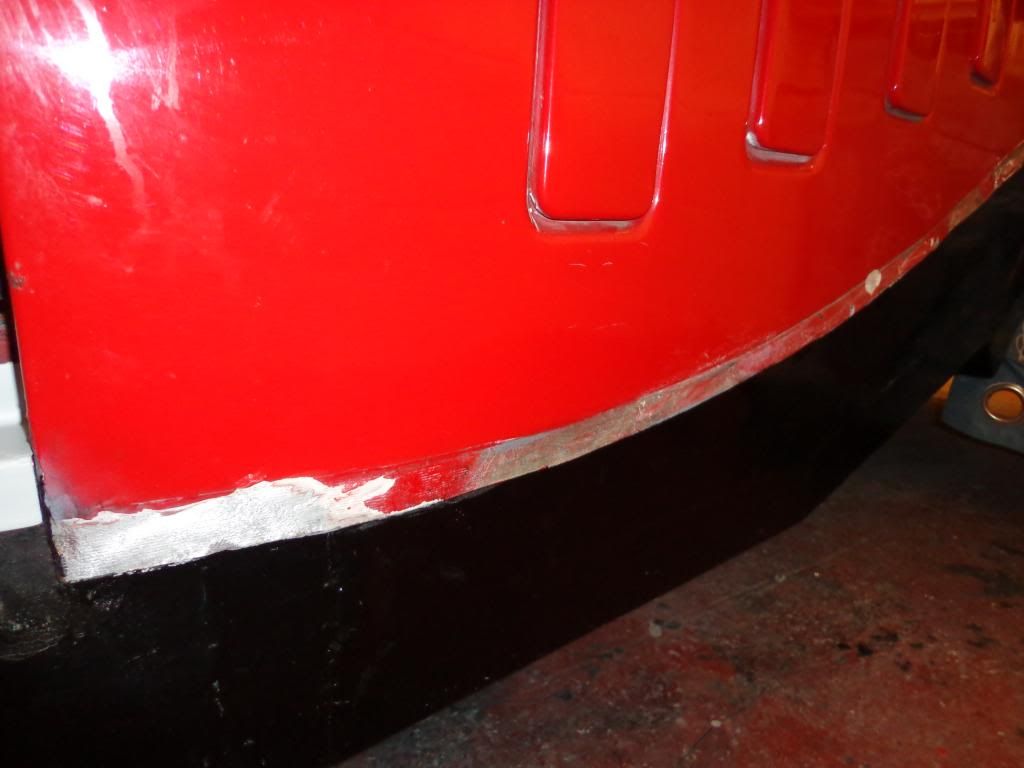
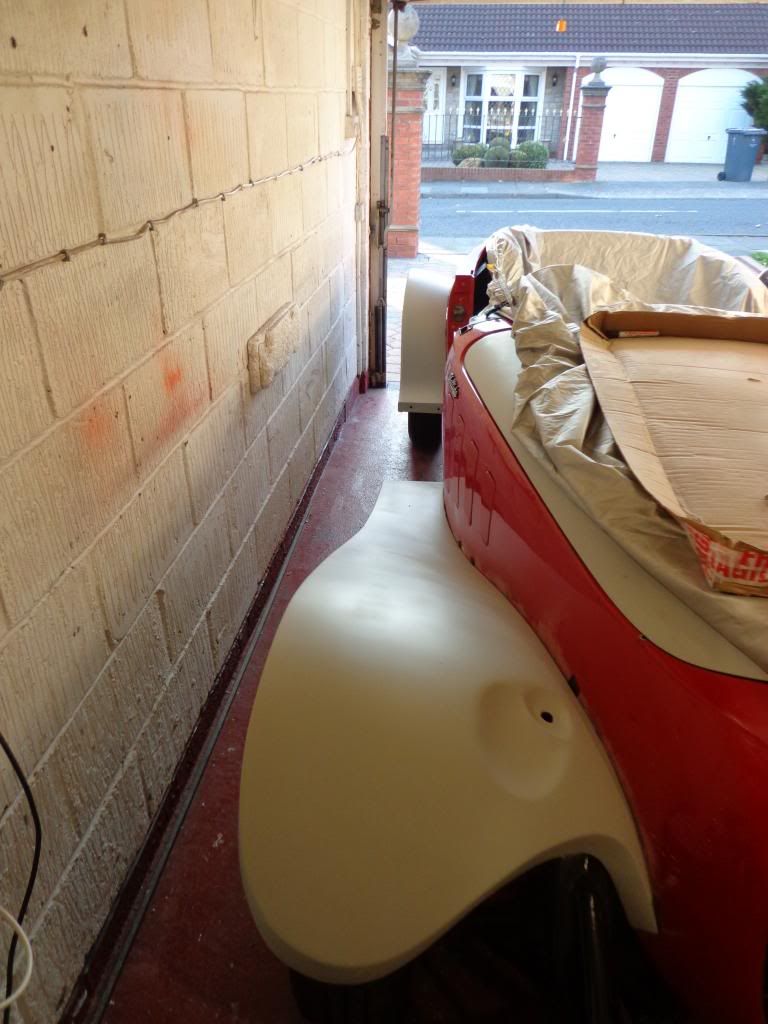
First my apologies to the builder of my car, I said that the drivers side rear wing was badly fitted being a little shorter than the passenger side; well after going through the old paper work I found the receipt for a new rear wing.
Not only the wing but a rear bumper, tail pipe and silencer so it looks like back in 88 someone had a little ding, either rear ended or reversed into something. I must have read this when I first bought the car but completely forgot about it, So Mr Panther builder my humblest apologies. 

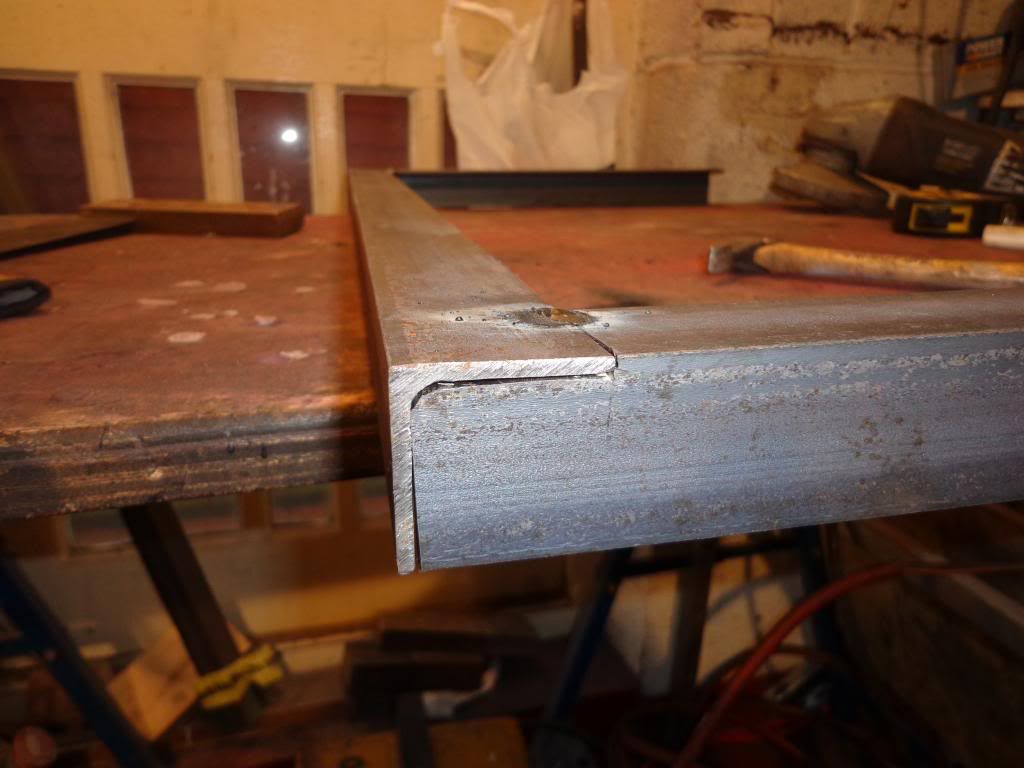
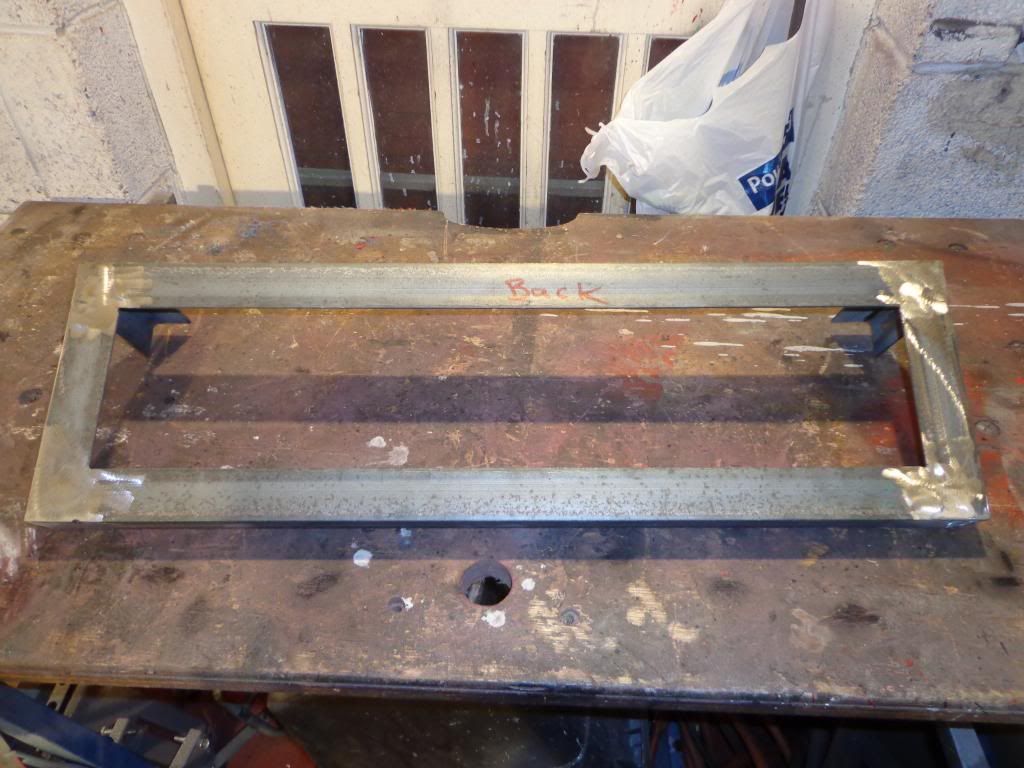
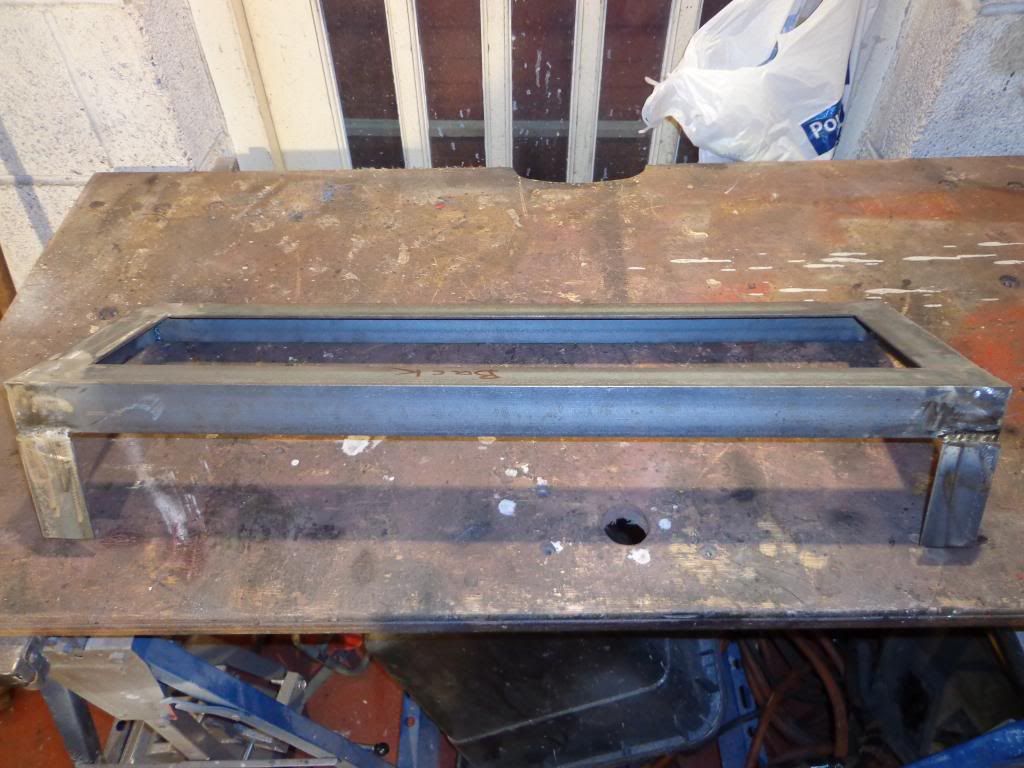
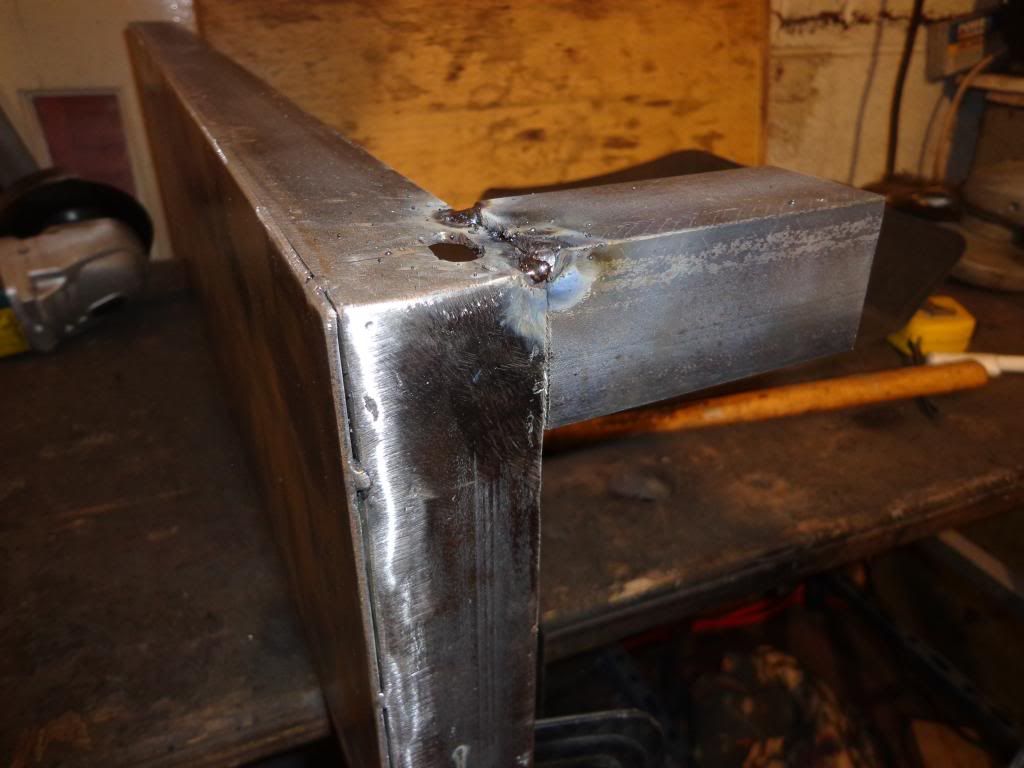
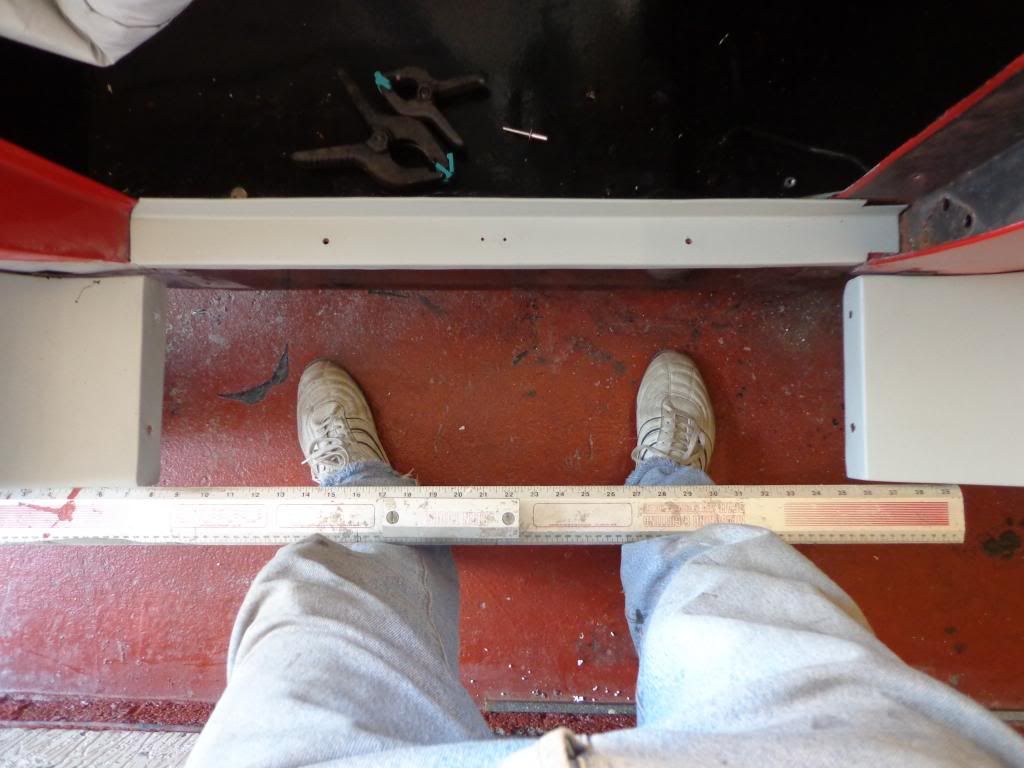
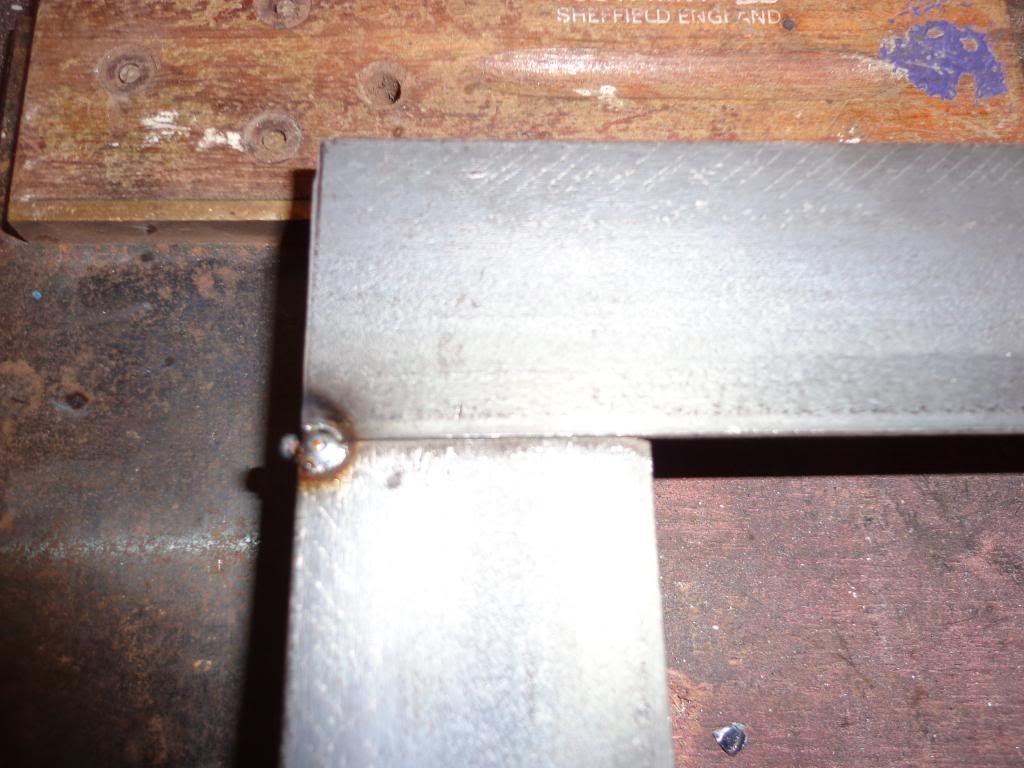
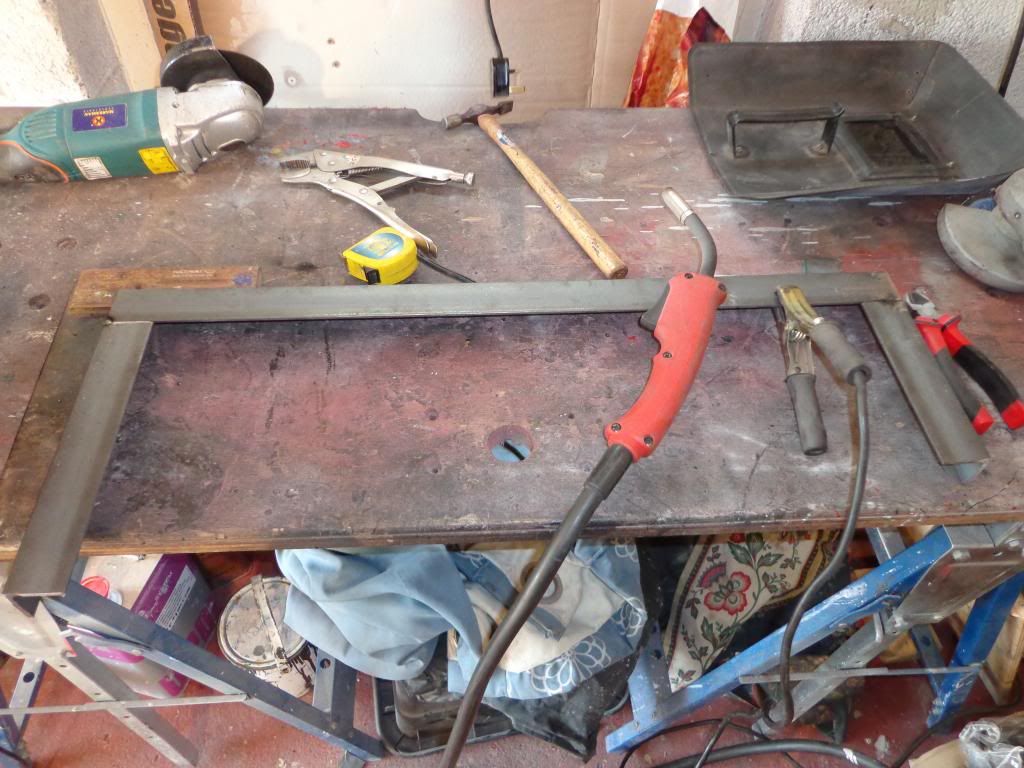
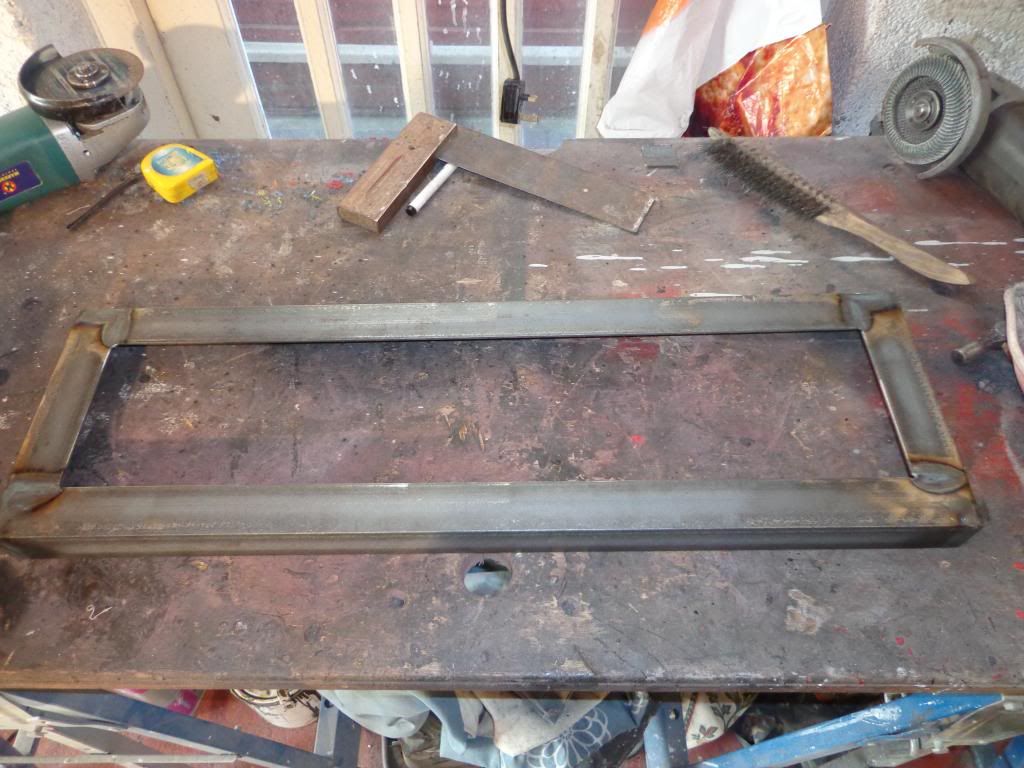
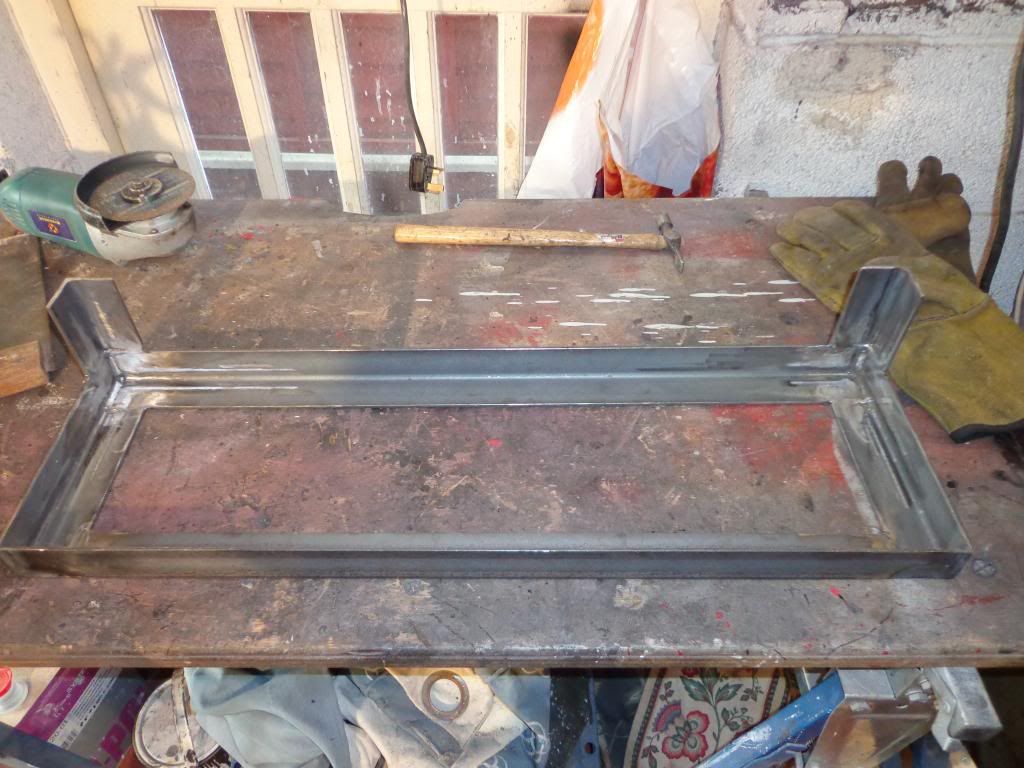
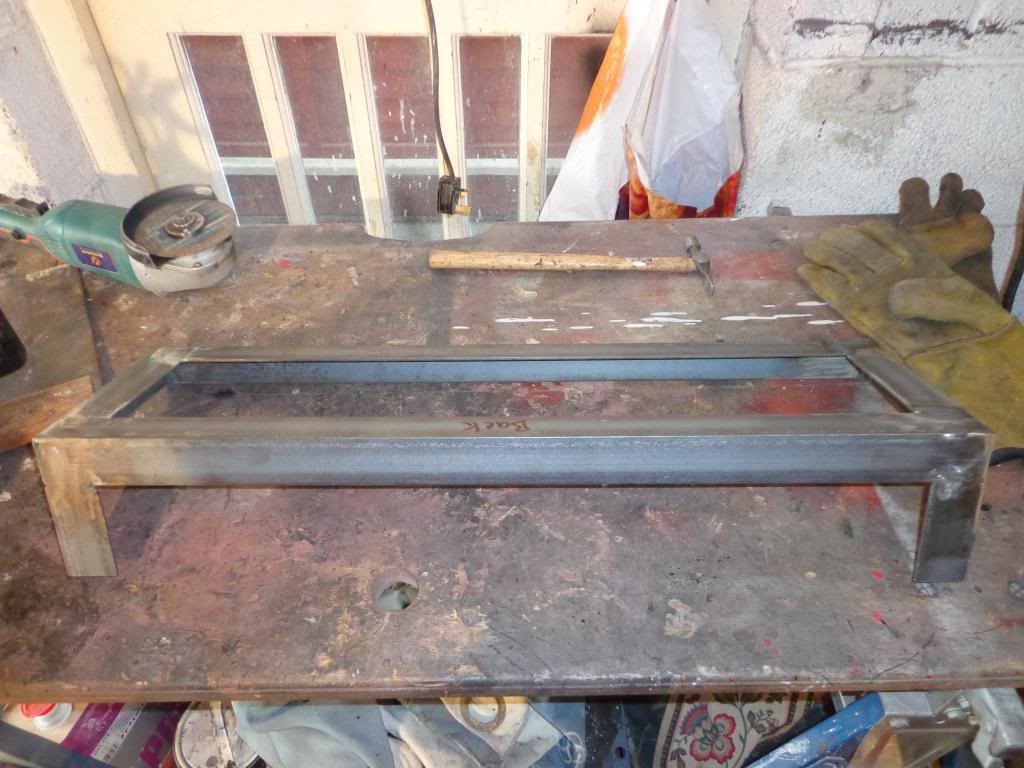
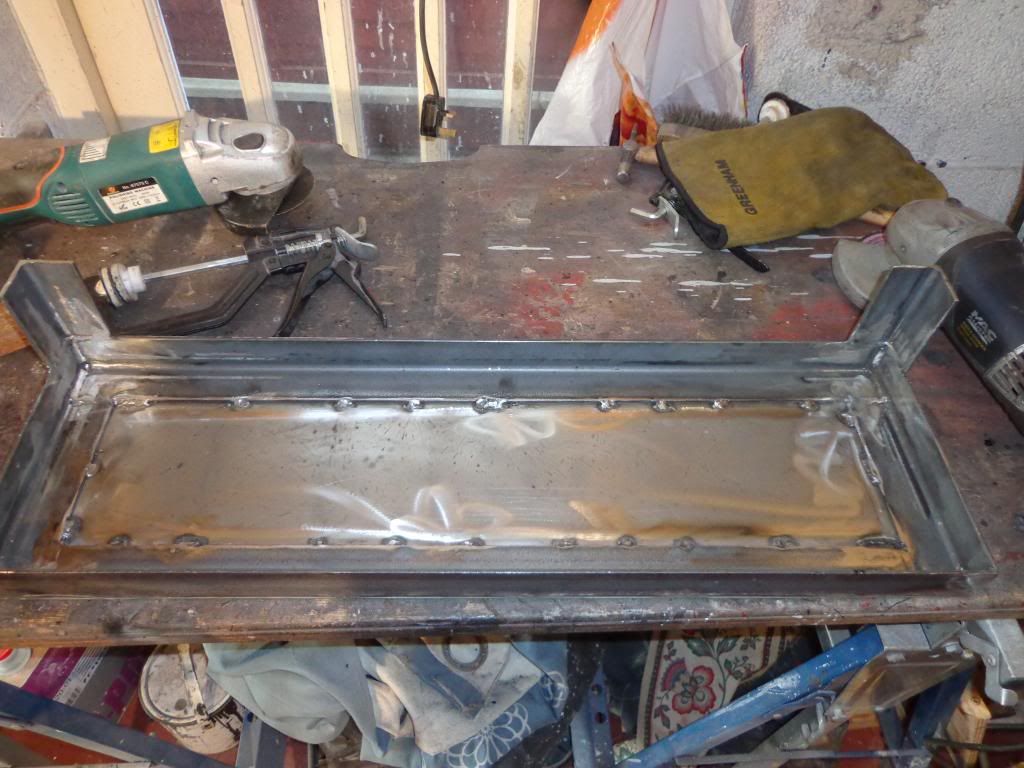
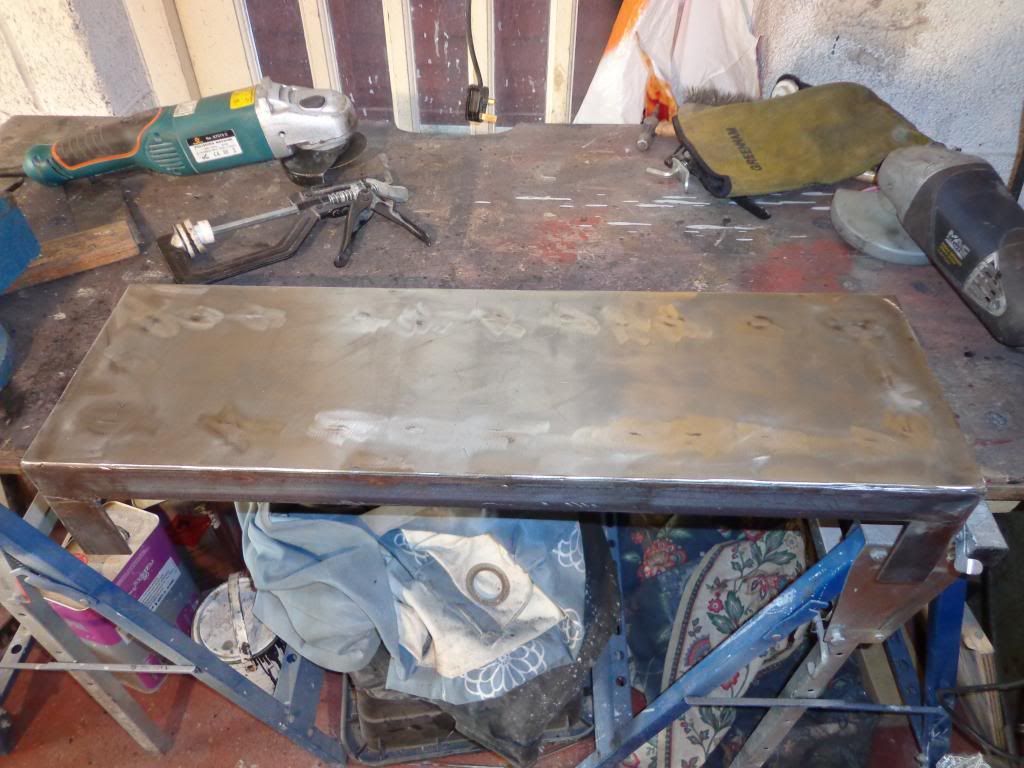
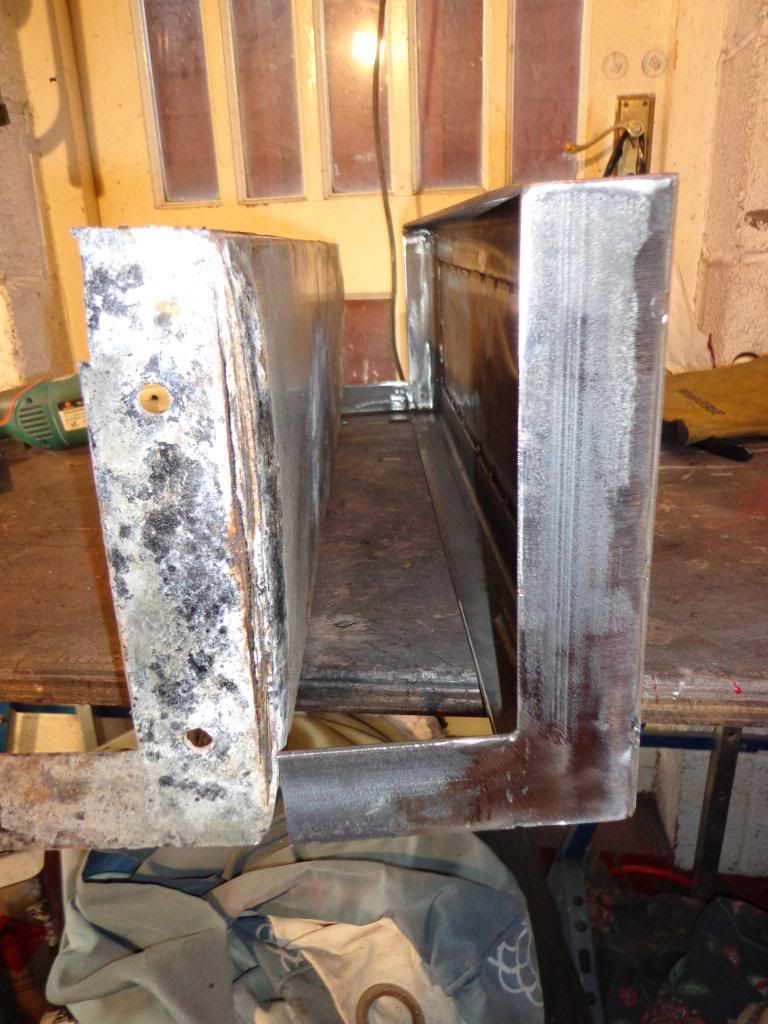
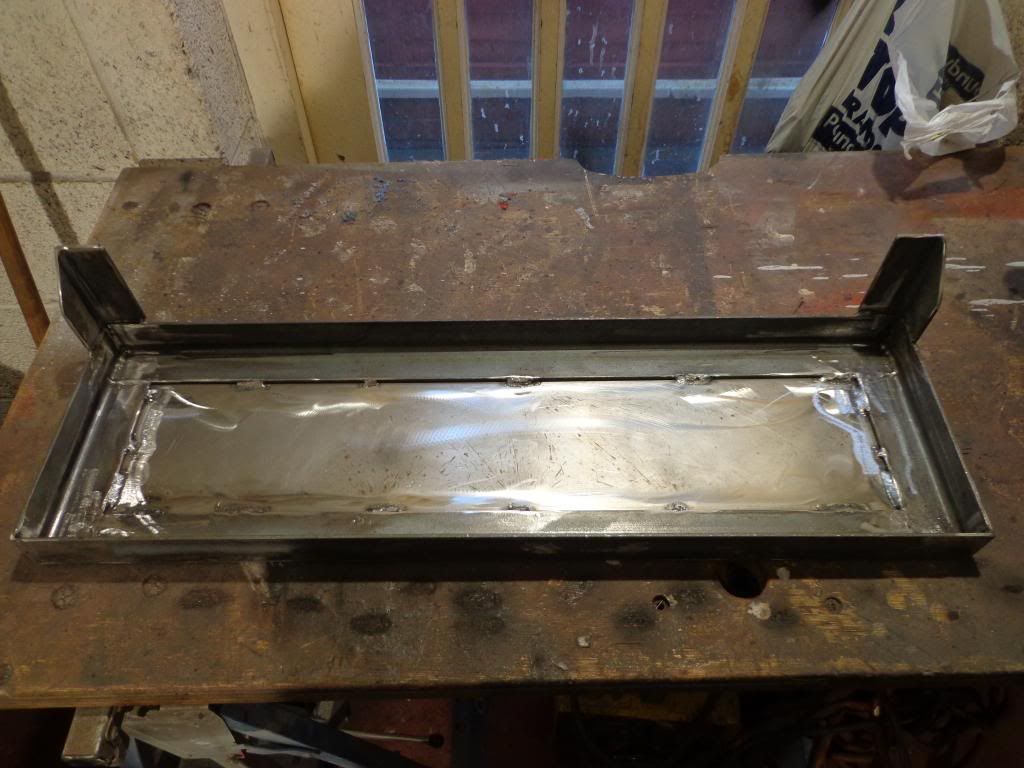
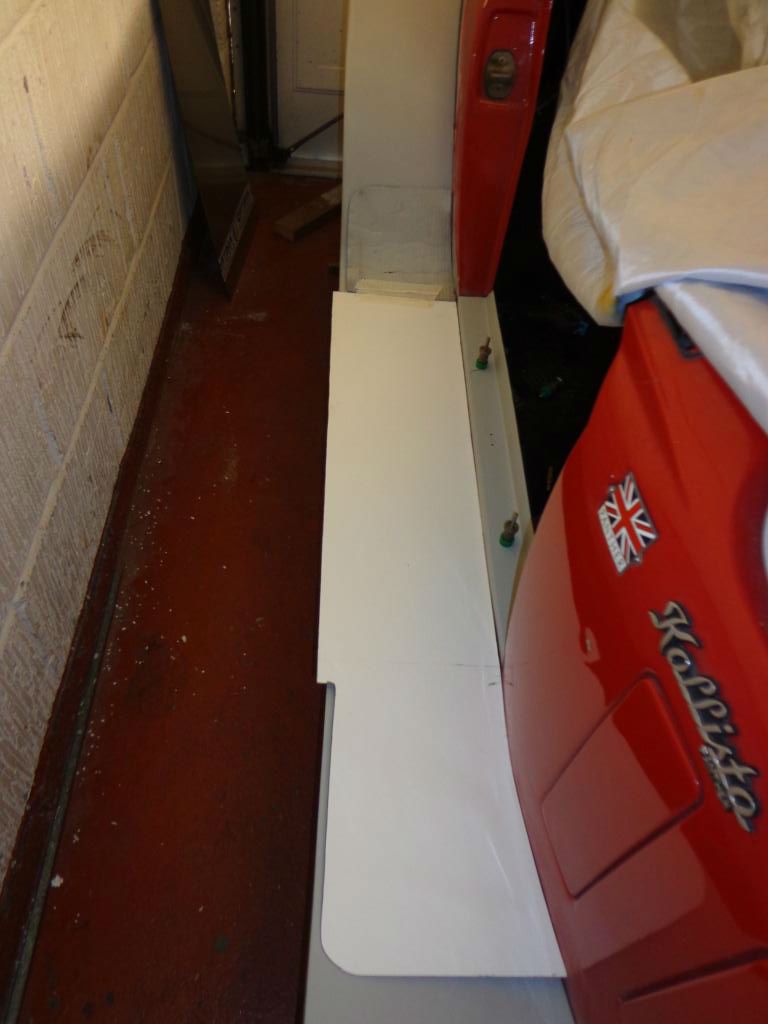
I carried on where I left off with the step and got the top welded on.
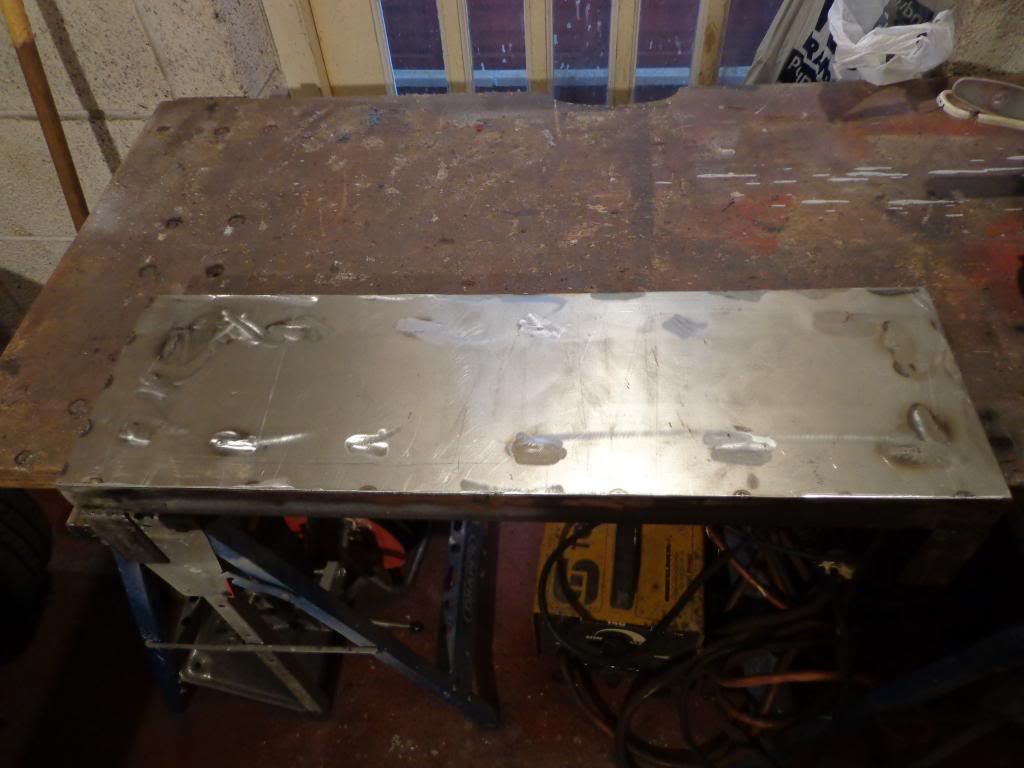
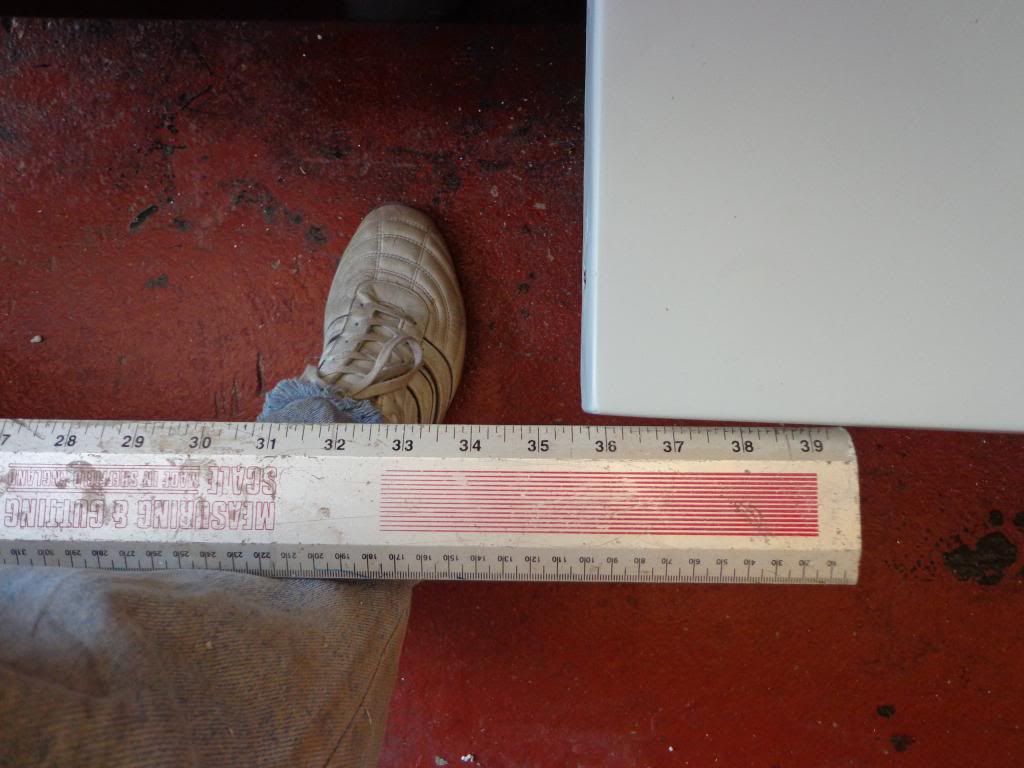
When the weather calmed down a little I managed to get outside to mark off the step and drill the holes.
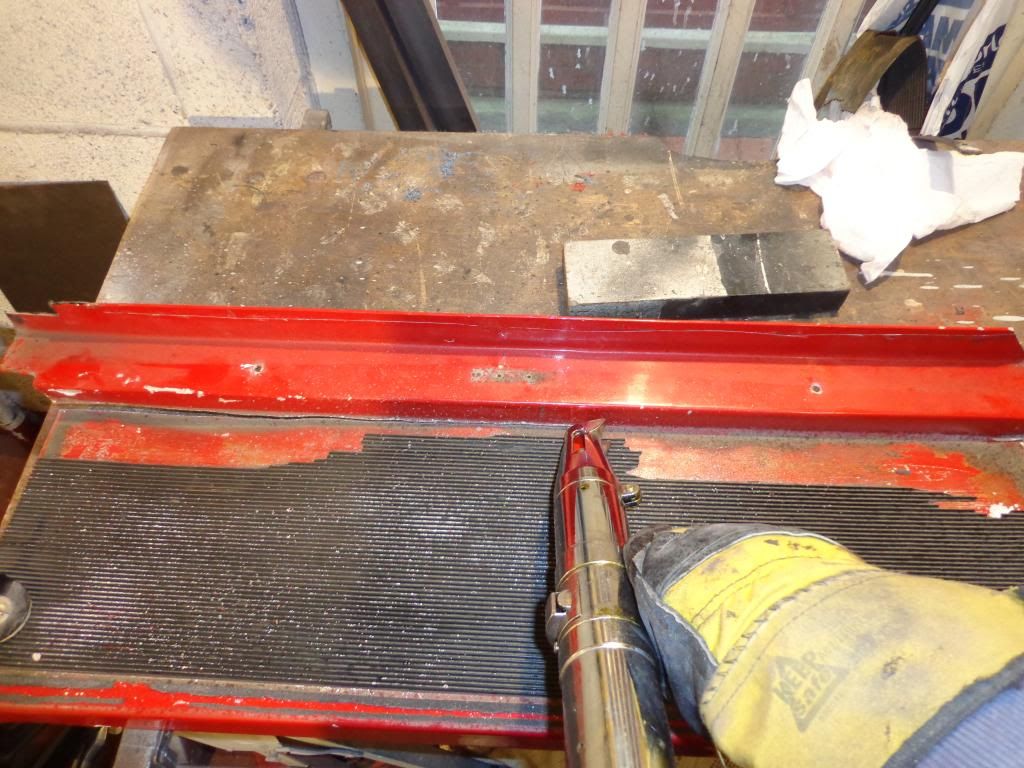
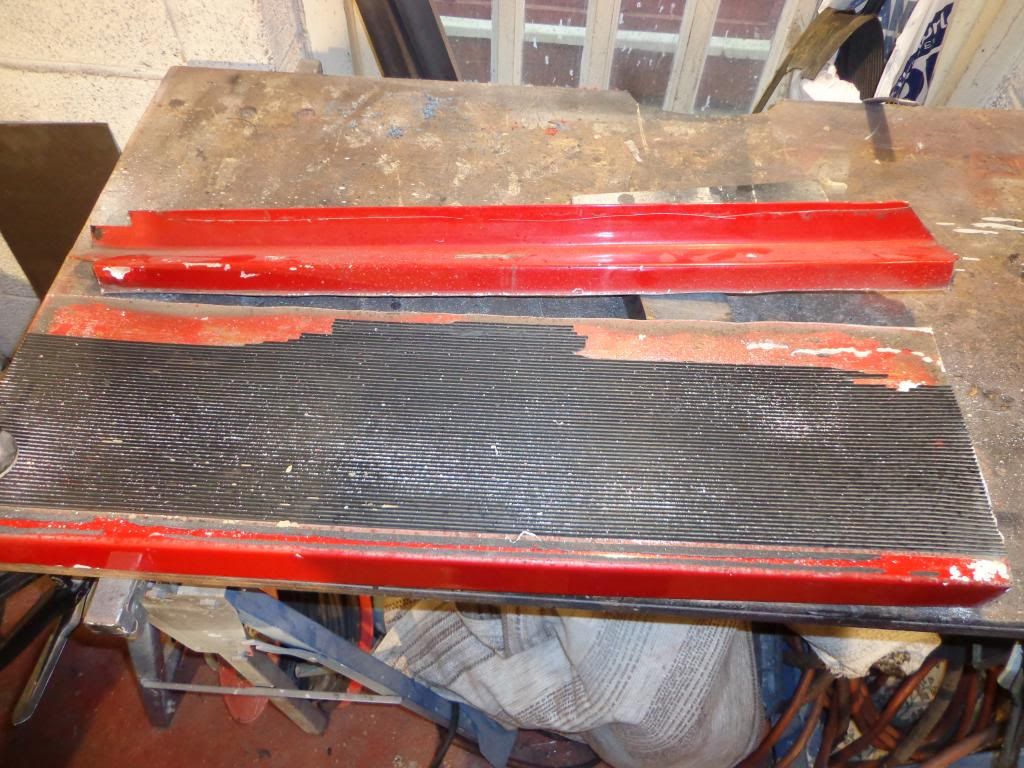
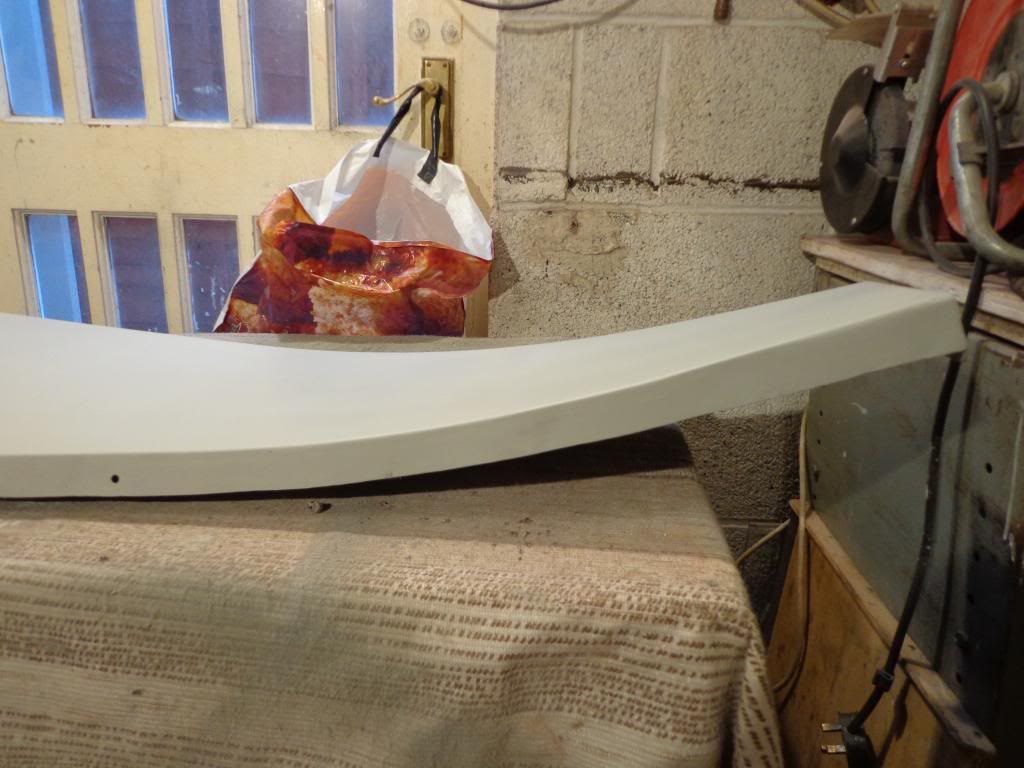
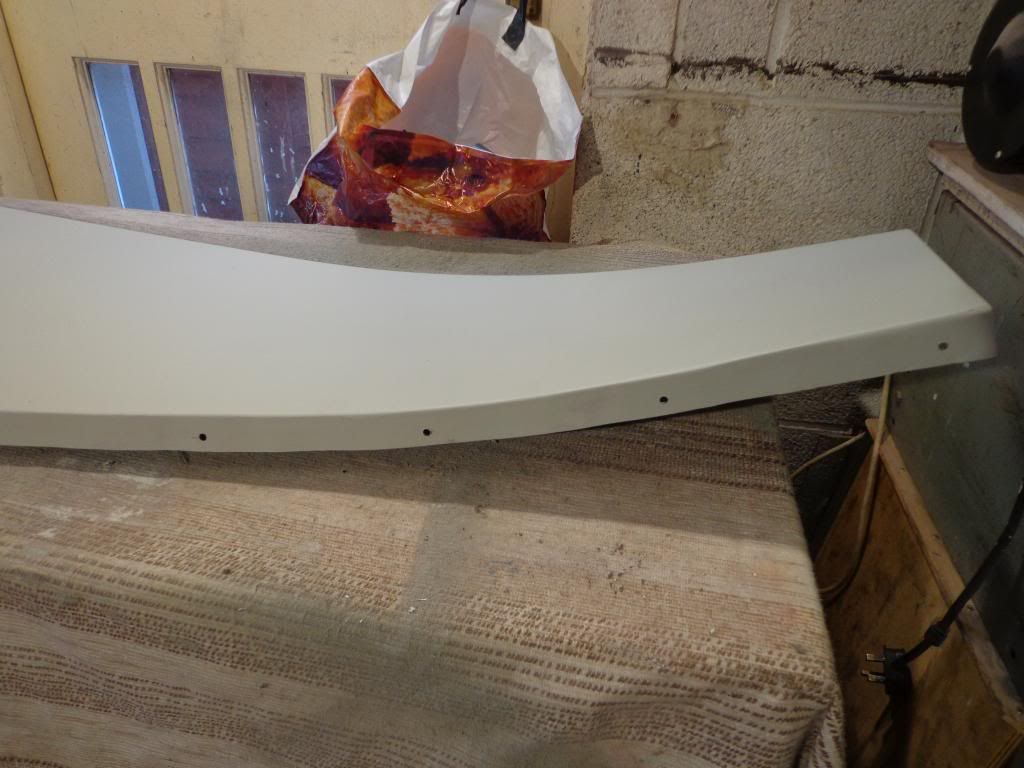
Now that the steps are fitted I could get on with the stainless covers, I have been learning about the different types of finish you can get starting from de-scaled which is basically straight from the rollers to mirror polished at the very top end. I would have liked the mirror finish and hopefully that is what I will end up with but I intend to do the polishing myself.
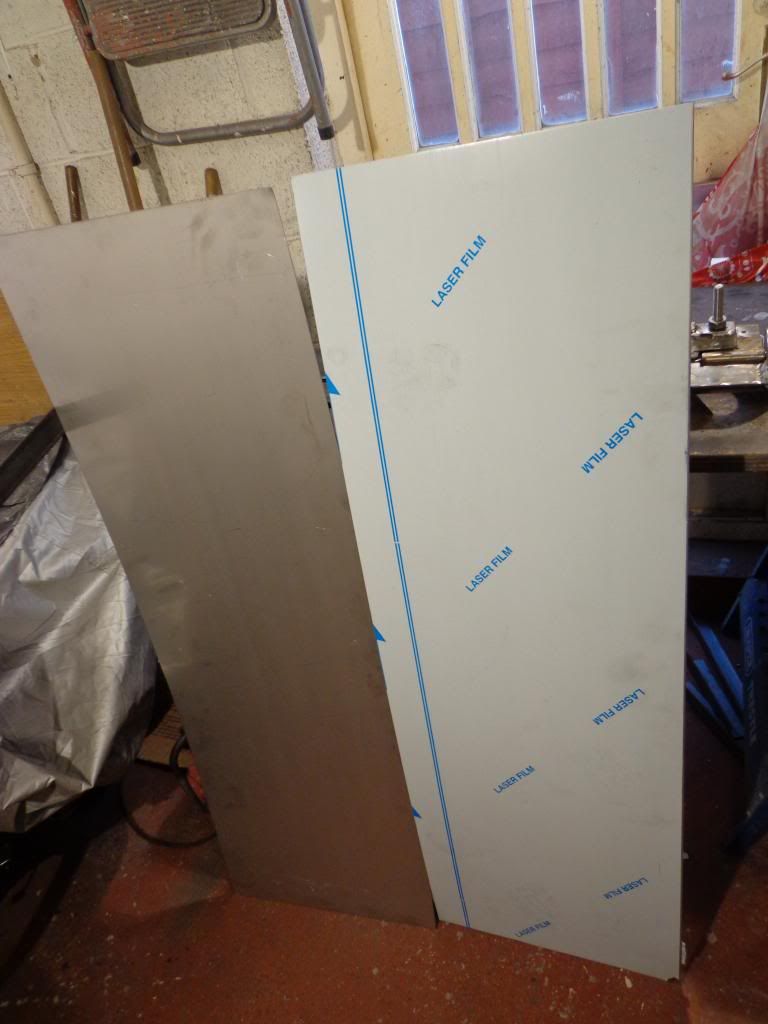
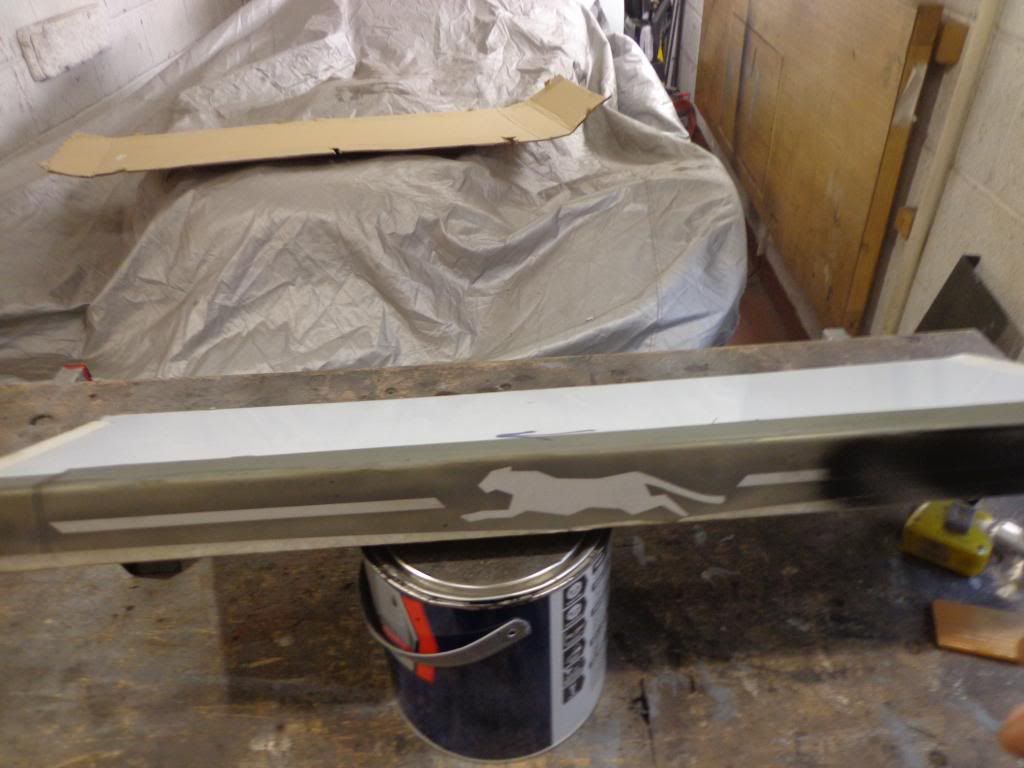
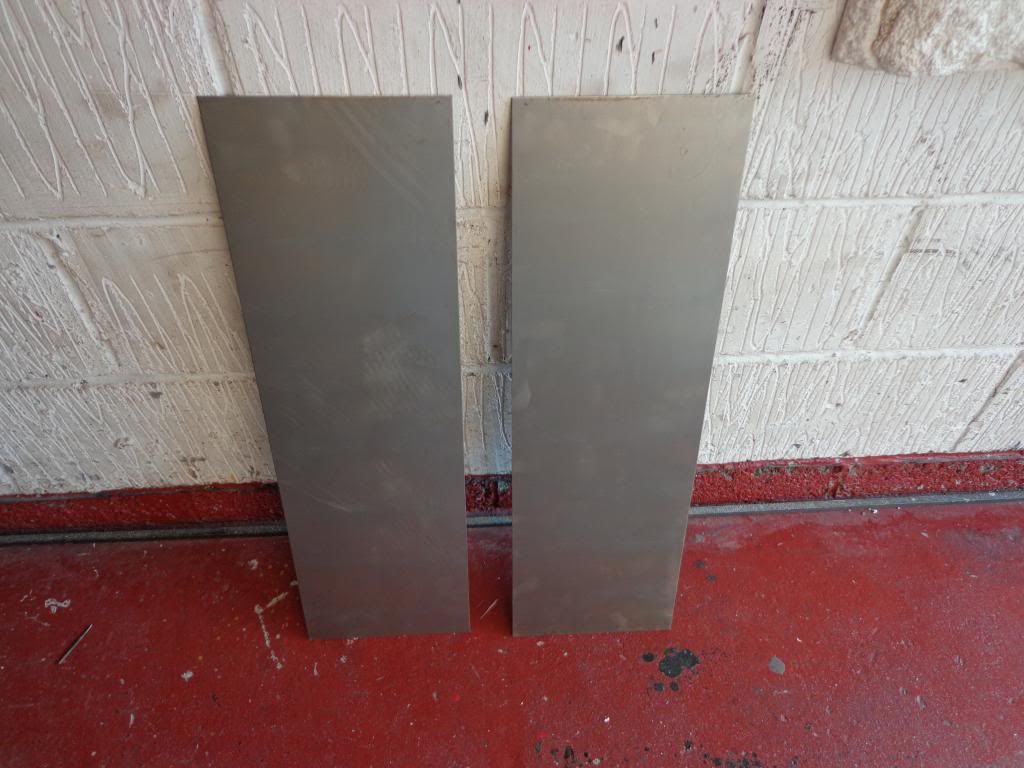
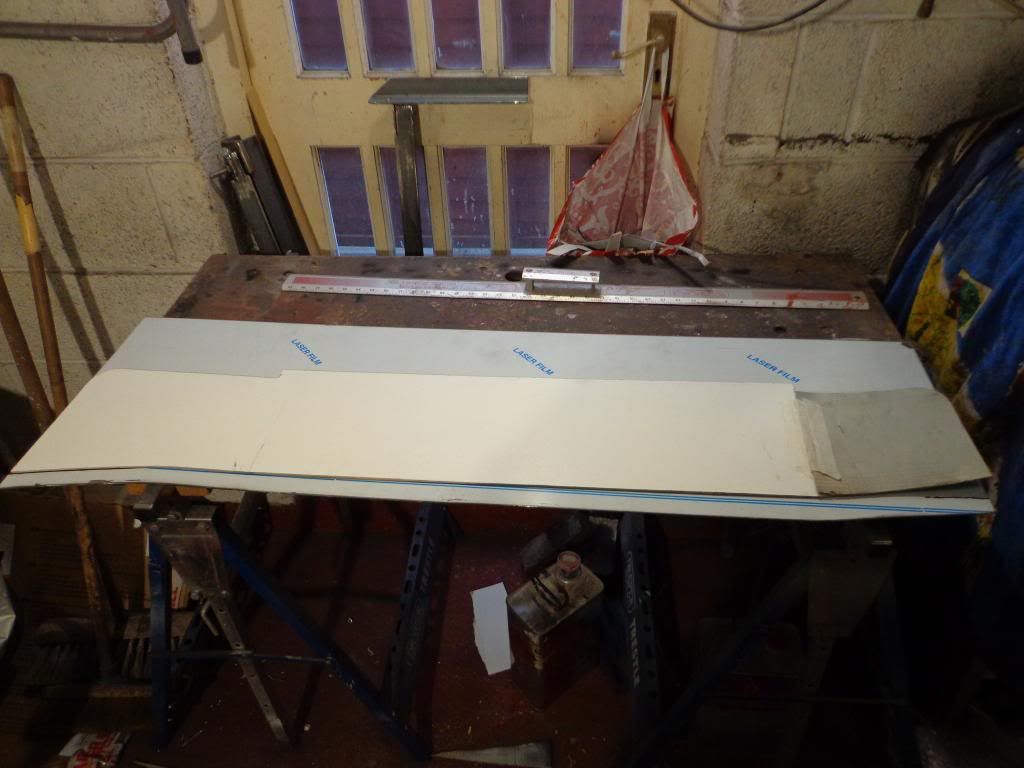
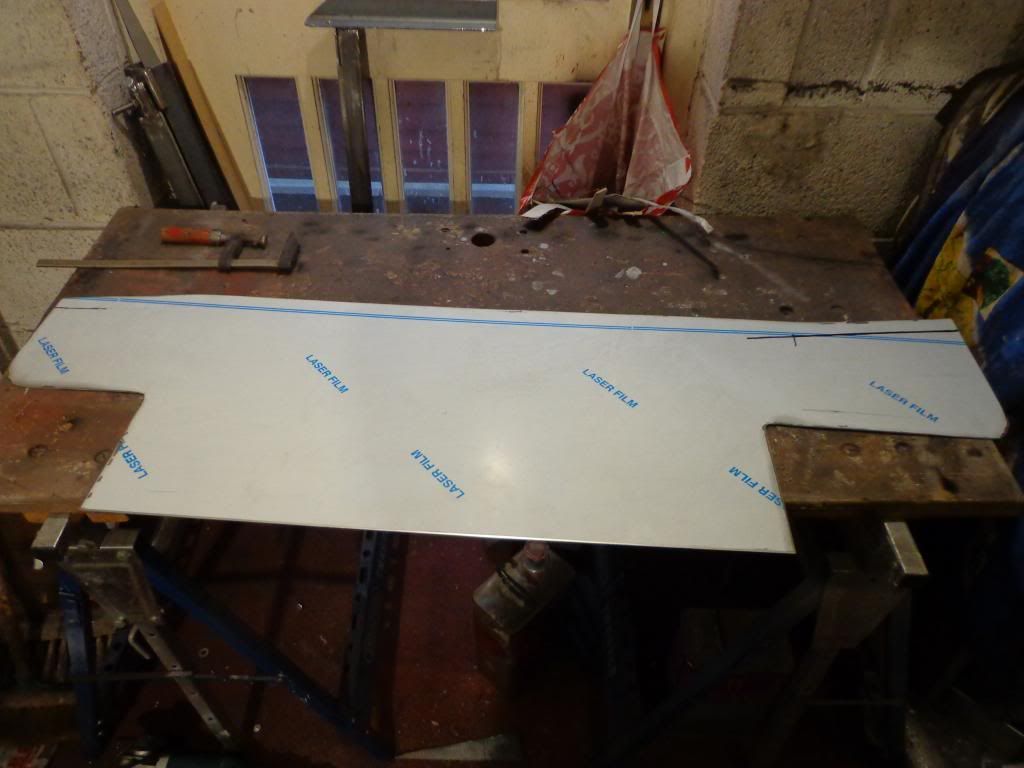
I bought 2 pieces 1225 x 400mm x 1.2mm offcuts from a company called Optima Stainless who sell there offcuts on eBay and were very helpful when I called them, each piece cost £10 plus £10 courier and they arrived the next day. I bought plain un-polished and the thicknesses they sell run from 0.9 to 3mm, I picked 1.2mm as I will have to hand roll it up the rear wing and having experience with stainless I know just how stiff it is to work.
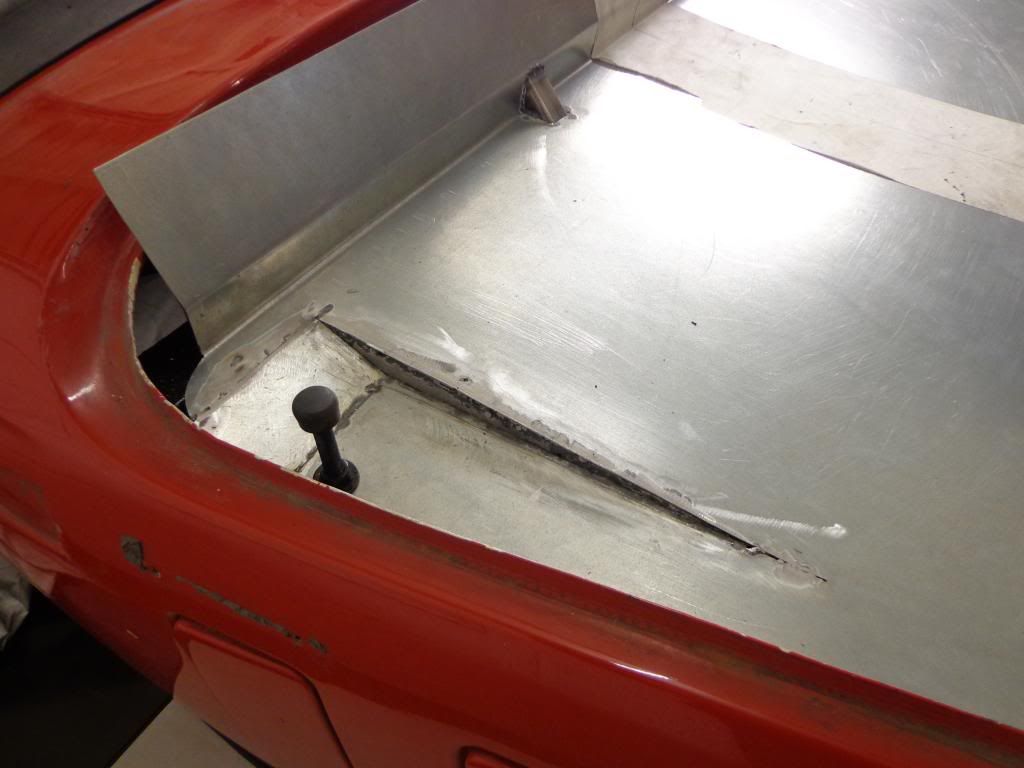
I have been waiting for the wing piping to arrive before I marked and cut the stainless but with its none arrival I have just cracked on and hope that my guesstimate is good.

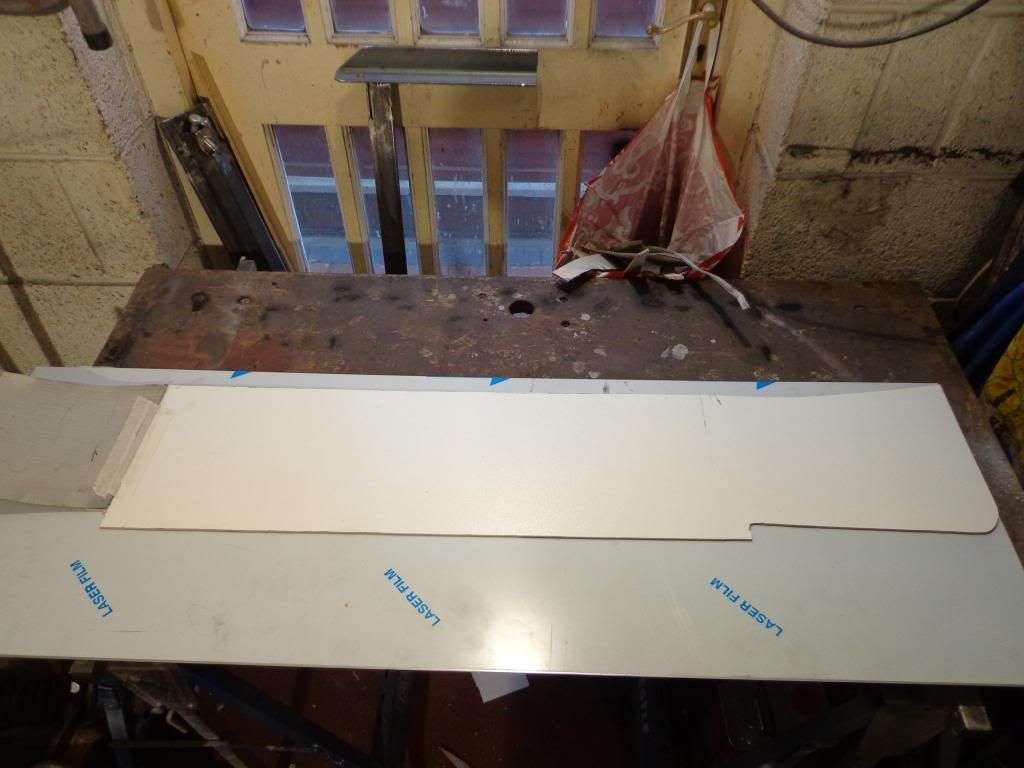
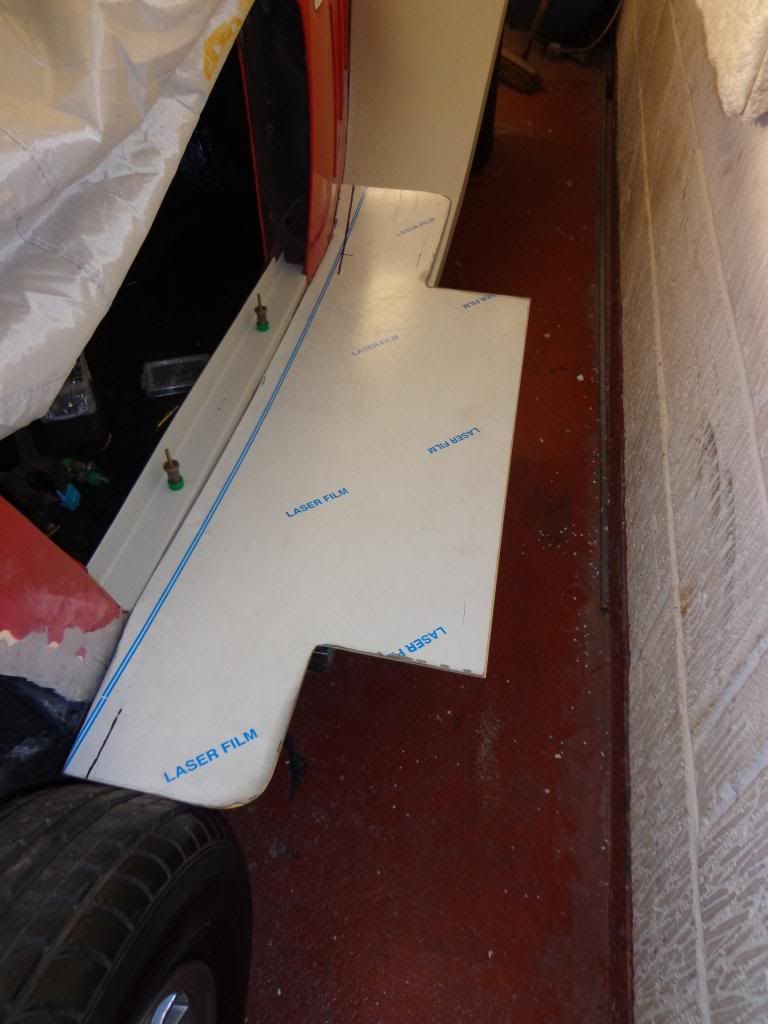
I started with a piece of hardboard to draw the template, the rear wing curve had to be done separately with a piece of cardboard  and taped it onto the template.
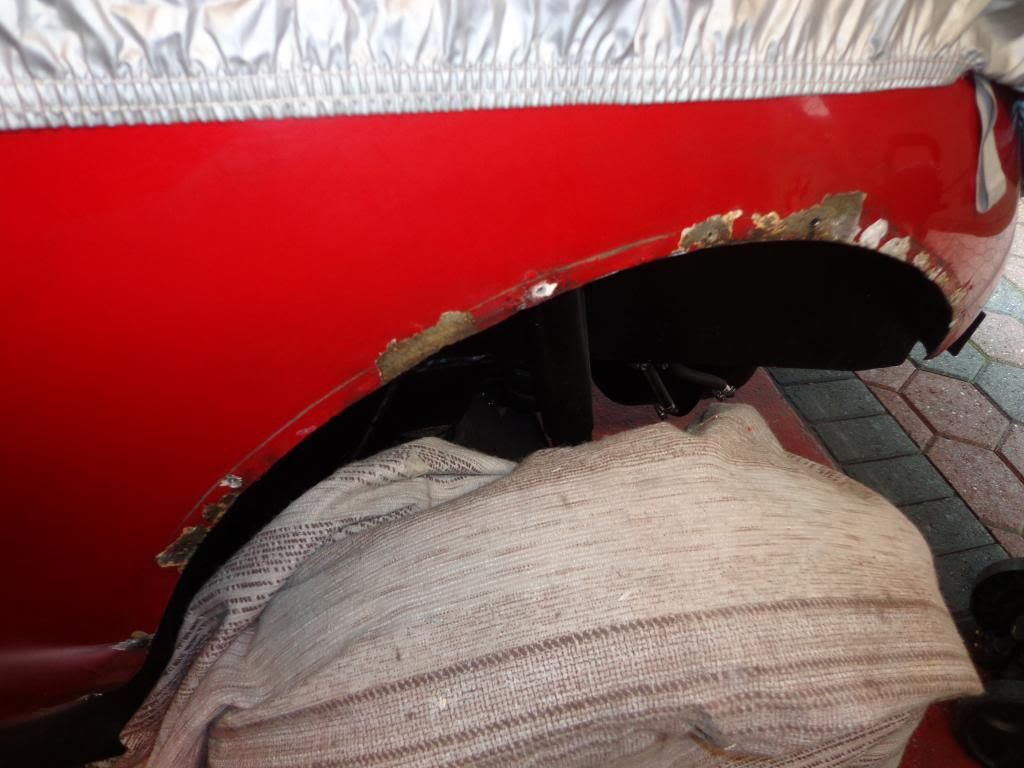
I like the idea of the stainless running up the wing and rolled up the rear then folded under the step, a little bit more difficult but hopefully the end result will be worth it.
I placed the template on the protected side and drew around it.
I had bought a pack of 4 1/2" 1mm stainless cutting discs in preparation and they cut through easily.
The offcut is a little wider than what I need but bought it wider just in case I made a mess of the first cut.
The tab section will be cut to size when folded over the step.

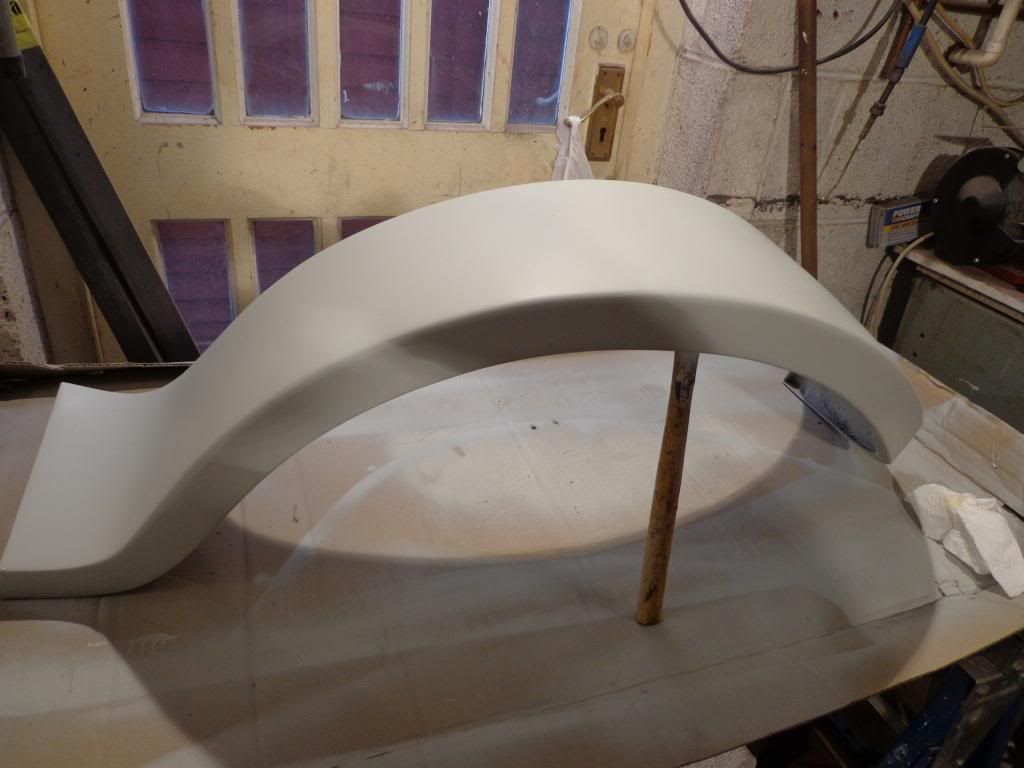
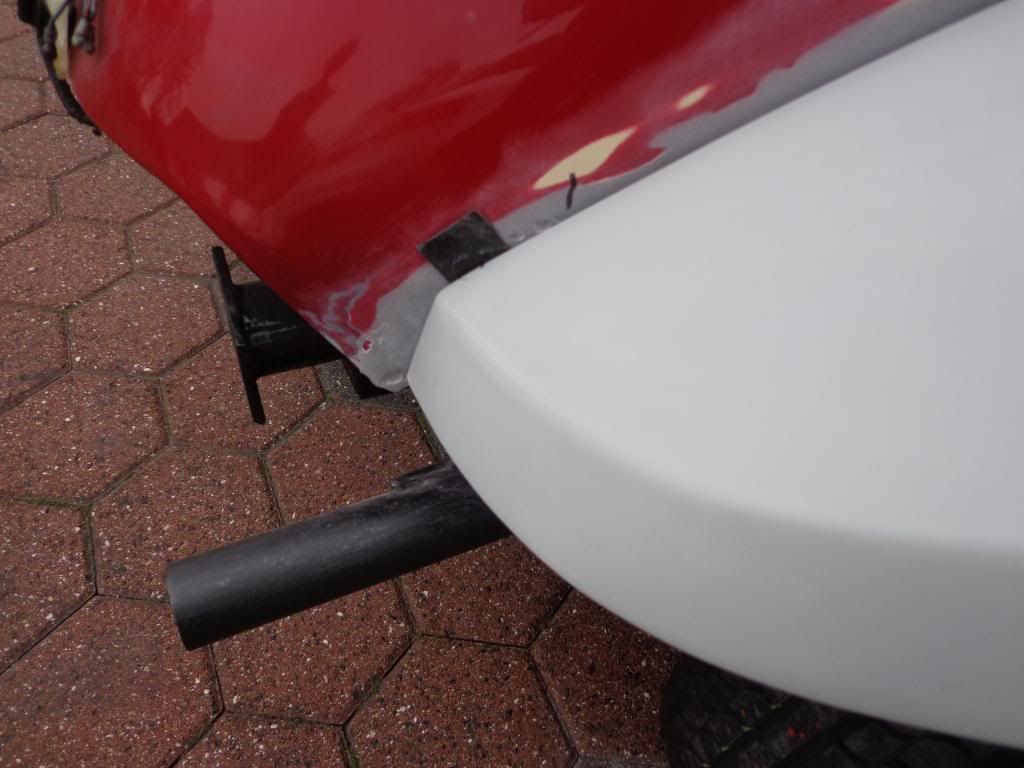
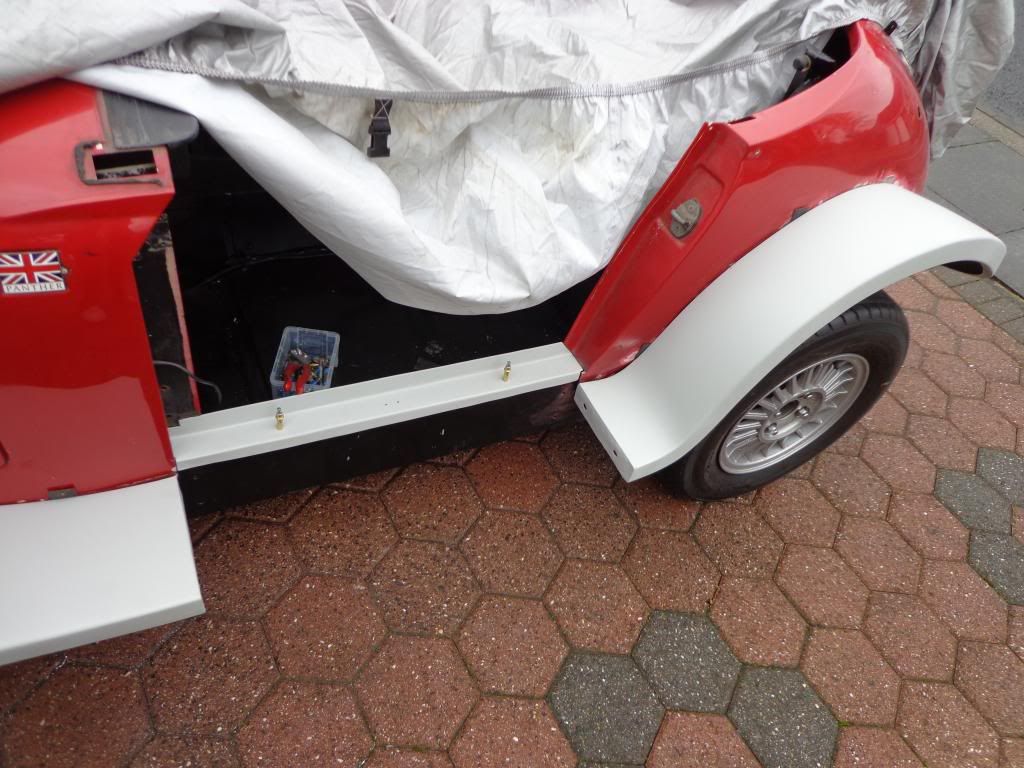
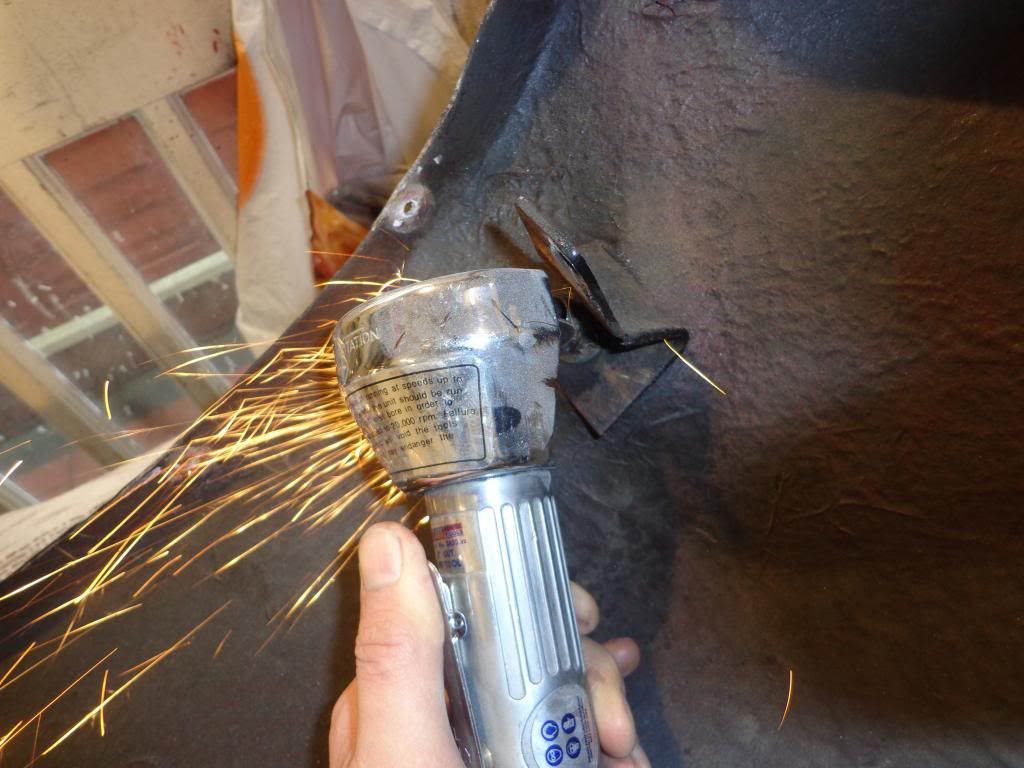
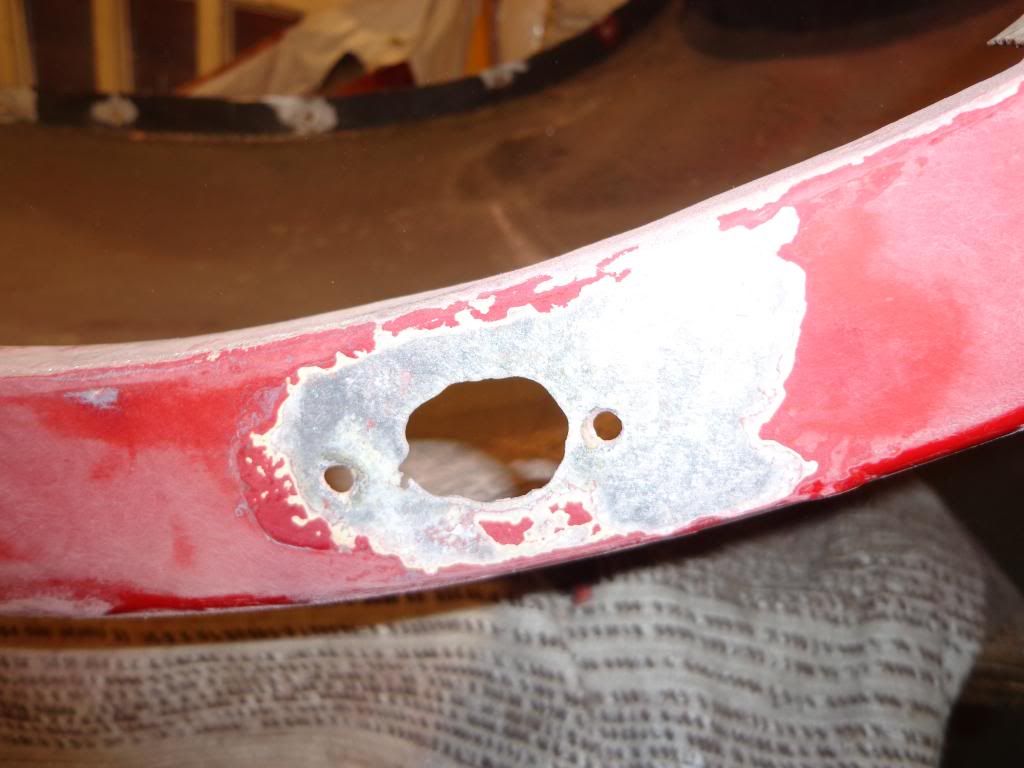
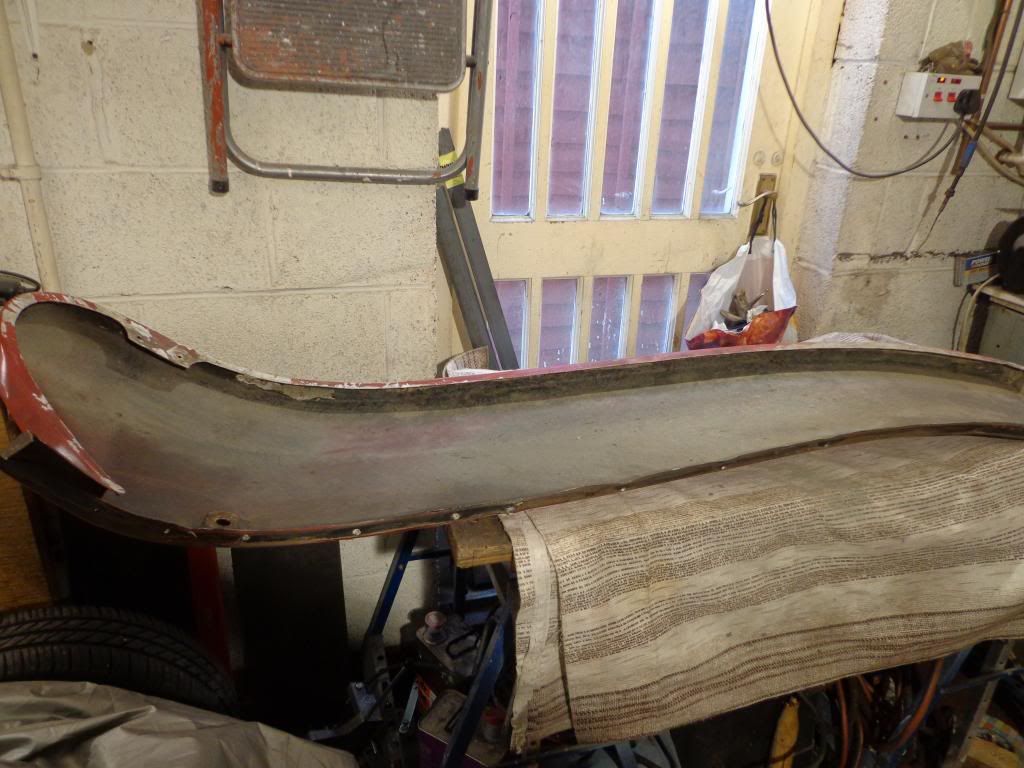
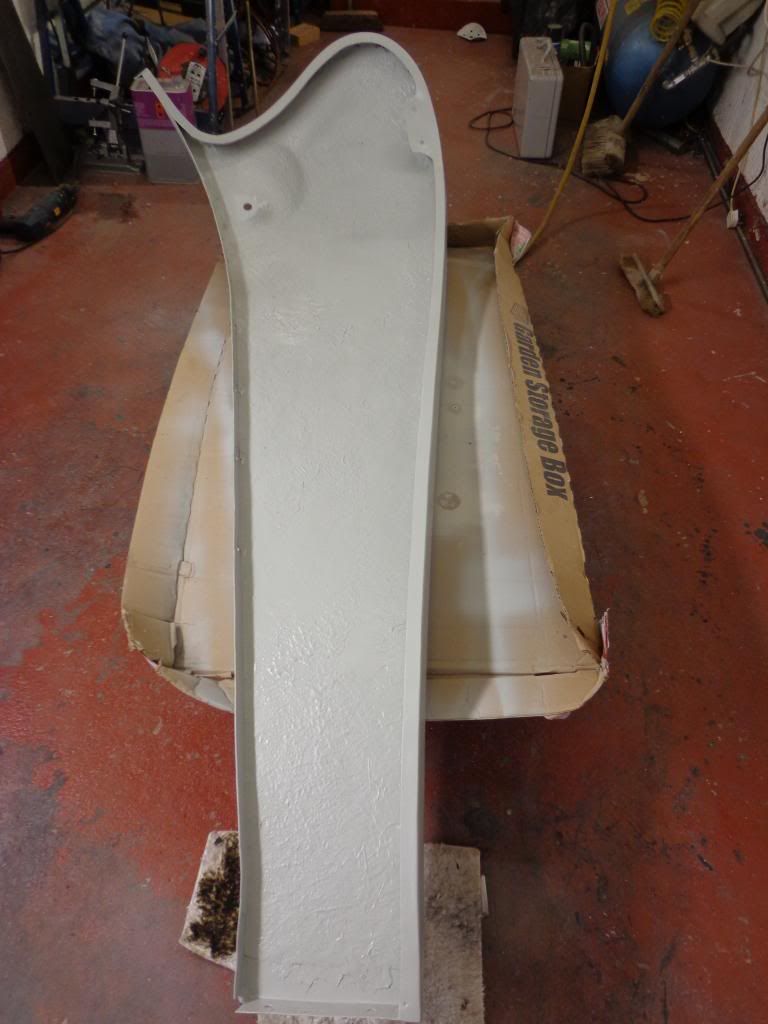
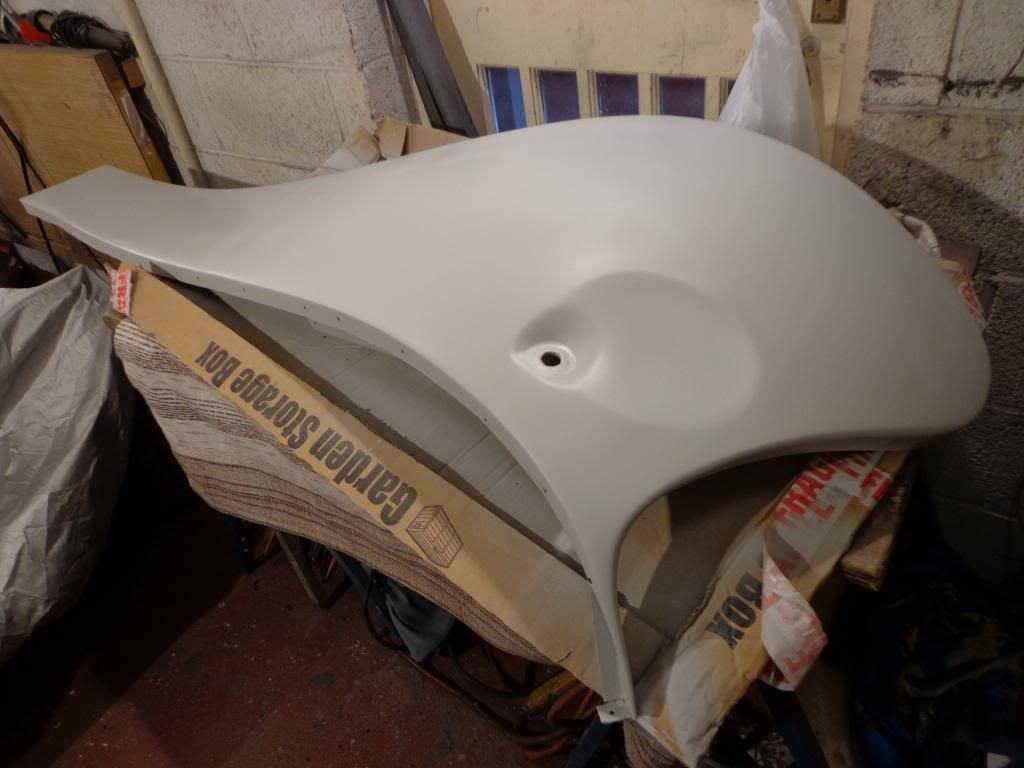
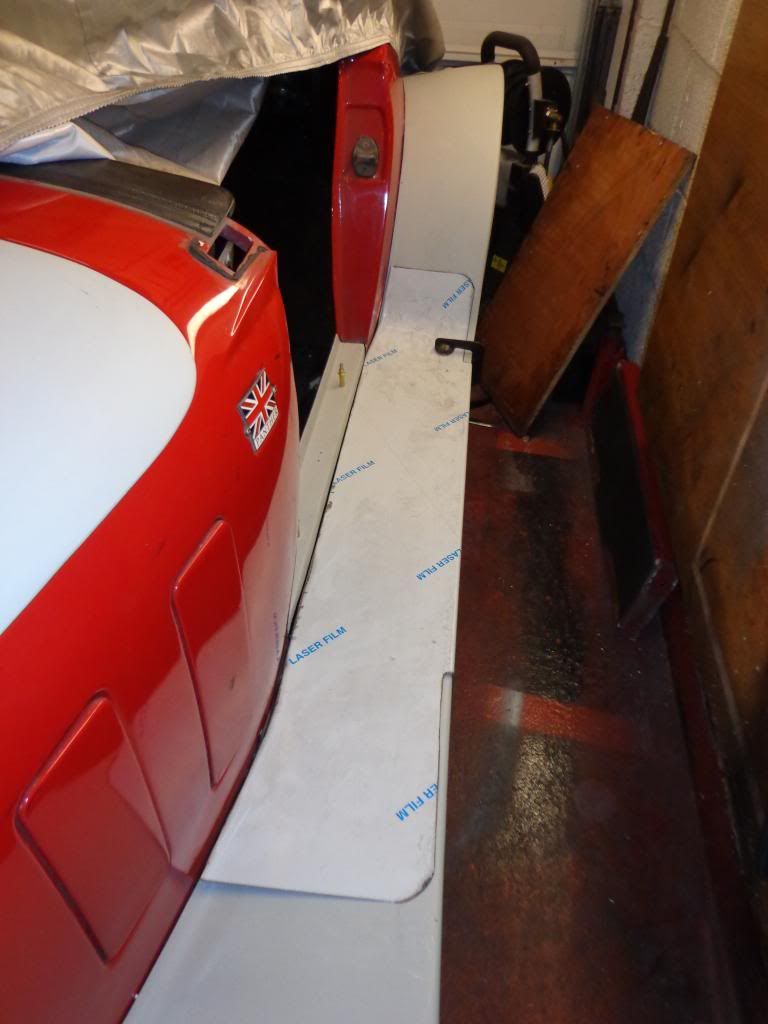
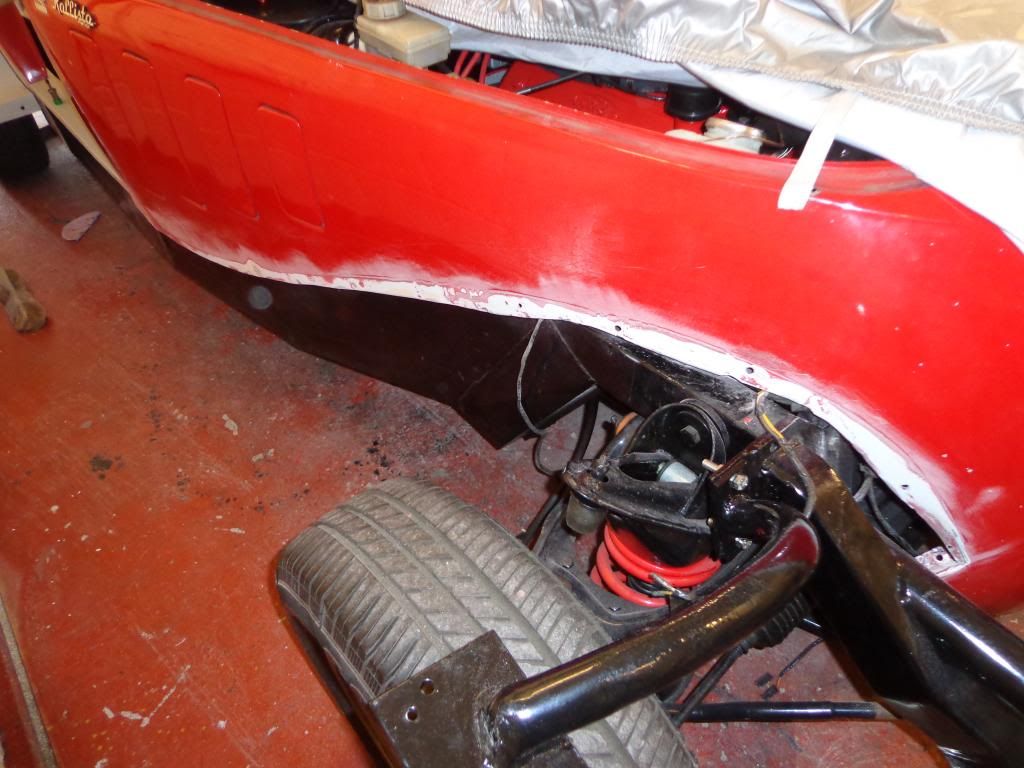
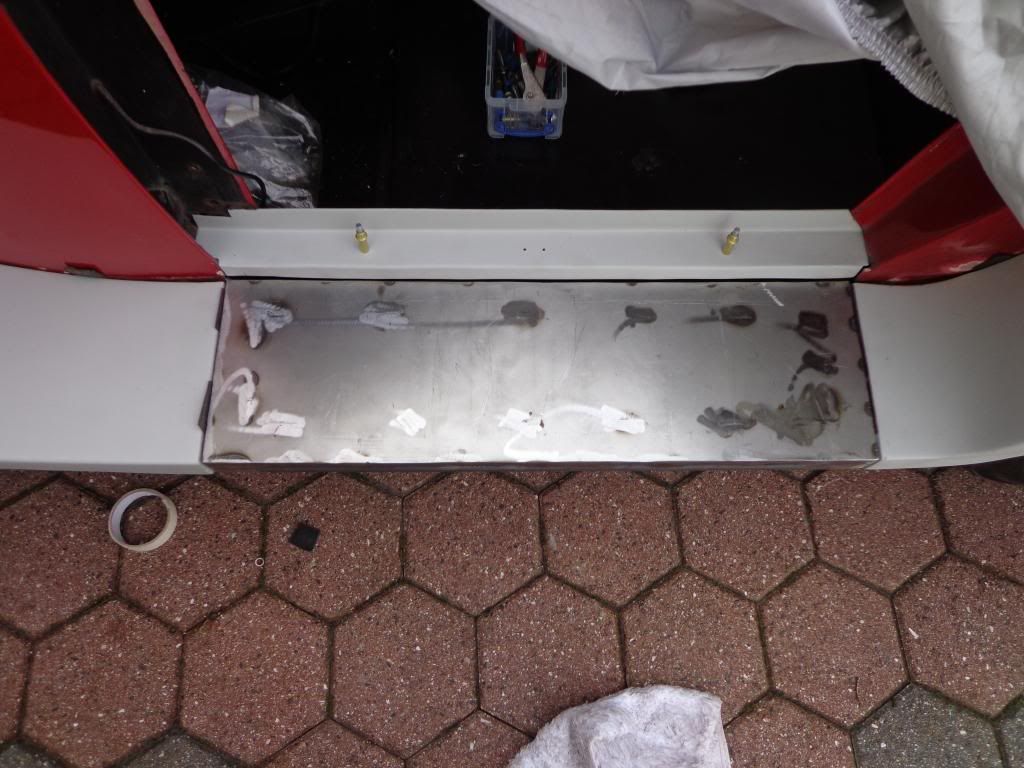
The rear wing had to be removed to check for fit as I won't be able to roll it until the folds are made, these will have to be done at a sheet metal shop as I don't have a folder large enough to bend 1.2mm of this width. So next time home I shall cut the other side and have them bent to fit.
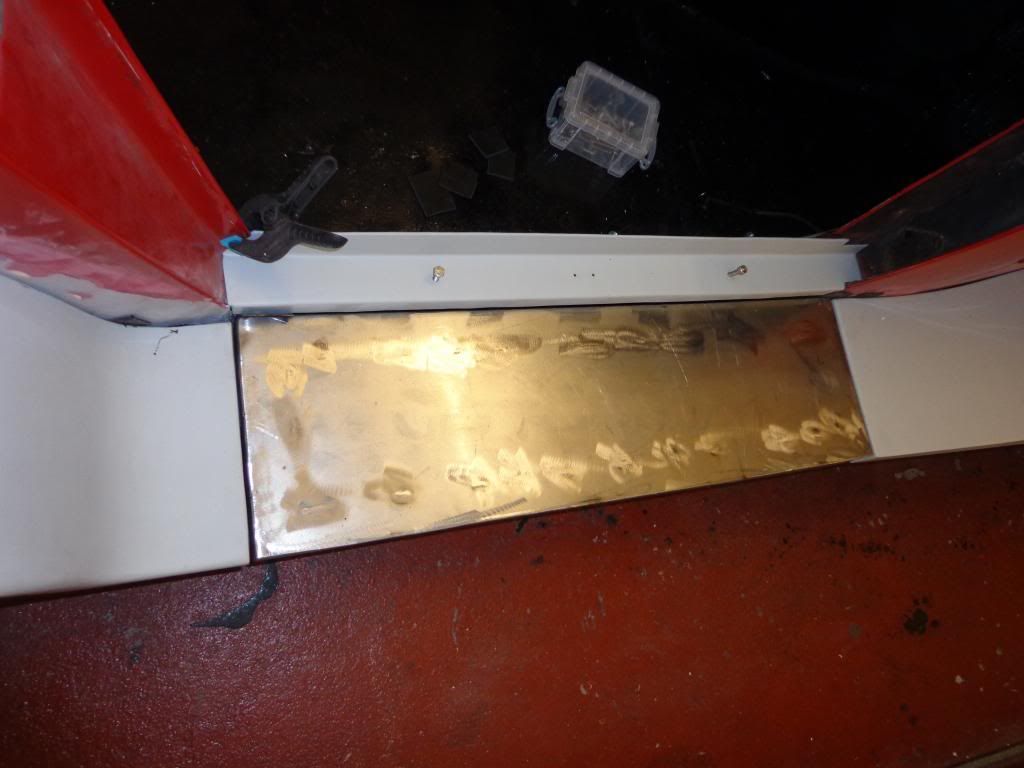
I have sourced treads to fit on the stainless and shall have 3 on each side with black rubber inserts.
Well, I managed to get the steps made this time home which was the main job so hopefully the stainless will be complete next time then its a lot of rubbing down and priming ready for the paint shop in the spring.

see ya in 2 weeks Paul


Tuesday 20 November 2012

Body Work, Passenger step

Hi
Out came the rear wing for a good clean and like the front wing it is in quite good condition.
I spent the morning scrapping, sanding and washing to get it ready for primer, once all clean I gave it its first coat.
Next was the step, this was the same as the other side; pretty bad, this is due to being wrapped around the steel frame unprotected and acting as an anode.
So out with the saw.
Didn't take long with the air saw doing all of the work.
I cleaned up the cut area and sanded out all of the corrosion around the rivet holes before spraying with primer.
While the paint was drying I had a look at the wing interface, as with the other areas the corrosion was around the rivet holes and had blown out the paint, also a number of rivets needed drilling out.
This area will need grinding out and filling but for now I just drilled out the rivets and sanded down the high spots.

I fitted the step profile and it is a perfect fit, I don't know what happened when the drivers side step and wings were originally fitted but nothing fits correctly, maybe a different guy who new what he was doing fitted the passenger side. The strangest part is the fitment of the drivers side rear wing, I thought when fitting that maybe the wing should have been flush with the rear of the car instead of being an inch or so short but took it as part of the design.
On fitting the passenger side rear wing I can see that it wasn't a part of the design.
This wing fits perfect on the car profile and goes all the way back; flush with the rear of the car. 
In their day these were very very expensive cars, I remember as an apprentice drooling over Panther cars and thinking I would never be able to afford one, so you would think that a lot more care would have been put into there build.
Anyway once the rear valance is on you'll not notice the difference (hopefully), I did take the wing off and try to move it back but nothing fit correctly.
The skin pins I bought are great, I just offered up the wing and popped in a pin, no clamps required.
Now I could measure for the step only this time I took allowance for the wing piping and stepped the legs off the chassis.
I got the step mostly finished and will complete tomorrow but managed to get the frame complete. 
Again I used profile cuts instead of miter's on the joints and I took a better photo this time incase anyone wants to use them.
Much better than mitering and gives a perfect square corner when the weld is ground down.
The frame is made and all welded, all it needs is the top welded on and the holes drilled and the welding is then complete and hopefully the mess that it creates.
I have also ordered the stainless today and that should arrive tomorrow.

see ya Paul


Monday 19 November 2012

Body Work, Passenger wing

Hi
Had a little work to do to finish off the drivers step, I knew the holes needed a bit of a tweak but I ended up doing a bit of a re-design of the legs themselves.
I thought I had taken all of the spacing for the rubber buffers into account but I stupidly missed the spacing for the wing piping to go behind the step frame. I could have got away with it by fitting an extra spacer behind the legs to bring the step out or I could fix it.
So easily fixed, off with the legs and 2 new pieces were welded on but set back to leave a gap between the long length and the chassis.
I now have a small gap for the piping leg to be trapped behind the frame, I have ordered 10mt of 6mm rubber piping which should be big enough to hid the discrepancies in the wings. 
This is the modified step in place, the piping can now run all of the way from the front to the back of the car.
Next to work on was the passenger side.
I had a bit of a problem with the headlight on this wing, the nut had seized and was turning the inner tube so I had to take the wing off with it attached. I had sprayed the threads with release oil when I first stowed it away in the loft but it was still seized.
I could have restored the headlights and saved a £100 but was unable to get it to turn.
So the only way to get it off was with the grinder and to scrap the headlights.
The wing was pretty much in the same condition as the other side, where ever there was steel bolts, washers or  rivets there was corrosion.
Other than a few areas of corrosion it is in very good condition and all that was need was a good scrub on the inside.
And the outside had all of the loose paint sanded off and the good paint work rubbed down with 120 grit on the DA.
The area around the headlight hole was in great condition, unlike the other side.

Once all washed and heat gun dried I mixed up the primer and gave the wing its first coat.
I shall only give the inside one coat of primer as it is going to be sprayed with stone chip, the outside will be rubbed down and finished with 800 grit.
I fitted the wing in place with the skin pins and rubber separators for the piping gap, this side has a much better fit than the other and follows the curve perfectly.
That's both front wings in place.
Tomorrows job will be to get the rear wing fitted and the step profile cut and hopefully get started on the step building.

See ya Paul


Friday 16 November 2012

Body Work, Drivers Step

Hi
Managed to get some work done in between going out and enjoying the unusually dry weather with Lynne.

The body/wing interface needed a little work as the area around the rivets holes had corroded and pulled the paint off on removal of the wing.
A little bit of work with the DA sander and they where ready for filler, I shall do this later as my priority at the moment is to make the step which required the wing to be fit.
Before fitting the wings I needed some spacers making to take the place of the wing piping, for these I cut some rubber jointing with a hole popped through.
The area around the headlight hole and the sidelight was filled and the first coat of primer sprayed, and it looked pretty good for a first coat.
On test fitting the wing I found that the lower section next to the step had no rivet holes and relied on the step bolts to keep in position.
So I drilled a few more holes and when fitted I drilled through the body so rivets can be fitted.
On fitting the wing I inserted the rubber spacers both in the rear and front wing then checked the alignment of both the wings.
There is a small discrepancy between the wings.
Not a problem as hopefully the stainless steel step will cover the difference and after all it is a hand built car.
Today's work was on the step, there was nothing I could do with the originals as the rust was under the plate and had blown them out of shape so they had to go.
The material I used was 3x40x40mm angle iron and 2mm steel plate all bought at very good prices on ebay.
I constructed the step with cut butt joints as opposed to miter joints as I find them easier to cut, this en-tails cutting the profile out of the angle iron from one side and fitting together.
It gives a nice neat job although it needs a lot more welding and grinding.
I started with the back piece and subtracted for the rubber spacers and cut the profiles out from the side pieces.
I made these long and offered up to the car for marking off to get the cuts accurate, as there is a difference in the wing widths.
I then cut these to size and cut the profiles into the long piece and tacked in place.
Once tacked up, I checked that all was good then welded up the joints, I tried welding with the TIG welder but had no joy, I don't know if I am running out of gas or the metal was to thick but I ended up stick welding it together.
Next came the legs and I took the sizes for these from the originals and also the hole positions, these where welded in place.
 If you look closely you can see the cut out's for the butt joints
I had ordered the 2mm steel plate from eBay and it was cut to size although I had measured it a little bigger so I could cut to shape once welded in place.
The main welding of the plate was done on the underside with small tacks so as not to distort it
Then a few tacks around the edges.
All it needed was the holes marked and drilled and it was ready to fit.
You can see the difference and the reason for replacing the steps when you look at the old one, when the step returns from the powder coater's I shall run a bead of silicone around the gaps between the tack welds and upper edges to make sure no water can get into the gaps, then spray with stone chip.
All done and fitted, I need to do a bit of fine tuning to the drill holes as the rear side needs to rise a few mil and once done the side holes can be marked for drilling.
The step looks a little set back from the wings but this is because the rubber spacers need fitting.
The step is around 710mm long and the stainless I hope to fit is around 1200mm long, this shall be folded over the step and rolled up the rear wing around 150mm and the remainder will be shaped up the front wing with 3 tread.

See ya Paul