
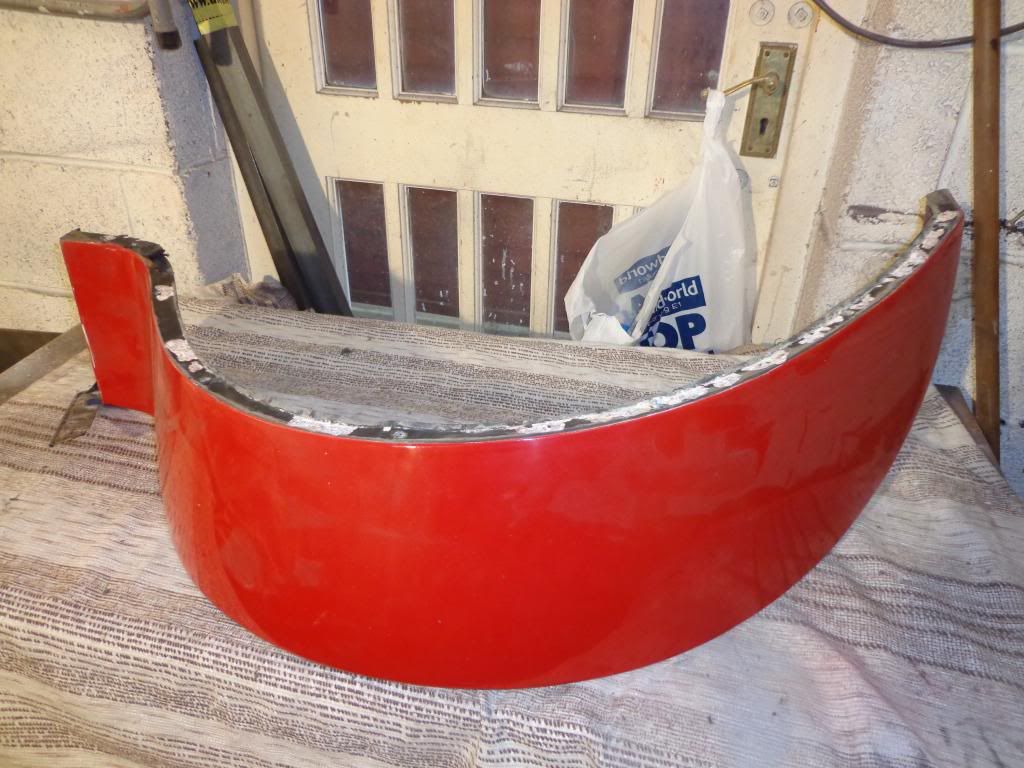
Out came the rear wing for a good clean and like the front wing it is in quite good condition.
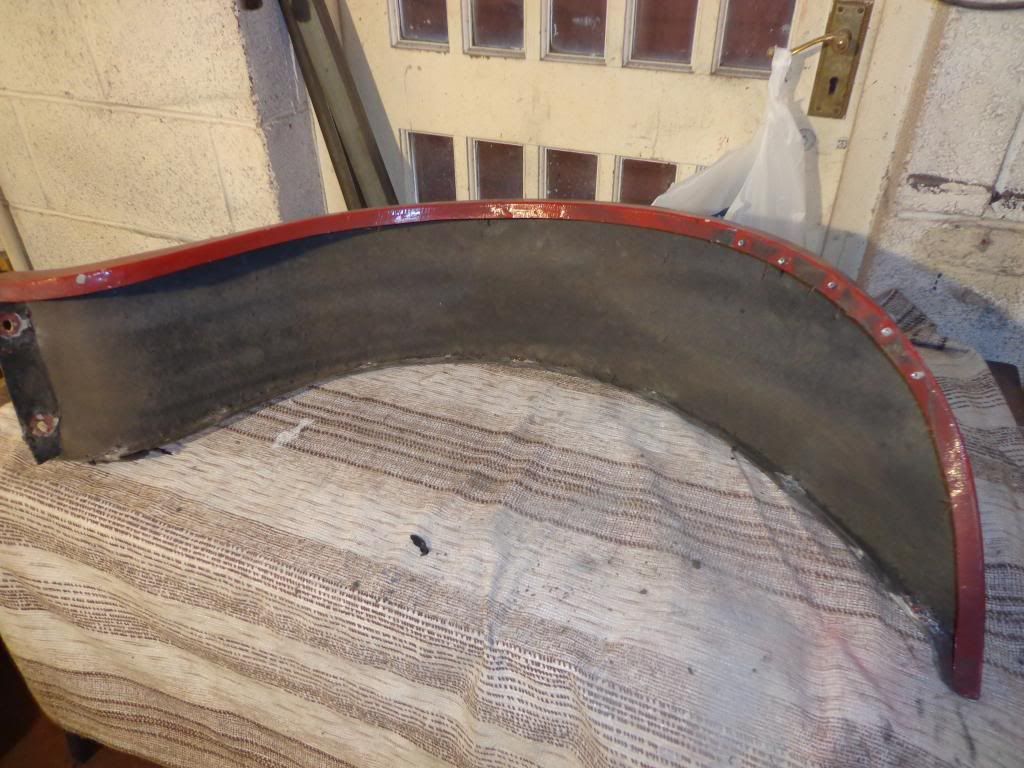
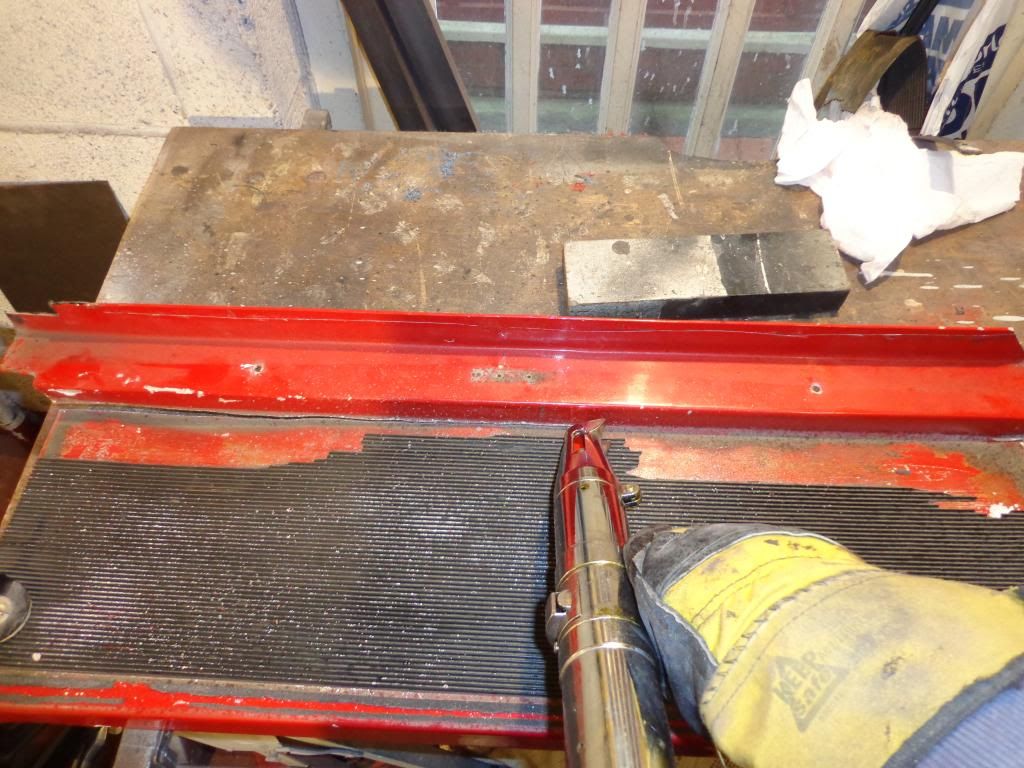
Next was the step, this was the same as the other side; pretty bad, this is due to being wrapped around the steel frame unprotected and acting as an anode.
So out with the saw.
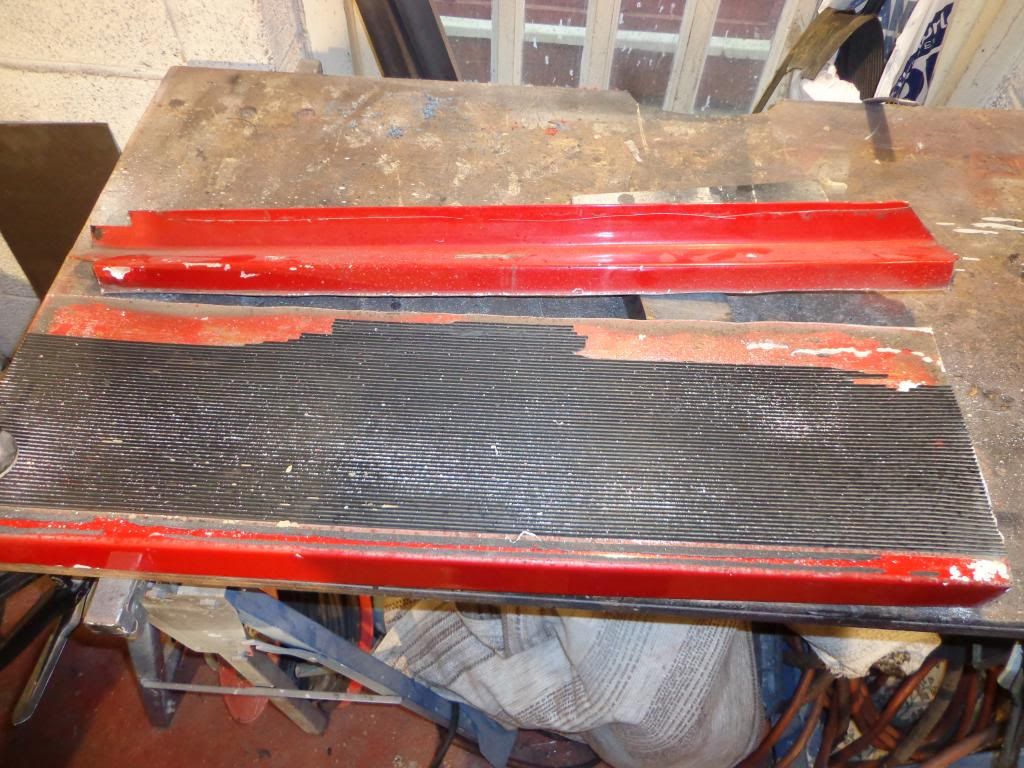
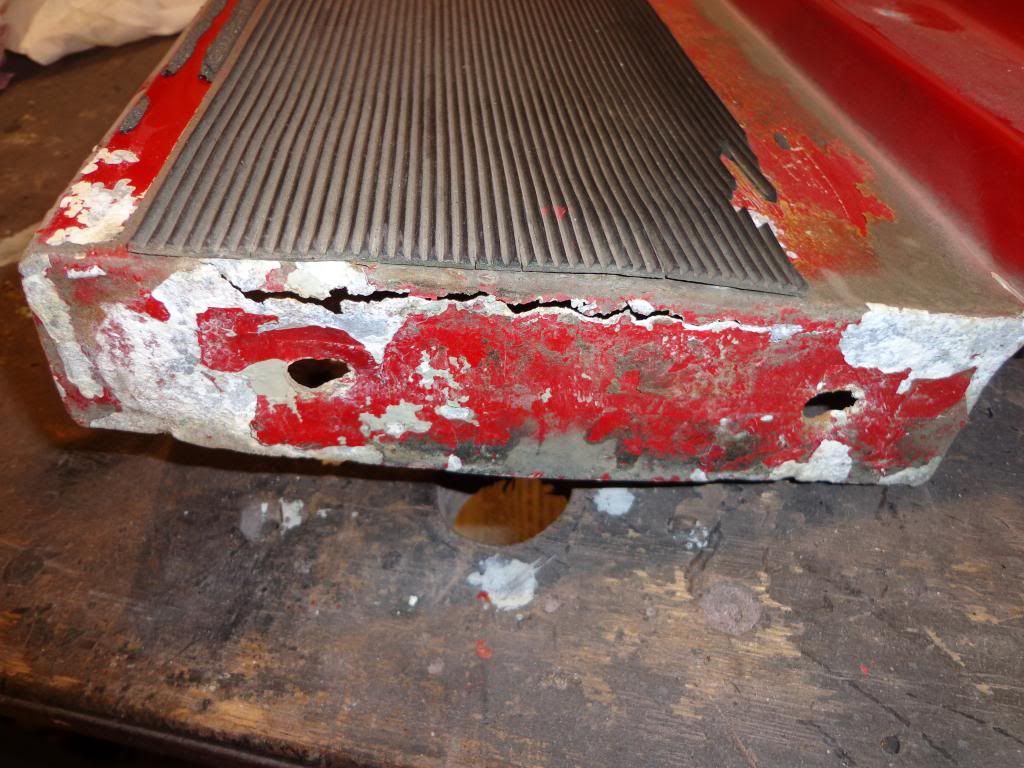
I cleaned up the cut area and sanded out all of the corrosion around the rivet holes before spraying with primer.
While the paint was drying I had a look at the wing interface, as with the other areas the corrosion was around the rivet holes and had blown out the paint, also a number of rivets needed drilling out.
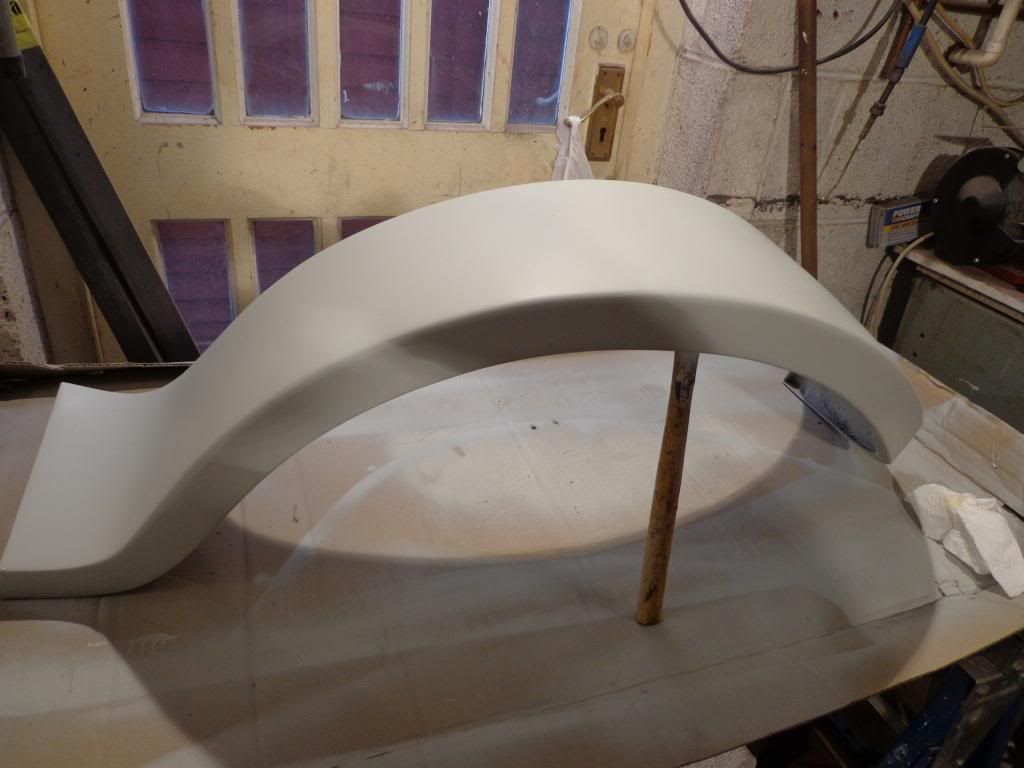
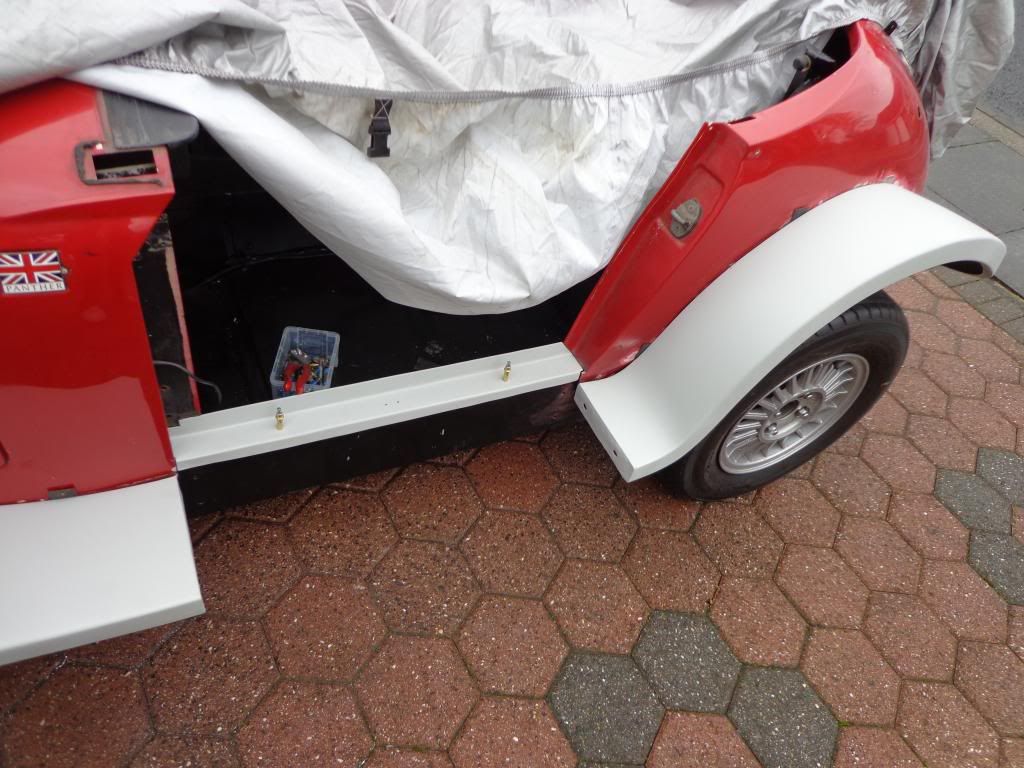
I fitted the step profile and it is a perfect fit, I don't know what happened when the drivers side step and wings were originally fitted but nothing fits correctly, maybe a different guy who new what he was doing fitted the passenger side. The strangest part is the fitment of the drivers side rear wing, I thought when fitting that maybe the wing should have been flush with the rear of the car instead of being an inch or so short but took it as part of the design.
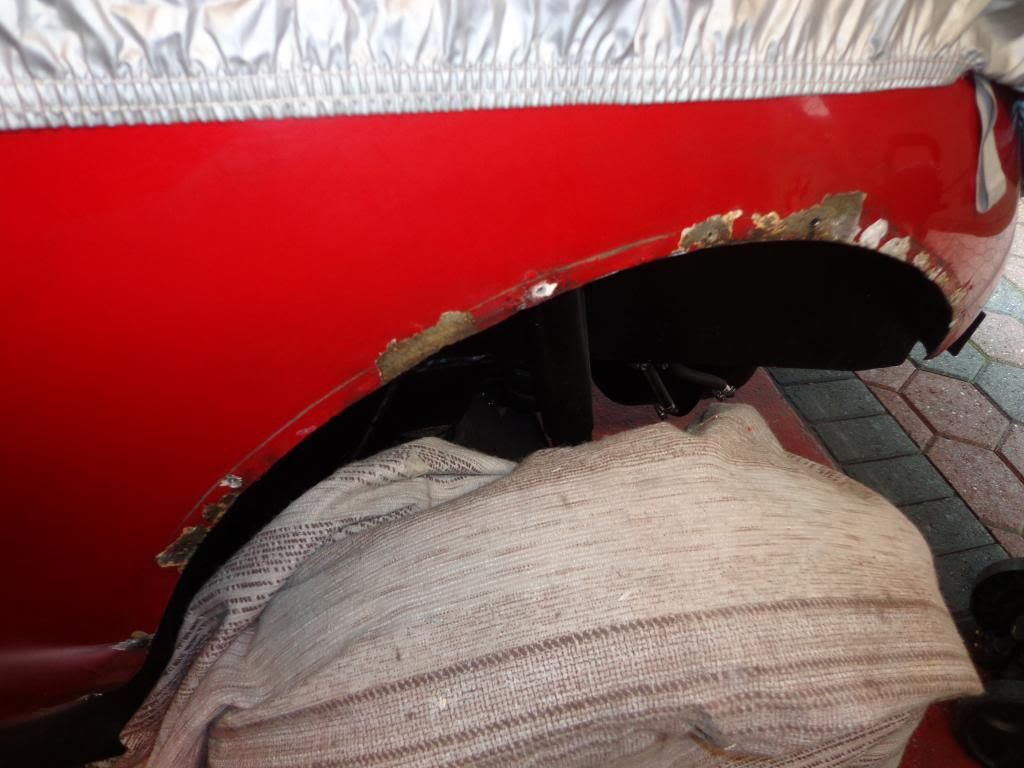
On fitting the passenger side rear wing I can see that it wasn't a part of the design.
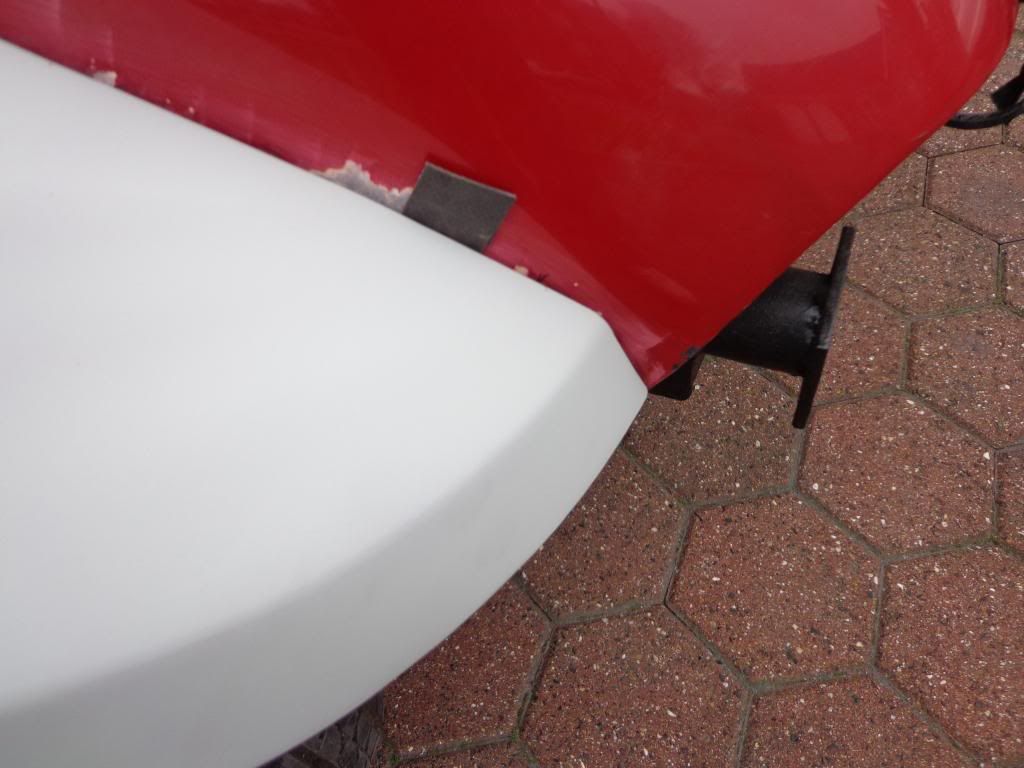
This wing fits perfect on the car profile and goes all the way back; flush with the rear of the car.
In their day these were very very expensive cars, I remember as an apprentice drooling over Panther cars and thinking I would never be able to afford one, so you would think that a lot more care would have been put into there build.
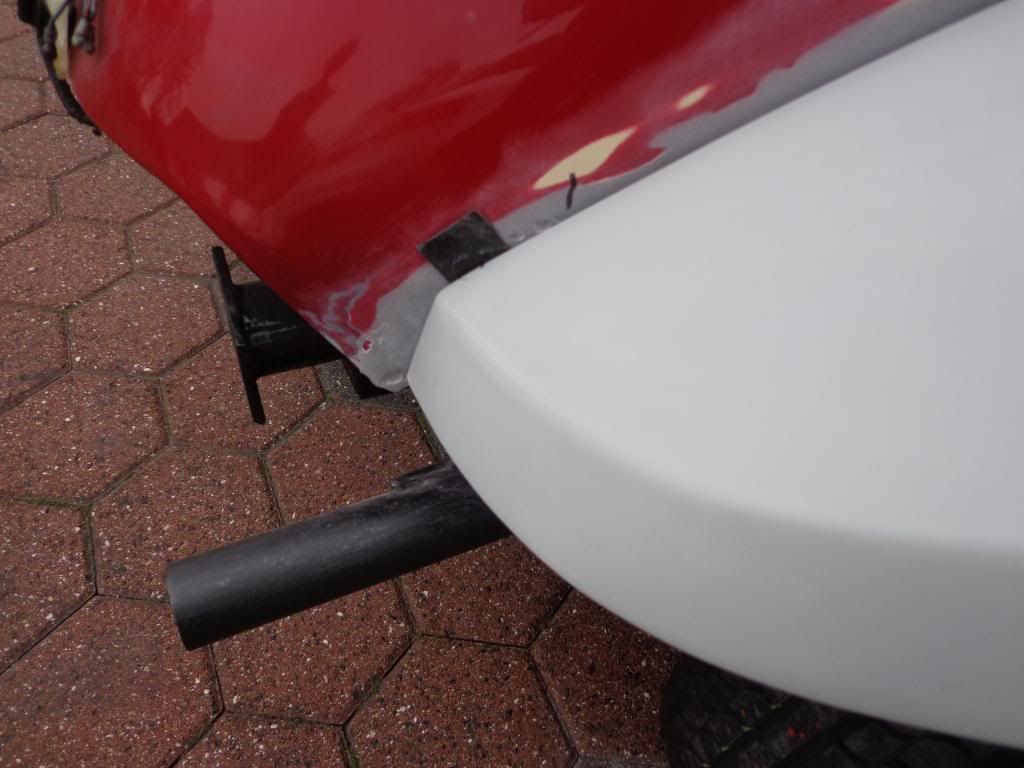
Anyway once the rear valance is on you'll not notice the difference (hopefully), I did take the wing off and try to move it back but nothing fit correctly.
The skin pins I bought are great, I just offered up the wing and popped in a pin, no clamps required.

Now I could measure for the step only this time I took allowance for the wing piping and stepped the legs off the chassis.
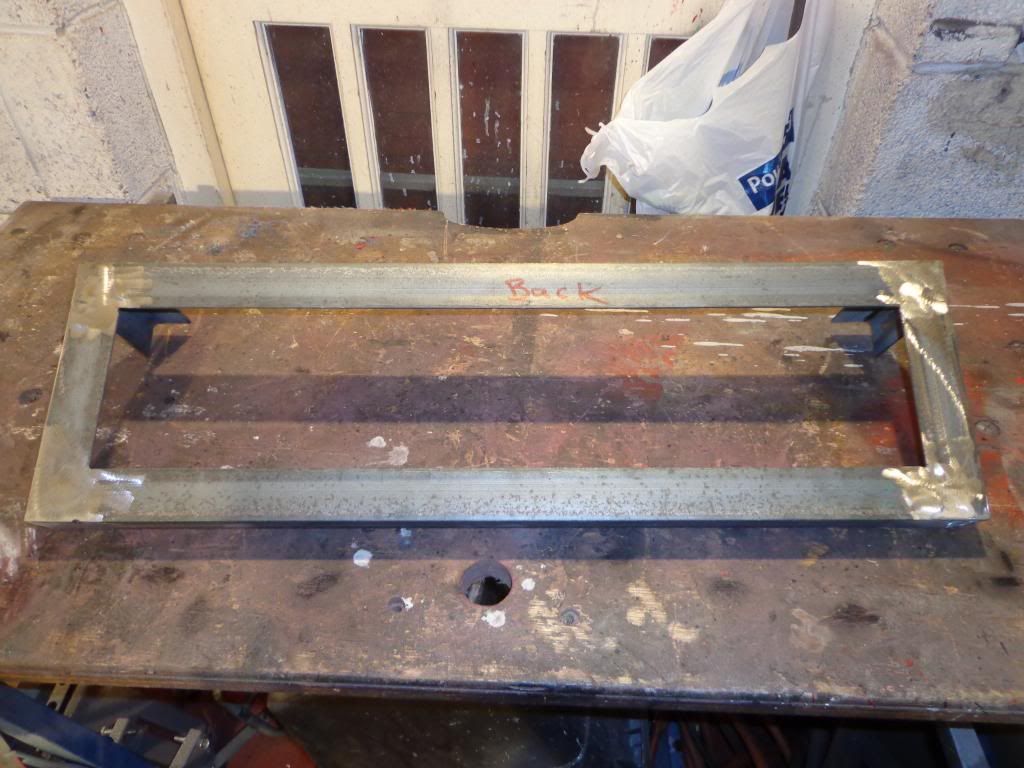
I got the step mostly finished and will complete tomorrow but managed to get the frame complete.
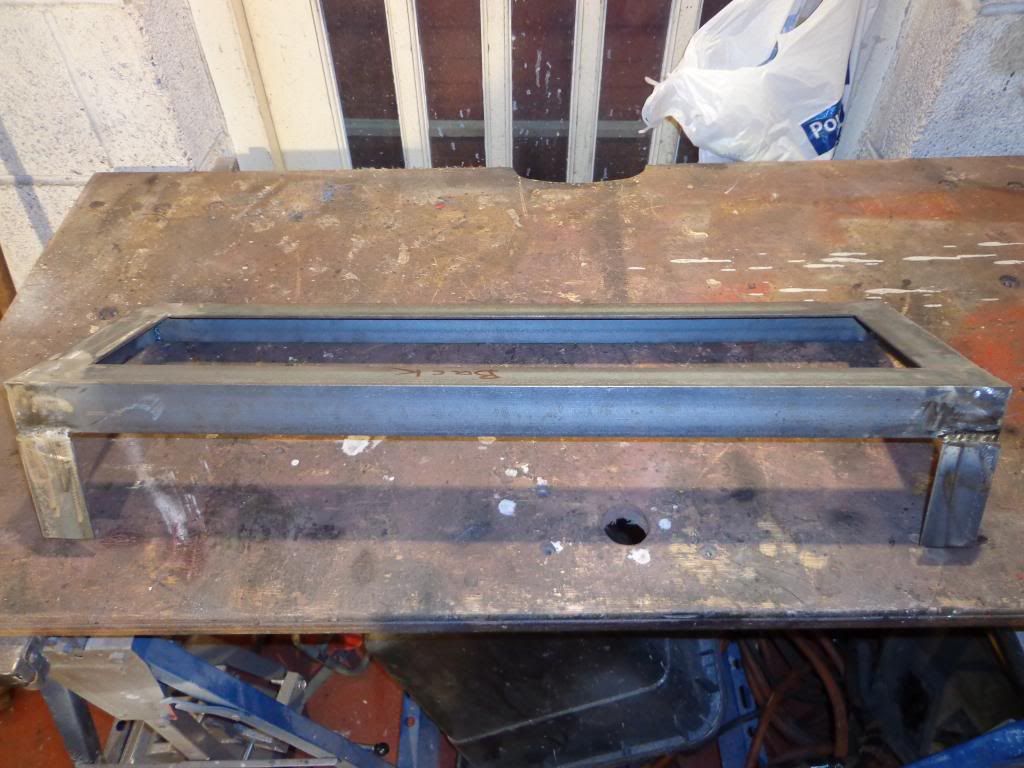
Again I used profile cuts instead of miter's on the joints and I took a better photo this time incase anyone wants to use them.
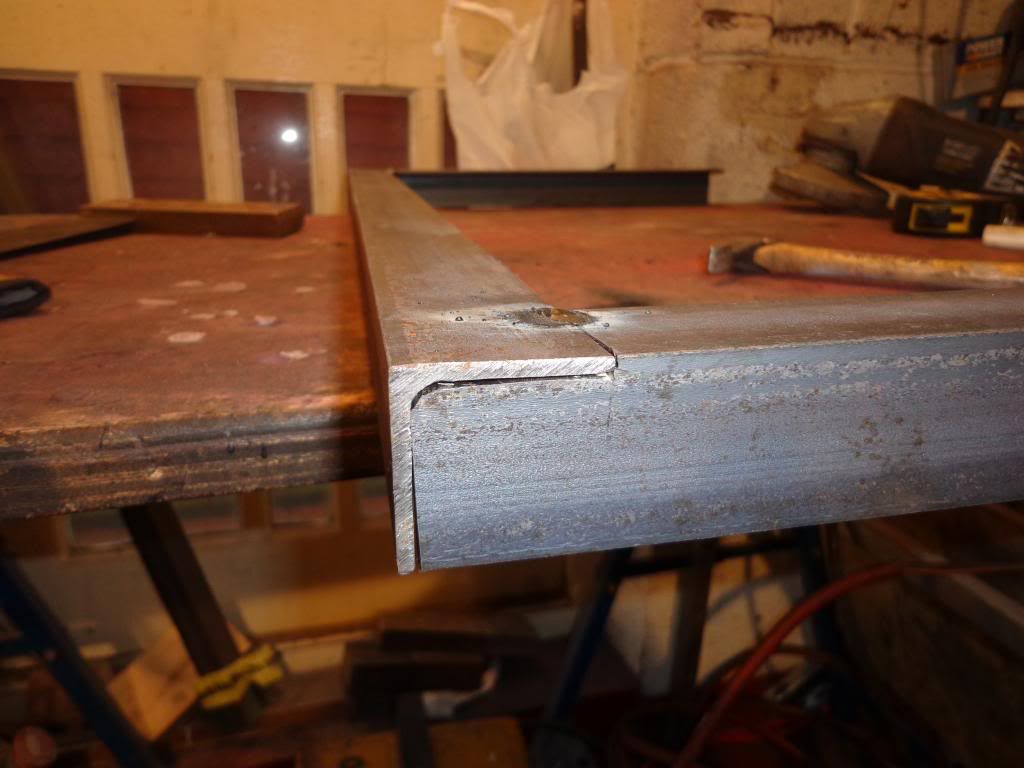
Much better than mitering and gives a perfect square corner when the weld is ground down.
The frame is made and all welded, all it needs is the top welded on and the holes drilled and the welding is then complete and hopefully the mess that it creates.
see ya Paul
No comments:
Post a Comment