
Home again for 2 weeks and have started as I hope to carry on, although Lynne has taken another weeks leave so it may not be as much as I was hoping for.
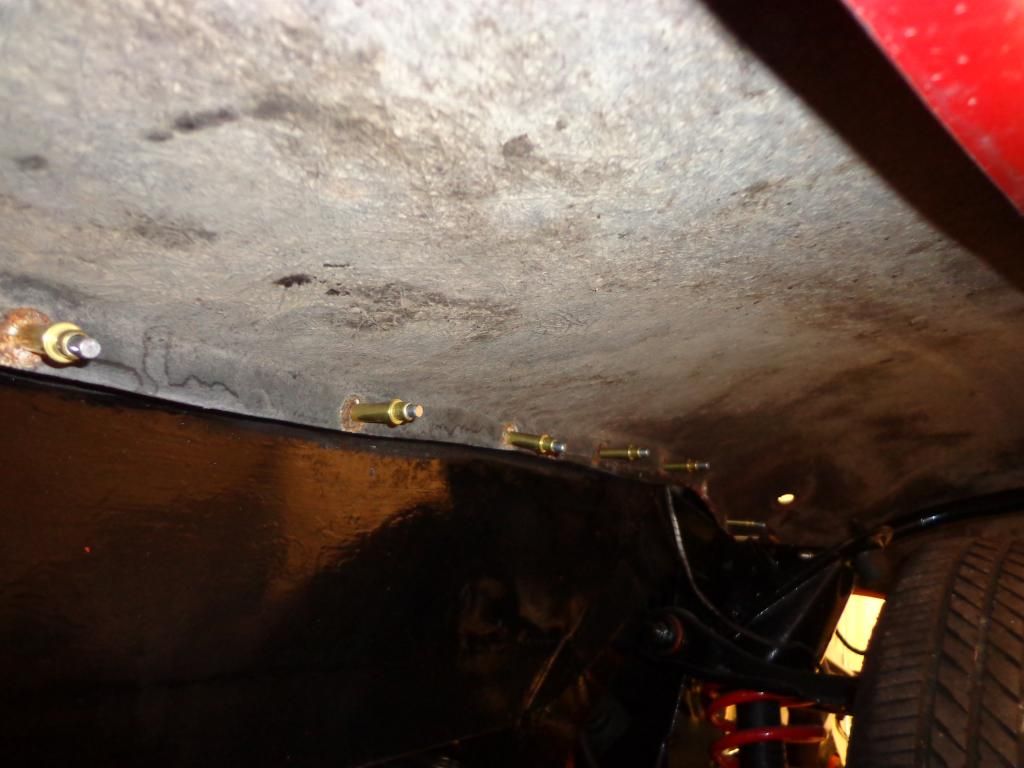
My plans are to get the drivers side wings fitted and the step made, so today I started by removing the rear wing I had attached using the Cleco knurled pins (called skin pins) and got to work on the corrosion where the wing flange met the body.
There was already an area filled by Joe when he was showing me the ropes, I used the DA sander to remove the corrosion and to feather in the paintwork.
Once all sanded down I mixed a batch of filler and spread on.
Once dry I rubbed it down and re-fitted the wing, it still needs a lot of work before priming but is good enough for the wings to test fit.
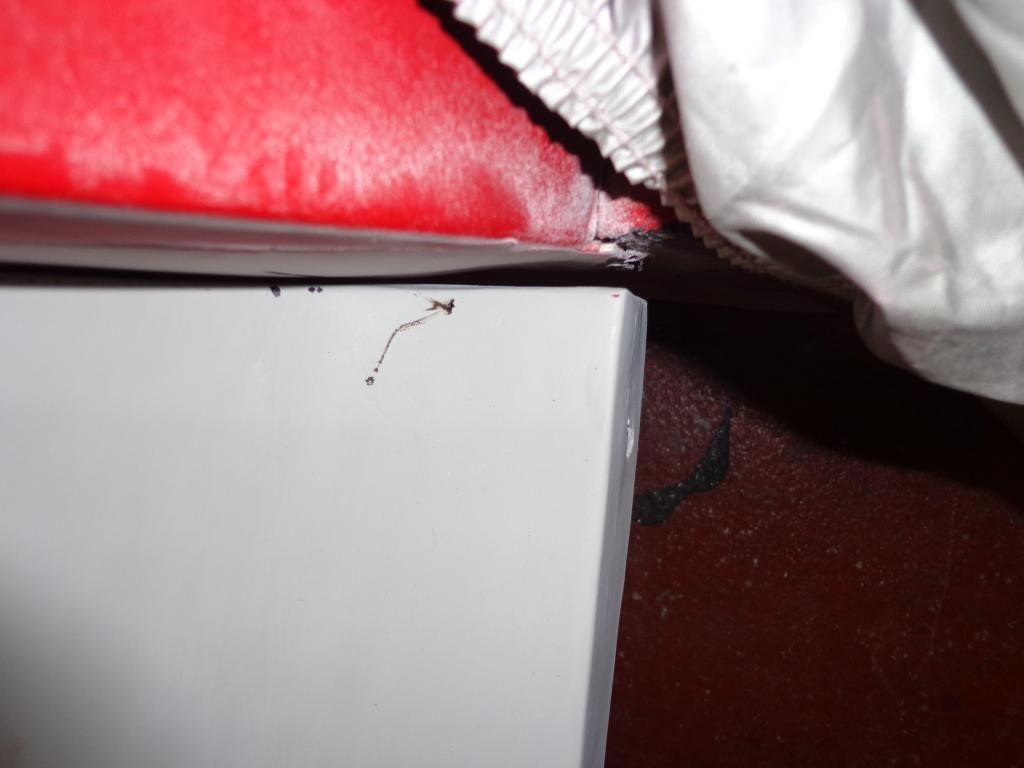
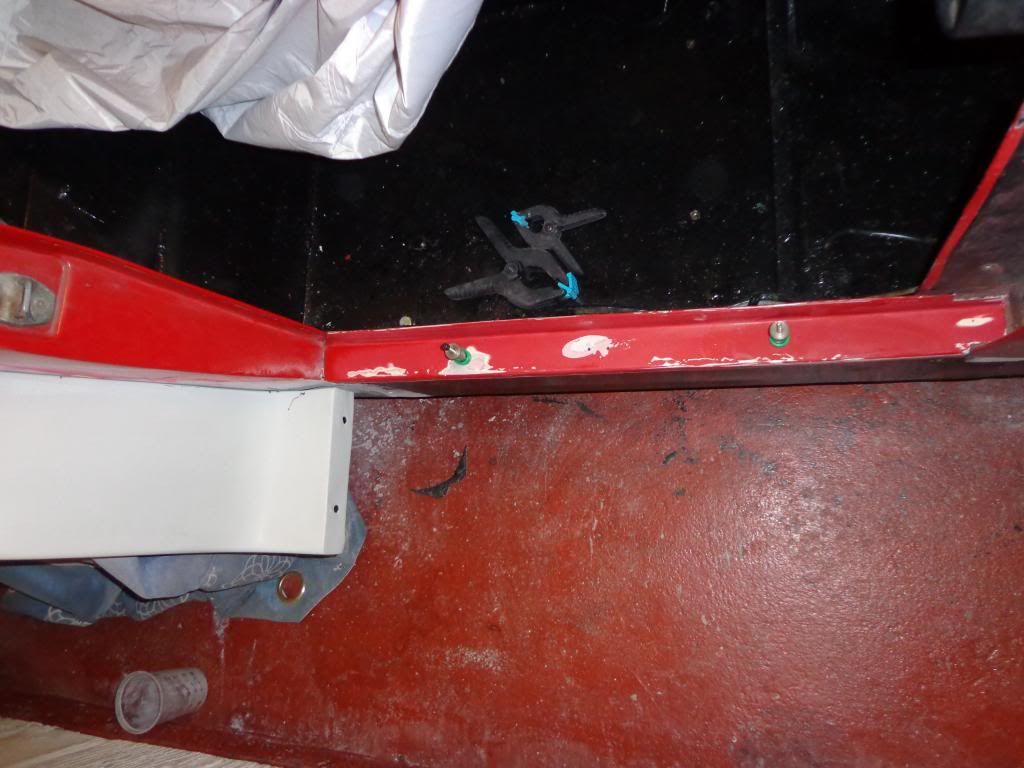
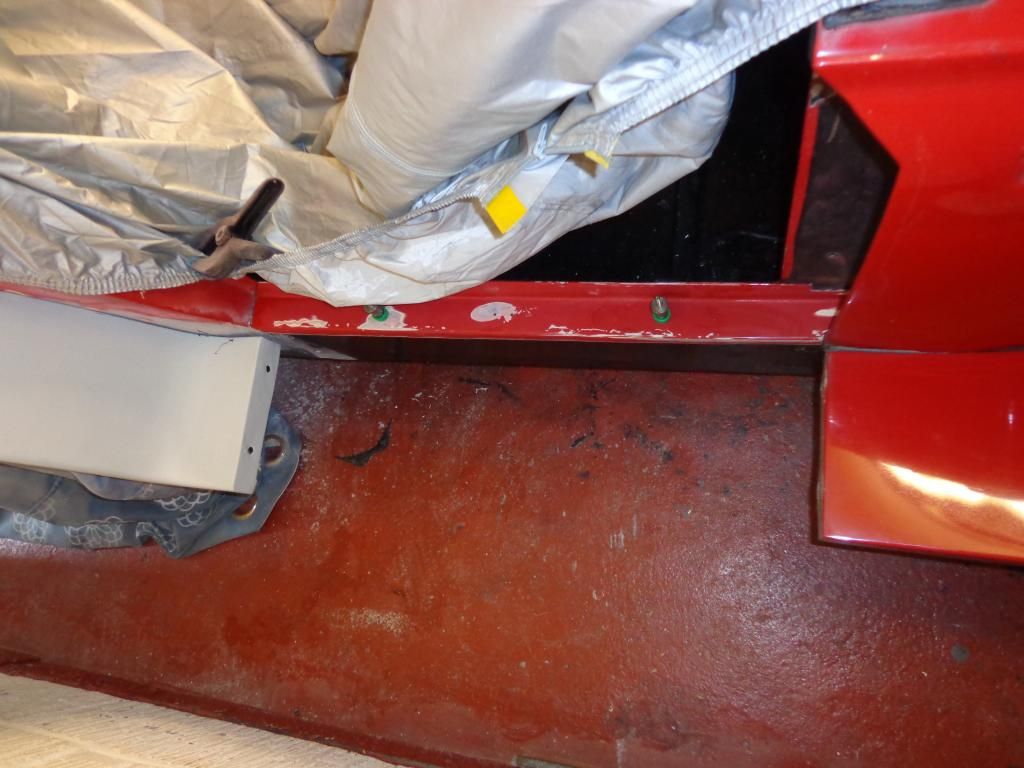
This photo shows the size of the gap at the bottom of the wing and the body, I measured it at 6mm which I shall fill and blend in.
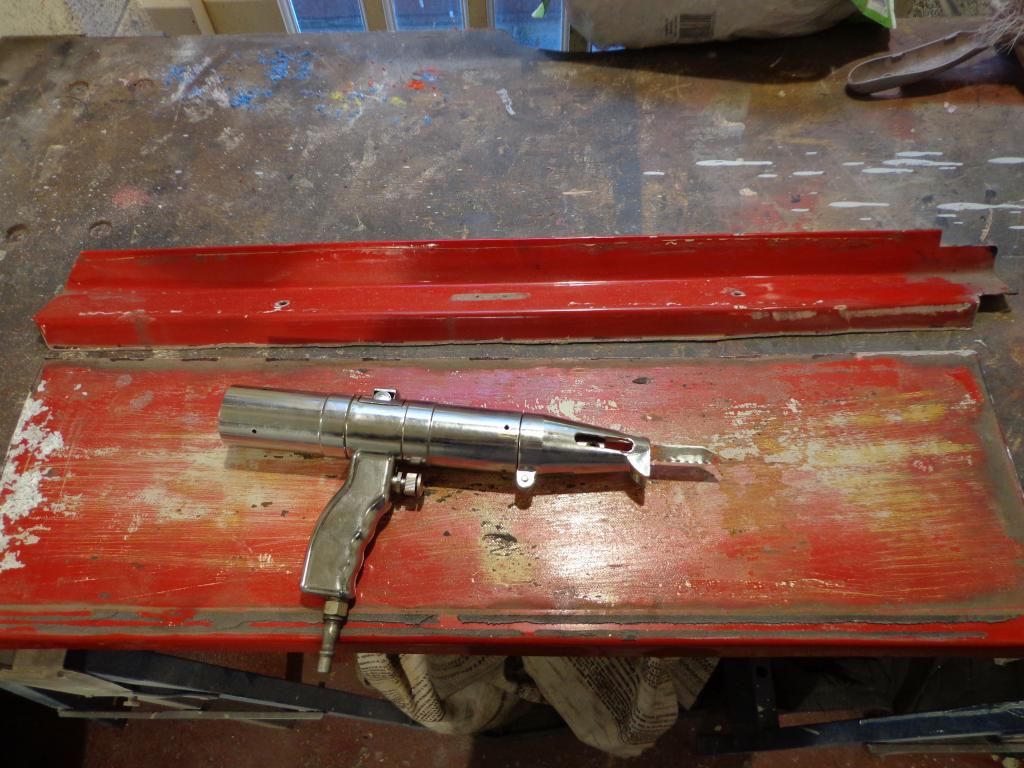
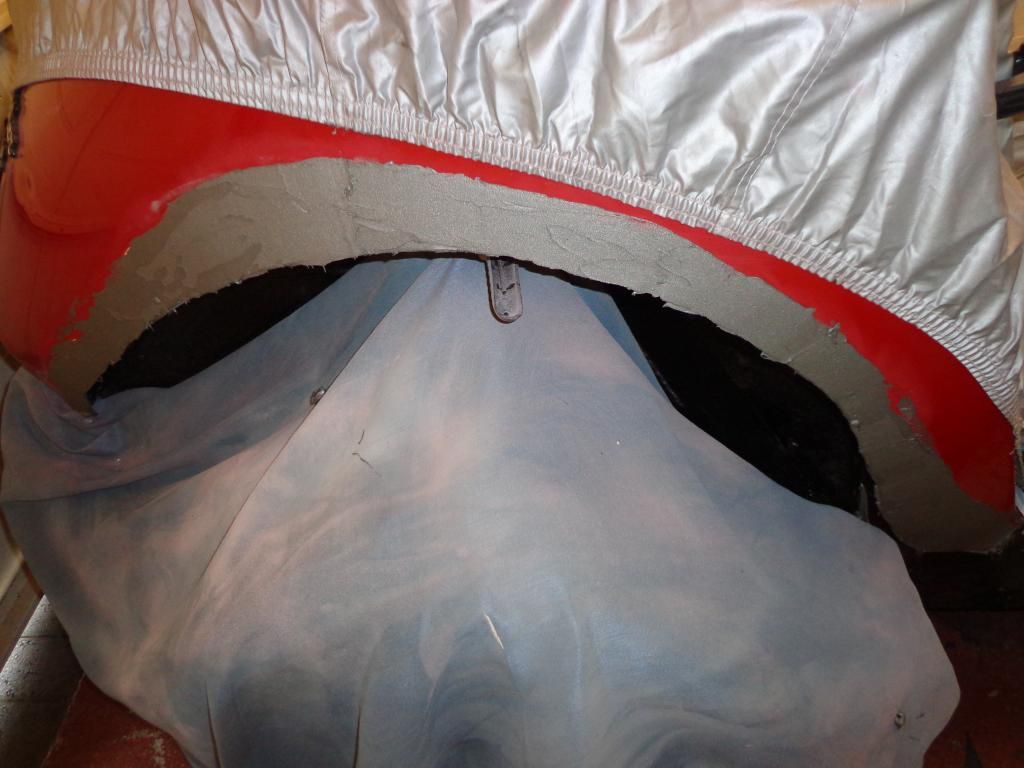
I used an air saw to cut the section off then with the air file smoothed the edges down and with the 120 grit rubbed down ready for the primer and put in place
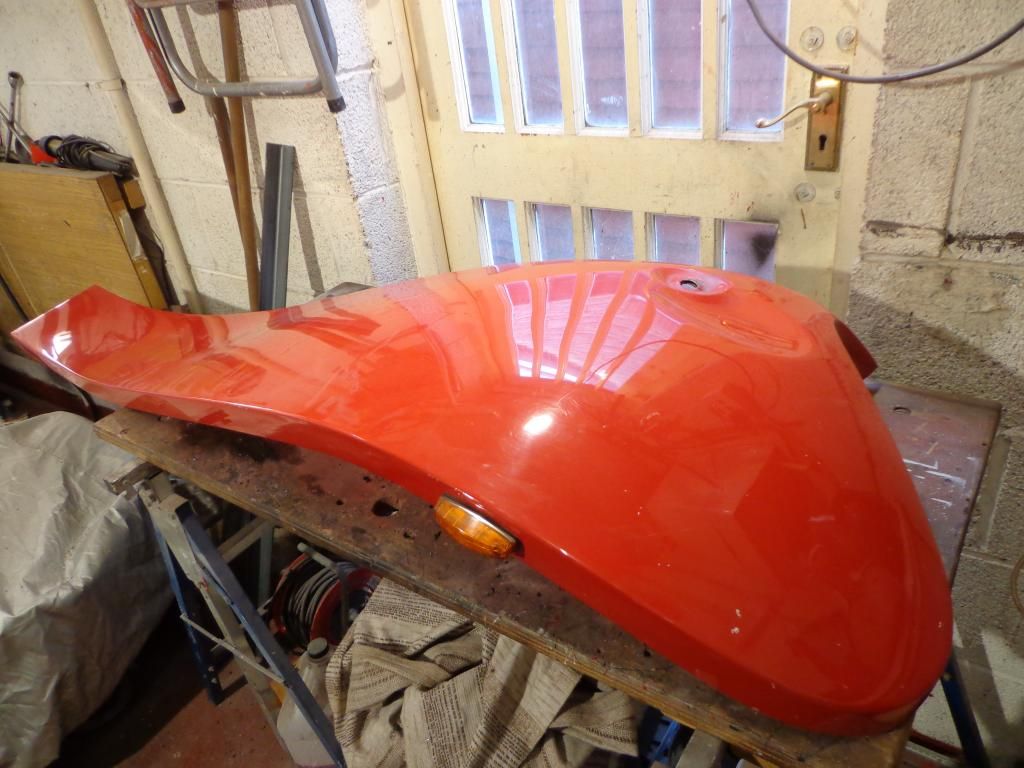
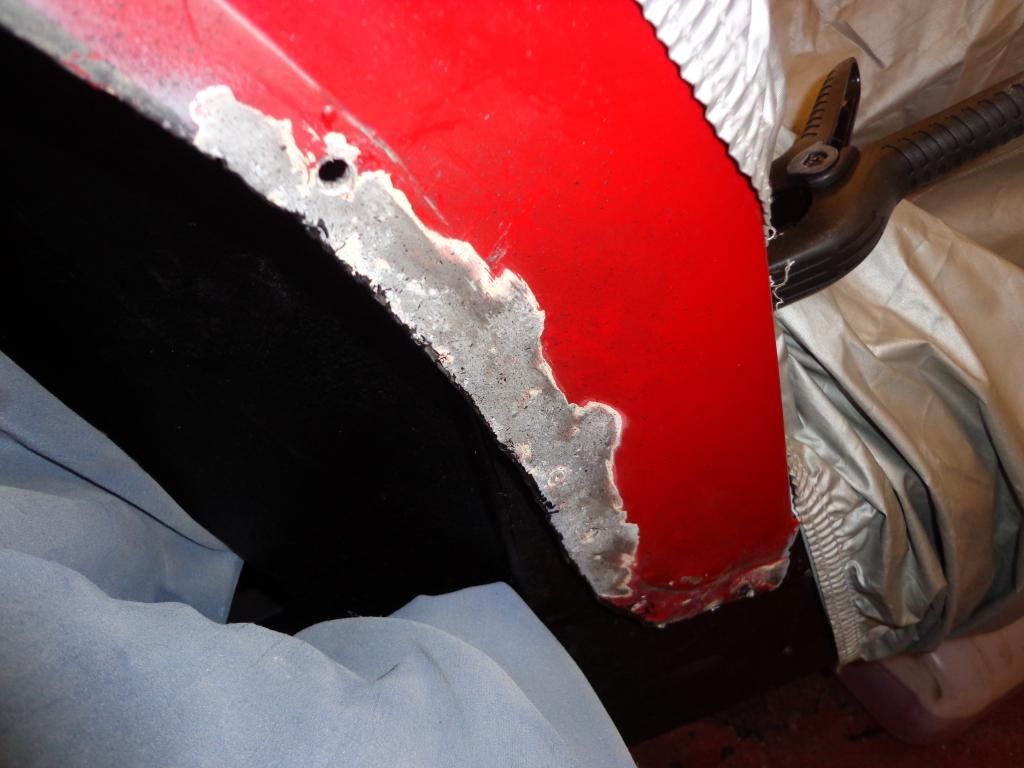
I was very pleased with the lack of damage to the wing, only a few problems with corrosion around the support bracket
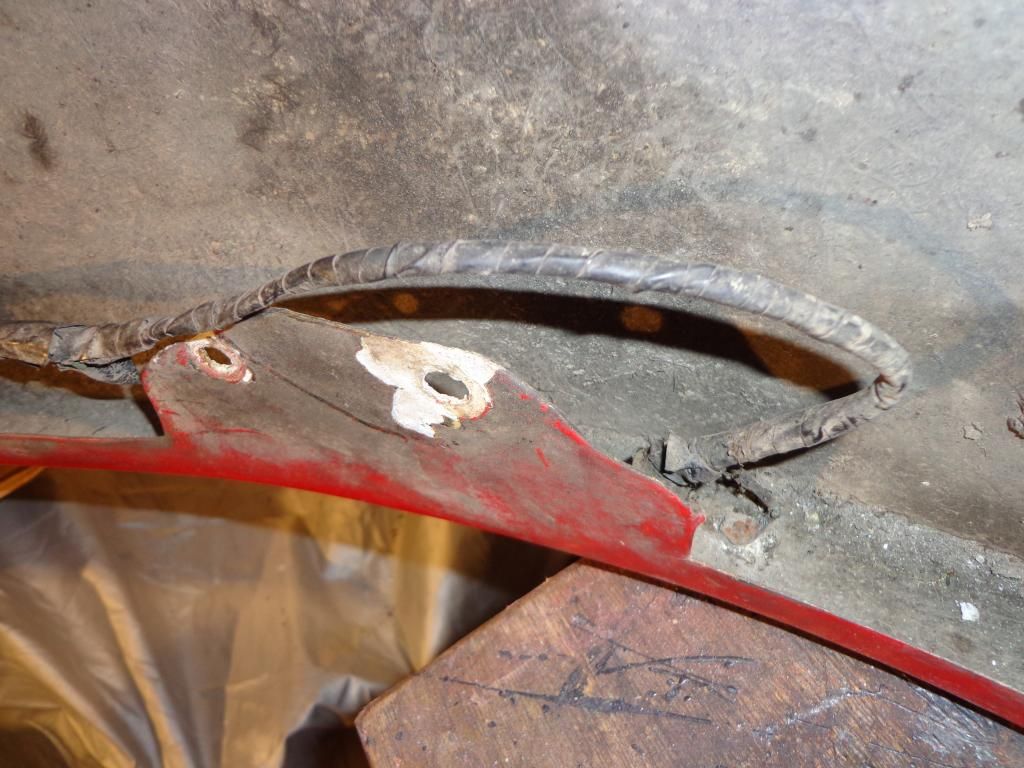
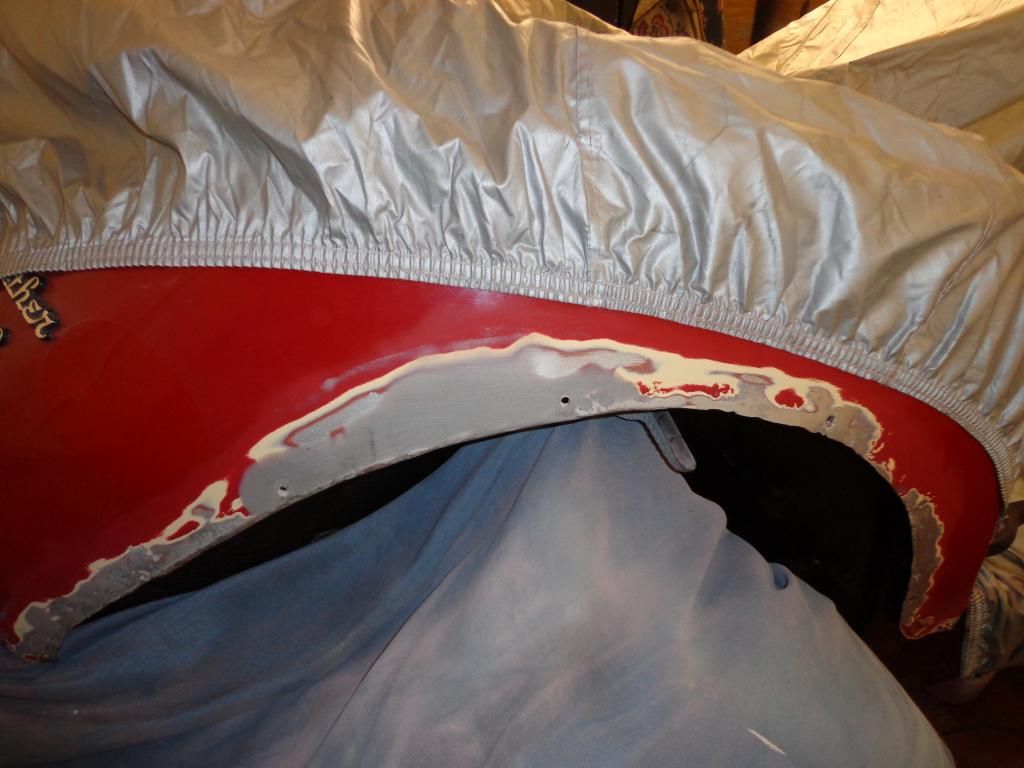
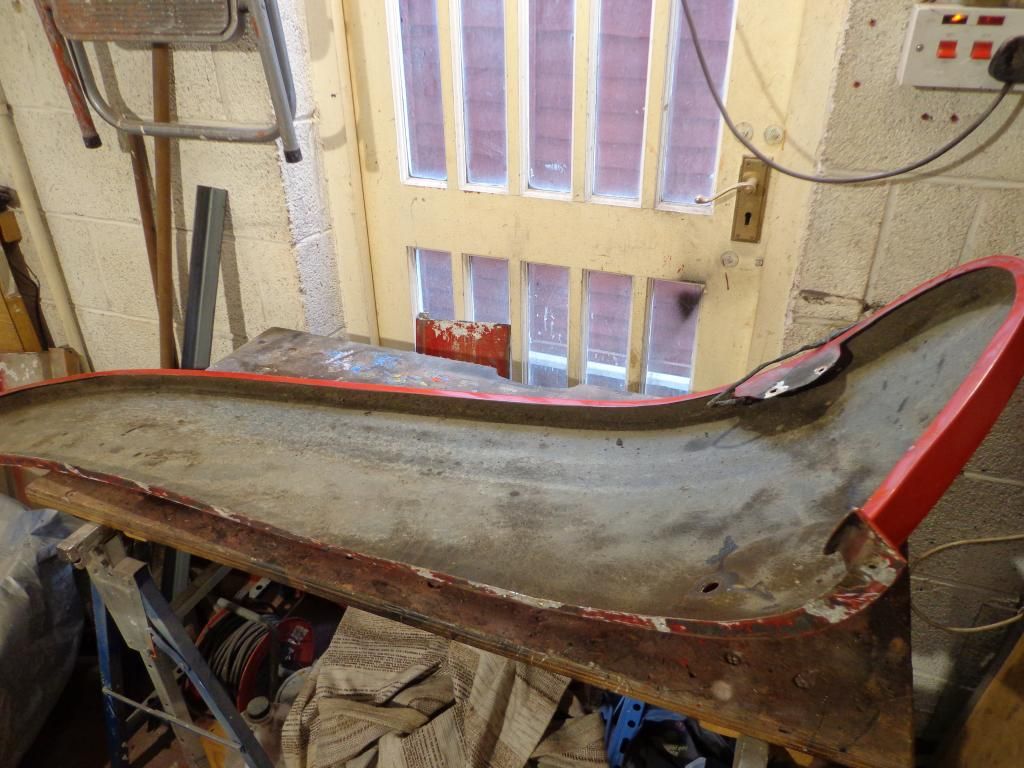
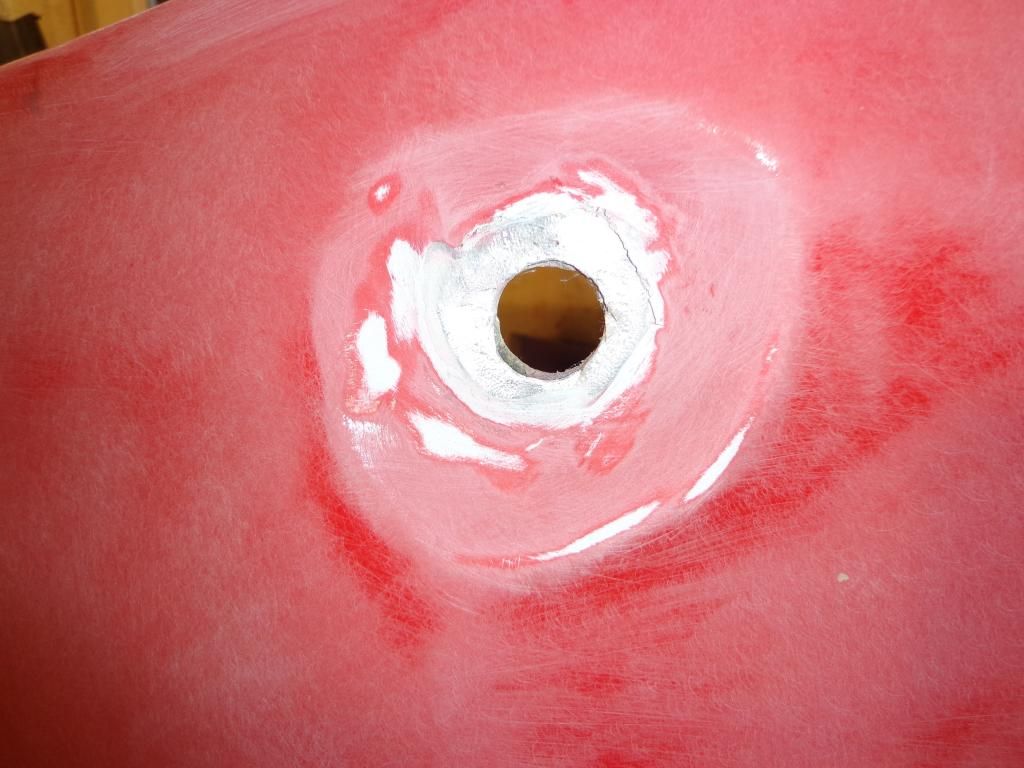
and under the indicator (which I had to drill out). The area I thought was the worse section was under the headlight
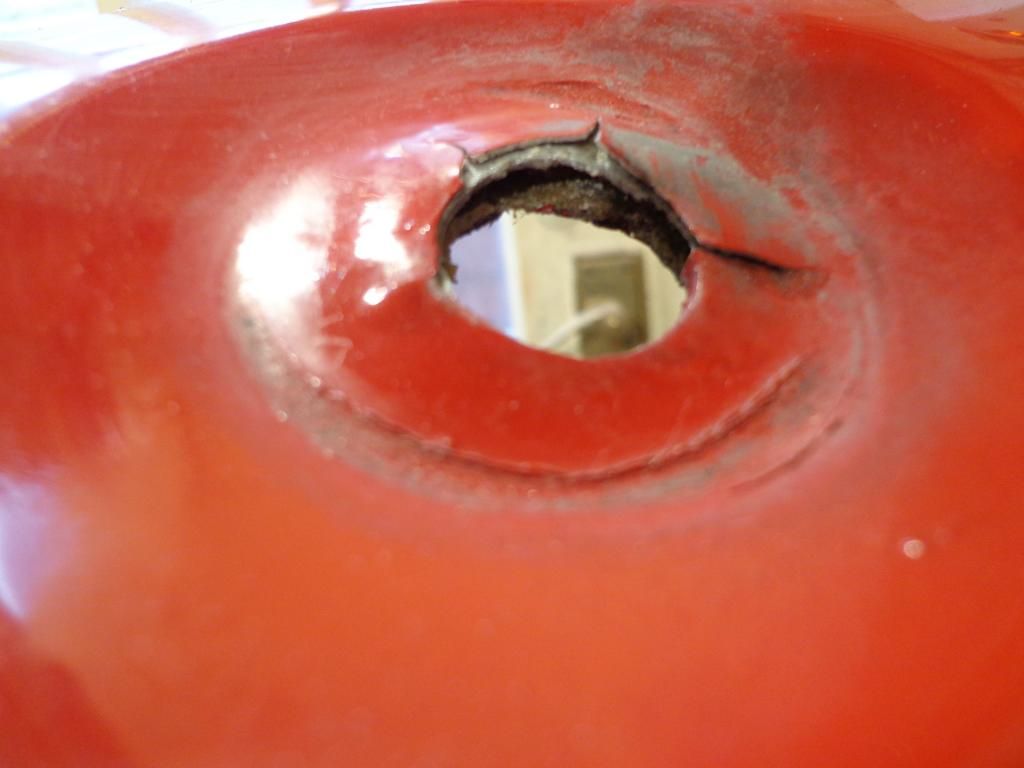
It looked like the aluminium had corroded and split apart but after grinding off the paint and cleaning I found that the Aluminium was fine and that the separation was above and below the skin. The paint and the fibre glass had separated probably due to water ingress.
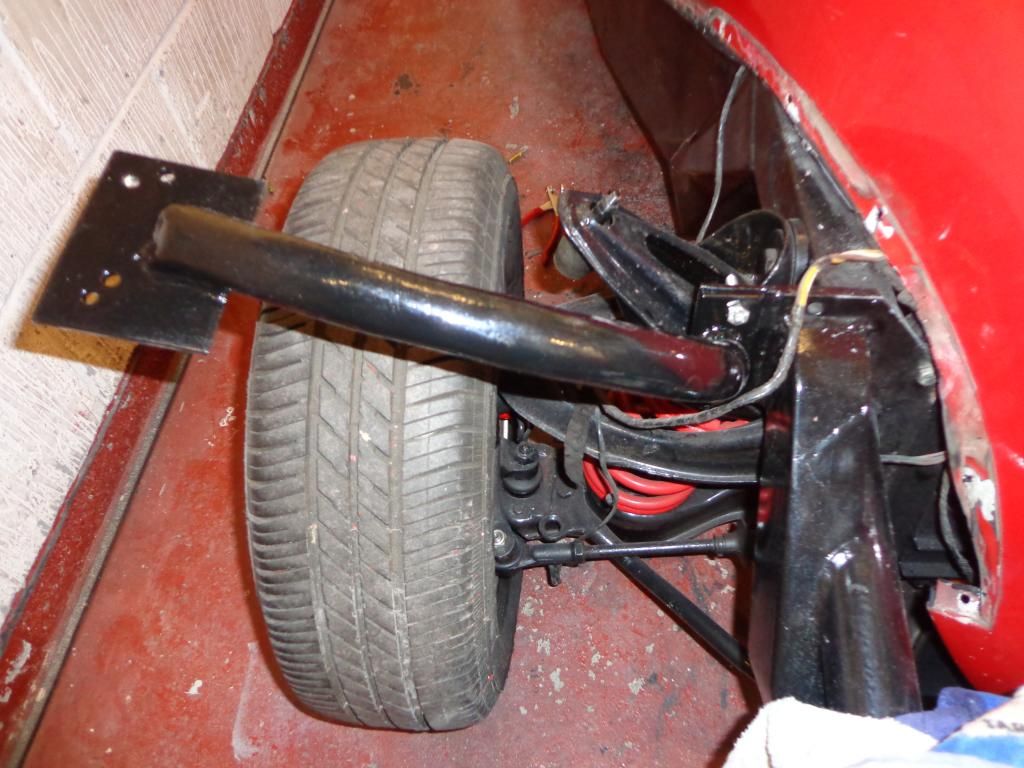
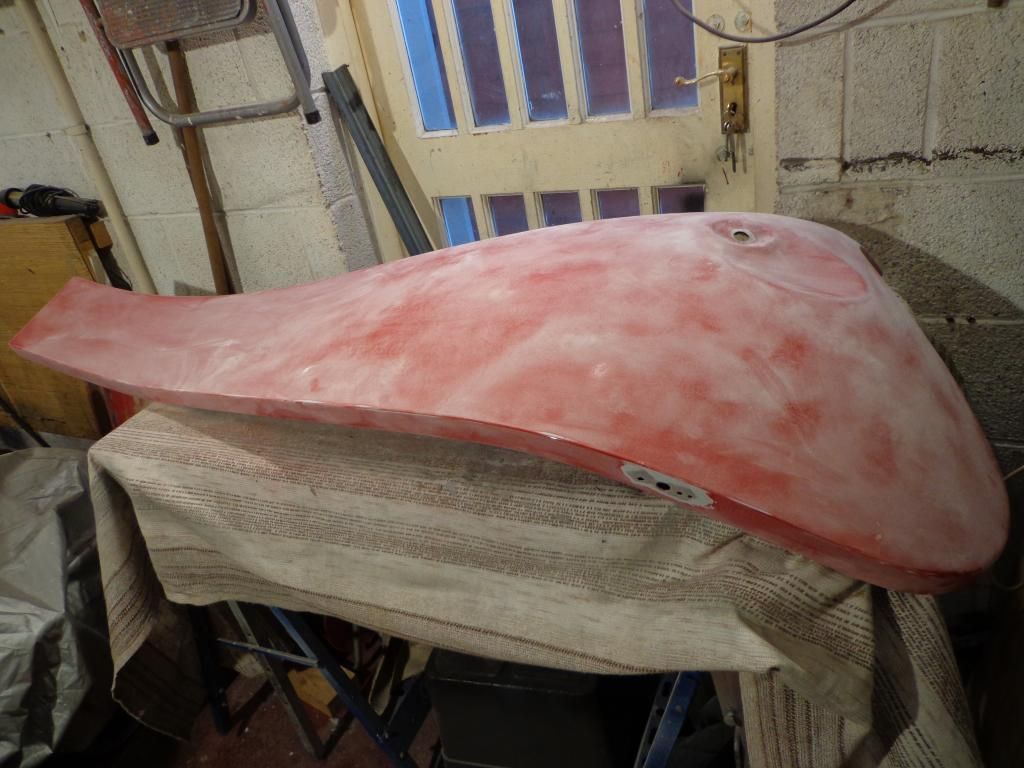
I gave the wing a good clean especialy the underside as this was pretty bad, I wanted to check the wing for fit before starting the repairs so the wing supports came out of storage and bolted in place.
I'd had these powder coated and they look great.
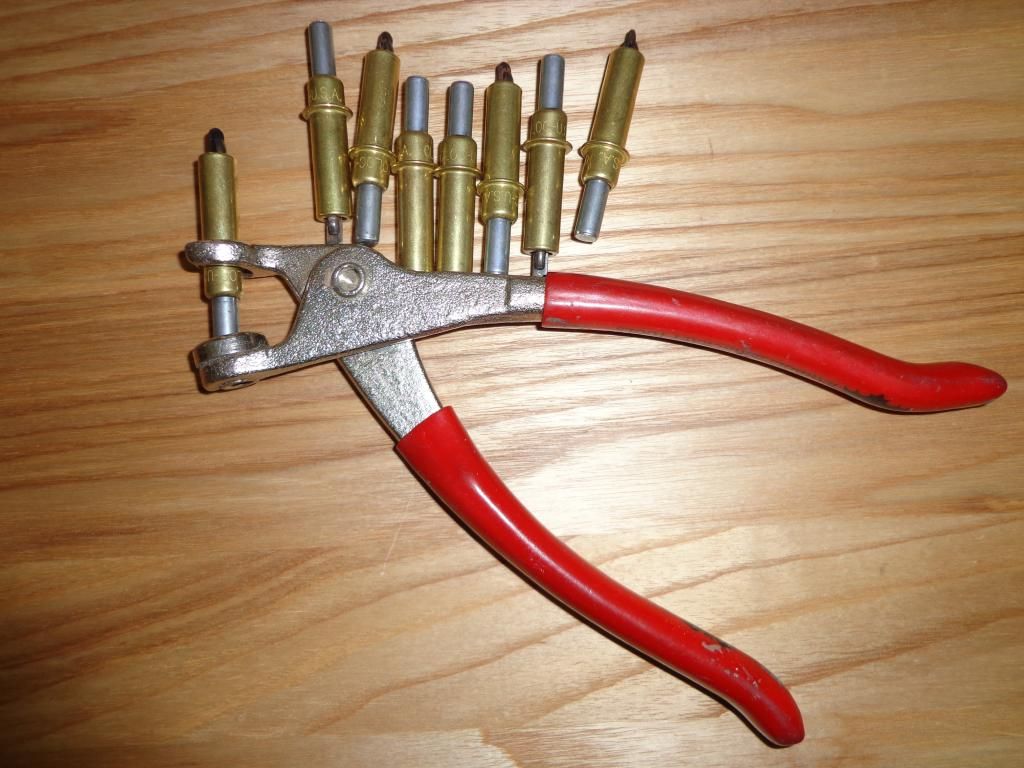
While away I had an ebay search for more Cleco skin pins and managed to find a pack of 25 for around £15 inc p+p this should be eneogh to fit the wings, these are the spring type and require a pair of special pliers to compress them before fitting.
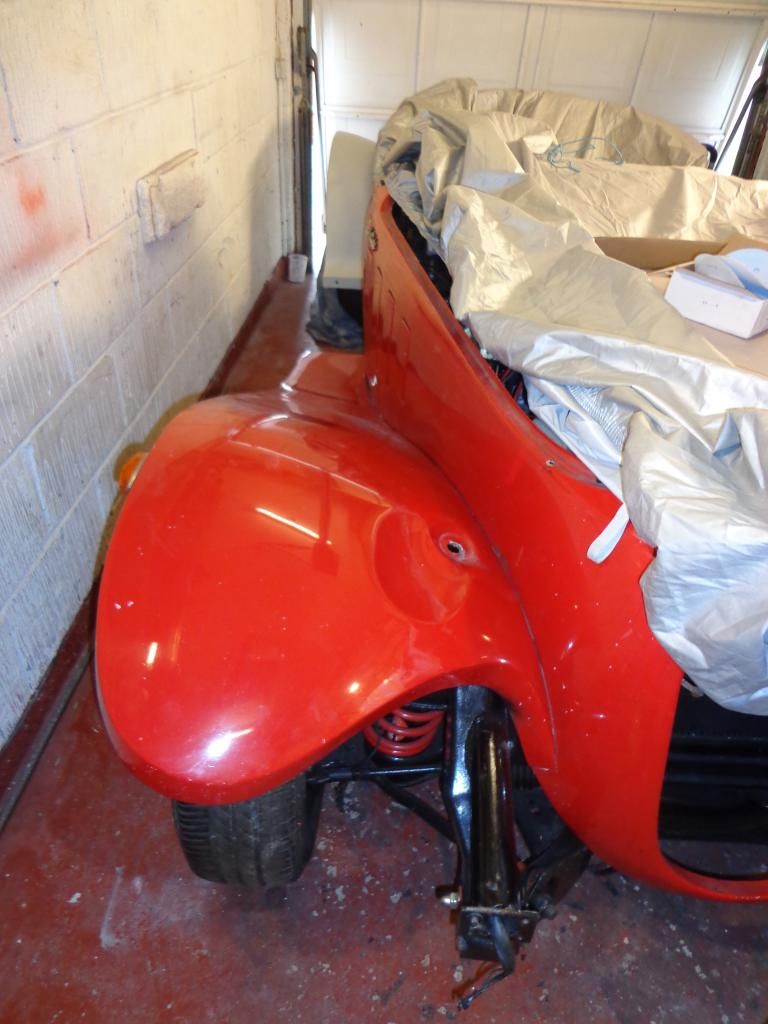
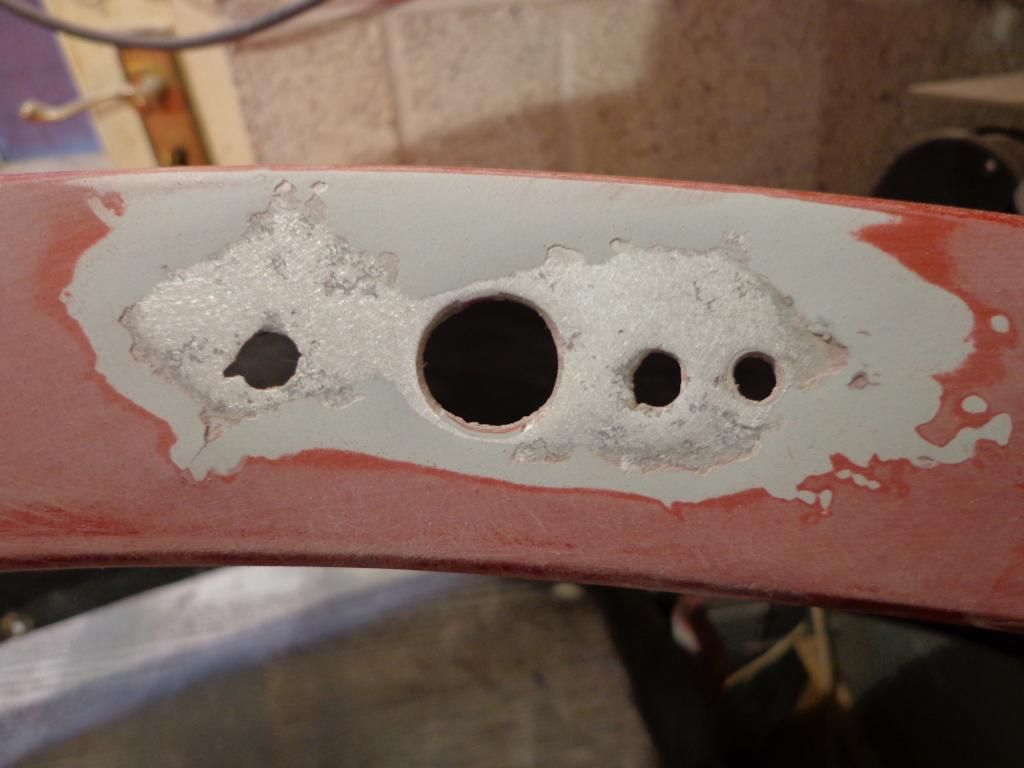
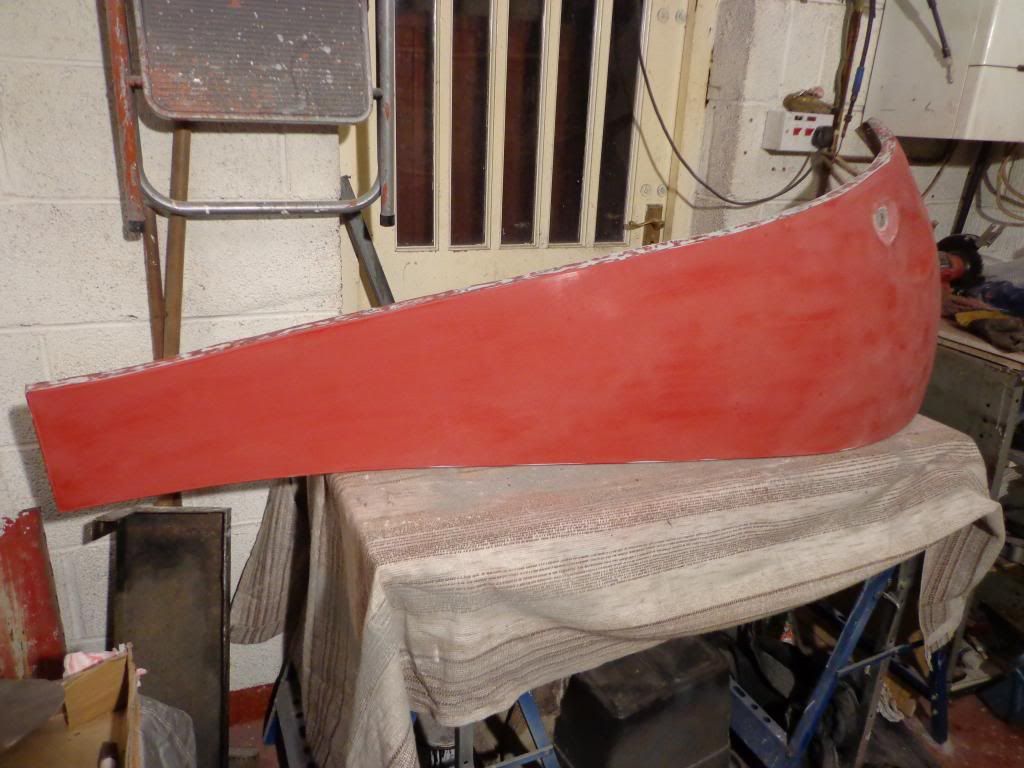
The wing fit great, once I am ready to measure up for the step I shall place spacer's between the wing and the body to take the place of the wing piping but for now I shall fill and sand then maybe a coat of primer. The body where the front wing was is in far better condition than the rear, the only bad sections are where the rivets went through the body.
The side light and headlamp hole got sanded down to bare metal and feathered in, I shall fill and spray next.
see ya Paul
No comments:
Post a Comment