Well the weather was glorious so the top was down on the MX5 and we set out north this time, we headed off up the Northumbrian coastal route and ended up in Craster. http://www.northumberland-cam.com/craster/
Craster is a small coastal fishing village famous throughout the world for is oak smoked kippers and I fancied some for breakfast, and very nice indeed. After the kippers we went for a walk up the coast to Dustanburgh castle. Just one of the many castle on this side of coast.
 |
| Lynne and castle |
Only around a 2 mile walk and very nice when the sun is shinning, anyone not done the drive up the north coast will surely enjoy it.
Things have started to arrive on the car front. firstly the powder coater arrived with the front end suspension and subframe. What a fantastic job, every bit looks like it is straight off the shelf, I am really pleased I took the advise of my mate Shaun to get it done professionally. I already have a collection of bits ready for the next batch, I shall post photos of the quality when I re-build the suspension.
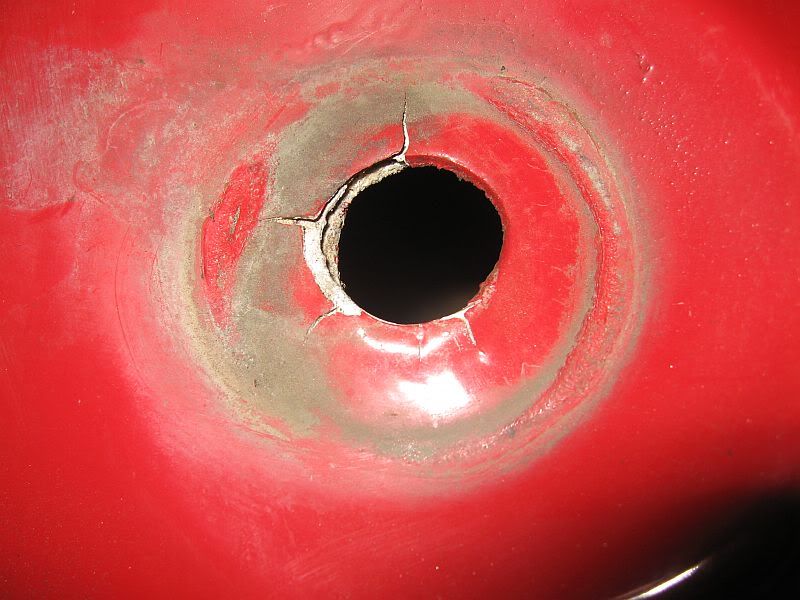
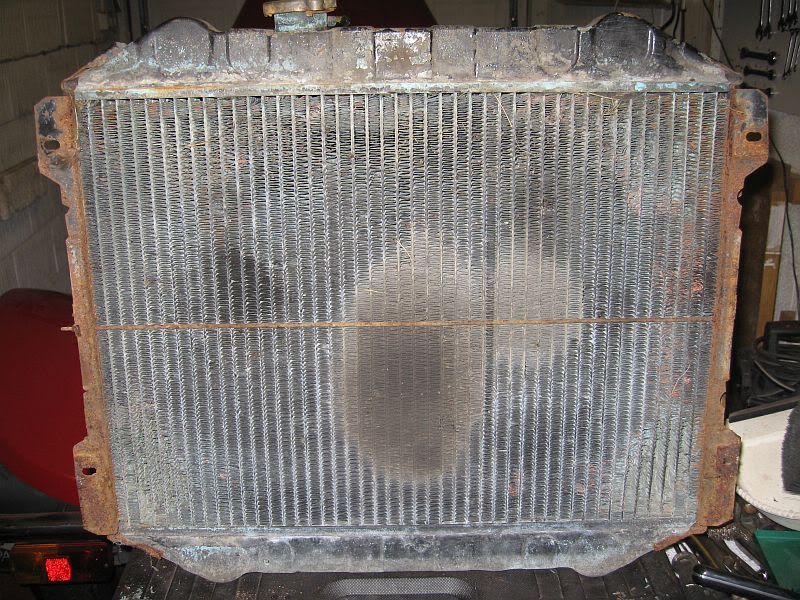
Next was the radiator, got a call from Advanced radiators and picked it up on my drive north, yet another fantastic job. After seeing what came out of the car to what they where able do it was well worth the £166
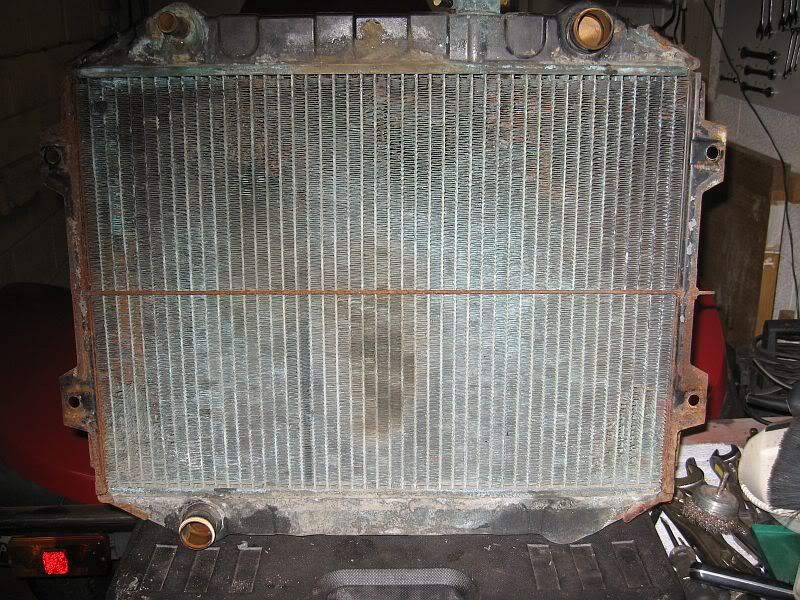 |
| Radiator before re-core |
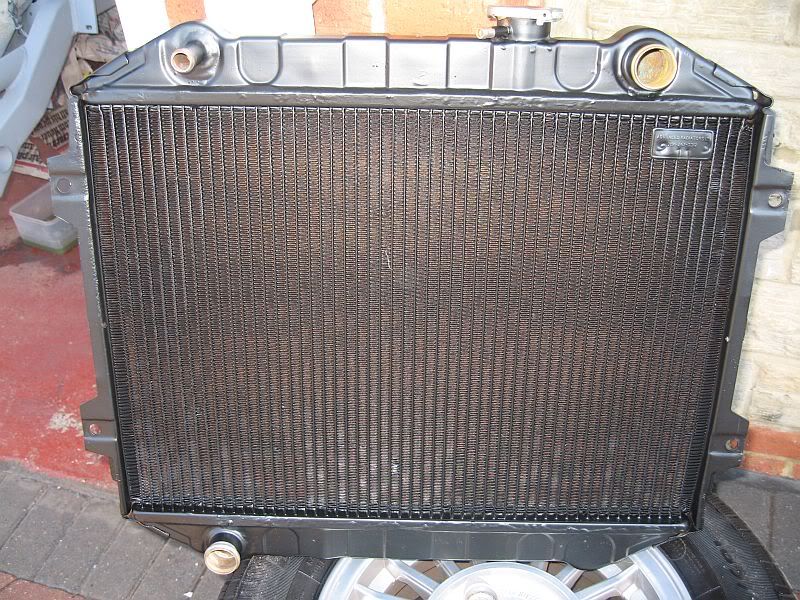 |
| After re-core |
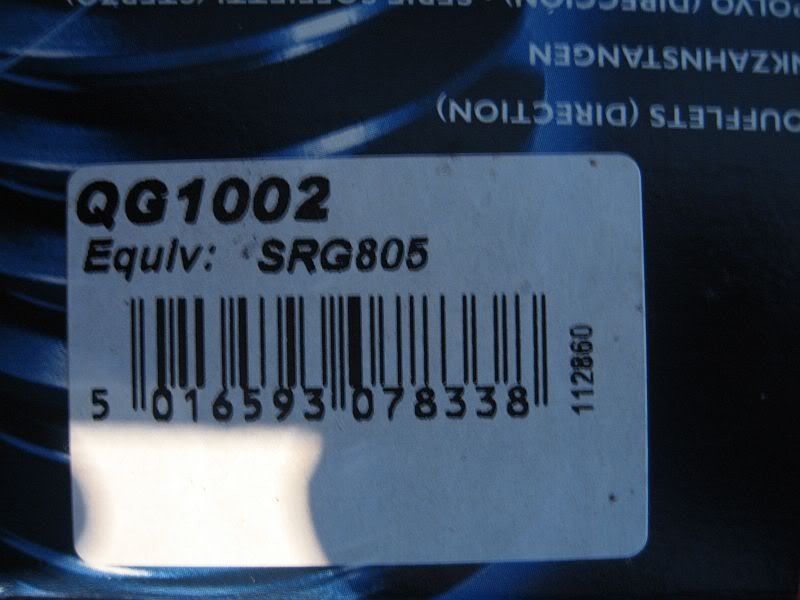
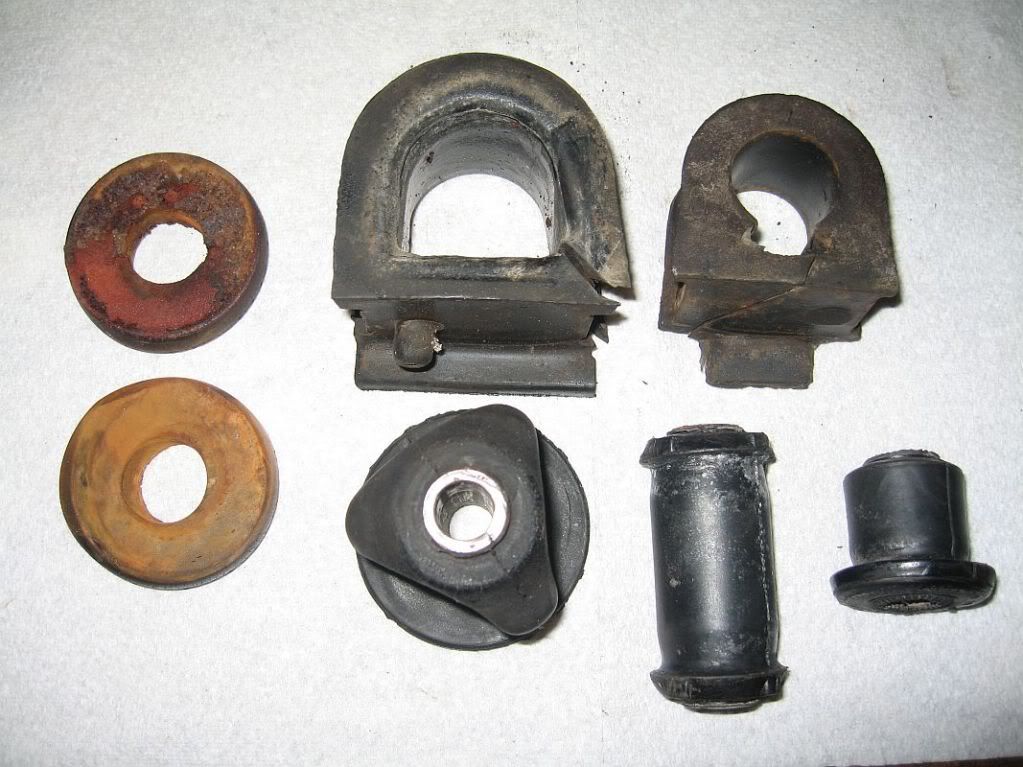
Next to arrive was the bushes; unfortunately I made a mistake on the Powerflex selection, the tie rod bushes were good as were the lower arm but what I thought were the upper arm bushes when i ordered turned out to be the upper ARB bushes. It appears Powerflex only make the Lower suspension arm bushes and not the upper. So after a talk with Larkspeed I have returned them all. The Flo-flex bushes I ordered also arrived and after comparing the quality against the Powerflex I gave them a ring and ordered the rest of the bushes from them. They may be the cheaper option at around £120 for the lot with stainless inserts and being all bright orange but they look and feel well made. http://www.floflex.co.uk/index.php?cPath=23_40_44
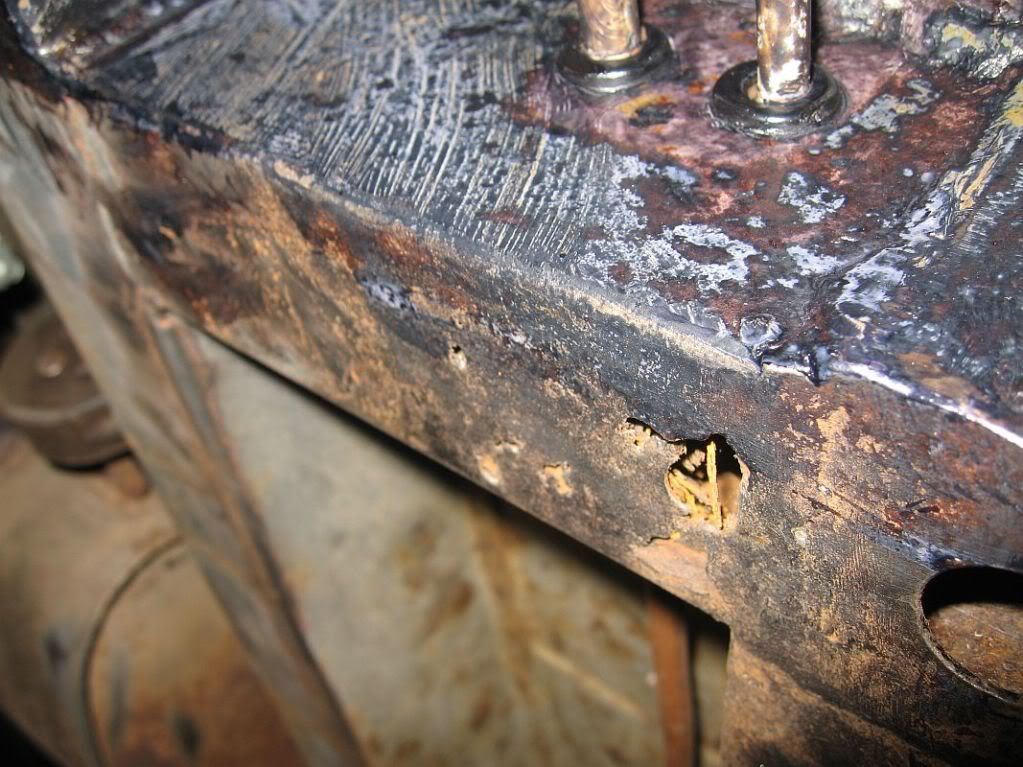
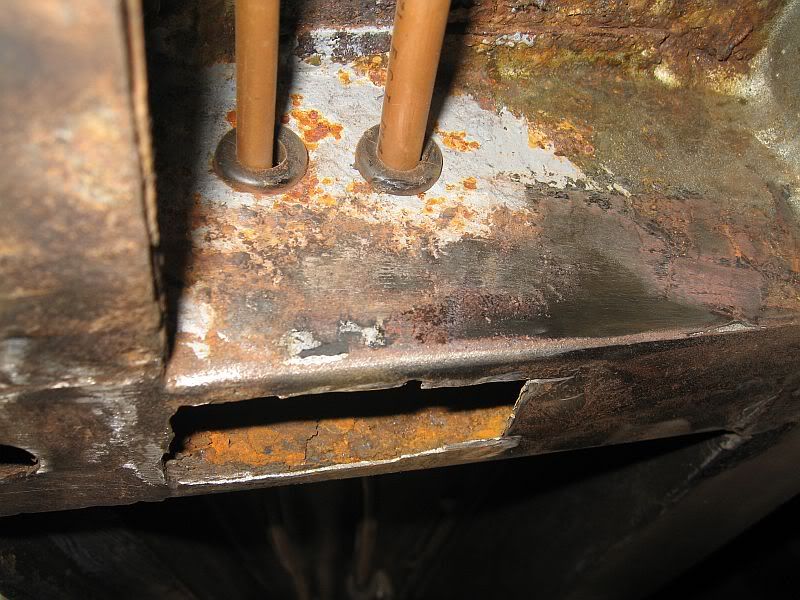
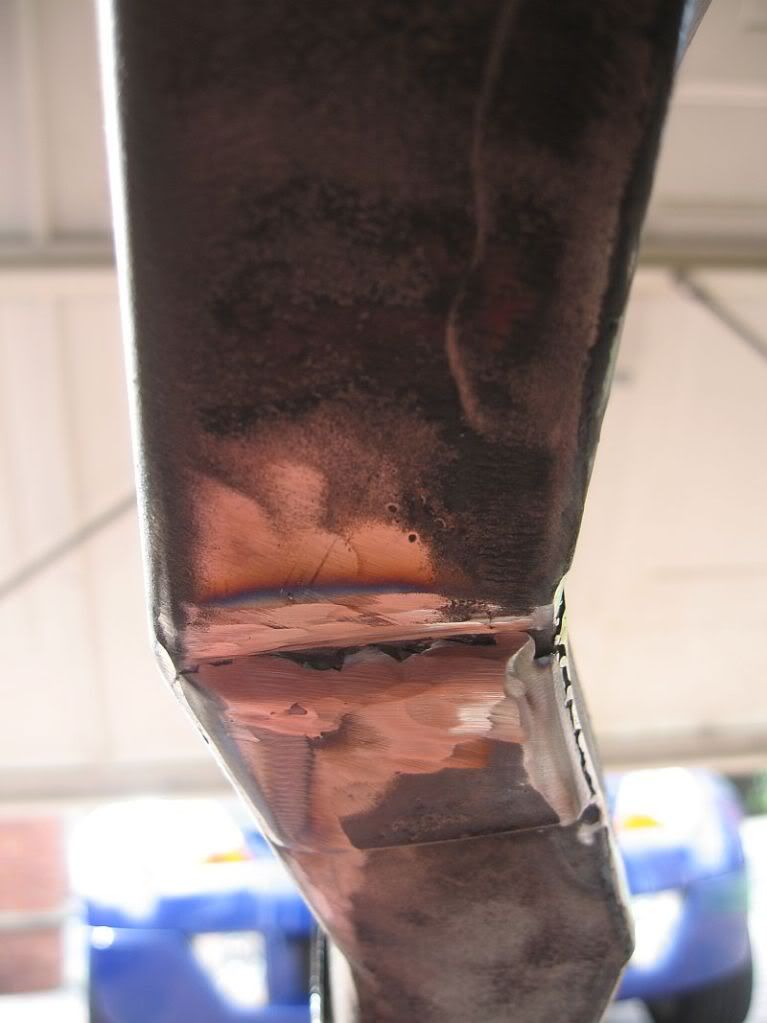
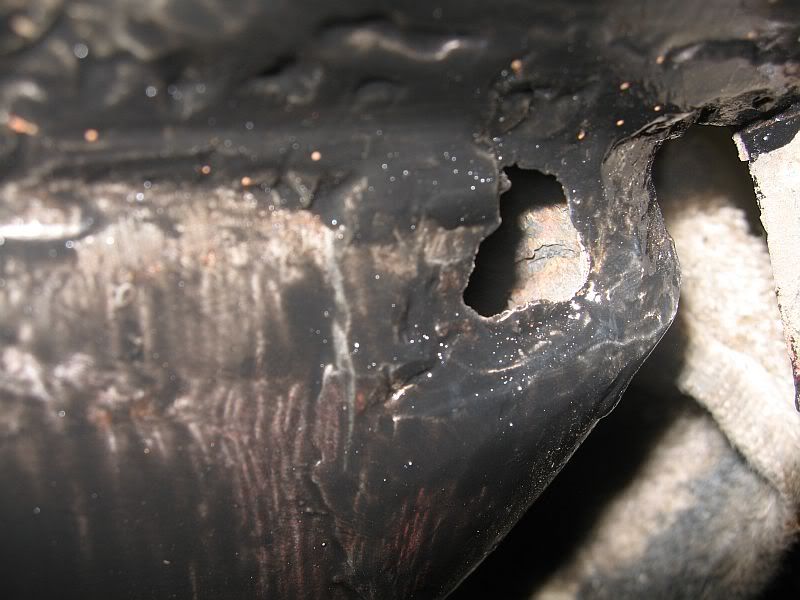
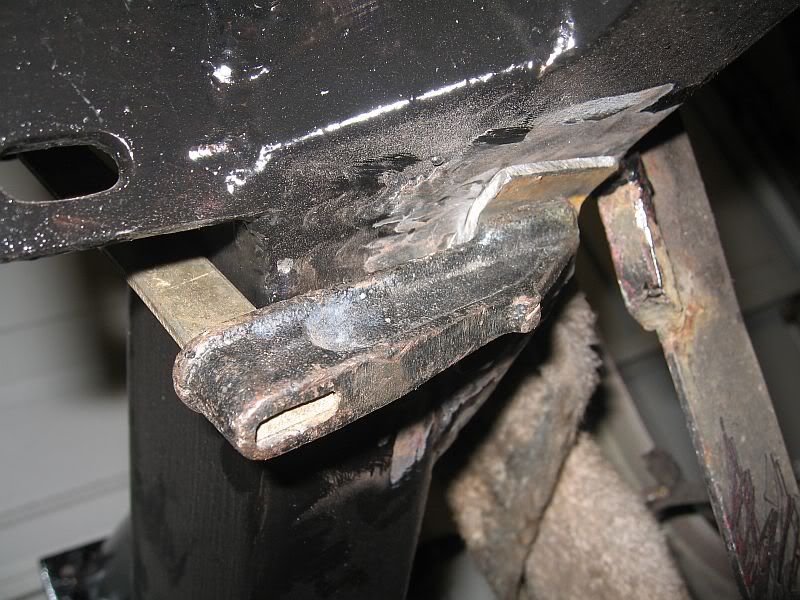
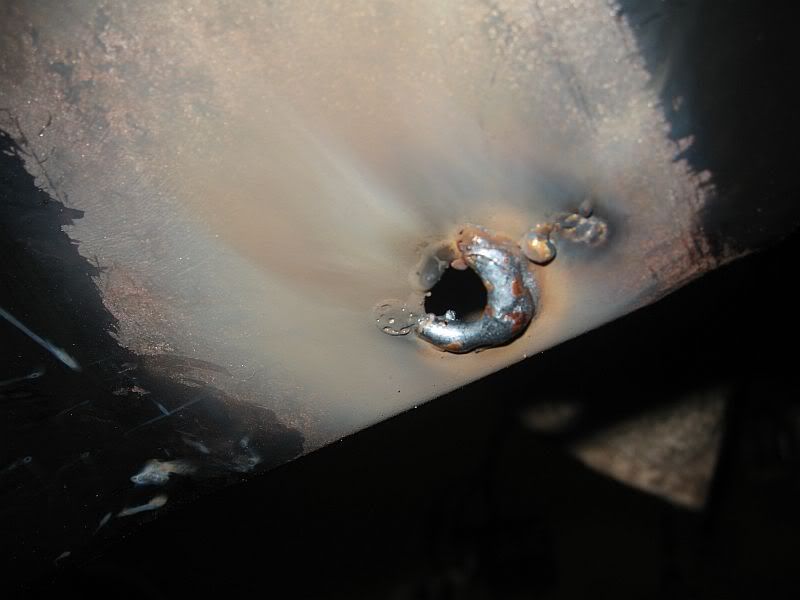
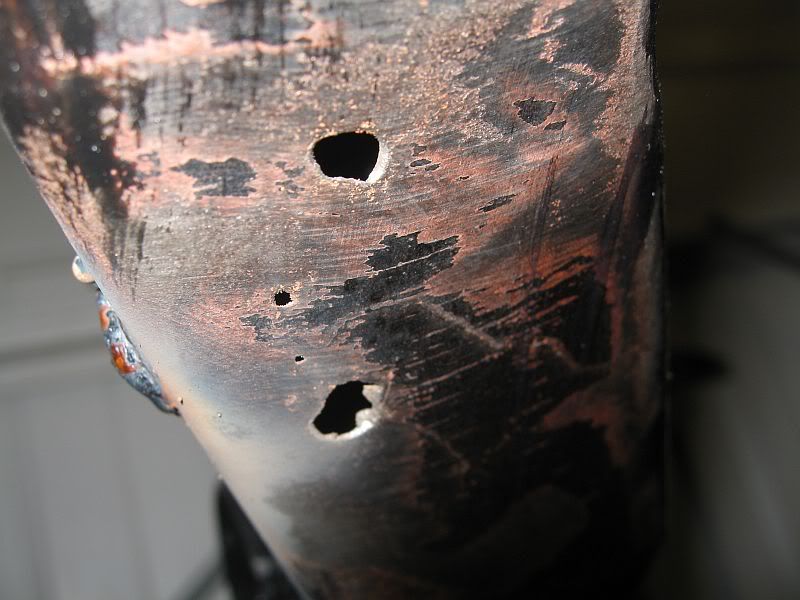
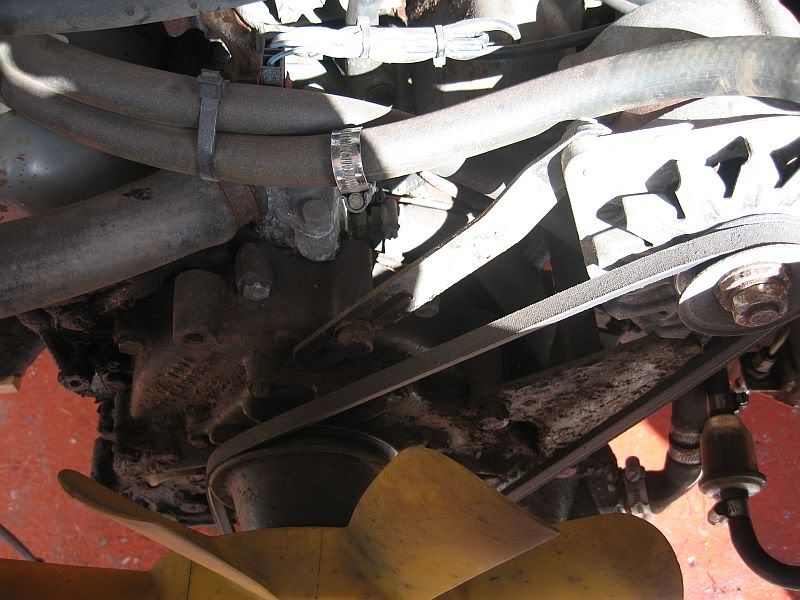
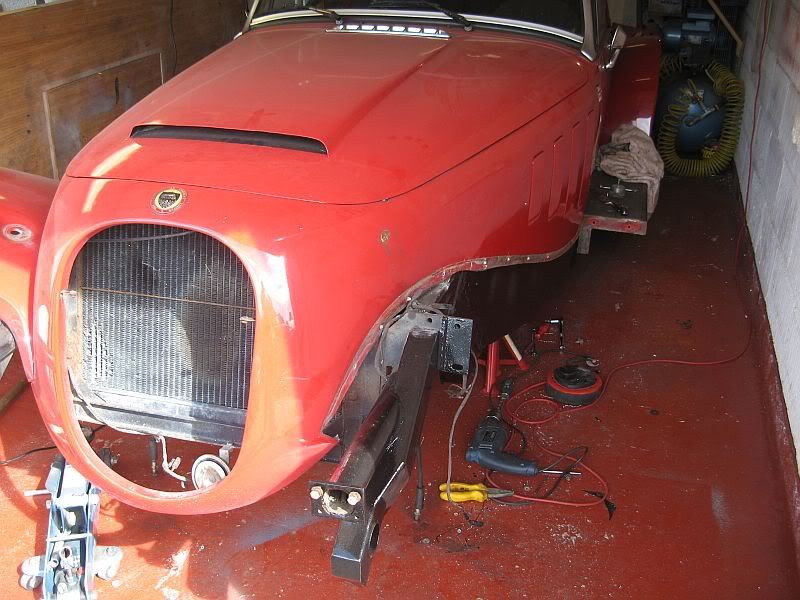
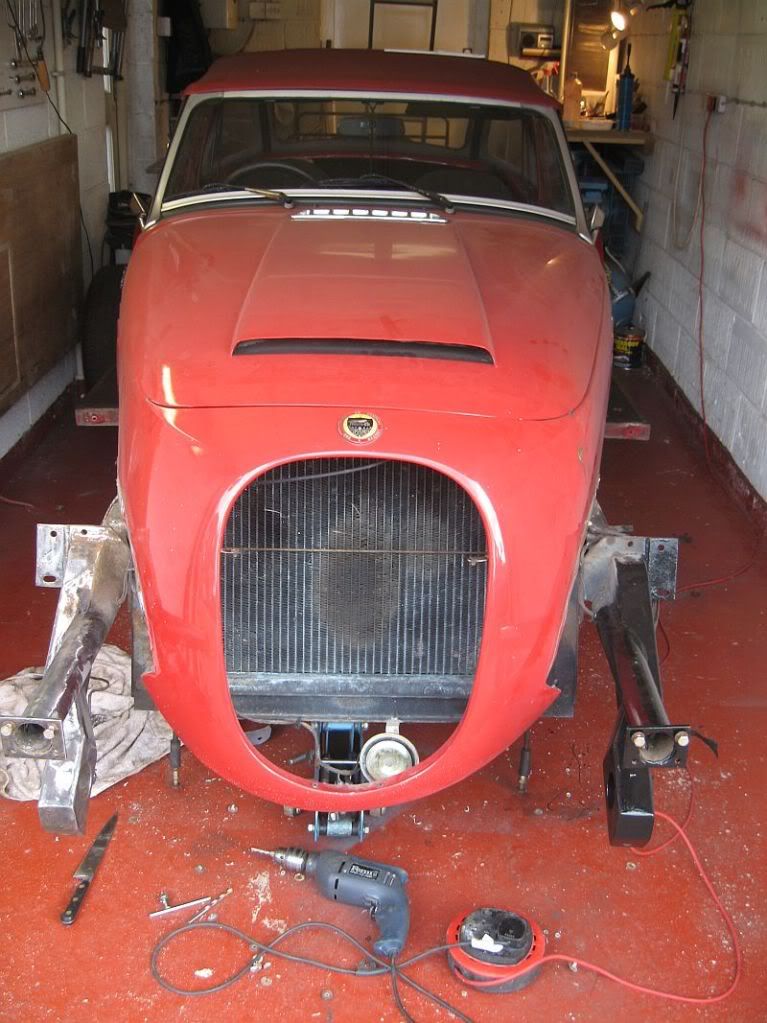
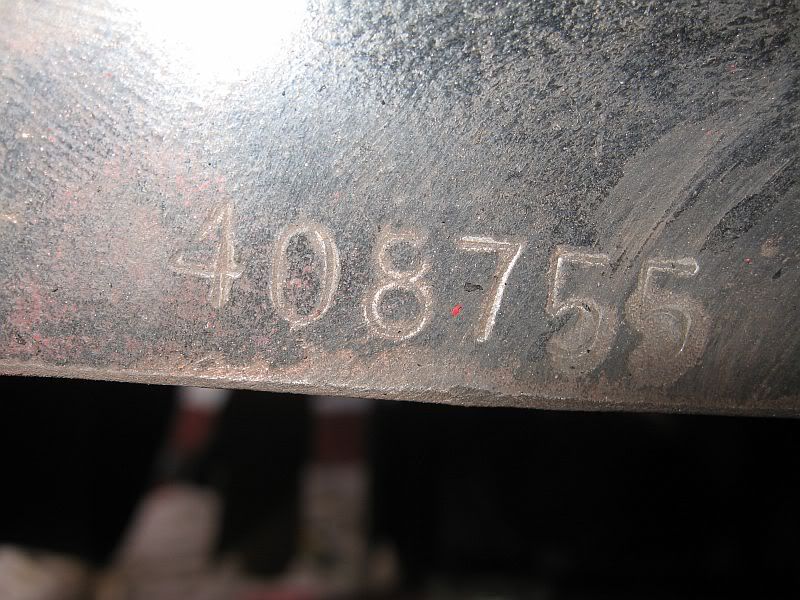
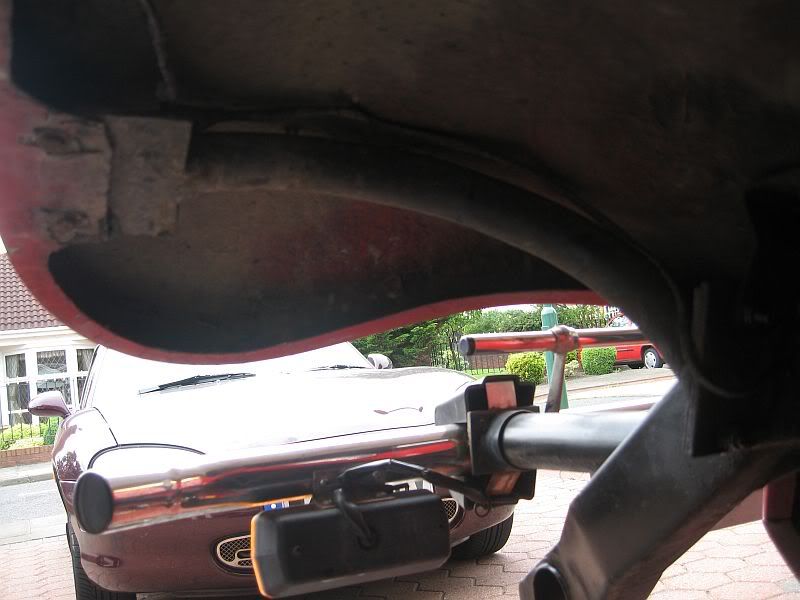
I have carried on with the underside getting all of the rust off and where I cannot grind clean I have used the rust converter. I had a bit of a shock on the drivers side with the amount of repair work carried out, around 3ft of the side panel has been replaced. Also there is a weld on the pipe that hold the bumper bar, I can't see any distortion to the frame work, and the subframe has no evidence of damage but it has defiantly been cut and welded. You may be able to make out the weld in the photo, around 6" back from the square plate.
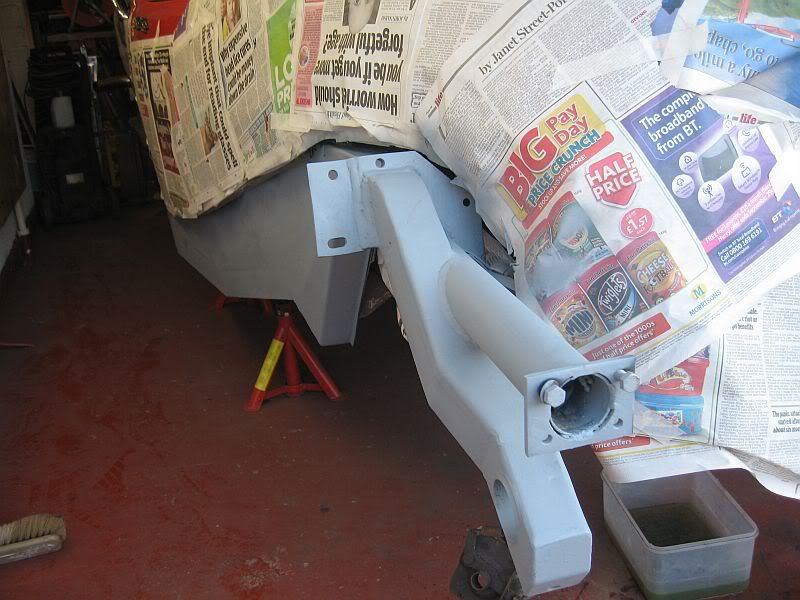 |
| Drivers side frame |
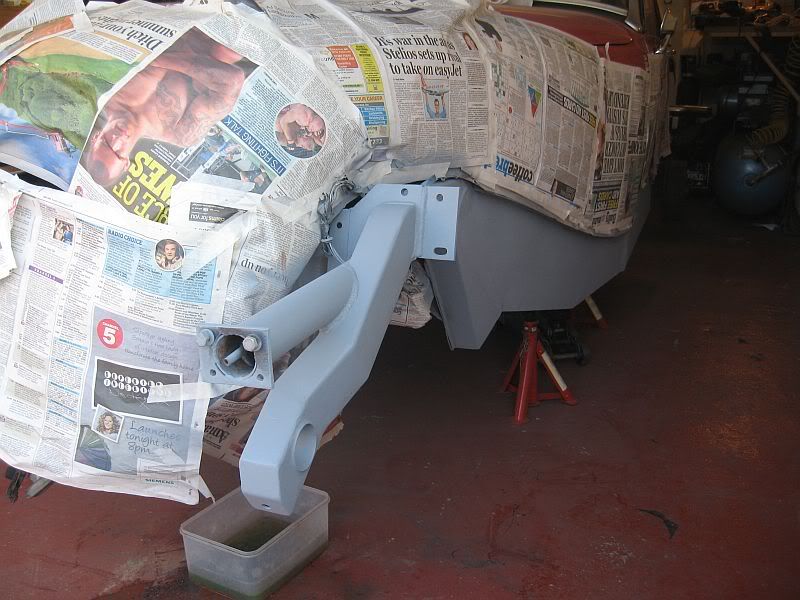 |
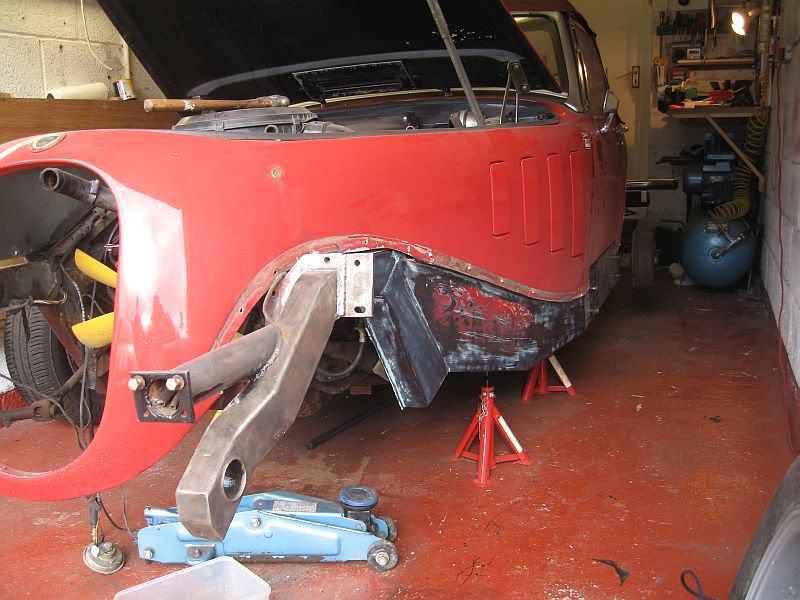
| Pass side primed |
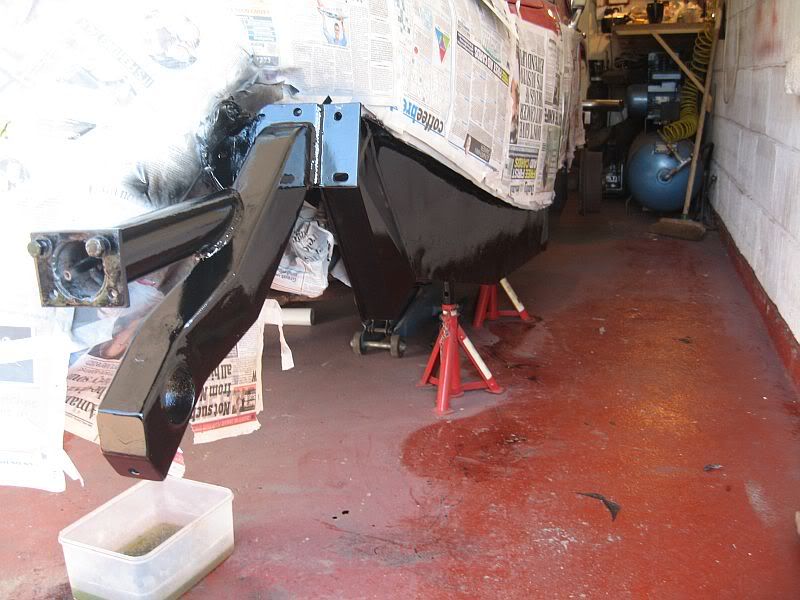 |
| First coat of chassis black |
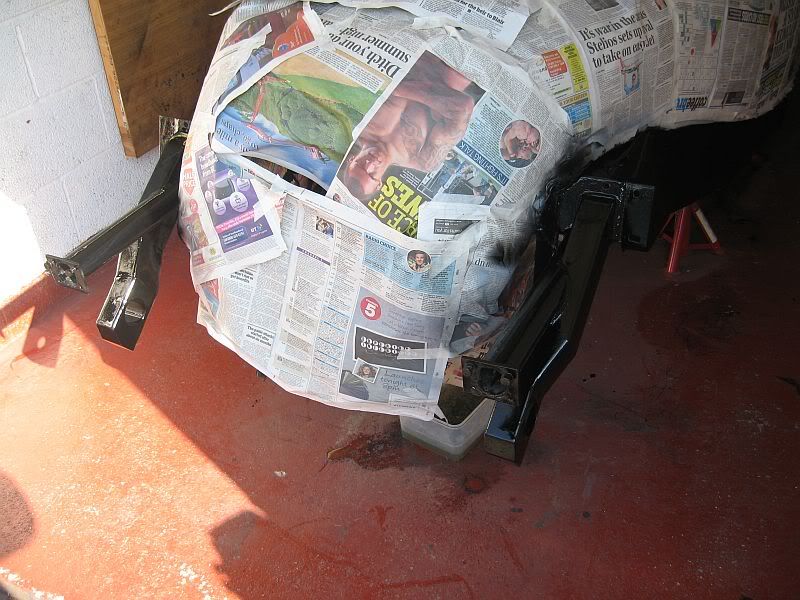 |
| Both sides blacked |
I have primed all of the frame work and painted with the new chassis
paint, I have used the tough black spray on the front arms to get a
better finish than with a brush. I shall rub down tomorrow with the green pad and give it another coat, should be well protected on the sides and an extra coat of hammerite under seal on the underside over the chassis paint should give it a lot more years.
I have taken one of the door steps to a sheet metal firm to get a price on stainless steps and new frame work, should get a quote on monday.
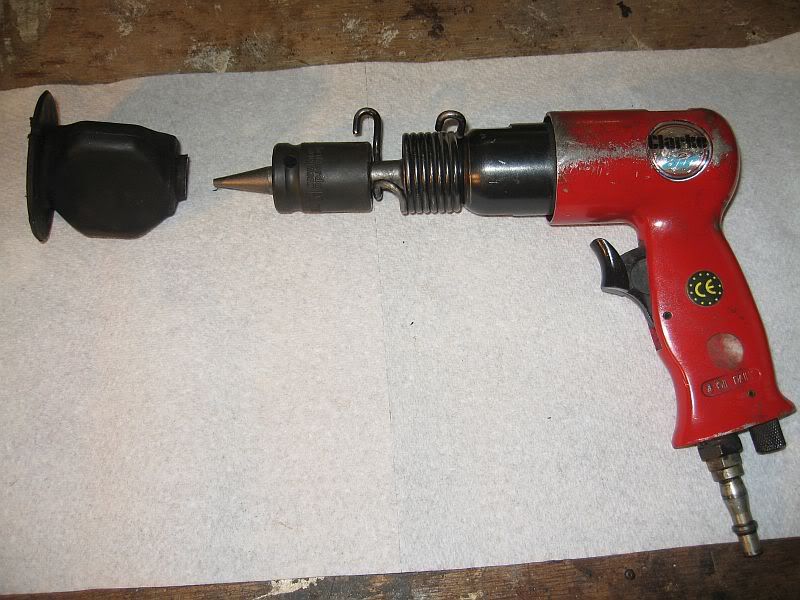
A waxoil application gun arrived today so tomorrow I shall give it ago and spray some rust converter into the sections I don't think are waxoiled, I have a 5 litre tin of waxoil to use up so all of the boxes will be getting a good coating.
Paul