Monday 19 March 2012

Webber ordered from J.W.Developments on 01902 798303.

Hi
Well a nice quiet day today.
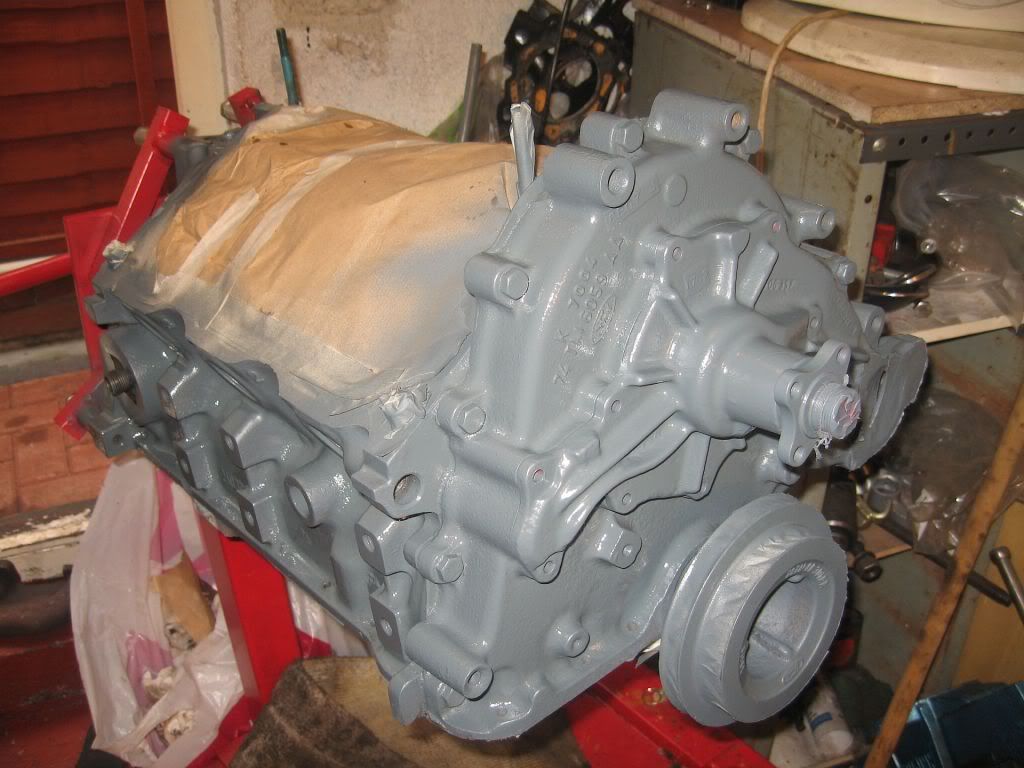
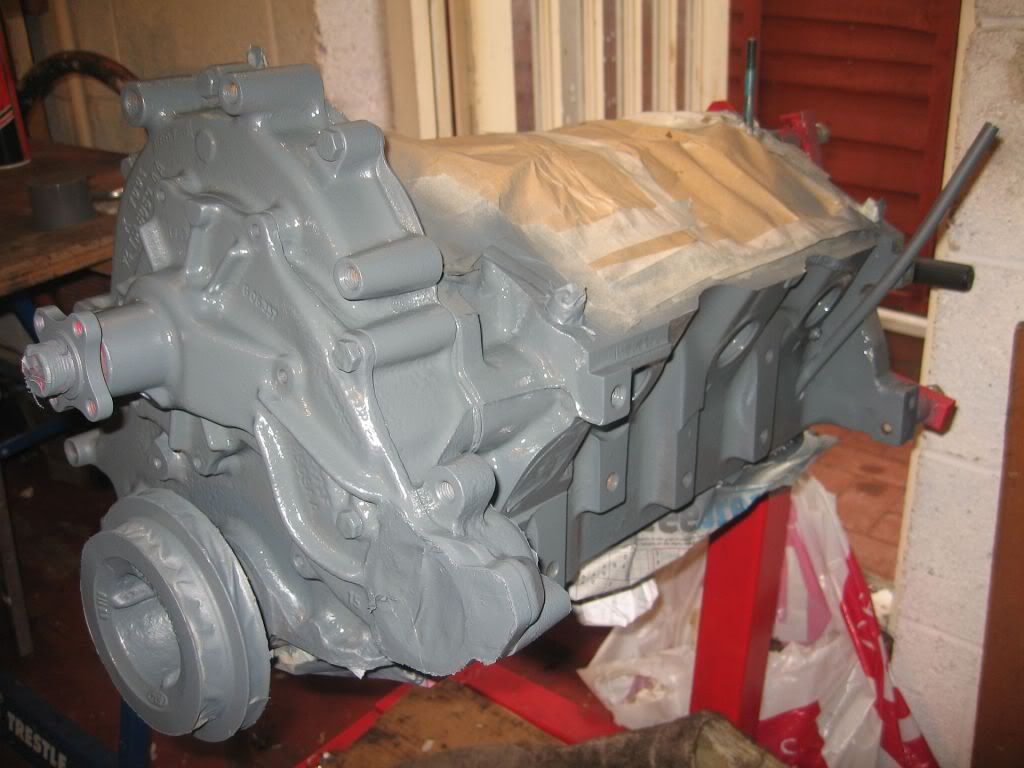
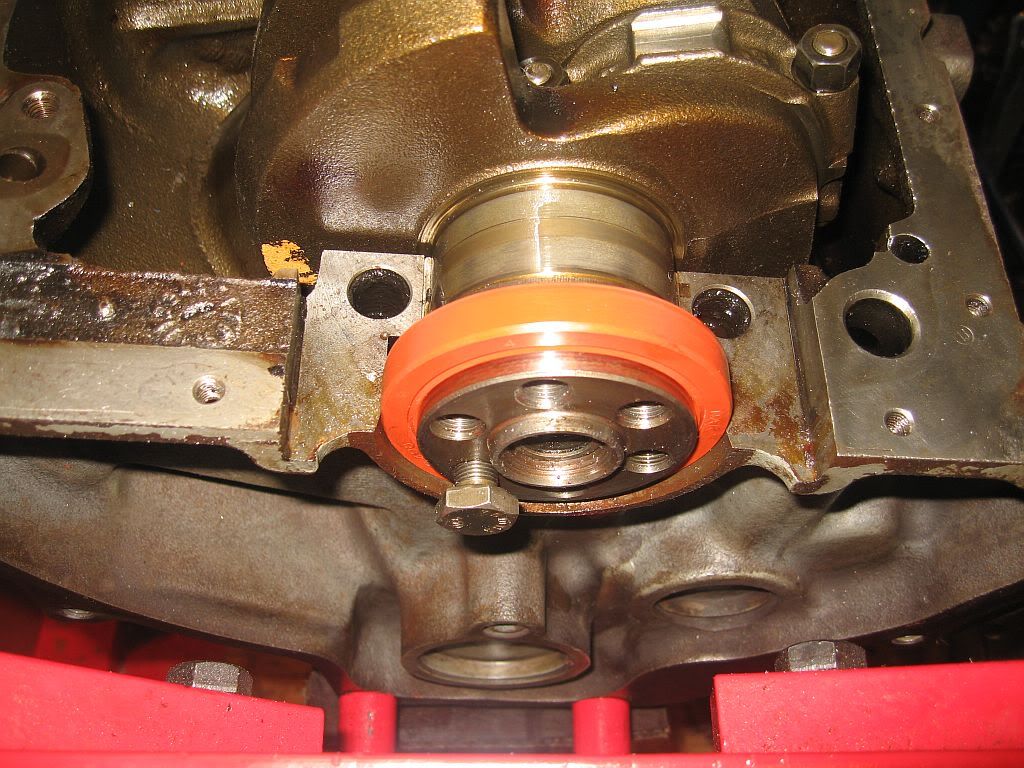
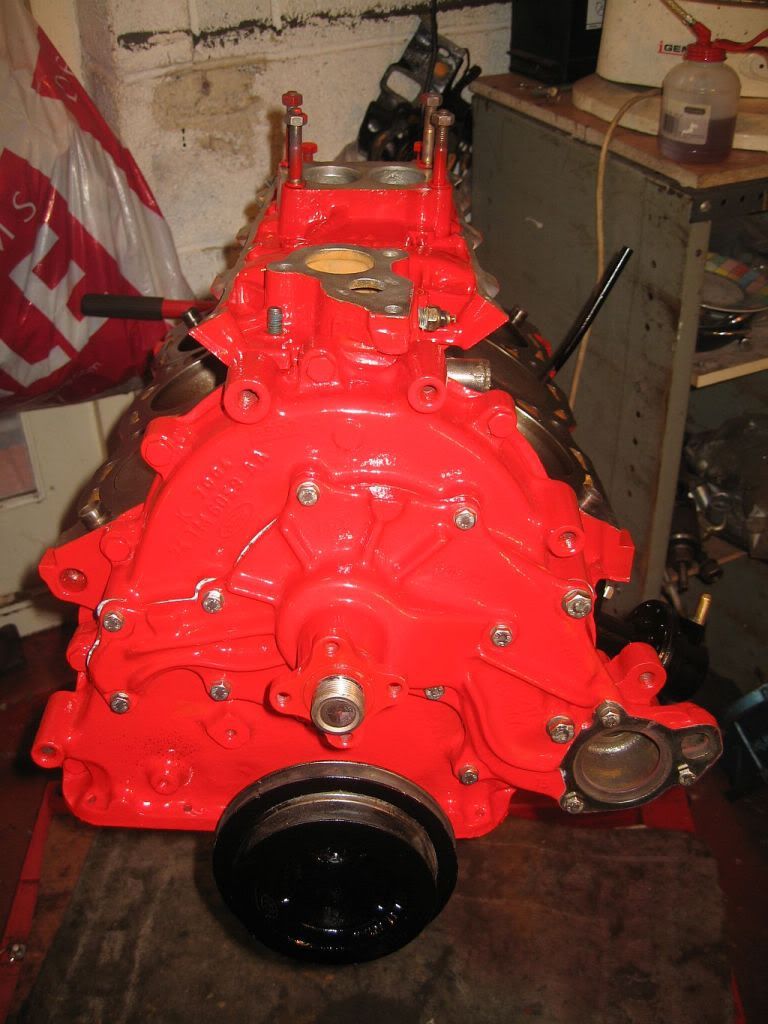
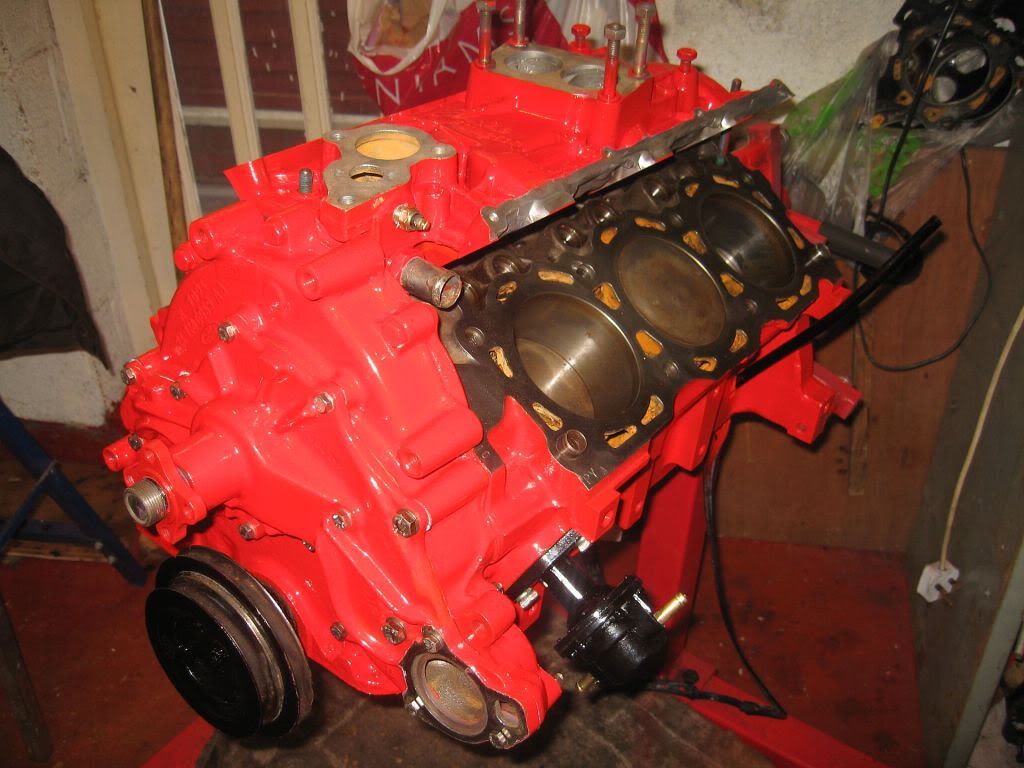
I have 3 coats of paint on the engine and its looking a whole lot nicer than than it did, I got the last coat on last night before bed and it was nice and dry this morning, I did a little more masking this morning and sprayed the pulley and dip stick black.
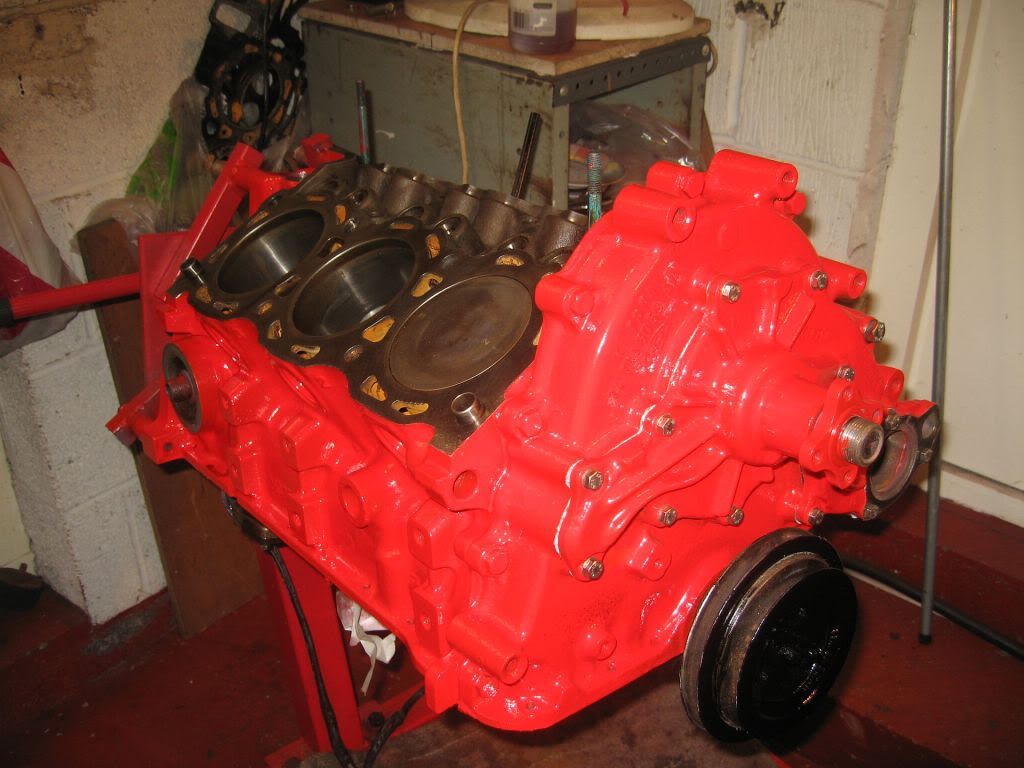
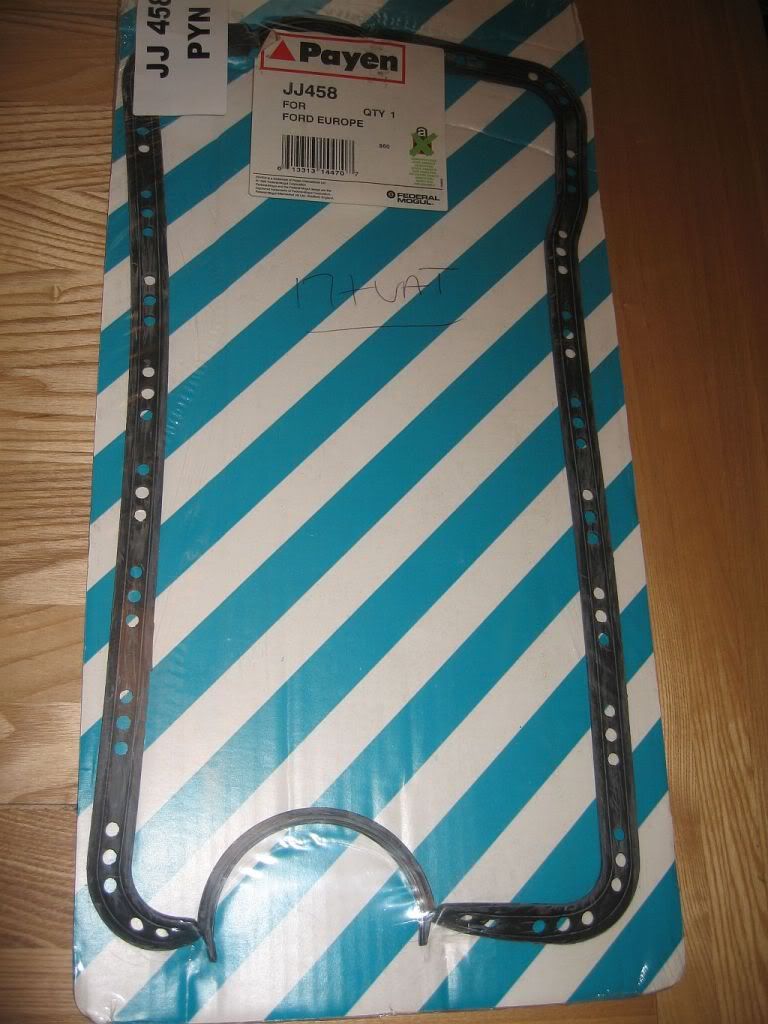
I have been and bought the stainless bolts for the water pump, sump and thermostat housing and have been able to fit the pump. The pump flange face had quite a bit of pitting around the edges running in around 5mm so i gave it a coating of Hylomar then fitted with the new gasket.
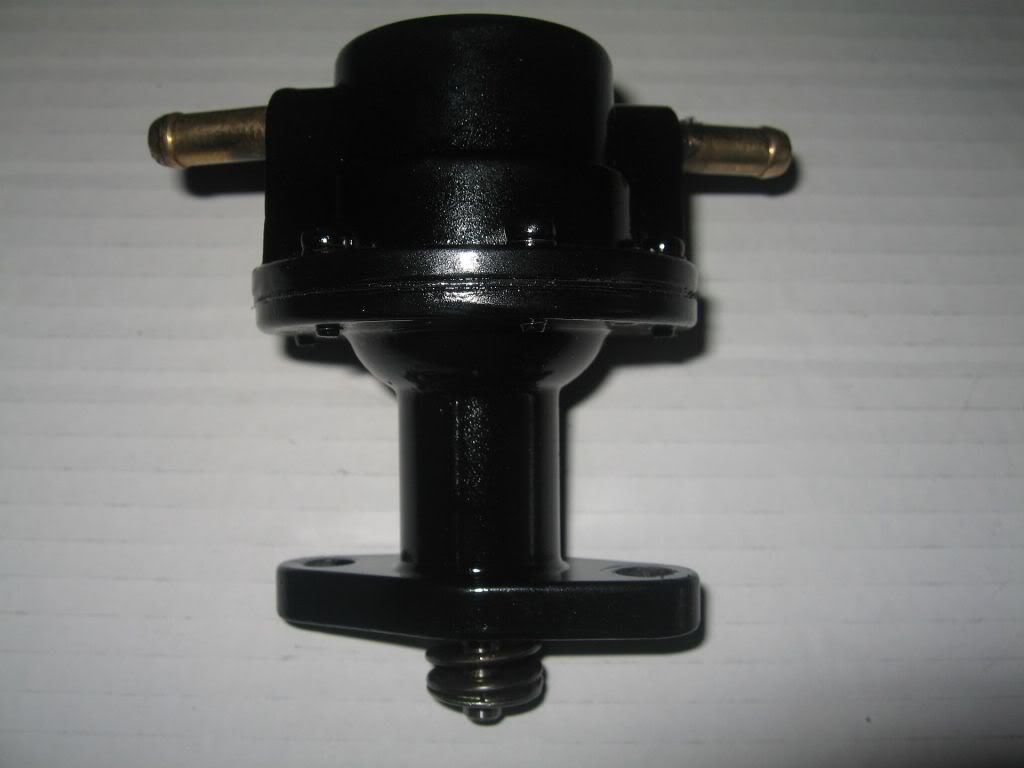
The fuel pump came next, these faces where pretty perfect so it went straight on with the new gasket.
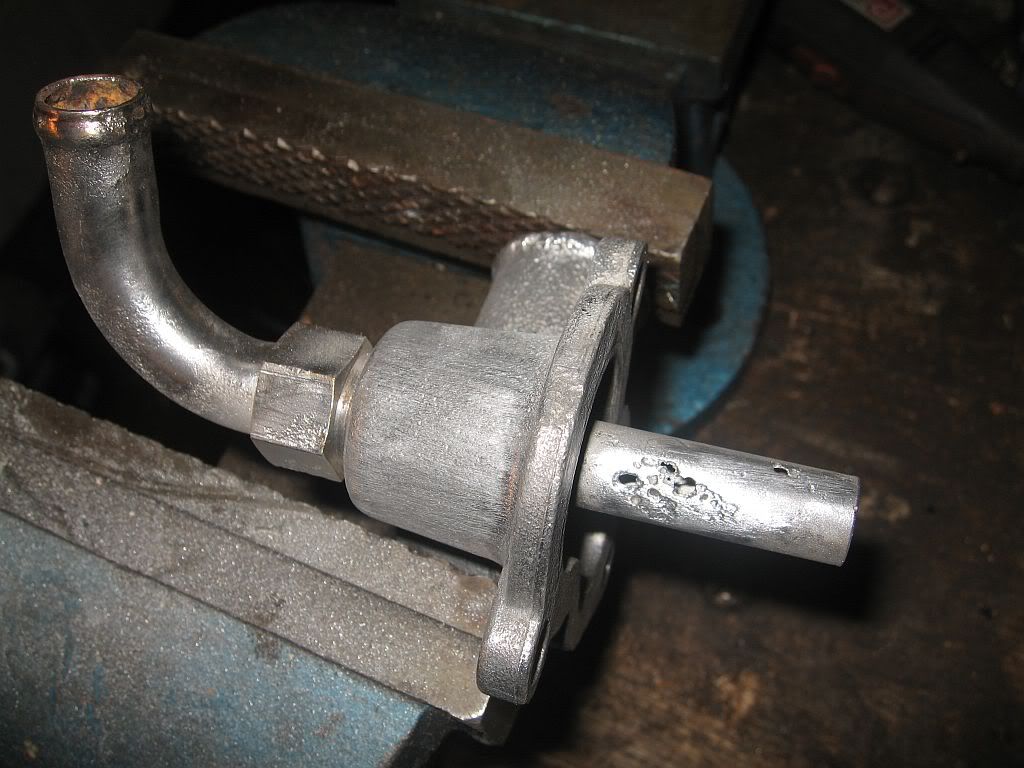
I also screwed in the oil pressure pickup with a little locktight to seal the threads, I may; when doing the interior look into fitting a proper oil pressure gauge on the dash and replace this with a pressure unit.
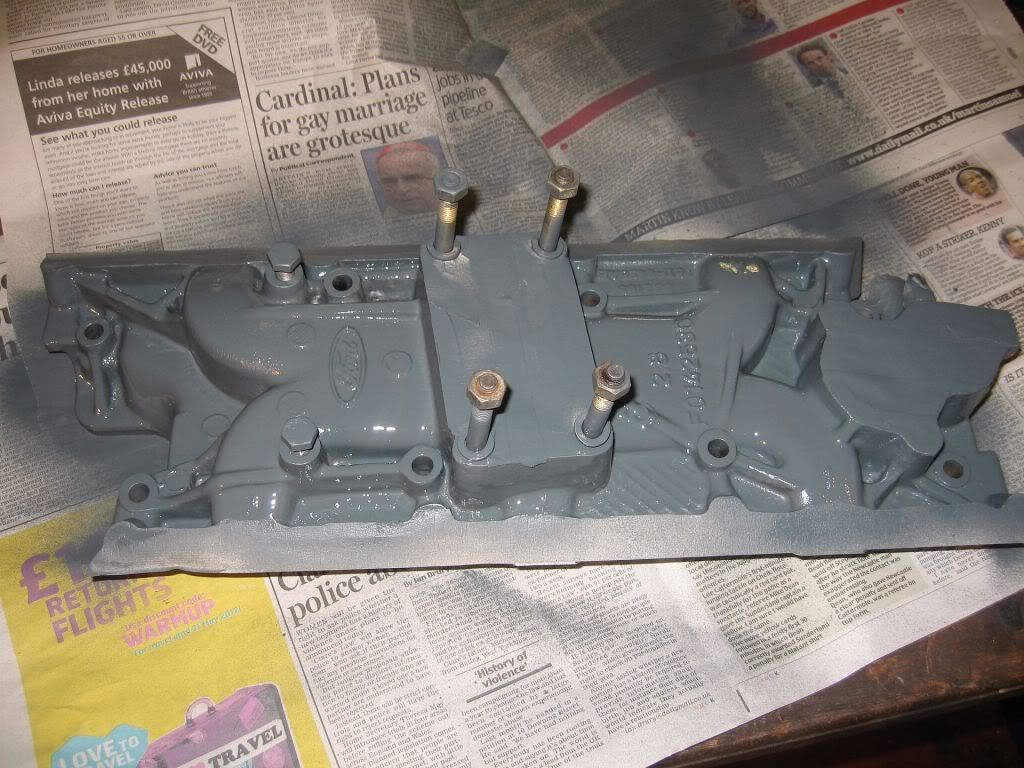
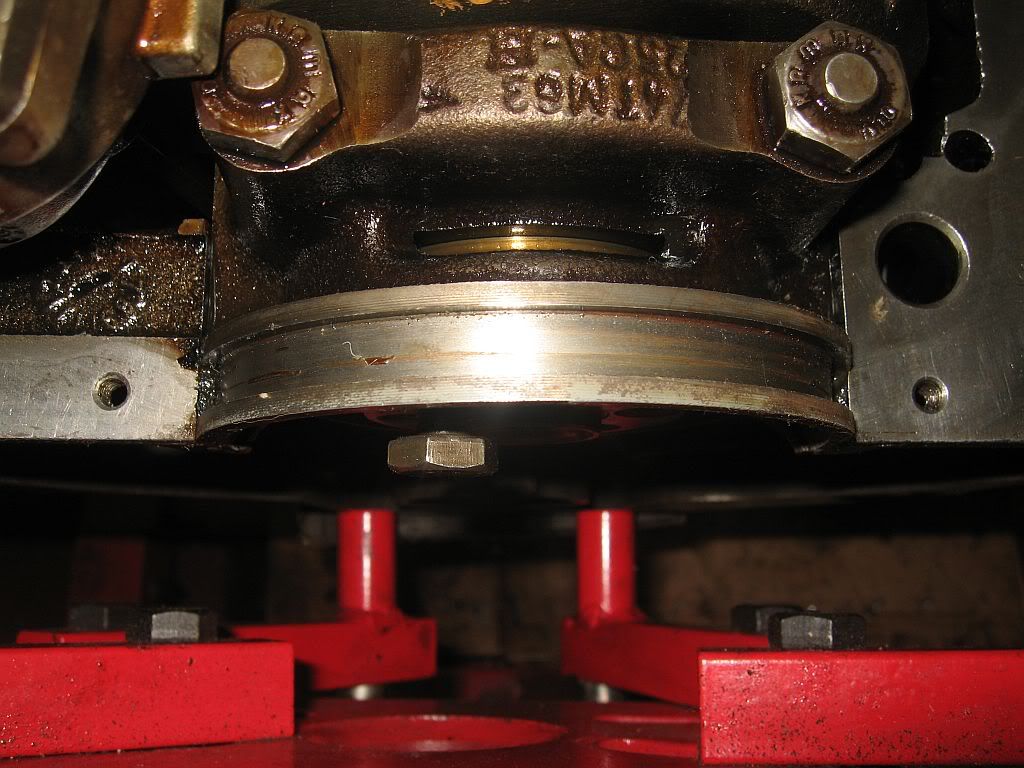
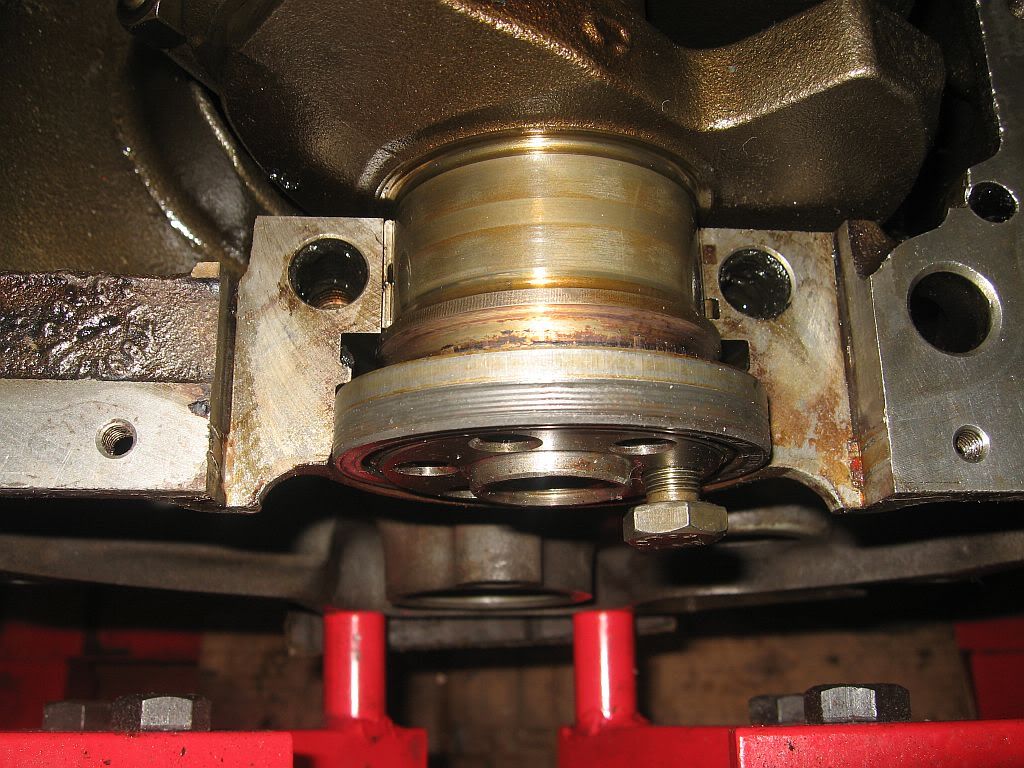
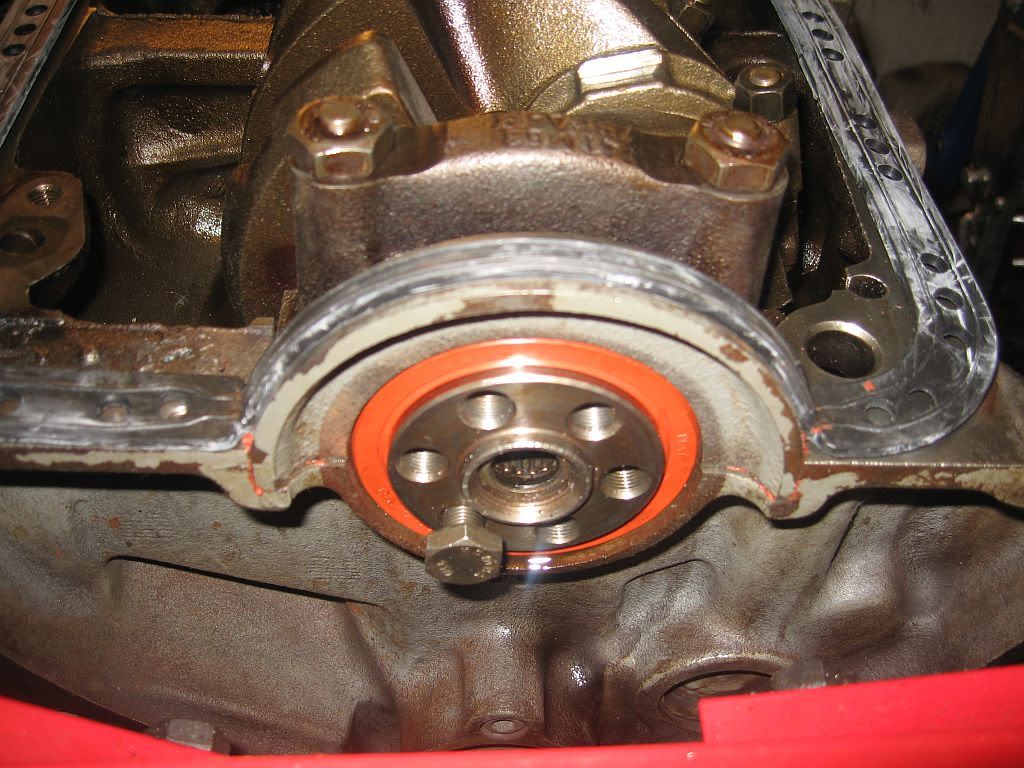
As you can see in the photos there are rust marks in the water galleries, I spent some time this morning scrapping as much of the loose scale as I could reach using a long thin chisel and blowing the debis out. I managed to get a good amount out but am still worried about loose rust getting into my new radiator core and blocking it. I had a talk to John Wade this morning and mentioned this and he uses a mixture of Sulfuric and other acids to clean out the waterways, unfortunately I am unable to get a hold of this acid mix. So I have trolled the internet and have found a Phosphoric acid tank cleaner, this is advertised as a de-ruster and de-scaller. I have wrote to the site asking if it will be any good for what I need and who knows it may be even work. 
The rest of the day has been spent getting bits cleaned and painted ready for the sump and heads to arrive.
In these photo's I have loosely fitted the the air manifold

As I said I have been talking to John Wade today to confirm my carburetor, I was put onto John by Terry Borton as being one of the best in the business on Ford V6 engines and setting up Weber carburetor's for the Cologne V6.
The carburetor designed and setup by Ford for the Cologne is the Pierburg or Solex 38, I have been learning a lot about carburetor's lately, and the main thing I have learn't is that you just can't bolt on a Weber to a Cologne and expect it to work, it just don't happen. I don't know exactly what is required apart from re-jetting but there are a number of alterations that John does that allows the carburetor to work straight from the box with only the minimum of setting up.
So anyone wanting to get rid of their old Pierburg / Solex and have a lovely shiny Weber then you can contact John at J.W.Developments on 01902 798303.
Well last day home tomorrow, I have a trip to North shields to pick up my powder coating and then a trip south to the outskirts of Durham to pick up my heads, I was promised they would be ready so fingers crossed.
See ya
Paul

Saturday 17 March 2012

Painting engine

Hi
I had a delivery this morning of the new engine mounts, I only ordered them on Thursday and they arrived this morning costing £9.99p plus p/p.
They are advertised as for a Cortina / Granada and are pretty close on measurements. The width is a little smaller at 72mm as opposed to the 76mm fitted but the important bit is the height which is 41.5mm, the ones fitted are 40.6mm so pretty close and maybe they have squished down over the years with the weight of the engine.

I started the day with the removal of the 2 broken 6mm bolts on the sump flange, one came out quite easily using a pair of mole grips while the other needed chiseling flush and drilling and tapping.
The rest of the day has been spent prepping the engine for painting, its surprising that after all of the time and effort I spent cleaning, it still needed hours more. I first attacked with brake cleaner, this is a solvent based cleaner so it cleaned out the oil in the corners quite well and with the rotary wire wheel got all of the surface oil of the engine. I then steam cleaned all over which lifted the rest of the deep ingrained oils. 
The masking came next and all mating faces were buffed up first before applying the tape, and masking paper.
I have used an etch primer again on the bare metal and gave it 2 coats with an hour in between.

I have temporarily fitted the water pump as the masking off of that area would have been a little difficult, I have still to buy the stainless bolts for the pump and the sump but will get these soon.
While waiting for the first coat to dry I got to work on the inlet manifold masking this off and gave it a coat of primmer as well.
Hopefully I shall get the first coat of red on tomorrow morning and one later that day. Mothers day tomorrow so maybe nothing will get done
The fuel pump is dry and looks good painted black, I think the contrast against the red of the engine will look pretty good.
I have been in contact will Ray from the web site http://www.veesix.co.uk Ray also has a Panther interior business called RS Sewing Solutions, I have told him my requirements for the car which is everything and I have received his prices which are very reasonable. He is able to make everything from the mohair hood and cover, door cards, carpets even sun visors in matching leather. So I am going ahead and will be buying in bits. It will be quite a while before I am ready to fit the interior but if I start the buying now it will spread the cost as this is; next the respray going to be the most expensive part of the restoration.
Well that's all for now, time for a Guinness and a curry
See ya
Paul

Friday 16 March 2012

Heads Dropped Off

Hi
Well the heads have been delivered to the Engineering firm for un-leading, I had a chat with the guy there about the valve stem guides and he agreed that they was no play or wear in the guides so they are not to be touched. The cost is around £25 per valve plus vat and I pick up on Tuesday.
After dropping them off we had the day out in Durham but I still managed to get home with time to spare for an hours work.

I thought I would have a go at removing the tabs left over from the removal of the gasket and it is not as straight forward as you may think for fitting a sump gasket.
You can see the tabs on either side of the bearing cap and these penetrate around 10mm, you may also see at the top left of the photo the oil pump covering the nut for the cap. So the first job is the removal of the oil pump, this is straight forward just 2 torq bolts and remove, remembering to grab the drive shaft as it falls out and rolls under the car.
The nuts can now be removed, these have a torque of 95Nm so the breaker bar was used to get leverage and the nuts and the studs came out together, full of dirty black oil. The fit of the cap is very tight and sealed, so it required a good tap with a rubber mallet to raise it enough to get a lever underneath, but once the seal broke it came up easily. You can see in the photo the oil seal in its housing so I took the opportunity to change it while I could.
The removal of the cap also gave me a chance to check for wear on the bearing shell, I was a bit worried that by sitting in the dirty oil for so long would acid etch the shell but a spray and clean and it looks perfect.
Nice and shinny with no wear or erosion, you can see in this and the next photo the rubber tabs that are left. It may be possible if removing the pan to work on the oil pump or to check the oil suction strainer to re-use the original gasket and not have to go through all this, but unfortunately I snapped one of the tabs when removing the pan.
These tabs are easily removed and the old sealant around the housing landing area was cleaned off with a razor blade.
The refitting was a bit tricky as the tolerances are very tight for getting the housing started, I sealed the landing area with Hylomar and also put some on the tabs, a good oiling and the shell was refitted. 
The upper section of the sump gasket is fitted into the groove and the tabs pressed as tight as possible before positioning the housing cap squarely down into its slot then started with a tap from the mallet. The tabs try to lift out a little as the cap is tapped down so these also need tapping down either side to keep them in place. Once down sufficiently the studs can be replaced and evenly brought down into its final position checking the tabs are going down with each turn of the nuts then torquing to 95Nm.
You can see that the tabs are as hard down as I was able to achieve but I will still put a bit of sealant into the corners before replacing the pan. I then replaced the oil pump and that was that. I must admit it is a bit of a workup just to change a sump gasket but I guess Ford has its reasons.
I would suggest that anyone removing their sump pan has a new gasket and a new oil seal available as mine snapped very easily.
I still have a snapped bolt to remove which I had forgot about then a good solvent clean before steam cleaning then ready for its coat of primmer, but that's for tomorrow.
See ya
Paul

Thursday 15 March 2012

Engine Gaskets

Hi
Well back a little later than I expected, I did an extra weeks overtime as the ships 2nd Engineer took a sicky and since the redundancies took place there is zero slack in the system. After phoning all the 2nd's on leave and getting told where to get off they scraped the very bottom of the barrel and talked me into staying, so instead of going home I had to stay on in the 2nd's slot. Still the extra money will go into the restoration coffers.
I have only ordered one item when I was away, mainly because I forgot to measure the items I needed before I left; I was going to order the rubber fuel pipe and filters, the rubber engine mounts and the water hoses. I did manage to order the Thermostat to inlet by-pass hose from Tickover as this can only be one size, I know that the upper and lower radiator hoses come from a Fiesta and Allegro but no rush for them as yet. I will order tomorrow and fit next time home.

I spent most of the day waiting in for the courier arriving with my gaskets, I know its a little sad but these are the probably the best gasket I've ever laid eyes on. I am very glad I took Terry's advise (again) and ordered them. The one's from eBay bear no comparison.
They cost £50 plus vat & postage for the upper set from F.W.Thornton, also included with the set were the stem seals for the heads.
I have found out why my sump gasket is different from the cork one supplied in the bottom set I have, apparently my engine has been fitted with a 2.9 sump pan; don't know why as it is a 86 model. 
Somehow I doubt it makes it go faster.
This gasket cost £17 plus vat and postage, when I said in my last blog that I had to cut out the original it was the bottom tabs you can see in the photo that I cut. I have been told that I will have to slacken the bearing housing to remove the old one's then insert the new and torque up again.
I have also been busy getting the items ready for the powder coaters.
I had a bit of a hard time removing one of the rubber engine mounts from its bracket as the nut is welded onto the bracket and the threads from the mount was rusted solid. With minimal access I had to do a bit of a bodge job to remove it, no one will know once powder coated. 
The aluminum water housing's got cleaned up as well, and after the rusty bits were sandblasted I found a bit more damage than I thought.
You can see the holes in the pipe that revealed themselves, these were filled with soft solder and filed clean.
Everything is now at the powder coater's, the price was a bit higher this time as there is a lot of masking to be done around the flanges and the interior of the sump but still well worth it and I pick them up on Tuesday.
I have also managed some painting, the fuel pump has had its second coat of black gloss and the water pump has has its first coat of bright red. While I was at it I gave the radiator another coat of black and its now ready to fit onto its housing.

I have had a change of mind while away concerning un-leading the heads and fitting a new carburetor, basically I will regret sometime in the future not doing so while the heads are off. So I have found a firm in the Durham area called Cleasby Precision Engine Services to do the job and I shall take them there tomorrow. It will cost £250 plus vat without new valve guides or £300 plus vat with, I have taken advise from a Cologne engine expert (John Wade) who say's that it is more than likely that at only 35,000 miles there will be no requirement for the valve guides to be changed, I have slid the valves up and down in the guides and there is next to no play to be noticed; so they ain't getting done.
The carburetor I have ordered from this very same expert is a Webber DGAS 38 with a manual choke, I could have gone for the automatic choke but I like the idea of pulling the choke and starting the engine like it used to be, it seems to add more of a feeling of involvement than just turning a key or as I may do: Pushing a START button. Also the fuel savings in this current climate will be welcome. 
I had a long conversation with John and learnt a lot, he has advised me to leave the original air intake on instead of fitting a shinny K&N as it supplies a whole lot more air and fitting a K&N air filter.
I also still hope to fit side exhaust pipes and have bought the correct size stainless manifold flanges from John, these are laser cut and one flange has a larger hole to take a bigger pipe for the siamesed side, I was going to make my own out of a piece of 10mm stainless I have, but drilling the center holes would have been a bit of a problem.
So tomorrow is a trip to Durham to drop the heads off, Lynne also has the day off so we shall make a day of it and get started again on Saturday. 
See Ya 
Paul