
Well the heads have been delivered to the Engineering firm for un-leading, I had a chat with the guy there about the valve stem guides and he agreed that they was no play or wear in the guides so they are not to be touched. The cost is around £25 per valve plus vat and I pick up on Tuesday.
After dropping them off we had the day out in Durham but I still managed to get home with time to spare for an hours work.
I thought I would have a go at removing the tabs left over from the removal of the gasket and it is not as straight forward as you may think for fitting a sump gasket.
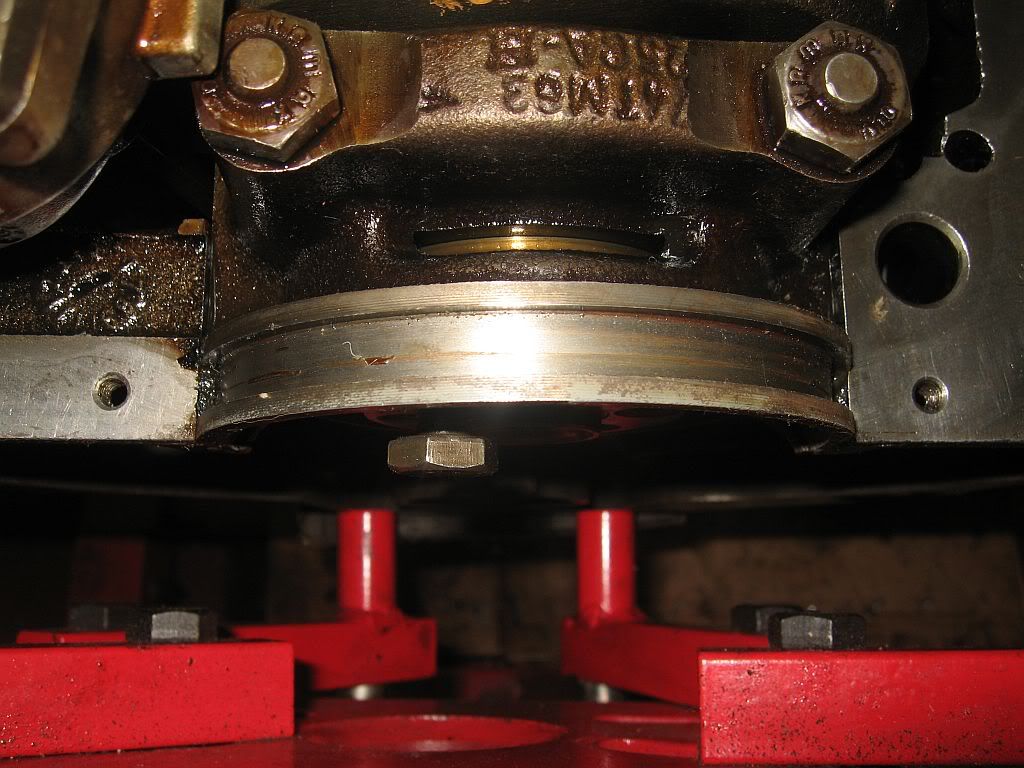
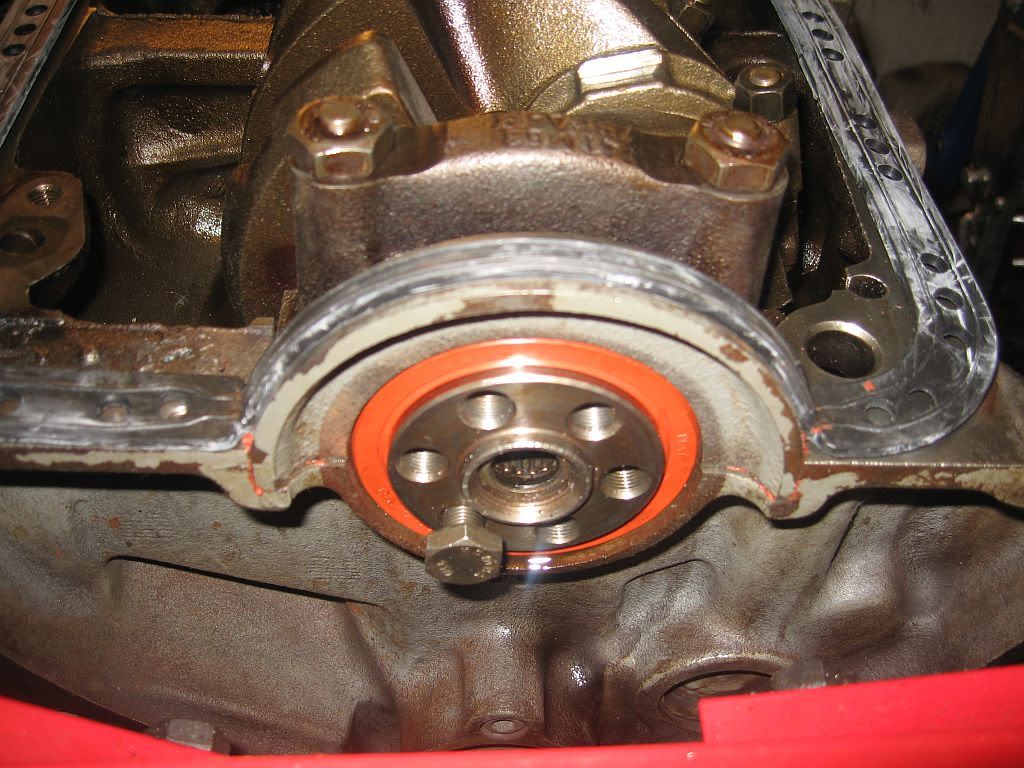
You can see the tabs on either side of the bearing cap and these penetrate around 10mm, you may also see at the top left of the photo the oil pump covering the nut for the cap. So the first job is the removal of the oil pump, this is straight forward just 2 torq bolts and remove, remembering to grab the drive shaft as it falls out and rolls under the car.
The nuts can now be removed, these have a torque of 95Nm so the breaker bar was used to get leverage and the nuts and the studs came out together, full of dirty black oil. The fit of the cap is very tight and sealed, so it required a good tap with a rubber mallet to raise it enough to get a lever underneath, but once the seal broke it came up easily. You can see in the photo the oil seal in its housing so I took the opportunity to change it while I could.
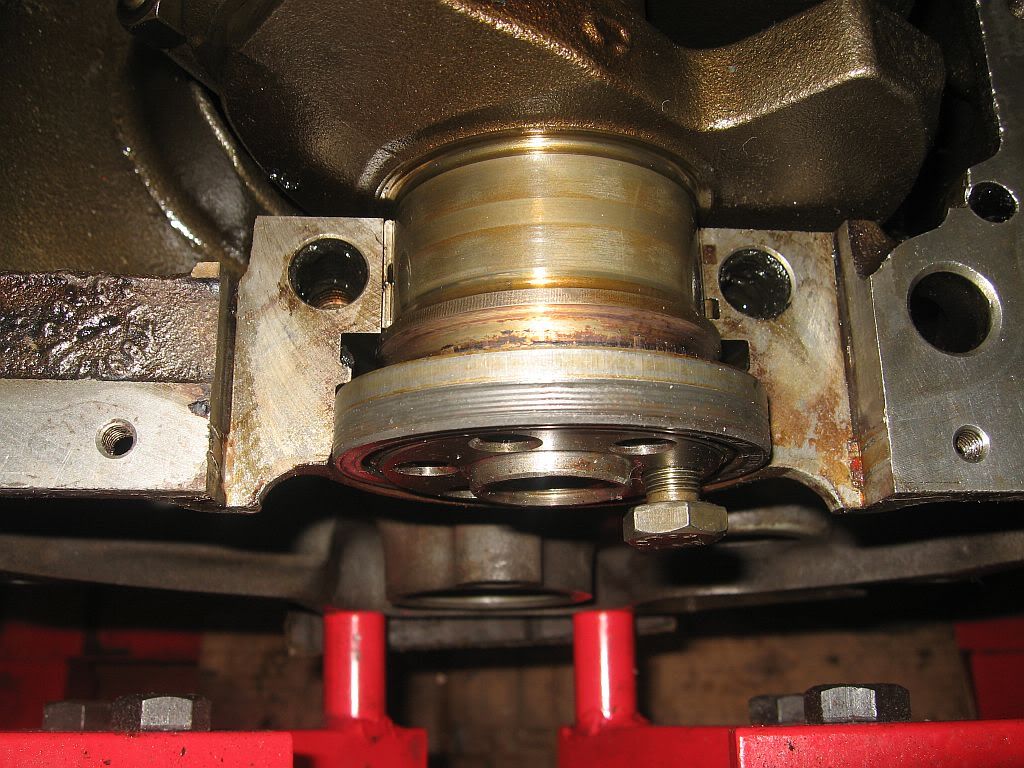
The removal of the cap also gave me a chance to check for wear on the bearing shell, I was a bit worried that by sitting in the dirty oil for so long would acid etch the shell but a spray and clean and it looks perfect.
Nice and shinny with no wear or erosion, you can see in this and the next photo the rubber tabs that are left. It may be possible if removing the pan to work on the oil pump or to check the oil suction strainer to re-use the original gasket and not have to go through all this, but unfortunately I snapped one of the tabs when removing the pan.
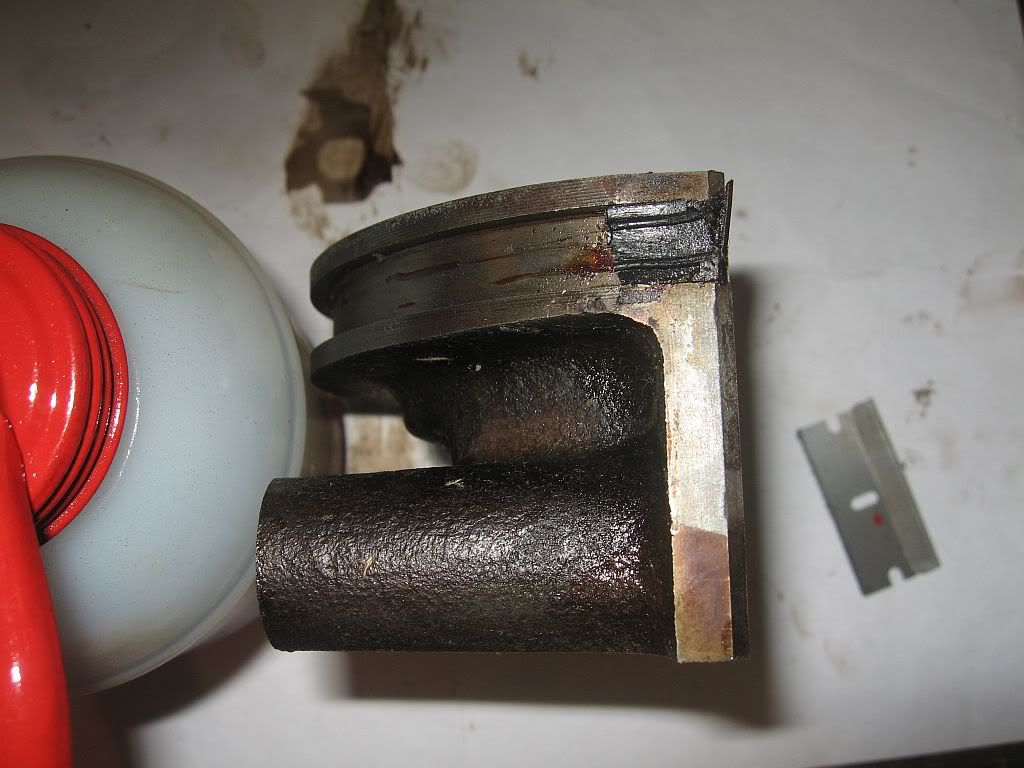
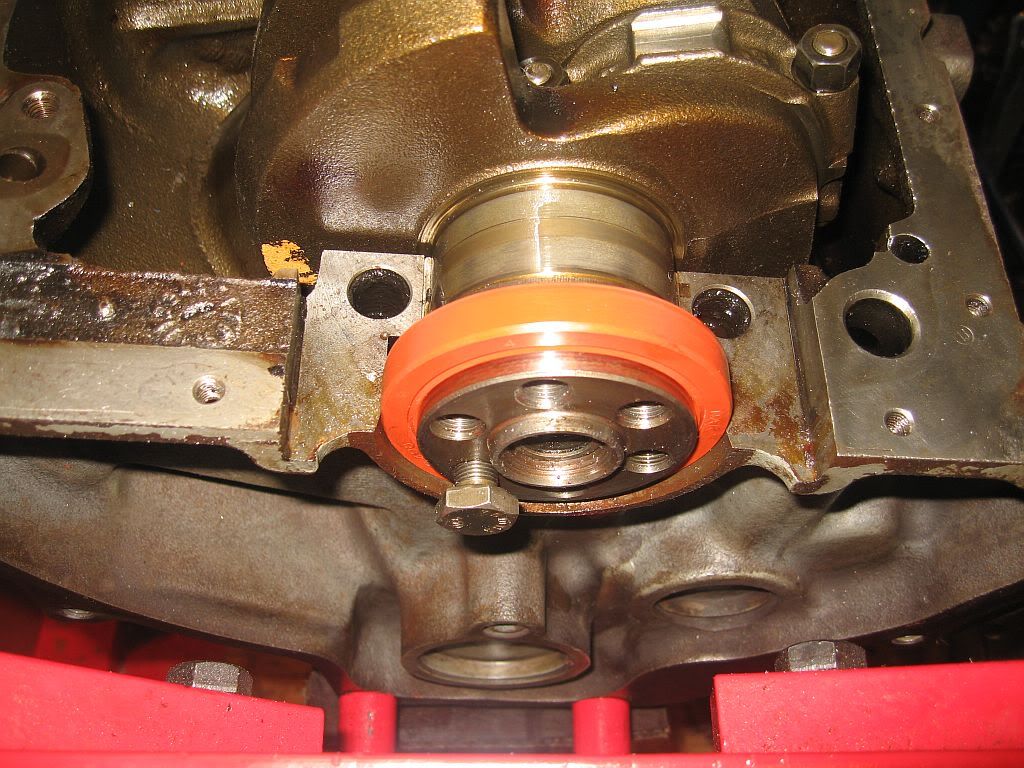
These tabs are easily removed and the old sealant around the housing landing area was cleaned off with a razor blade.
The refitting was a bit tricky as the tolerances are very tight for getting the housing started, I sealed the landing area with Hylomar and also put some on the tabs, a good oiling and the shell was refitted.
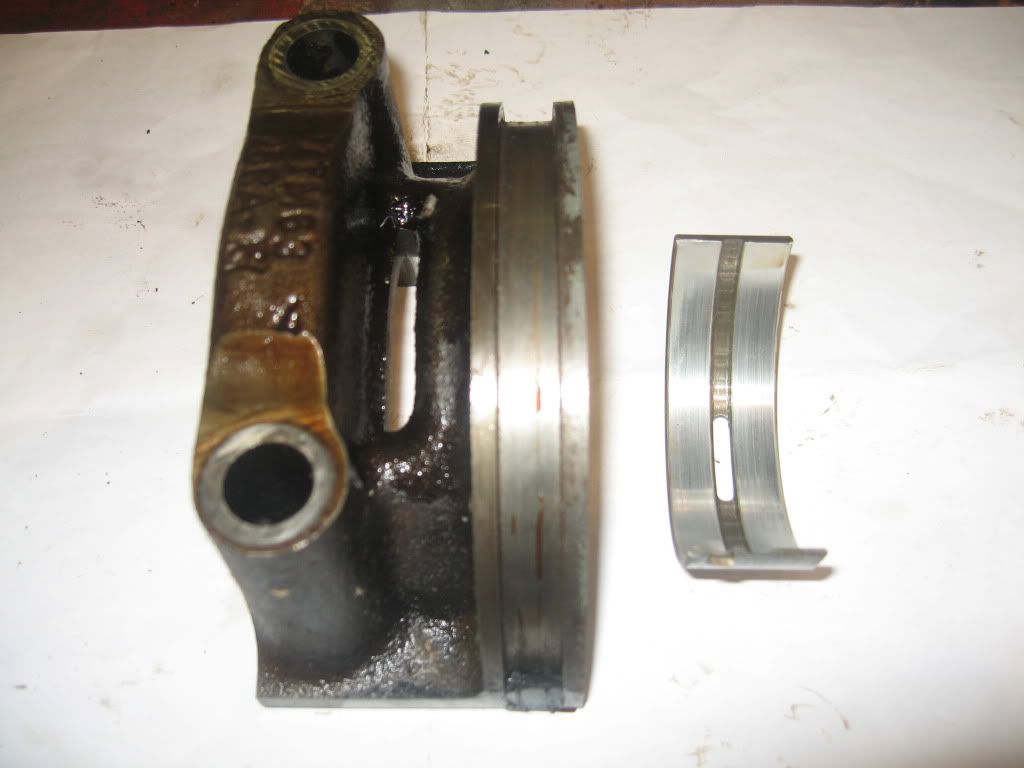
The upper section of the sump gasket is fitted into the groove and the tabs pressed as tight as possible before positioning the housing cap squarely down into its slot then started with a tap from the mallet. The tabs try to lift out a little as the cap is tapped down so these also need tapping down either side to keep them in place. Once down sufficiently the studs can be replaced and evenly brought down into its final position checking the tabs are going down with each turn of the nuts then torquing to 95Nm.
You can see that the tabs are as hard down as I was able to achieve but I will still put a bit of sealant into the corners before replacing the pan. I then replaced the oil pump and that was that. I must admit it is a bit of a workup just to change a sump gasket but I guess Ford has its reasons.
I would suggest that anyone removing their sump pan has a new gasket and a new oil seal available as mine snapped very easily.
I still have a snapped bolt to remove which I had forgot about then a good solvent clean before steam cleaning then ready for its coat of primmer, but that's for tomorrow.
See ya
Paul
No comments:
Post a Comment