
Managed to get some work done in between going out and enjoying the unusually dry weather with Lynne.
The body/wing interface needed a little work as the area around the rivets holes had corroded and pulled the paint off on removal of the wing.
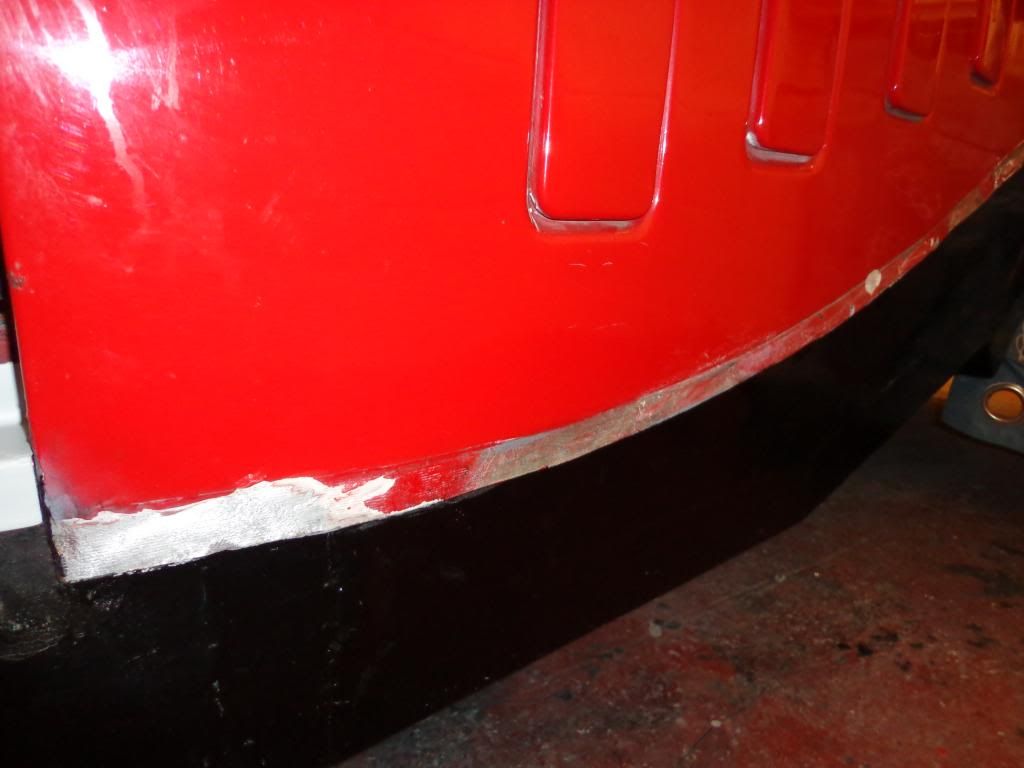
A little bit of work with the DA sander and they where ready for filler, I shall do this later as my priority at the moment is to make the step which required the wing to be fit.
The area around the headlight hole and the sidelight was filled and the first coat of primer sprayed, and it looked pretty good for a first coat.
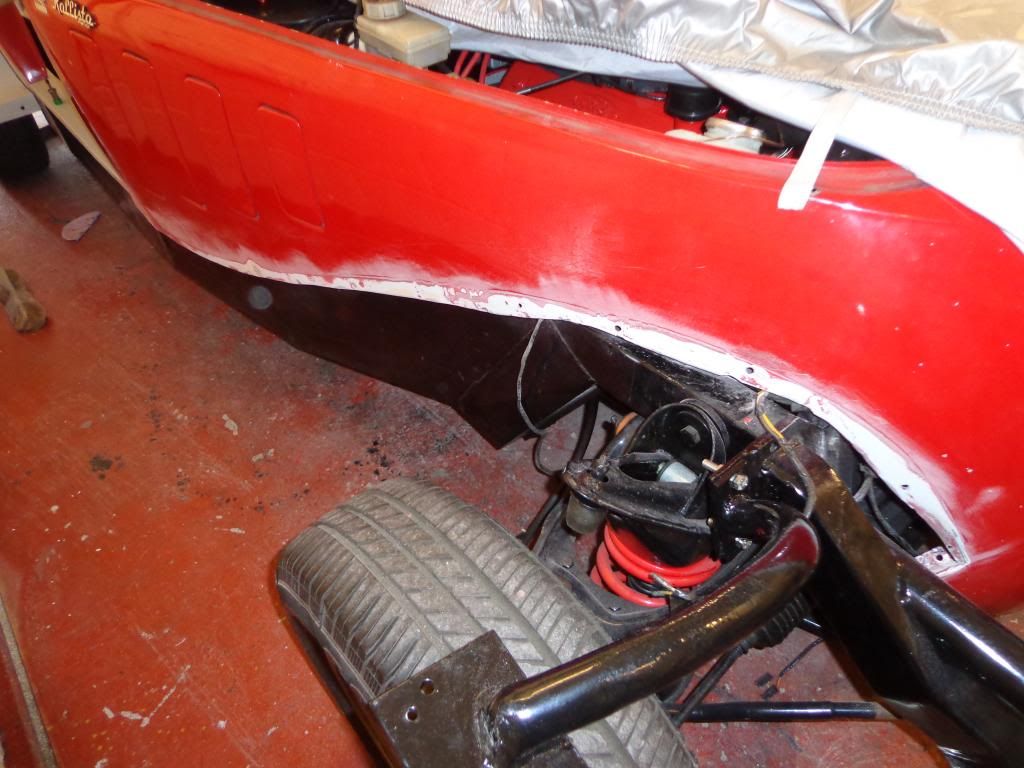
On test fitting the wing I found that the lower section next to the step had no rivet holes and relied on the step bolts to keep in position.
Not a problem as hopefully the stainless steel step will cover the difference and after all it is a hand built car.
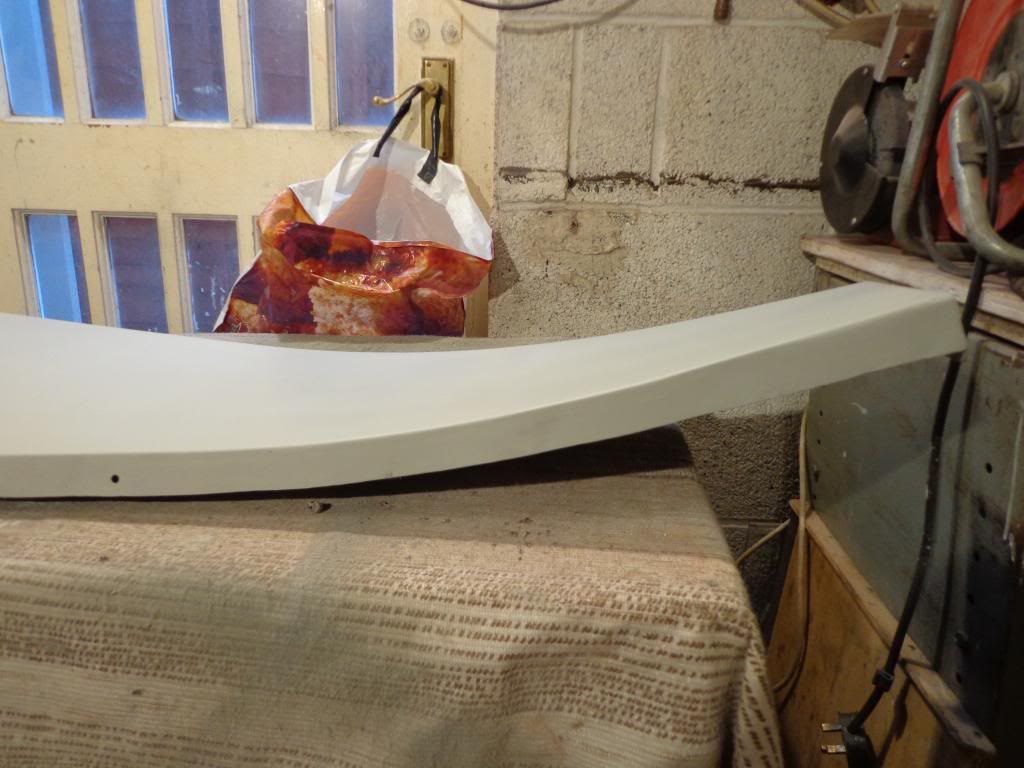
Today's work was on the step, there was nothing I could do with the originals as the rust was under the plate and had blown them out of shape so they had to go.
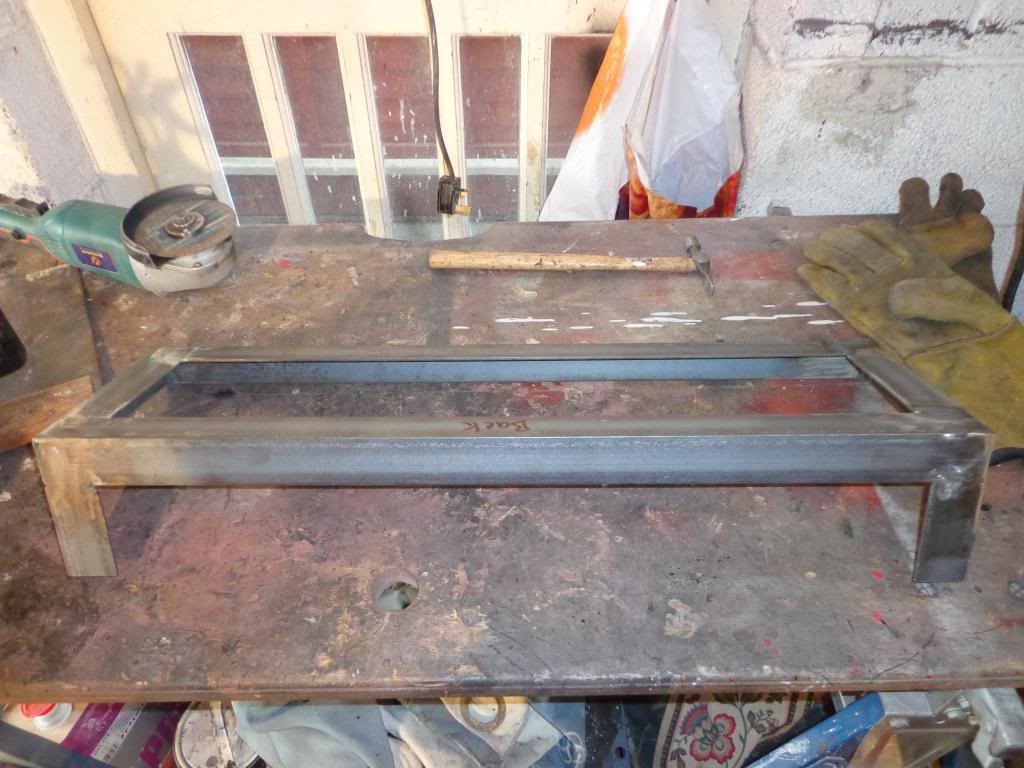
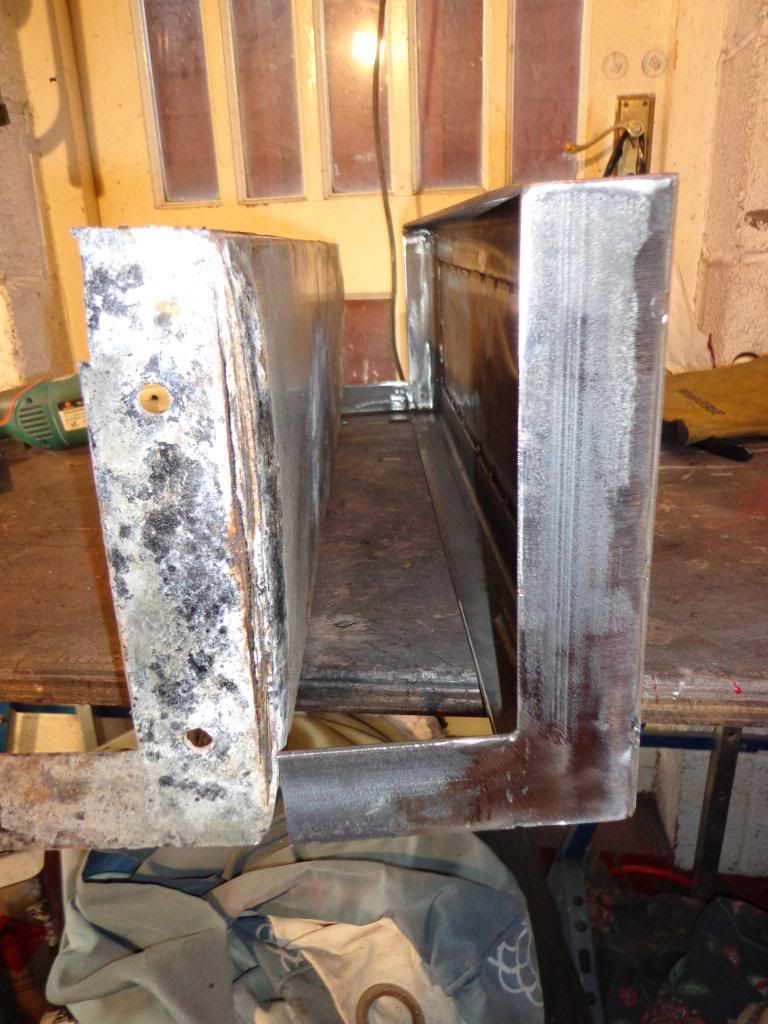
The material I used was 3x40x40mm angle iron and 2mm steel plate all bought at very good prices on ebay.
I constructed the step with cut butt joints as opposed to miter joints as I find them easier to cut, this en-tails cutting the profile out of the angle iron from one side and fitting together.
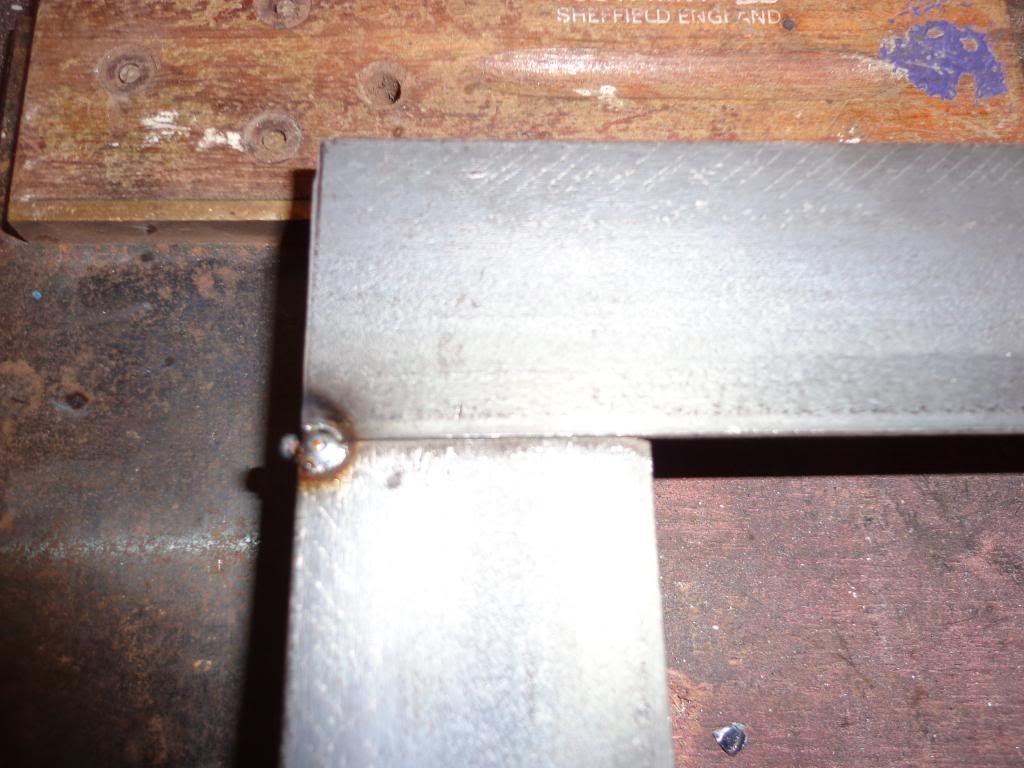
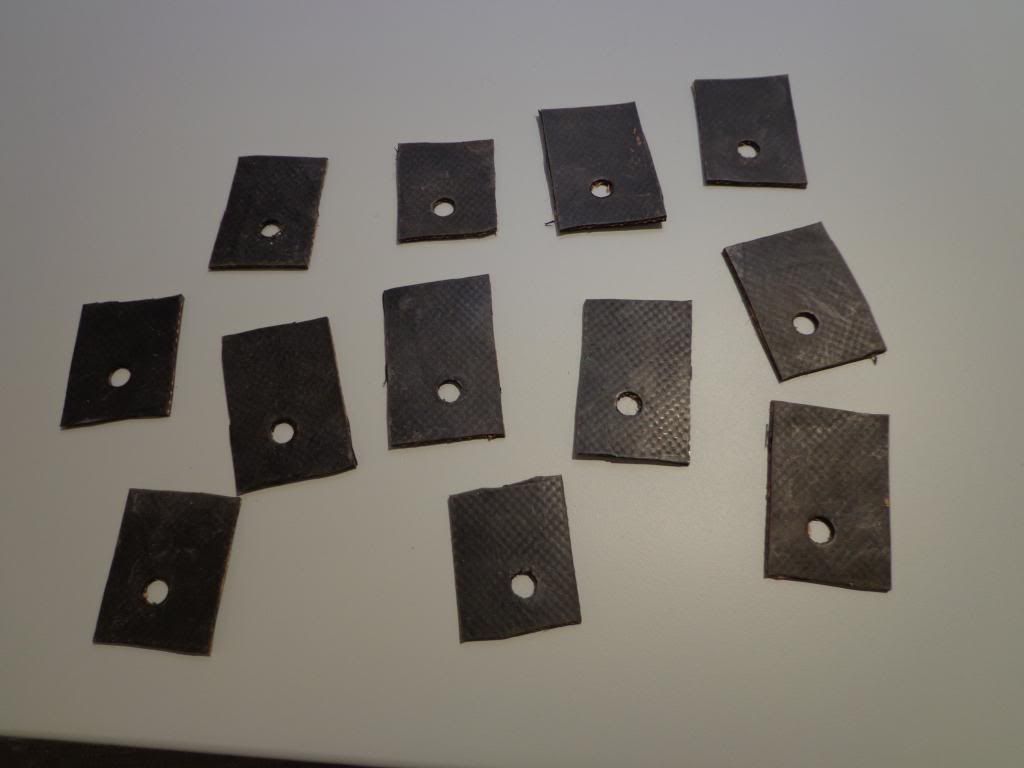
I started with the back piece and subtracted for the rubber spacers and cut the profiles out from the side pieces.
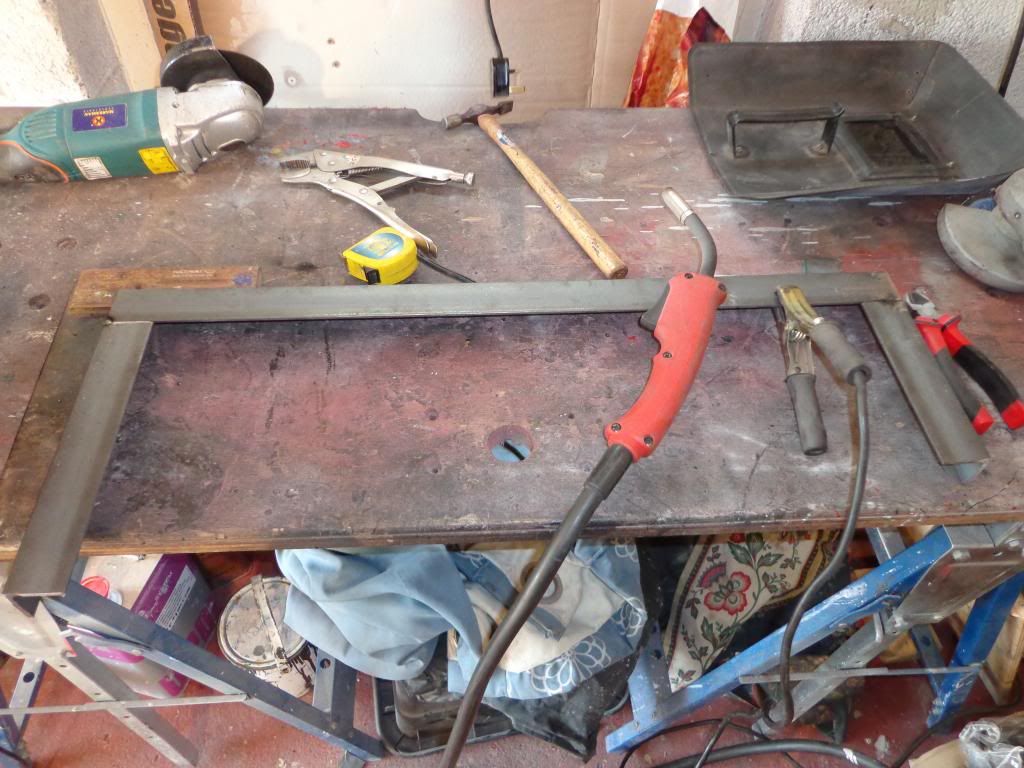
I made these long and offered up to the car for marking off to get the cuts accurate, as there is a difference in the wing widths.
I then cut these to size and cut the profiles into the long piece and tacked in place.
Once tacked up, I checked that all was good then welded up the joints, I tried welding with the TIG welder but had no joy, I don't know if I am running out of gas or the metal was to thick but I ended up stick welding it together.
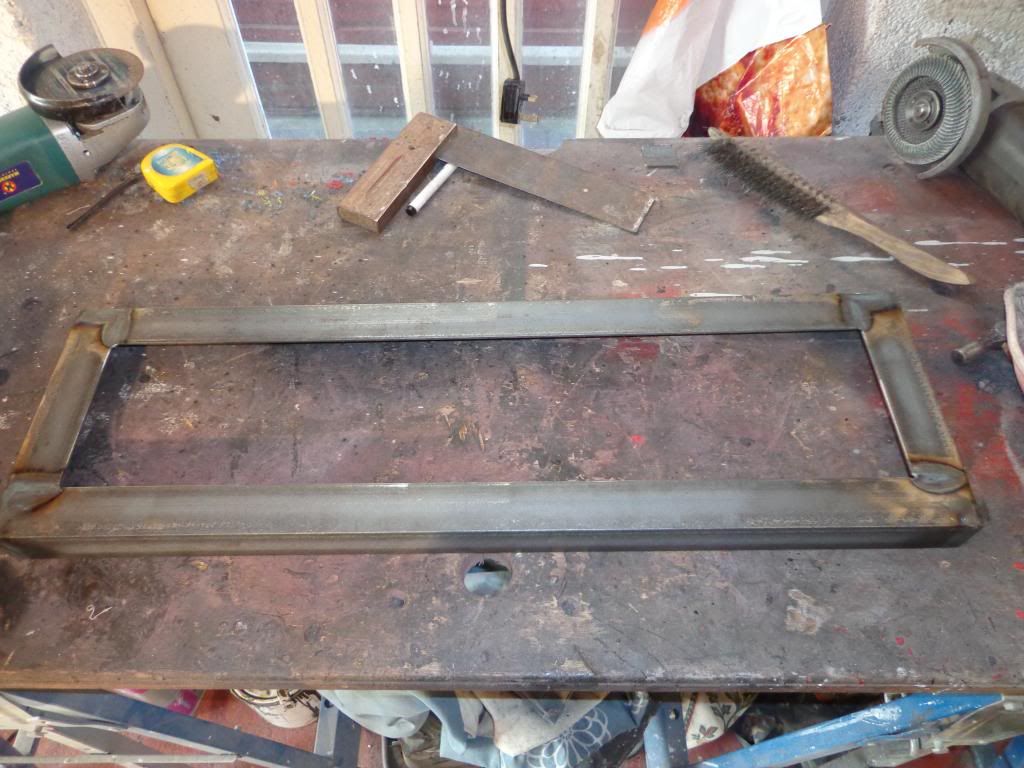
Next came the legs and I took the sizes for these from the originals and also the hole positions, these where welded in place.
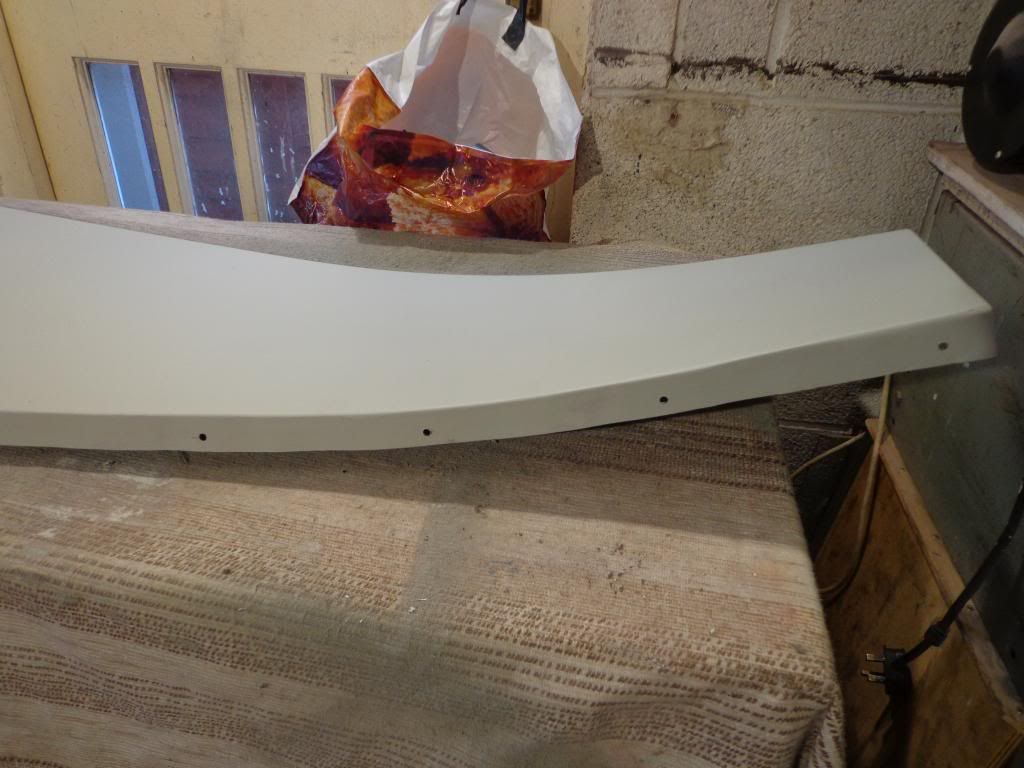
If you look closely you can see the cut out's for the butt joints
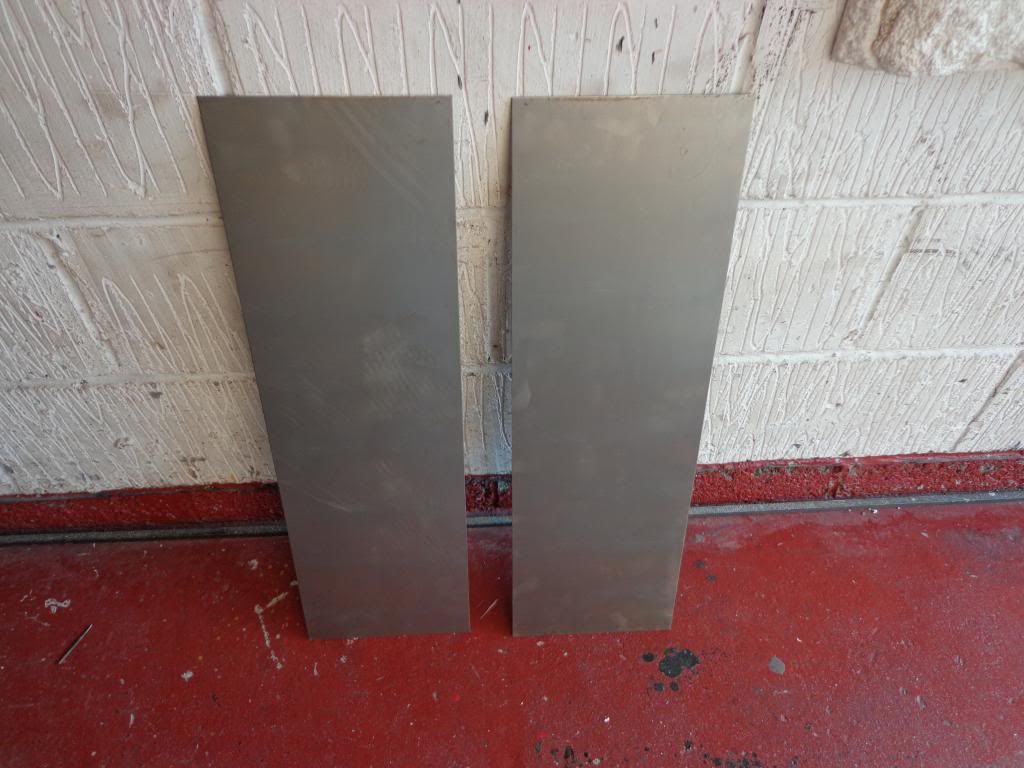
I had ordered the 2mm steel plate from eBay and it was cut to size although I had measured it a little bigger so I could cut to shape once welded in place.
The main welding of the plate was done on the underside with small tacks so as not to distort it
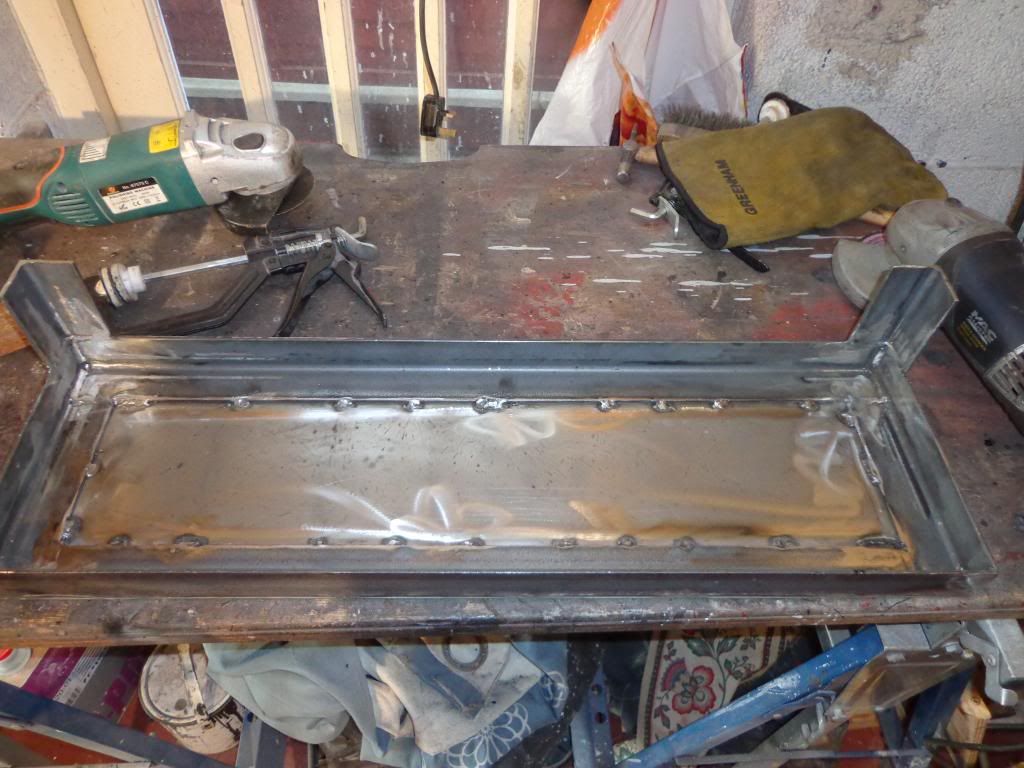
Then a few tacks around the edges.
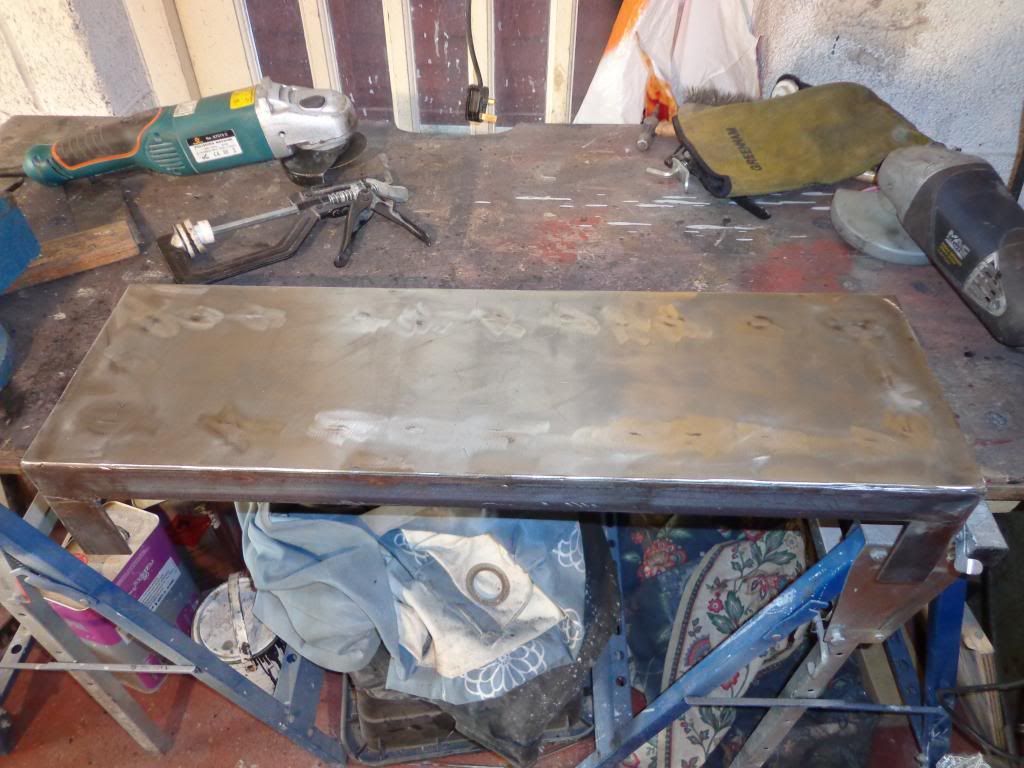
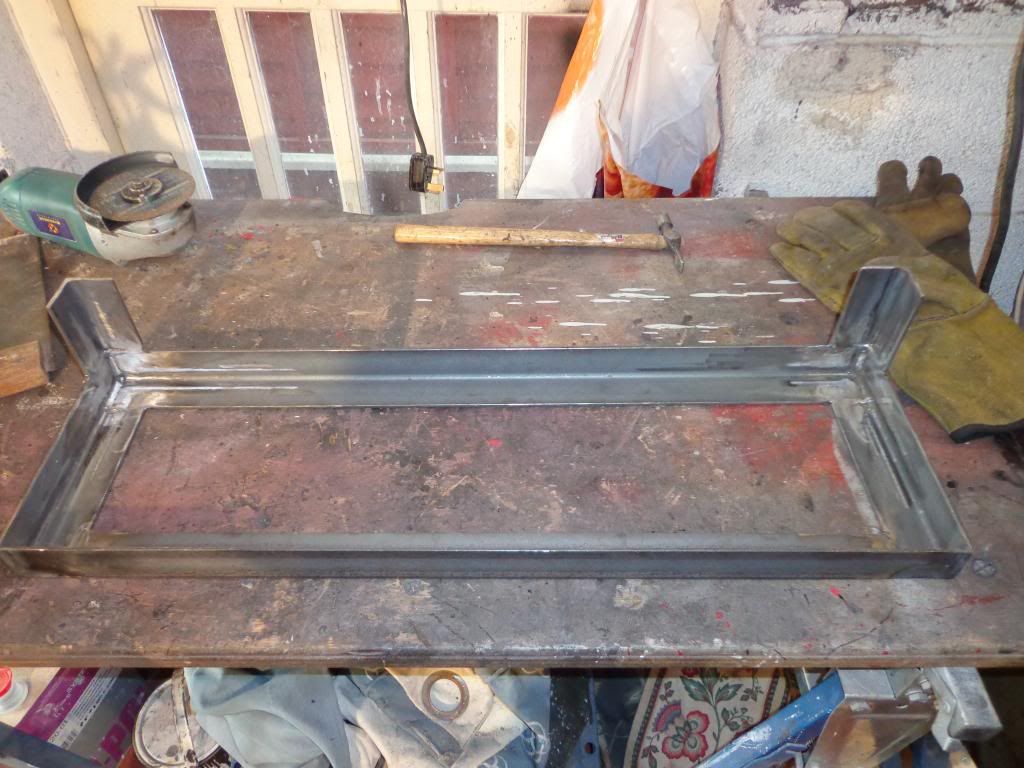
You can see the difference and the reason for replacing the steps when you look at the old one, when the step returns from the powder coater's I shall run a bead of silicone around the gaps between the tack welds and upper edges to make sure no water can get into the gaps, then spray with stone chip.
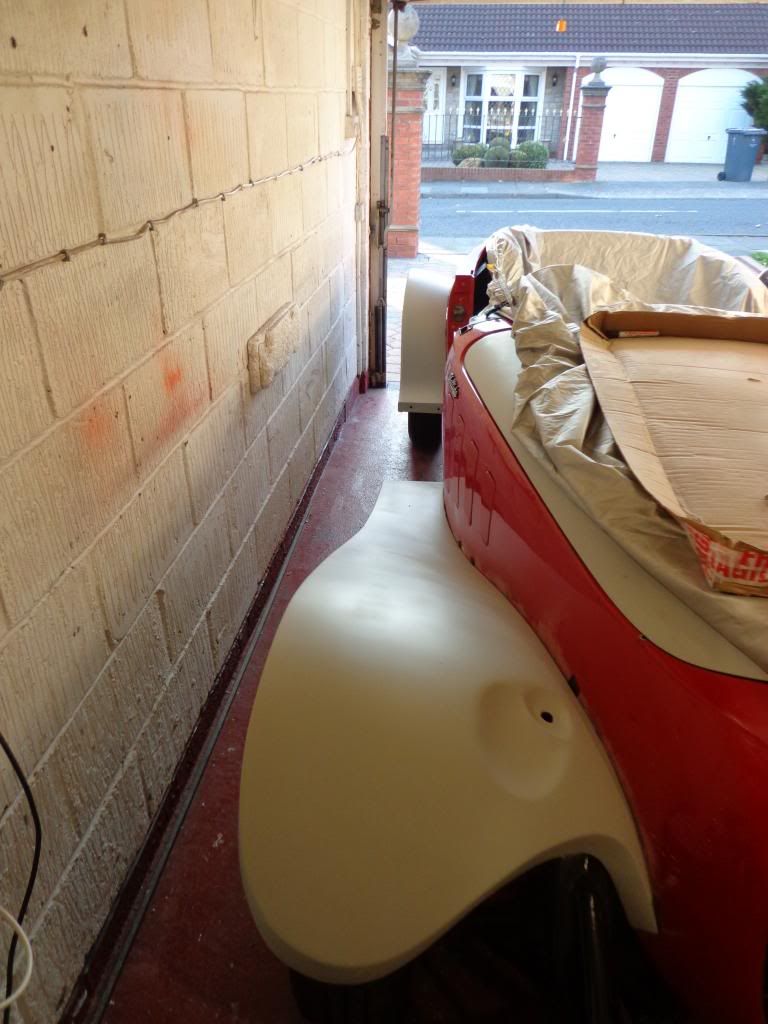
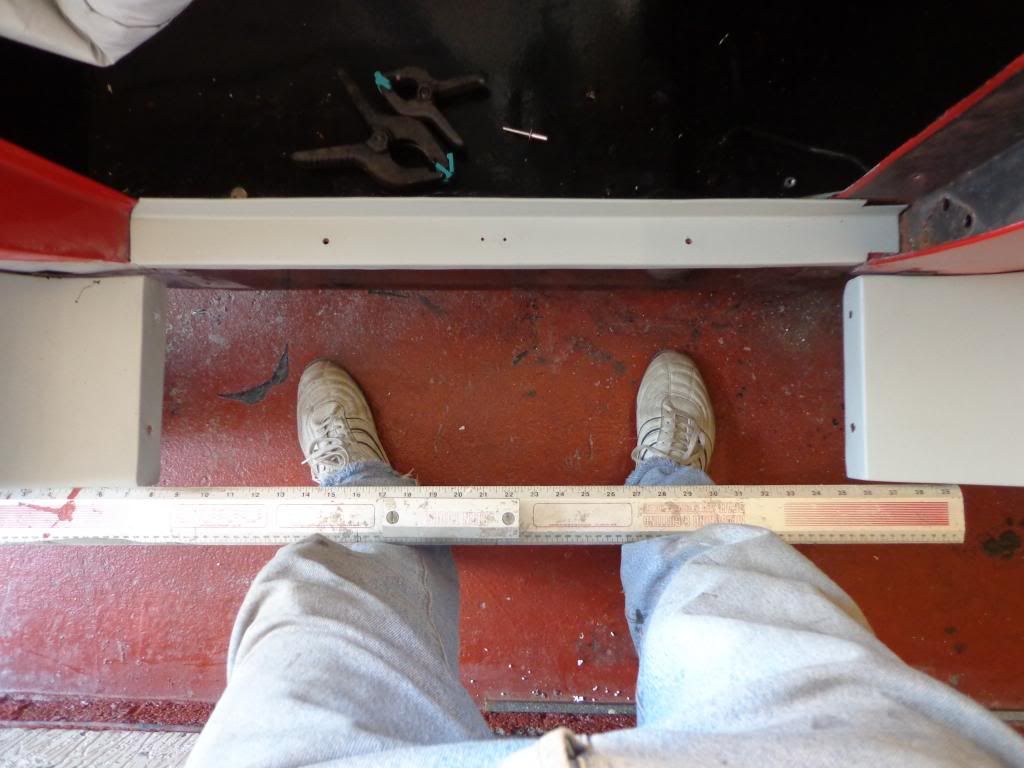
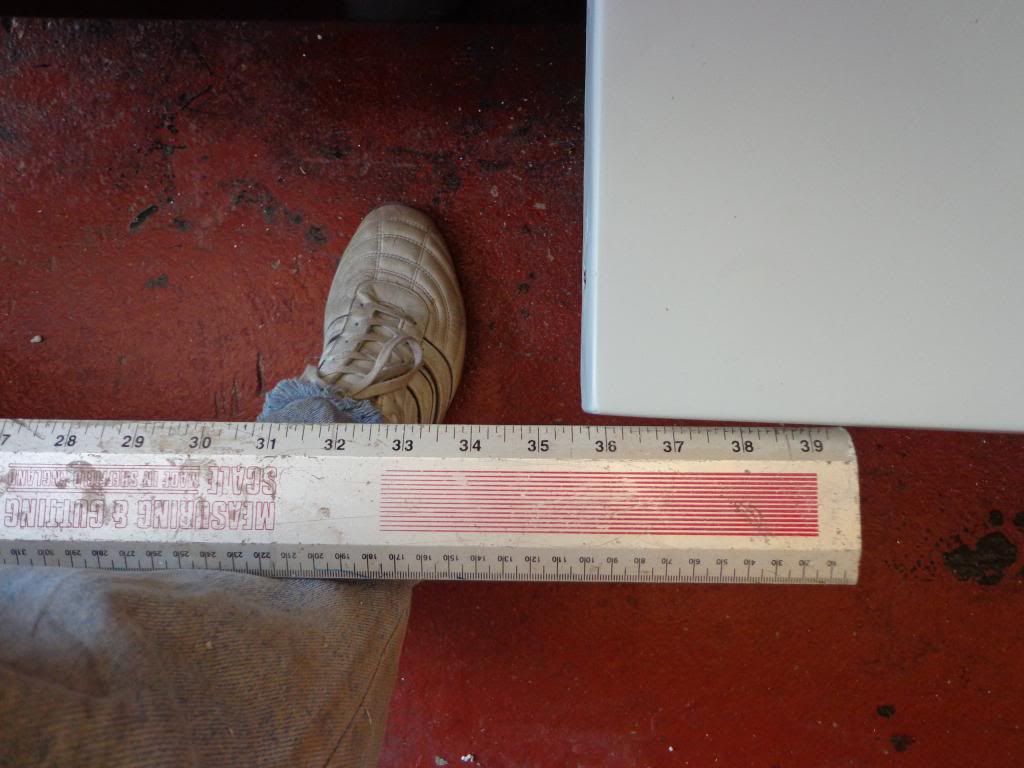
All done and fitted, I need to do a bit of fine tuning to the drill holes as the rear side needs to rise a few mil and once done the side holes can be marked for drilling.
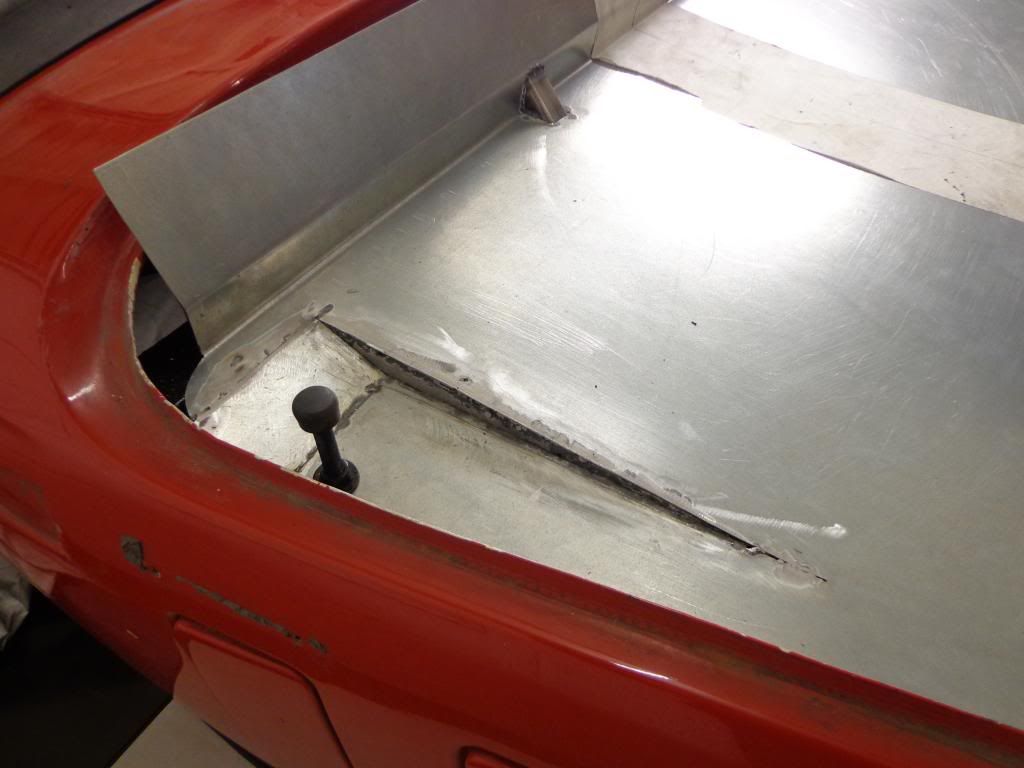
The step is around 710mm long and the stainless I hope to fit is around 1200mm long, this shall be folded over the step and rolled up the rear wing around 150mm and the remainder will be shaped up the front wing with 3 tread.
See ya Paul
No comments:
Post a Comment