
Another day working on the engine, I am really enjoying this kind of work. I think its cleaning of the oil and dirt and seeing a nearly new; if somewhat rust pitted engine coming through.
I have also been on the phone and ordered a new set of Payen gaskets, I have already bought a upper and lower set of gaskets from eBay relatively cheap, but as the saying goes 'you get what you pay for'. The Payen set have been recommended by Terry B as being the best out there, I contacted F W Thornton who stock and will source Payen gaskets for any make or model. Excellent service, I called this morning and they had the sump gasket in stock but not the top end, by the end of the day they had tracked down and got in a set ready for dispatch. I have bought the later model rubber gasket as fitted to my engine, the set I have already has the earlier cork type in 4 sections, I have also bought the top end set that includes the head and intake gaskets plus the valve stem seals also I expect everything required for the thermostat housing. Costing £95 including delivery, very pleased.
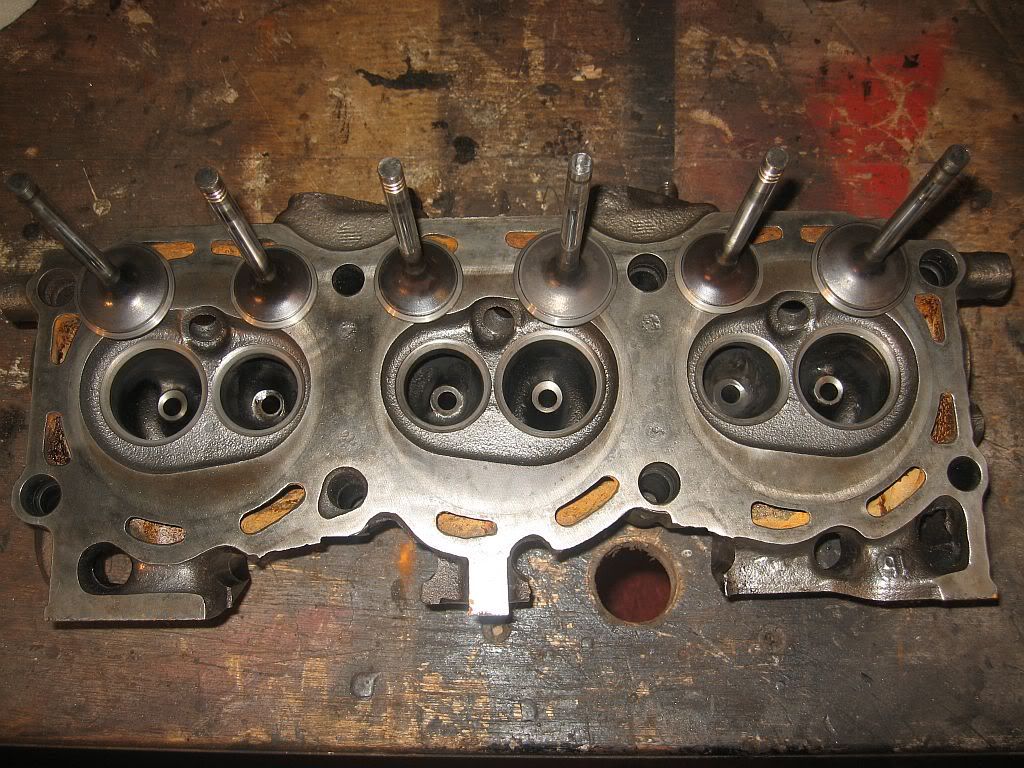
I have carried on working on the heads and have them as far as I can go until I receive the valve stem seals then just a matter of re-fitting the valves and the heads are ready for fitting.
After I finished the heads I dragged the heaviest engine lifter ever created out again and rebuilt it, I should have realised when I first fitted the engine to the stand that I could not turn it over but it never dawned on me to try it.
Once removed from the stand I lowered the engine onto my workbench to remove the stands swivel mount.
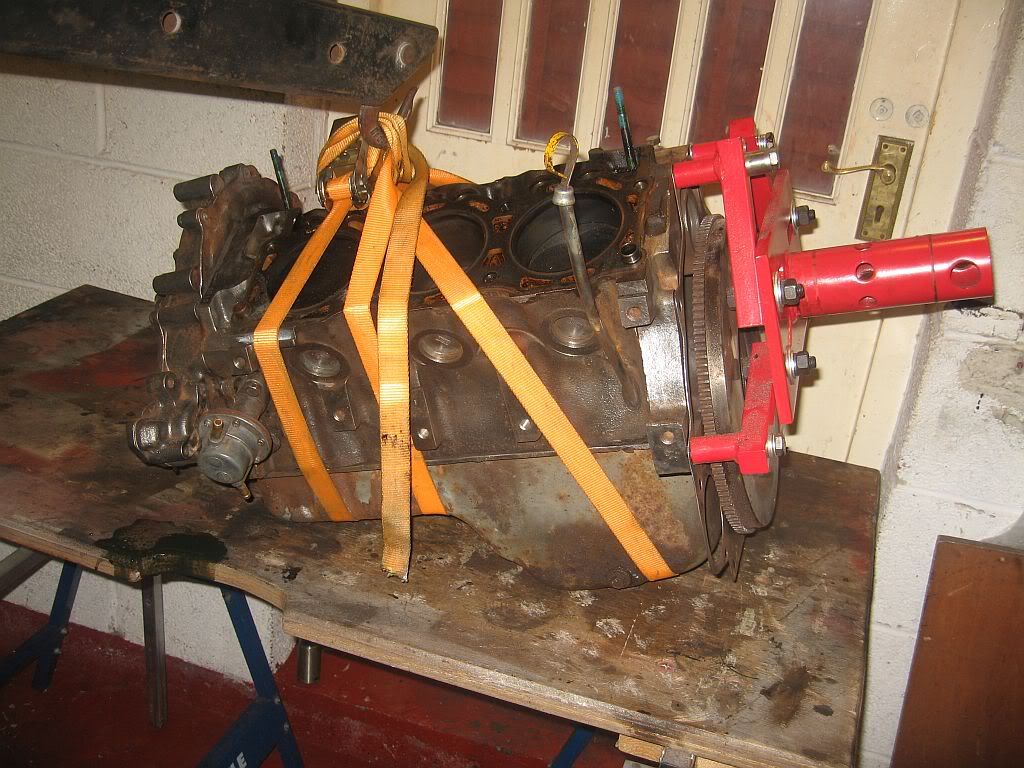
Still a heavy lump even with the heads off.
My choices were to either remove the locating pins for the clutch fitting, fit spacers to the stand offs to give room to turn or to remove the flywheel, out of these three the removal of the fly was the easiest and safest also I needed to check whether the oil seal was good. I marked the flywheel's vertical position before removing the bolts and re-fitted a bolt to the flange to show the vertical position on the engine.
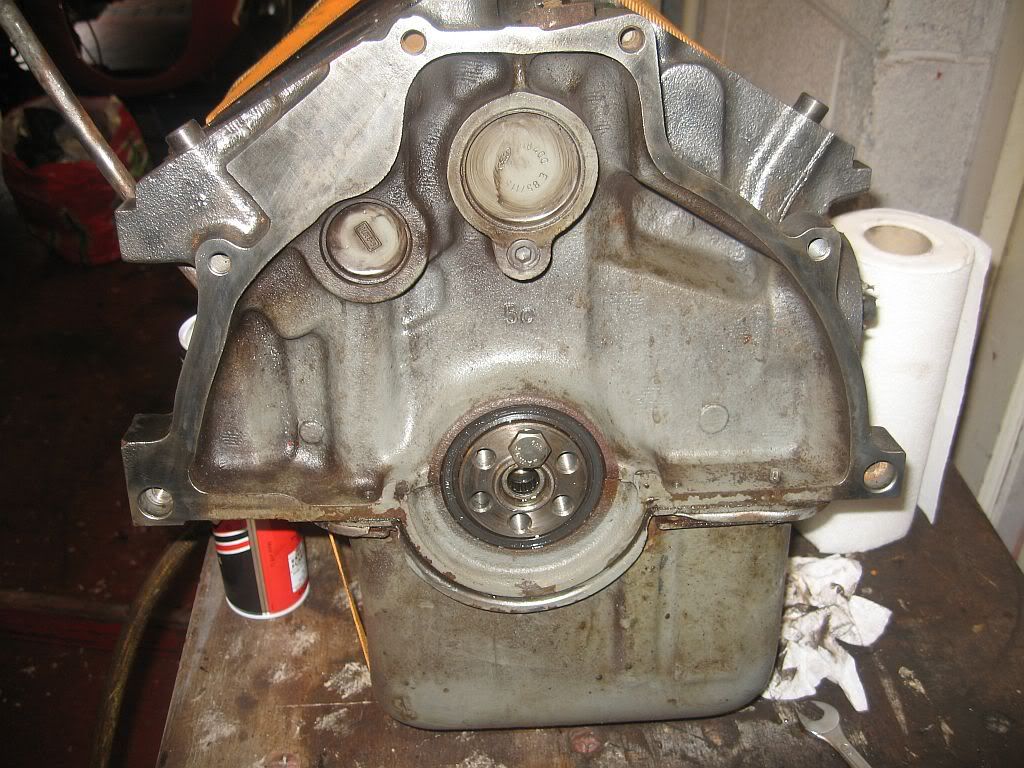
The back of the flywheel has a number of balancing drill outs, so it is very important to reposition it correctly so I have backed up my pen markings with a good deep scratch in the vertical position. I cleaned up the flywheel and the back of the engine and had a good look at the seal, I have a spare but seeing as how this is not leaking I thought it best to leave well alone.
I then bolted the stand swivel back on and craned it back onto the stand.
Next was the tappets, but a good clean first, I had been giving this area a regular spray to loosen the oil and now it was easy to clean up, I also cleaned up the piston crowns and polished up the gasket faces. The engine turns nice and freely and a good oiling kept it that way.
The tappets are easily removed, I found that a long legged allen key worked very well at removing the tappets, I worked on one 4 tappet section at a time and turned the engine until each tappet was at its highest point before inserting the allen key and lifting.
A lot of dirty oil was trapped in the lube section and was released with the removal, a good clean and oil then back in and onto the next one.
I have also given the inside of the liners a polish and oiling, I turned the engine over for each cylinder a few times oiling and cleaning each cylinder until the paper towel came up clean.
Looks like a different engine from just a few days ago, will have to make the underside look the same but that's for tomorrow.
See ya
Paul
No comments:
Post a Comment