
I'm afraid progress has been slower than I had been hoping for since getting home on Sunday, well today has more than made up for it.
Yesterday was a no day as Lynne had the day off and I was working on her birthday so she decided to have me out for the day, which wasn't to bad as I ended up with a new coat in the sales, result.
I did manage to get an hour or so in on my return and got under the car with a spotlight, what was left of the under seal and a paint brush, surprisingly there was very few places the spray gun had missed; in fact I was rather pleased with the result. I also attached the springs to the lower arms and fitted the bushes.
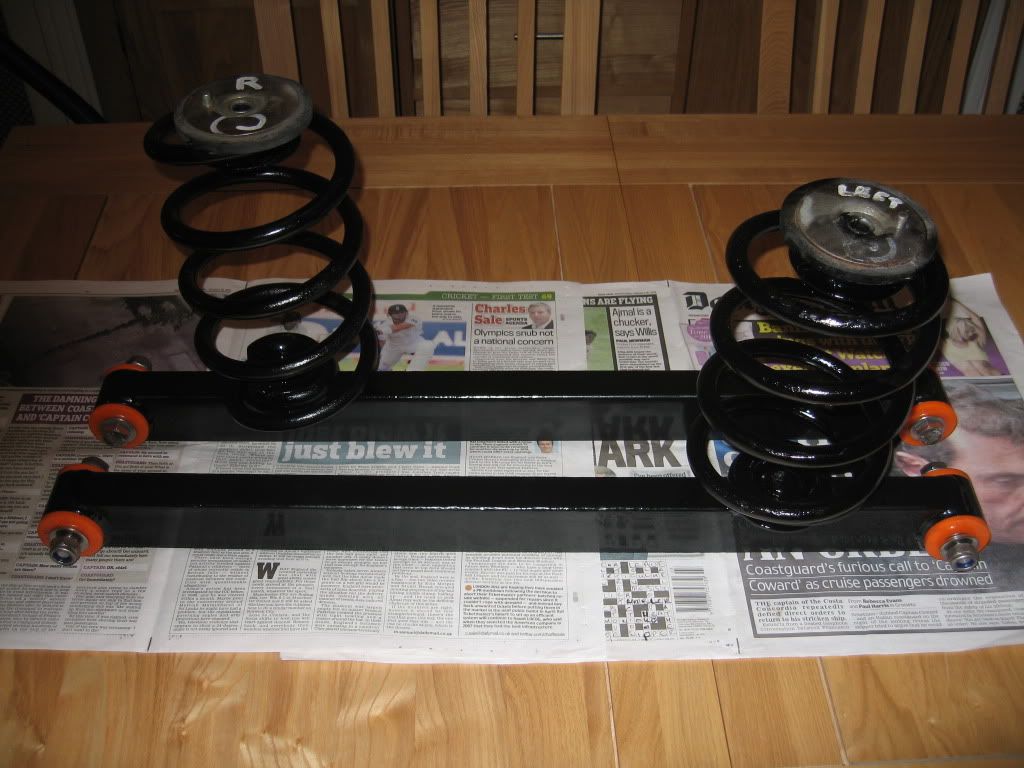 |
| Lower trailing arms and springs |
The bolts were also bought yesterday, 10 x 12mm and 2 x 10mm for the upper spring attachment, with washers and nylocks in stainless came to just under £20.
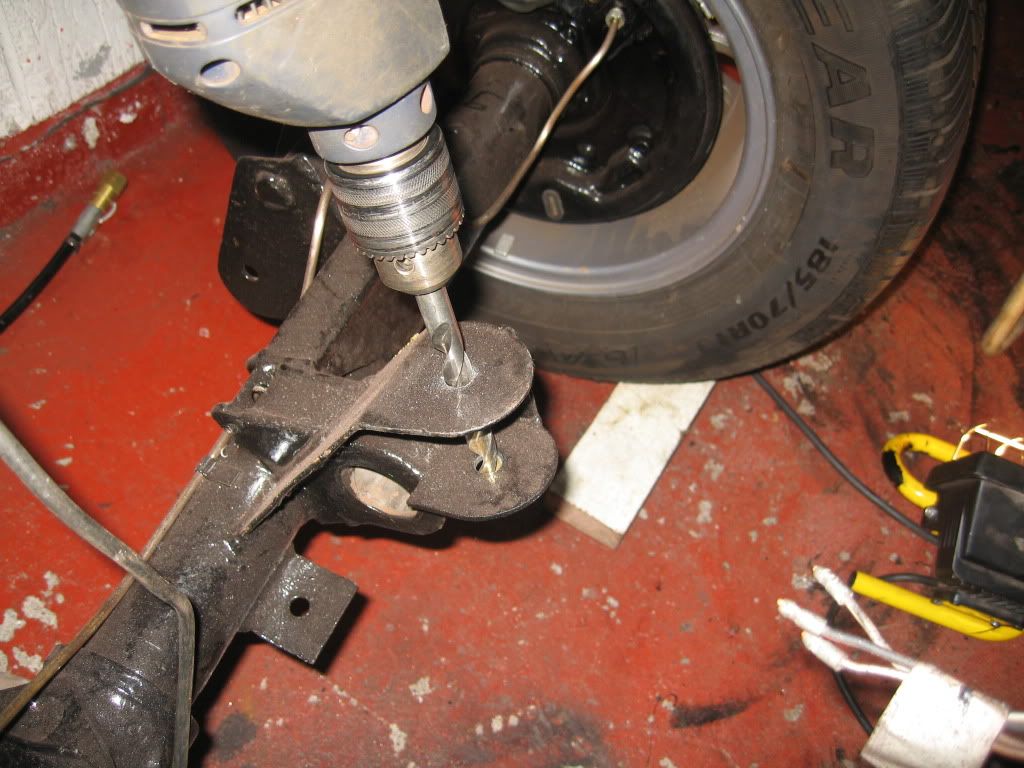
I started today by drilling out the 7/16" bolt holes to 12mm, I mentioned in a previous blog that the upper trailing arms were 1/2" BSF or UNF and the lowers were all 7/16" well to make life somewhat easier all mine are now 12mm. Unfortunately it is not as straight forward as it may appear, not a problem when you are used to difficult situations that have to be overcome but be aware if you do try it you will need a couple of unusual tools. or a decent file.
A couple of them I could just straight drill using a 12mm bit.
Most of them required a right angle drill attachment with a carbine rotary file.
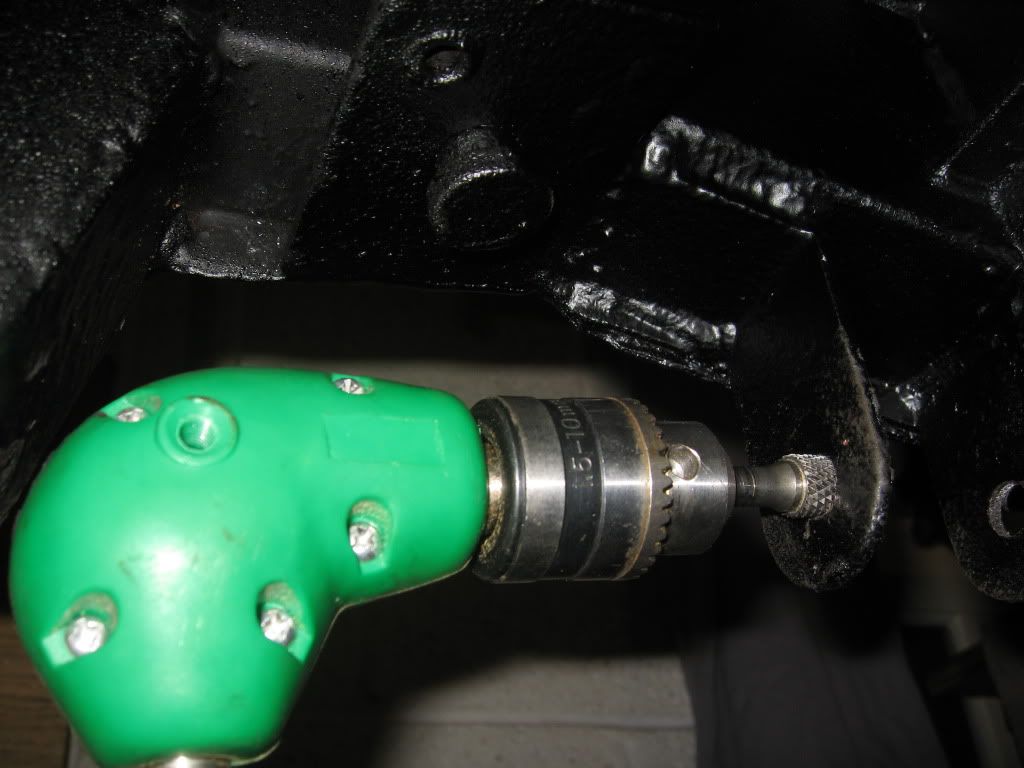 |
| Right angle attachment |
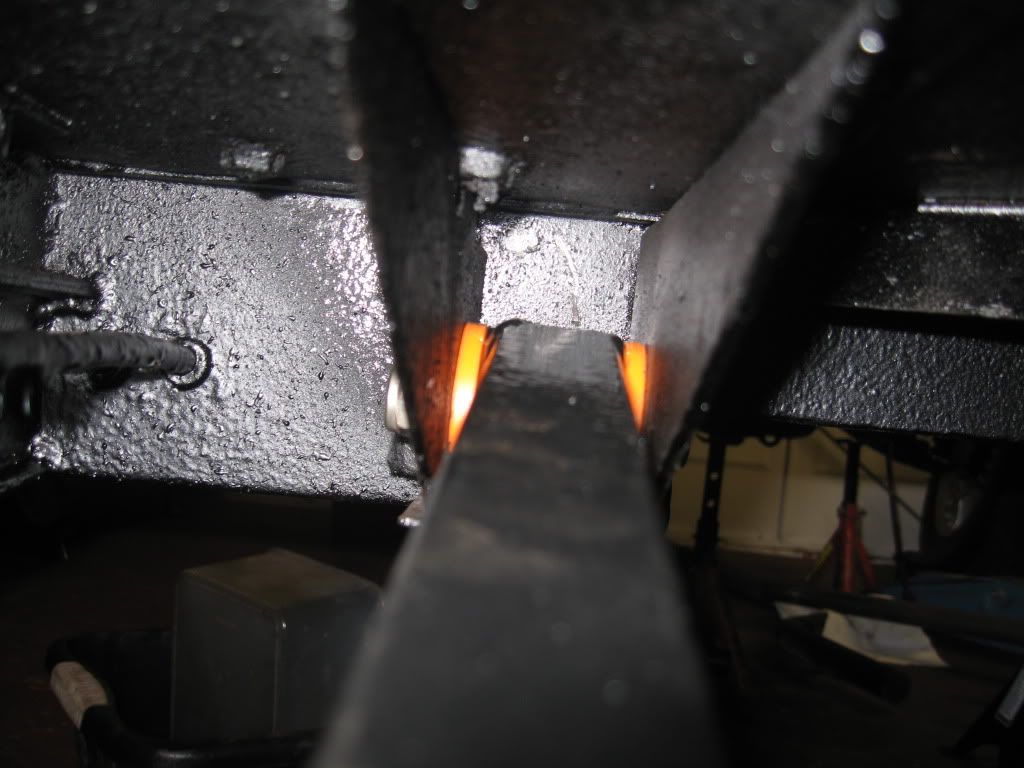
And 2 of them required the drilling of the first hole with the 12mm bit then a bit of filling before fitting a 12mm tap through this hole and threading the 7/16" to 12mm.
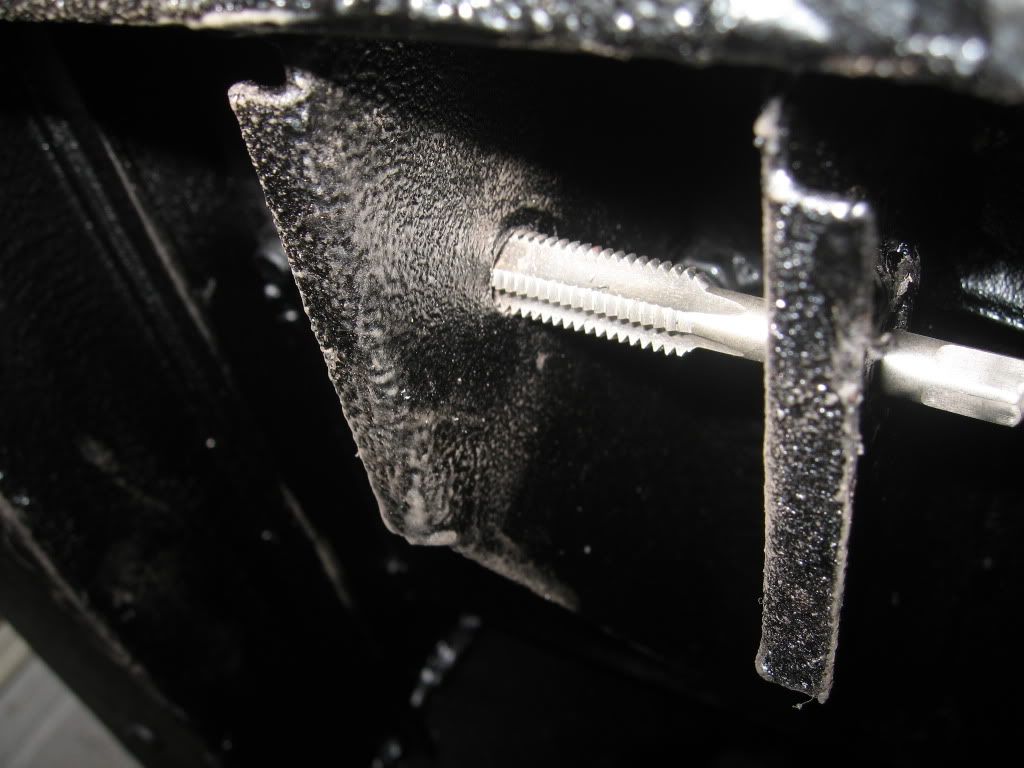 |
| Chassis lower bracket |
All this is because of the tight angles and lack of room to fit a drill and bit, If anyone buys the bushes I had made at Floflex then ask them to drill the inserts to 11mm to fit the 7/16" bolts fitted although I think it comes from a standard tube and cut to size. Still for an hours work it is well worth it as I have fitted all stainless and will never have to worry about grinding them of as I did with the originals.
I was now able to fit the lower arms and bolt the springs to the chassis, the new bushes fit like a dream, it took a bit of effort having a bobbin made in Teflon then a mold but seeing them slide in made it all worthwhile, very pleased.
 |
| Lower arm new bush |
Once these were in position I got out the upper arms and oversized bushes, for what reason I do not know? I had bought a attachment for my grinder to cut these bushes to size, stupid idea.
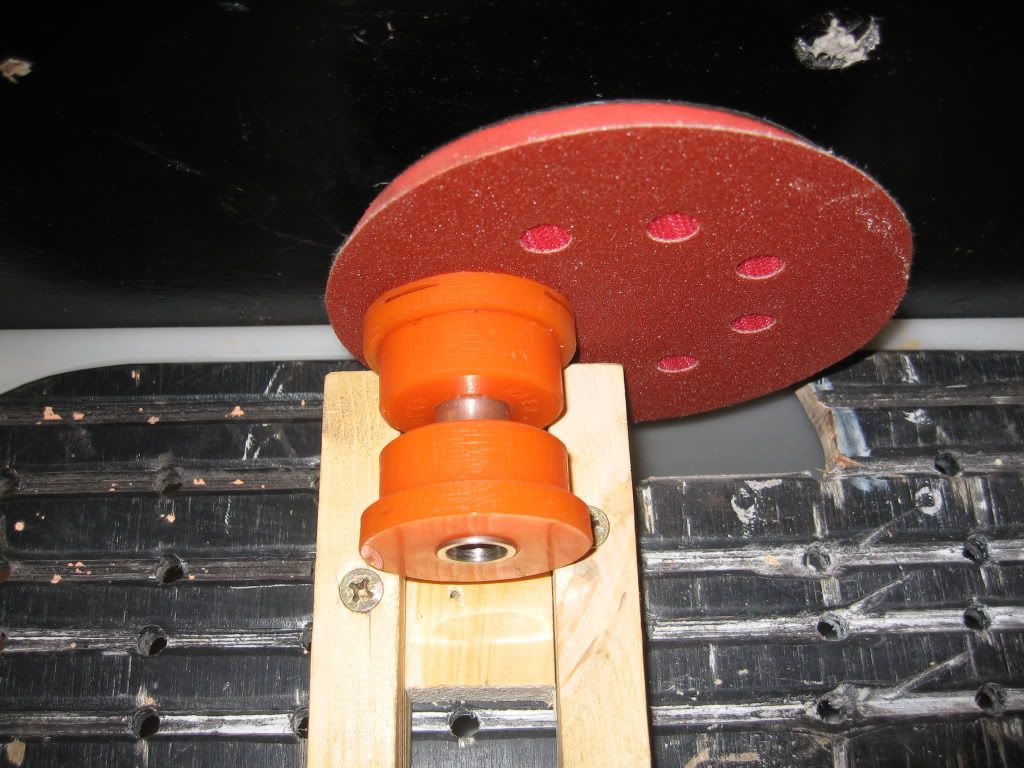
I had in the loft the perfect tool I made last year for grinding smooth the edge of glass using diamond pads, all I had to do was swap the diamond pads for grit pads and I had it.
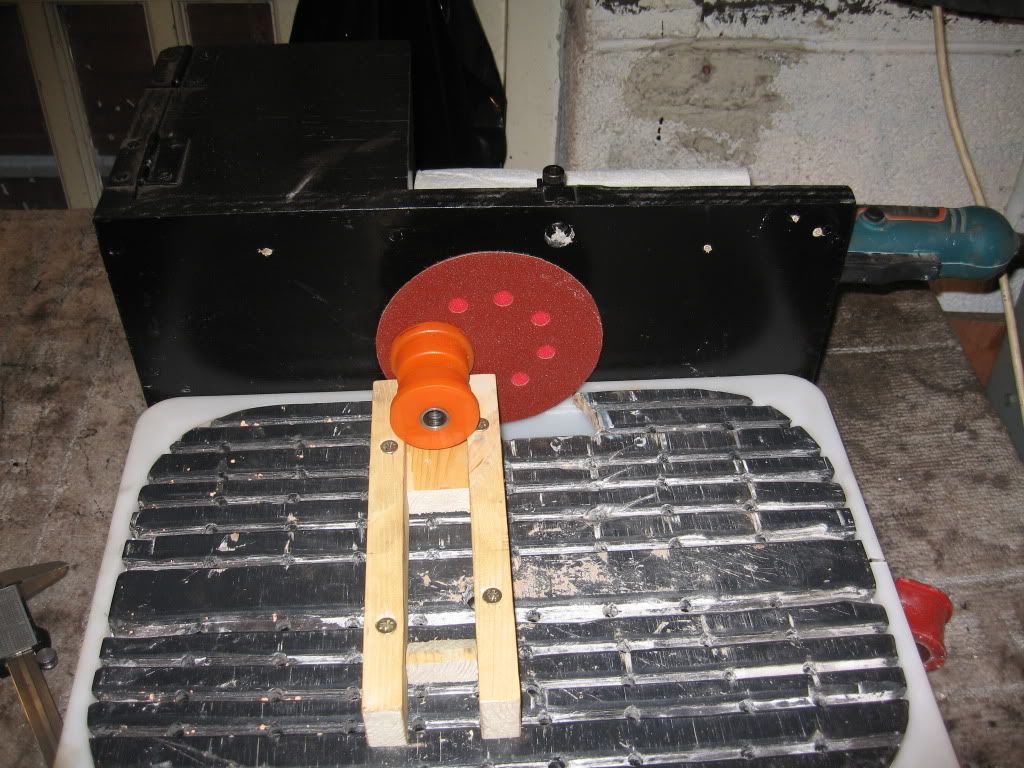 |
| Horizontal grinder |
The sander is just a box with my spare variable speed grinder fitted to the back, the work bench is the water trough for the water pump to go, I just removed the splash guard and pump and screwed on a couple of straight edges and da! da!, perfect. I had taken a lot of trouble when I first built it to get the wheel in as close to vertical and horizontal as possible so as long as I screwed on the straight edged square then I would have aligned bushes.
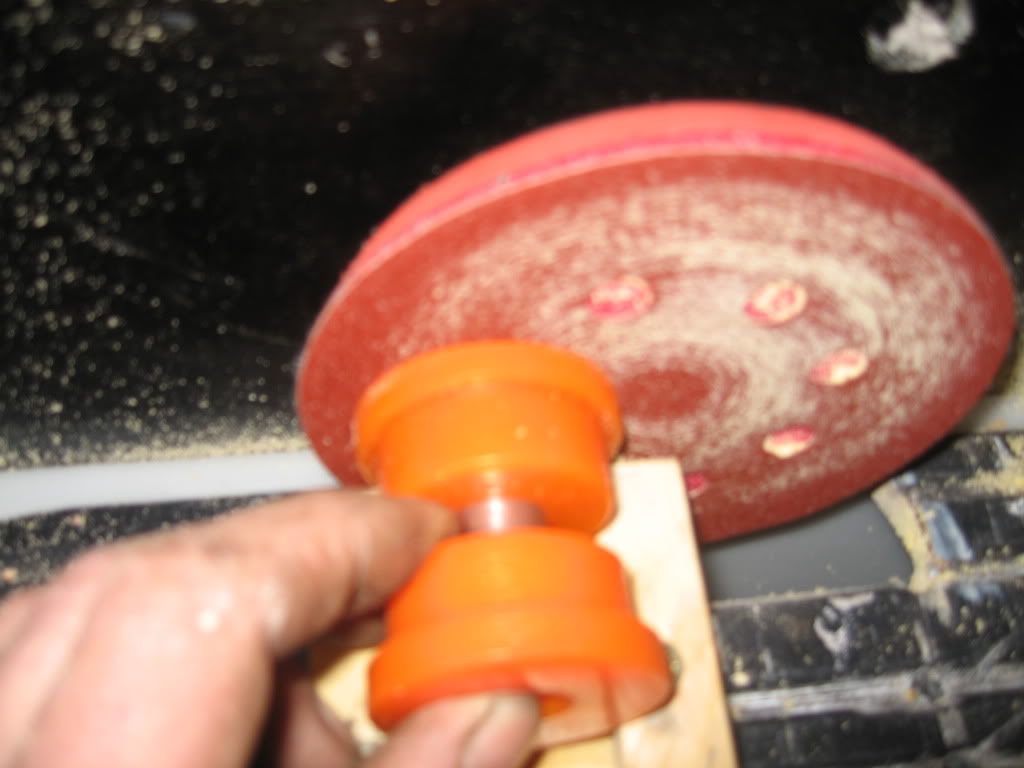
The bushes I am using for the upper arm chassis end are the one's selected by Floflex and they fit great in every department except width and these are.
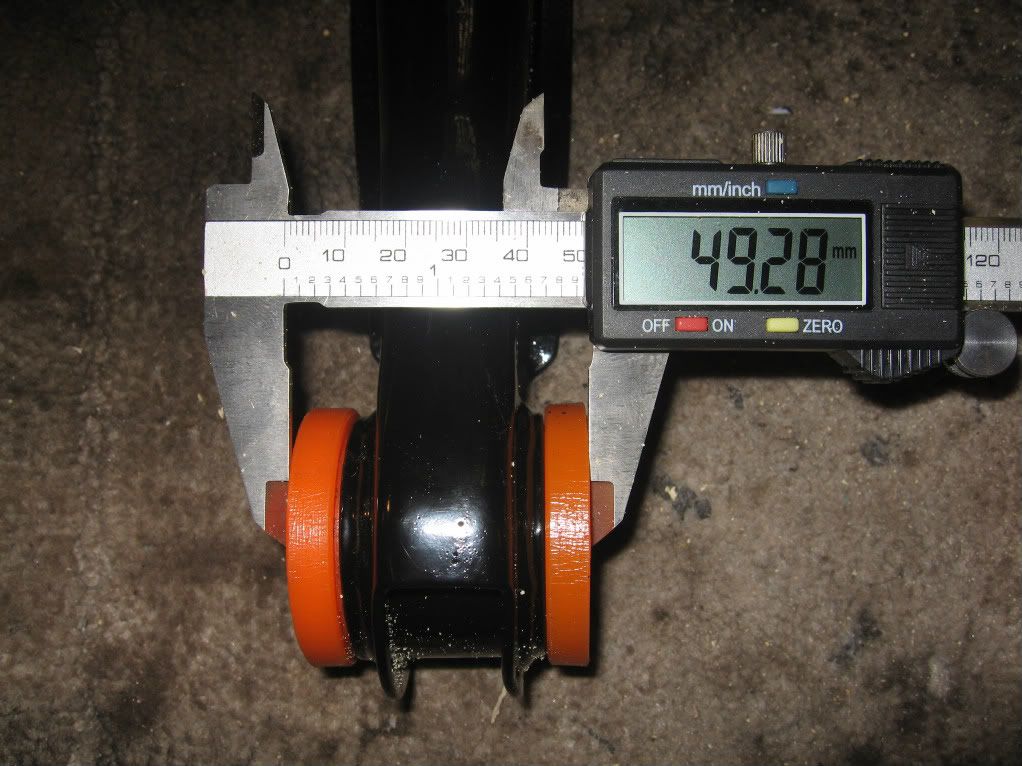 |
| Upper arm bush before sanding |
As you can see the O.D is 49.28mm, unfortunately it should be 45.5mm.
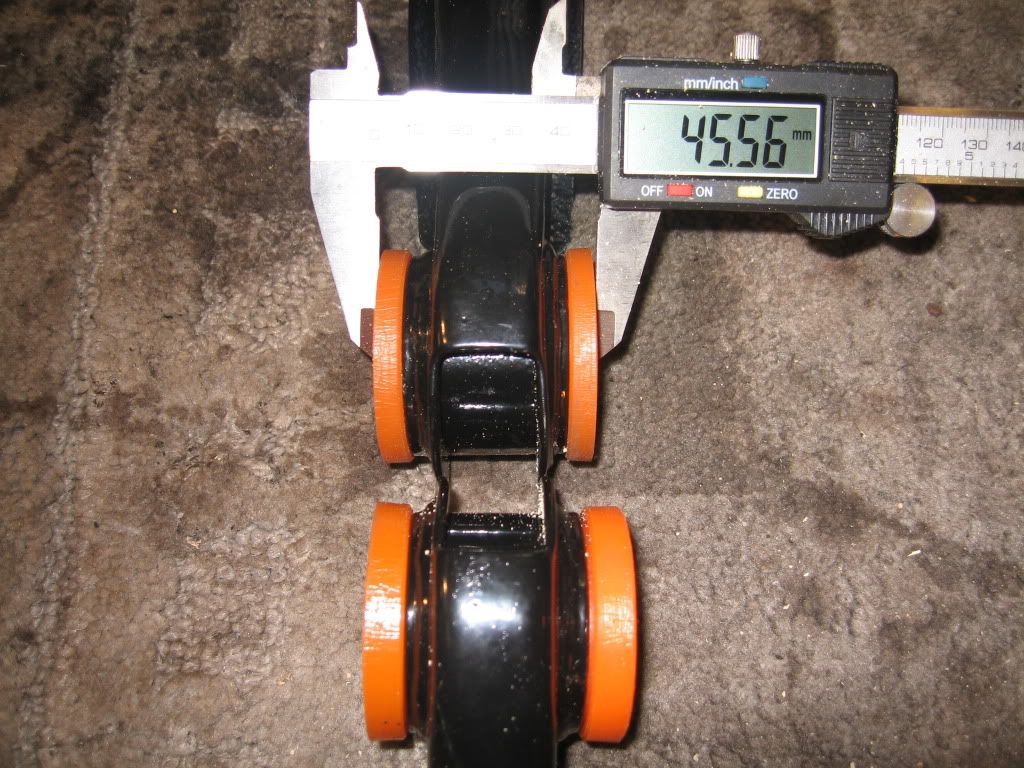 |
| Bushes compared |
Only .o6 out, perfect. The other one turned out just as good and the steel inserts got the same treatment.
When finished I loosely fitted them and will fully fit when the opposite bushes arrive.
The opposite end of the upper arms have been ordered and an email from Cat at Floflex informed me they will arrive tomorrow along with the Panhard bushes that they forgot in the first order.
I took the sizes for the axle end from a scale drawing luckily supplied when my front bushes came, I returned a set of the Capri bushes and ordered these new one's because the internal section is longer and will fit better. Hopefully these will fit and if so I shall post the order number.
I also received and fitted a poly handbrake bush
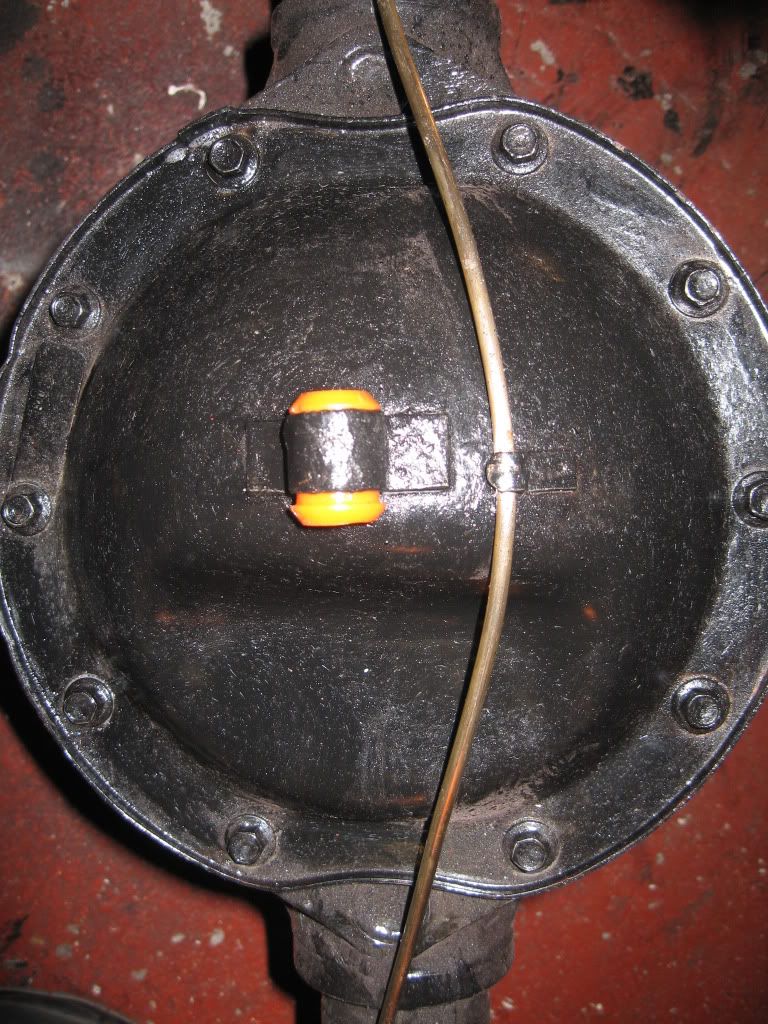 | |
| Handbrake bush |
This just slotted in without a problem
Next was the shocks, I bought these on eBay and are for the Vauxhall Magnum, unfortunately the holes for the bottom bushes are to large at 12mm. There was a couple of ways around this but in the end I took the easy option and removed the bottom bushes from the originals, these are still in great condition and a polish with a bit of silicon grease and good as new.
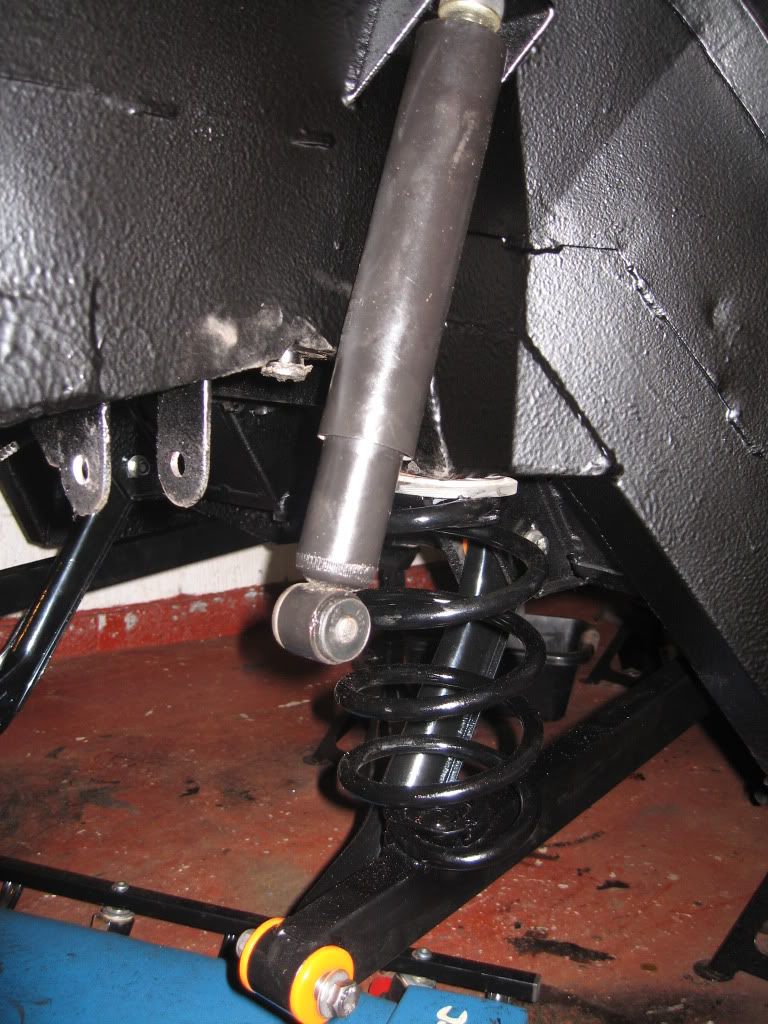
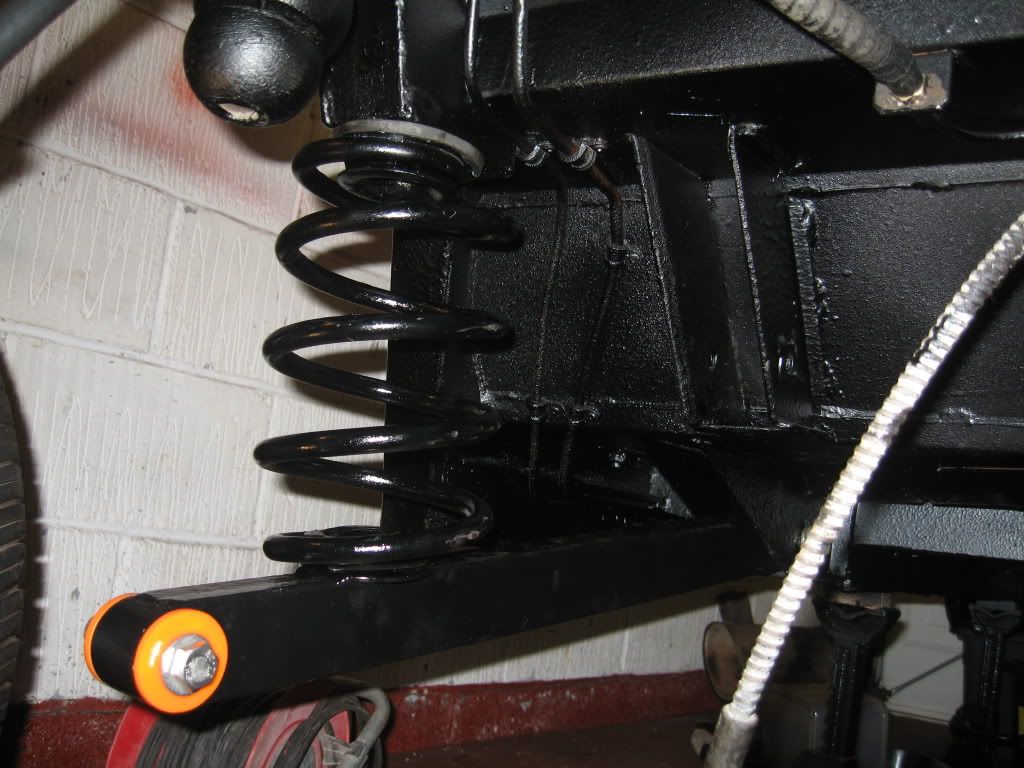
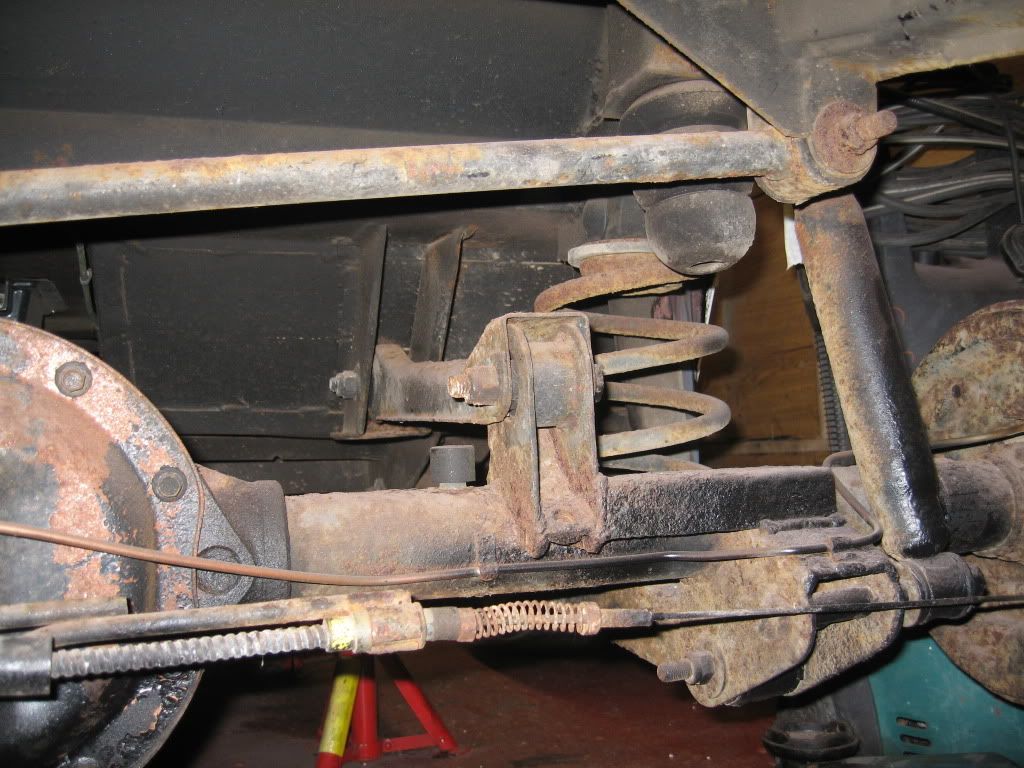
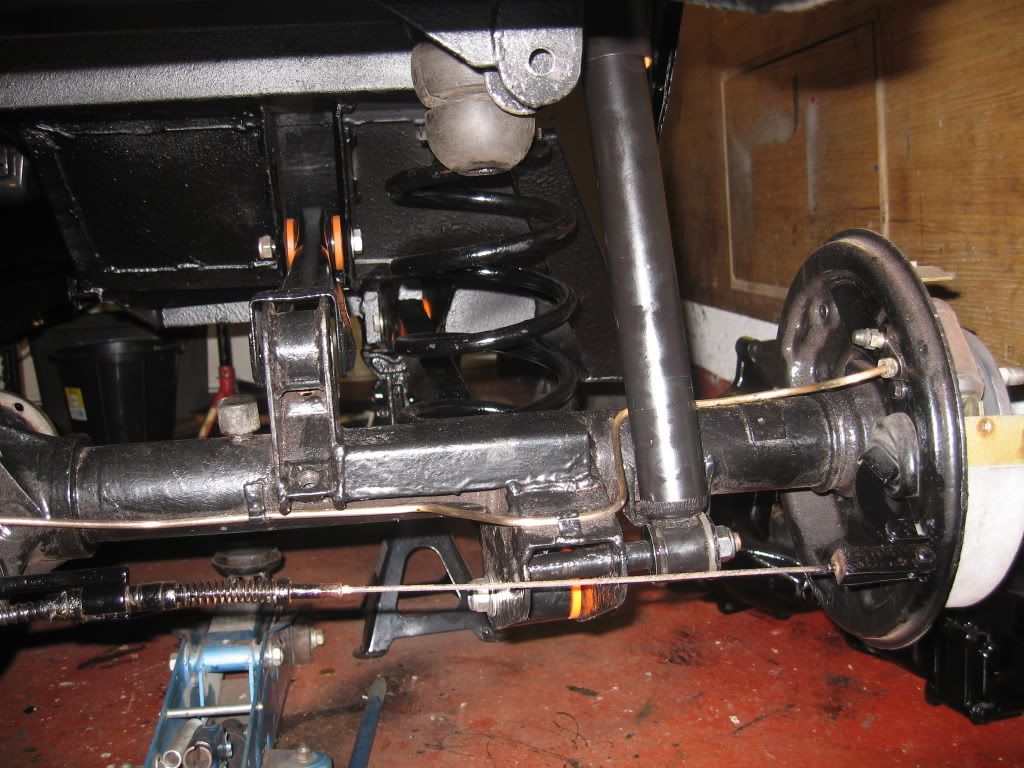
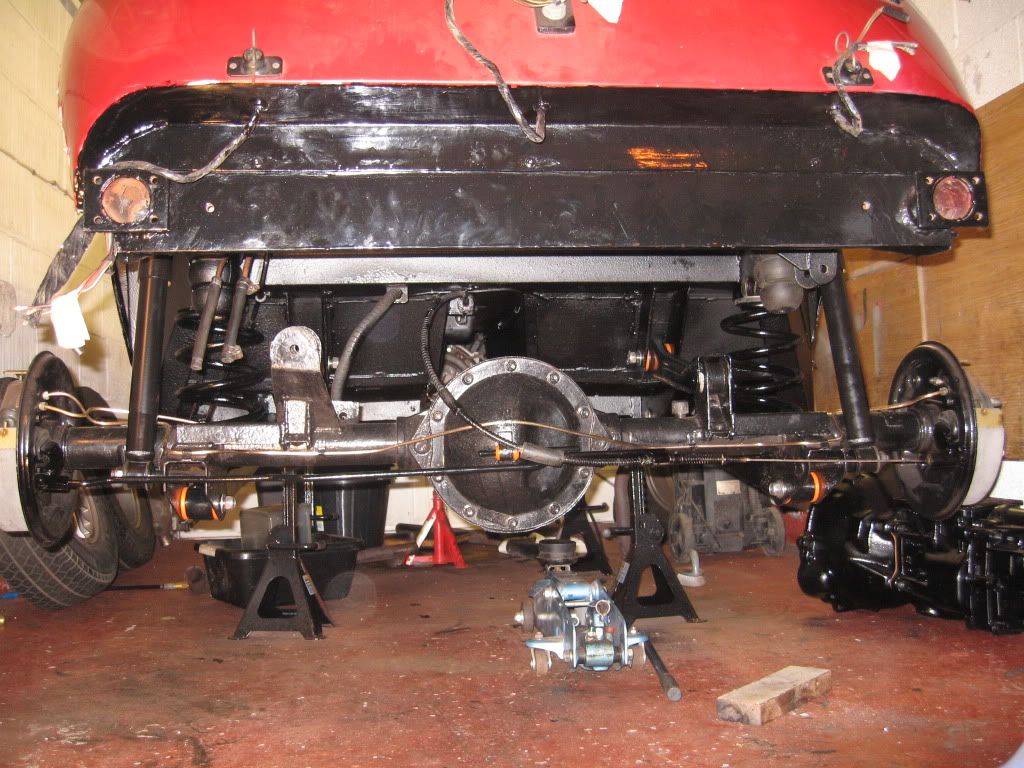
You can see here all three elements fitted, upper arm, lower arm and damper.
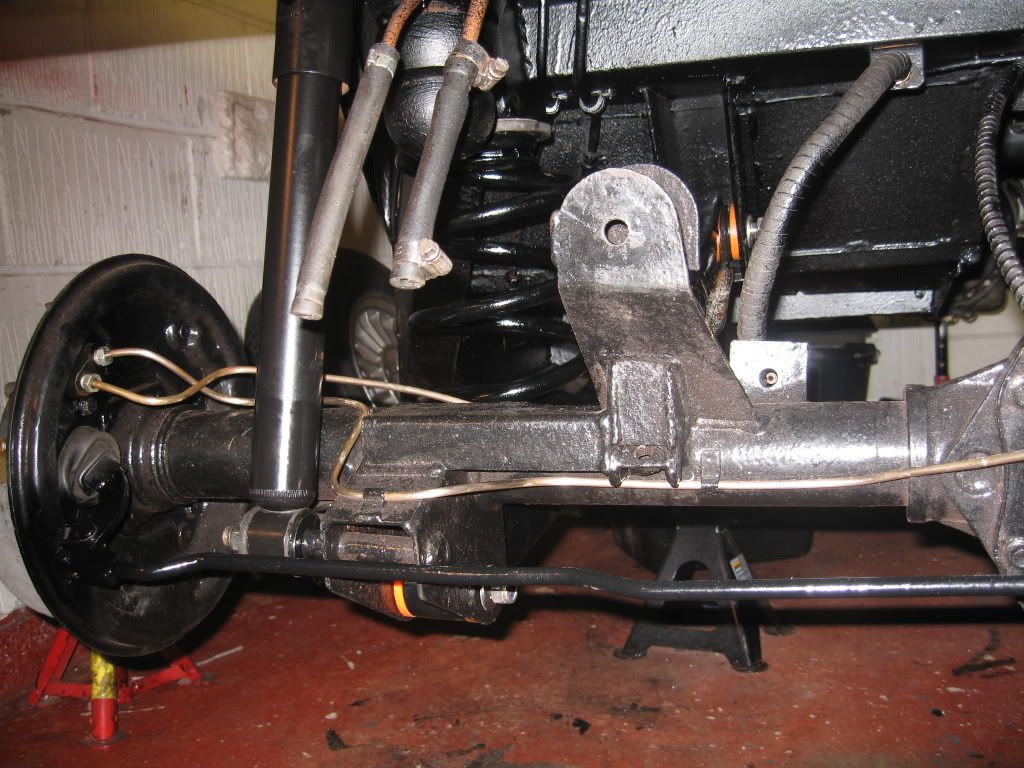
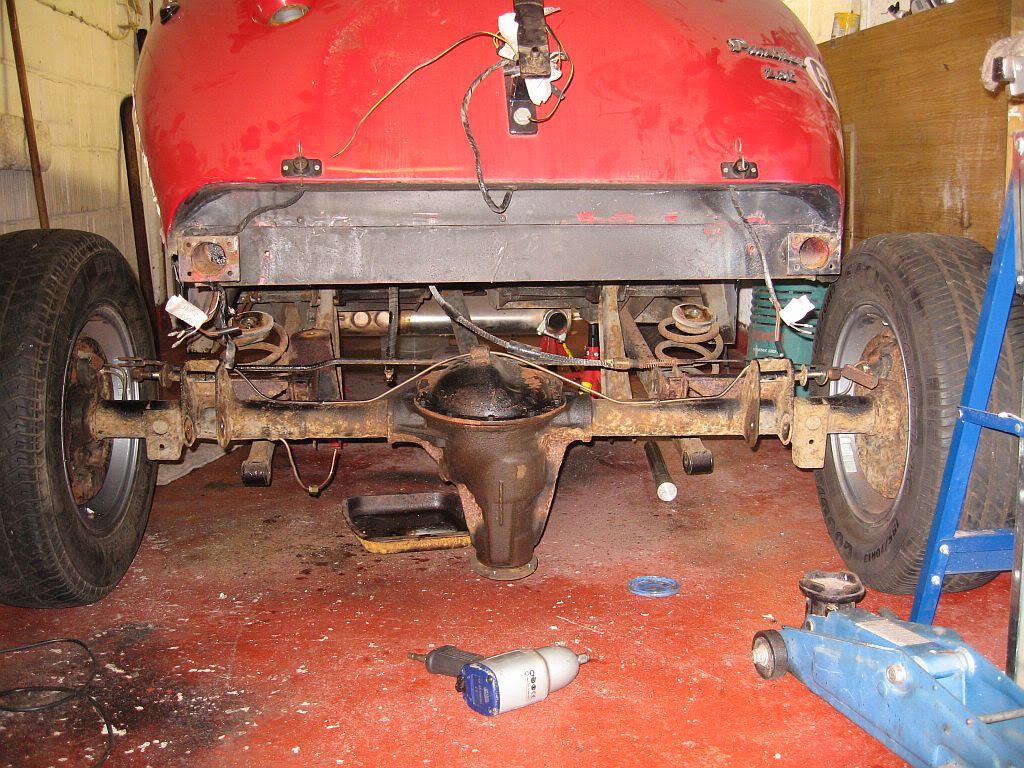
Once these were all in place it was time to fit the rear axle, I still had the wheels on so it was just a job of wheeling it into position and then jacking up one end and fit a stand then the other. Once up the lower arm bushes were pushed into position and a bolt inserted the same with the other end. Next came the dampers, I had fitted these to check them and had to remove again as the lower end needs to be fitted first.
I was pleased it only took about 20 mins to re-fit the axle instead of the half day it took to remove it, that was a bit of a workup.
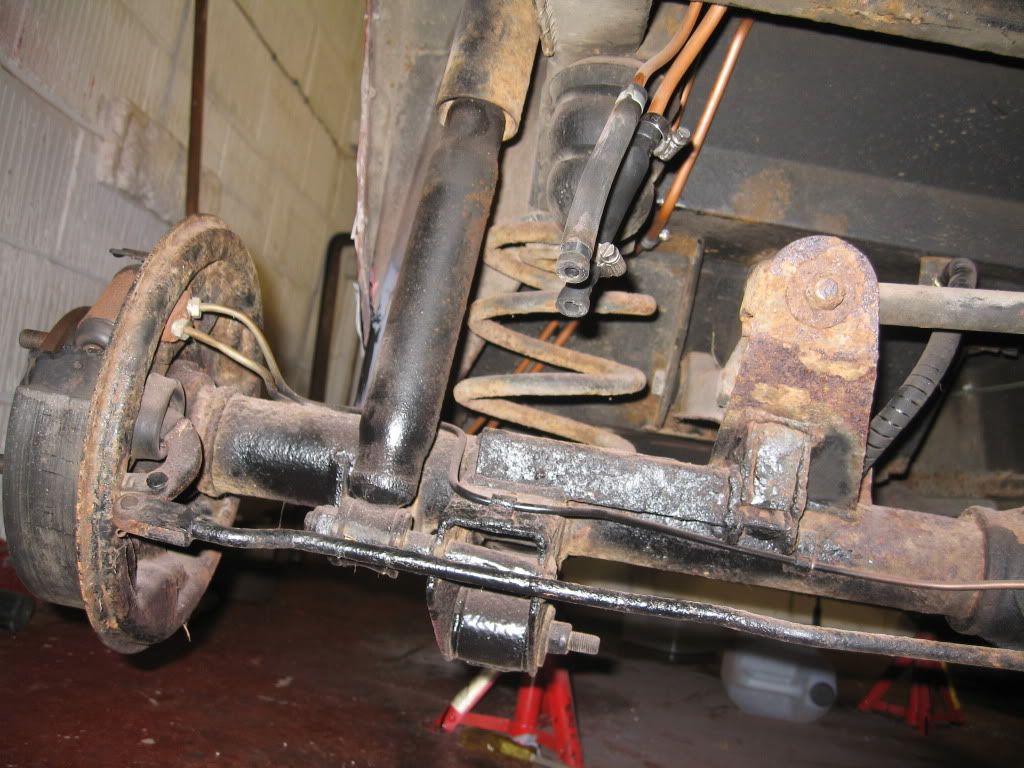
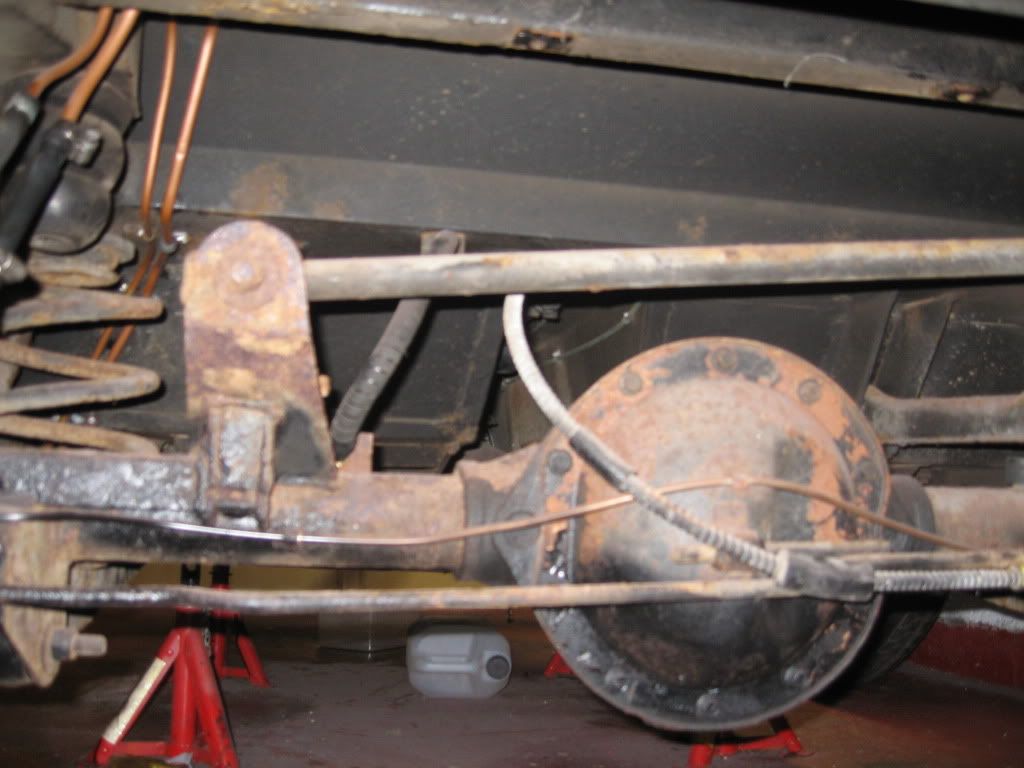
I was a bit disappointed with the condition of the rear axle, I only painted it a couple of months ago and the gloss has gone already, could be the gunk I used to clean all of the dust from it, still no one will see it and its well protected.
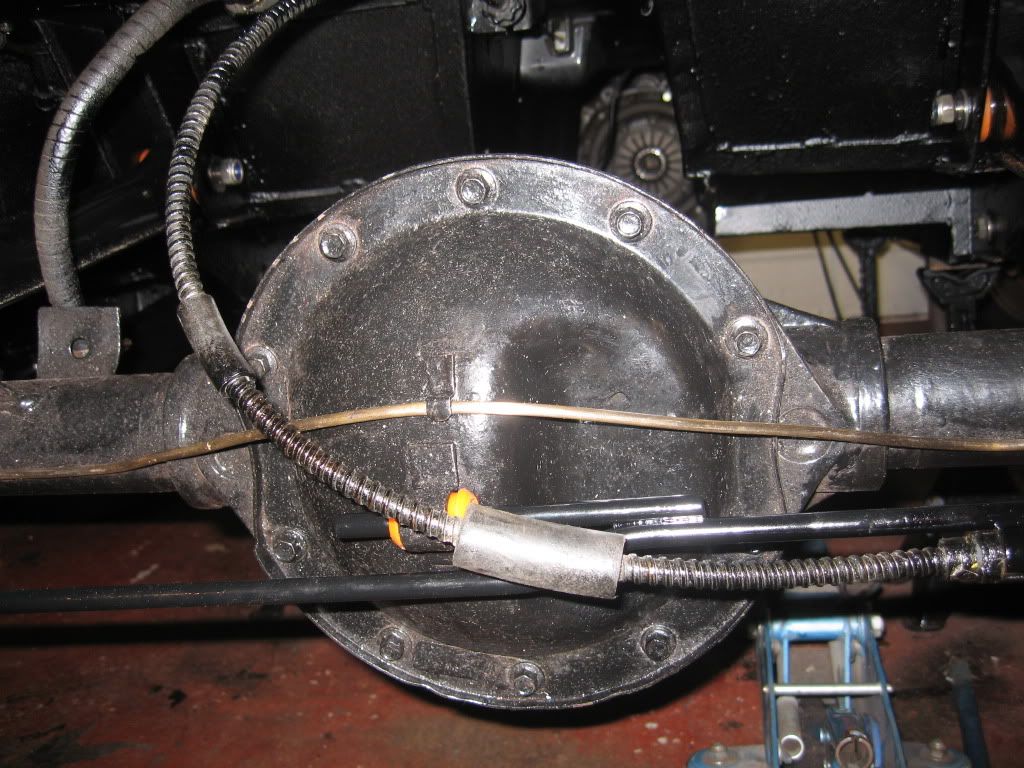
Next was the handbrake rod, this just slipped thru and the cable and Teflon sleeve slotted into position, I still haven't bought any E clips yet, but will track down a stainless one. Both handbrake levers had they Teflon stoppers fitted then connected up with the pins and R clips.
Not finished yet as the new bushes need grinding and the panhard rod to fit.
Just a few reminders
Another good buy arrived today, 99p on Amazon, of course the sting was in the p+p at £3.80 but stll a great bargain.
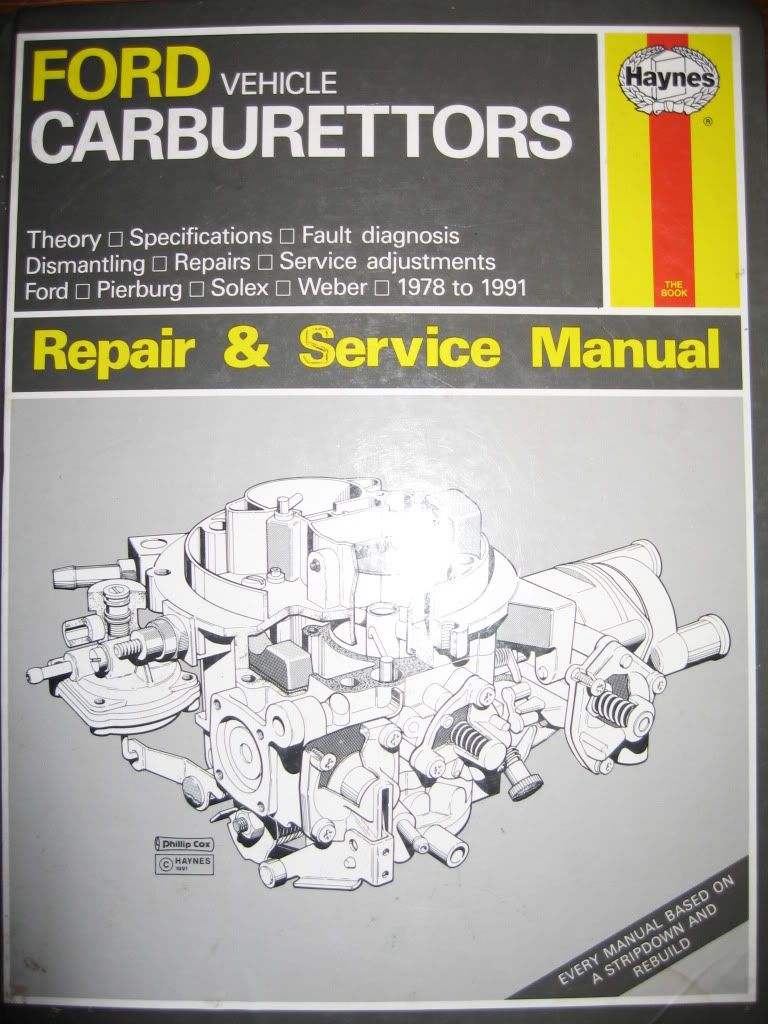
This manual covers the whole strip and rebuild of the Solex EEIB 38, great buy.
Well pleased with todays progress and hope to get the brakes fitted tomorrow and await the arrival of the rest of the bushes.
See ya Paul
Cracking build, hope your not using your sandblasting on glass gear to clean your parts.
ReplyDeleteBy the time I get back to glass work they will have invented something else to look out of.
Delete