
Last day home again, didn't expect to get much done today but after another trip down town and a coffee and croissant at Nero's I got stuck in.
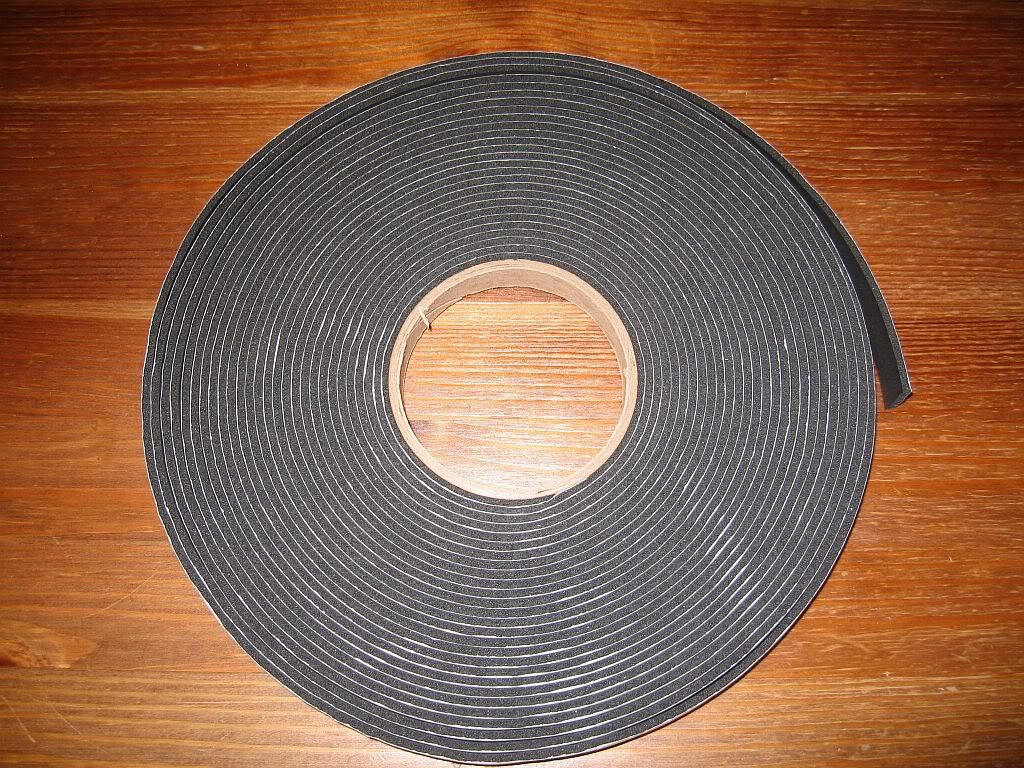
I started with the fuel tank, I had bought a 15m x 19mm x 3mm roll of foam tape which arrived yesterday, I needed this to carry on with the tank.
I had already cleaned primed and sprayed the fuel tank but as I had a couple of tins of stone chip I decided to give it another spray.
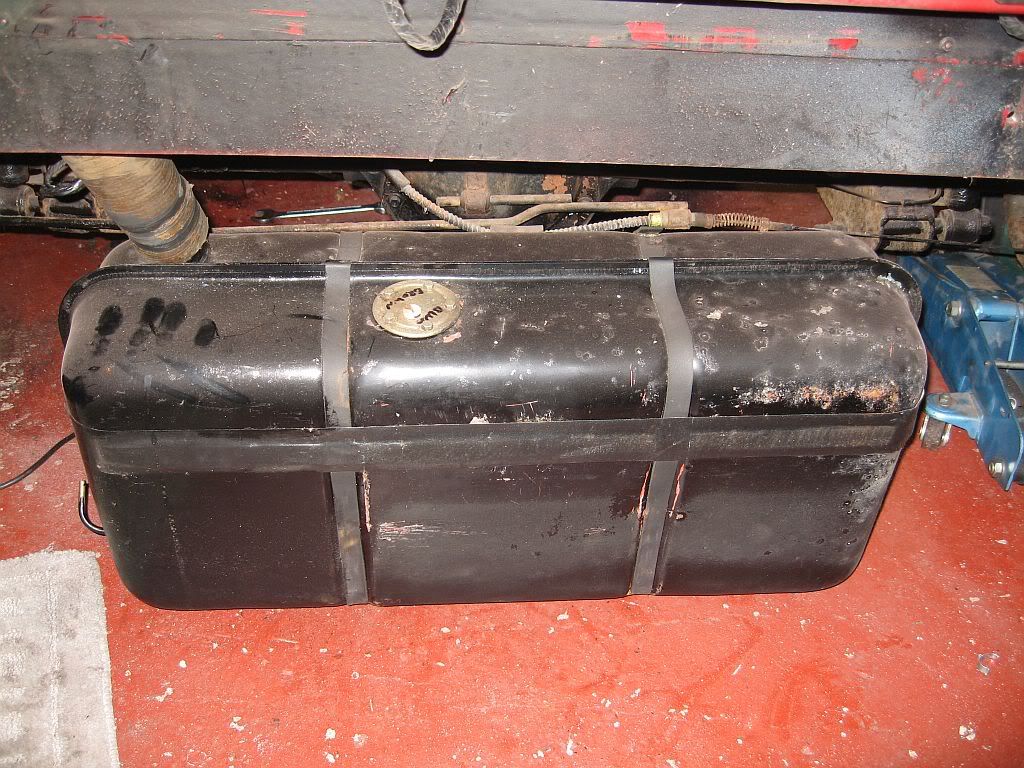 |
| Fuel tank before |
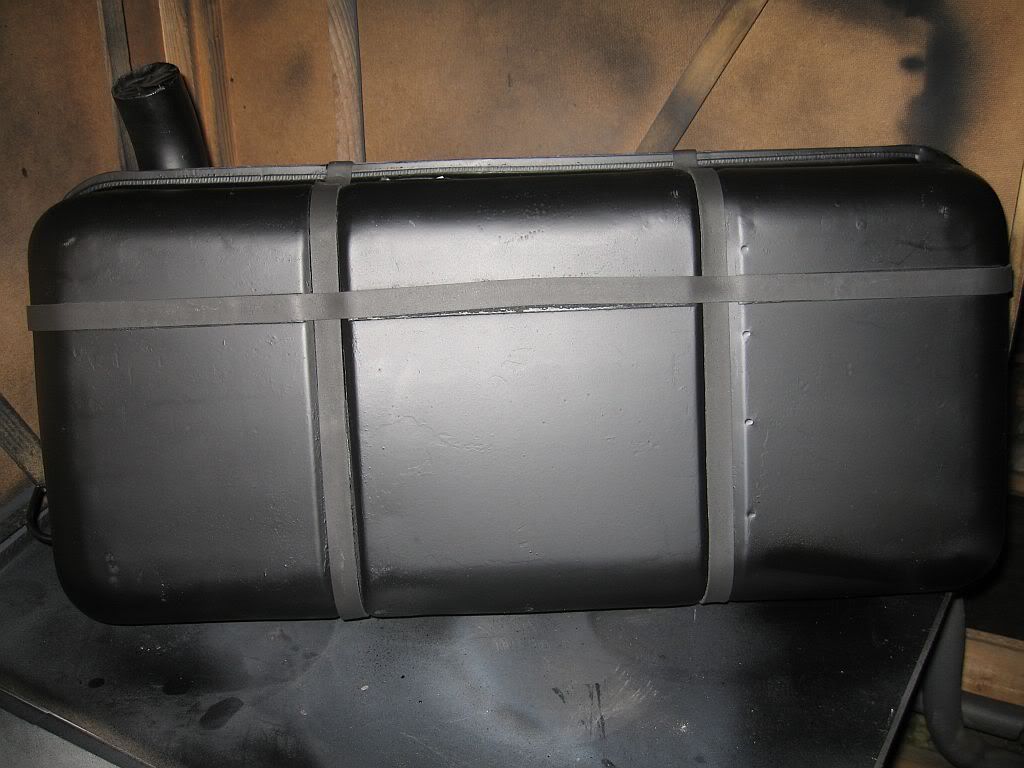 |
| Fuel tank after |
The bracket are also ready, these got powder coated this week and just needed the foam stuck on, I also have new stainless steel separator tubes cut, I just need to sort some stainless bolts.
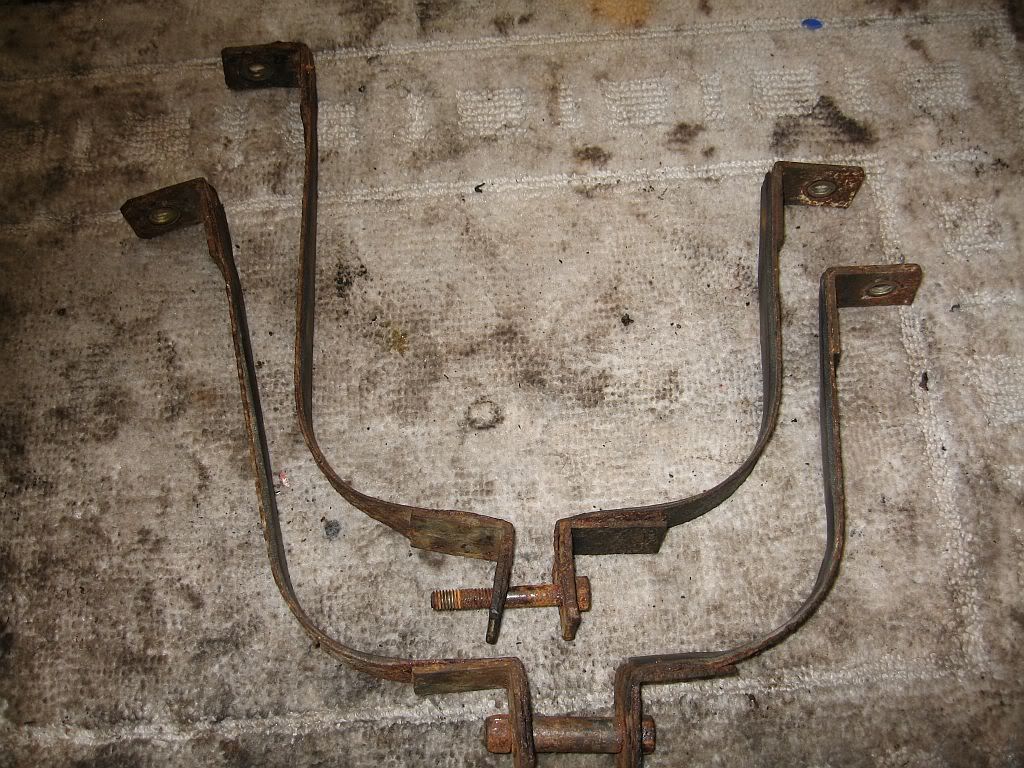 |
| Brackets before |
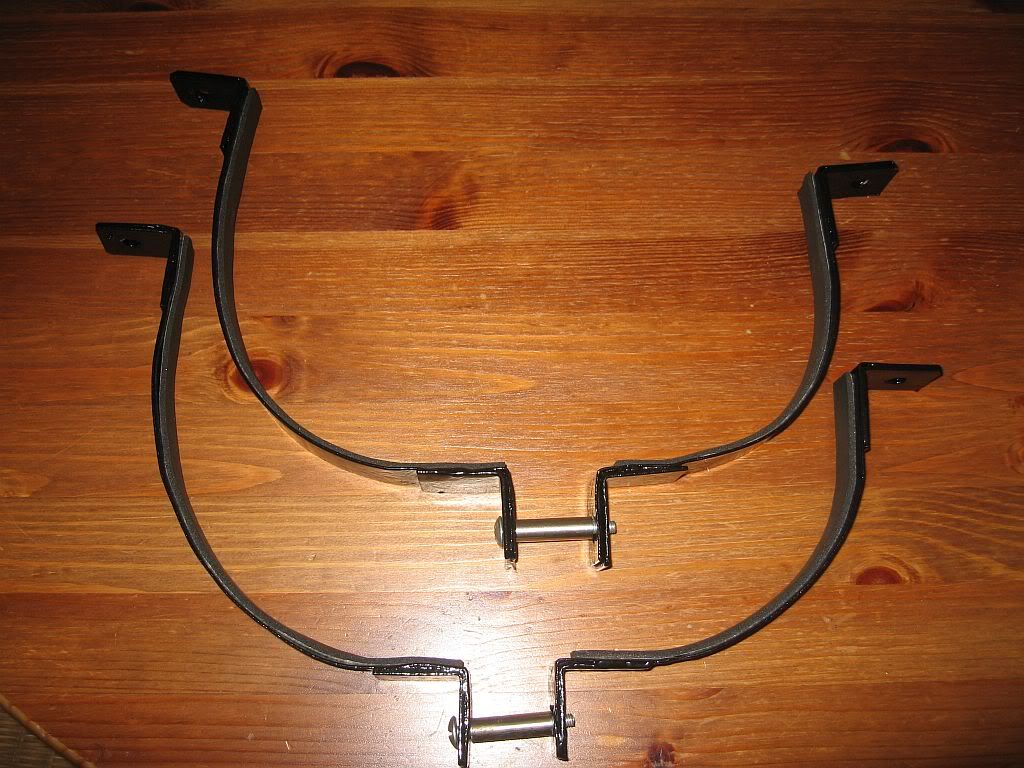 |
| Brackets after |
I got the painted brake drums out of the way as well, the auto adjuster needed a little tap to allow them to go on and they pushed straight on.
 |
| Drums fitted |
I have a habit of painting the bolts I have tightened to let me know what's been done and checked. I started checking the tightness of the arms already fitted and painting the nuts and heads and I got a bit carried away. I wasn't happy about the finish of the axle, I had used 2 coats of hammerite after blasting thinking it would give a good finish and of course I had paid good money for it. It looked great at first but it seemed to soak up all of the dust and and debris flying around from other work and looked terrible. So I got stuck in with my chassis paint and I now have the finish I wanted originally.
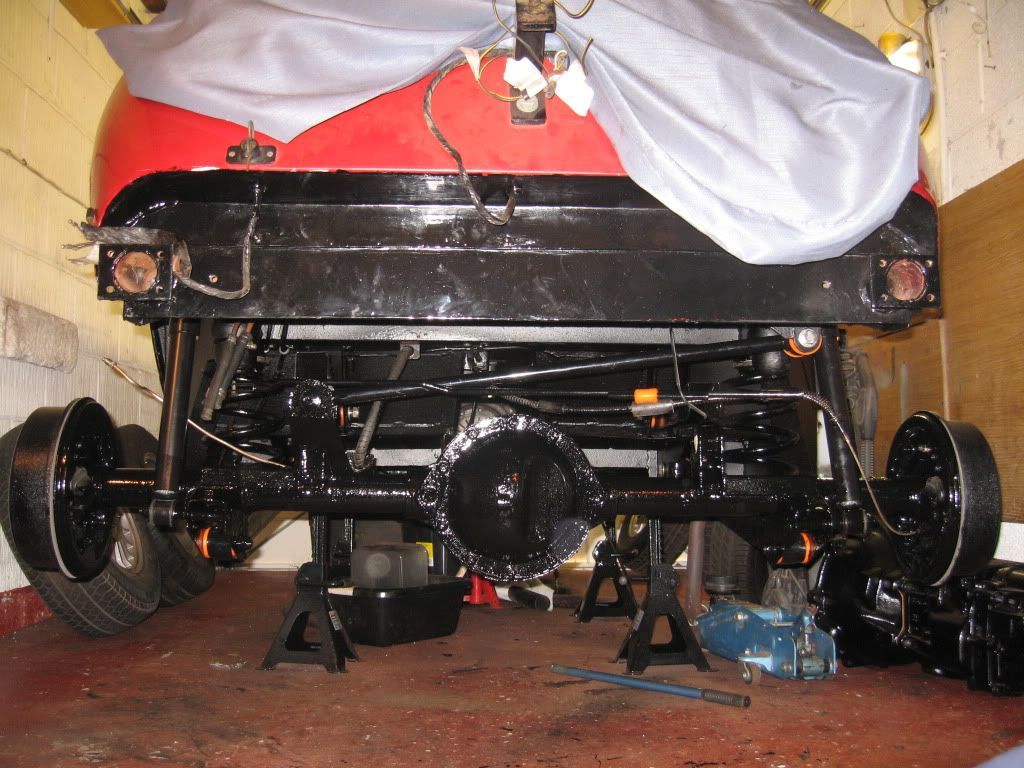 |
| Gloss painted |
I was about to call it a day when I thought I'd have 5 minutes on the left over bush 2 hours later it was all done and fitted.
I used the lessons learnt yesterday to get it right this time. I started by measuring the squish which started out at 46.6mm un-tightened to 47.9mm when tightened, a squish of 1.3mm. This is the distance I was out yesterday.
I needed to get down to around 38mm, so only using a file I did a bit then stopped, removed to check and carried on. When I got to around 38.5 I cooled it under cold water and measured again and it came out just right.

I tested in the axle hole and it fit with just the right resistance.
Next the distance between the flanges was measured this had to be 36.5mm so onto the sanding disk doing each end at a time and they soon came down to size.
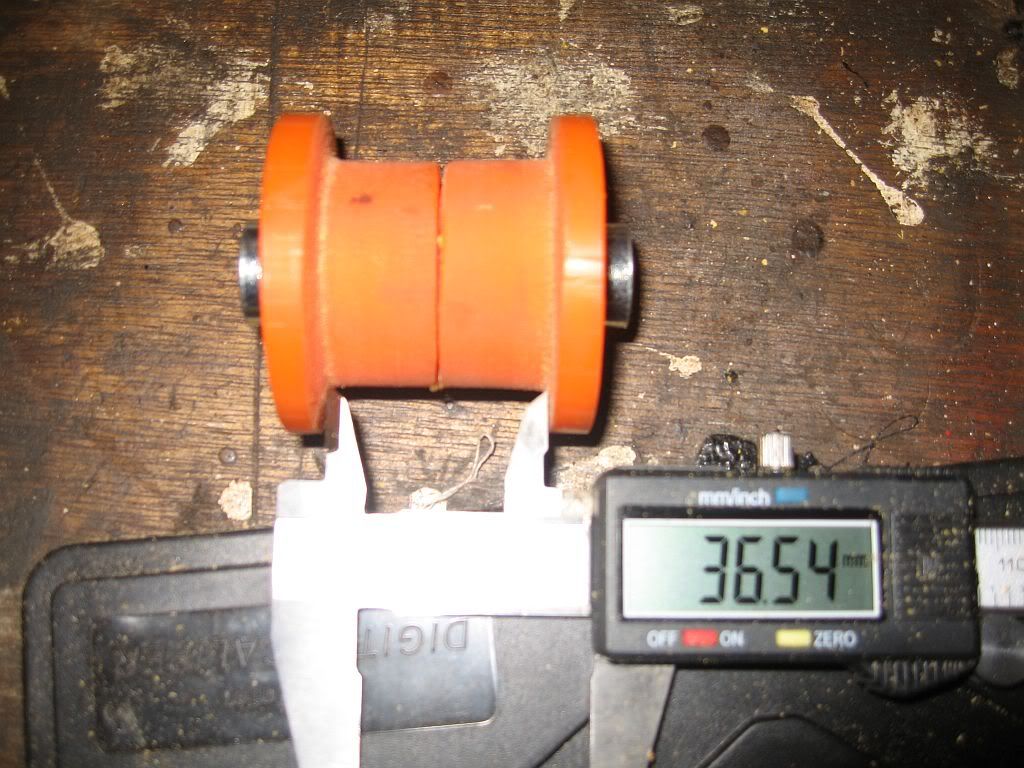
The flanges had to be sanded next, the axle side of the upper arms weren't really designed for bobbin style bushes; in that the distance for the thickness of the flanges is not substantial at only around 4mm either side. I needed to get down to around 45mm for a good fit.
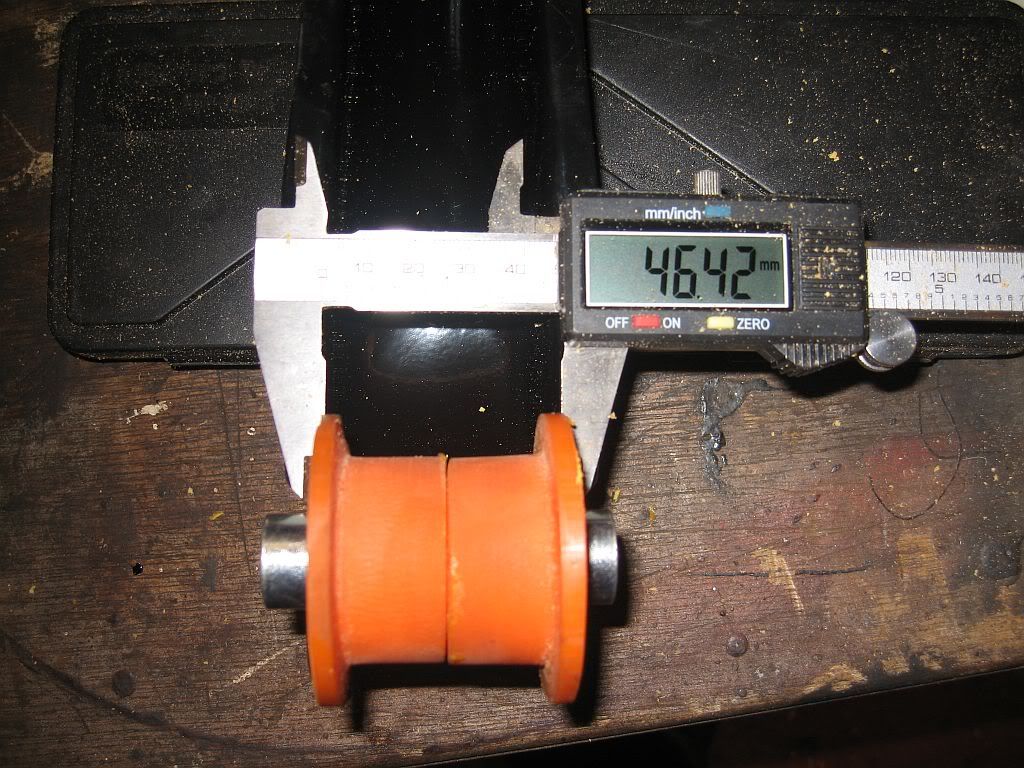
This photo shows them at 46.42 but I had to take them down to 45.3mm to fit neatly, you can see from the insert how much has gone already. It got a bit more difficult the farther down I went, but with a bit of care I managed it ok.
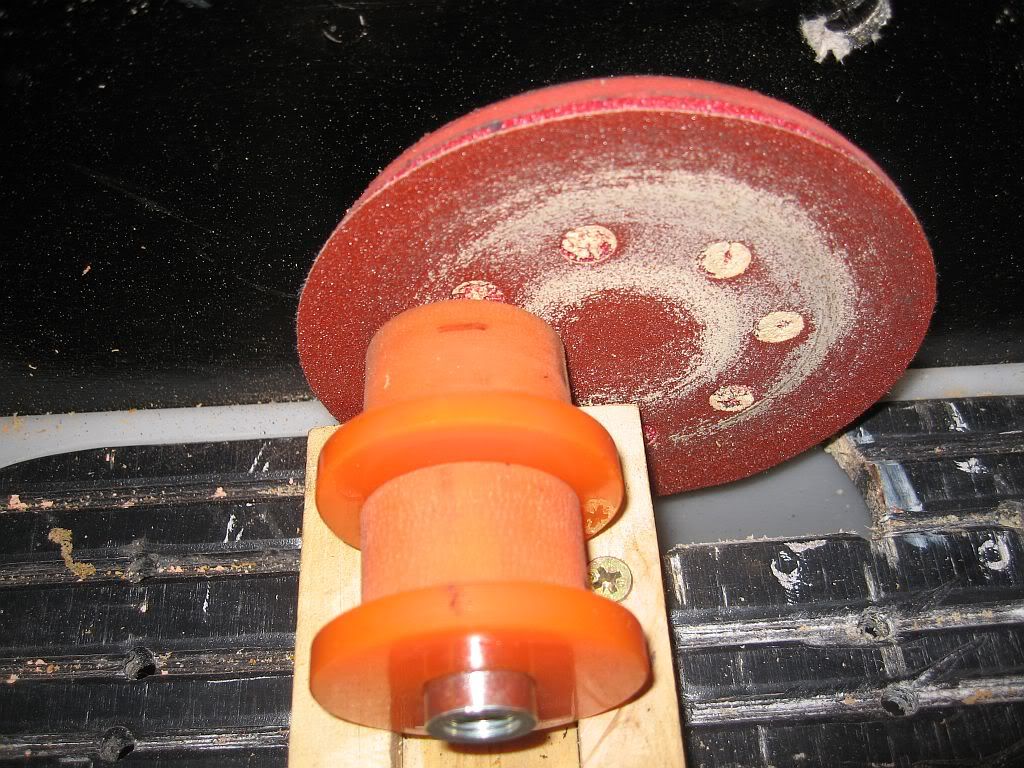
Once the poly fitted I took a hacksaw to the insert then onto the same sander and smoothed it off.
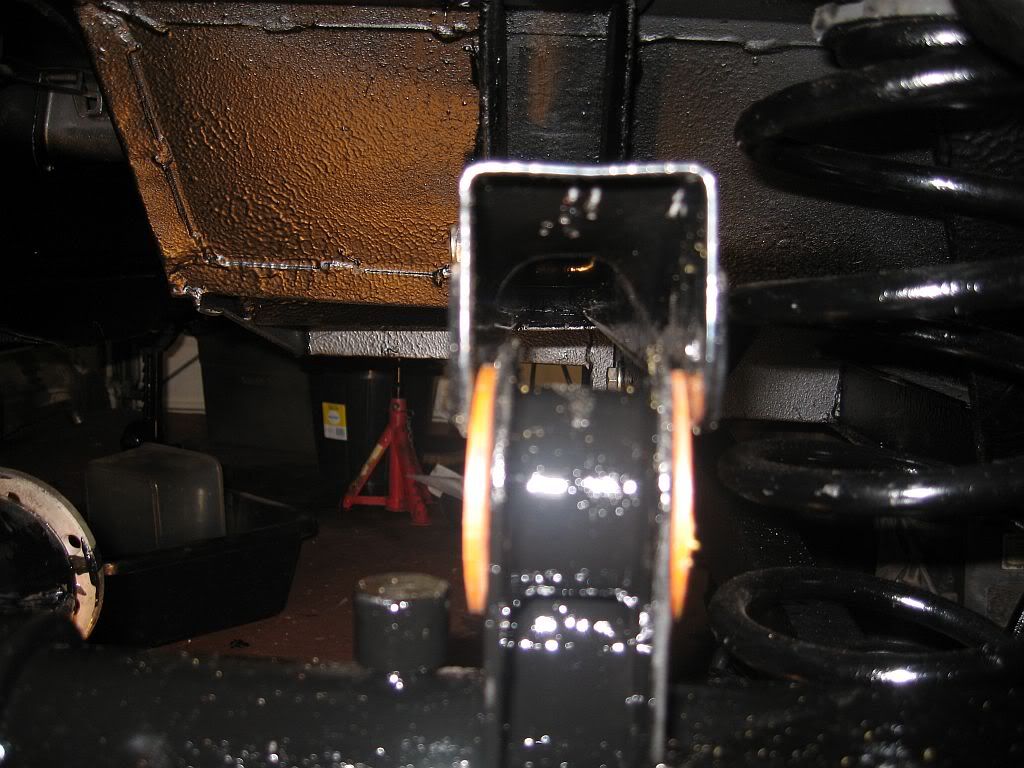
This photo shows the final test fit, pretty good.
There is one major thing I found out about fitting the upper arms that would have been good to know a couple of days ago and that's "you can't fit the nearside upper arm with the axle fitted". This is because the axle connection of the panhard stops any movement of the arm, so when the next bush has been made I will have to drop the axle again to fit the upper arms first, or maybe I could just remove the nearside damper and get enough pull to fit it.

This photo shows what all of the work has been about, I may trim the outside of the flange to make it look a little more fitted. I now understand why Floflex couldn't find a fit, there ain't any.
Well back in 17 days.
See ya Paul
No comments:
Post a Comment