
Well the engine and gearbox are finally in place and mated together, unfortunately the plans I had for getting the gearbox fitted did not go according to plan.
I had already fitted the engine and had the gearbox mounted ready to fit to the engine but because I'm a bit weedy I could not do it by myself, so I had arranged for a friend to come round this morning to assist in lifting one side of the gearbox while I had the other side.
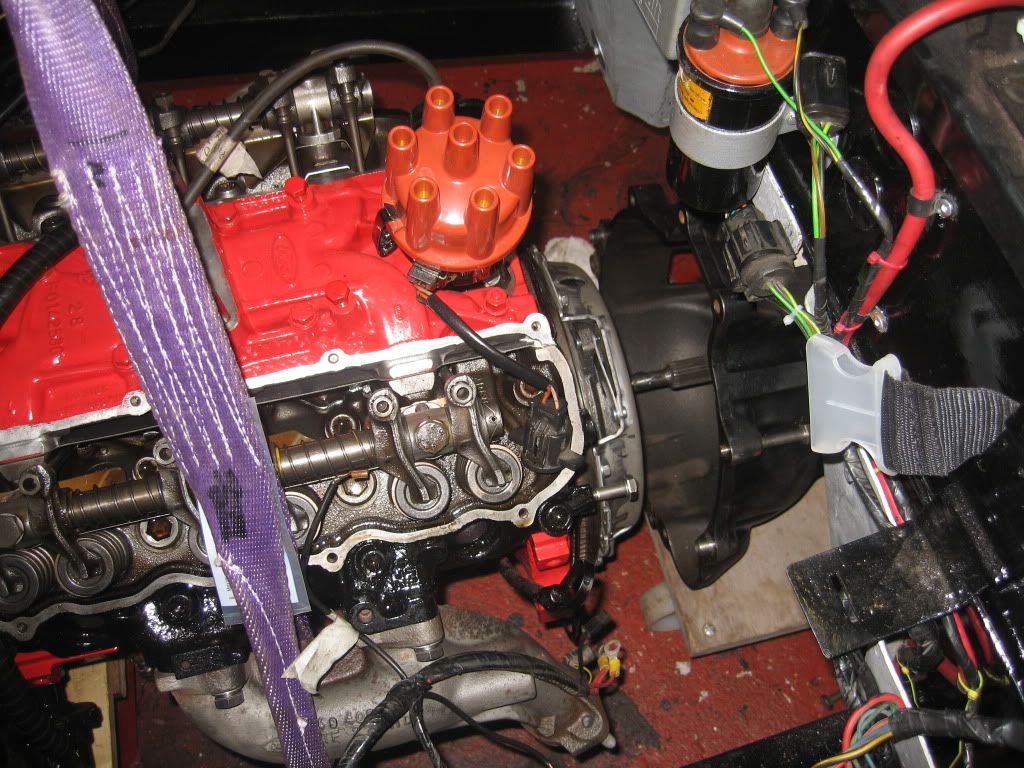
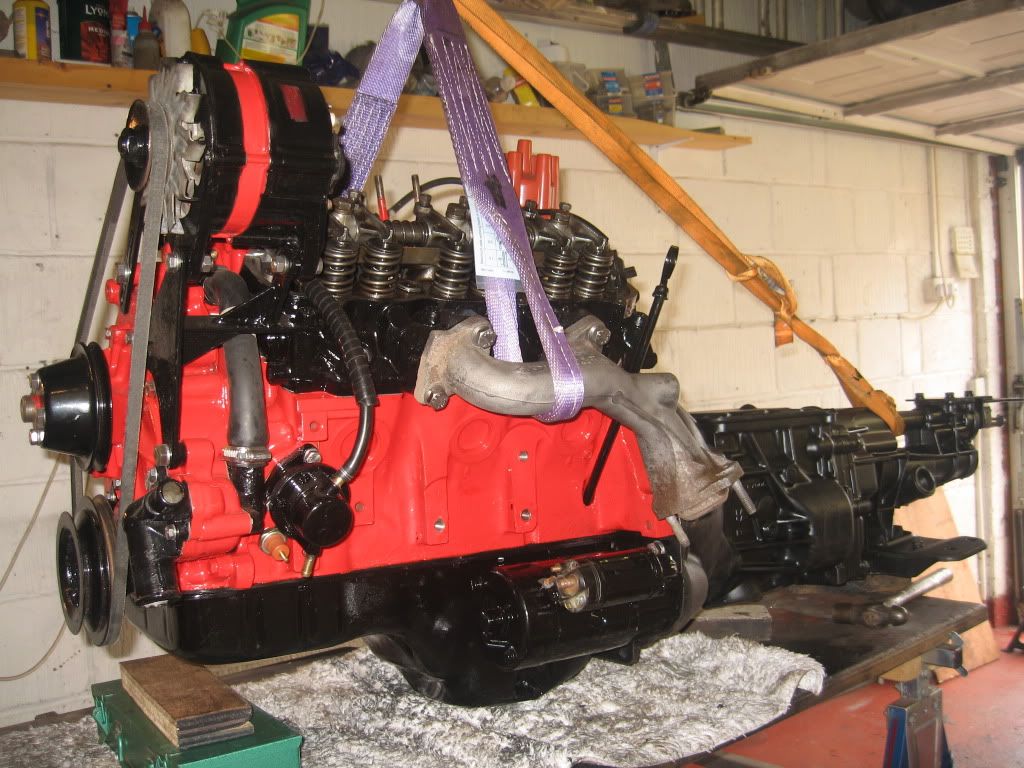
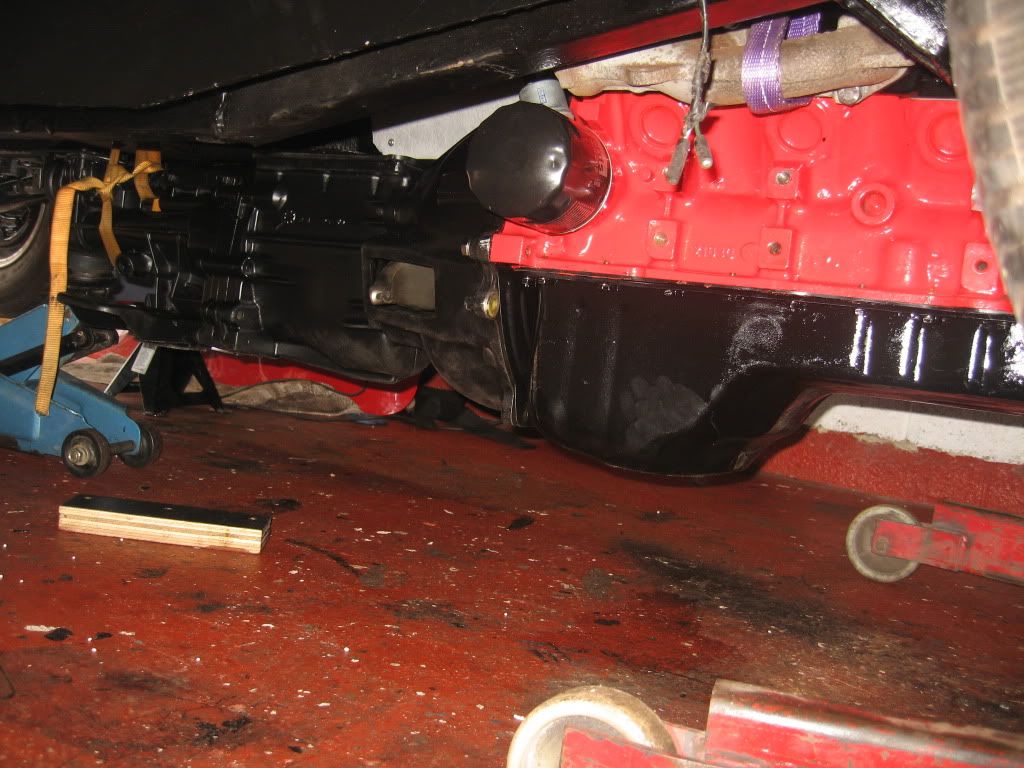
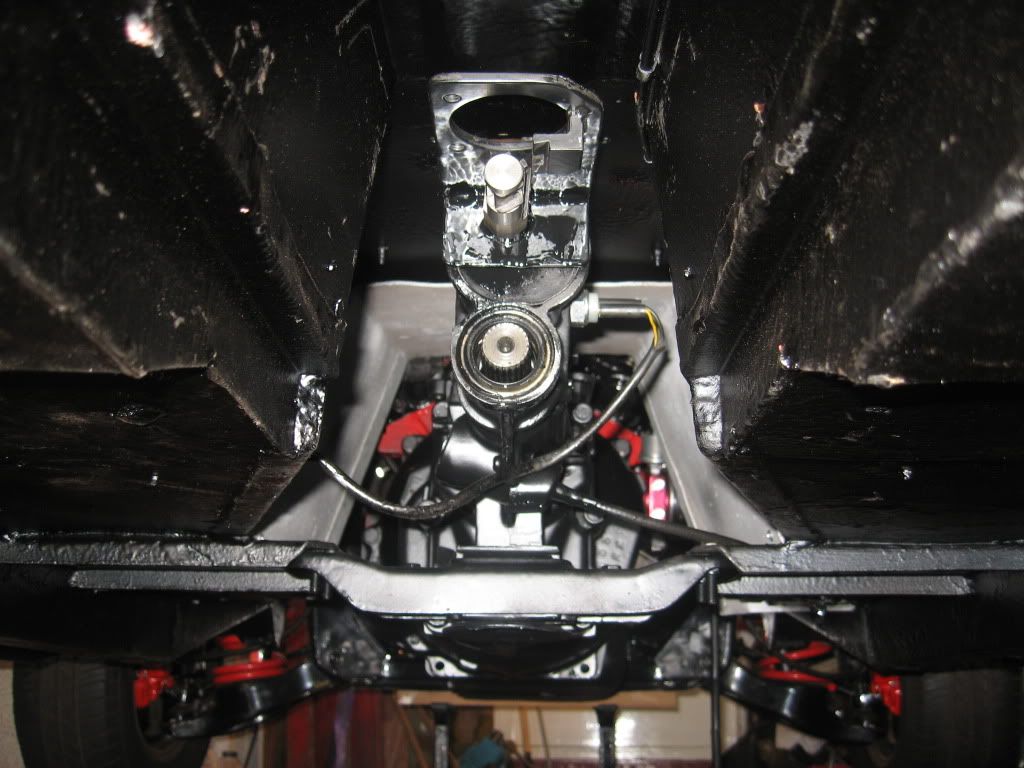
You can see in this photo just how close the bell housing is to the clutch plate, should have been easy.
Unfortunately my assistant did not turn up and at 1030 I gave him a call and woke him up, all I can say is it must have been a hell of a party. So I had no assistant and had to change my plans.
My new plan was to remove the engine and gearbox and mount them together on the work bench then lift the car and roll it under, easy.
I started removing the wiring I had fitted then took the weight and removed the mounts then lifted the engine into the air. The gearbox was on the trolley and was rolled forward to where the chassis rises to give room to roll it out. The car was then rolled out of the garage and the engine dropped onto the work bench
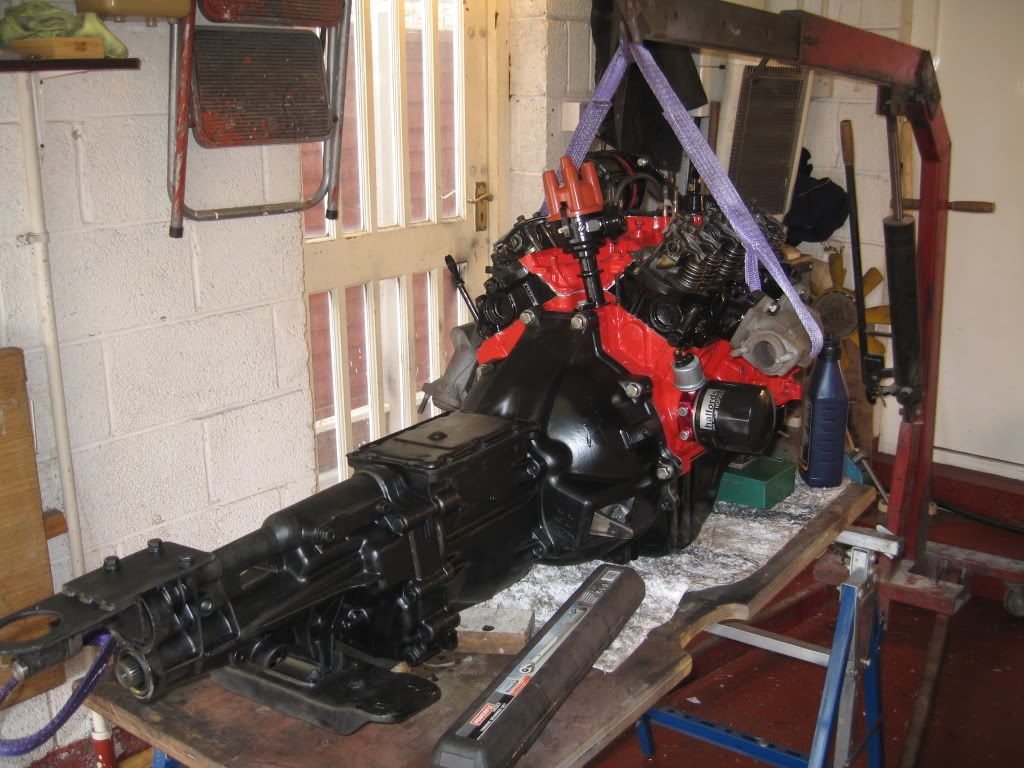
The gearbox was put in position on the workbench but again I couldn't hold it in position so I had to dismantle the hoist and re-assemble around the other end of the bench to take the weight of the gearbox.
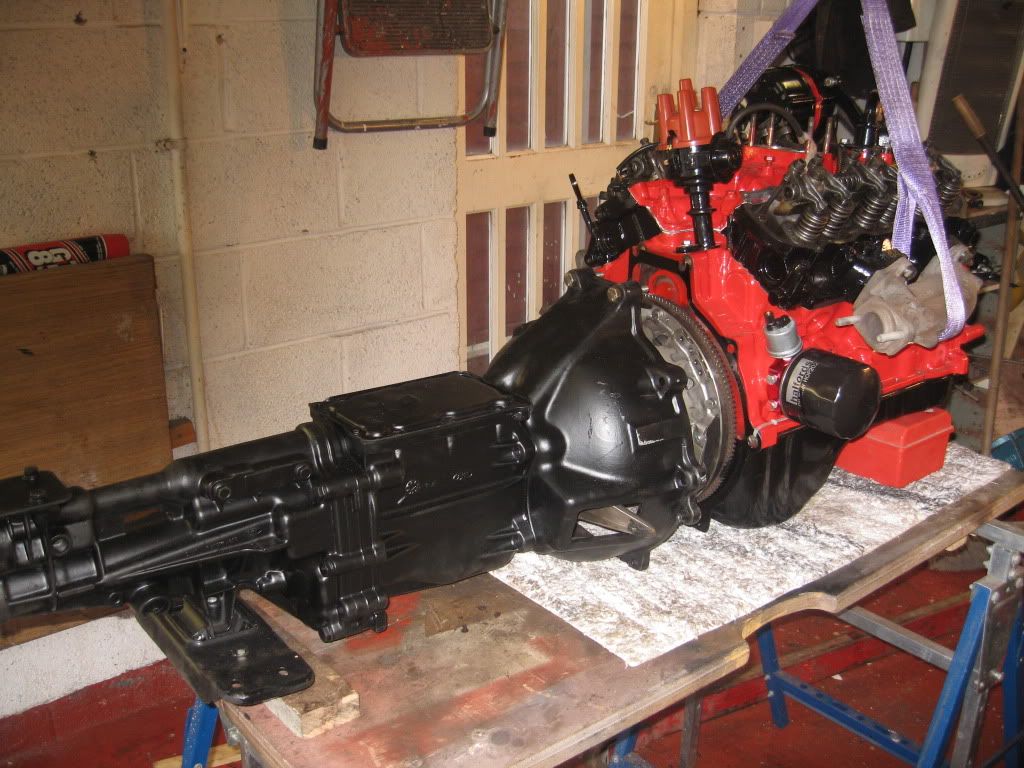
Once the weight was taken it was a simple job then of mating the two and with the bolts in just drawing the two together.
I looked in the Haynes manual for the correct torque for the bell housing but could not find a specific so it got a Paul torque, very tight.
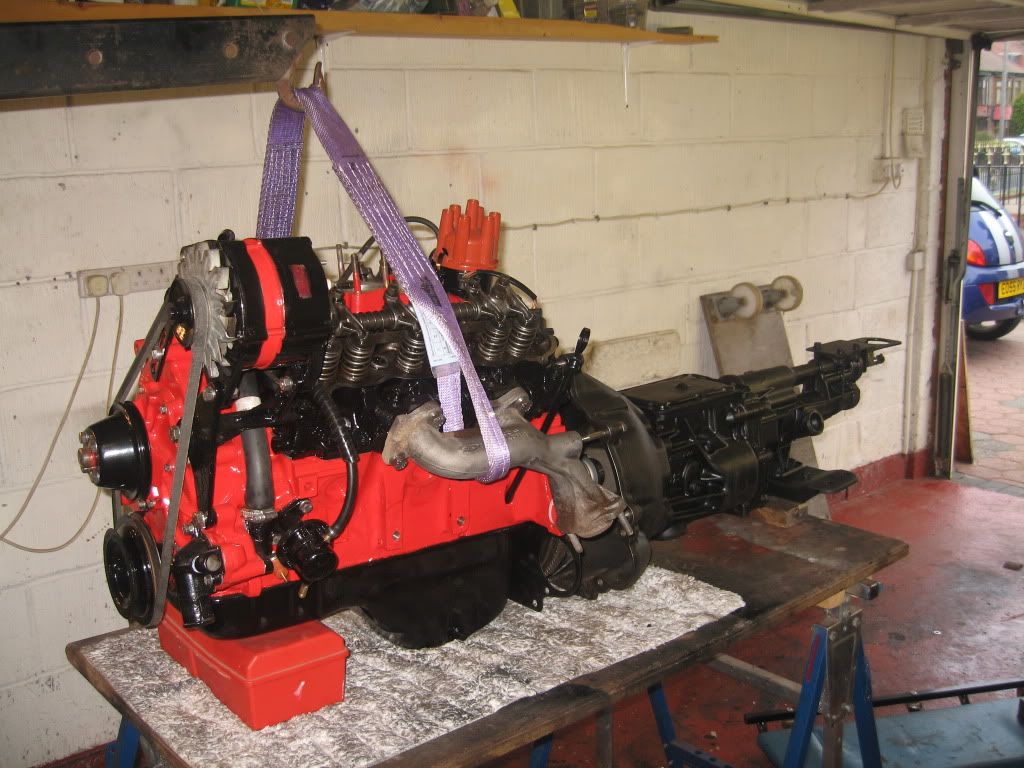
While I had it on the bench I thought it would be a lot easier to fit the starter motor on the bench, only 2 bolts and 5 minutes to fit.
I had to support the gearbox with another strop to keep it level and prevent the oil draining out of the back end, I have had to top the oil up as I lost a bit when getting it up and down under the car.
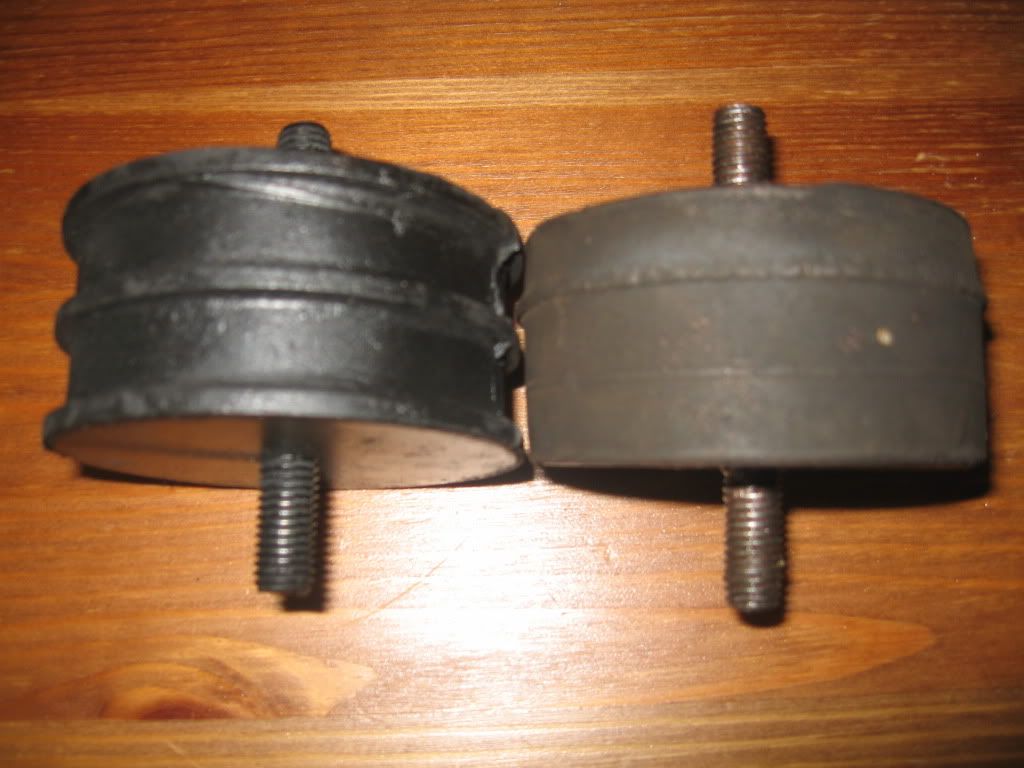
While I was in the middle of this the postman arrived with my new resilient mounts, these are from eBay and are for a Landrover. They are a lot better quality than the one's I had bought before and also a lot harder, they are around a mil in height smaller than the originals. I don't know if this will affect anything but I shall make some shims at work and if I find a problem I can always fit them.
Now time to attempt the fit.
I covered my trolley in a piece of ply to take the weight and lowered the engine gearbox onto it, I don't think the wheels liked it but it did move with a bit of effort. The work bench was dismantled and the car rolled in and it was time to lift. I was a bit dubious about this but I really didn't have any option and there was no way I was going to lower the whole assembly down from the top and try to wiggle it into position.
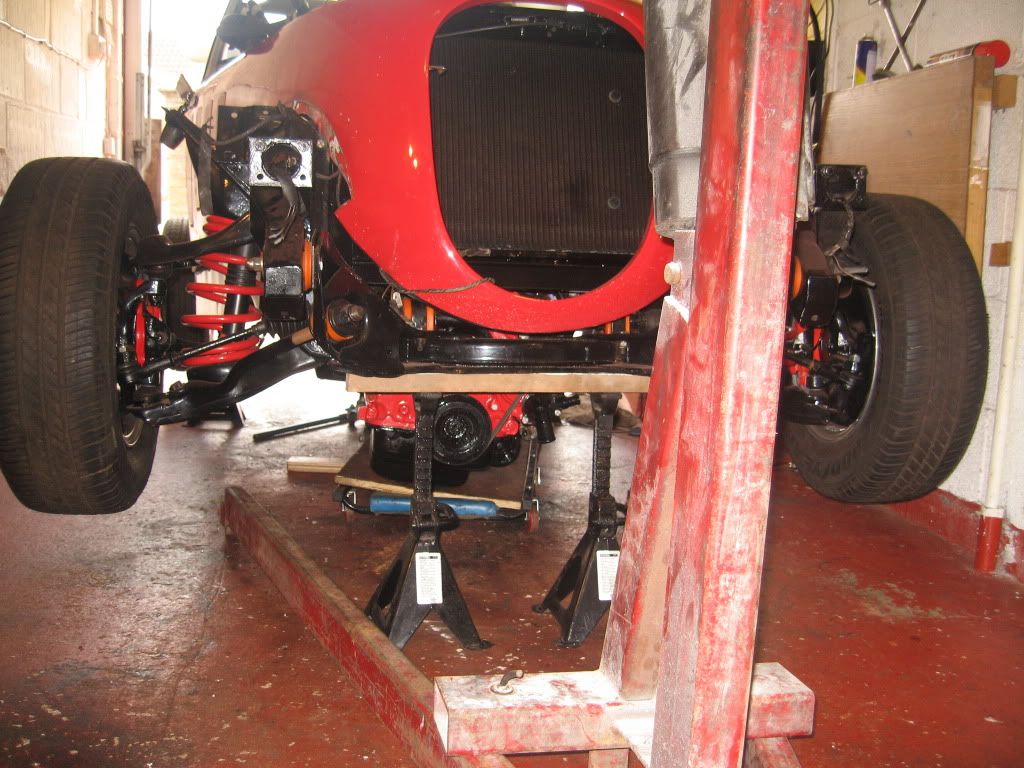
The first problem I had was that the trolley had to be between the legs of the hoist which meant the hook of the hoist would not reach the lifting point because of the length of the engine/gearbox, so the gearbox would have to go under the front of the car as far as possible first. The front of the car had to be jacked as far as my jack would lift then the axle stands were put under the side frame and the jack removed. Once the gearbox was slide under the front the hook was attached and the front of the car lifted.
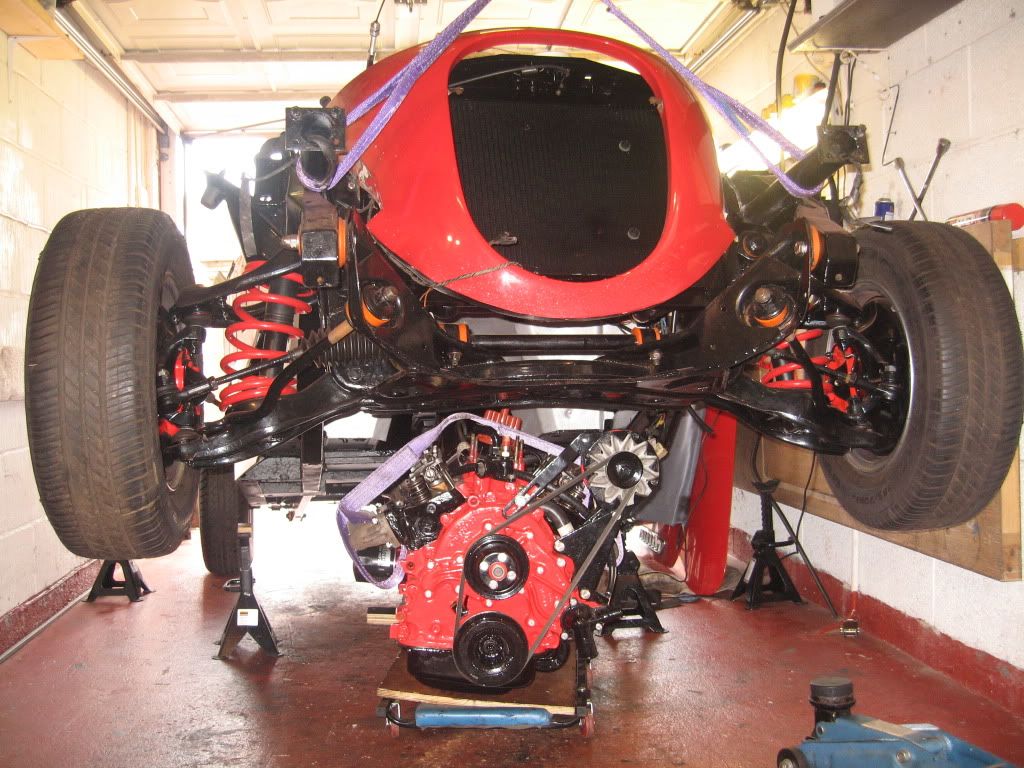
The engine was then pushed under and centered before lowering very carefully down.
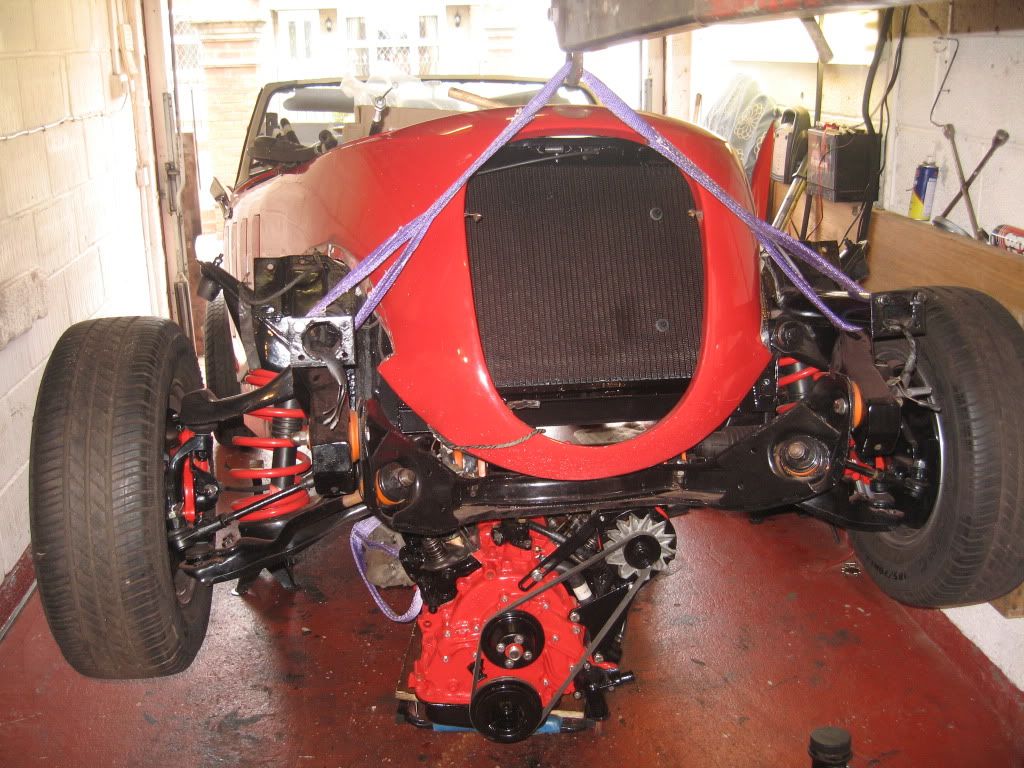
I didn't take it all the way down as I still needed to get underneath to the gearbox, so the stands where put to there highest settings and the front lowered onto them, once down I then raised the rear and set the stands under the side frame to raise the whole car.
Now to lift and position the engine, the engine and gearbox had to come up together so the jack was put under the back of the gearbox and then a little lift on the hoist then a lift on the jack and I kept going like this until in position.
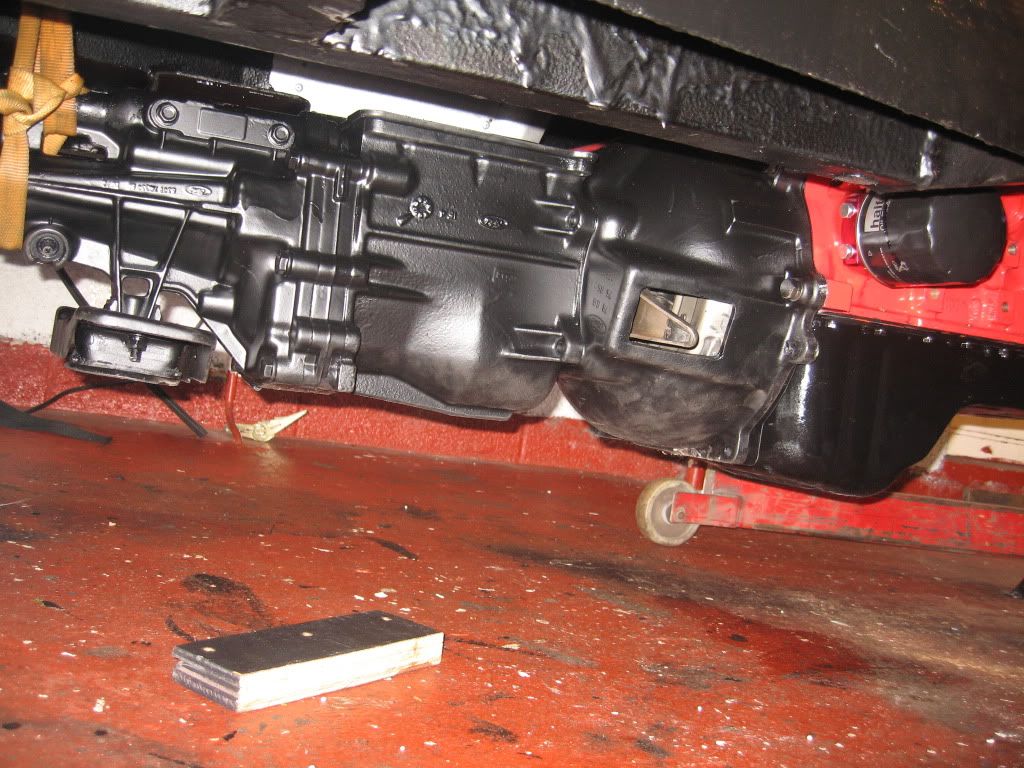
I then fitted the new rubber mounts to the engine mounts and both side's where bolted into position, then the gearbox mount was bolted on and that was it. No mistakes and no damage just slow and careful.
I now (again) started fitting the ancillaries, the starter motor and alternator got wired up, the radiator hoses got fitted, fuel pipes and I moved the heater hoses into position so I could measure them up and get some tomorrow from Halfords.

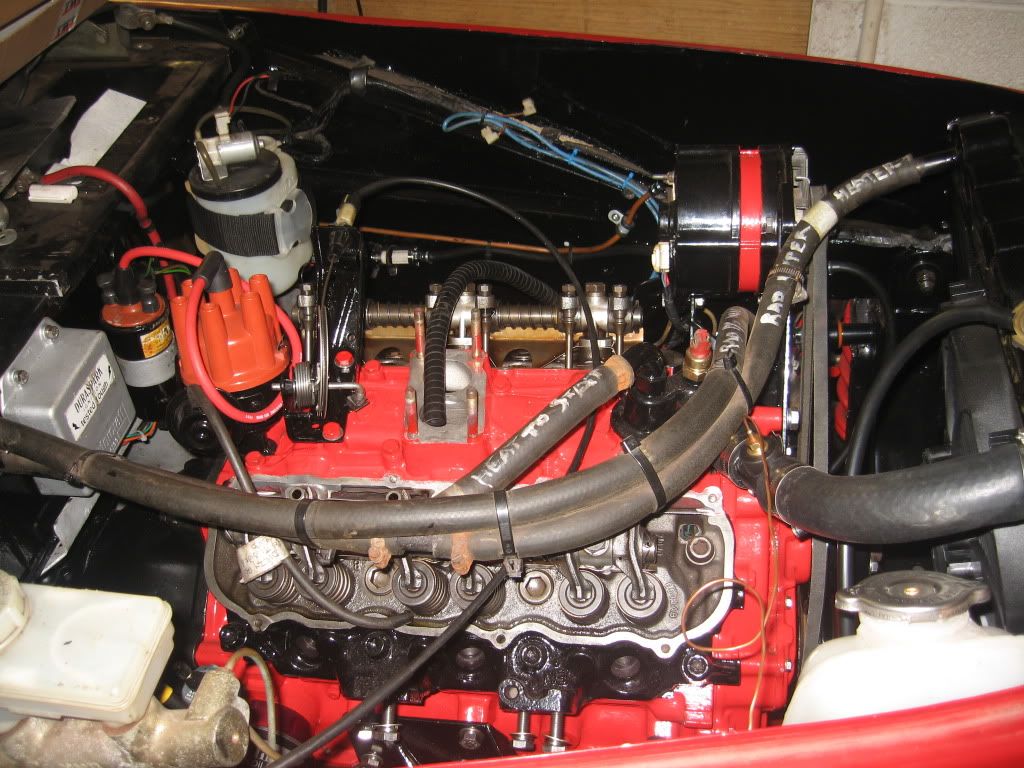
The gearbox reverse switch and the speedo cable went in, typically I could not find the circlip for the speedo so I have measured it, 25mm and will have to get a hold of a new one.
I managed to get more than a few scratches on the gearbox during all of this movement so the tin of stonechip came out again and I gave everything a good spraying.
Well a lot done today but still a number of jobs to do before this section of the re-build is finished.
The mystery of where part of my wiring loom has been solved, it is sitting in a box with the old carb as it was the carb loom that attaches to the temp pickup and alternator and is not required now so no need to fit now. (Thanks Terry)
See ya Paul
No comments:
Post a Comment