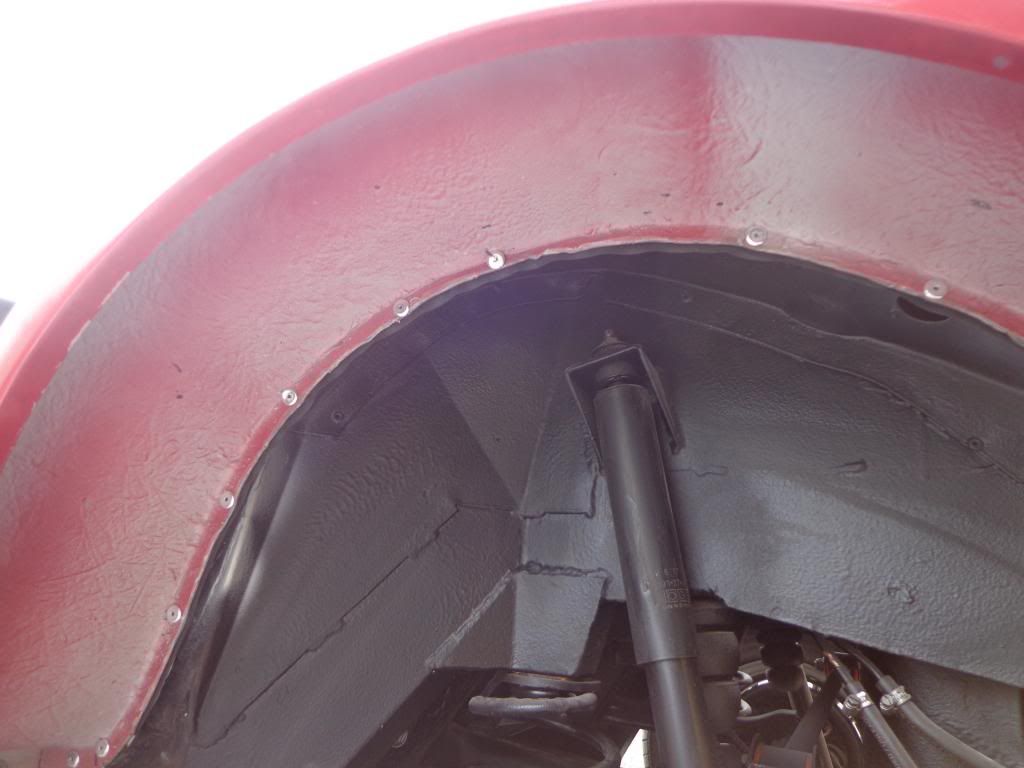
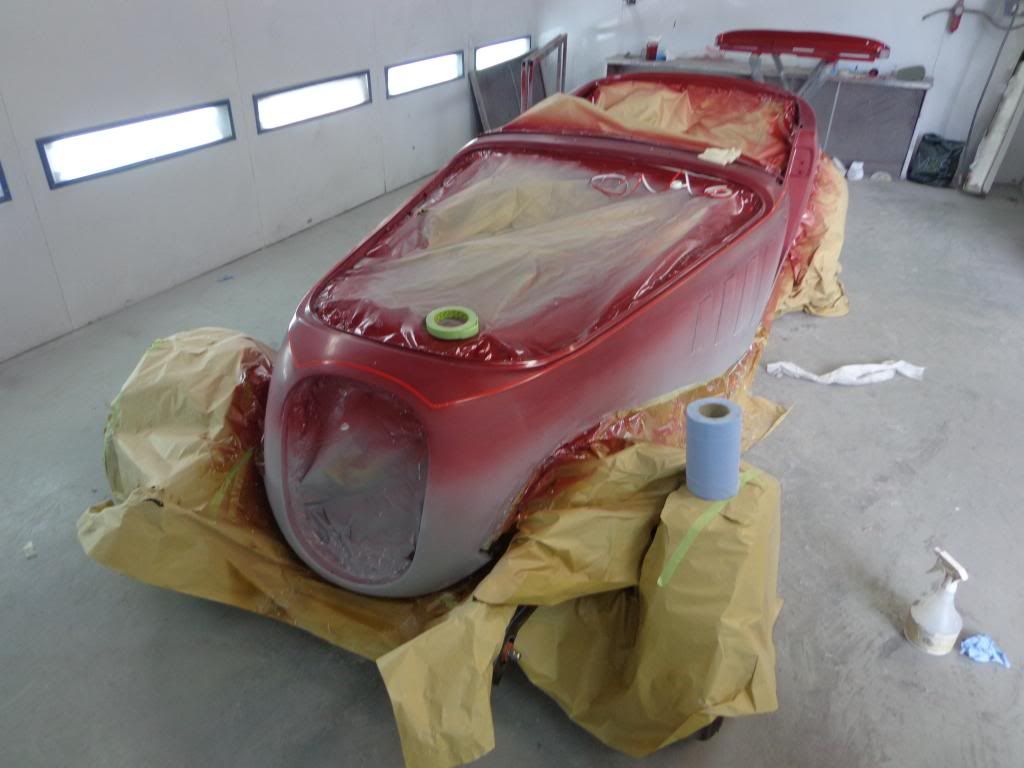
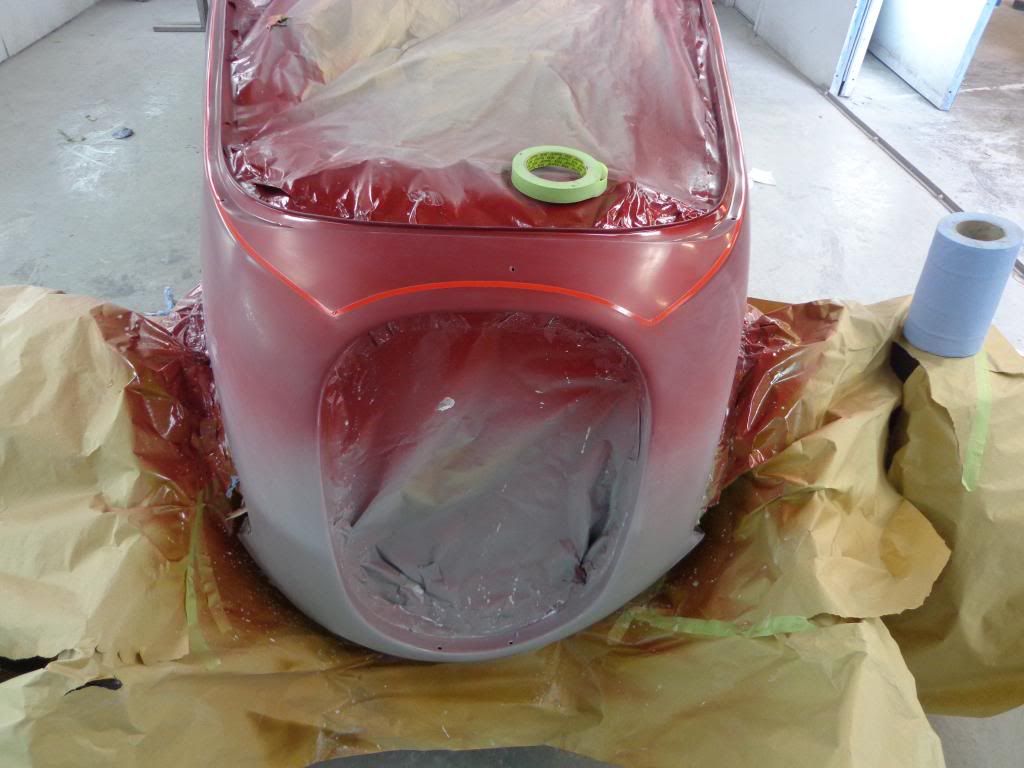
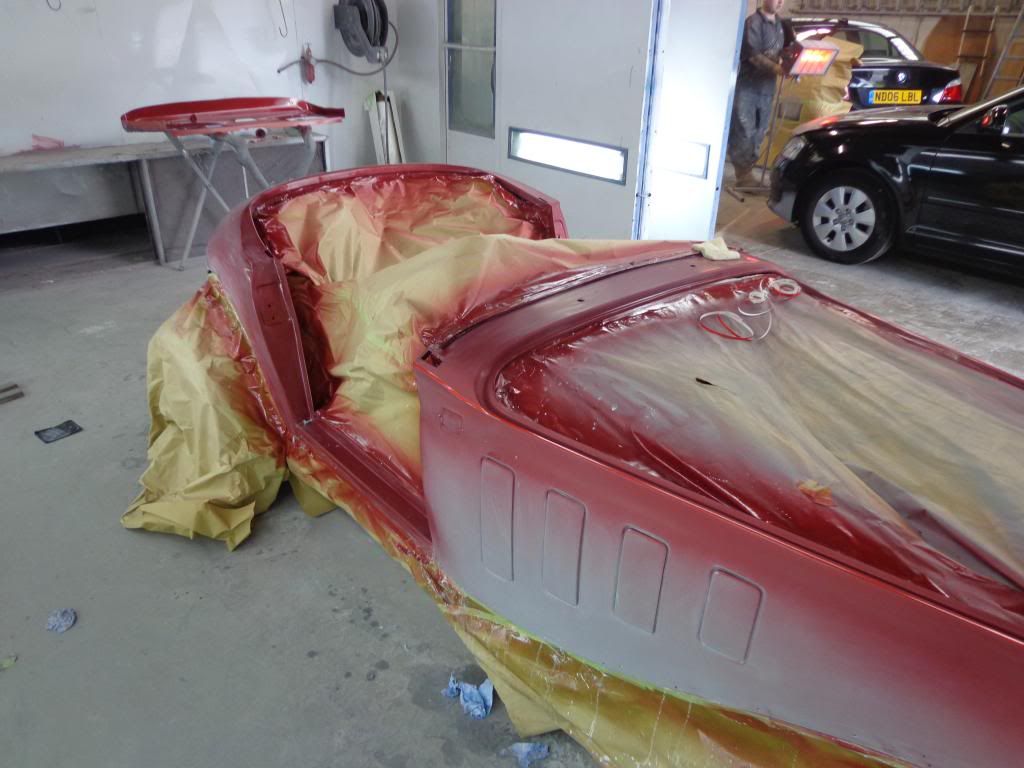
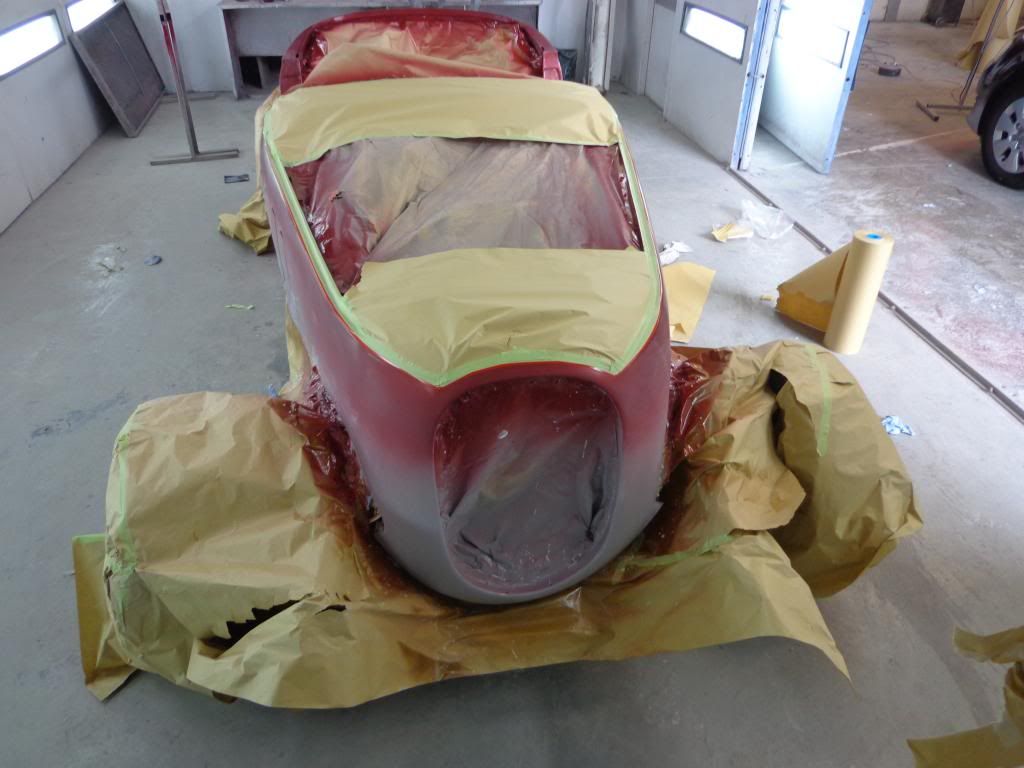
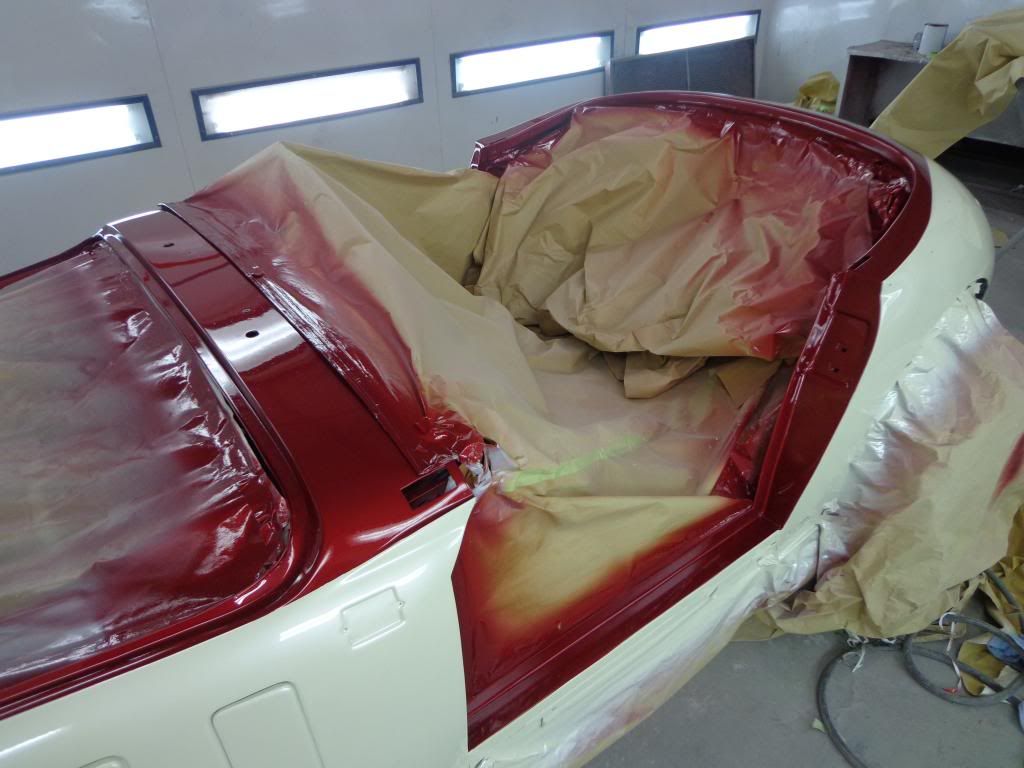
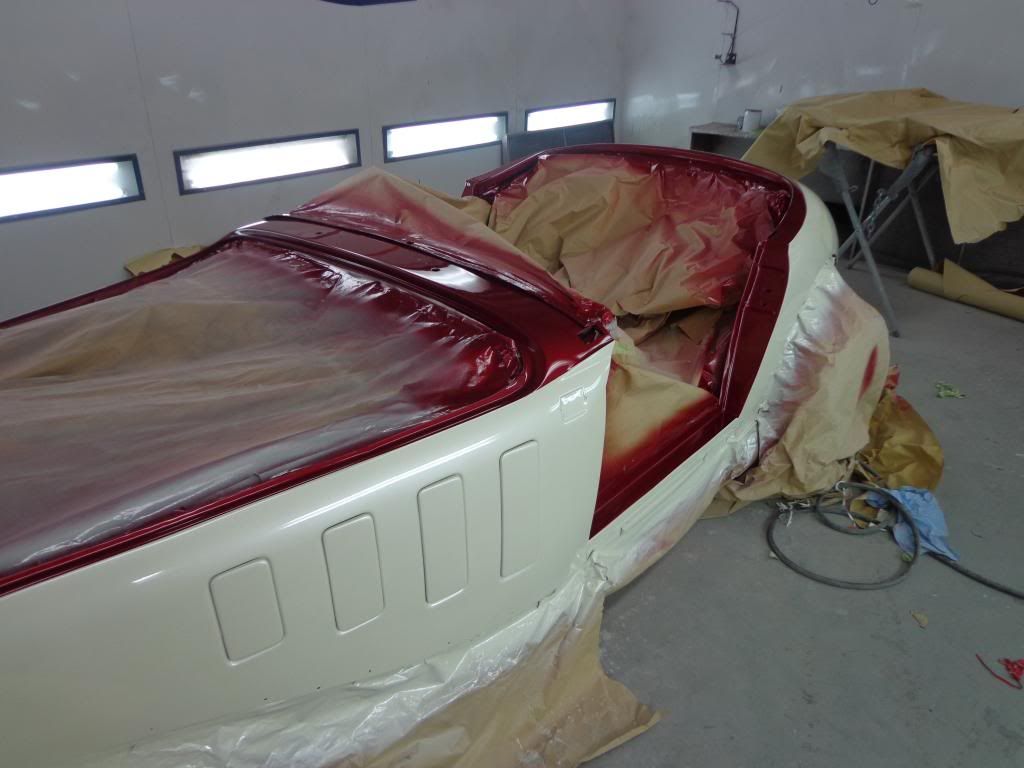
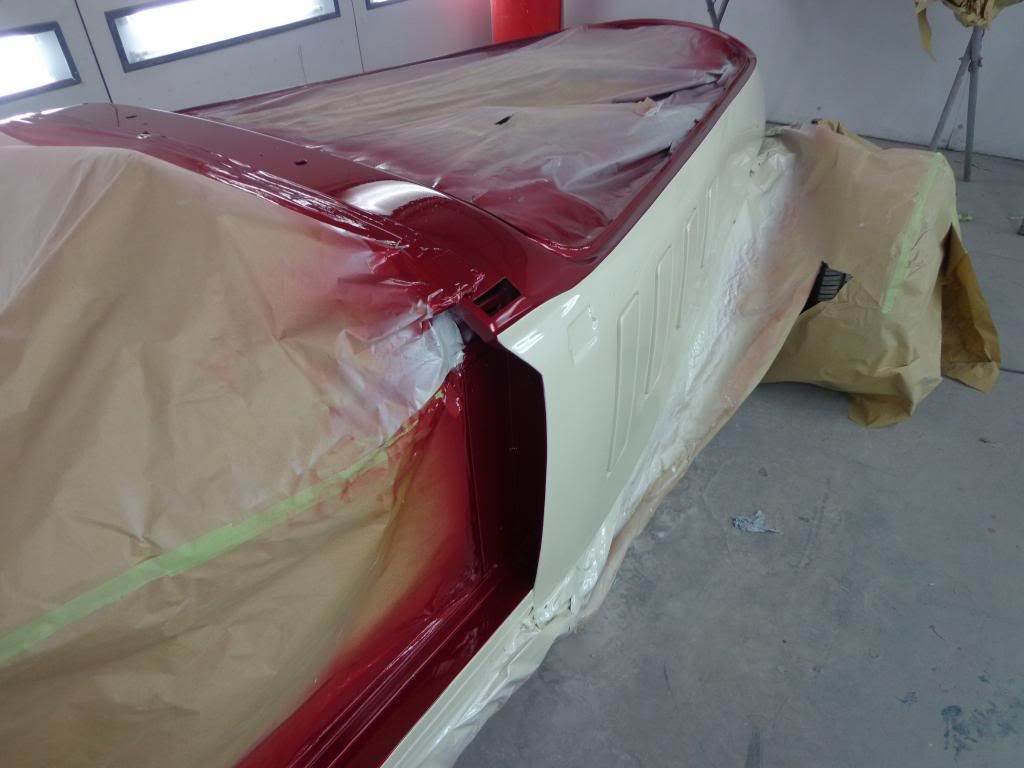
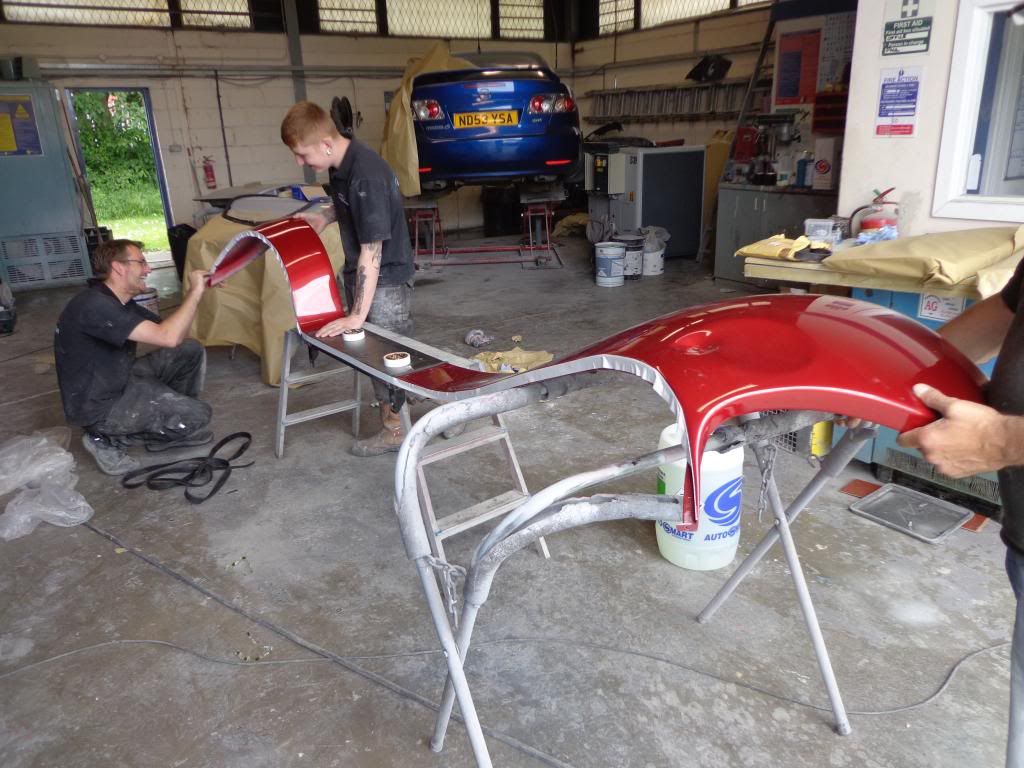
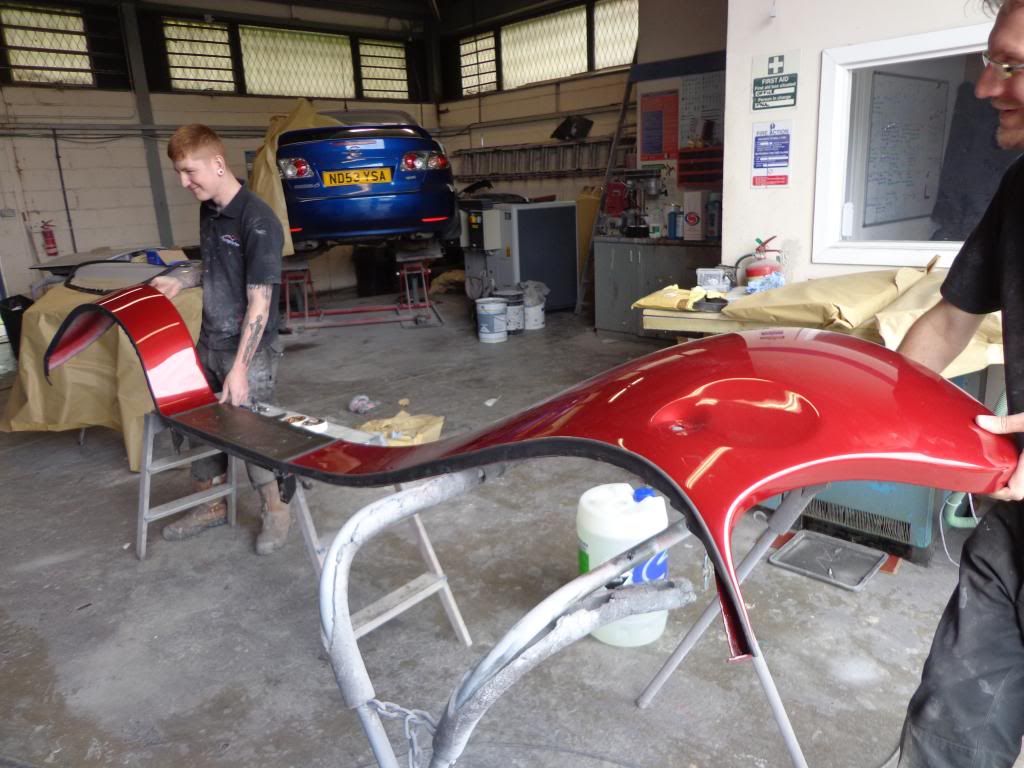
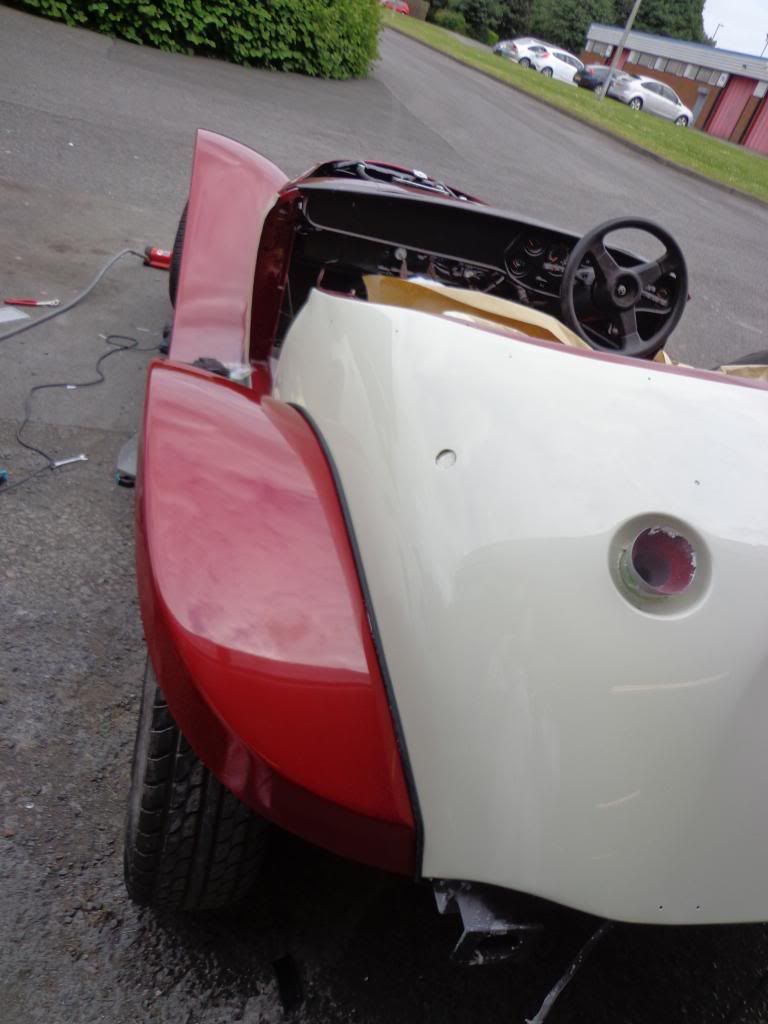
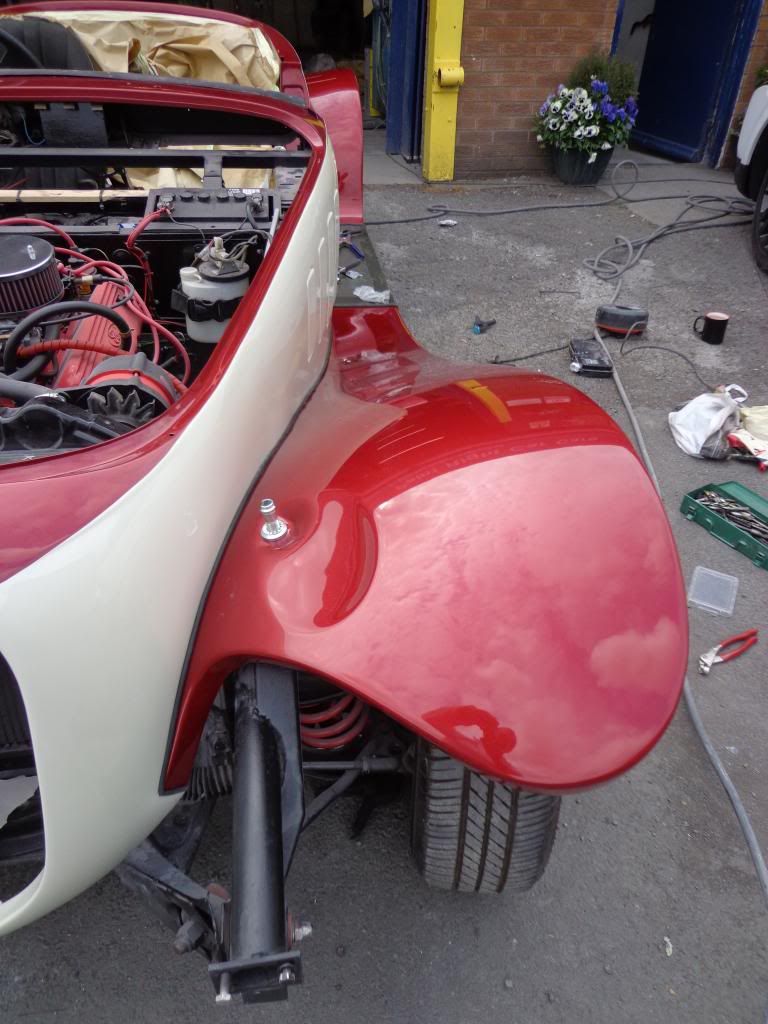
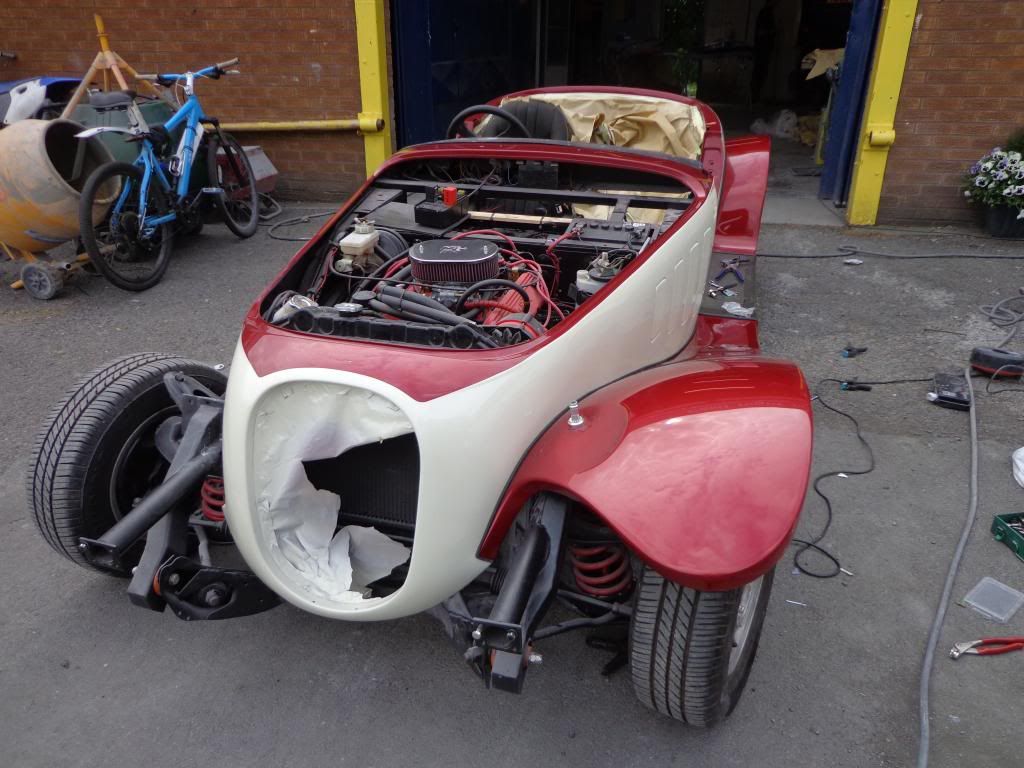
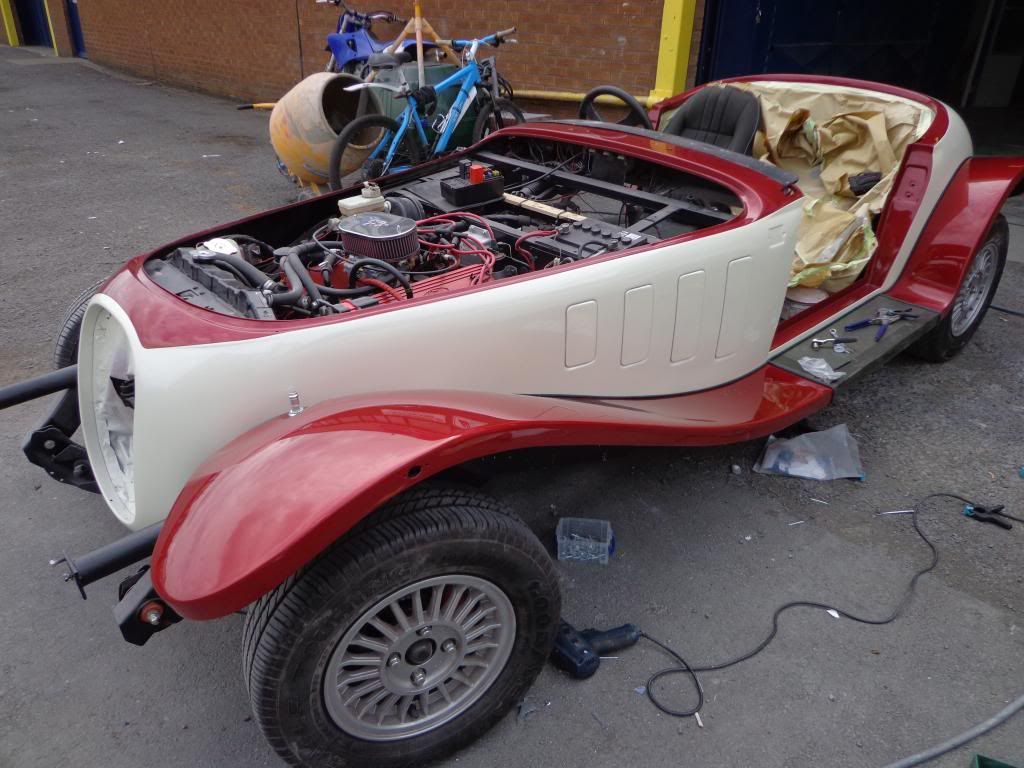
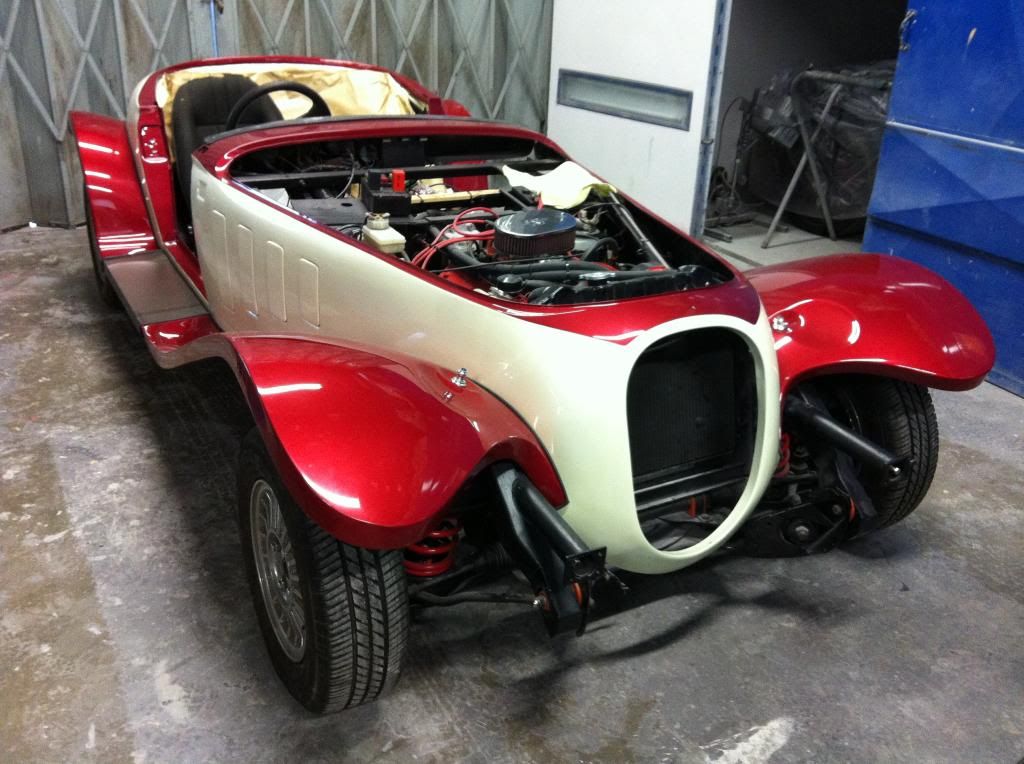
Busy couple of days, went down to the paint shop on Thursday and spent the whole day sealing the wing piping.
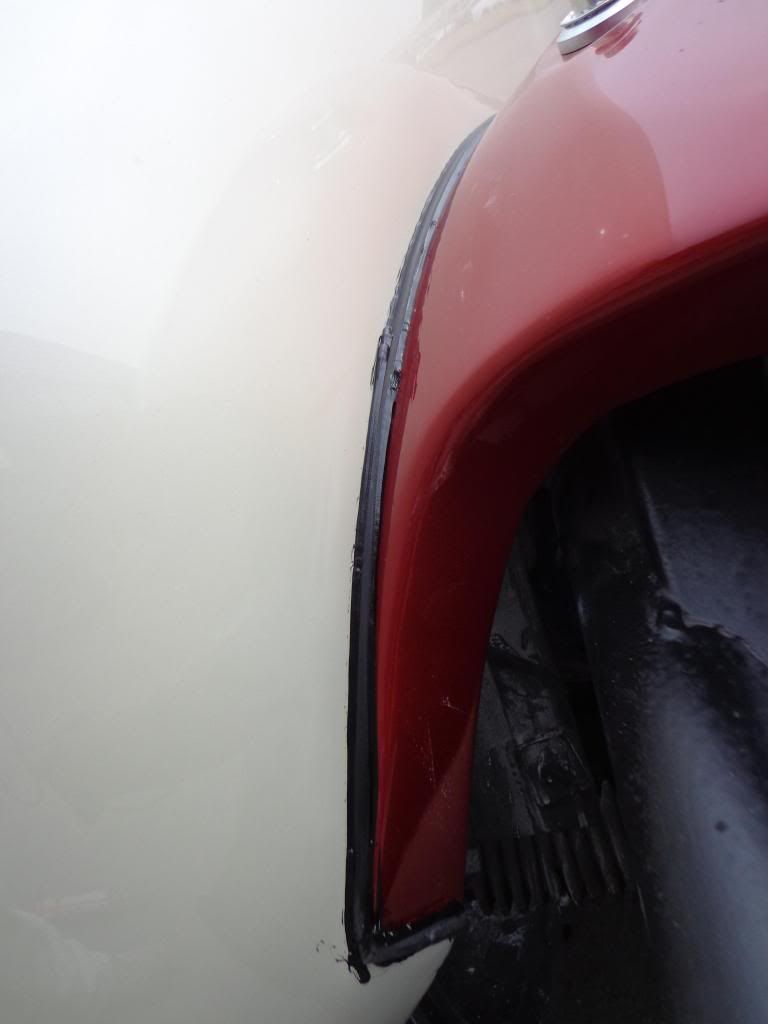
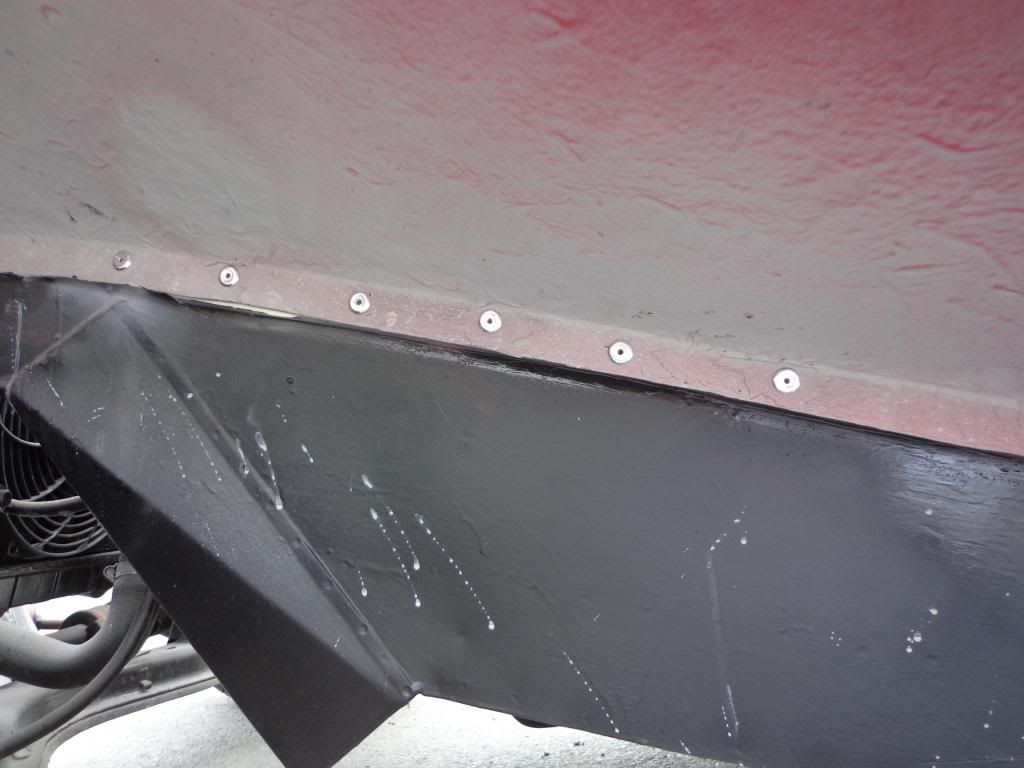
I was a bit wary of water getting in through the piping and being trapped inside the join of the wing to body, especially as I plan to seal the whole underside to prevent any water getting in from there, which would trap it.
I used the paint shop sealer and its what's used for windscreens, so good stuff, It was very messy as I roughly squeezed the sealer between the joins then with panel wipe and lots of paper toweling I wiped it of again pushing as much as I could between the joins.
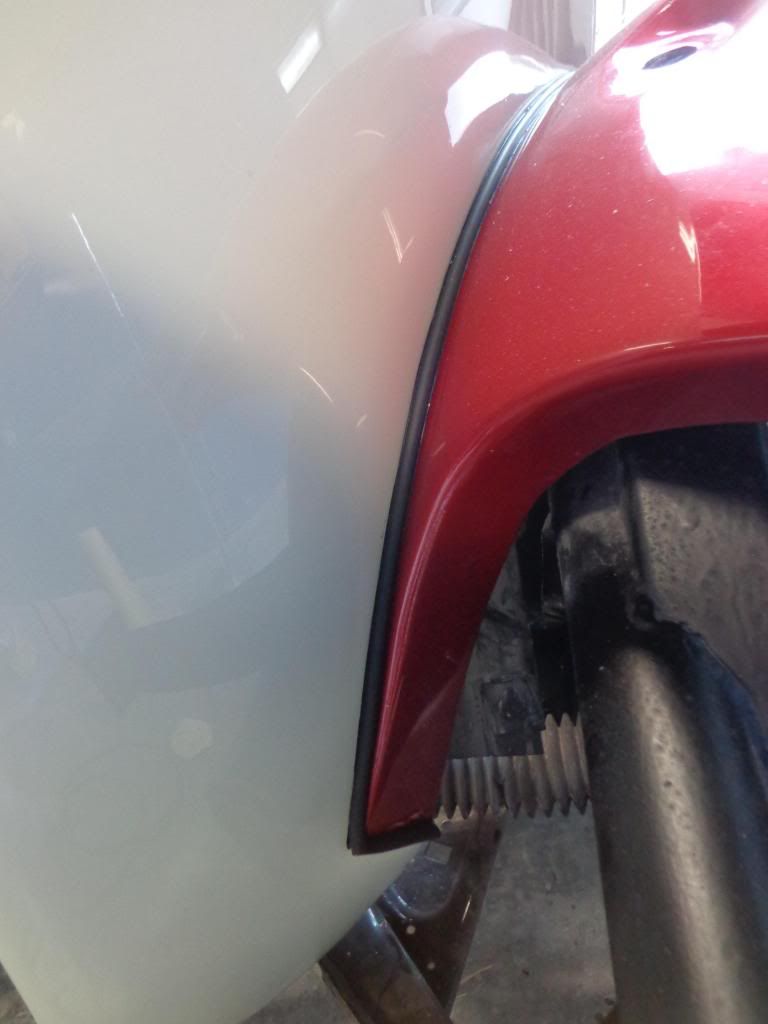
Took most of the day to do the whole of the car but well worth the effort.
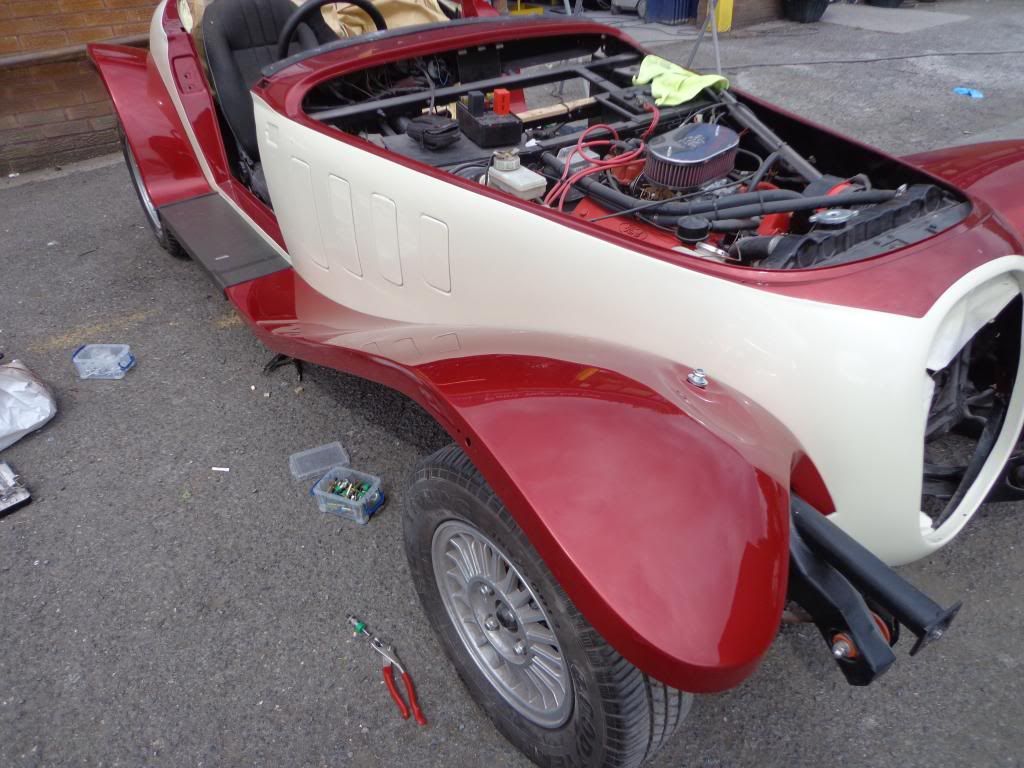
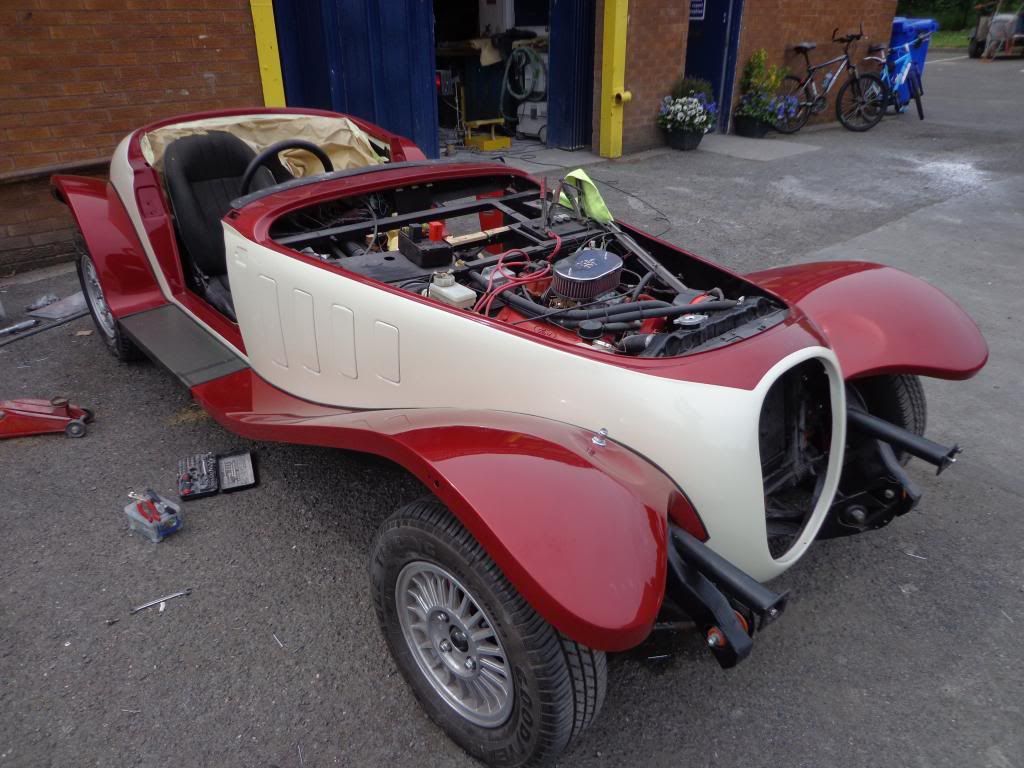
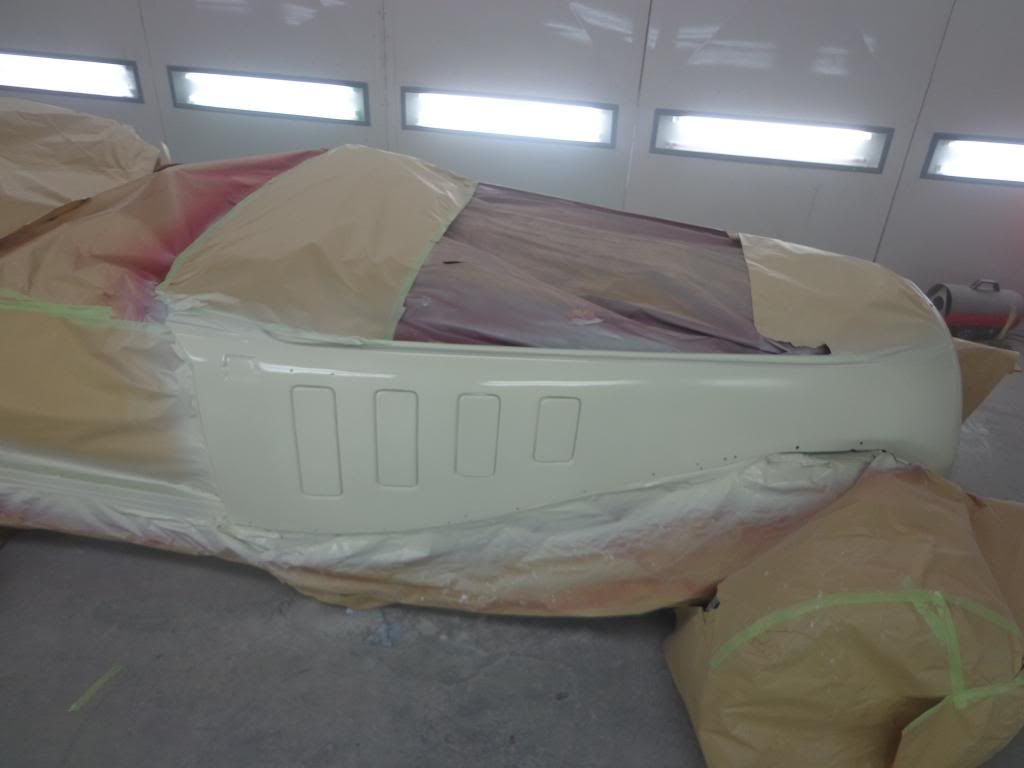
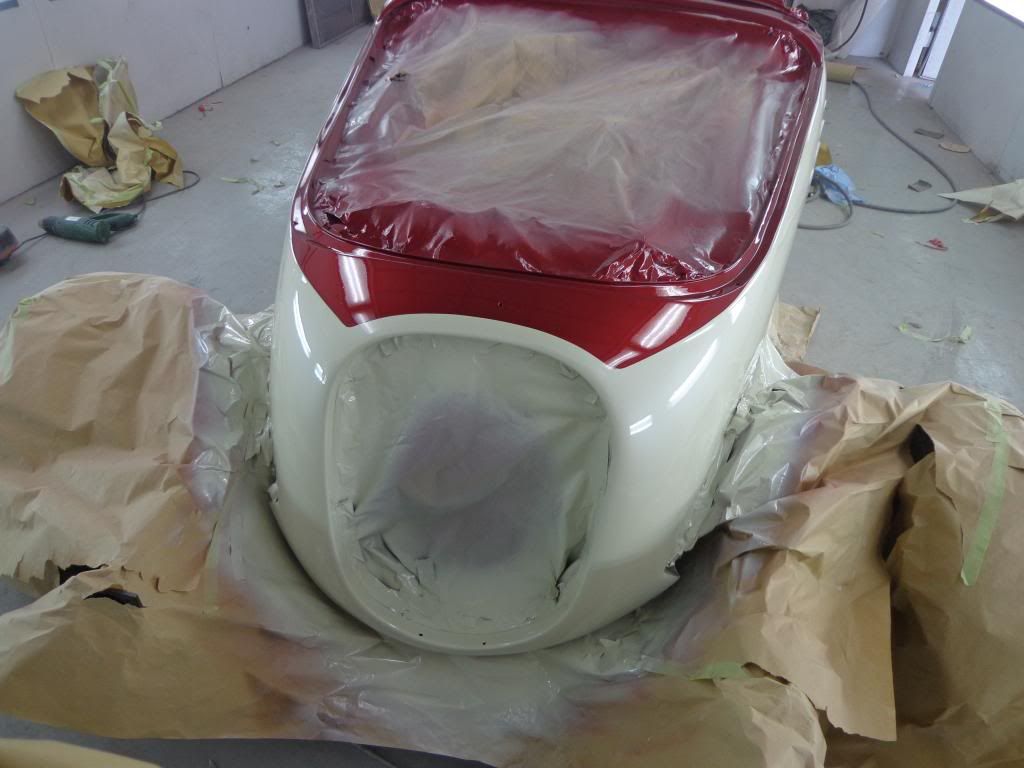
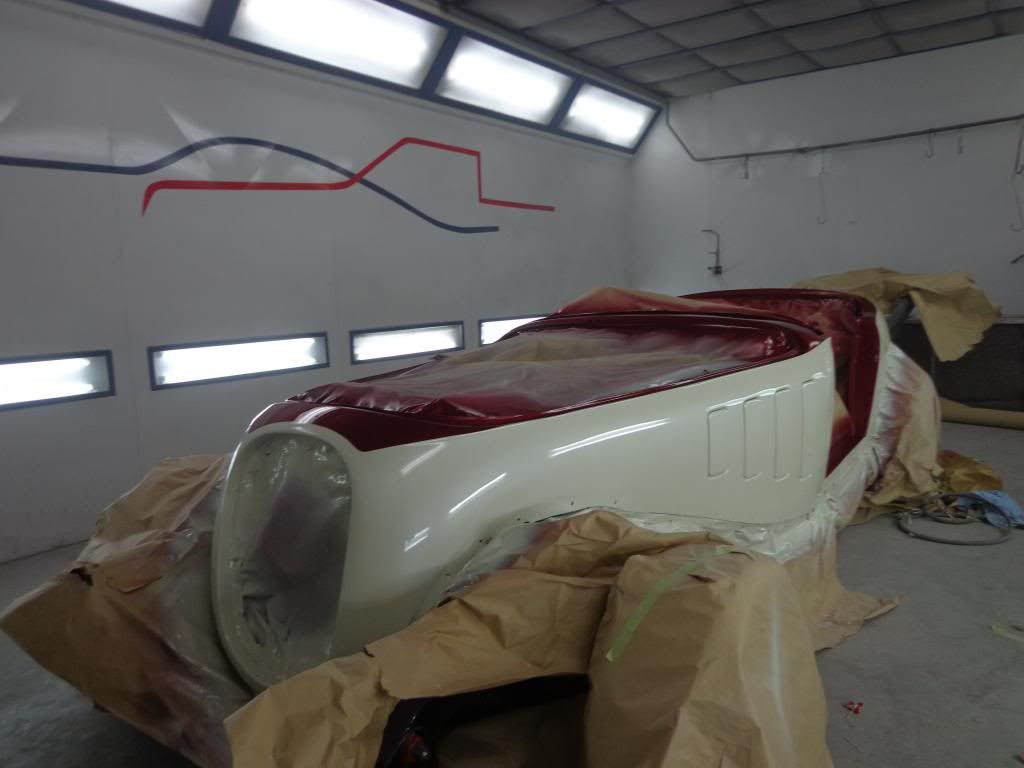
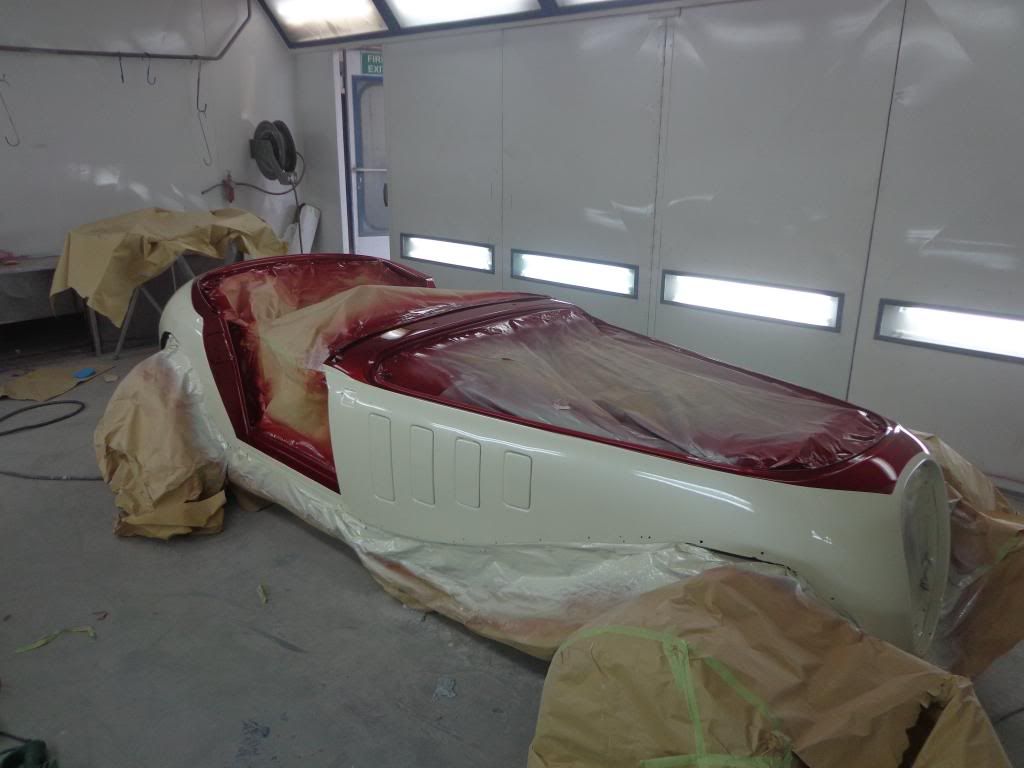
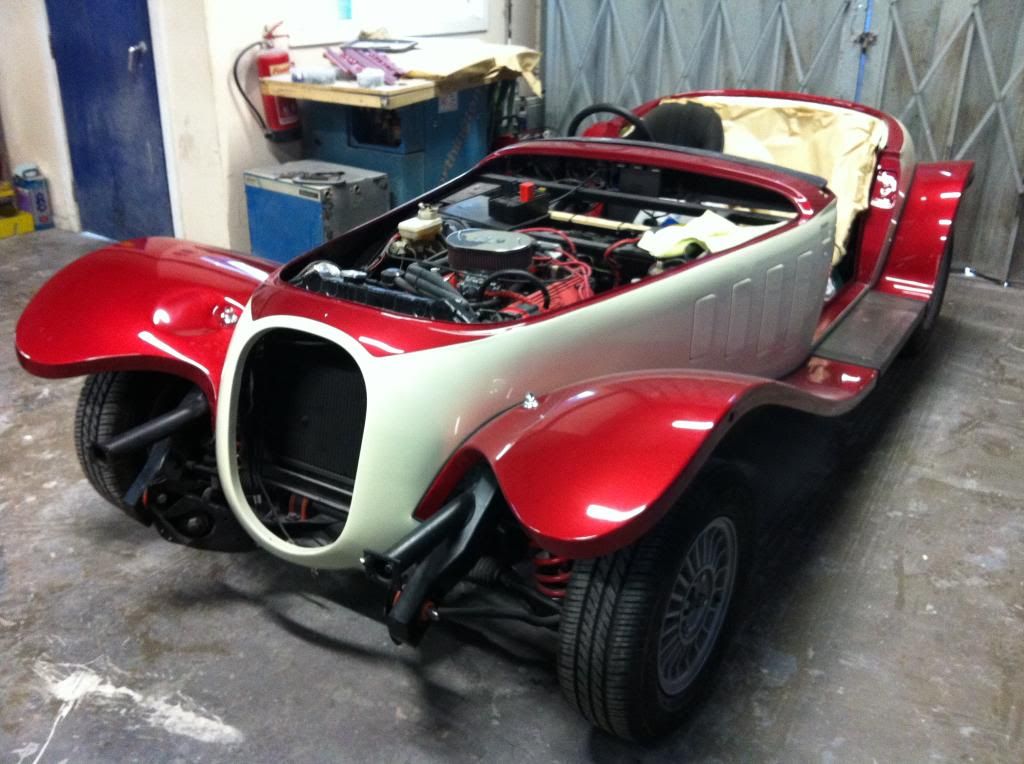
You can hardly tell there is sealant in the join, took a photo of the paint job while still inside the shop and the colour is even better than outside in the sun, even though it is covered in dust.
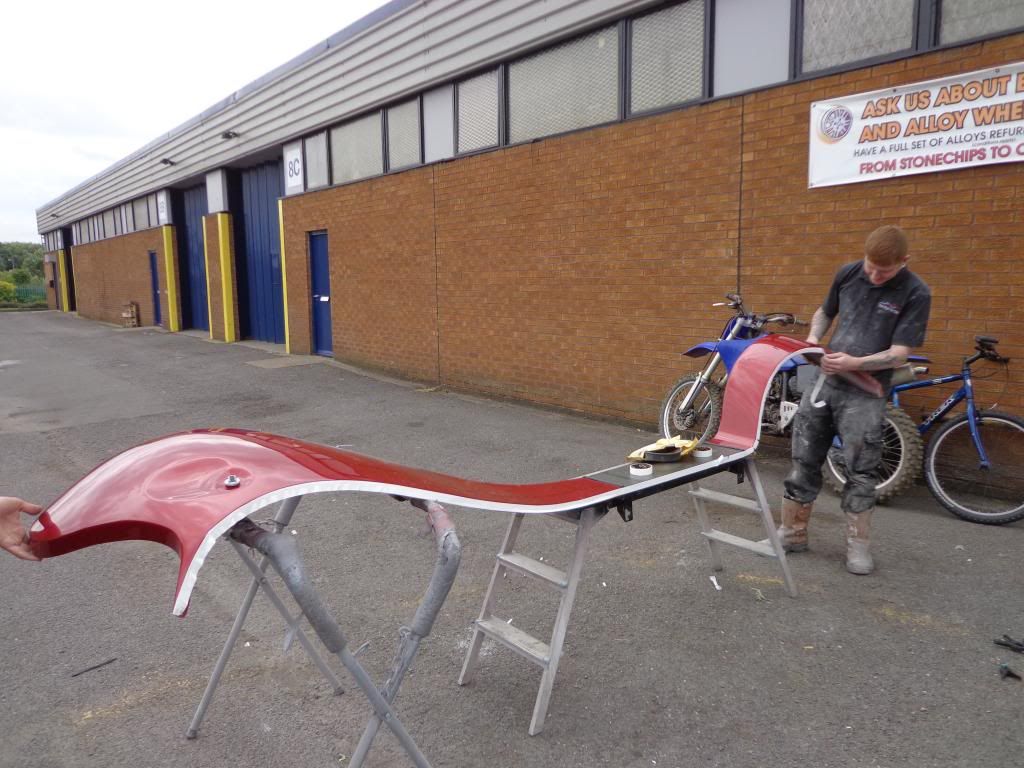
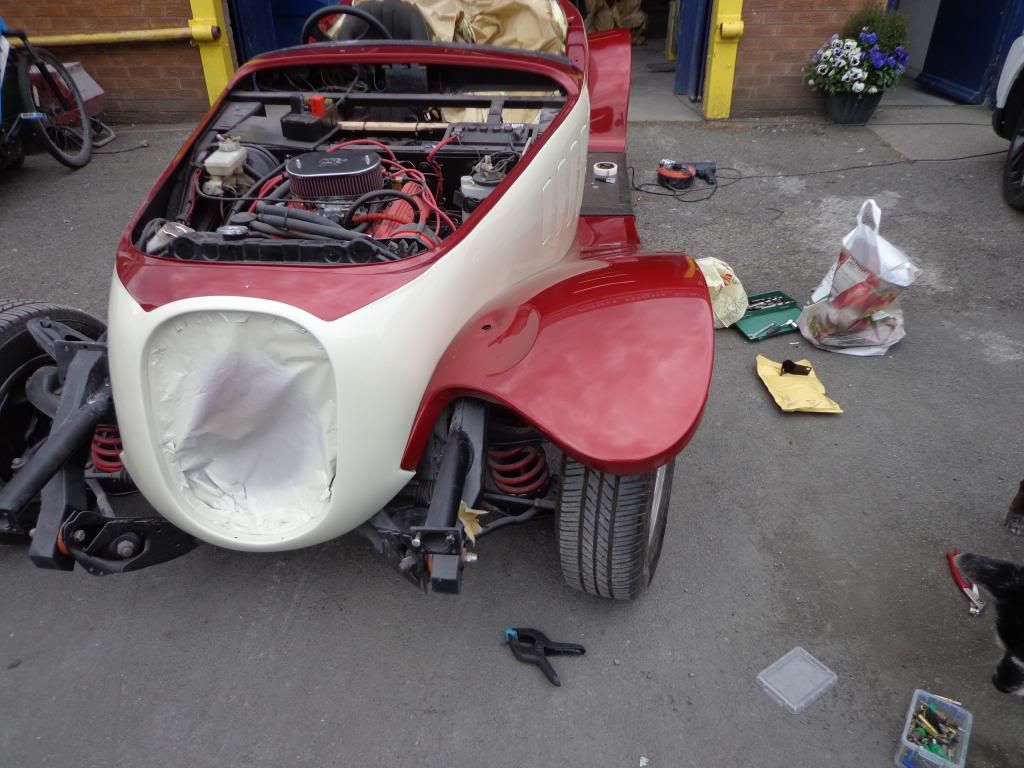
The plinths for the side lights have arrived, I managed to get hold of 3 which is a good job as they are made from cast zinc, I placed one on the wing to get some idea how much bending would be required to shape them to the wing contours.
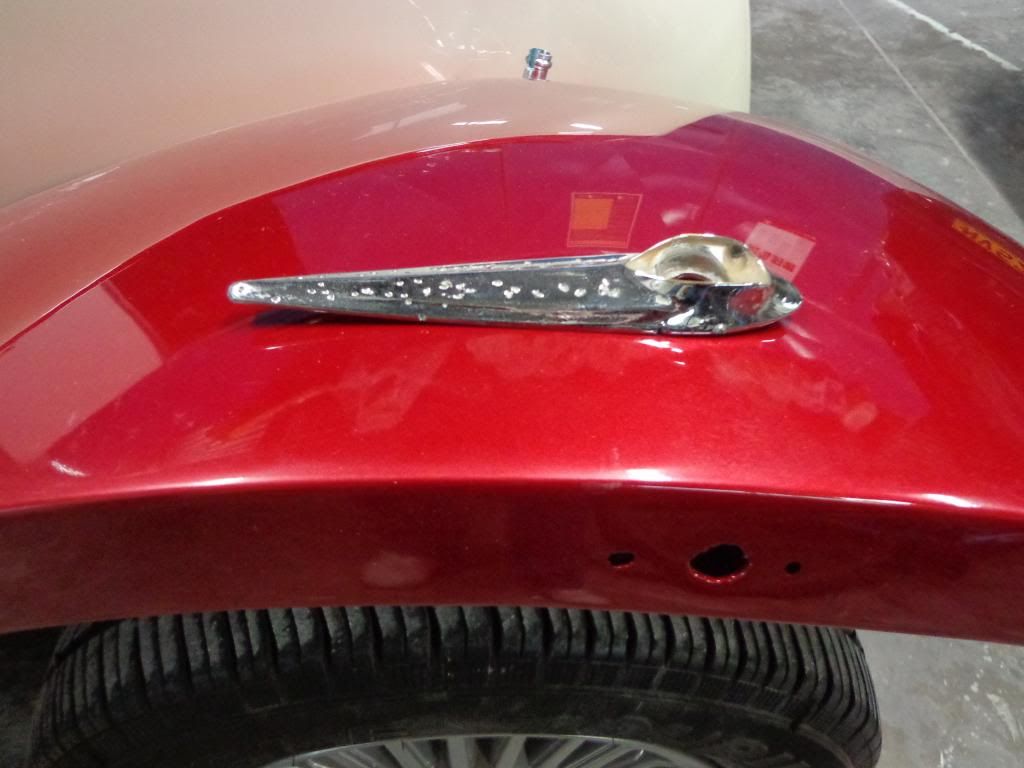
Which is not a great deal, but sufficient that when I tried to bend the cast zinc it snapped, so good job I had 3. I shall use the aluminium filler I have left over and build up the base to the shape required then when colour coded you won't know the difference.
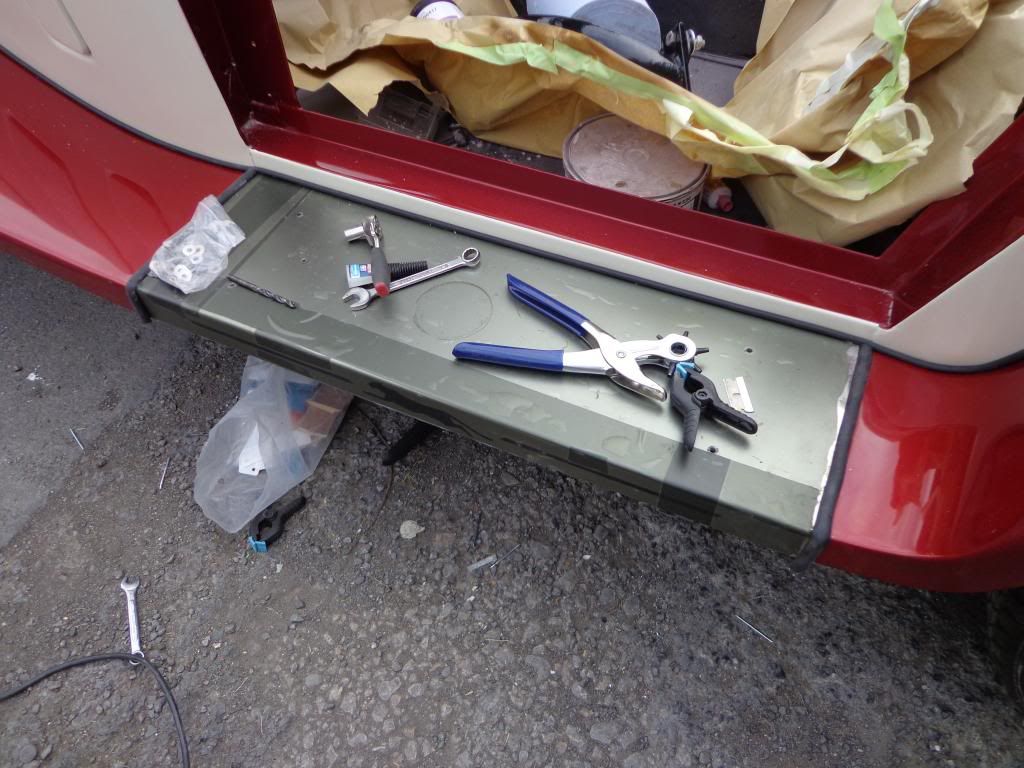
I have brought home the treads I had colour coded and they look great, I fitted the rubbers using washing up liquid to get them to slide and stuck automotive double sided tape on the back.
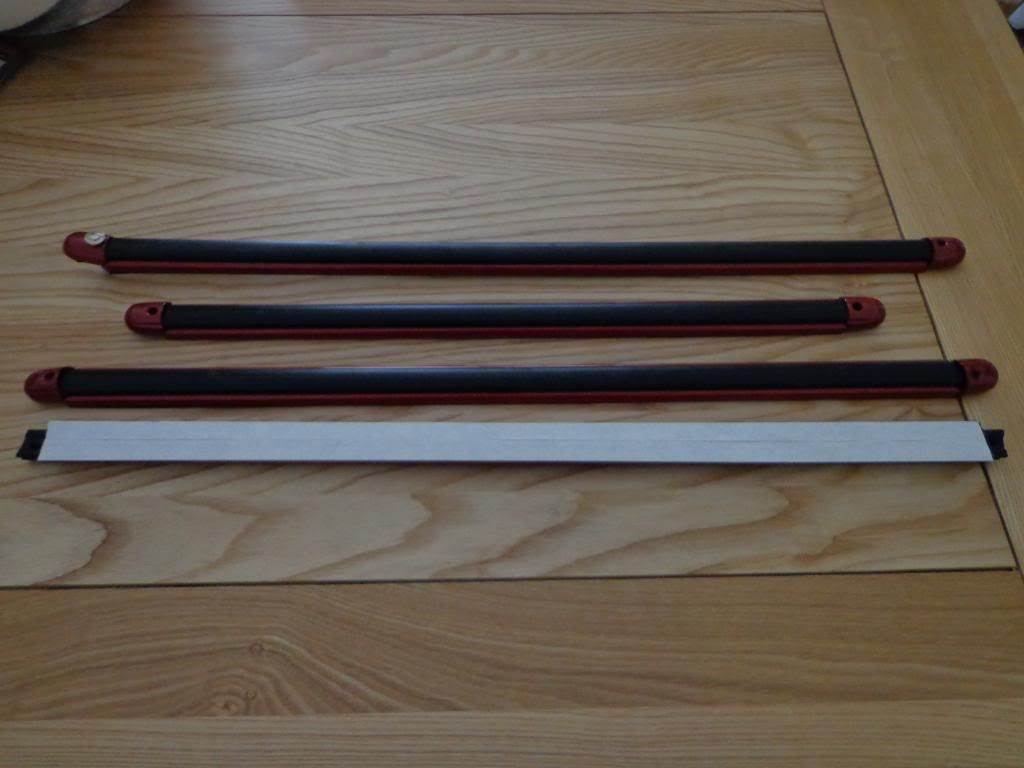
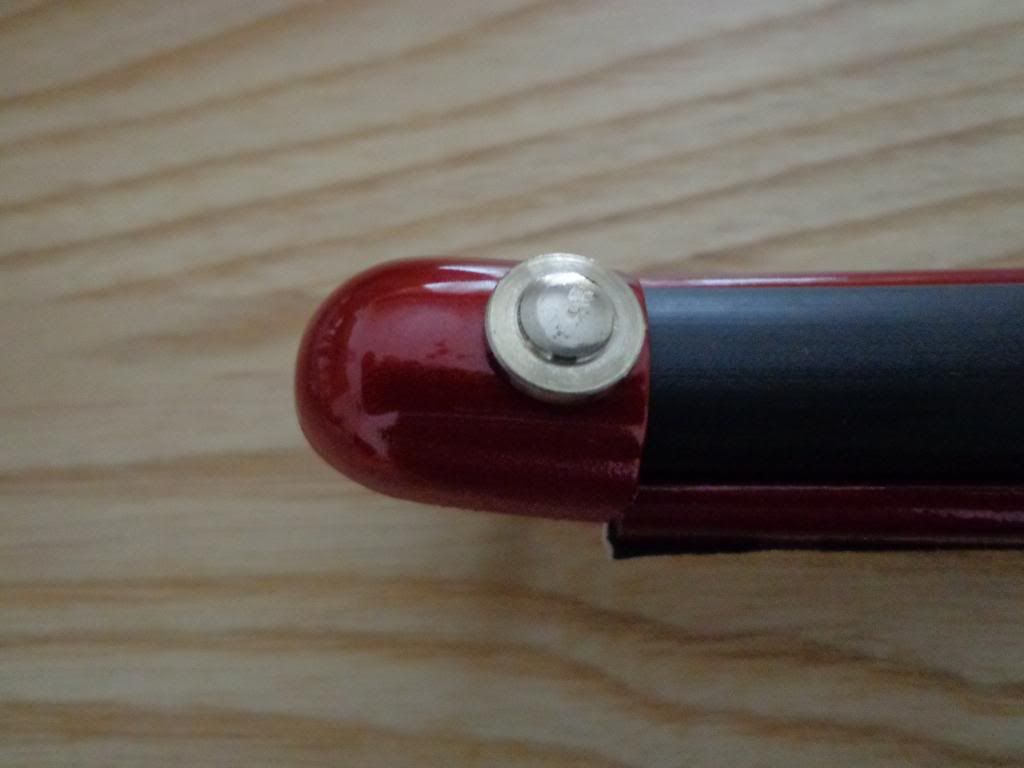
The end caps did look a bit cheap, which they are, but with a little paint they were transformed, I bought stainless coach bolts to secure them but the heads were to big so I put each one in the lathe and turned the diameter down and gave the tops a little pattern, I filed off the squares on the bolt that prevent turning, maybe still to wide.
Yesterday was a bit of a no work day as my computer was getting a little cluttered and slow so I saved my stuff and formatted then went and bought Windows 8, I spent the rest of the day loading everything back on and learning the new system, same as the old one.
I also splashed out on what I hope is all of the chrome work for the doors, mirrors, handles etc, didn't ask the price as I was a little scared to, these bits should be coming Monday or Tuesday.
When out yesterday I went to Halford's and got ripped of on 2 spray tins of wax oil for the insides of the doors.
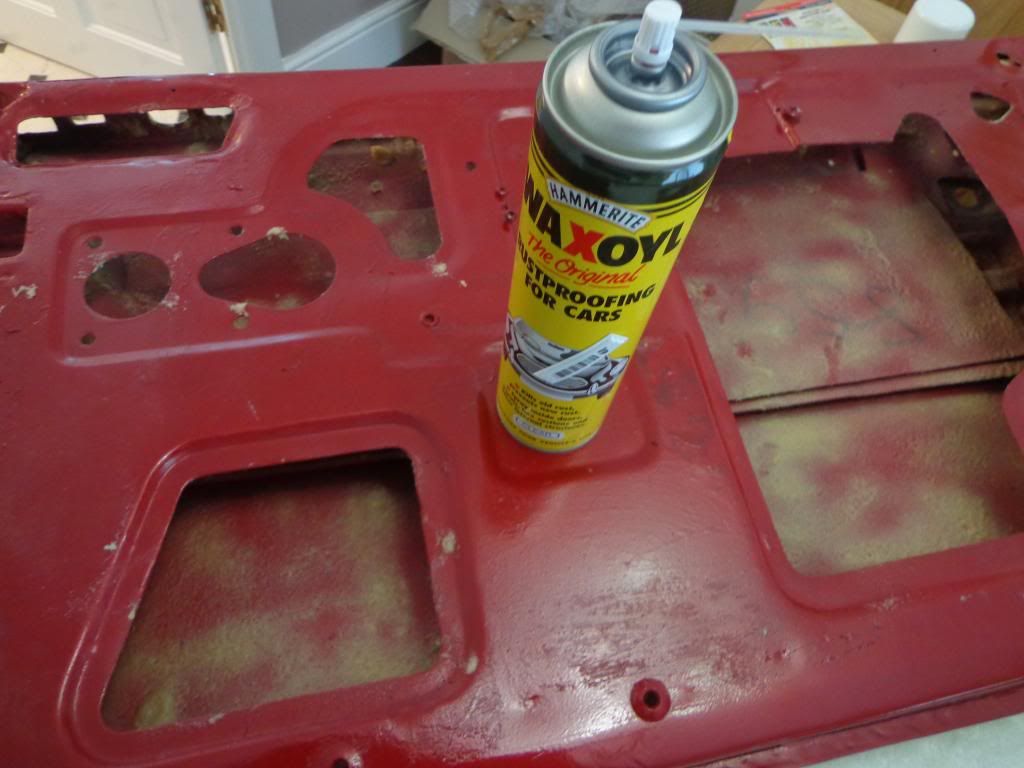
I say ripped of because the first one is still a quarter full and has run out of propellant, I could have used the waxoil I have but I wanted to get into all of the corners that only a spray will reach and if I had used my compressor gun it would have been everywhere, which I know from experience.
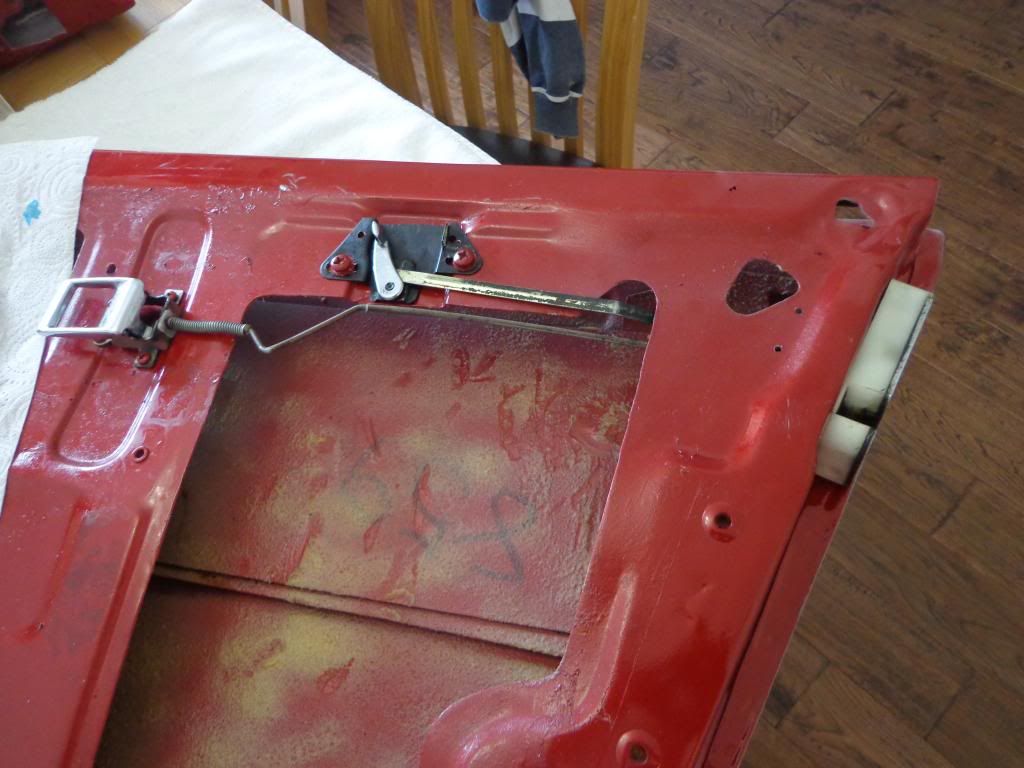
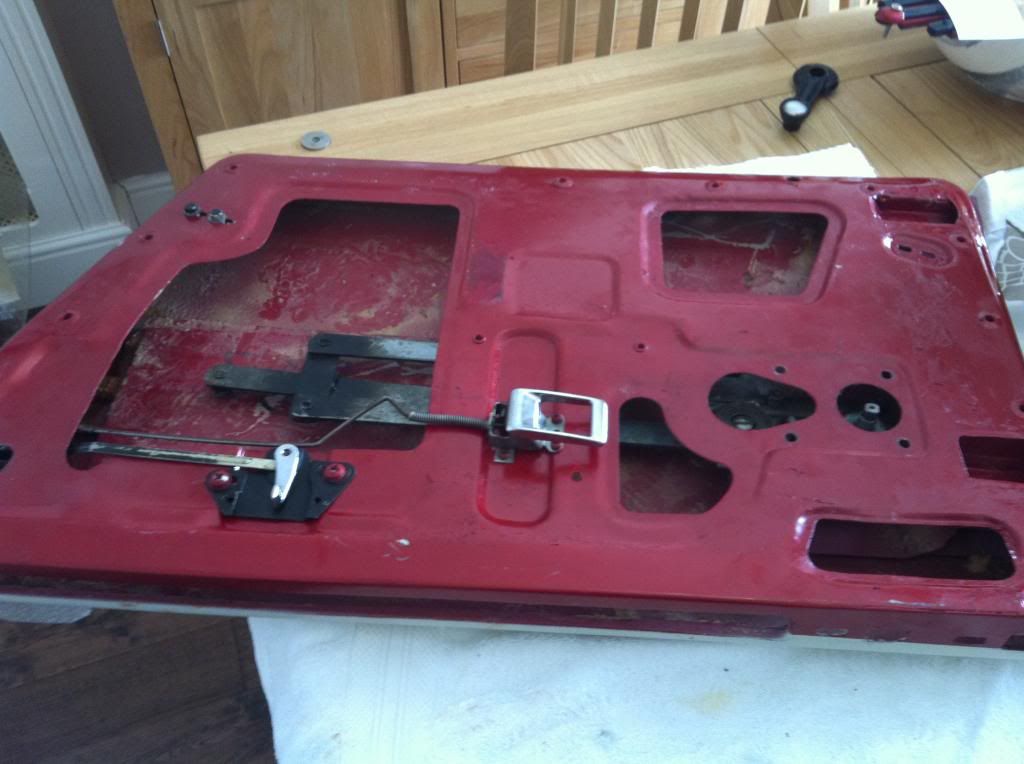
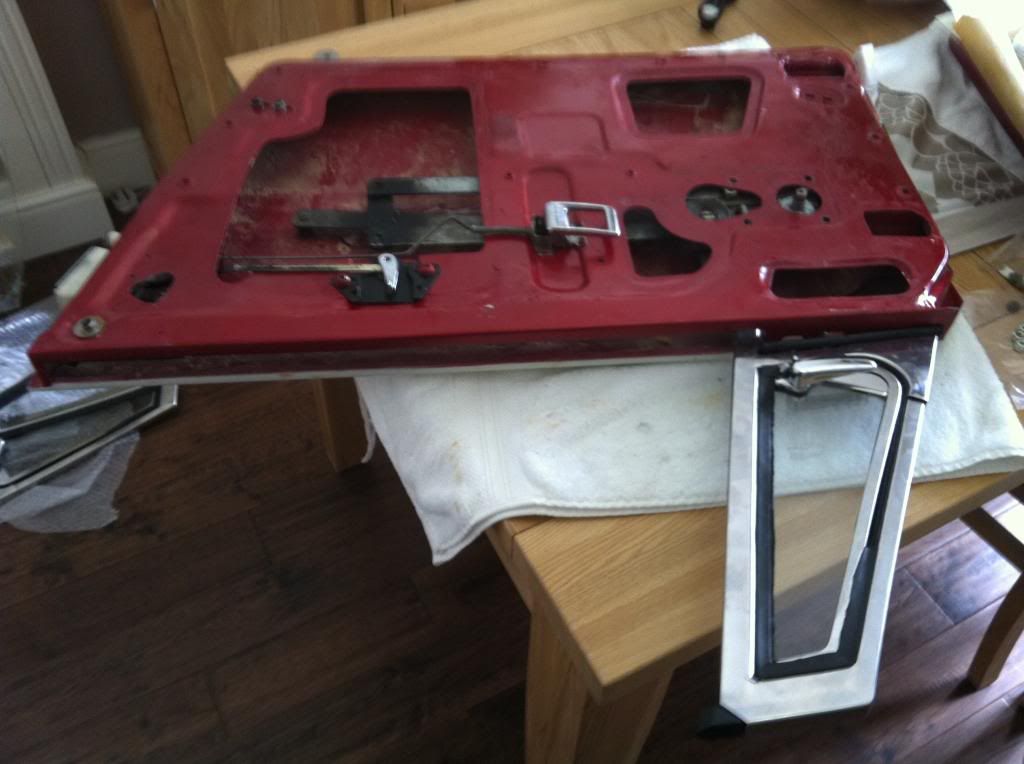
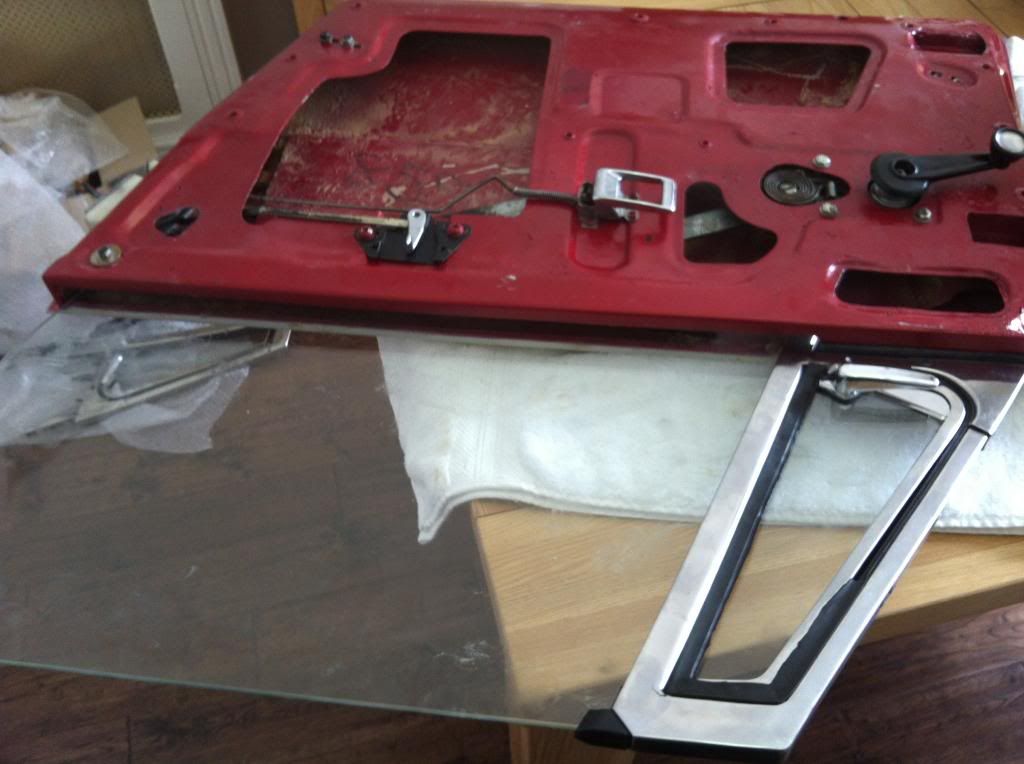
So to start re-building the door, first you take your wife's best Egyptian cotton white towel and place on the dinning room table, which saves the new paint getting damaged.
I had plenty of pictures as reference in putting everything back but it still took lots of trial and error before I got the sequence right and as with everything it was easy once you know how.
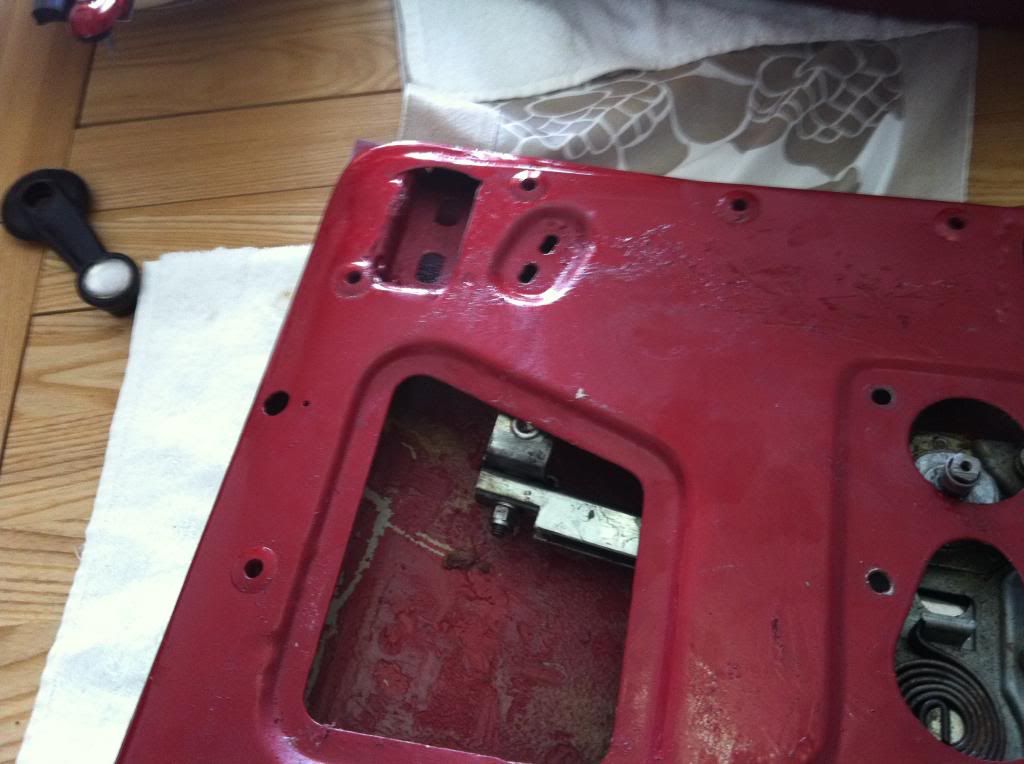
Once the wax oil is in I fitted the lock, when removing the lock I had to cut the clamping bolts to get the retainer out, the bolts had tiny allen key heads and just ripped out on attempting to turn. I saw the new clamping kit on eBay a while ago and bought it in preparation. It was from MG Hive, I also tried these for the door chrome work.
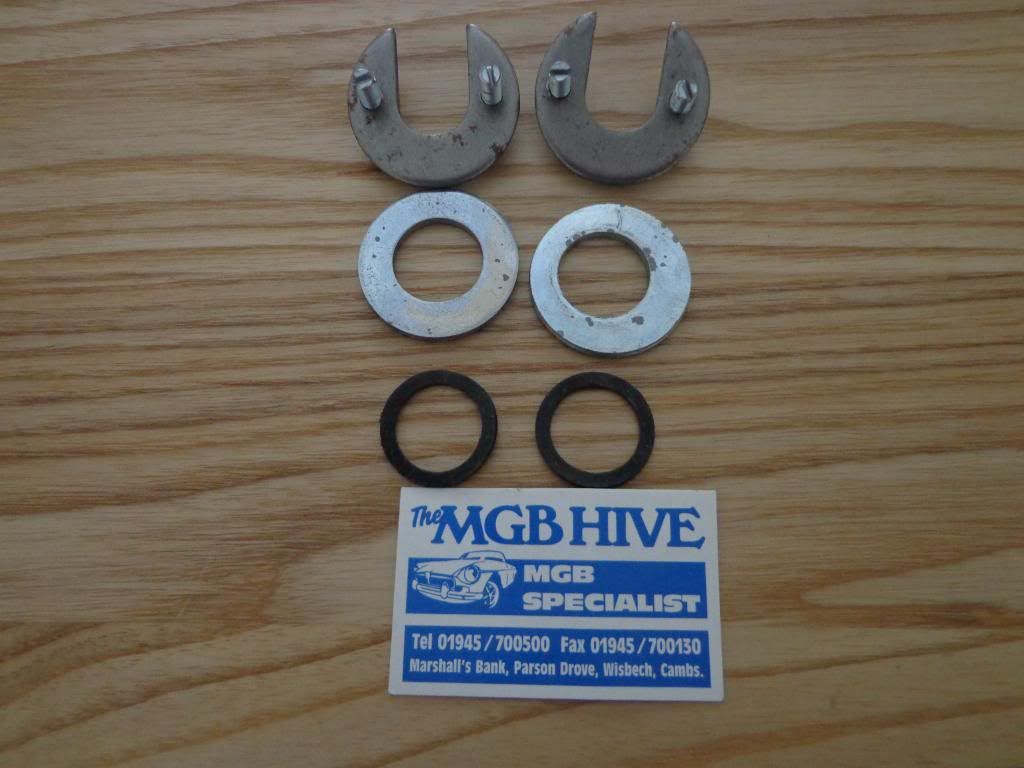
This kit comes with heavy backing washers that weren't on originally, the washer goes into the door first as it sits under the side bars then the lock with the rubber through it. The clamp then slide into the grove on the lock and the screws tightened down. The pack said fibre washers but arrived with rubber, fibre would have been better as with just a little to much pressure on the screw and the rubber pops out from around the lock.
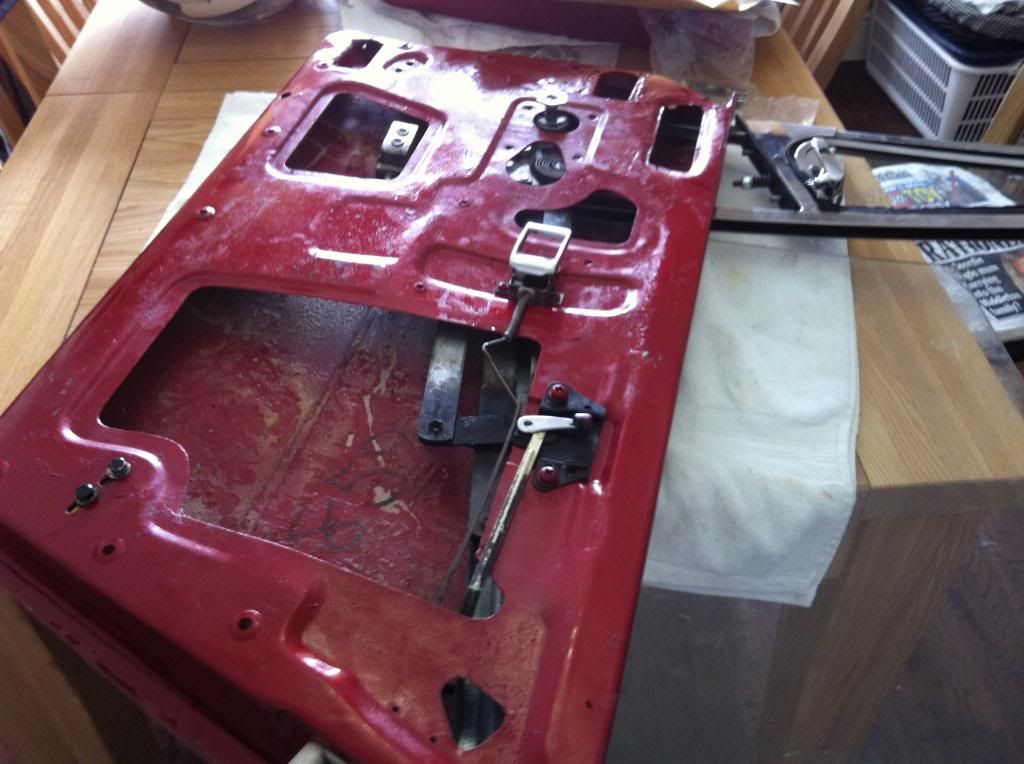
The next in is the door lock mechanism, I buffed up the chrome on the openers as I don't know if these parts are included in what I bought for the doors, and they ain't coming out again.
The lock mech is slide in through the side and and lifted into position making sure that the key lock fork fits into the locking mech pin.
It can then be screwed and bolted into place, there is a bit of movement on the door locking handle so until the door is fitted I won't know the correct position.
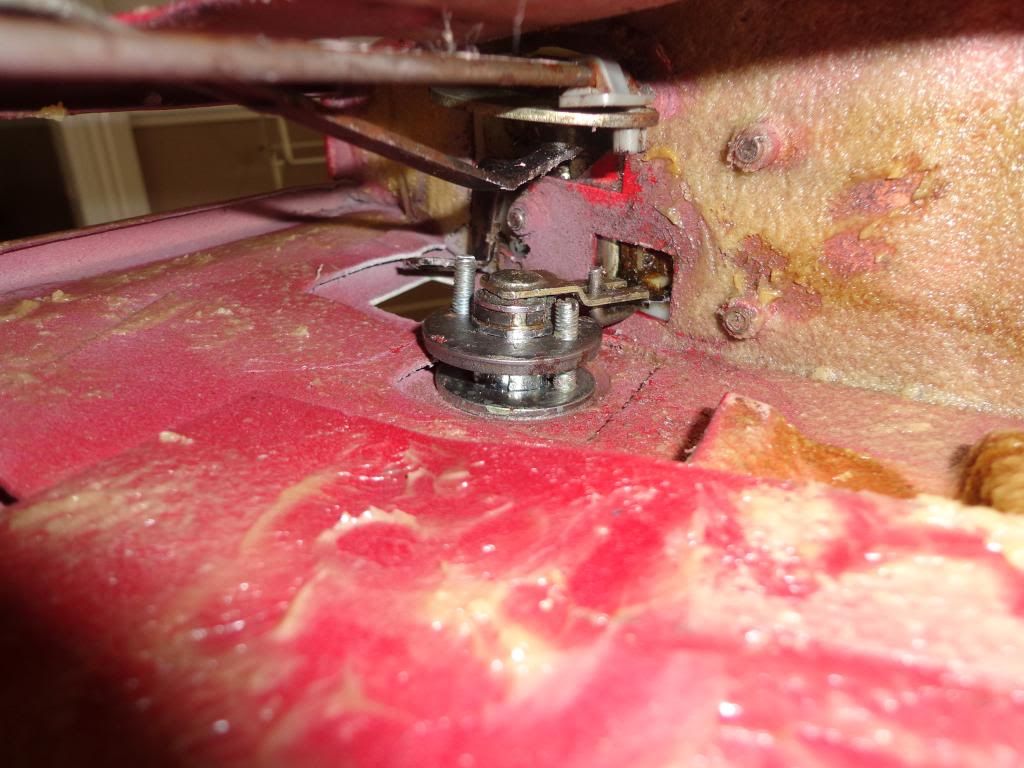
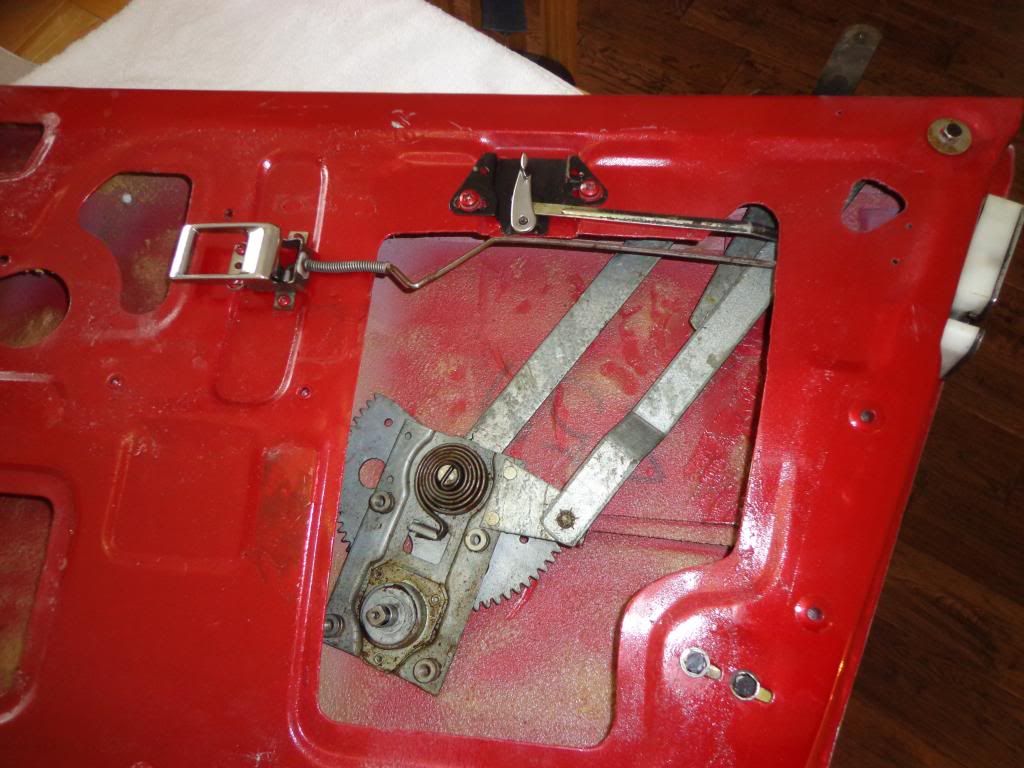
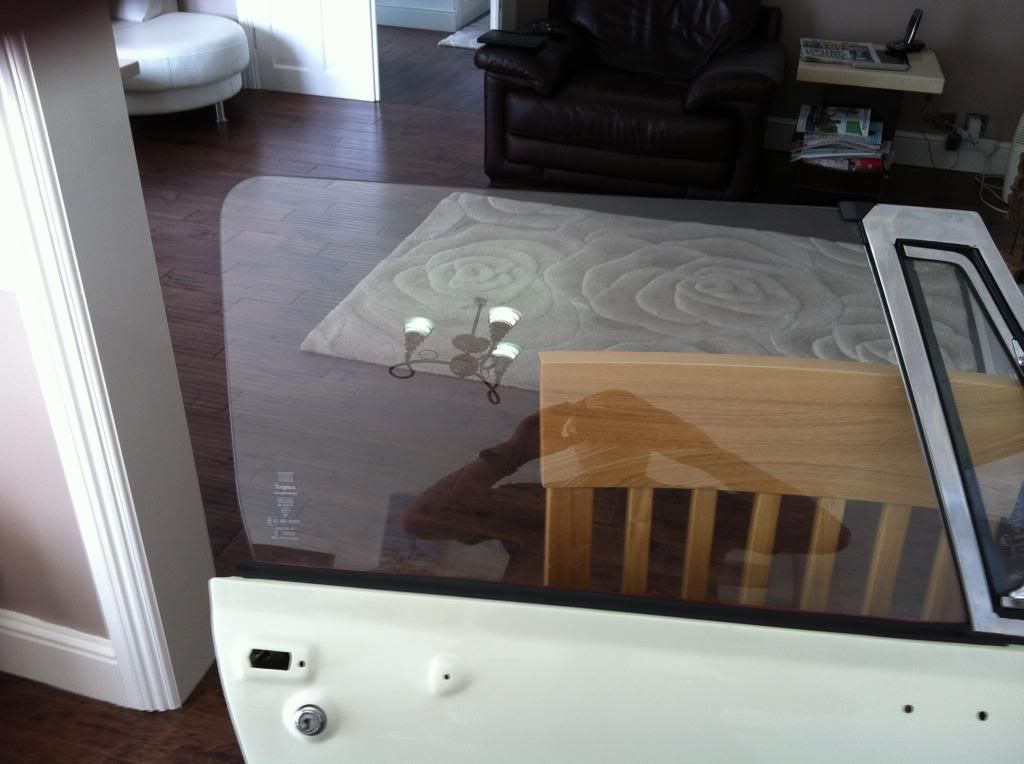
The next to go in is the glass side runner, this is fed through the opening and bolted in, again there is play so I waited till the window was going up and down before hardening the bolts.
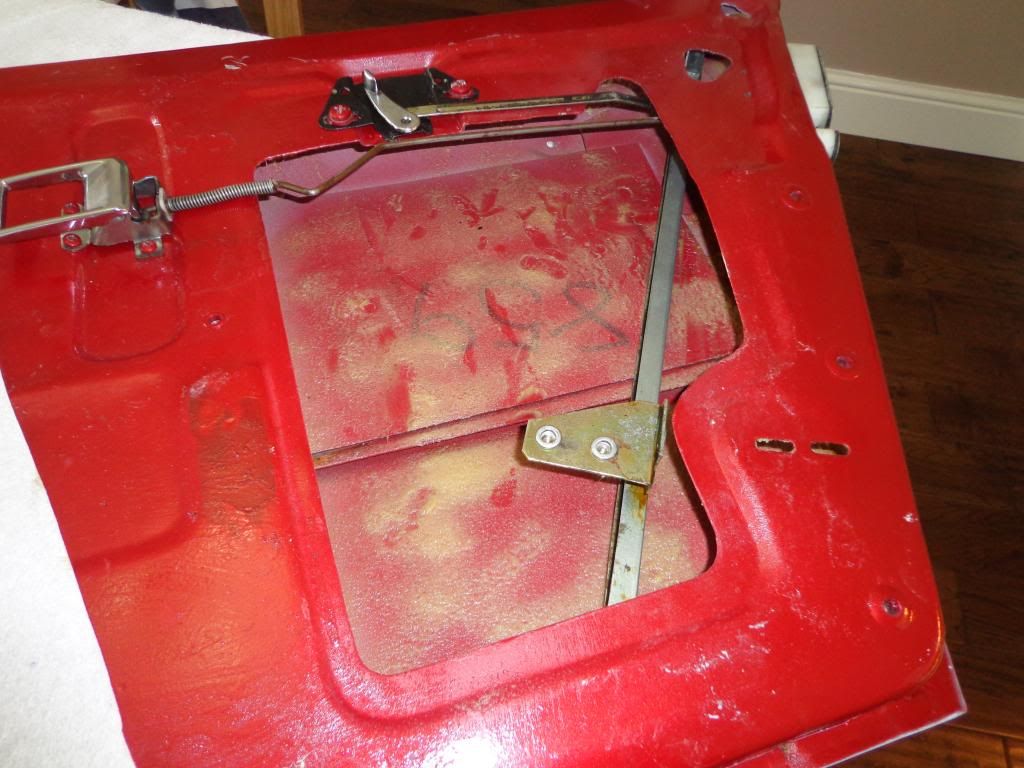
The winder mechanism is slide in through the opening and this is where the trial and error came into play, in and out a half dozen times until I came up with the solution.
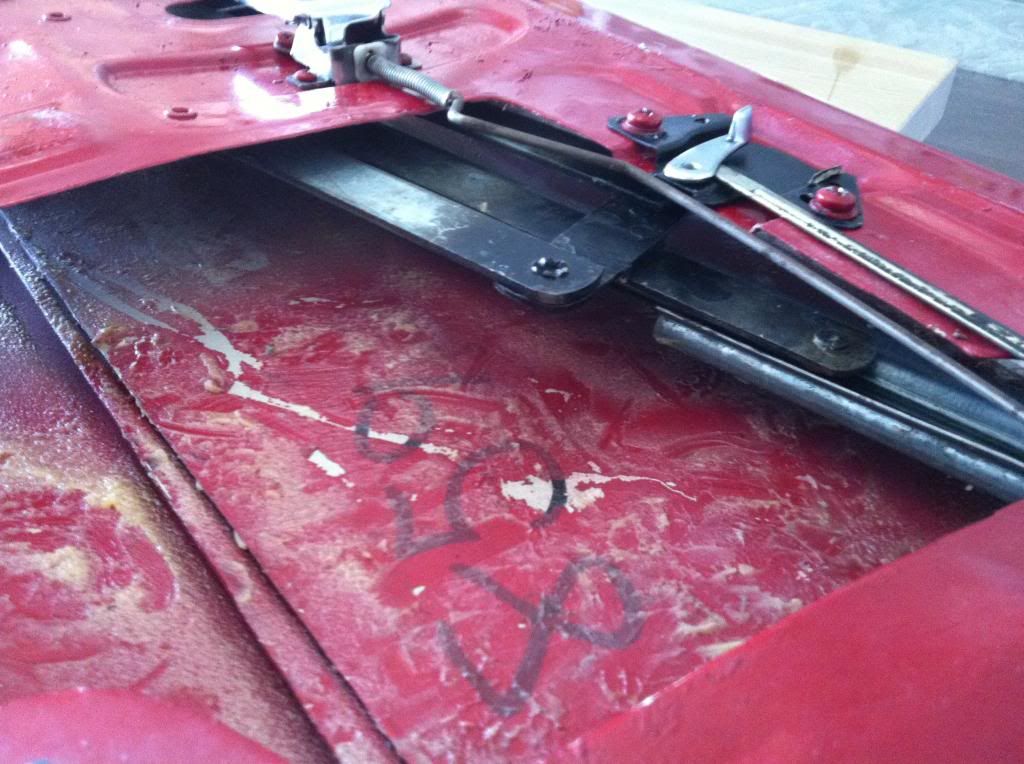
Slide the winder around until it reaches the winder hole, but don't bolt down yet.
Fit the quarter light, you need to lift the winder mech by the drive to feed the long leg underneath.
Position the long leg and bolt on the securing plate.
You can now feed the glass into the gap, positioning it into the quarter light and the side runner.
On the winder runner are 2 running guides that fit into the groove of the glass runner with a gap in the middle, the first/furthest away running guide slides into the beginning of the runner then as you feed the glass in, the second guide fits through the gap and slides onto the second part of the glass runner.
On the winder runner are 2 running guides that fit into the groove of the glass runner with a gap in the middle, the first/furthest away running guide slides into the beginning of the runner then as you feed the glass in, the second guide fits through the gap and slides onto the second part of the glass runner.
The winder can be put onto the drive and the window wound into position then line up the bolt holes, fit and tighten.
The quarter light needs securing and there are 3 positions for bolting down, the 2 nuts inside are 1/4" UNF so don't lose them as I did, luckily the local fastening shop had them in stock, also there are the 2 on the bottom and 2 larger ones on the side.
Before fitting the quarterlight I fitted the new rubber seal, this required a little trimming as the rubber didn't go right down the the edge of the frame and needed adjusting, fit all of the bolts but don't nip down hard as yet as the rubber needs a little fettling.
This needs levering over the edge of the frame on both sides then the bolts can be nipped up evenly checking the position of the quarterlight as you tighten, I shall silicon this seal when all happy.
I lubricated the winder runners with silicon grease and wound the window up and down a number of times to check it was running smoothly..
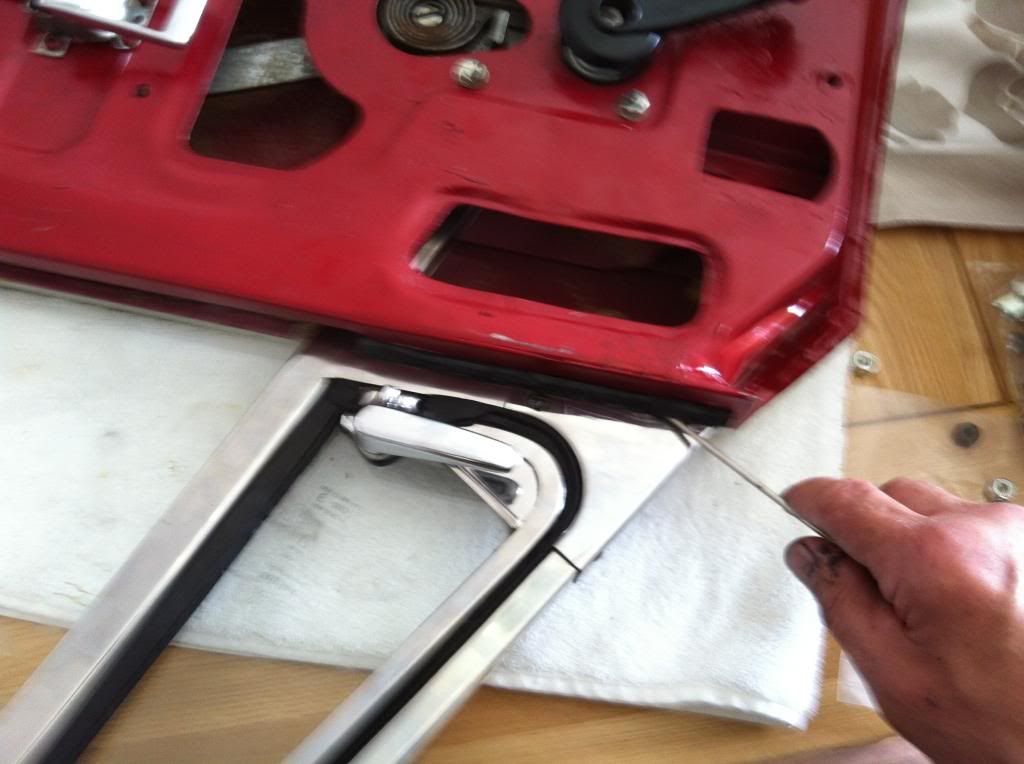
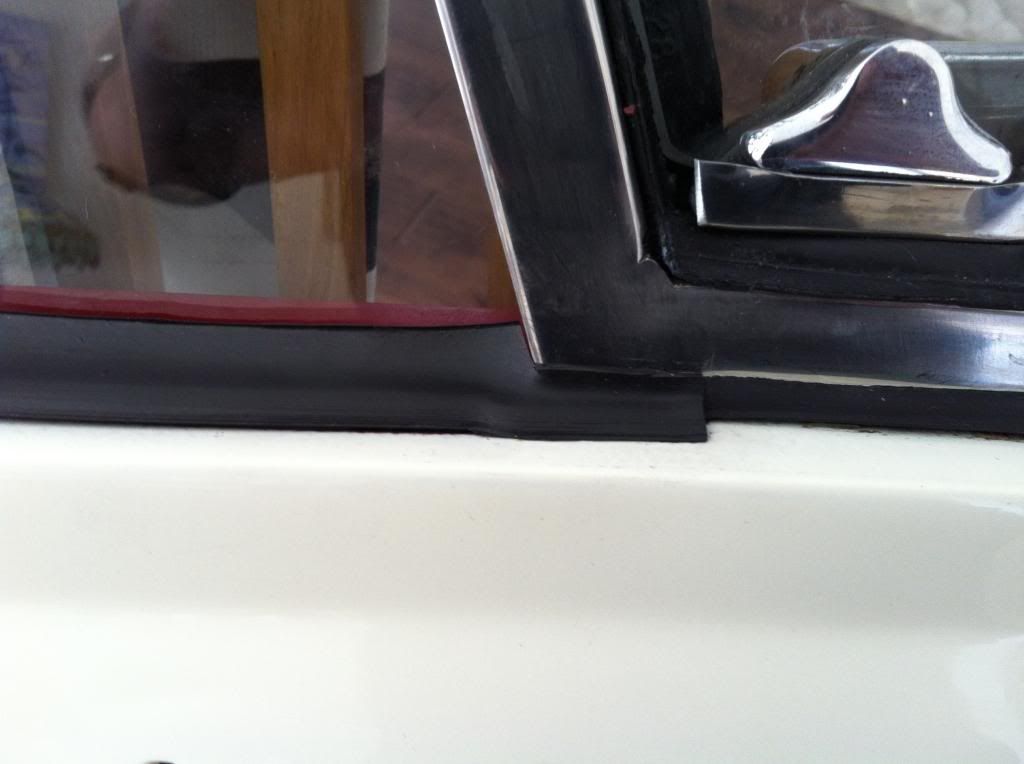
I received an order from Bruno this week of the quarterlight stop ends, door edge seals and clips, these need cutting to size and Bruno kindly included a sketch of the fitting and cutting procedure.
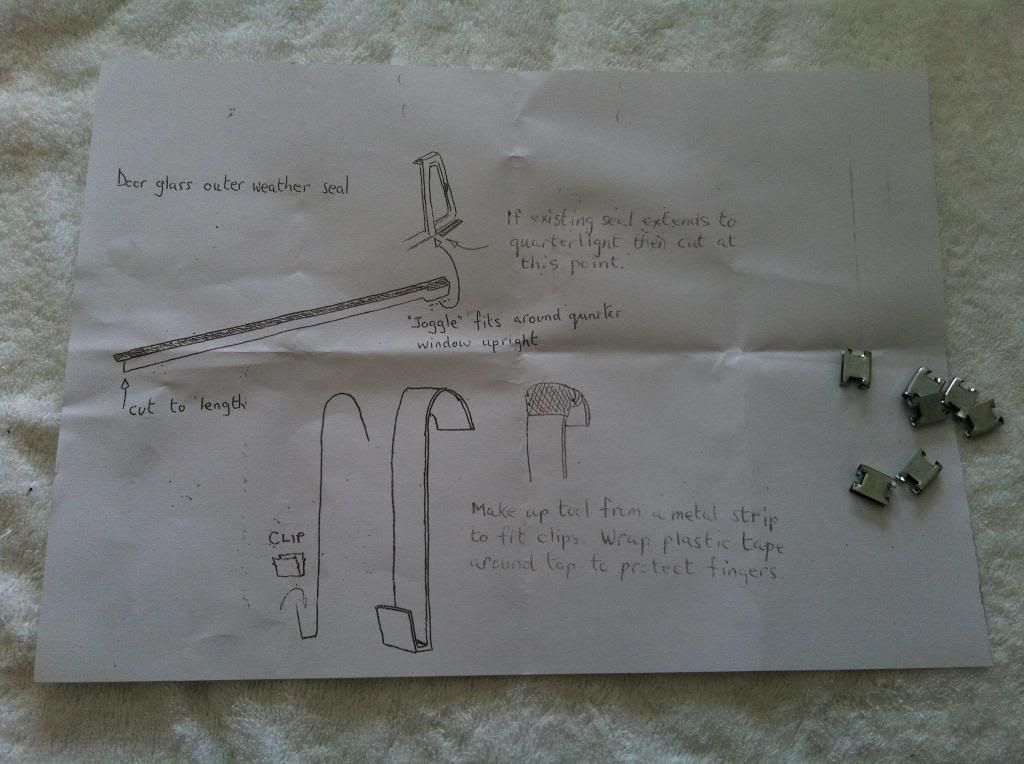
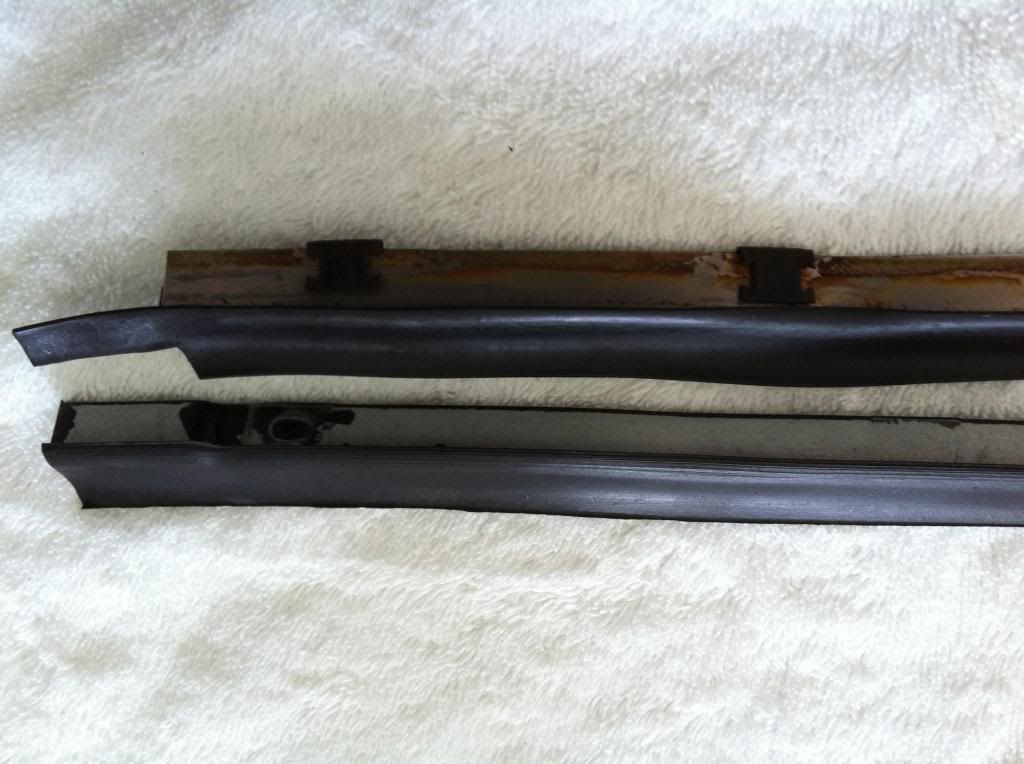
I used the old seal as a guide to get some idea of what needs cutting to get it right first time.

The new one has a little joddle where it goes around the frame and this needs cutting to lie against the glass.
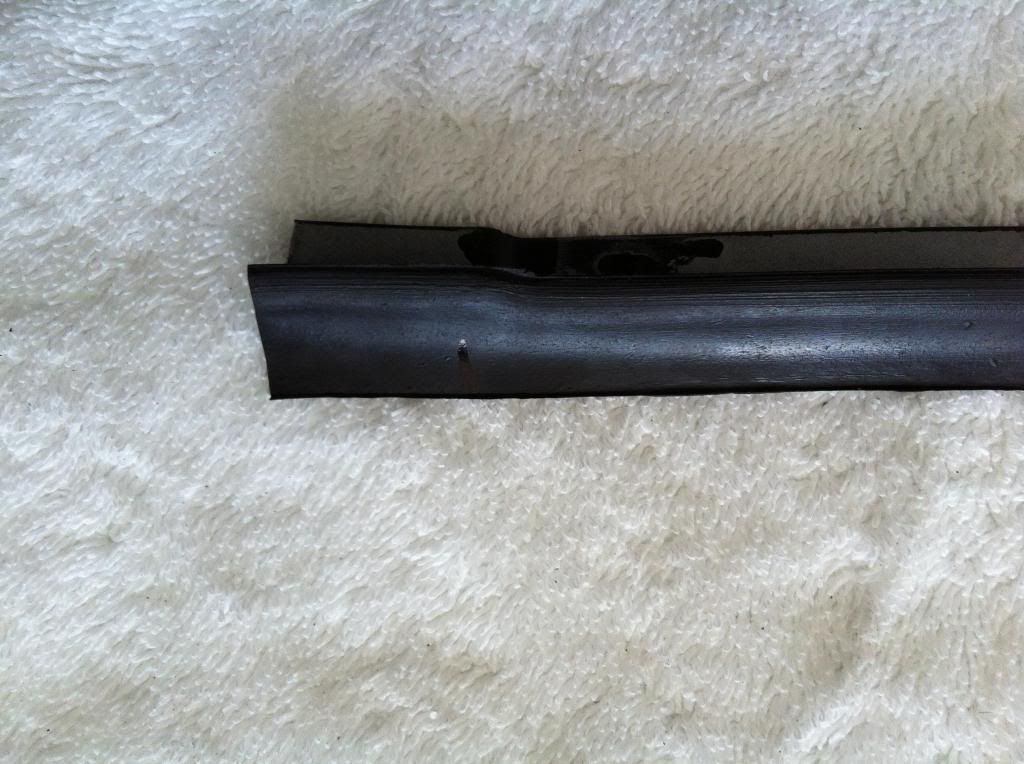
I made the first cut and checked its position.
Then trimmed of the excess.
I marked of the rear end and cut of the excess.

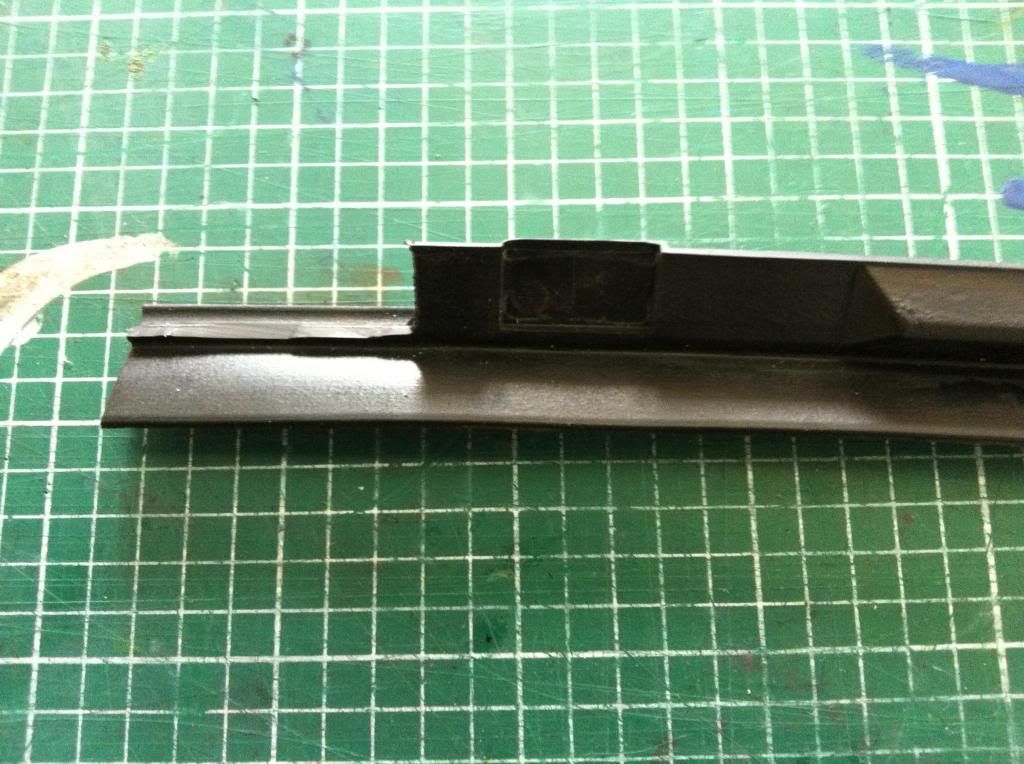
It fitted quite nicely.
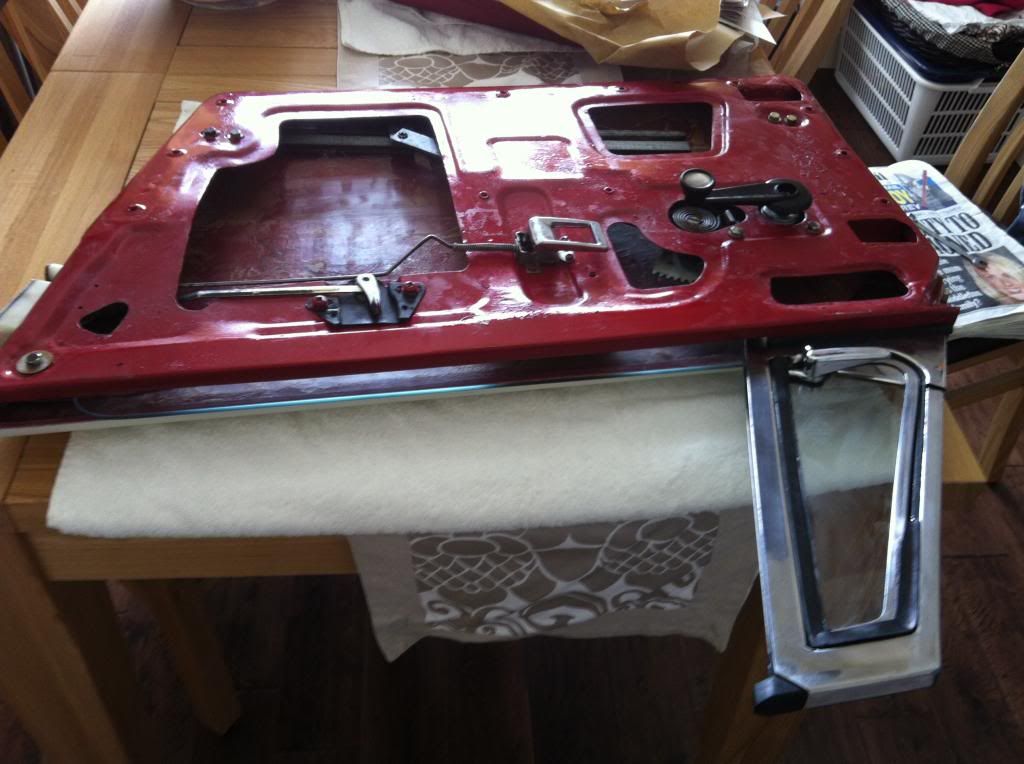
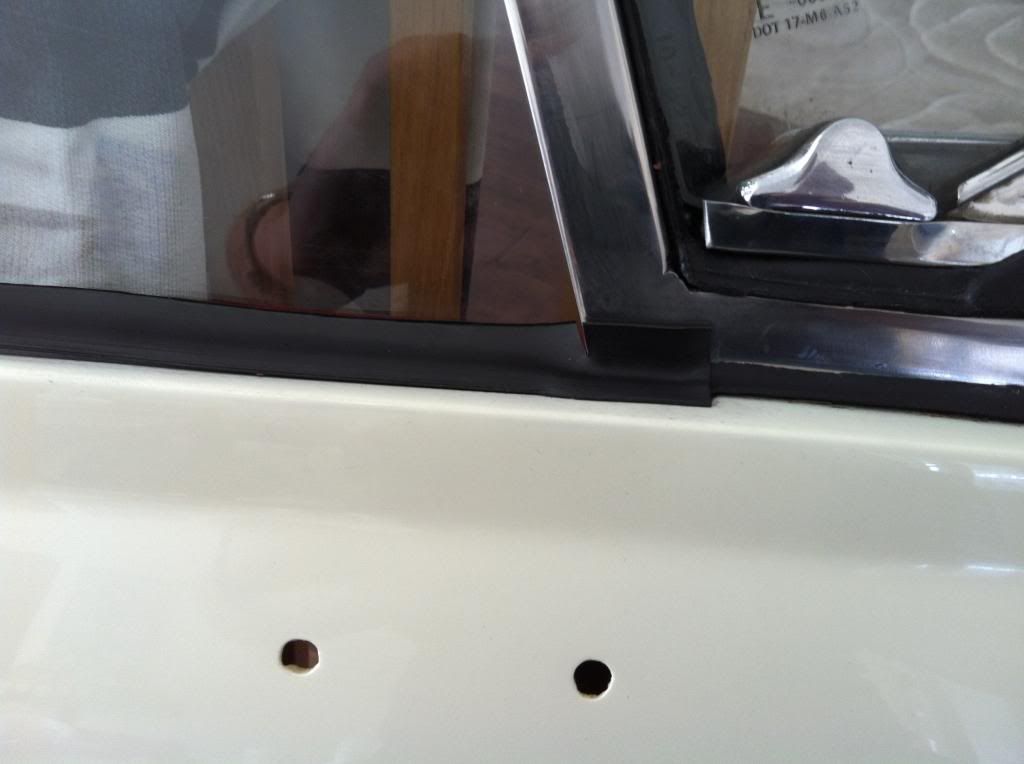
I haven't tried to clip it on yet as I am not to happy with the edge painting and shall take the door back for a touch up.
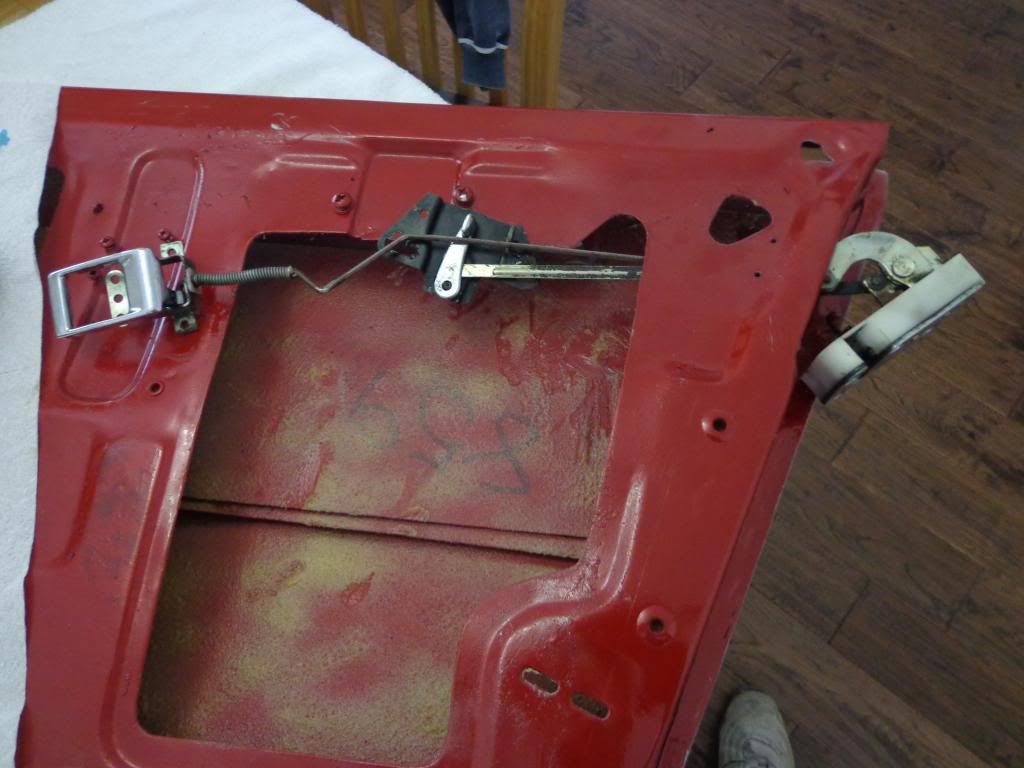
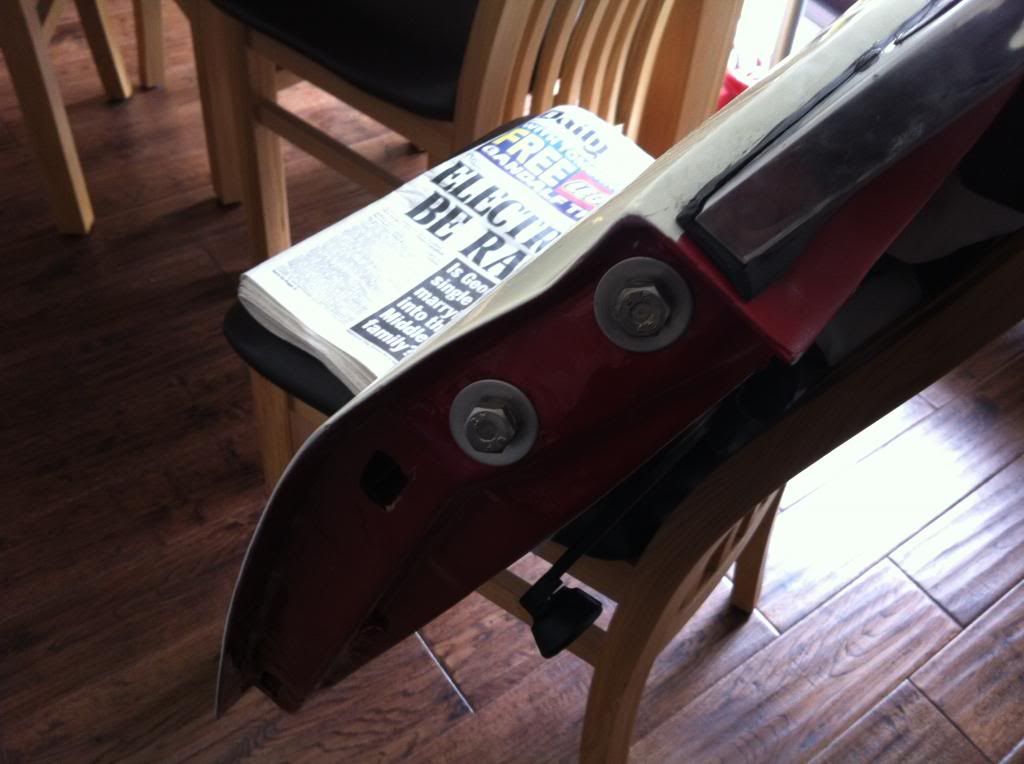
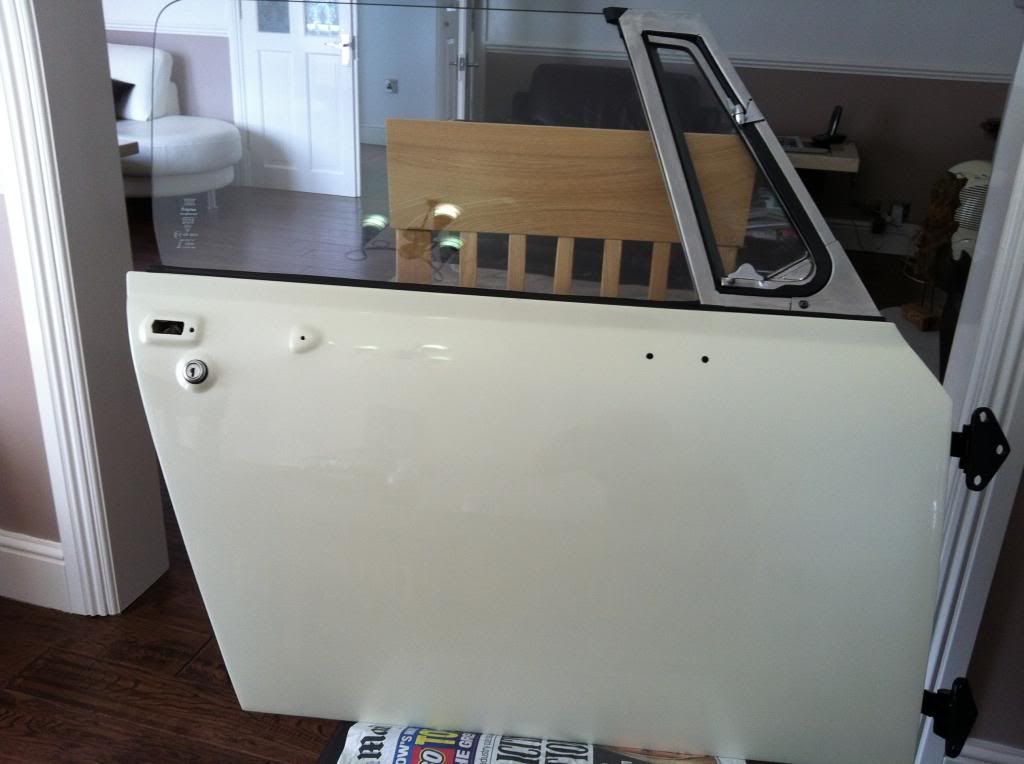
The last parts were the hinges, I had had these powder coated a while ago and they contrast quite nicely.

I fitted these with new stainless bolts and washers.
Well that's the door mostly complete and I am going to wait to build the other one until I am happy with the paint finish on the edge.
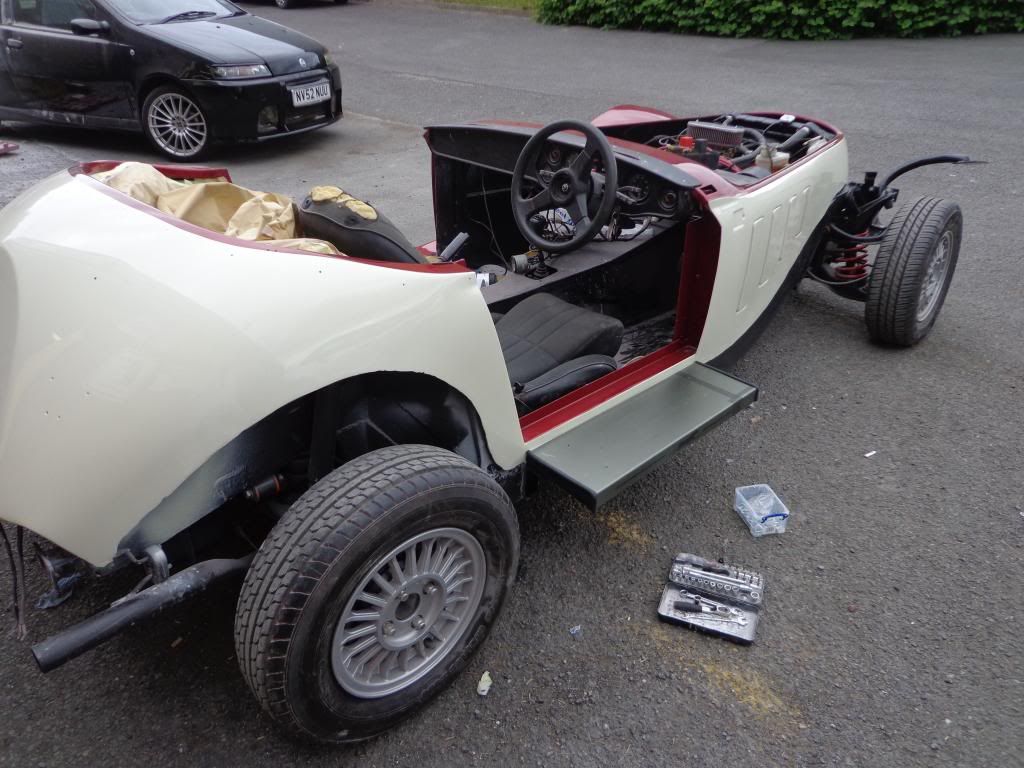
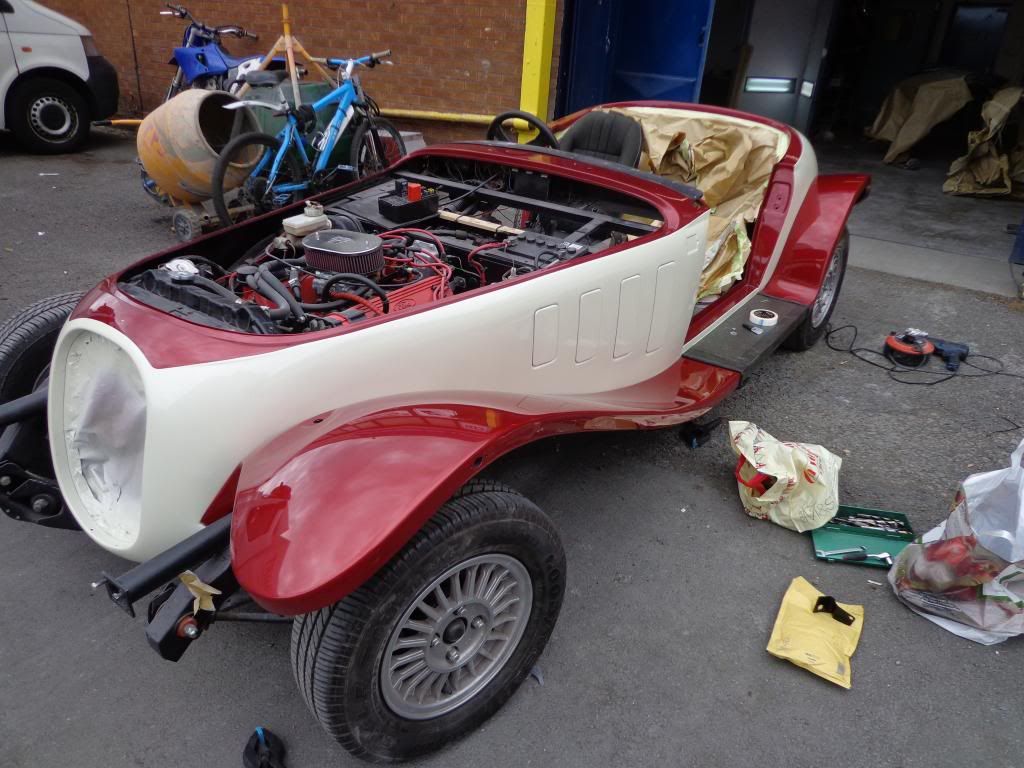
Ant say's he is limiting the booking this coming week so as to concentrate on the Panther and his car is in as well so hopefully the body will be complete then its all of the plastic to be colour coded and the job of removing the dash which I am not looking forward to.
see ya Paul