
I think the only thing that went well these last few days was the bonnet catch
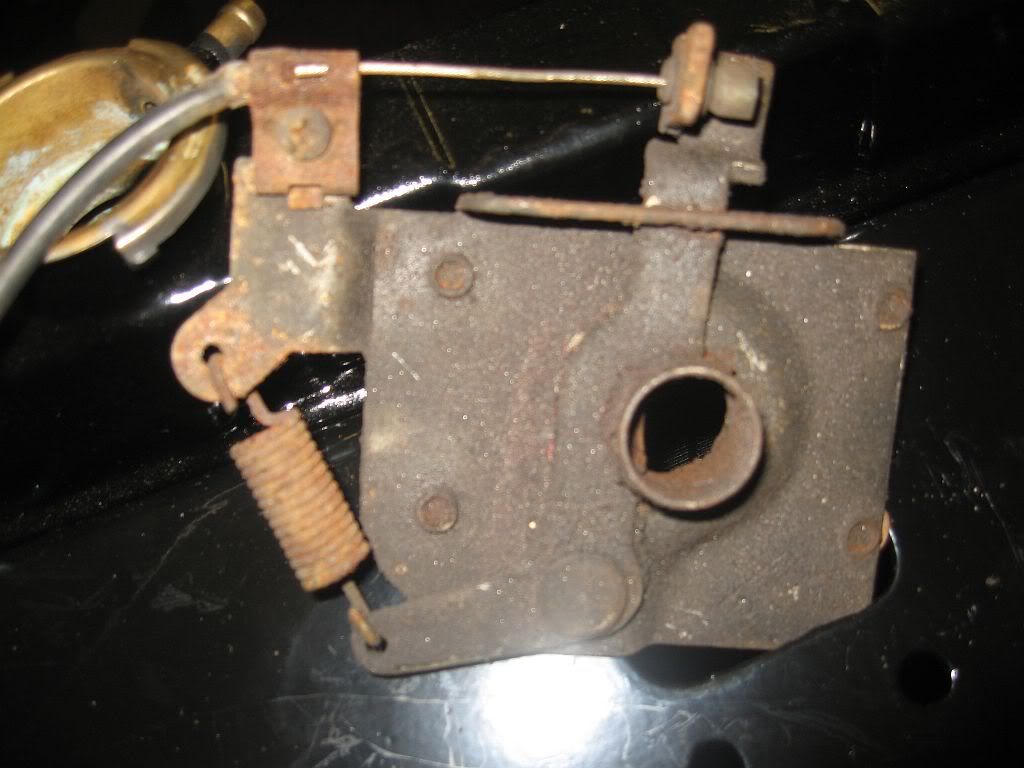
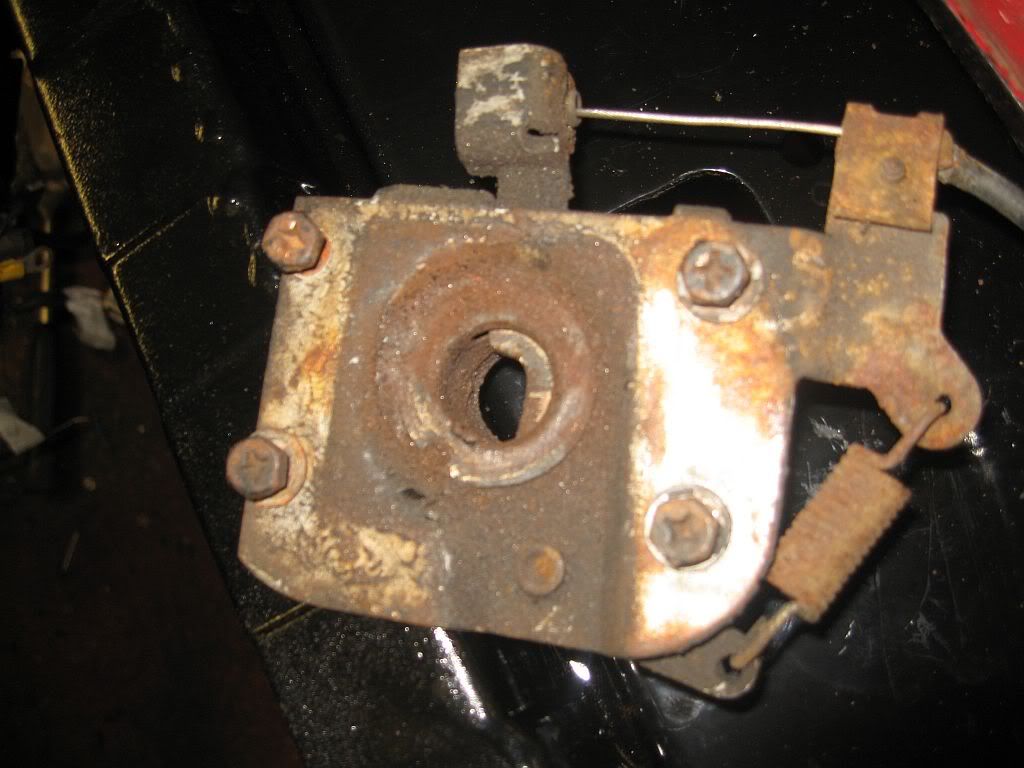
It was rusty and rather oily but overnight in a strong solution of Bilt Hamber and the rust and dirt just lifted off, all I needed to do was to run it under the tap and rub with a scouring pad.
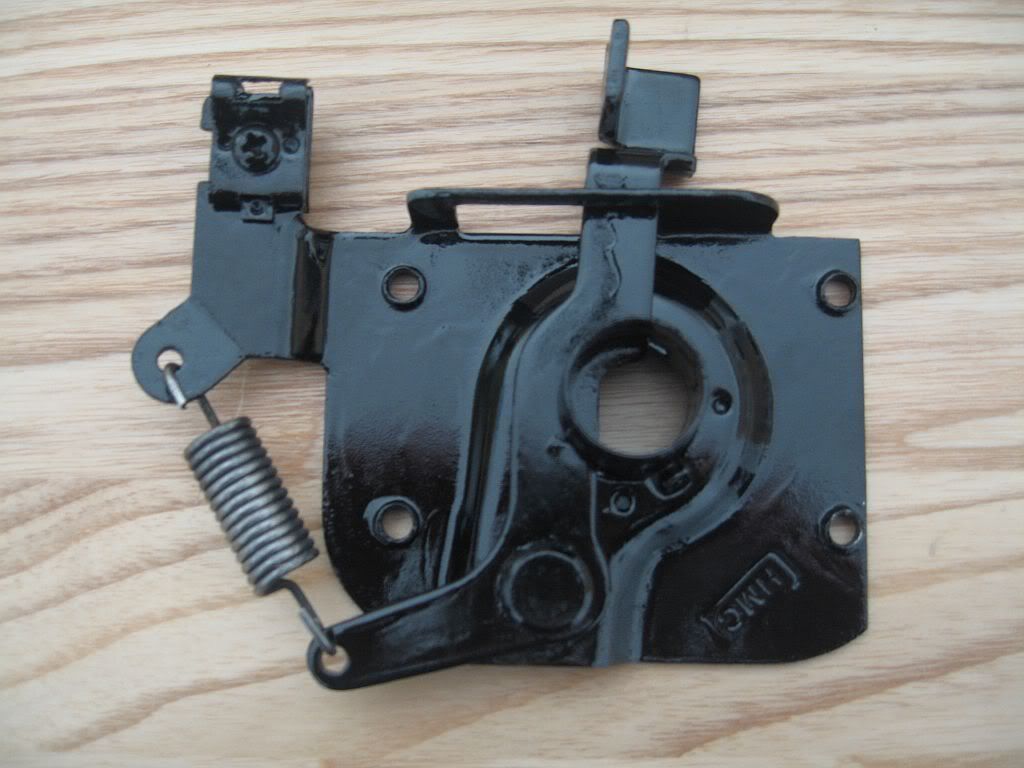
I then gave it a spray of primer then hand painted and it looks as good as new.
The rocker covers on the other hand were a disaster, they were rubbed down and primed then rubbed down again then sprayed with red hammerite but no matter how light I sprayed it still ran, so I spent most of Saturday sand blasting it off. Maybe it was the primer I don't know but its a trip to the powder coater to get them done.
Sunday was a no work day although I had good intentions of getting some work done but I bought a new ipad and spent the rest of the day trying to figure out how to work it and of course watched the Grand Prix.
Today started a bit better, the plan was to get the engine of its stand, fit the pilot bearing, fit the flywheel, fit the clutch and finally fit the engine.
I got the car pushed out and decided to align the wheels a bit better, I had a long section of steel bar and set it up on stands to adjust the fronts.
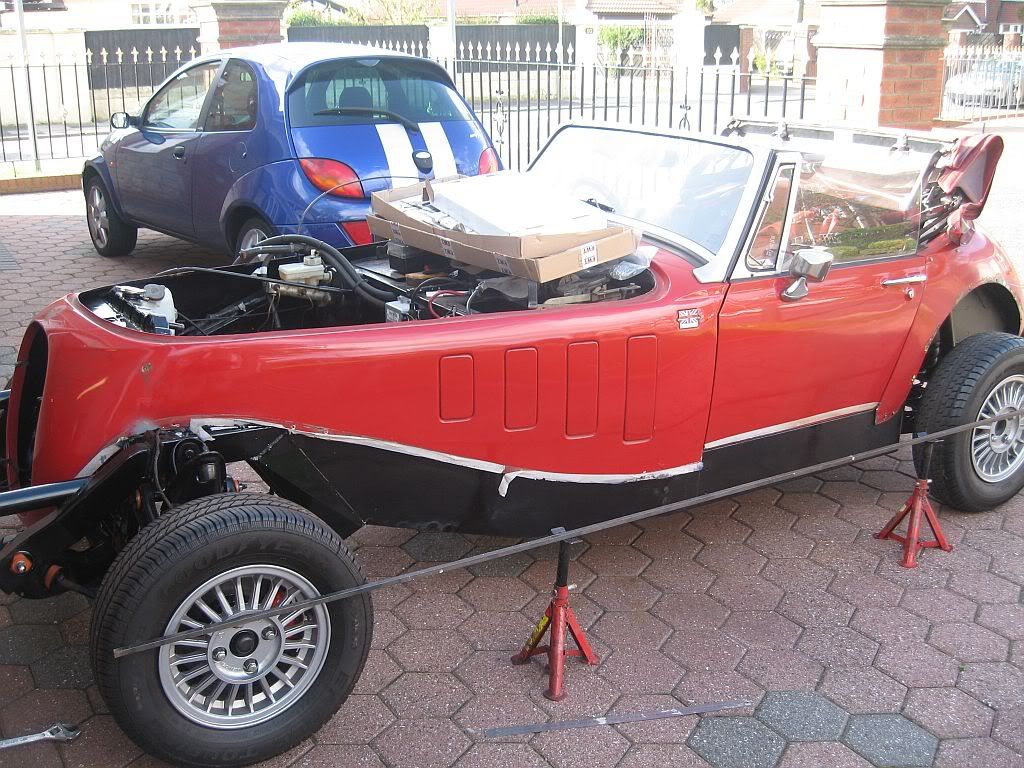
I have managed to align both sides without a problem, this is just to get me to a garage to to have it done professionally.
With some room in the garage I dragged the engine crane out from behind the shed and got it built up, I had bought new strops for a safer lift and looped these around the manifolds before bolting them to the engine. The engine lifted easily and I turned the crane to get the engine onto the bench when I noticed the drips of oil on the garage floor. I had noticed oil on the sump pan the other day and thought it was from the sump plug which I forgot to fully tighten and just cleaned it of. Unfortunately it was not the plug that was leaking, I'm afraid the shot blaster at the powder coaters got a little carried away and blew a hole through the sump which I never noticed.
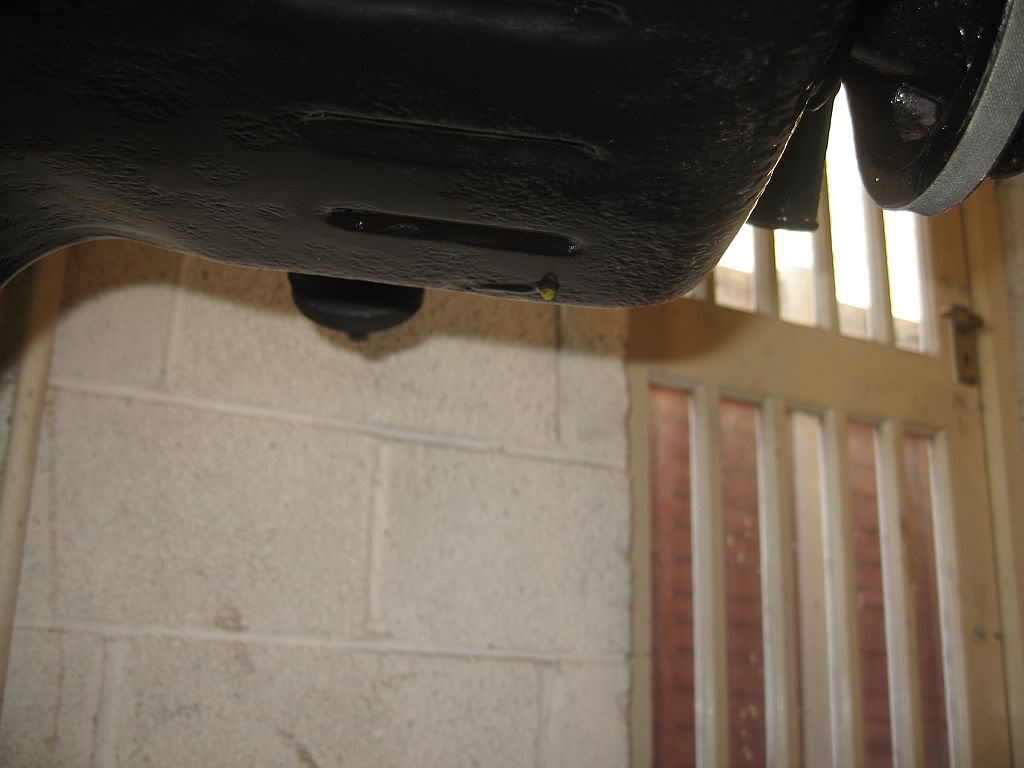
You can see in this photo the oil dripping.
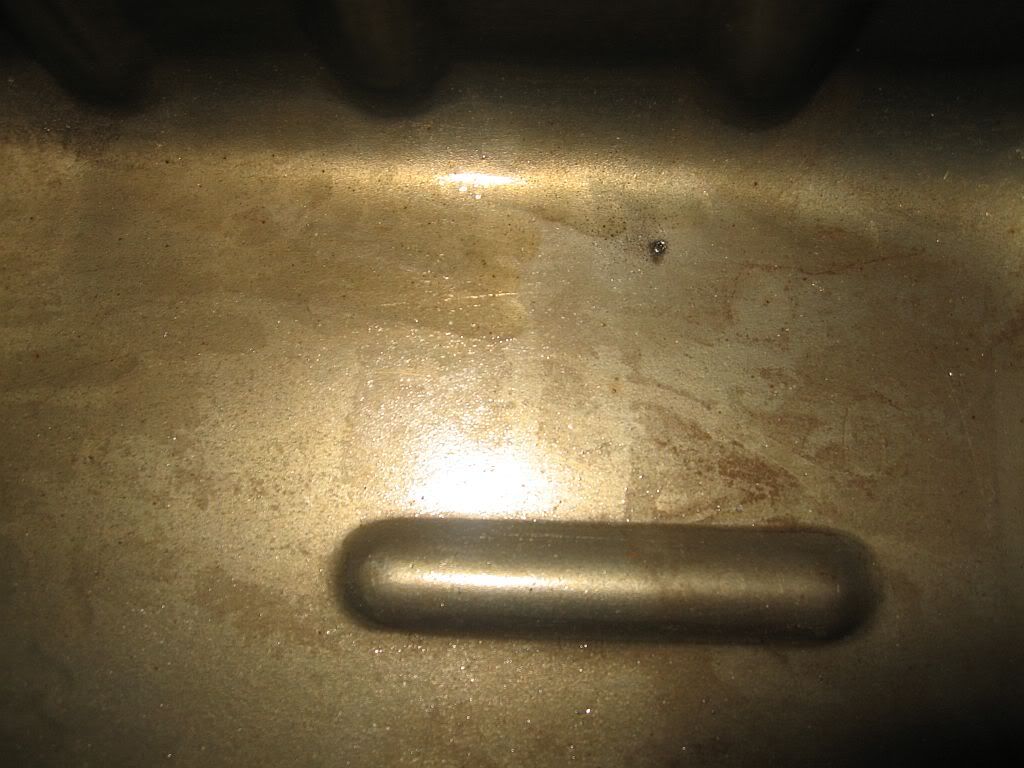
And in this one the internal hole.
I suppose I could have welded a patch on the outside or even better the inside but instead I gave Tickover a ring and they had a sump pan on the shelf for £24 plus p+p which should be here tomorrow. I don't know what condition it is in but it ain't going back to the powder coaters shot blaster I'll paint it myself. The only problem I foresee is that it is the old style using a cork gasket, I have a new cork gasket & bearing seals but will look at why you need a cork one and not re-use the rubber one I have fitted already. After all it was around £24 for that gasket.
The next problem was the fitting of the pilot bearing, I have watched
lots of videos on the removal of the bearing which looks relatively easy
The idea is to use the hydraulic pressure of the grease being slammed behind the bearing pushing it forward and out.
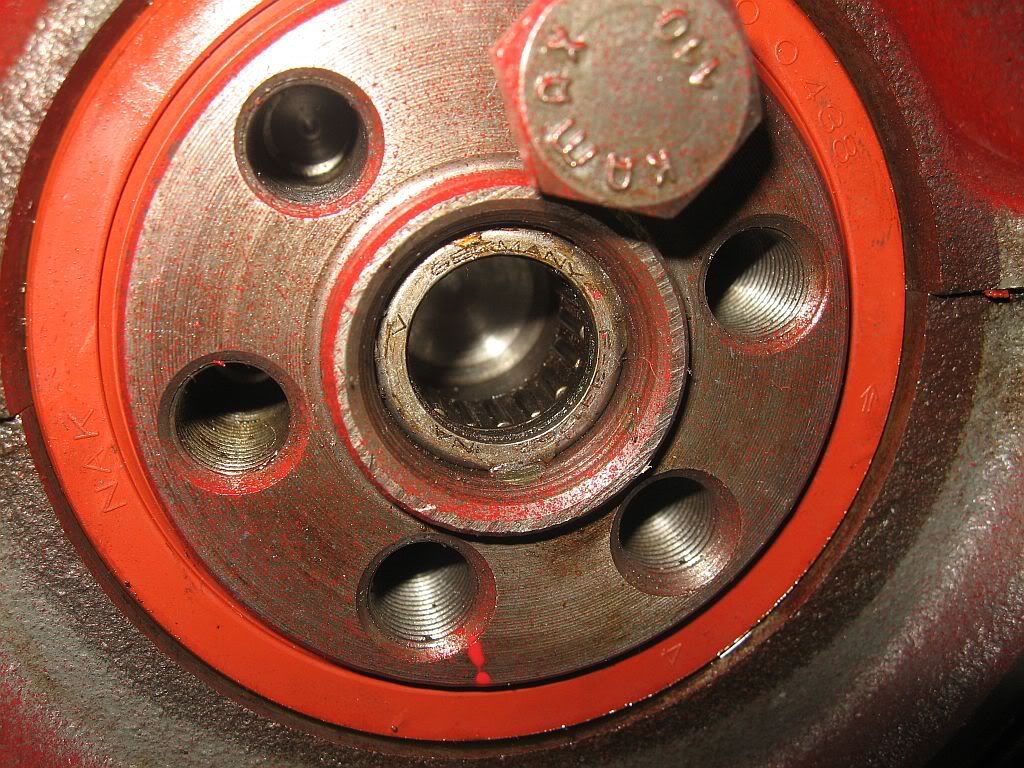
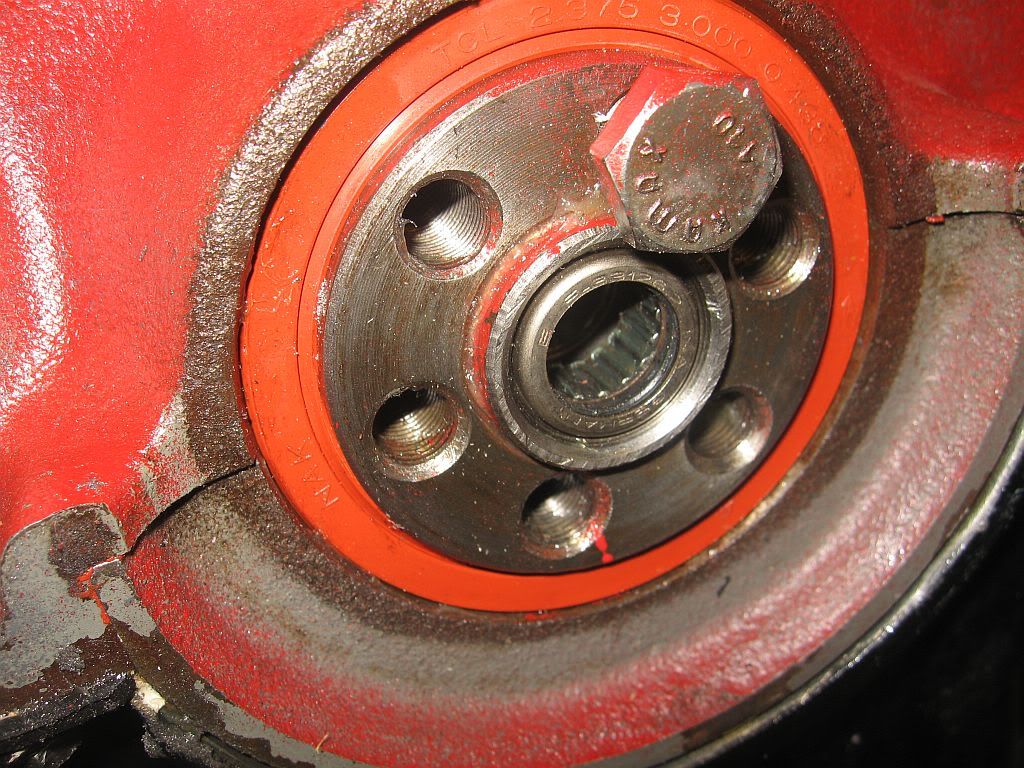
This is the original bearing in position, just in front of the rollers you may notice a black plastic ring, this keeps the rollers in position.
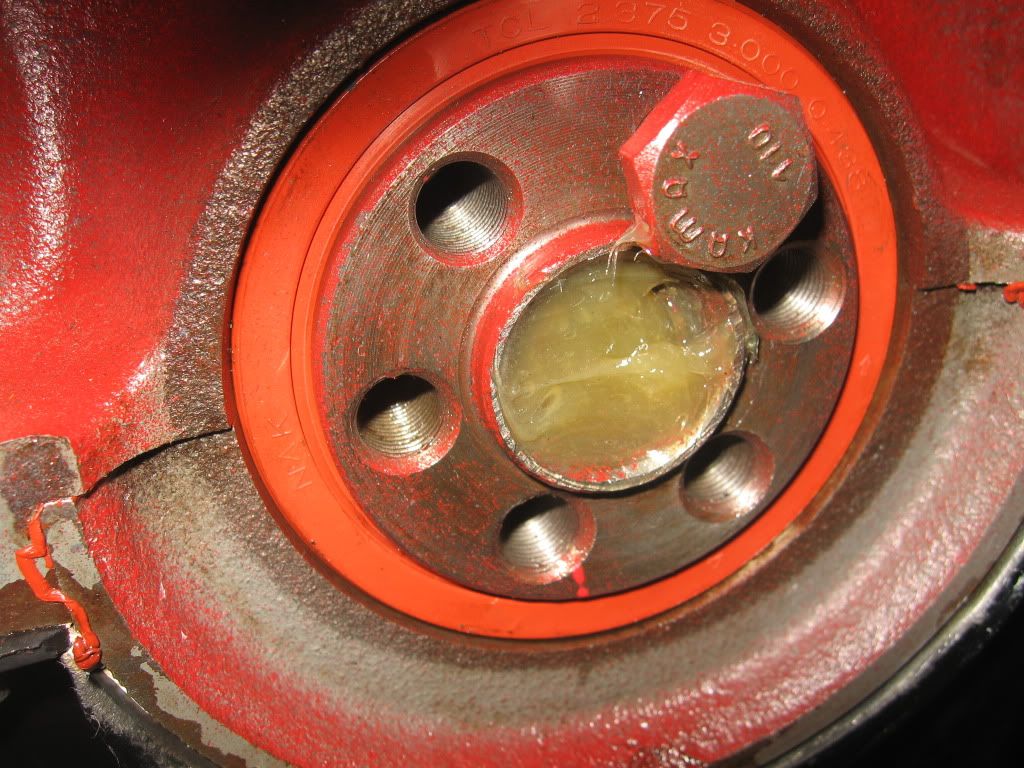
I have packed the inside with grease and used the pilot bearing locator from the clutch alignment tool to compress the grease. On the first hit the plastic roller location ring broke up into a half dozen pieces and squeezed out with the grease, so it really had to come out now. After around 30 mins of bashing the grease it still had not budged, I used around 3 different tools to hit the grease all perfectly fitting without any movement to show for the effort.
I was going to resort to a chisel but thought better of it so I got my dremmel out and with a long grinding bit I ground out one area until I was through. I did this with a great deal of care and only had a few scratches internally, it was then just a matter of cleaning out the grease and grinding swarf and popping in the new one.
I have knocked the bearing in to same position as the original (after photo taken) and shall grease it before fitting the gearbox.
The engine is once again mounted on the stand and all of the sealant cleaned of the block and gaskets at the ready, just have to await my new sump pan.
So all my plans have gone to nothing but I still hope to have the engine fitted this time home.
see ya Paul
No comments:
Post a Comment