Wednesday 31 July 2013

Front bits

Hi
Hands up everyone who thought I made a complete arse of the warning indicator lights, yes well I'm another. Not very well thought out, so I had a search on ebay and I came up with a polished stainless round plate.

I shall mark it out properly, drill and cut in half to create a semicircle then stick it to the finished dash, it should look a whole lot better.

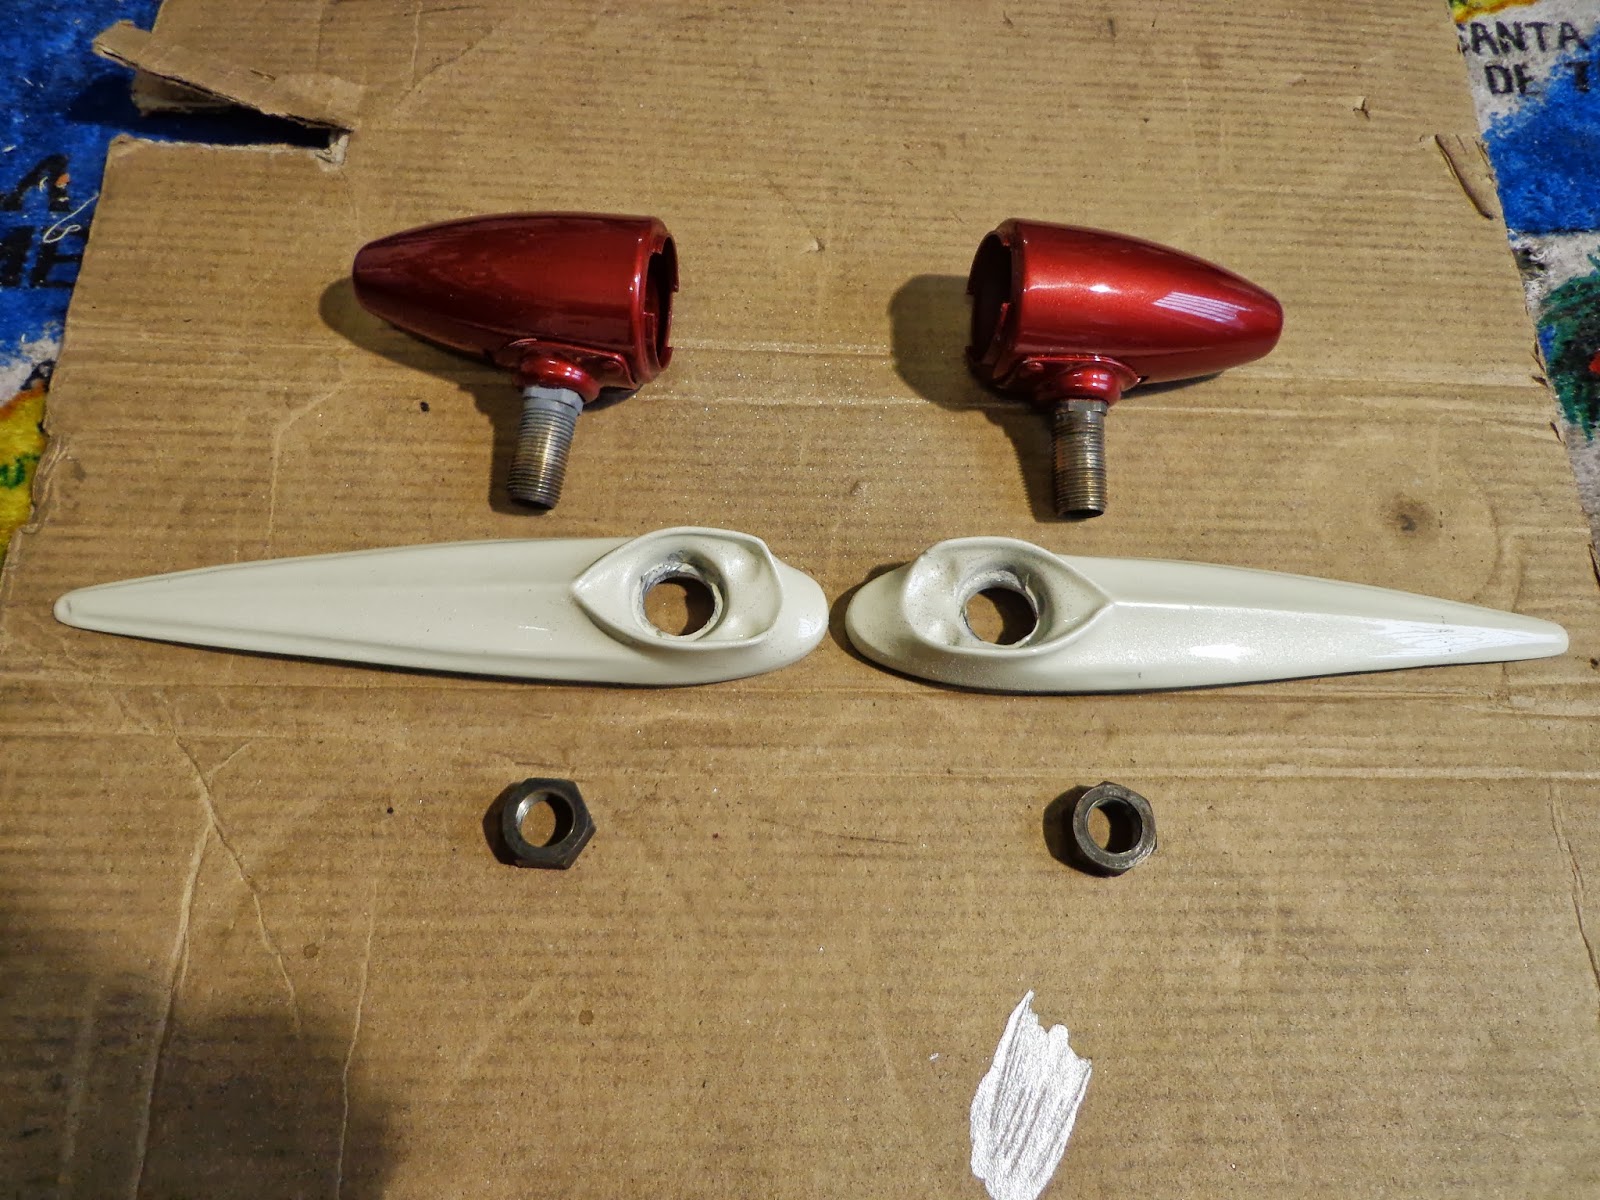
I started today back on the rear of the car, I had a couple of pieces of stainless cut yesterday to cover the rear indicator lights as the bars I used to fit them looked a bit unsightly. I marked the ends of the plates for the bends and just knocked them over in the vise, the wires had to poke through and had bought a box of mixed rubber grommets in anticipation of this job.
I gave them a good polish and sealed all of the edges with silicon, the wire got the last of my heat shrink then they went back on the car.
They look much better with the back covered.

Back to the front of the car.
I thought I would start on the horns as I really wanted to try the grill in place, it took awhile to figure out where to fit them but I finally decided to bolt them under the slam plate, that way they are partially out of the weather. When fitted I got the paint out and redid all of the inside with black as the paint shop dust has got everywhere and is ingrained in.
Pretty bad photo but you get the idea, I have wired these up and tested all Ok.
The grill looks great although one of the fins that bolts onto one of the bracket is cracked and will break at some point so I shall make a couple of small brackets and make them look like they are original.
I shall no doubt buy the stainless grill from Bruno, I tried to make up the Jag grill to fit but the guy I was relying on for the oxy acetylene to do the silver soldering has sold his gear.
Next was the headlight, no problem here just straight in although I did polish then glaze then wax the area it would be covering.
Another bullet biting time, I masked the area of the wing to drill then marked off and popped a hole through and would you believe it, the indicator lines up perfect with the other side.
Looks great.
So out with the bumper, before I fit it I thought I would paint the front arms, bad idea as I later got it all over me.
The bumper went on without a problem then came of just as easy as I had forgotten to fit the overrider brackets, no problem as I had tapped out the holes.
I have 2 sets of overrider to choose from, unfortunately the chrome ones I bought are huge compared to the plastic set and will need a new set of brackets made if I want to fit them.
So for now I have settled for the colour coded set.
Next was the badge bar, you can see in the photo I originally fit the brackets around the bumper then I thought that can't be right and had a look at a photo and realised they go on the bumper support which I had just painted.
They were a complete pain to fit as to get the brackets on you have to stretch them open and over the pipe which means they have to be squeezed closed again, and one of the threads stripped on the upright, this was re-tapped to 8mm and on it went.
The new rims for the headlights arrived and they fit great, I need to make a small bracket to secure them as they have a slightly different arrangement but no problem.
The other item that arrived which I am really pleased about is the converted radio. 
Its an old Selmar which has been converted to play most any digital music, I have my pure DAB and shall try that on it. Its perfect for the dash conversion because it is only around 2/3rds the depth of a modern radio and should fit perfect.
I bought it on eBay for around £56 and they are converted by Josh at Sugar Mountain Radios who says he can convert any old radio for around £25 and was really helpful. So if you still have the original old Panther radio give him a call and you will then be able to play your MP3 or other portable devices.
Off out tomorrow but may be able to squeeze an hour or two in the afternoon.

See ya Paul


Tuesday 30 July 2013

Side Lights

Hi
Not a great deal done today as its Lynne's last day on holiday and she wanted a little of my time and as she commented she got a whole 1hr 45mins. Still not too bad, I managed to squeeze in a trip to the tinsmiths to have some stainless for the rear indicators cut, a trip to Bills autoparts for some side light/indicator lamps, pick up my suit from the dry cleaners and squeeze in lunch. How can she say I spend all of my time playing on the car.

While I was waiting for a delivery to finish of the dash I carried on with the lighting, I had sorted out the headlight wiring the other day and time now for the sidelights. The amber lights on the wing edges needed a little work as one of them had no earth attached and relied on being wired to one of the bolt connections, so out with the soldering iron. I had to remove the rubber sleeve to get at the outer part of the lamp but it soldered on Ok and I just slid the sleeve back on, other than that it was just a polish of the chrome and new gaskets made, I fitted the new lamps then tested.
The wing sidelights had a braided exposed copper earth, so I cut close to the top and soldered new wire to it and slipped on a heat shrink sleeve.
The top one is done.
The Warning lights for the dash arrived from CBS Online and I set about positioning them on the dash, I had spent a little time cleaning up the edges of the veneer with the drum sander and gave it its first sanding, I need to buy a bottle of sanding sealer to try and fix the grain before the lacquer.
I ordered the small chrome lamps which need a 12mm hole drilled.
I used a bit of masking and marked of the holes to be drilled, this was the tricky part as if I made a mistake it was back to the drawing board.
I used blanking grommets to replace the lamps and laid out a pattern, then I fitted a 12mm bit to my plunge router closed my eyes and hoped for the best. I was worried about the veneer splitting if I had used a flat bit drill and new it wouldn't with the router bit doing around 12,000 rpm but a bit more difficult to set up perfectly.
A little out of alignment on the bottom two but a little filling will sort that out.

Back in the garage after lunch and started fitting the side indicators, the original attachment bolts had no nuts and are only around 3mm and I ain't got nothing that small so I drilled out both the lamp base and the wing to take 5mm and bolted both lamps on.
Next up was the part I have been both looking forward to and a little afraid of doing and that is drilling through the wing and getting it right first time. I had stupidly siliconed the lamp to the base yesterday without marking the position of the base on the wing, silly boy. So it was a little bit of memory, measuring and guess work to get it in the correct position and it ain't half bad. I covered the area with masking tape and marked in 50mm from the edge of the wing and marked the hole directly centre with the centre of the side indicator. This was the lining up area I used when I bent the base, so fingers crossed I drilled the hole and fitted the light and I guess luck was on my side as it was pretty good.
I lined it up as best I could with the wing and put a small felt tip pen mark at the centre rear point to re-position and took it of again, then breathed a big sigh of relief.
I put double sided black foam tape on the bottom and trimmed around the edges then very carefully lined it up and stuck it down, I have also bolted it down just in case although this stuff does not come off easily.
I thought I would give them a little test.
Nice and bright.
Even brighter, I shall link this up to the front sidelight and onto the headlight sidelight when I buy the halogen upgrade.
Next up was the headlight. 
These headlight are very close to the side of the car, when I originally bought it the passenger side headlight had been rubbing against the body and had worn through the chrome and rusted against the body, so before fitting I got the wax out and gave it a good buffing where the headlight is closest to the body as no way to reach it when fitted. I slackened the underside bracket to line up the holes and fit the headlight into position and tightened up. I am still waiting for the new chrome rims but these should be arriving from SVC tomorrow. I shall learn the basics of setting up headlights so that it is as near as possible for the MOT and the garage won't have to mess about with it much.
Well thats one side complete, Lynn's back at work tomorrow so hopefully I shall have the next few days to myself and will get stuck in and finish the front and hopefully start on the electrics.
Even looks good from the back.

See ya Paul

Monday 29 July 2013

Dash

Hi
Well I managed a full day on the car and am pleased with the progress.
Today was all about the dash.
The passenger side was quite simple to shape, I just clamped it to the original section and with an edge trimmer routed around the edge until nice and flush, quick sand and finished.
I have been looking on eBay for quite some time for a retro radio and last week I found one, its from the sixty's / seventies, it's only MW and mono but has been converted to to play DAB, MP3 and portable CD, just about anything that a 3.5 jack can plug into it. So until that and the voltmeter arrives I am unable to carry on with that section.
The drivers side is another matter and that is what I have been working on today, I dragged out my homemade sanding machine and fitted the grinder to it. I sanded around the edges until it was a mostly perfect fit to the dash.
The inside edges were sanded with a drum sander attachment for my drill.
Once I was happy I flipped the dash and marked of the holes for the dials and using a hole cutter I drilled them.
The holes were a little tight so again out with the drum sander until the dials fit nicely, I also freed up the holes in the dash plastic as the larger dials were very difficult to get out.
Once I was happy with the fit I positioned the substrate on the veneer and drew around it, I have 2 pieces of this veneer and was very lucky that both pieces fit nicely onto the one piece as the other is for the centre console and at £20 its expensive veneer.
Once marked of I used a scalpel and rough cut the pieces out leaving a few mil over for sanding flush.
Just a check on the dash.
Looks nice already, I wanted to embellish it a little so in the area that I had drilled for the choke pull I decided to inlay a Panther. I am going to do away with the cigarette lighter in the center console as there ain't no one gonna smoke in my car. I shall fit the choke pull were the lighter socket was and I have bought a 12 volt female socket to fit to the side of the centre console,  this will do for the power for the DAB and sat nav etc.
I used my plotter to cut a panther and positioned it on the veneer.
Then cut it out.
The inner section of the template was stuck on a piece of the black veneer.
I then cut this out.
I then positioned it over the first cut out and ran the scalpel around the edge trimming any excess of until the black inlay popped into the hole. Once happy with the fit I tapped over the design with masking tape and turned it over.
I then rubbed glue into the gaps and using a roller I kept rolling it down until perfectly fit into the hole with no raised edges, then let it set.
Once set I positioned the veneer over the substrate and drew the holes for the dials, then carefully cut them out.
The Panther looks great, look better when varnished though.
Next was to stick it on the substrate, with it being a burl wood it is very stiff and lumpy in places and flat in others, so to do the initial sticking I used a vacuum bag to pull it down until the glue had a chance to stick. I have used PVA glue and applied it to the substrate, positioned the veneer taped the edges over then popped it in the bag. These bags are just ordinary ones for putting clothes and linen in to pack them down and can be bought from the pound shop. Once you remove the suction you lose the full vacuum but I only needed 5 minutes.
Once under suction I used the roller and kept pressing any air bubbles down.
When I took it out of the bag it was perfectly flat.
Still belt and braces, I used another piece of ply and clamped it all together over night.
I also got down to the paint shop today and picked up the last of my pieces.
The 2 top pieces are the air flow inlet and the cover I bought for the wiper motor, the bottom pieces are the cheek plates just inside the door and rivet to the upright.
I also picked up the sidelights and boy am I pleased the way these came out, I have had the plinths coded ivory and the lamps to red and what a contrast.
I had to adjust to get a perfect fit so it was out with the dremel and a little grinding on the inside of the plinths allowed the lamp bases to fit snuggly.
I gave the inside a squeeze of silicone.
  Then bolted the two parts together.
Believe me they look great close up.
Unfortunately the wiring for the lamp inside is not as nice so I will have to rewire before fitting.
I have one more piece to fit to the dash and that is the underlight, the original is looking a bit rough so I had a search through ebay and came up with one from a Punto, hell there is already around 20 different cars involved in the building of one of these Panthers so why not one more. Unfortunately the photo showed the colour a little lighter which was the reason for the purchase but its a little greyer than I thought.
I shall think of something.

See ya Paul

Sunday 28 July 2013

Designing Dash

Hi
I have managed to squeeze a few hours work in, in between a guided tour of the Hadrians Wall and watching a bit of the Sunderland air show.
We live in what was once a Roman settlement which had a fort called Arbeia as a supply depot for the wall, but apart from visiting the fort we have never really thought much about the wall. Great day out and very informative, the walk is run by Wild Dog Outdoors and is led and narrated by a local archaeologist dressed up as a Roman centurion and he certainly knew his stuff. 
Highly recommended if you are visiting the North East.
Sunderland airshow is the biggest air display in Europe, it is on for 2 days with plans to expand to a 4 day show, hundreds of thousands attend every year.
Touristy stuff over.
Before we went for the walk yesterday I rectified the problem with the rear bumper and valance, it wasn't until I saw the photograph that I realised it was too low. It only took a little work and it was raised to the correct position.
While working on it I realised that the back of the indicators were exposed, its not that any water would cause damage as the electronics are sealed but that it looks unsightly, I shall make a stainless plate to hide the brackets. I also got a couple of bits and bobs attached.
Another job I started was the headlights, I mentioned that the clips that prevents the bolts from turning had broken off with the rough treatment they had during removal.
I straightened them up and riveted them in position, unfortunately I now have two aluminium rivets sticking out the back, I forgot I had bought a stack of black rivets so these will be drilled out and replaced. I also had a go at the wiring, the lamps fitted are standard sealed beams and you can now buy halogen replacement units. They have side lights fitted to them but there is no wiring on the headlight loom to connect to, so I have stripped off the outer sheath of the existing wiring and modified. As well as running an extra wire for the sidelight I extended the earth wire as I have sealed all of the connection to run earth through the body and shall connect to a dedicated earth, I then shrink wrapped the wire sections. To wire up the sidelights I shall take a piggy back from the front indicator sidelight up to the wing sidelight (I have yet to fit them) then onto the headlight sidelight and then fingers crossed they might even work.
After shopping, visiting the parents and the air show I have managed to get some work done on the dash, all of the dash is to be veneered not just the existing veneered section on the passenger side of the dashboard. That side is easy as there is an existing template to make the new substrate from, I have rough cut the outline and shall clamp it on and fit a trimming bit to my router and just run it around to get a perfect copy. I don't want to use the original just incase I make a right pig of the job then I will still have the original to fall back on.
I also plan to do something with that side of the dash as it just sits there without any use but to look nice, I also needed somewhere to fit the clock as the oil pressure gauge I fitted takes up that place on the dash. I have just bought a matching VDO voltmeter on ebay with the plan of fitting a radio in the middle and the two gauges either side to balance it out, I have seen the radio in the dash on pics of other Kallista dashes and where it is originally situated is a pain to get in or out.
The drivers side is a different matter as there is no template to go by so I had to make my own, I started with a piece of brown paper and laid the dash on top but upside down to draw around it.
Once drawn around I used a vernier to measure the outside edges and transferred this distance to the template.
One edge could not be drawn around so when I had cut out the marked section I laid it on and scored around the edge and trimmed this off.
I then transferred the paper design onto a piece of vinyl and cut to suit, I test fit and trimmed where necessary.
I had bought a nice piece of 6mm plywood and stuck the vinyl to this, I also drew around the passenger side section and got to work cutting it out.
I used my dads scroll saw to do the cuts.
I have left a little large as I shall set up my sander tomorrow and try and get it perfect.
While I had access to the scroll saw I cut out the Panther inlays for the door caps, these are made from 5mm buffalo horn. This stuff is jet black and very tough unlike wood which no doubt I would break the tail section or legs and of course it very unusual.
I first cut templates on my plotter.
Unfortunately my dad had only the one blunt blade and this stuff is really tough, still with a little perseverance I managed to get through it.
I shall file all of the edges flat then try and carve them into a leaping Panther, should be a laugh, probably turn out as a tabby cat.
Hopefully a full day tomorrow.
see ya Paul