Monday, 19 November 2012

Body Work, Passenger wing

Hi
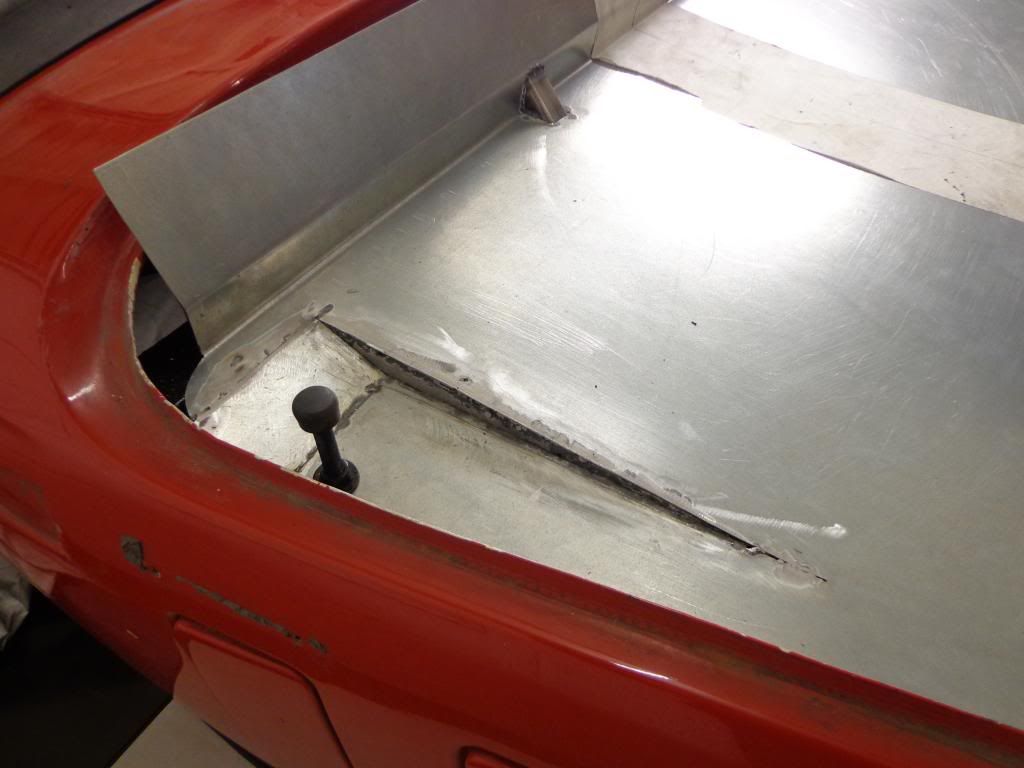
Had a little work to do to finish off the drivers step, I knew the holes needed a bit of a tweak but I ended up doing a bit of a re-design of the legs themselves.
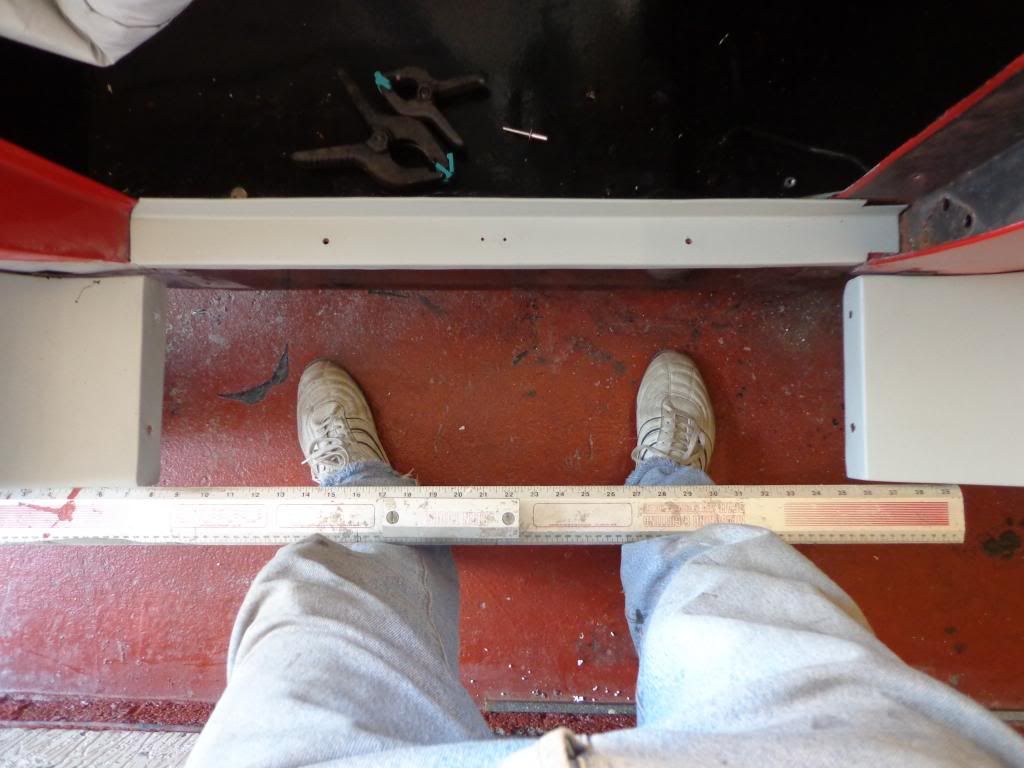
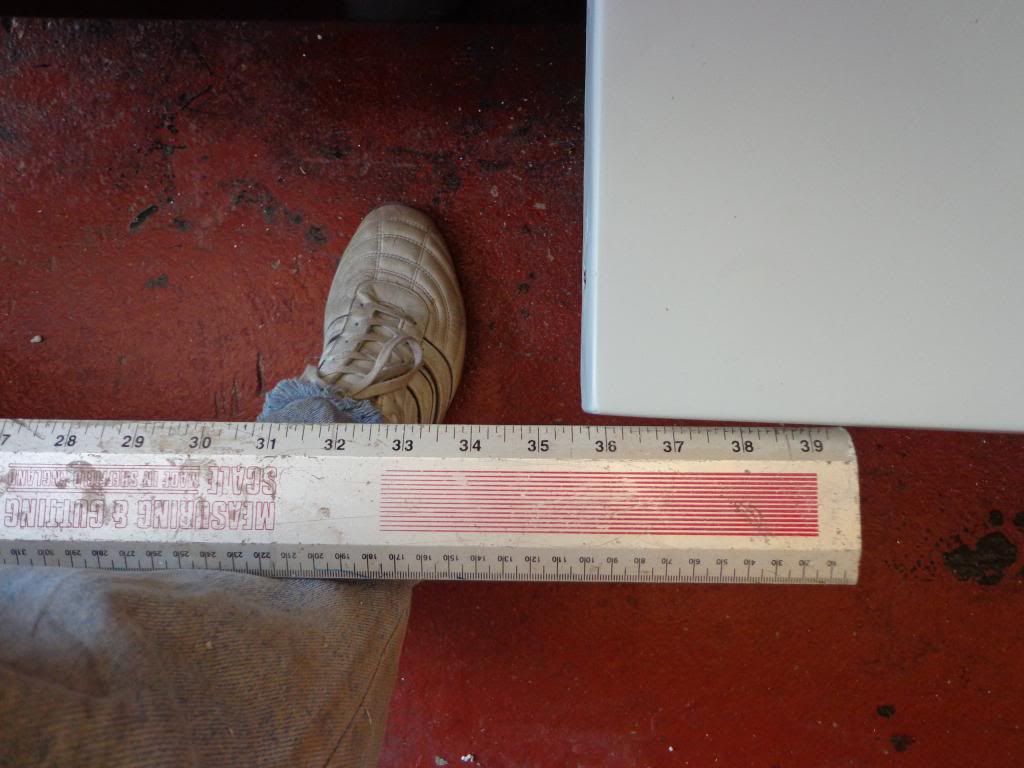
I thought I had taken all of the spacing for the rubber buffers into account but I stupidly missed the spacing for the wing piping to go behind the step frame. I could have got away with it by fitting an extra spacer behind the legs to bring the step out or I could fix it.
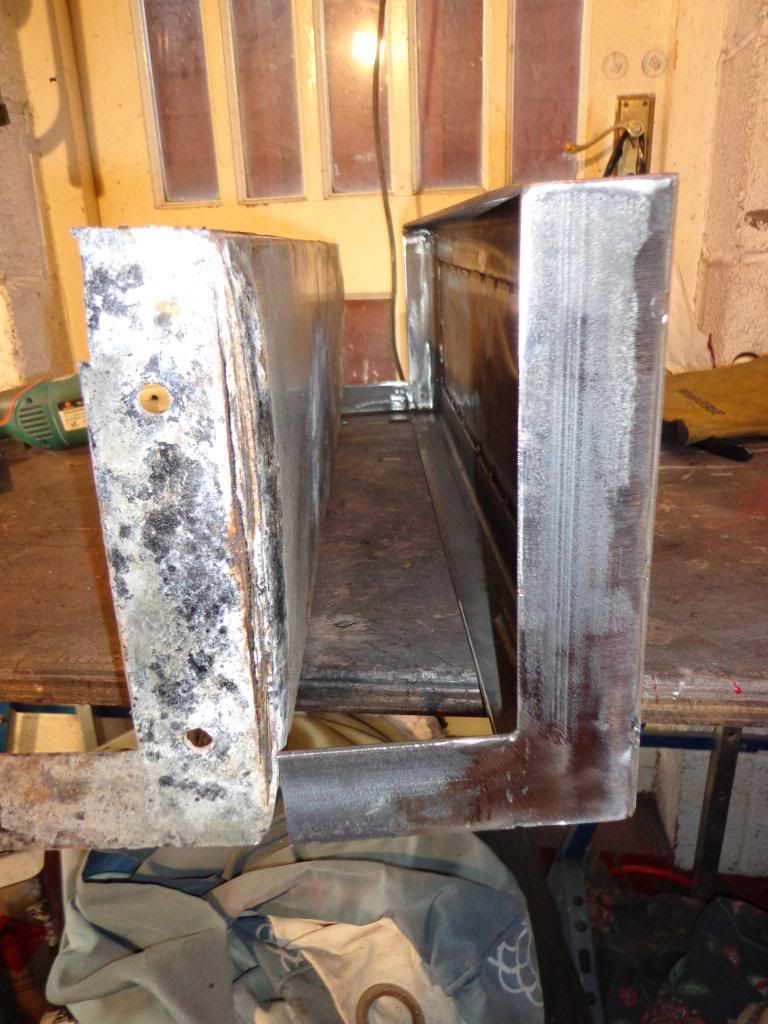
So easily fixed, off with the legs and 2 new pieces were welded on but set back to leave a gap between the long length and the chassis.
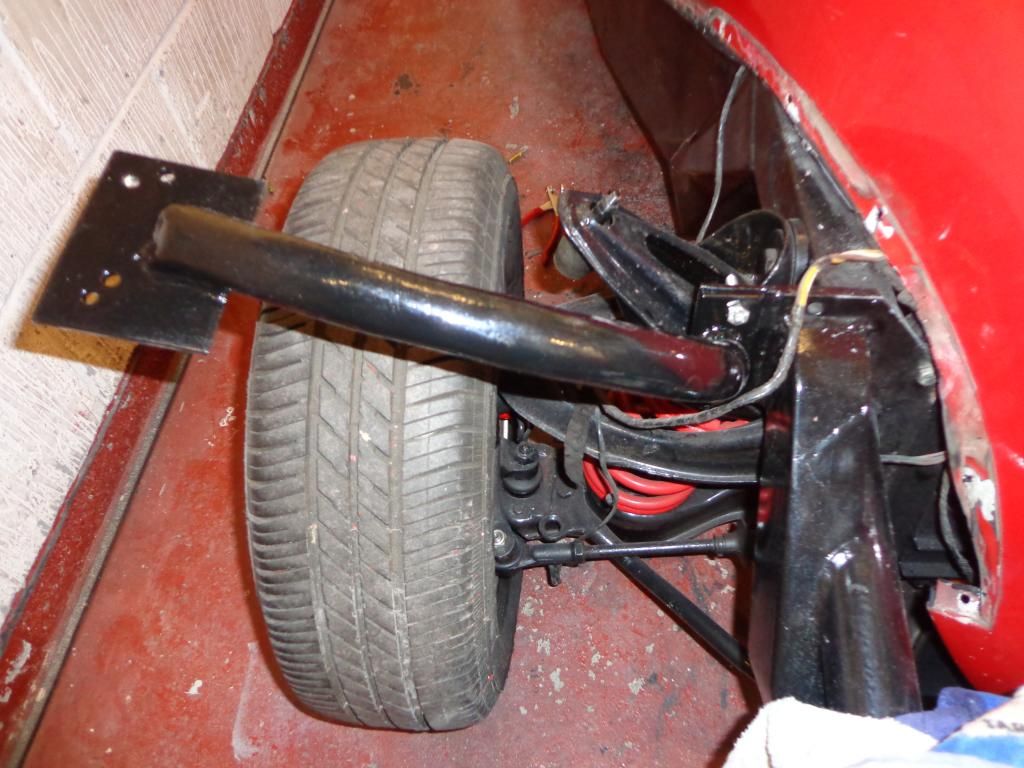
I now have a small gap for the piping leg to be trapped behind the frame, I have ordered 10mt of 6mm rubber piping which should be big enough to hid the discrepancies in the wings. 
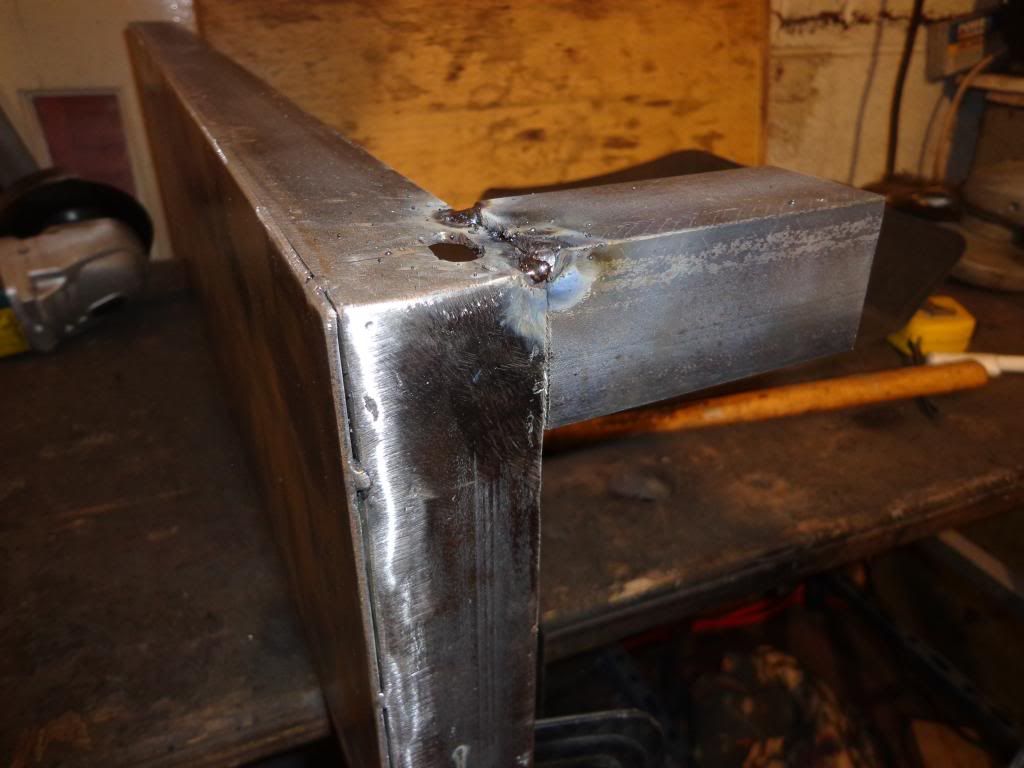
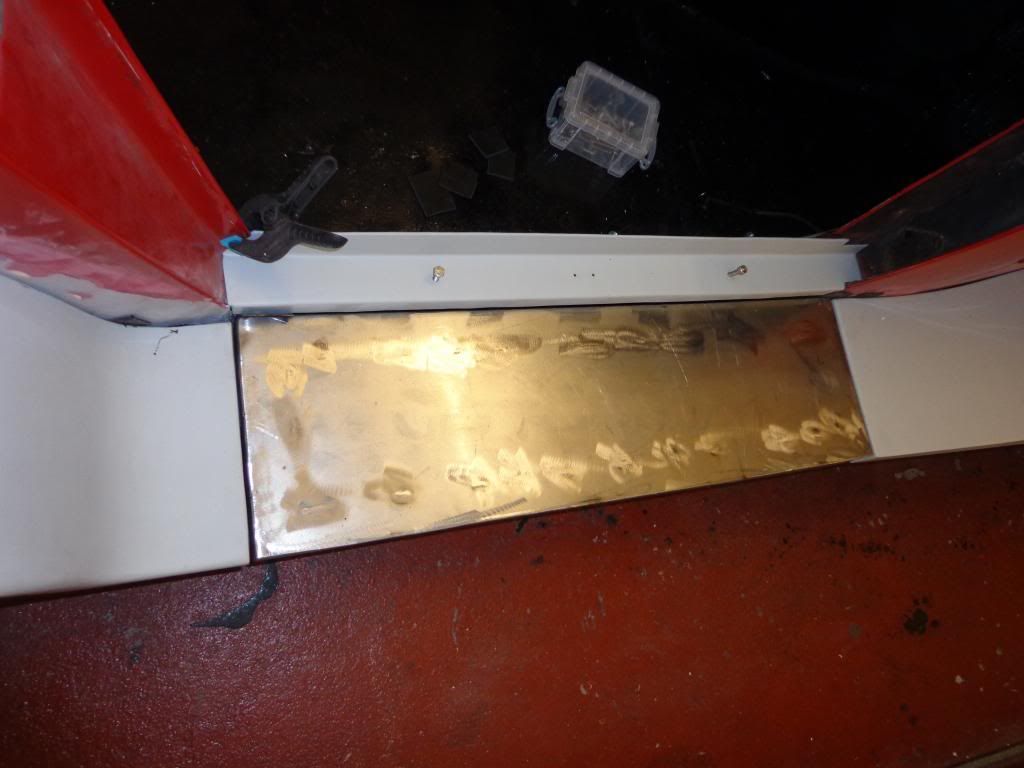
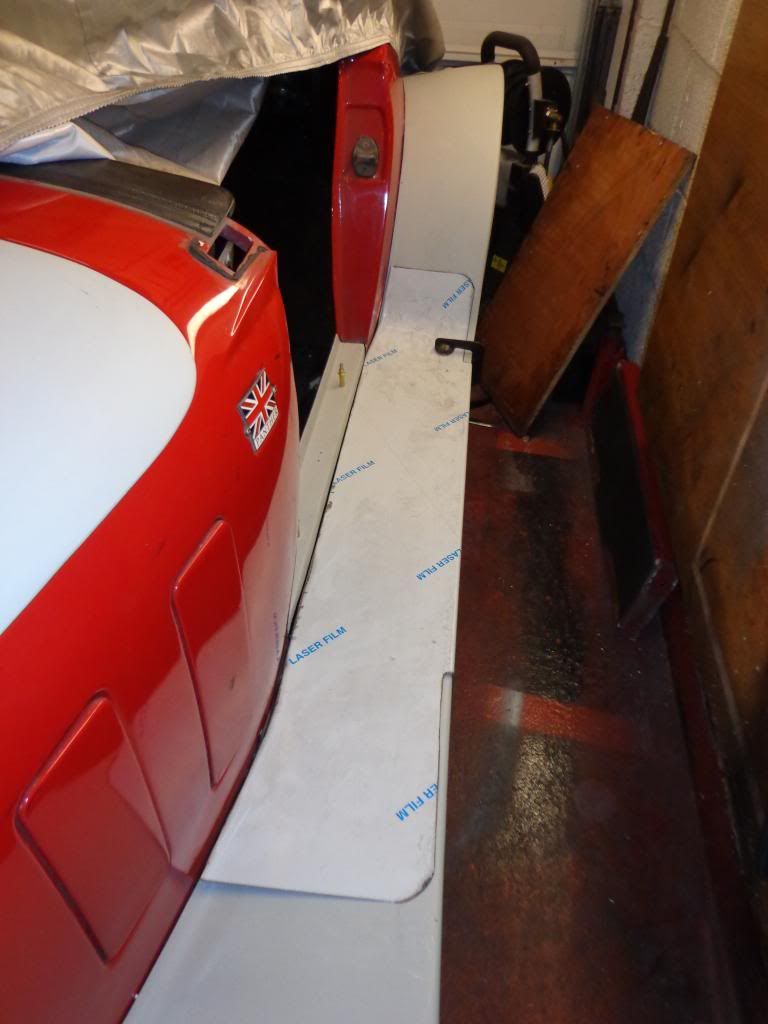
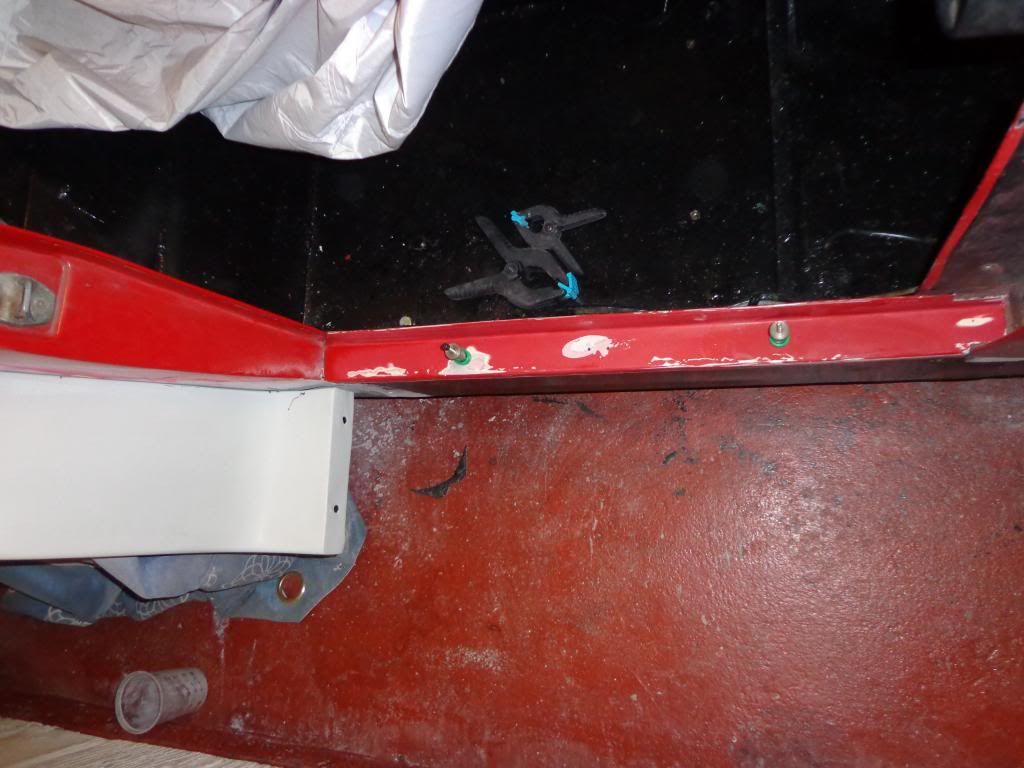
This is the modified step in place, the piping can now run all of the way from the front to the back of the car.
Next to work on was the passenger side.
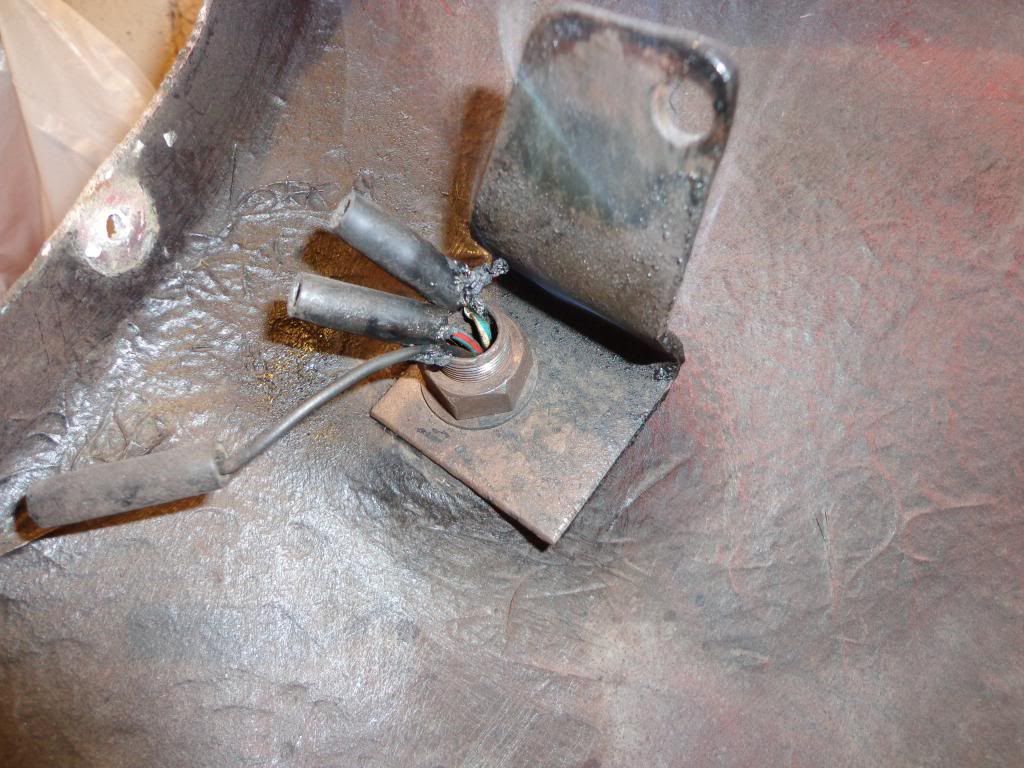
I had a bit of a problem with the headlight on this wing, the nut had seized and was turning the inner tube so I had to take the wing off with it attached. I had sprayed the threads with release oil when I first stowed it away in the loft but it was still seized.
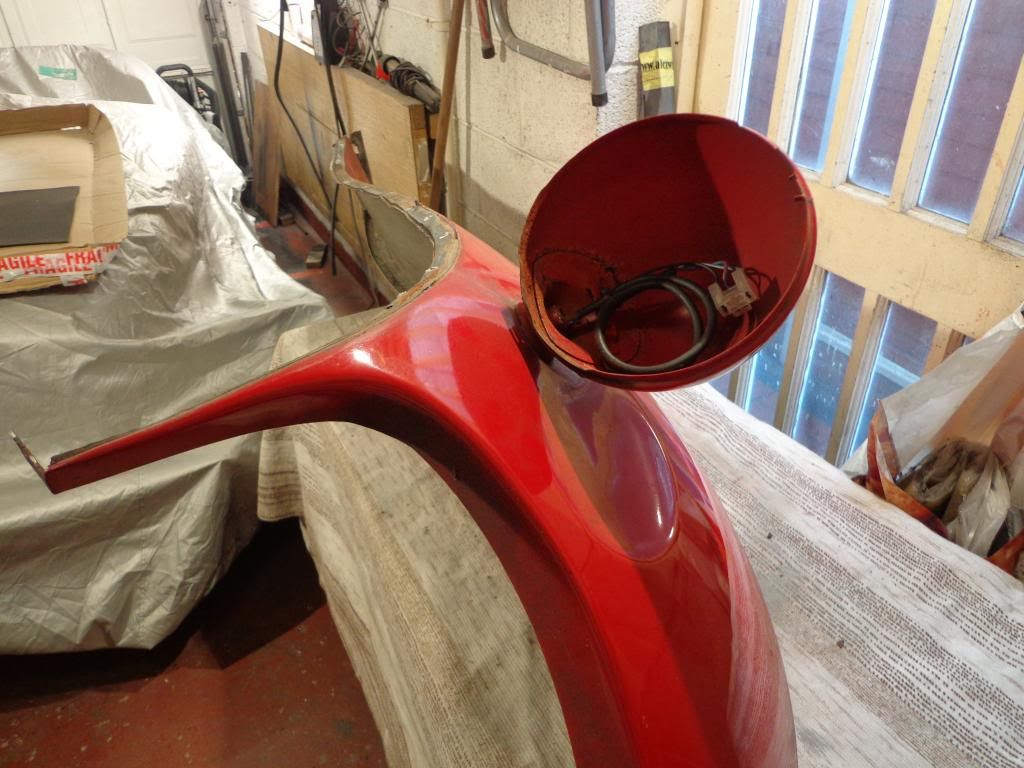
I could have restored the headlights and saved a £100 but was unable to get it to turn.
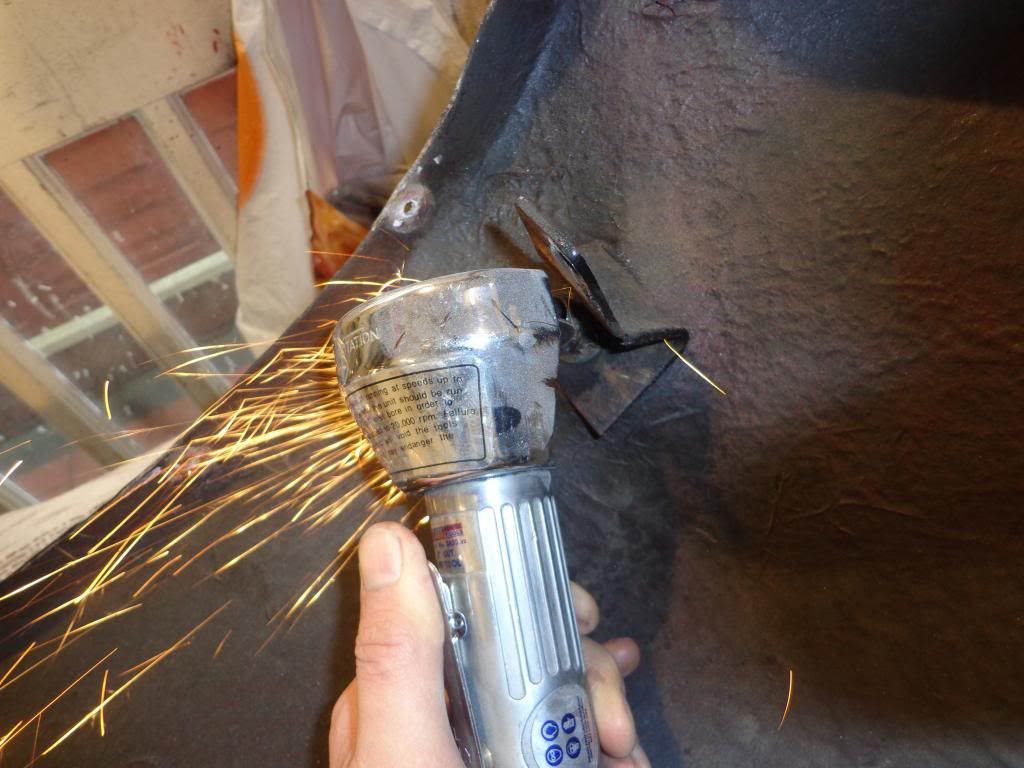
So the only way to get it off was with the grinder and to scrap the headlights.
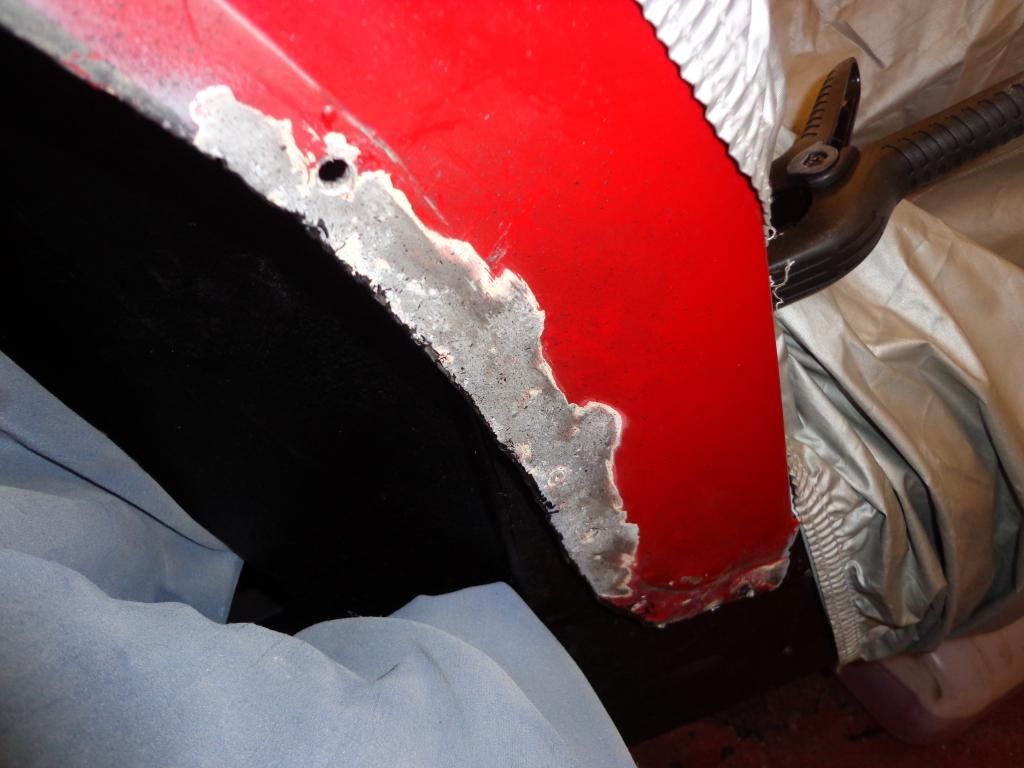
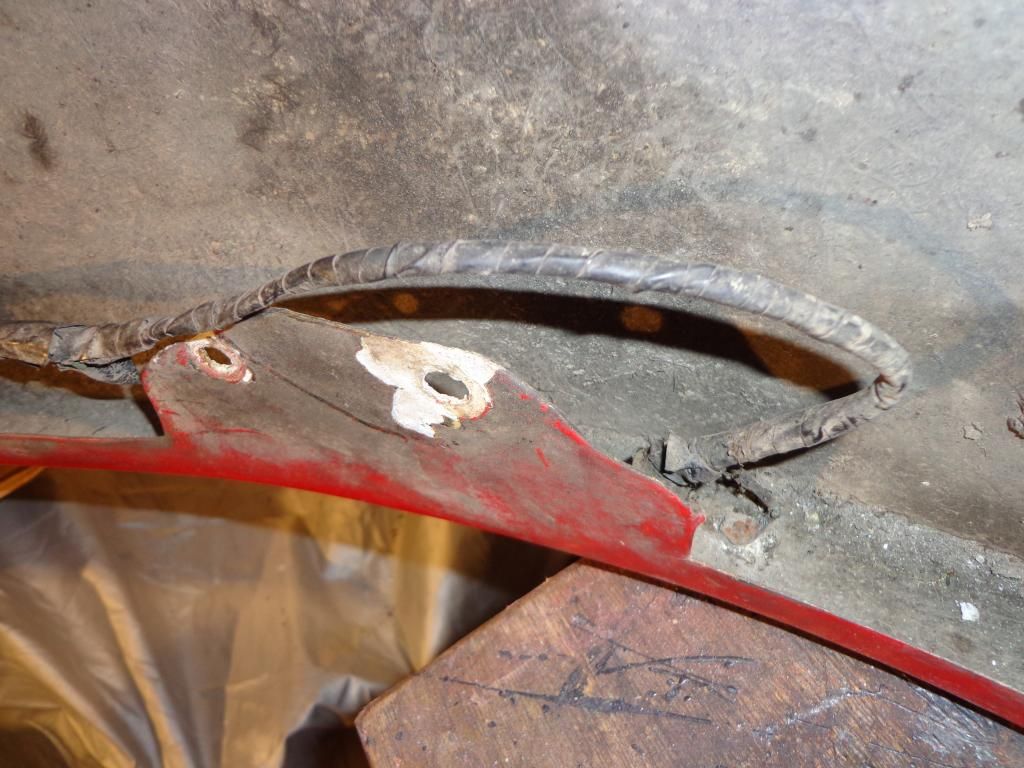
The wing was pretty much in the same condition as the other side, where ever there was steel bolts, washers or  rivets there was corrosion.
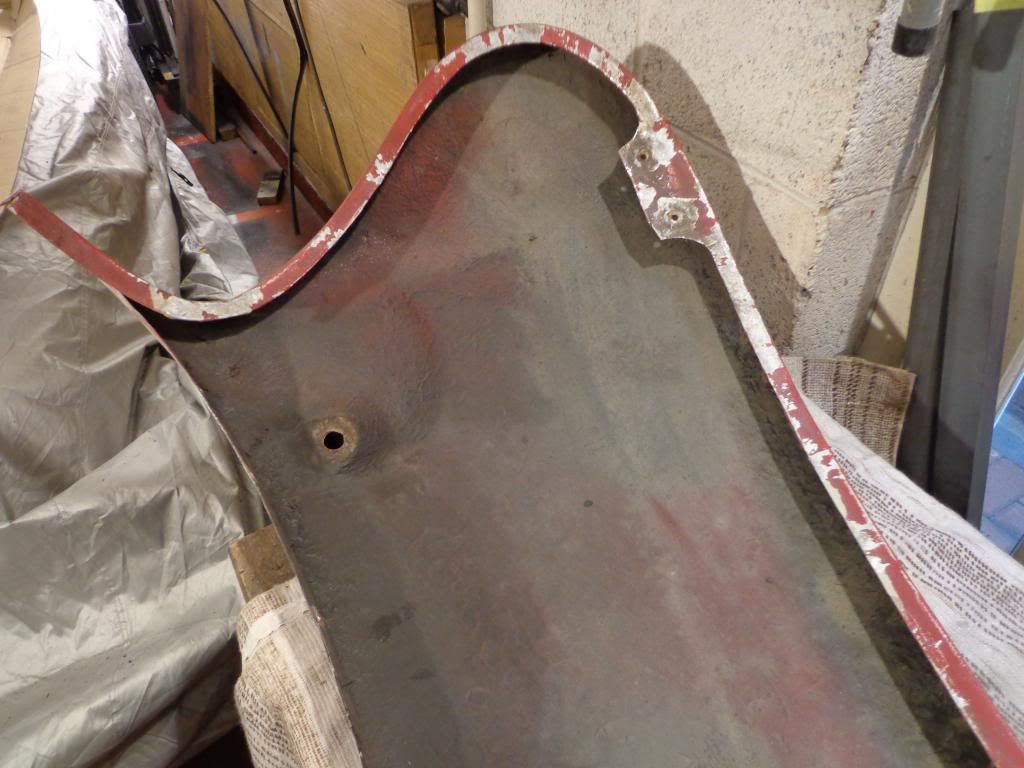
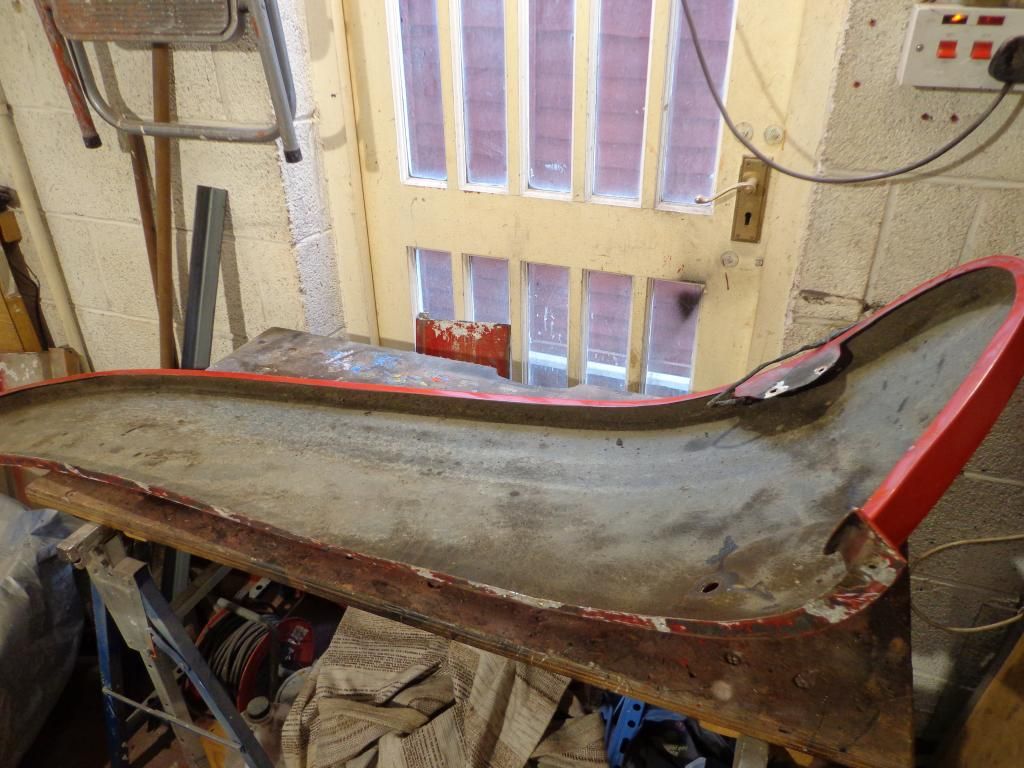
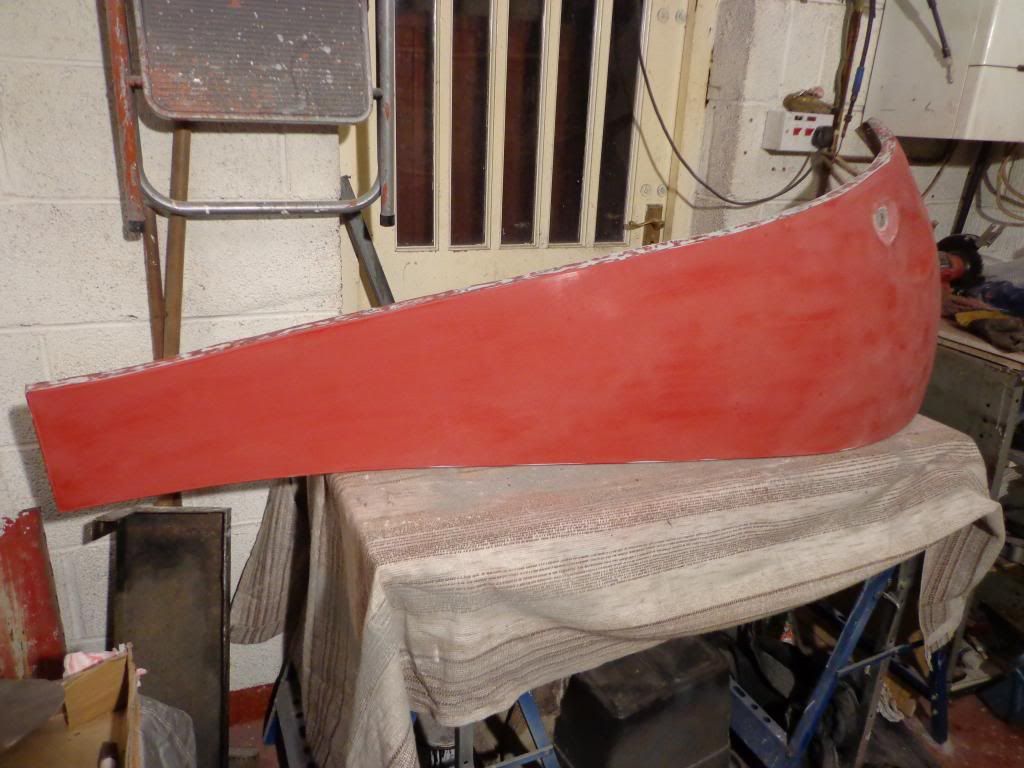
Other than a few areas of corrosion it is in very good condition and all that was need was a good scrub on the inside.
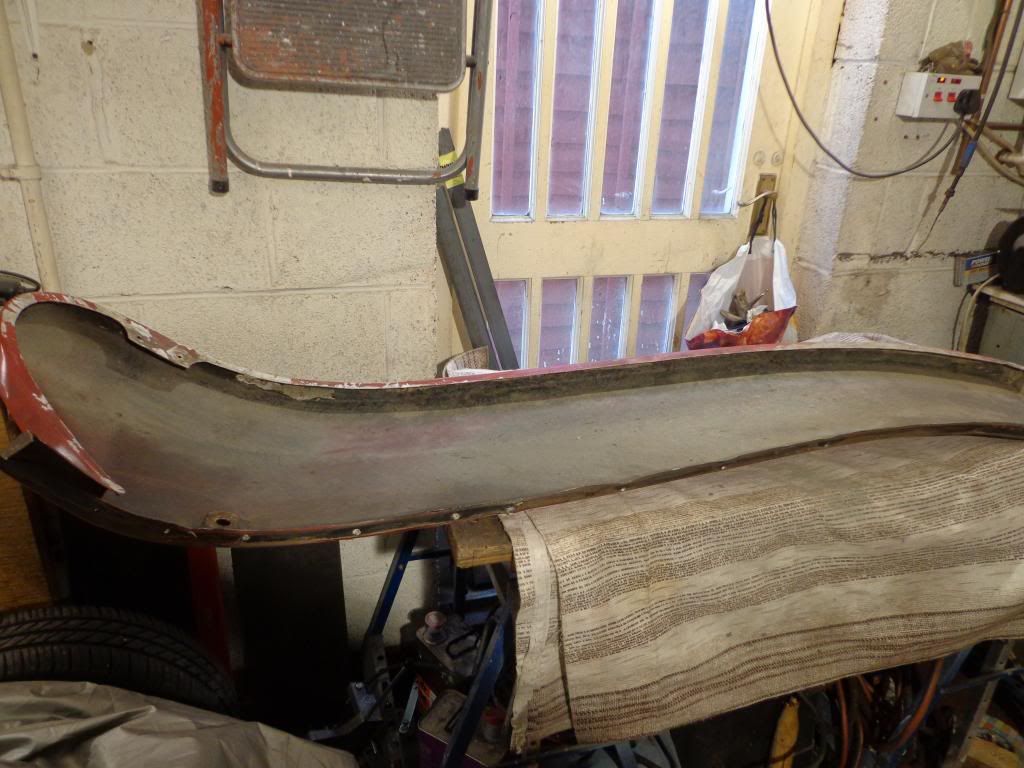
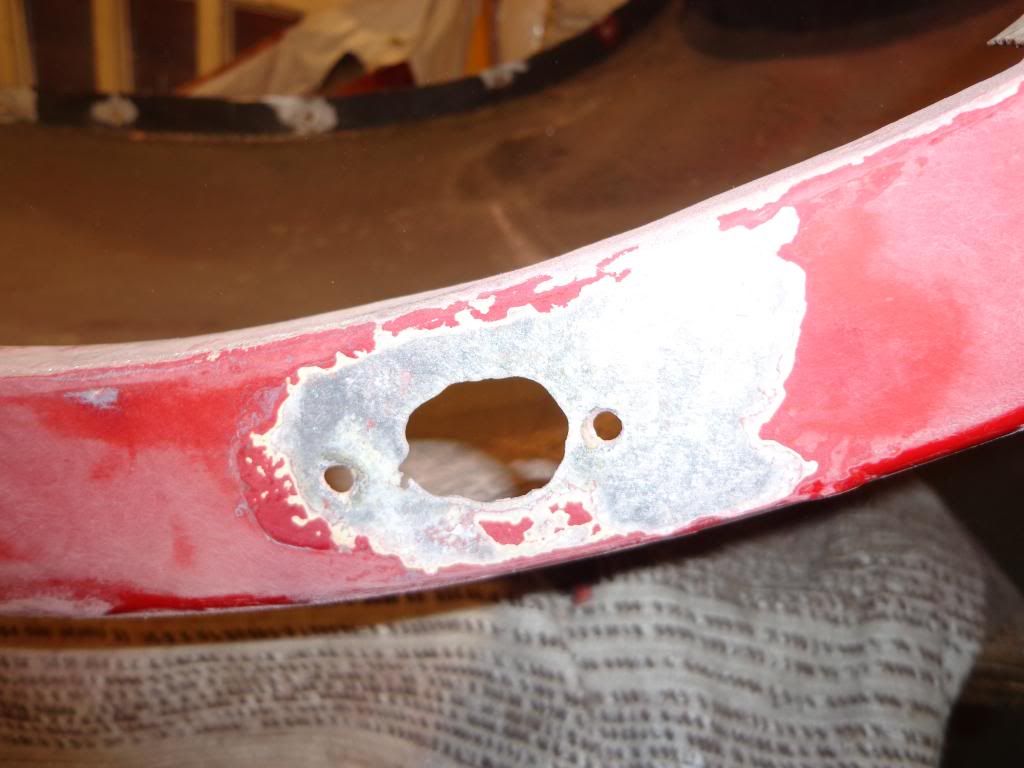
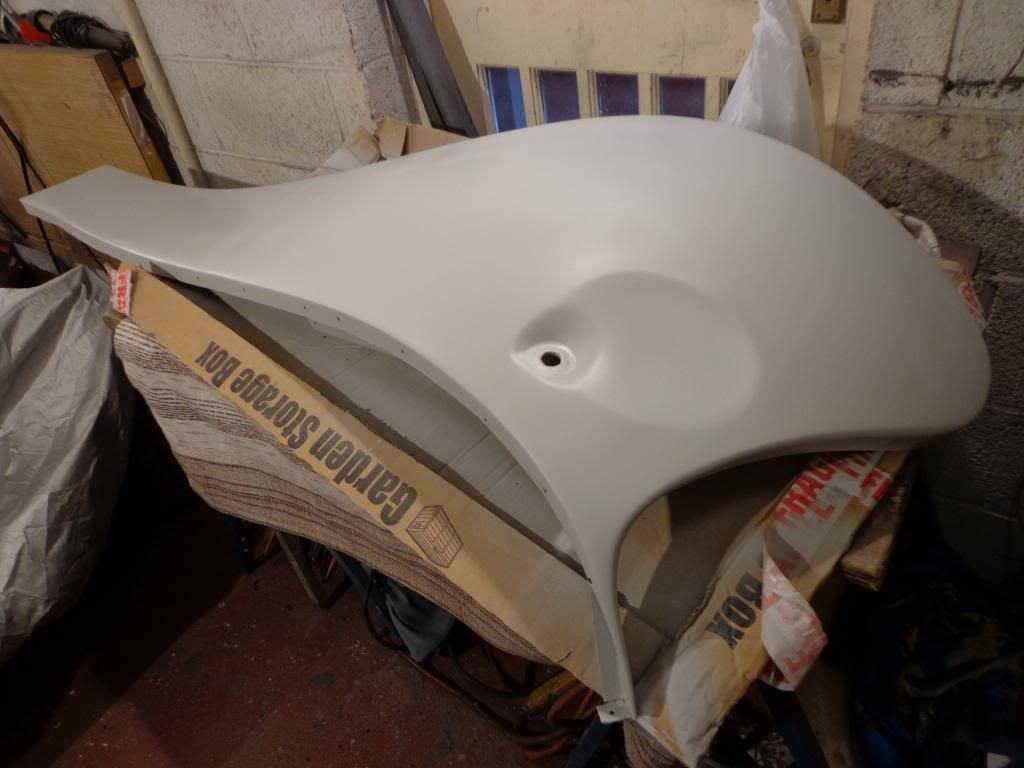
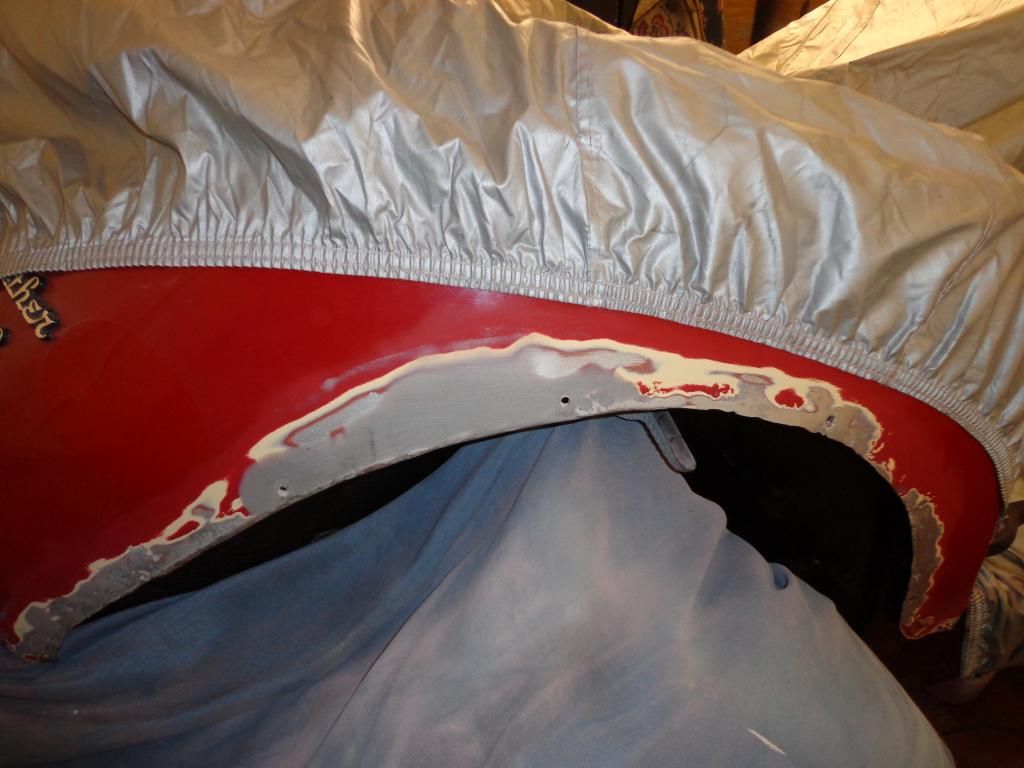
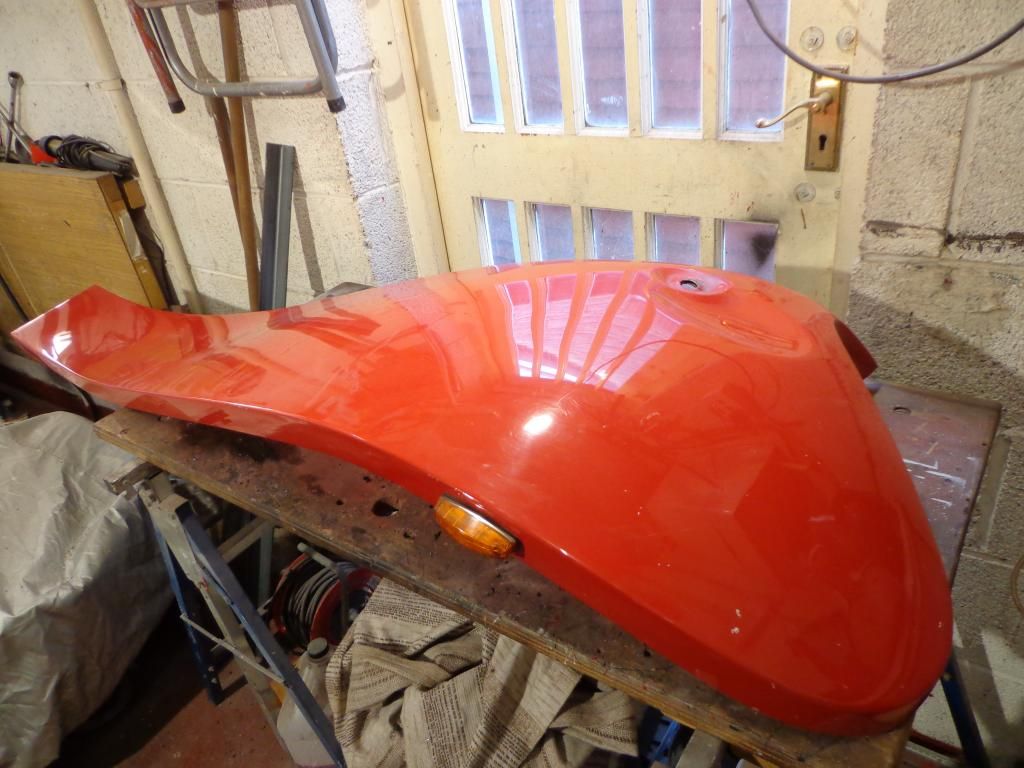
And the outside had all of the loose paint sanded off and the good paint work rubbed down with 120 grit on the DA.
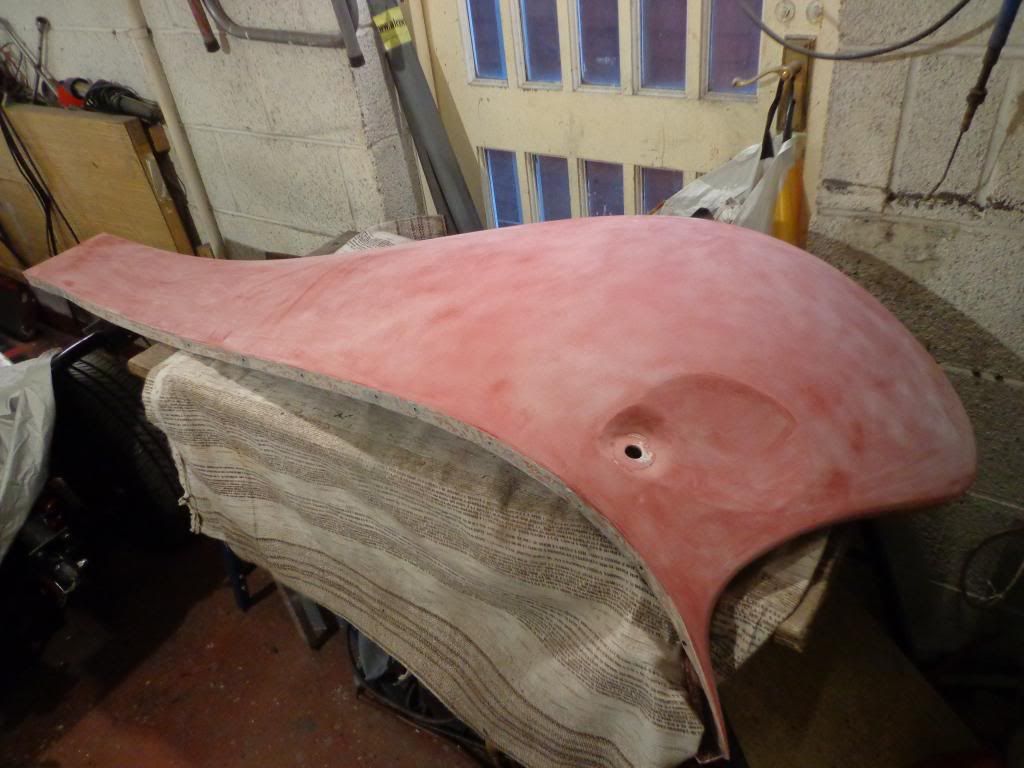
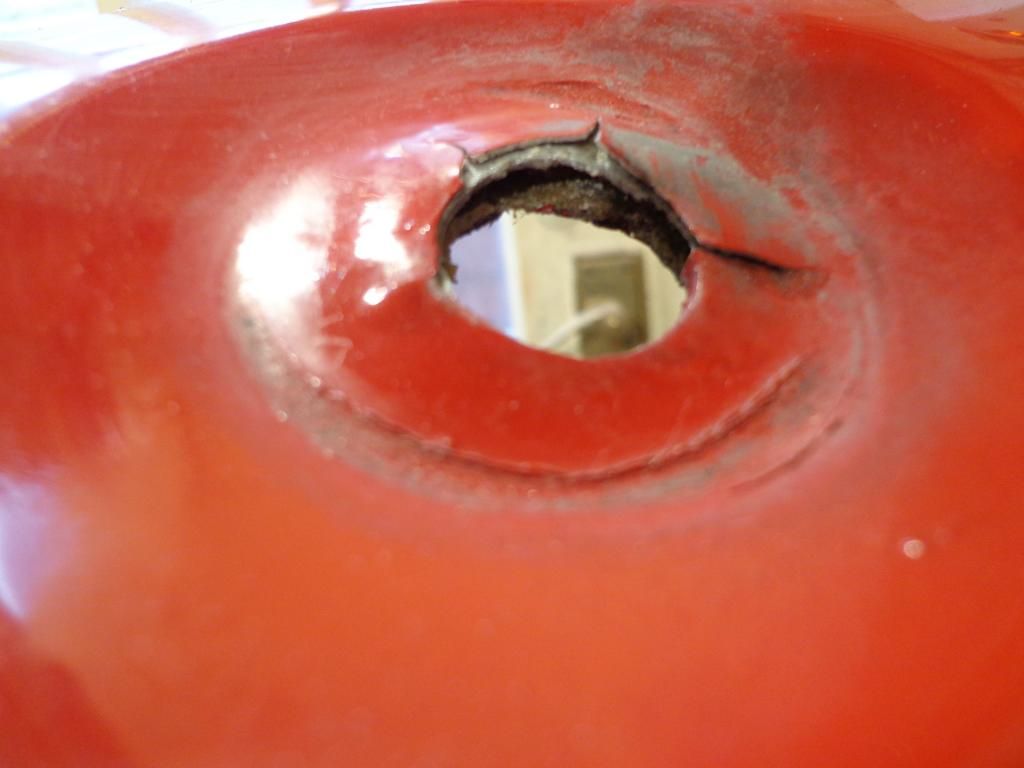
The area around the headlight hole was in great condition, unlike the other side.

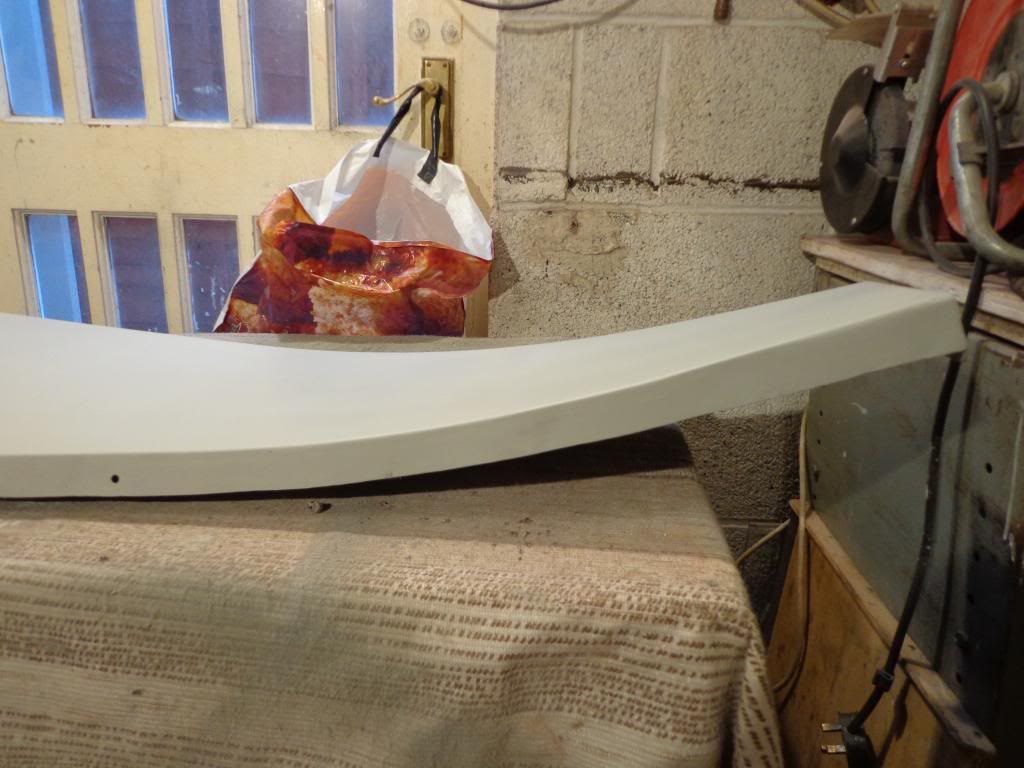
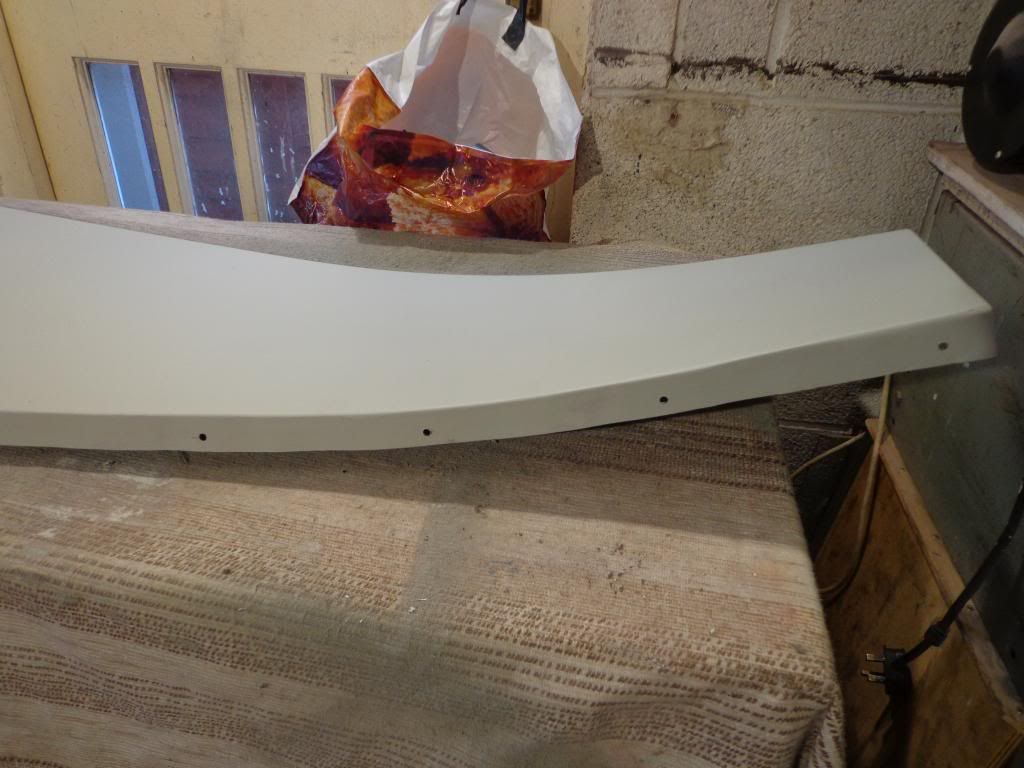
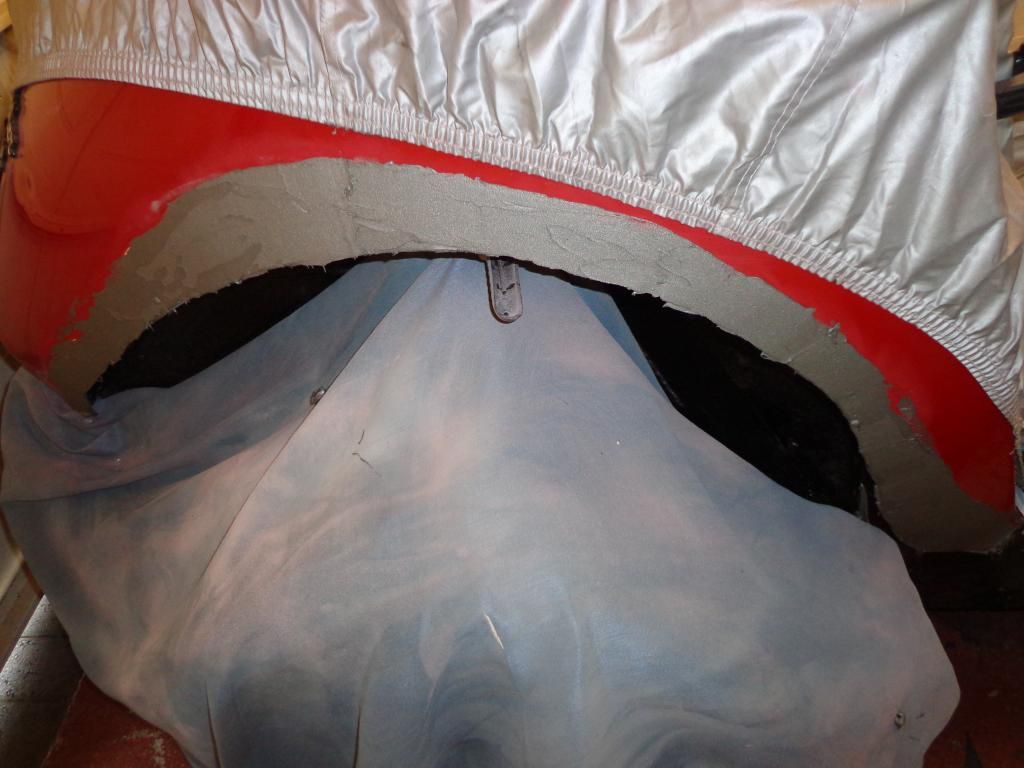
Once all washed and heat gun dried I mixed up the primer and gave the wing its first coat.
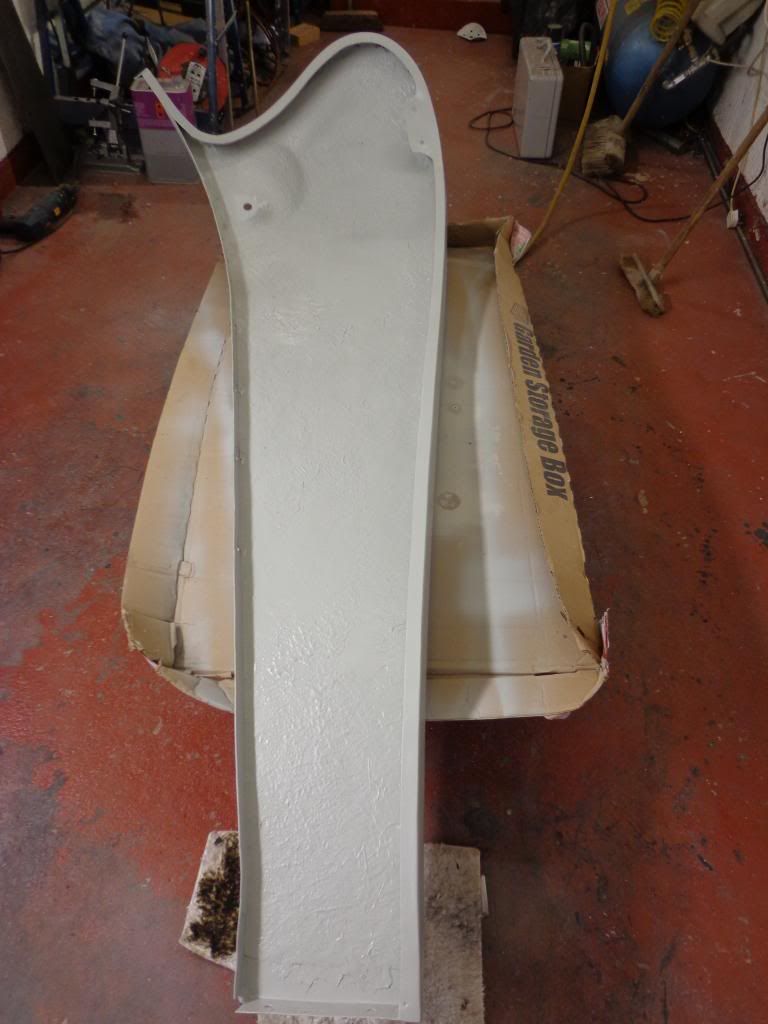
I shall only give the inside one coat of primer as it is going to be sprayed with stone chip, the outside will be rubbed down and finished with 800 grit.
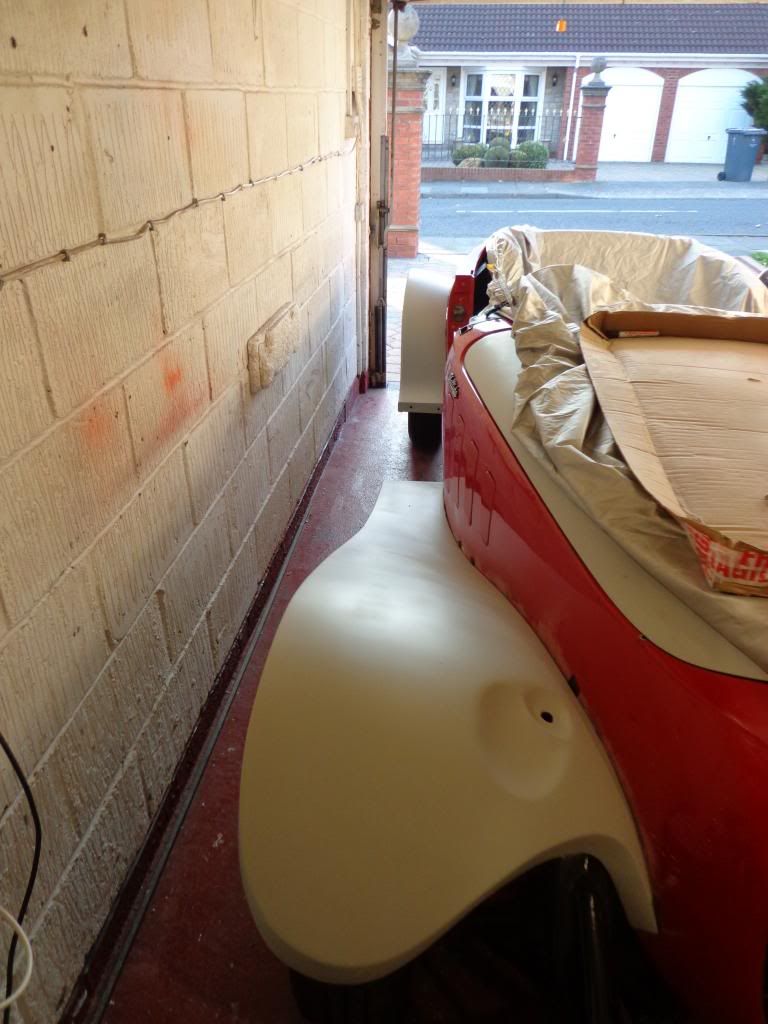
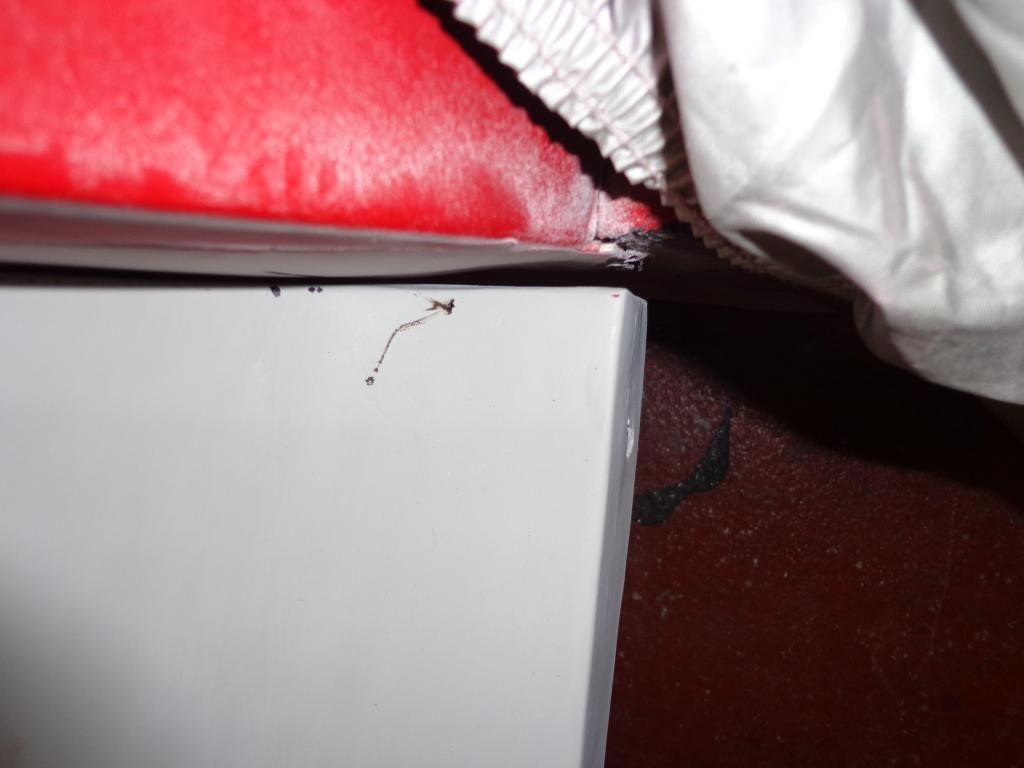
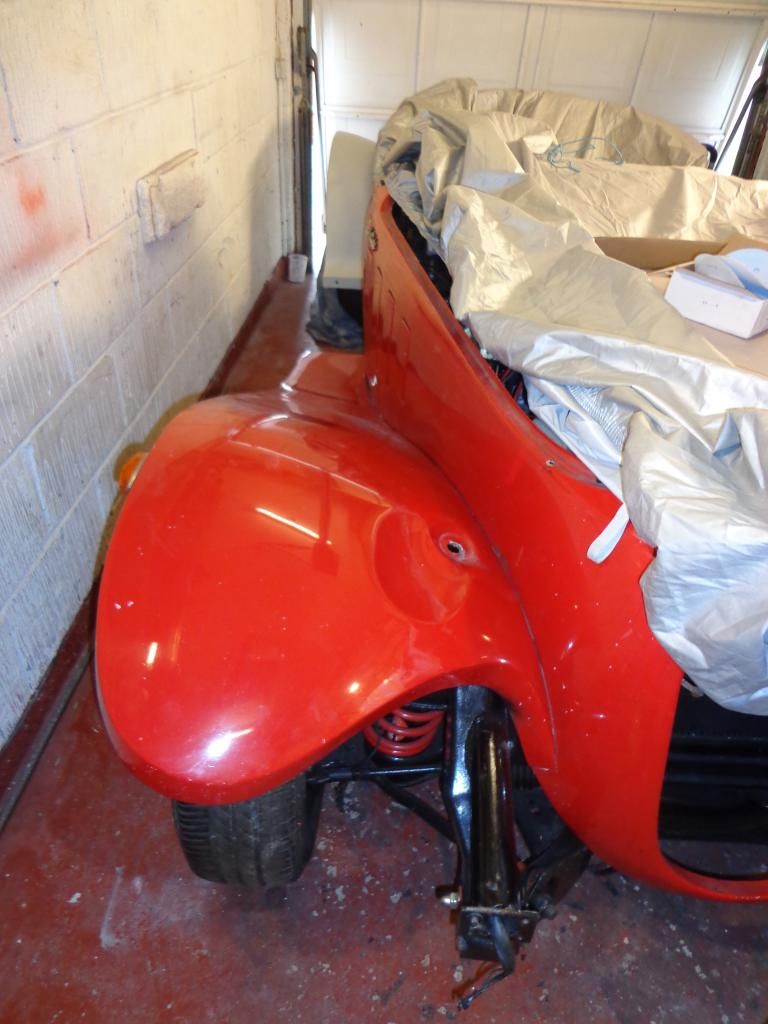
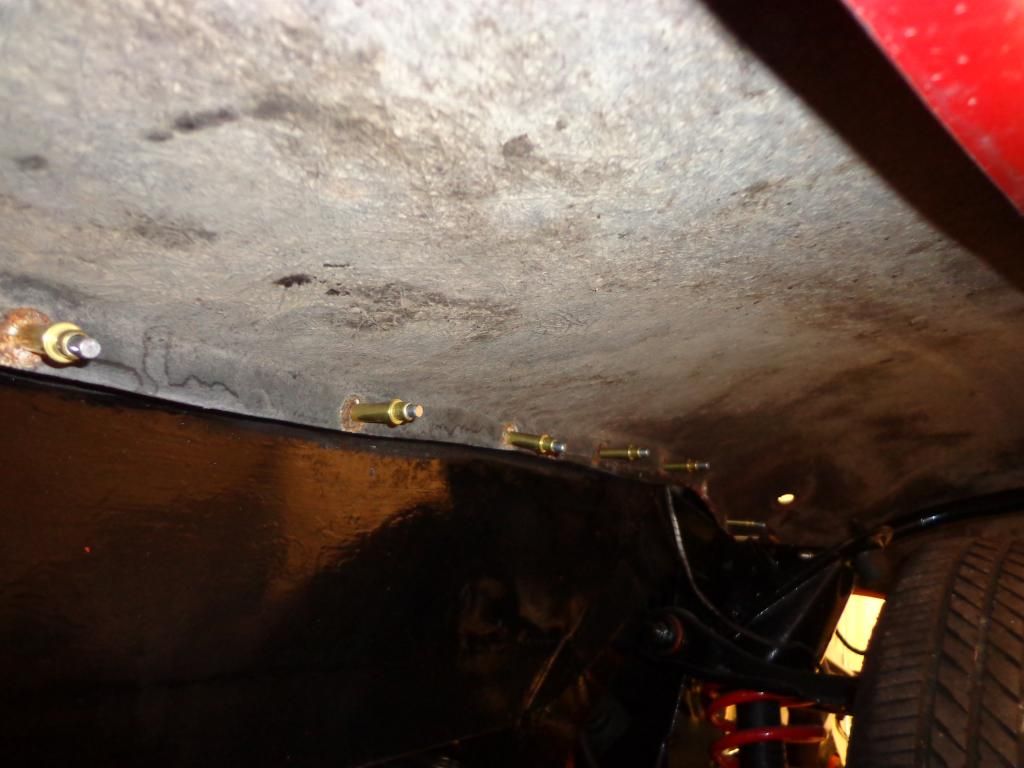
I fitted the wing in place with the skin pins and rubber separators for the piping gap, this side has a much better fit than the other and follows the curve perfectly.
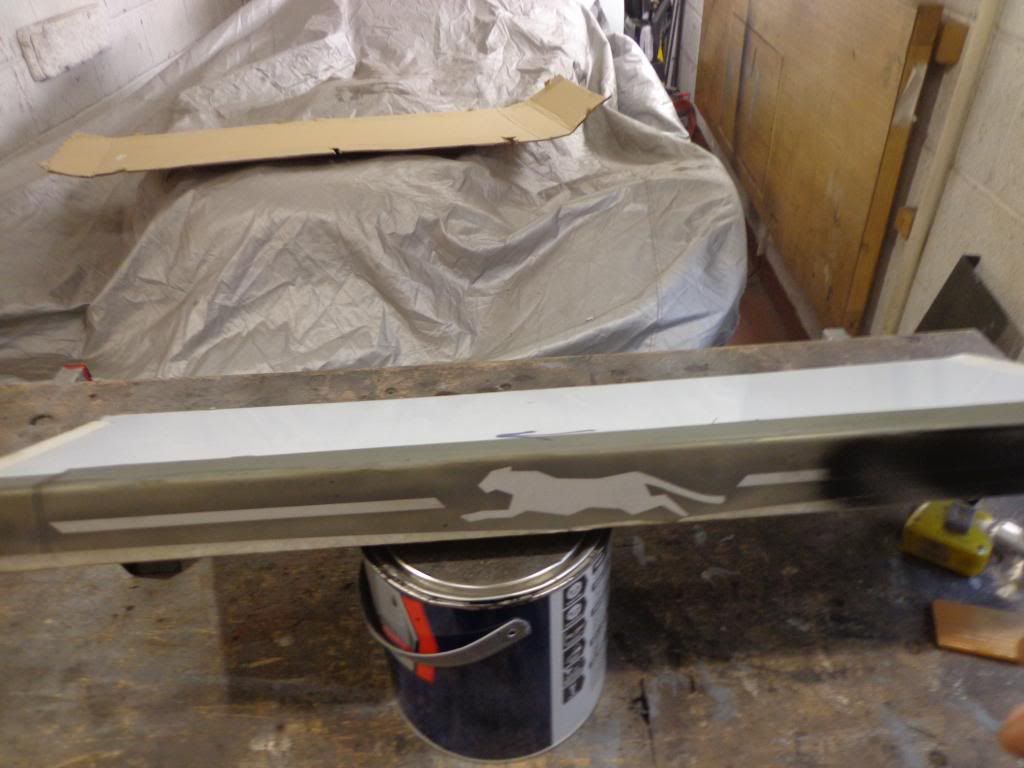
That's both front wings in place.
Tomorrows job will be to get the rear wing fitted and the step profile cut and hopefully get started on the step building.

See ya Paul


Friday, 16 November 2012

Body Work, Drivers Step

Hi
Managed to get some work done in between going out and enjoying the unusually dry weather with Lynne.

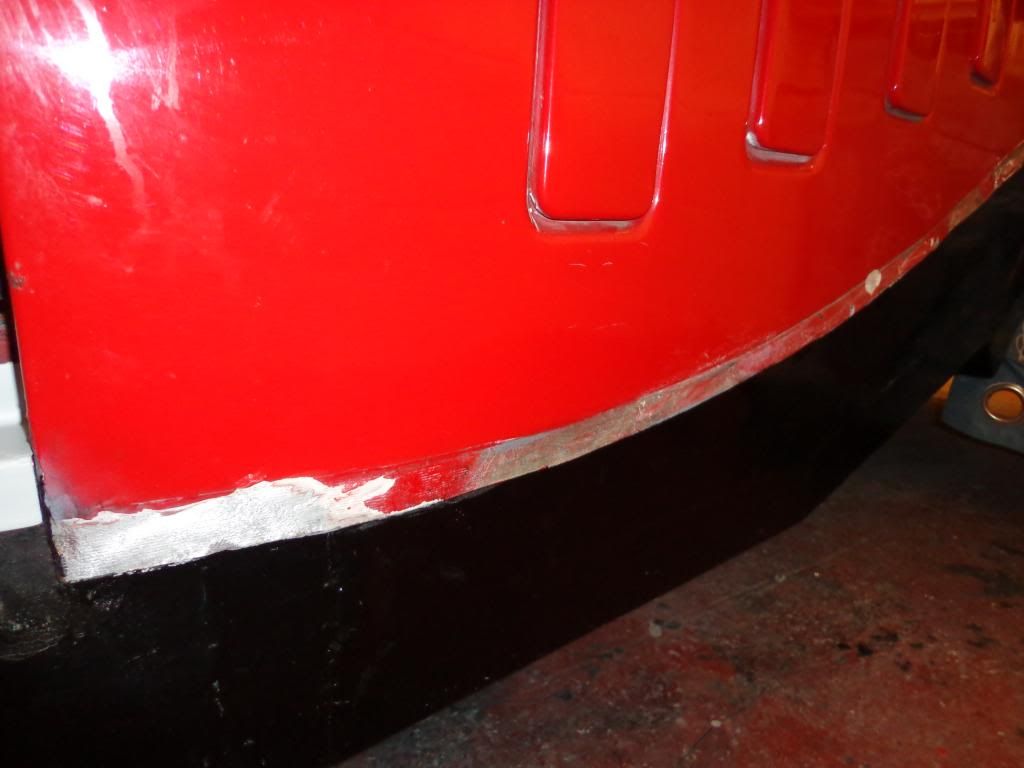
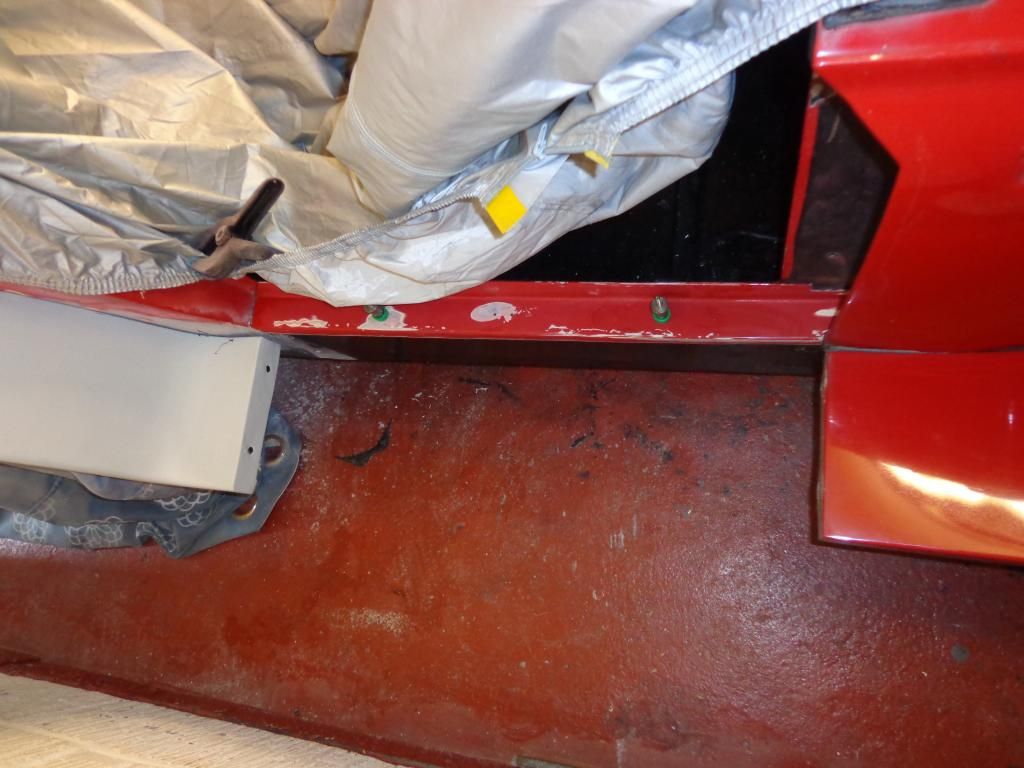
The body/wing interface needed a little work as the area around the rivets holes had corroded and pulled the paint off on removal of the wing.
A little bit of work with the DA sander and they where ready for filler, I shall do this later as my priority at the moment is to make the step which required the wing to be fit.
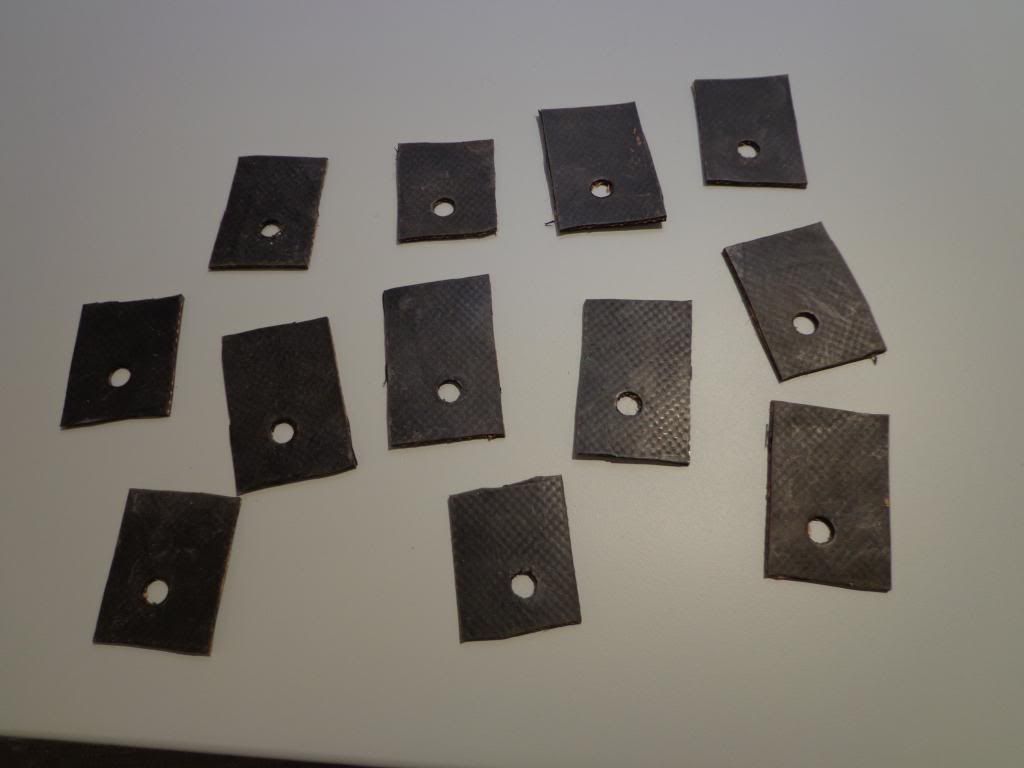
Before fitting the wings I needed some spacers making to take the place of the wing piping, for these I cut some rubber jointing with a hole popped through.
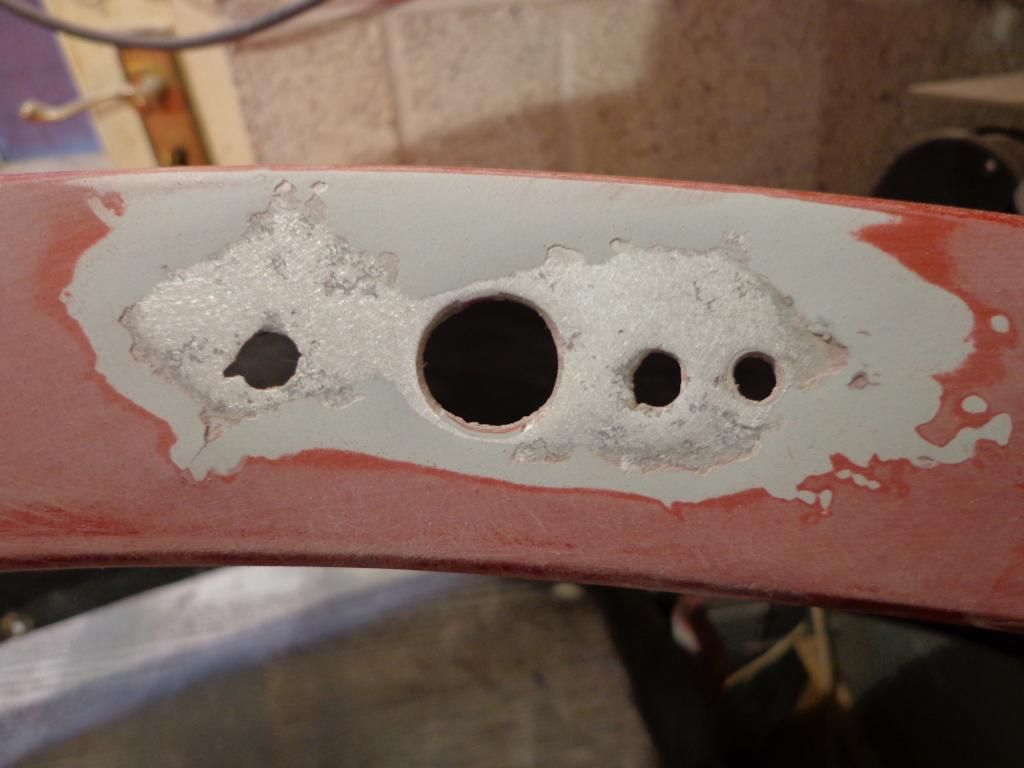
The area around the headlight hole and the sidelight was filled and the first coat of primer sprayed, and it looked pretty good for a first coat.
On test fitting the wing I found that the lower section next to the step had no rivet holes and relied on the step bolts to keep in position.
So I drilled a few more holes and when fitted I drilled through the body so rivets can be fitted.
On fitting the wing I inserted the rubber spacers both in the rear and front wing then checked the alignment of both the wings.
There is a small discrepancy between the wings.
Not a problem as hopefully the stainless steel step will cover the difference and after all it is a hand built car.
Today's work was on the step, there was nothing I could do with the originals as the rust was under the plate and had blown them out of shape so they had to go.
The material I used was 3x40x40mm angle iron and 2mm steel plate all bought at very good prices on ebay.
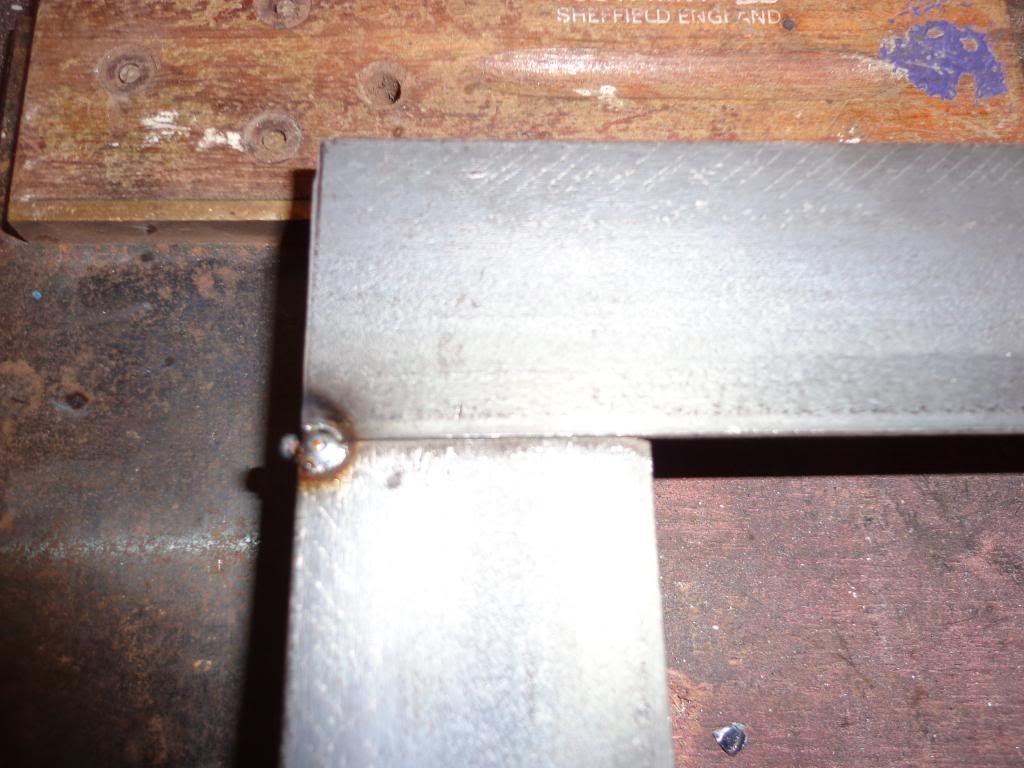
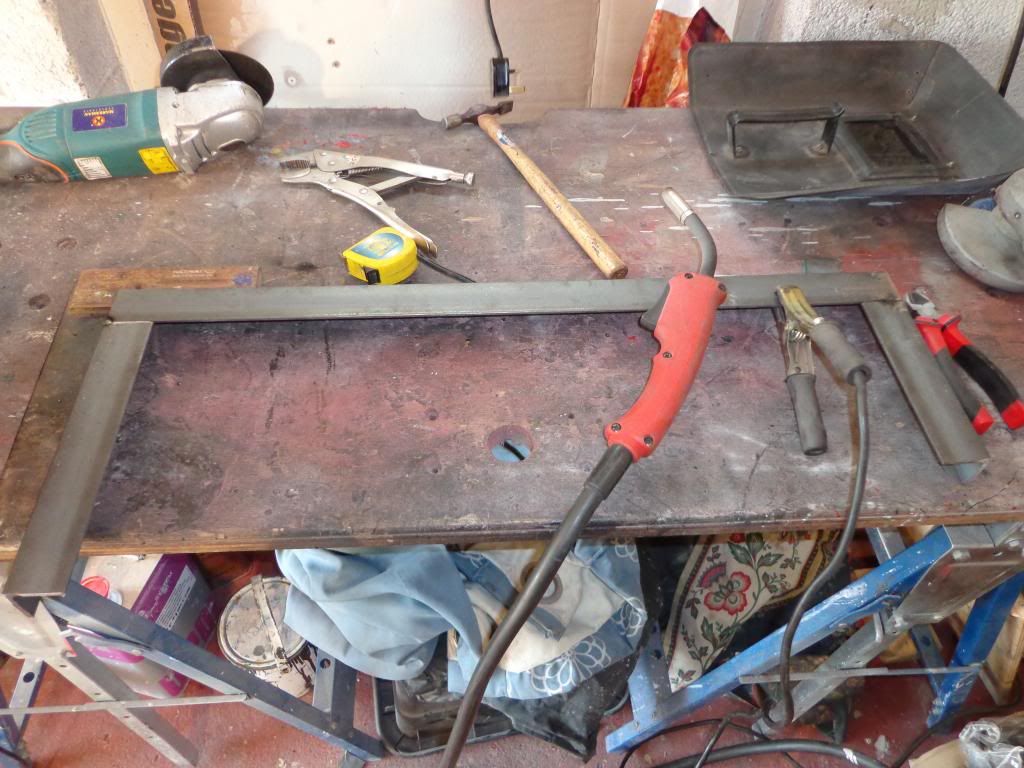
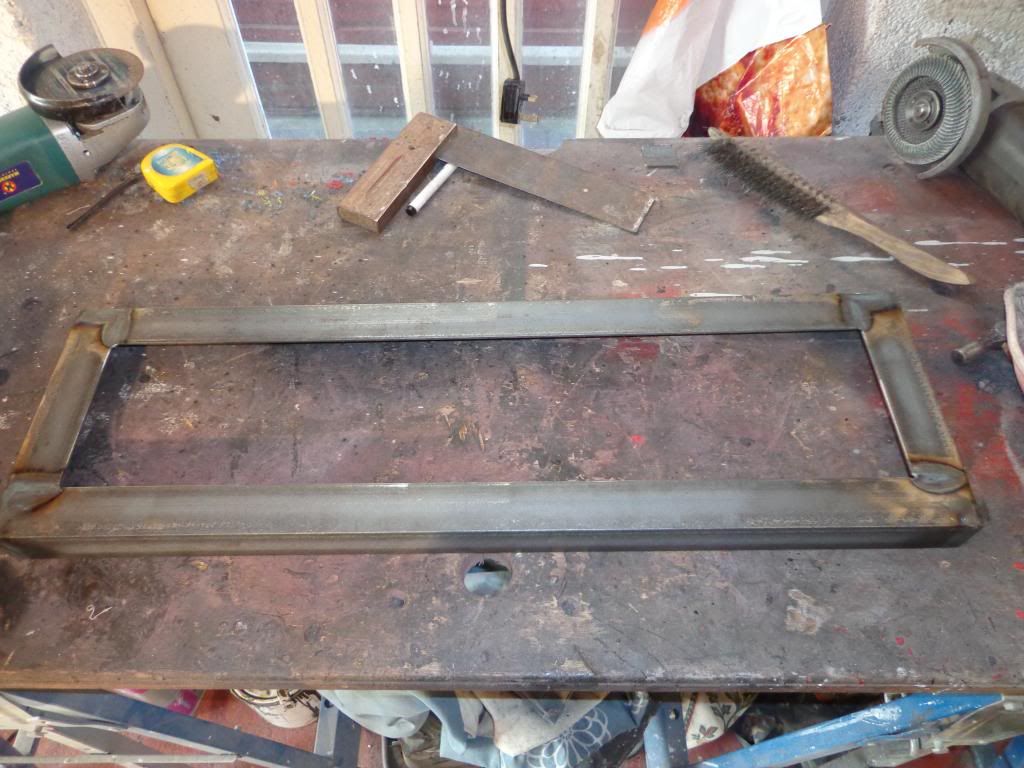
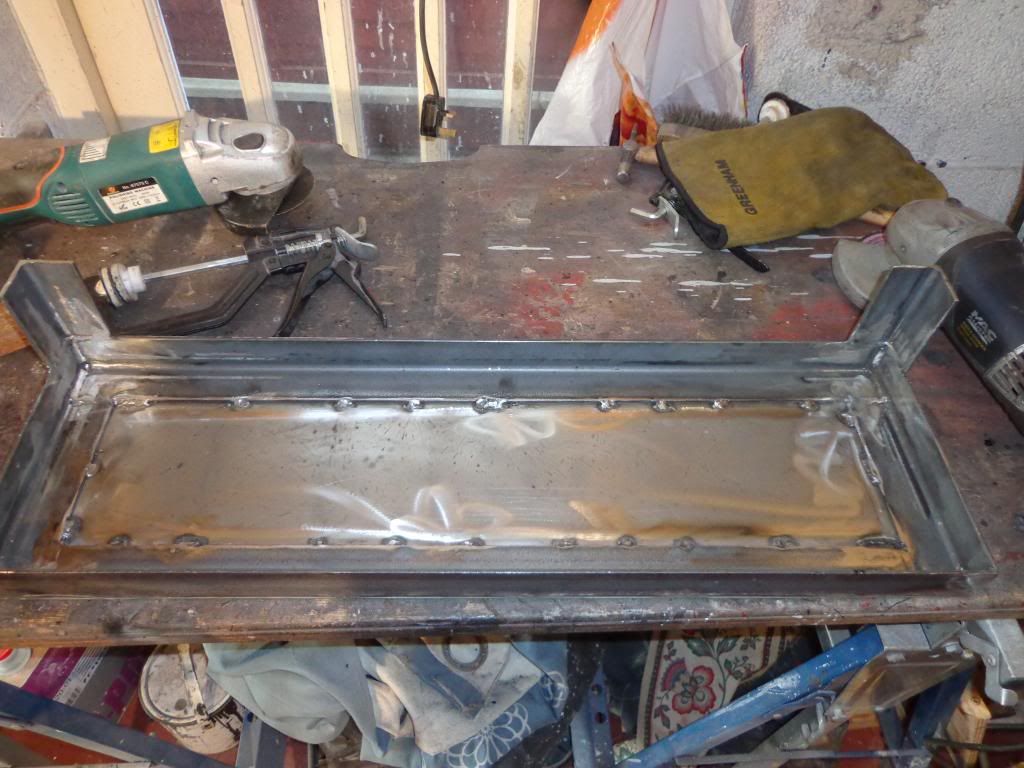
I constructed the step with cut butt joints as opposed to miter joints as I find them easier to cut, this en-tails cutting the profile out of the angle iron from one side and fitting together.
It gives a nice neat job although it needs a lot more welding and grinding.
I started with the back piece and subtracted for the rubber spacers and cut the profiles out from the side pieces.
I made these long and offered up to the car for marking off to get the cuts accurate, as there is a difference in the wing widths.
I then cut these to size and cut the profiles into the long piece and tacked in place.
Once tacked up, I checked that all was good then welded up the joints, I tried welding with the TIG welder but had no joy, I don't know if I am running out of gas or the metal was to thick but I ended up stick welding it together.
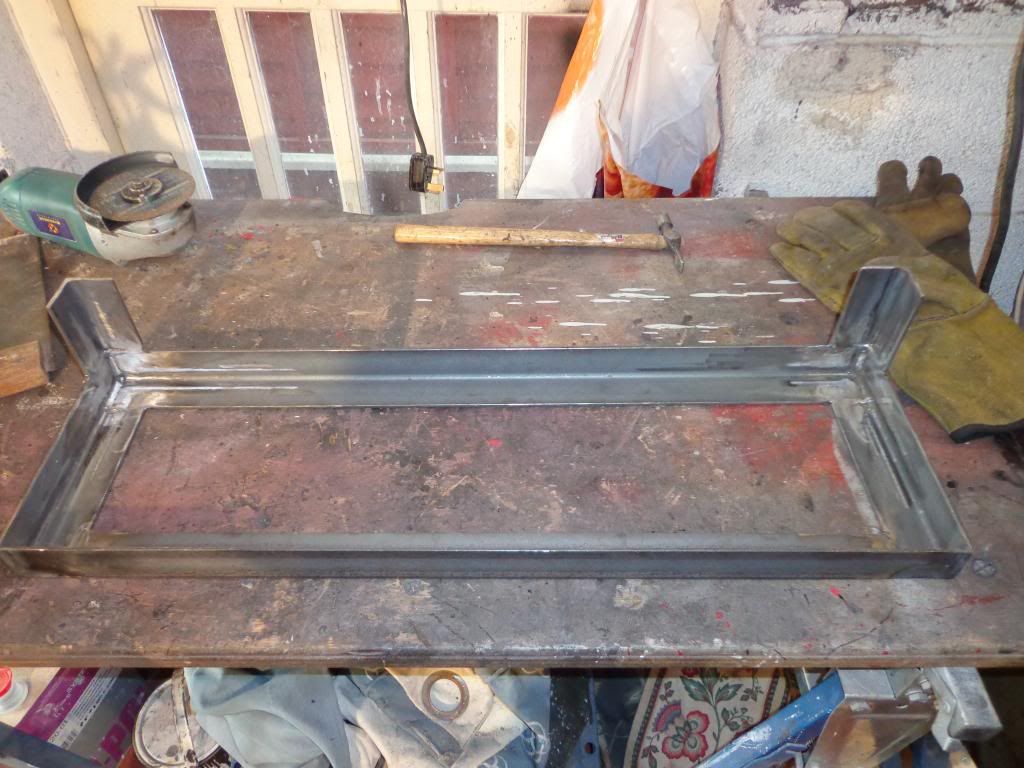
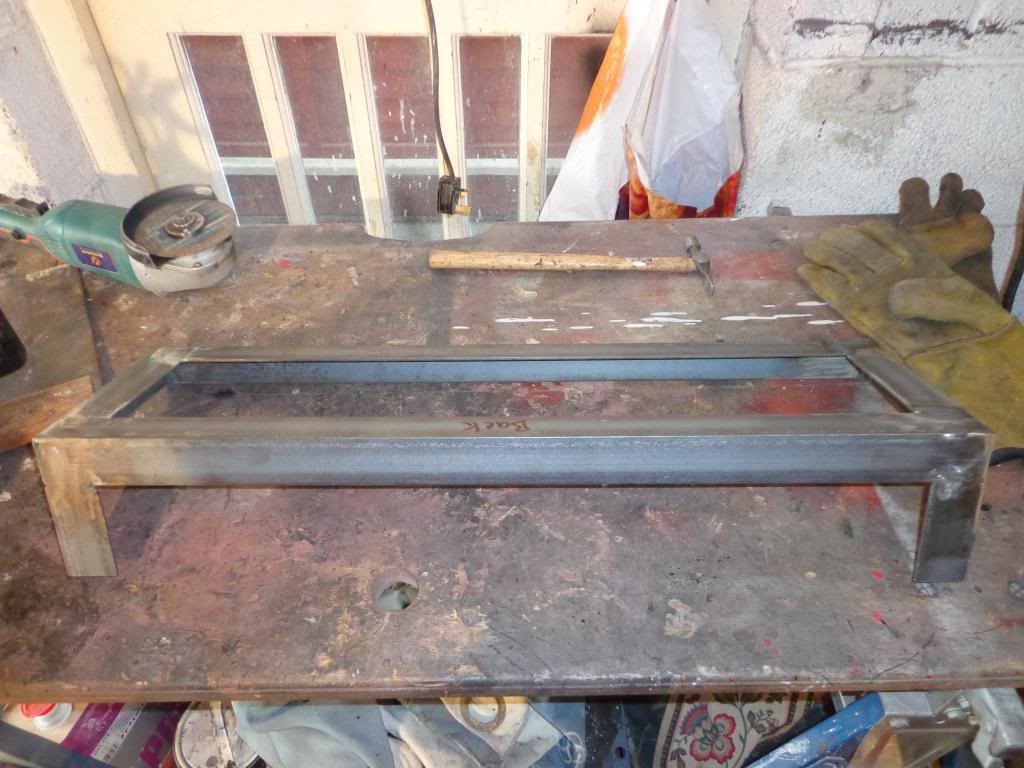
Next came the legs and I took the sizes for these from the originals and also the hole positions, these where welded in place.
 If you look closely you can see the cut out's for the butt joints
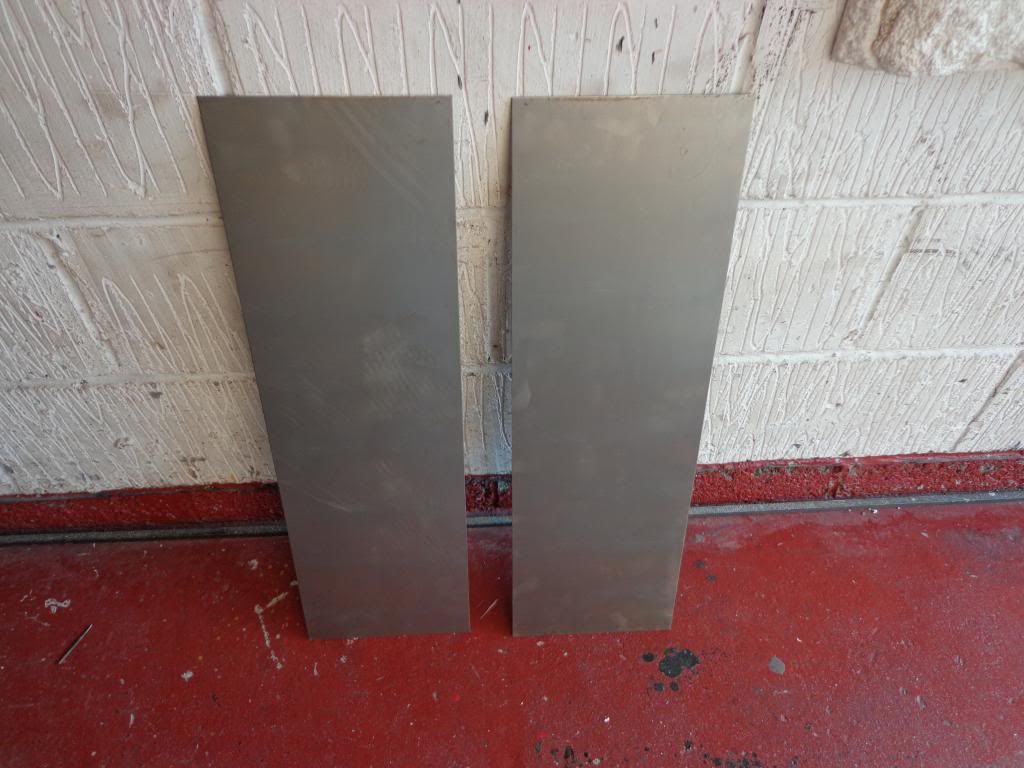
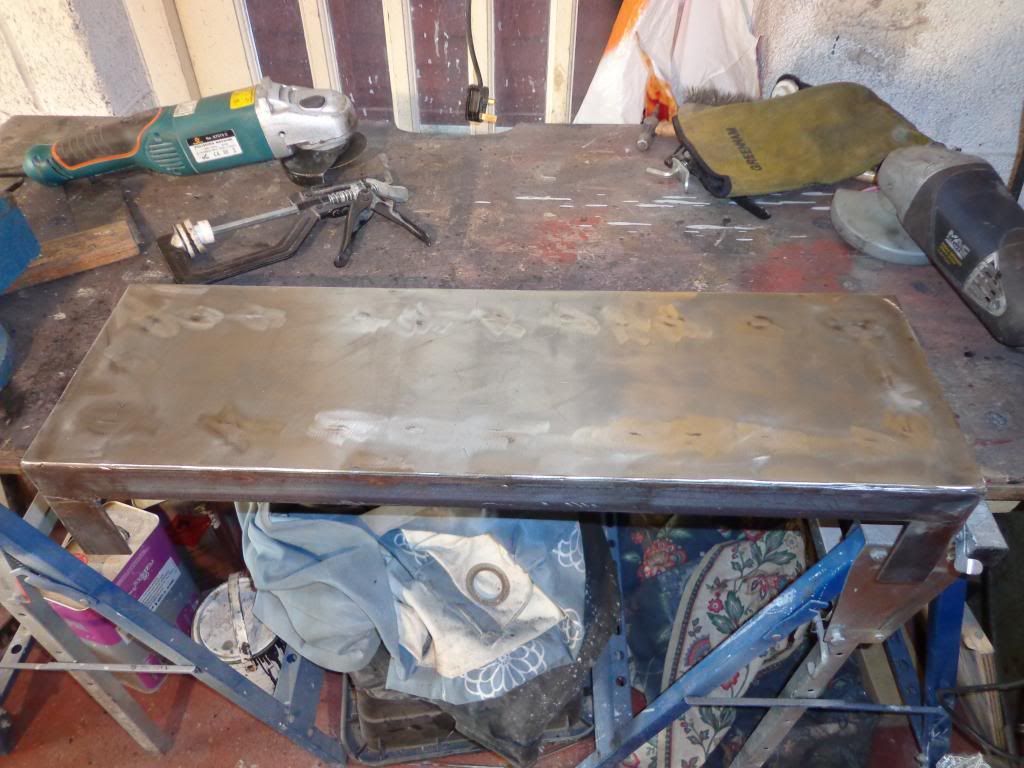
I had ordered the 2mm steel plate from eBay and it was cut to size although I had measured it a little bigger so I could cut to shape once welded in place.
The main welding of the plate was done on the underside with small tacks so as not to distort it
Then a few tacks around the edges.
All it needed was the holes marked and drilled and it was ready to fit.
You can see the difference and the reason for replacing the steps when you look at the old one, when the step returns from the powder coater's I shall run a bead of silicone around the gaps between the tack welds and upper edges to make sure no water can get into the gaps, then spray with stone chip.
All done and fitted, I need to do a bit of fine tuning to the drill holes as the rear side needs to rise a few mil and once done the side holes can be marked for drilling.
The step looks a little set back from the wings but this is because the rubber spacers need fitting.
The step is around 710mm long and the stainless I hope to fit is around 1200mm long, this shall be folded over the step and rolled up the rear wing around 150mm and the remainder will be shaped up the front wing with 3 tread.

See ya Paul


Tuesday, 13 November 2012

Body Work Drivers wing

Hi
Home again for 2 weeks and have started as I hope to carry on, although Lynne has taken another weeks leave so it may not be as much as I was hoping for.

My plans are to get the drivers side wings fitted and the step made, so today I started by removing the rear wing I had attached using the Cleco knurled pins (called skin pins) and got to work on the corrosion where the wing flange met the body.
There was already an area filled by Joe when he was showing me the ropes, I used the DA sander to remove the corrosion and to feather in the paintwork.
 Once all sanded down I mixed a batch of filler and spread on.
Once dry I rubbed it down and re-fitted the wing, it still needs a lot of work before priming but is good enough for the wings to test fit.
This photo shows the size of the gap at the bottom of the wing and the body,  I  measured it at 6mm which I shall fill and blend in.
Next job was to cut the profile from the original step and get that in place.
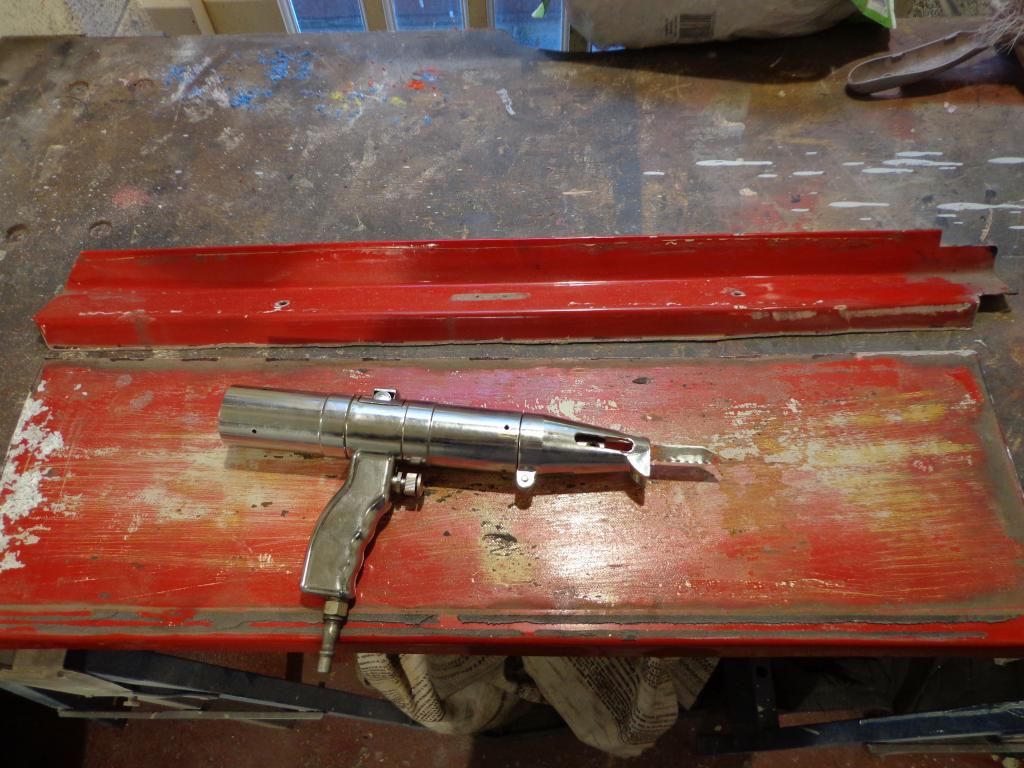
I used an air saw to cut the section off then with the air file smoothed the edges down and with the 120 grit rubbed down ready for the primer and put in place
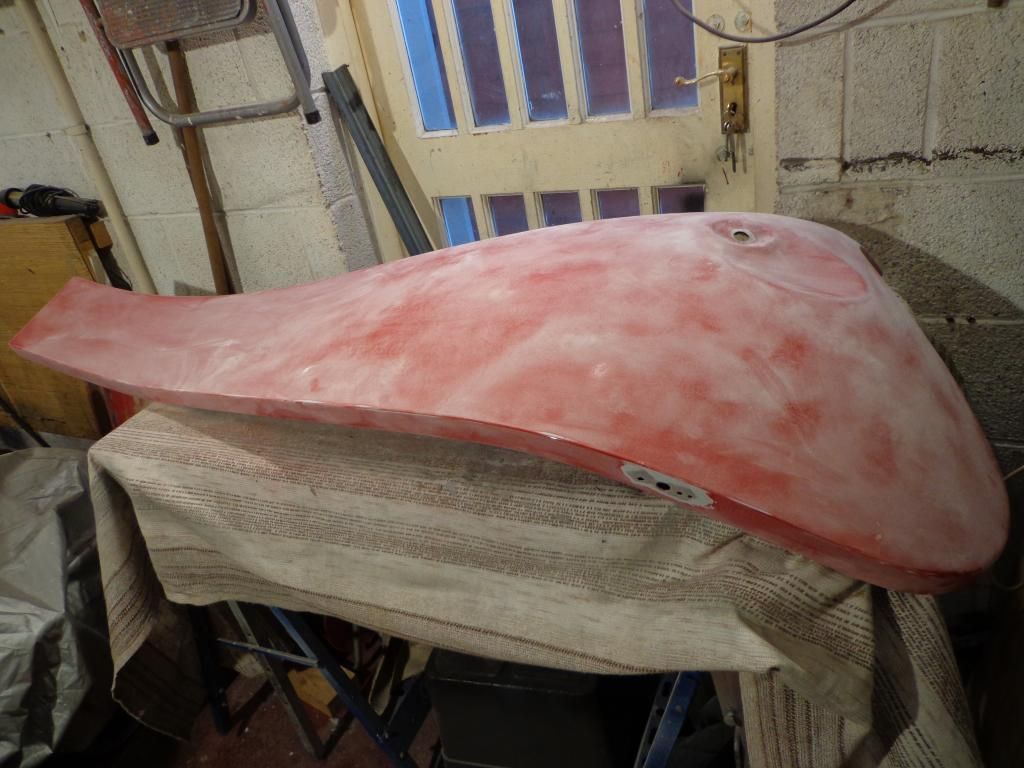
I managed to get the wing out of the loft without damaging it and gave it a good inspection.
I was very pleased with the lack of damage to the wing, only a few problems with corrosion around the support bracket 
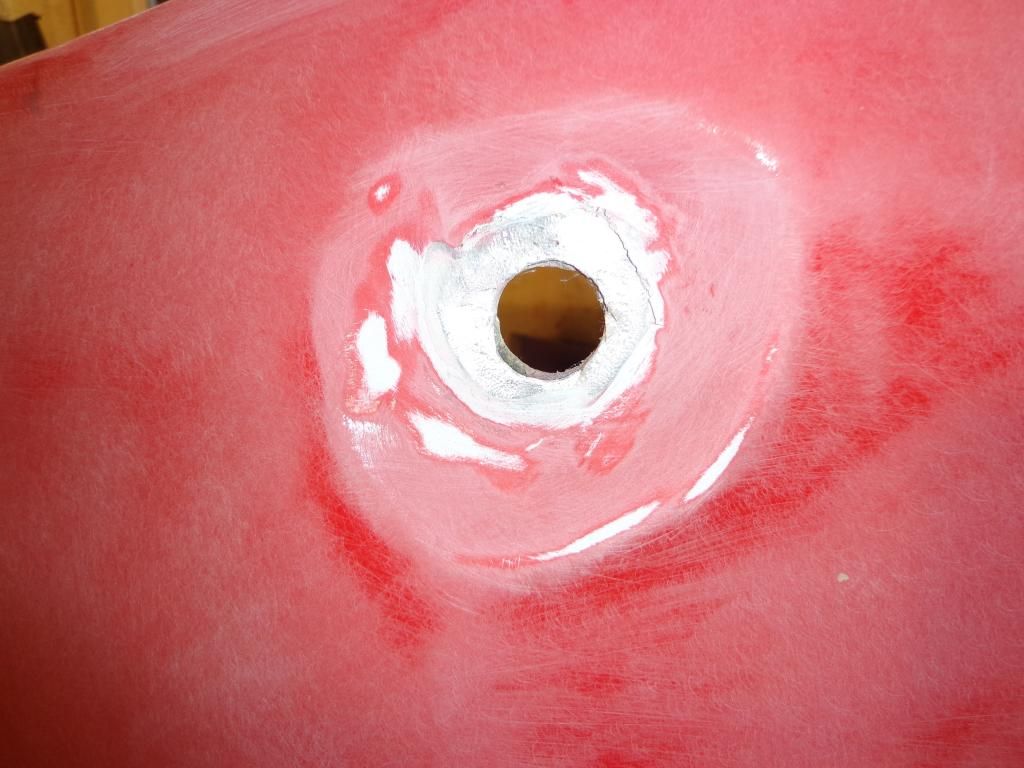
and under the indicator (which I had to drill out). The area I thought was the worse section was under the headlight
It looked like the aluminium had corroded and split apart but after grinding off the paint and cleaning I found that the Aluminium was fine and that the separation was above and below the skin. The paint and the fibre glass had separated  probably due to water ingress.
I gave the wing a good clean especialy the underside as this was pretty bad, I wanted to check the wing for fit before starting the repairs so the wing supports came out of storage and bolted in place.
I'd had these powder coated and they look great.
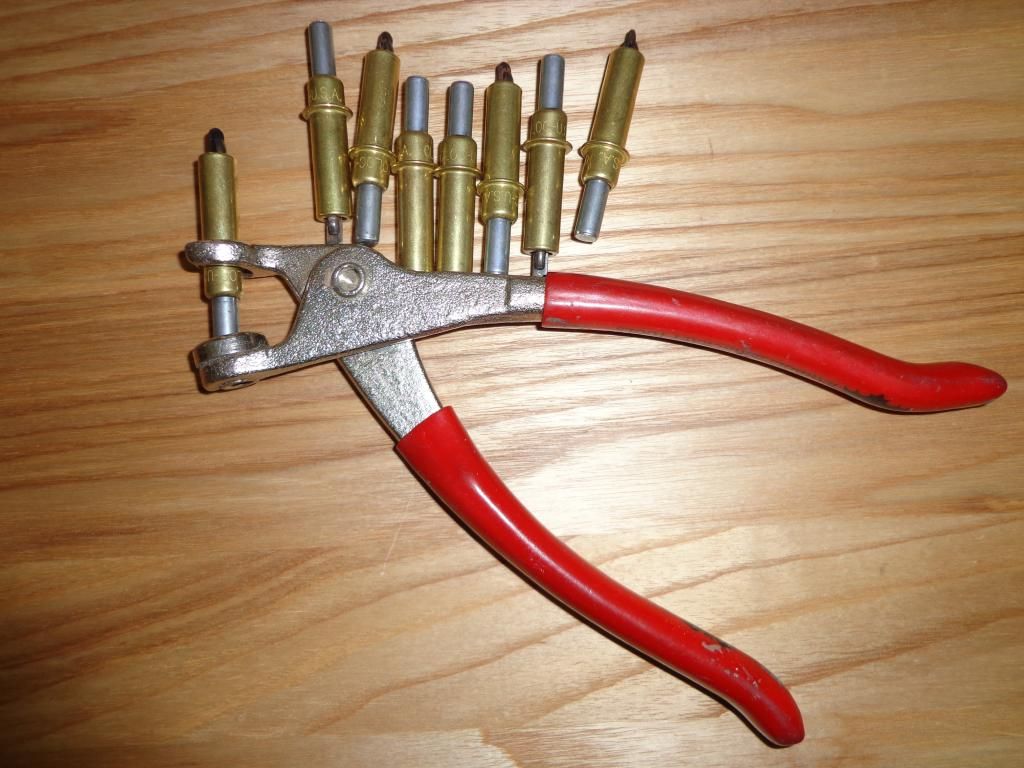
While away I had an ebay search for more Cleco skin pins and managed to find a pack of 25 for around £15 inc p+p this should be eneogh to fit the wings, these are the spring type and require a pair of special pliers to compress them before fitting.
The wing was easy to fit with the support to hold it up.
The skin pins where fitted and they held surprisingly well.
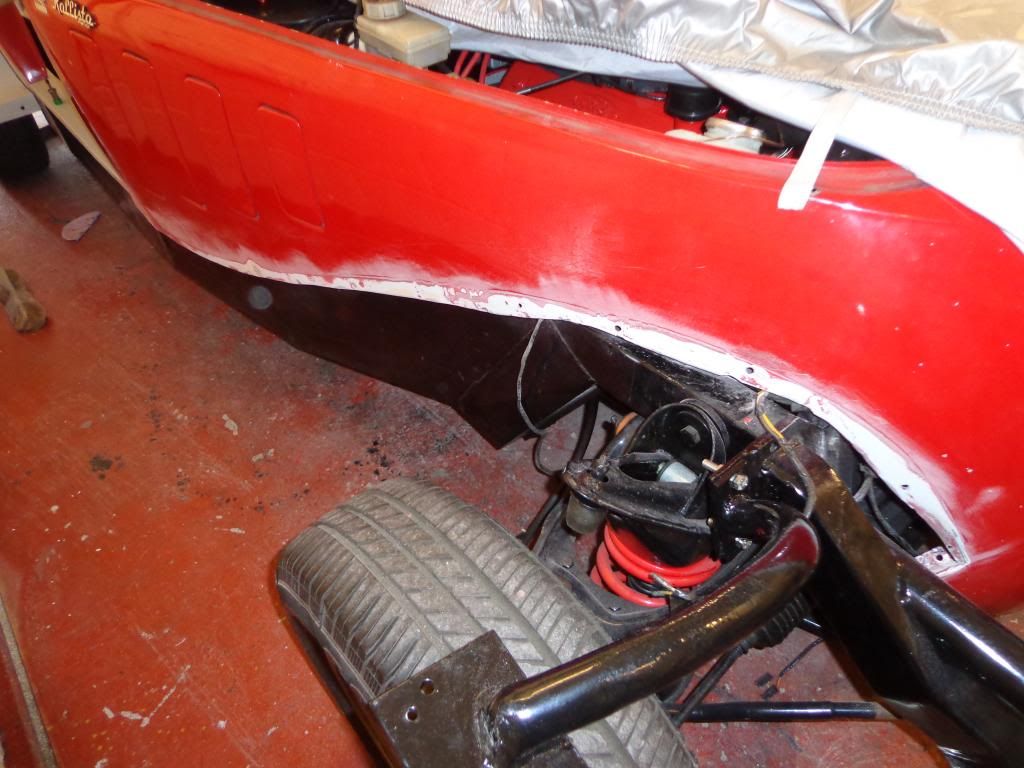
The wing fit great, once I am ready to measure up for the step I shall place  spacer's between the wing and the body to take the place of the wing piping but for now I shall fill and sand then maybe a coat of primer. The body where the front wing was is in far better condition than the rear, the only bad sections are where the rivets went through the body.
The side light and headlamp hole got sanded down to bare metal and feathered in, I shall fill and spray next.

I used the DA with a 120 grit disk and keyed the rest of the wing.
That was eneogh work for the first day and shall progress tomorrow. hopefully.

see ya Paul