Saturday, 16 June 2012

Heater removal

Hi
Home again after a couple of days break in the Yorkshire moors, had a lovely time and stopped at a 18th century country manor house called Hackness Grange very nice couple of days.
Lynne
Shame about the rain storms.
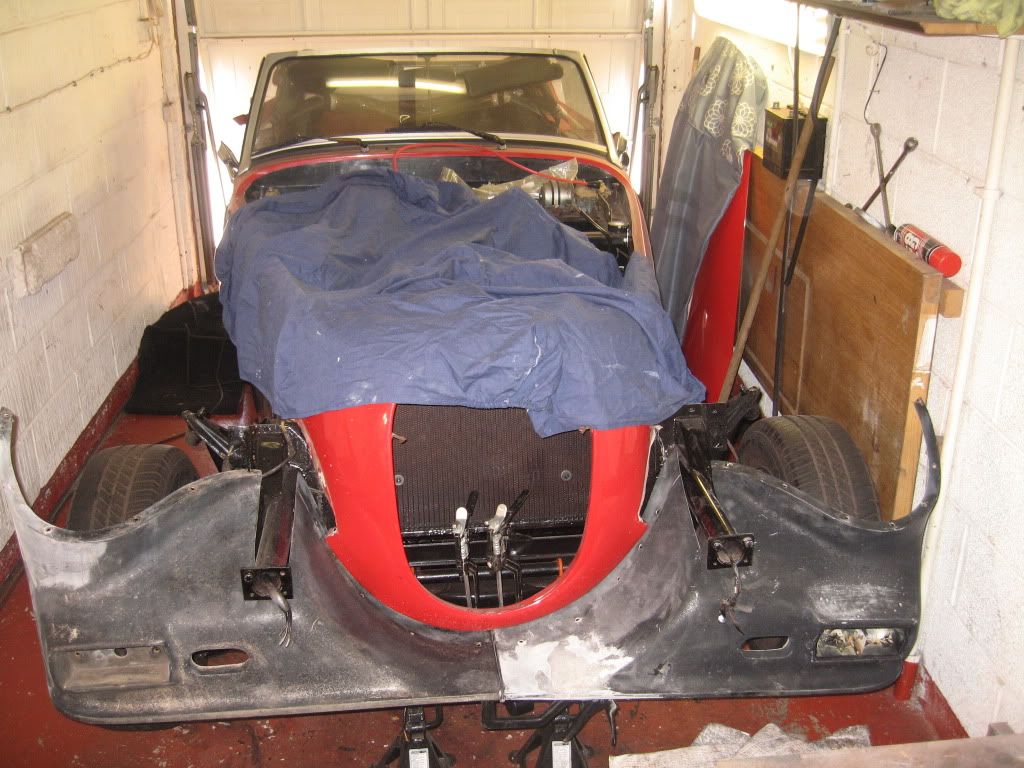
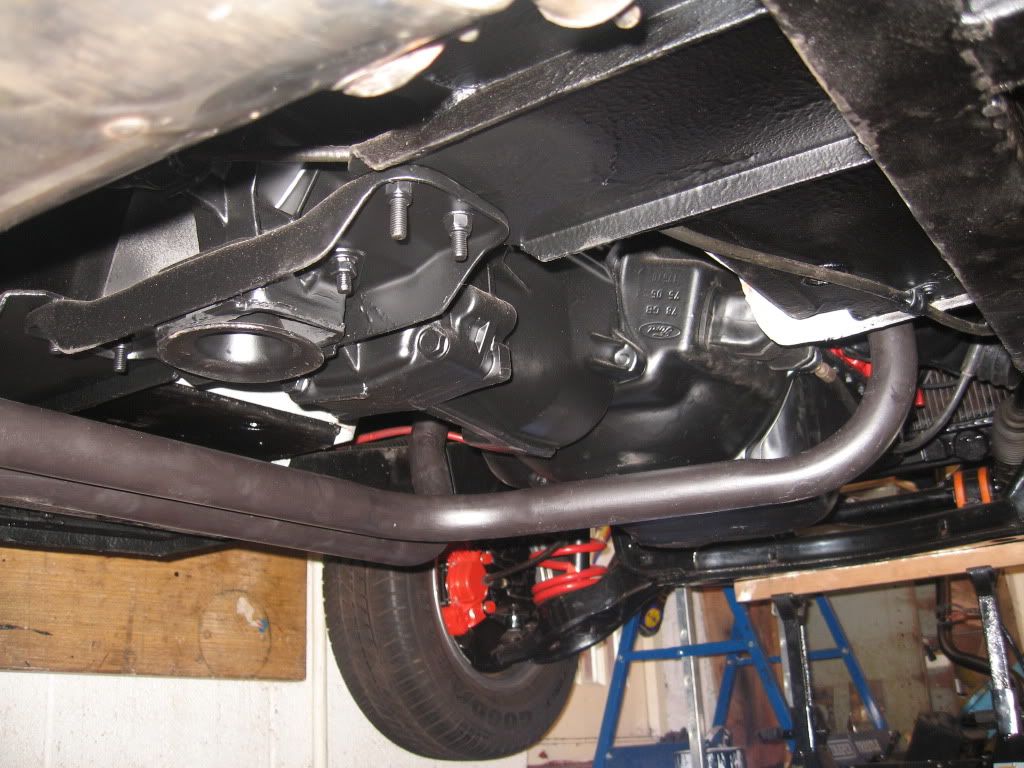
Got back at lunchtime and got stuck straight in, I had a bit more stoneguard spraying to do on the propshaft knuckle and the underside of the axle diff. Once done I got the car dropped back onto its wheels, I'd forgotten just how low down the car is.
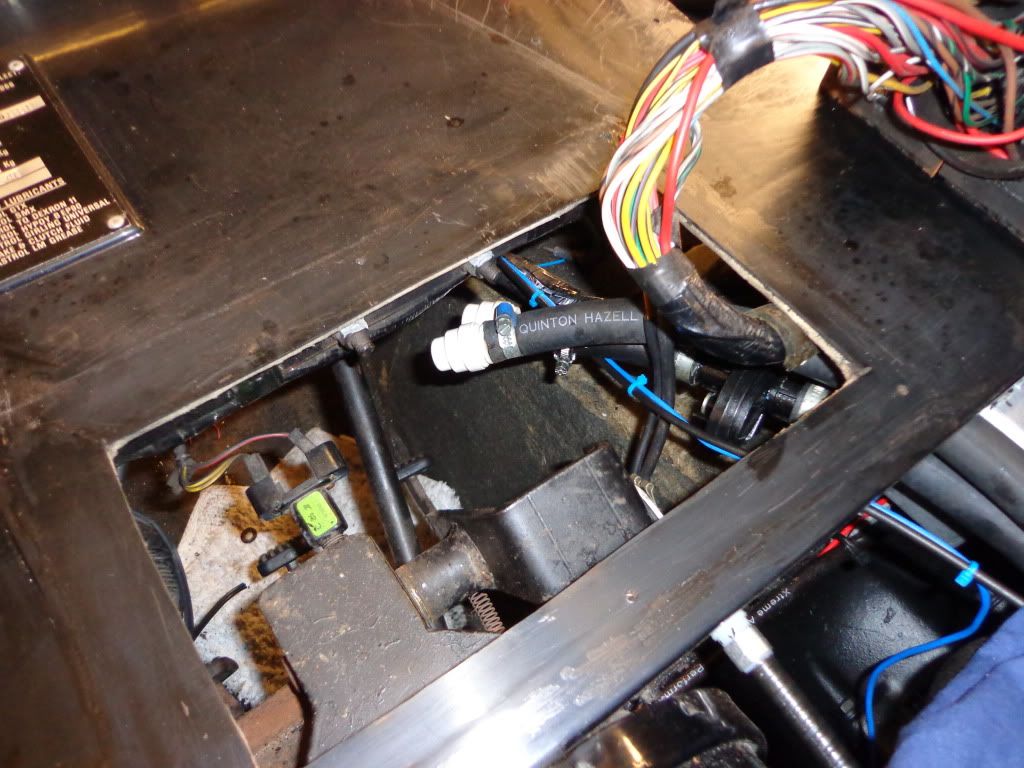
I am hoping to get the engine turned over this time home just to see what leaks on both the cooling and fuel system so I have topped up the cooling system ready. Before filling I have blanked of the heater pipework under the dash with some 15mm pipe blanks and added a bottle of Holts speed flush.

I have filled the rad right up and shall leave overnight to see what leaks or not as the case may be.

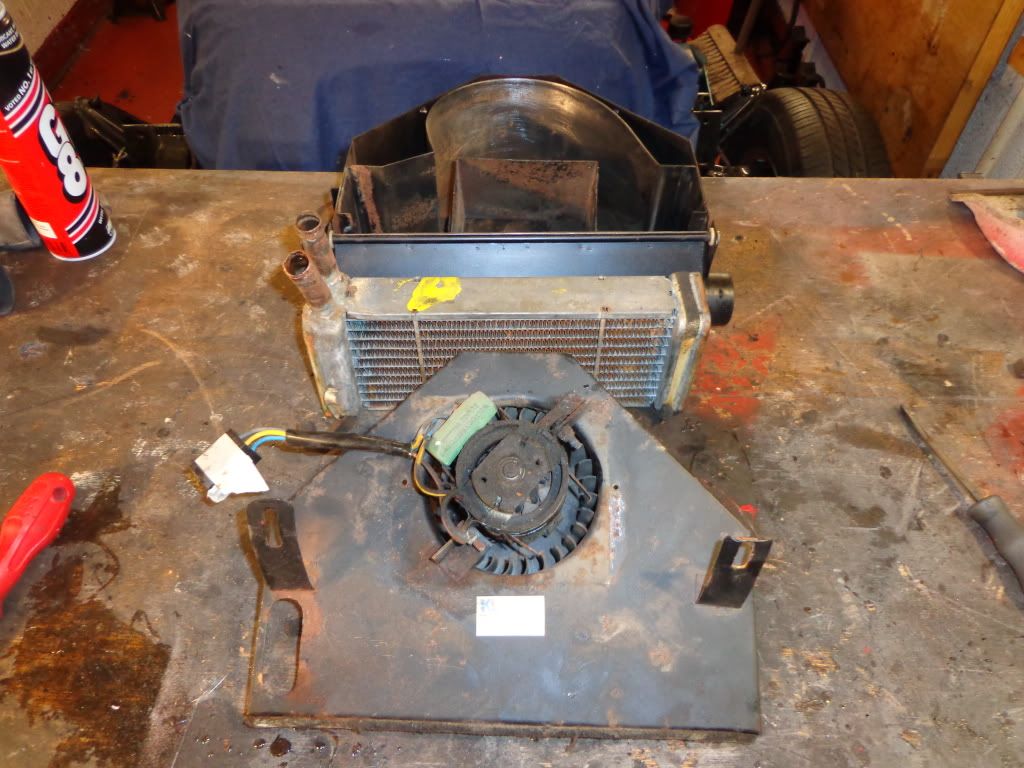
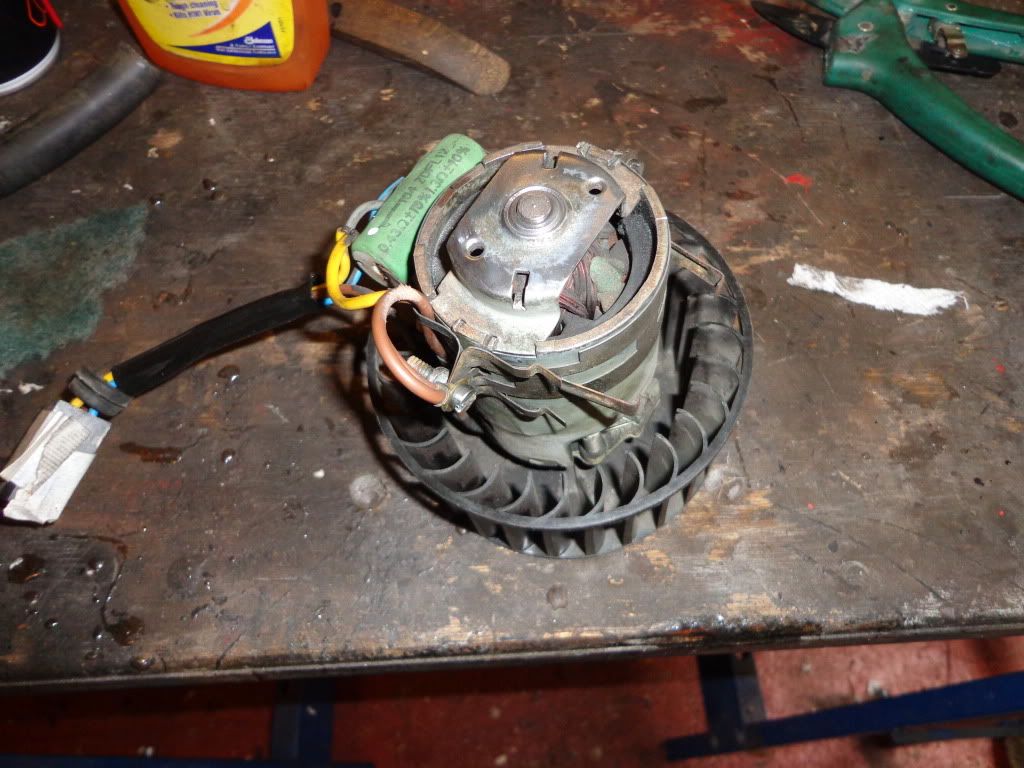
The main job today has been stripping and cleaning the heater, It wasn't really in that bad a condition considering what it has sucked up over the years, I thought it would have been a lot more rusty inside but not to bad.
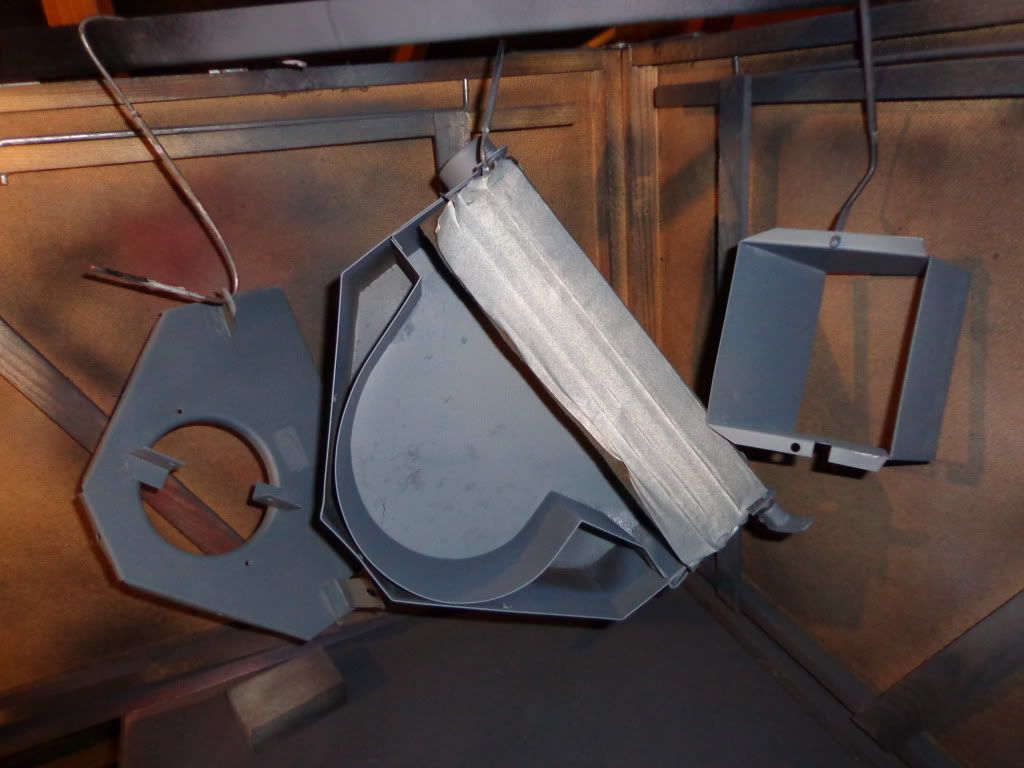
I stripped down the heater unit to its main components which is only the heat exchanger, fan unit and metal work. The metal work has been given a good rub down with emery cloth and primed with acid etch.
Not much I can do with the heater unit it is either sound or it leaks but seeing as the footwell was dry when I bought the car I reckon its pretty sound so I have just blown it through with compressed air and cleaned up the tail pipes.
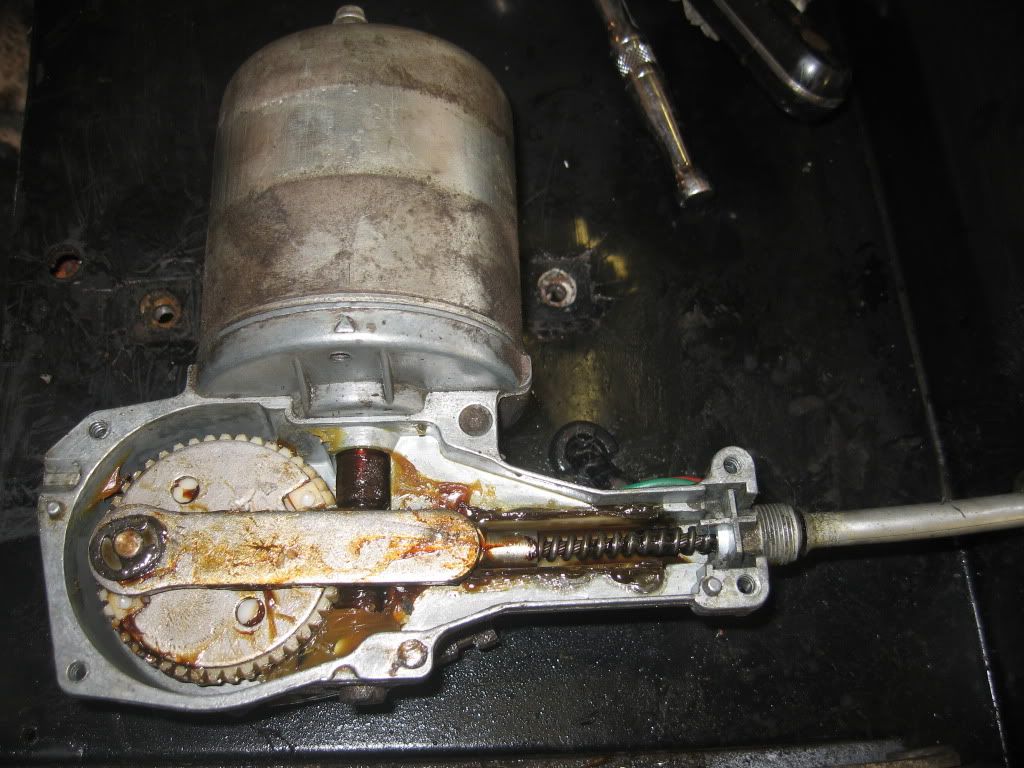
The electric motor had a lot of oily gunge around the top so a good spray with solvent cleaner and a scrub, came up quite well. I shall give it a run before I fit it back into the car.
That's all I've got done today, the primer will be set tomorrow so will be able to paint and fit back together.
Can anyone out there help; 
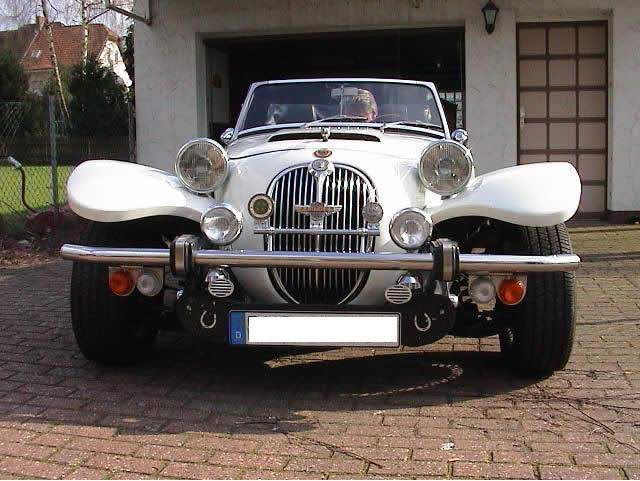
I have found a photo on the web of a German Kallista and was wondering if anyone recognizes the grill it has fitted, it looks like a Mk2 Jag but was hoping someone out there knows for sure.
If you know what car it is from could you please let me know.

see ya Paul

Wednesday, 13 June 2012

K&N filter

Hi
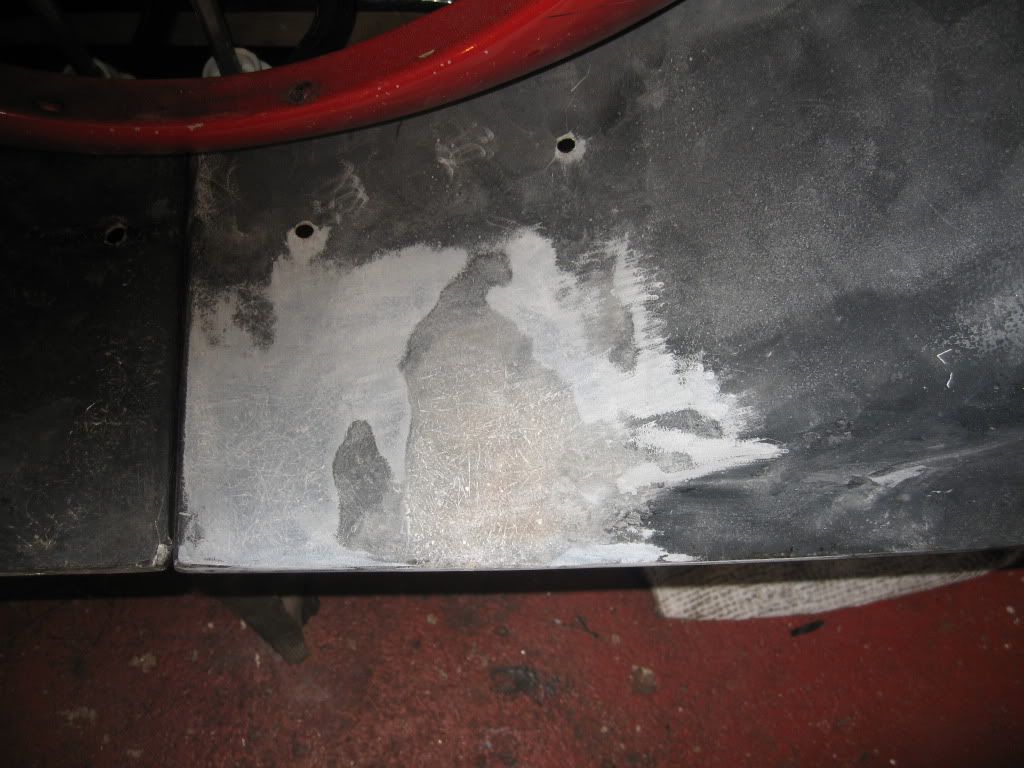
Just a little more progress today mostly in the engine bay but before that I had a look at the fibre glass repair and it came up very well indeed. I feathered in the outside repair without taking to much of the fibre glass repair away although you can hardly see the repair so hopefully it will be the same when the paint is on.
I have test fitted the spoiler to see if it fits in the middle, Terry has told me that because of these cars being hand made that there is a huge variations in the build and that some cars require a spacer in the middle. Mine seems to fit ok but I have just clamped it in the middle without the wings on, you may be able to see the holes already drilled from its original fit and they are a lot more forward. These will need filling if they remain in this position.
This is part of stage 3, the doors off stripped and repaired, windscreen out, wings back on and new steps to be made and spoiler to fit not to mention all of the paint rubbed down and filled where necessary then painted so in the loft with the spoiler till then.
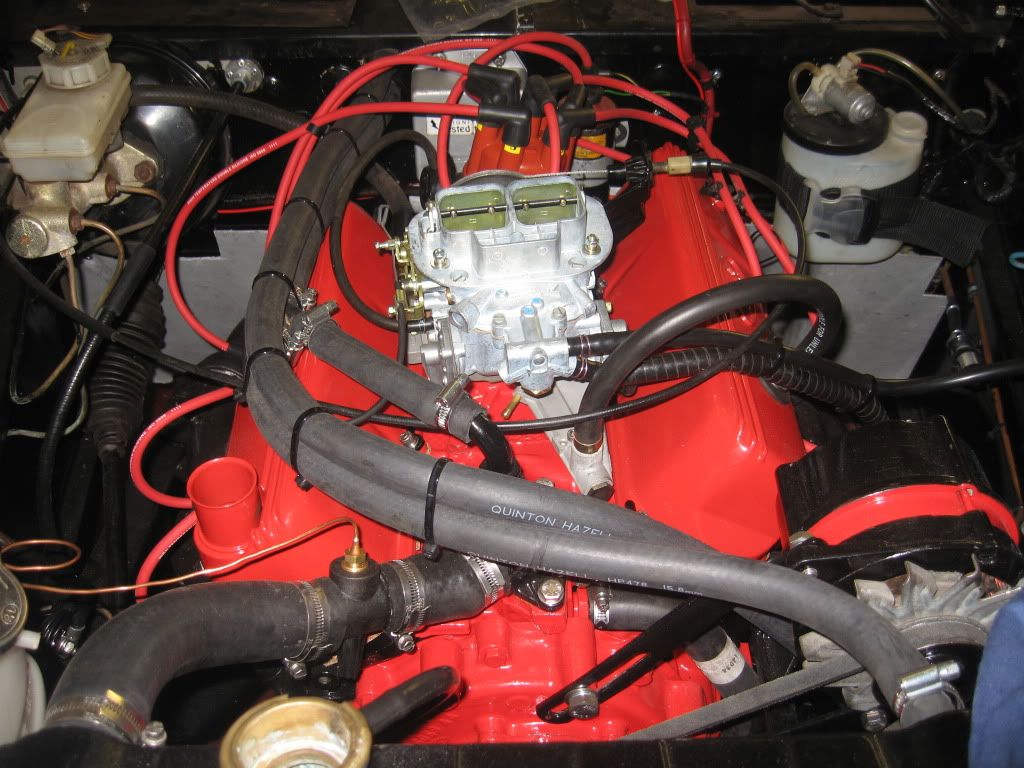
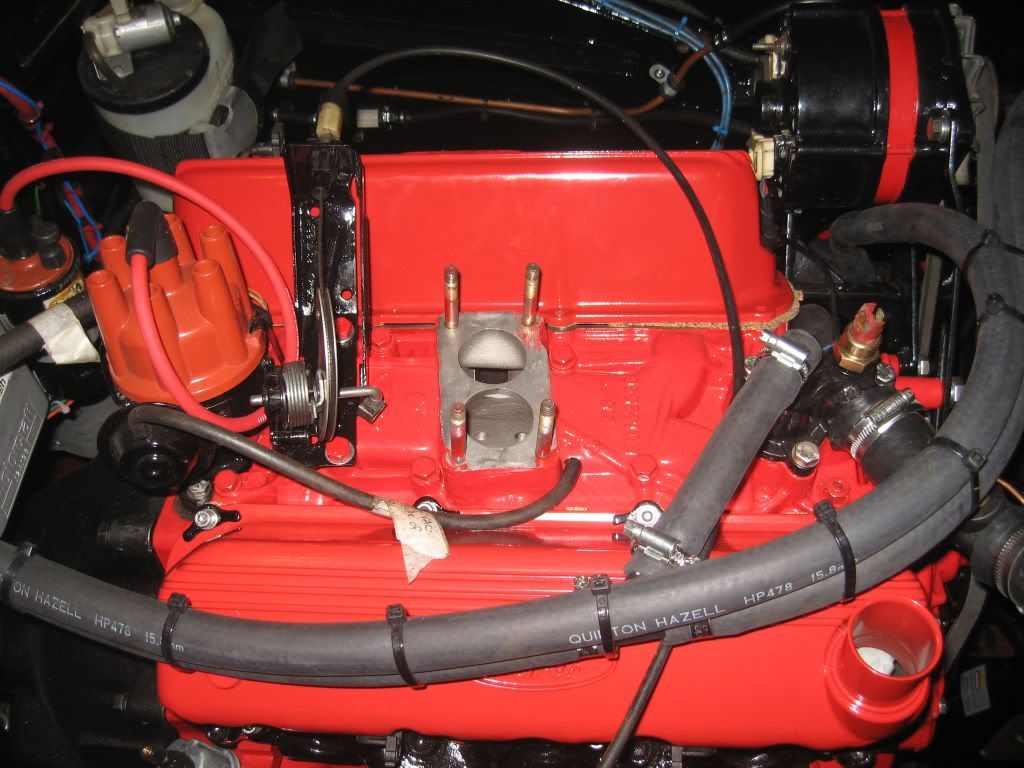
Not a whole lot left to do in the engine bay but still an afternoons work. The spark plugs went in followed by the HT leads, I had printed sticky numbers for the distributor cap and hopefully I got them stuck on in the correct firing order.
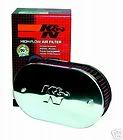
I was going to go for the large round black air filter from Europa spares but have decided to go for a Chrome K&N performance filter
I spoke to the guy at Fast road cars an authorized Weber dealer who seemed to know his business and he recommended this filter, one of the questions I asked was about the emission pipe from the rocker cover that fits into the original filter and also the small 5mm pipe from the carb to the filter. He says that the 5mm pipe can be plugged and the emission pipe is fed down somewhere under the engine and allowed to vent. Seems a bit hitty missy to me but apparently no performance filters have these pipes plugged in, so see what happens.
The rest of the day has been spent cleaning the plastic surround and painting where I can, It is badly cracked in places and very gunged up and took a lot of scrapping to remove the waxy oily residue.
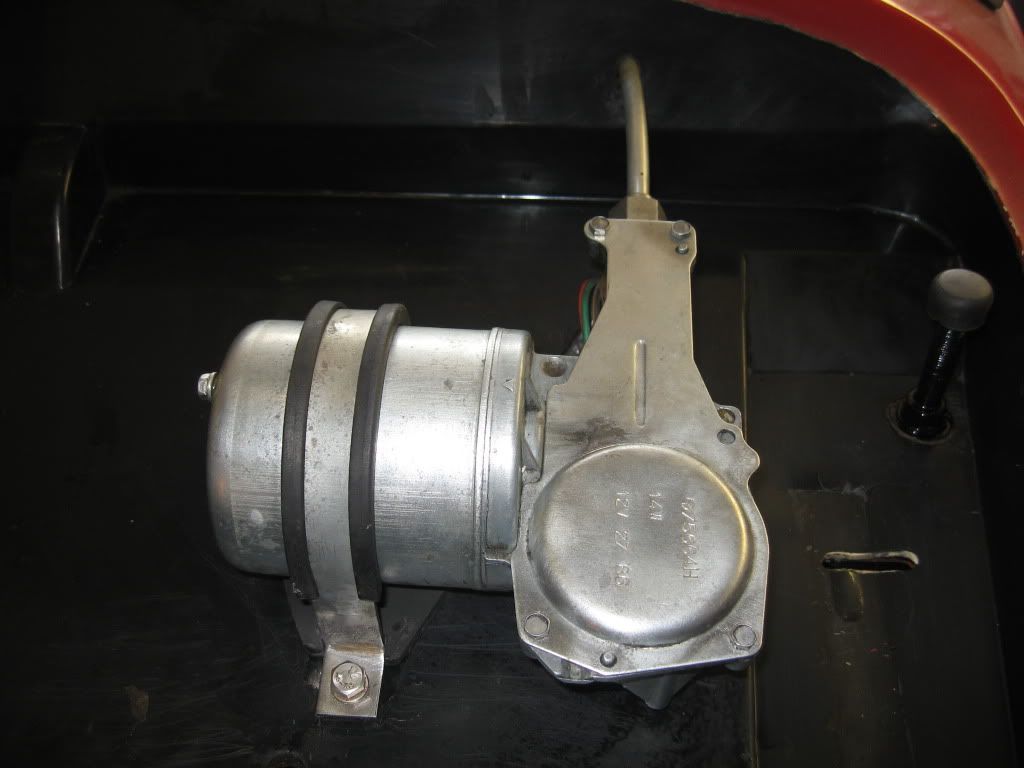
I was going to remove the wiper mechanism to clean and get underneath it until I removed the cover and thought better of it.
I was still able to lift it and clean under by removing the bracket then put the lid back on and gave it a good scrub.
I have also removed the bonnet hinges as they are in need a good polishing although I nearly gave up after struggling with the bolts, must have been some fun job to fit these originally.

Other than the air filter I have been doing plenty other buying while I have been home.
The first was a set of snail horns, maybe a bit premature but I like to have things available. At around £9 with P+P so not bad.
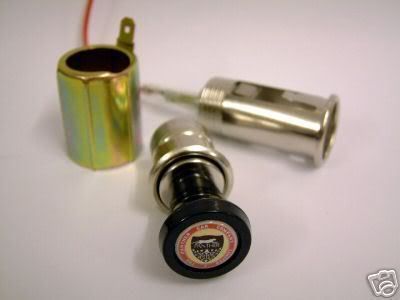
The next I decided on when I removed the center console and it is the cigarette lighter, same as the horn I like to have it available. This cost £15 inc p+p but on opening the parcel I found that it also came with the gear knob which is sold separately for £17 inc p+p. Whether or not this was a mistake on there part I don't know, but I now have a new gear knob.

From first buying the car I have been deliberating about the seats, whether is was cheaper and easier to buy new one's than to have them re-furbished or to fit one's from another car. I have been in communication with Terry B for quite a while over this and had virtually decided to have them recovered by Ray at Vee Six, I would also have had to buy headrests from Bruno at over £30 each so it was working out really expensive. I have now been informed that the seats from a TVR Cerbra fit but require a bit of alteration to the runners and the moving of the seat belt mounts, not a problem. The problem is finding them, well I did not find the Cerbra seats but I found a set of Griffith seats which are Cerbra seats as they used the same seats in both models. The one's I have are from a 92 model in Magnolia and I found them on eBay, I have only gone by the photo but for being 20 years old look in better condition than my MX5 seats at 12 years old. The guy who is selling them is happy to hold on to them until I get home next time as we are going away for the weekend so I don't want to take the chance of missing the delivery.

I shall either have a go at restoring and re-coloring the leather myself or get a price for a pro to do the job although after blowing up the photo I can see very little scuffing and the guy selling them says they have been well looked after but could do with a good cleaning and conditioning of which I have all of these creams for my other cars seats.
The delivery is £30 and the seats cost £104 so hopefully I'll get them to fit and I will have saved myself a few hundred pound and have nice comfy seats, will have to wait till next time home to test fit.

see ya Paul

Tuesday, 12 June 2012

Fitting Exhaust & Carb

Hi
The last couple of days have been very productive and the end of the second stage is finally in sight.
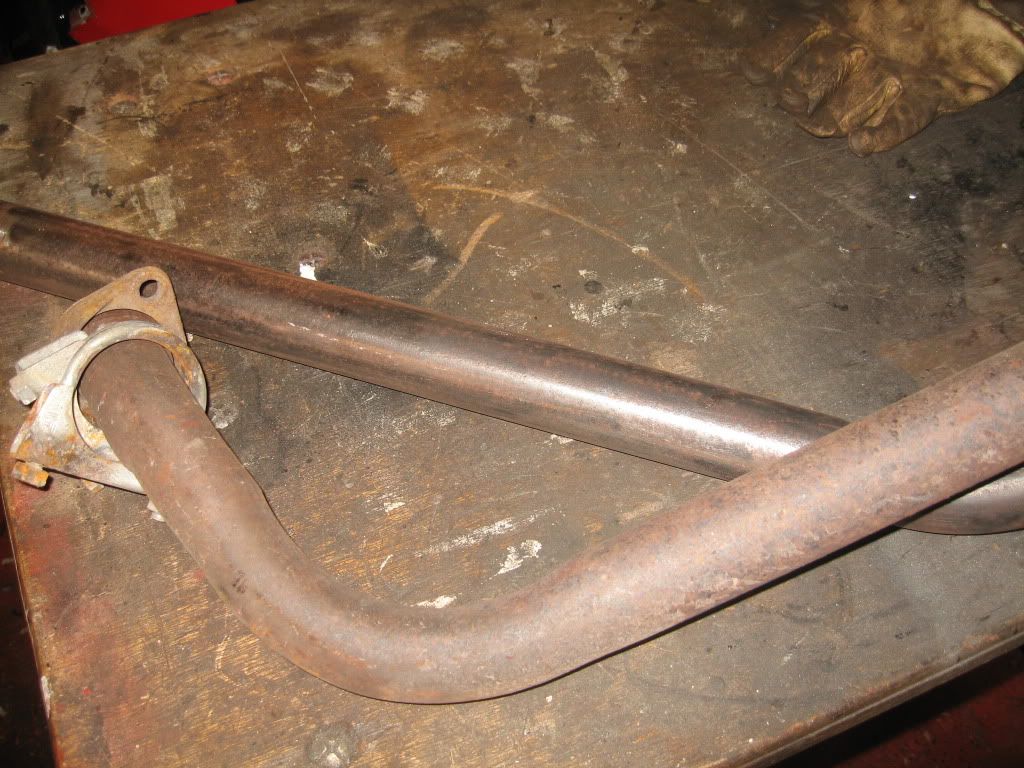
Yesterday was spent getting the underside mostly complete. I started with getting the exhaust prepped and was pleasantly surprised at how good the steel was under the surface rust, I had not really looked at them since removal I had just put the pieces in the shed. The wire brush on my angle grinder soon removed the surface rust 
Before and after
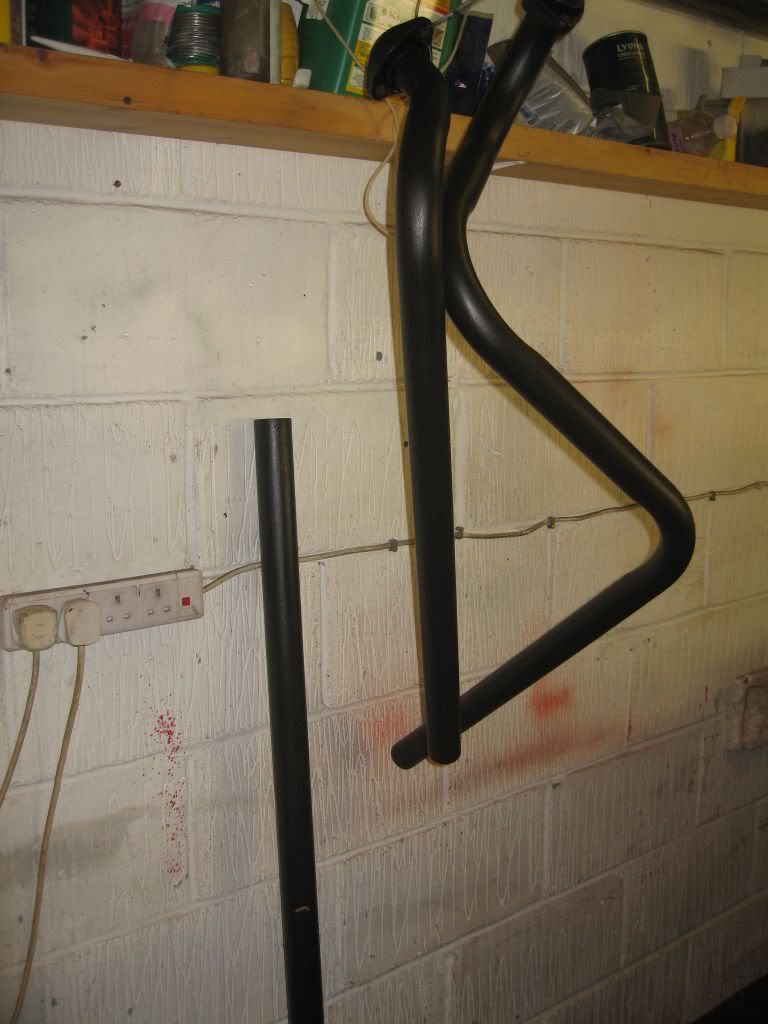
then a coat of the same high temp paint I used on the manifolds.
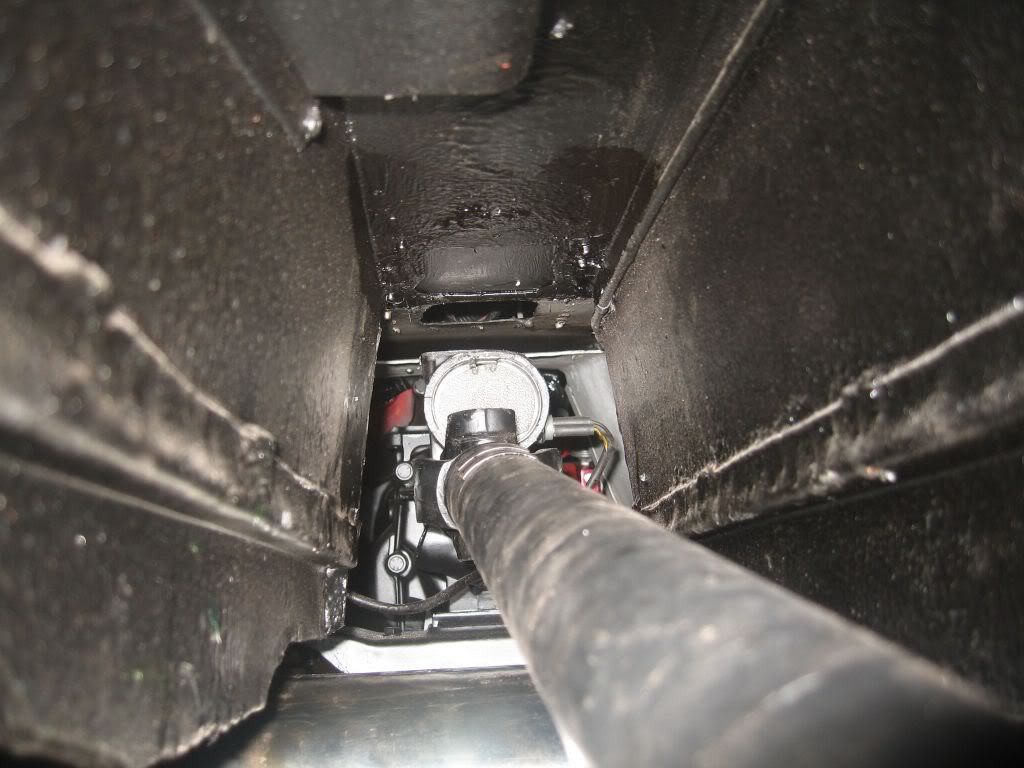
While waiting for the paint to dry I cut a blank to cover the hole I cut from the gearbox rear blanking plate, which I glued in place and fitted. The prop shaft was next, this just popped in then bolted up.
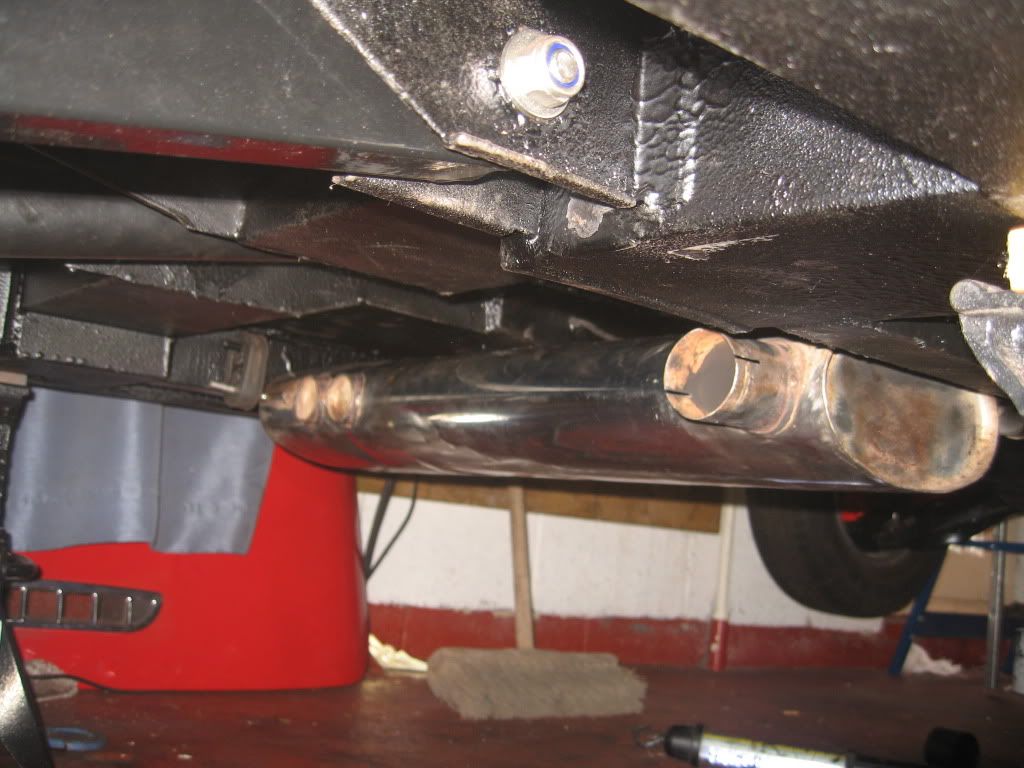
The stainless steel silencer looked a little worse for wear as it had made contact with quite a few speed bumps over the years but came up quite well with the rotary wire brush and this got hung on its hangers.
This really is quick drying paint, after only half an hour the pipes were ready to fit, I used Holts exhaust paste for the connections and tapped the pipes into the tube connectors.
You can also see in this photo the clutch cable is fitted, I had altered the connection to take the Granada clutch cable I had bought but it was easy enough to change it back. I ordered the new cable from Bruno spares and it arrived the next day, only a 5 minute job to fit now that I know how its done.
The paint needs touching up but all done, I shall keep the old one as the emergency spare as there is still a good few miles in it.
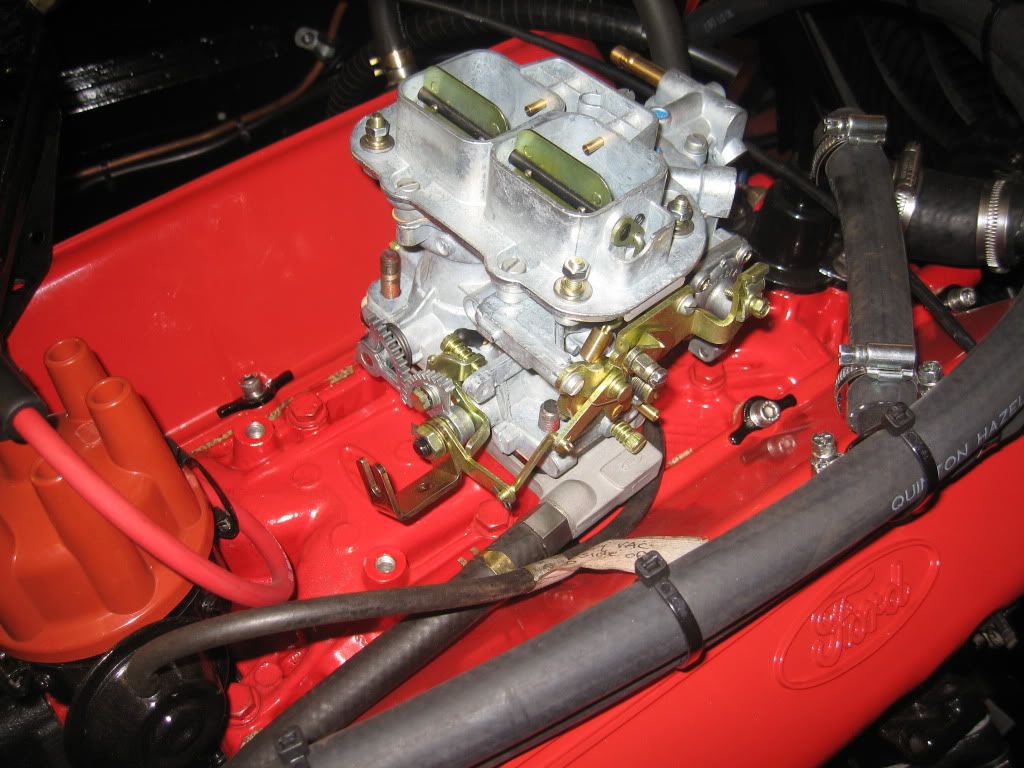
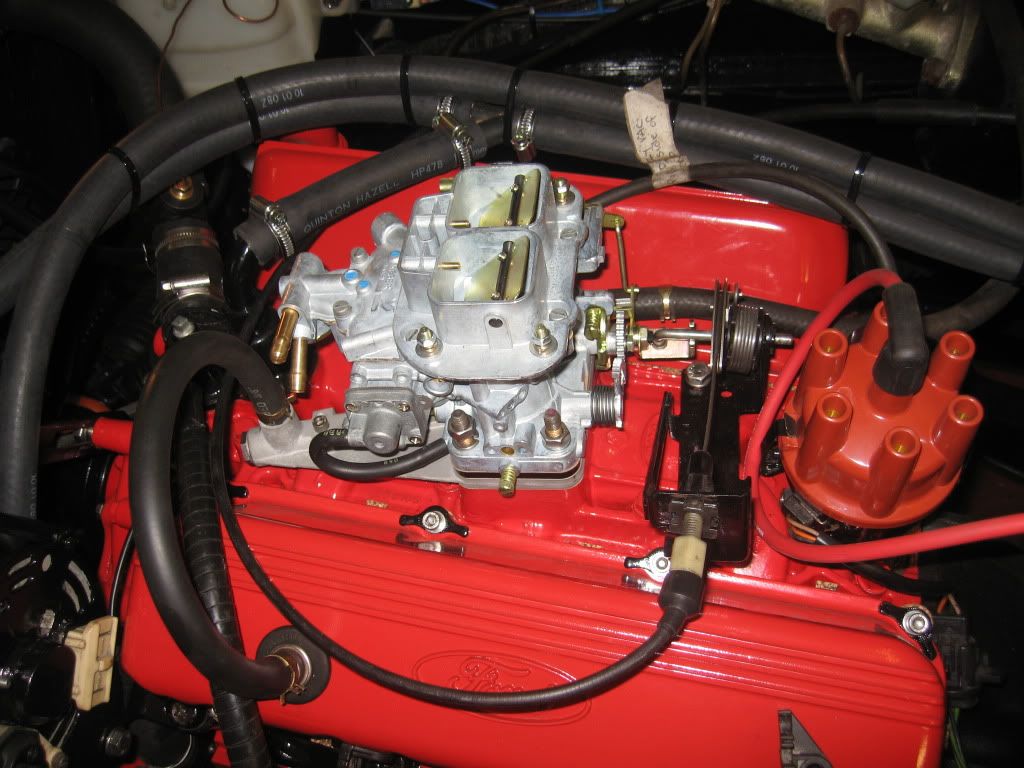
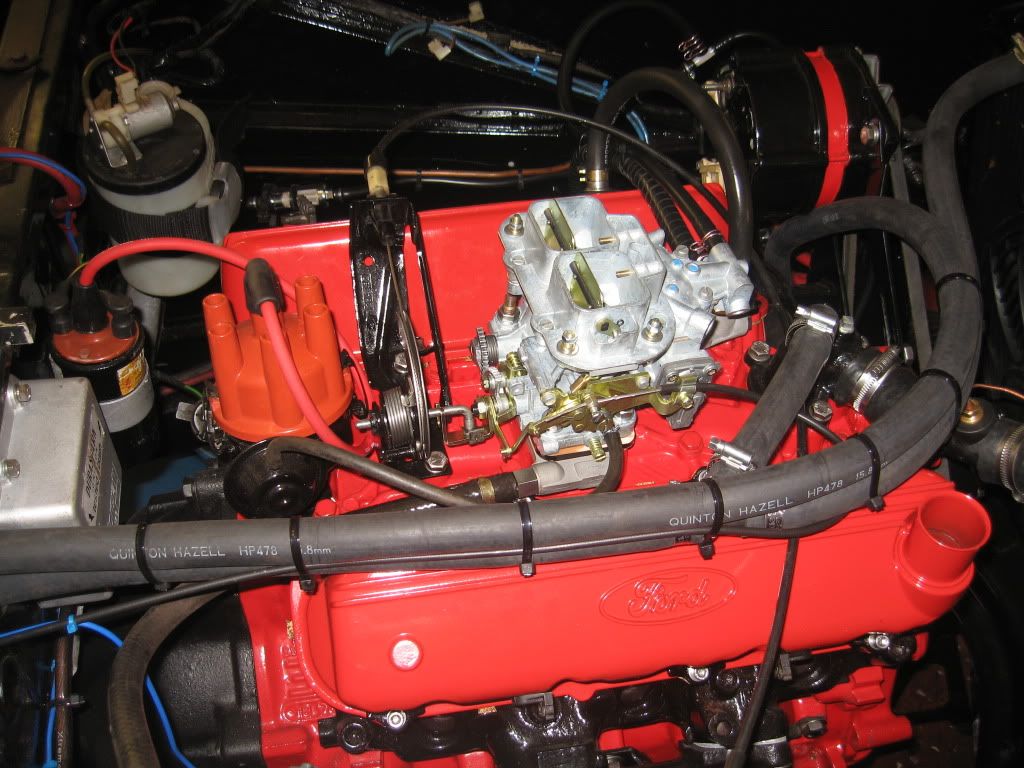
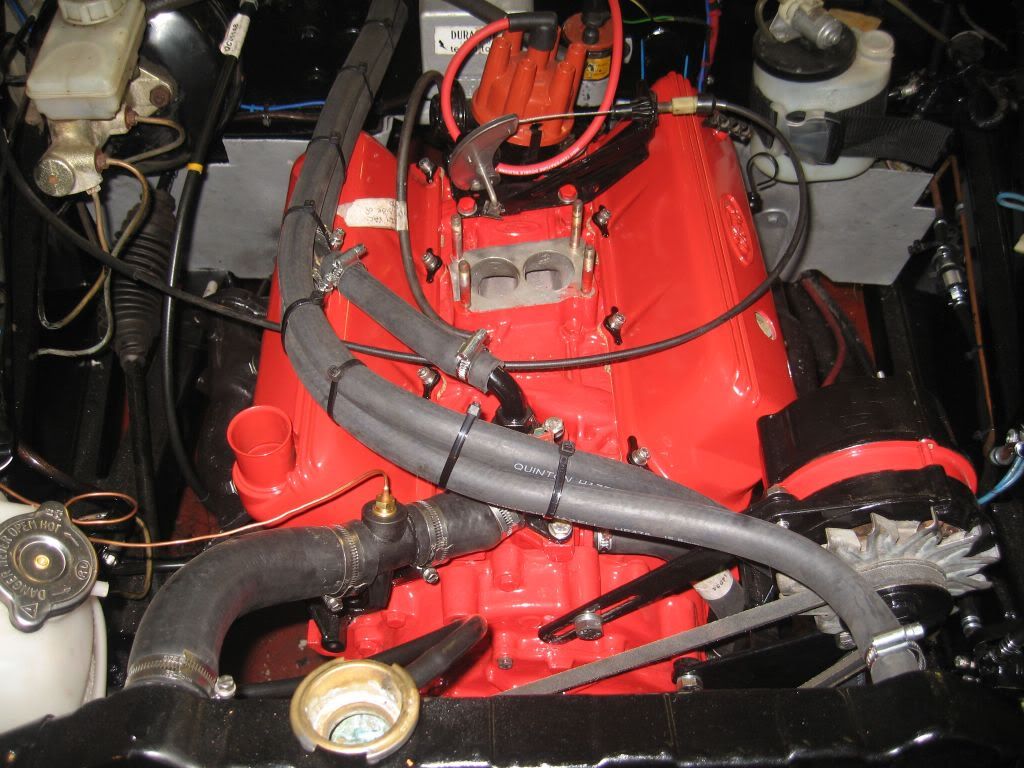
Now for the bit I have been waiting for the carburetor, this is my new one from John who has set it up for the Cologne. 
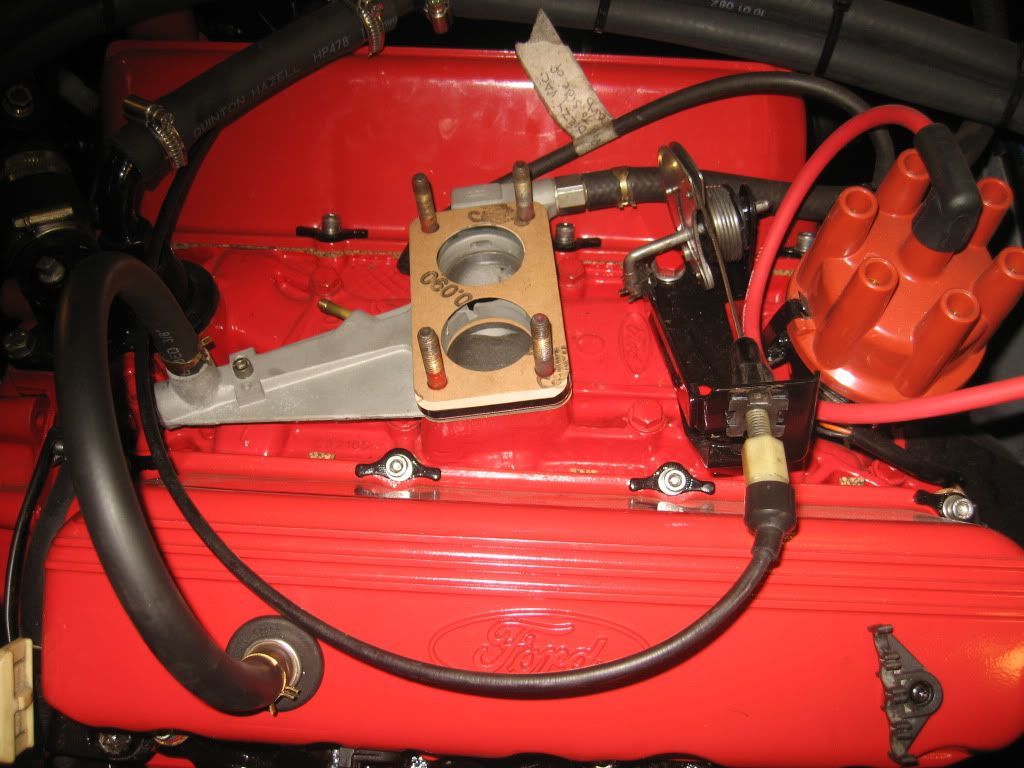
I started with the emissions plate and heat spacer then the gaskets and hoses.
The far right top stud had to be cut which was done after this shot was taken as it impedes on part of the carb. The throttle mech was removed and the carb fitted in position
then the throttle mech replaced and the arm mech was positioned in its slot.
Once happy it was in the correct position I bolted everything down then got to the fuel pipes.
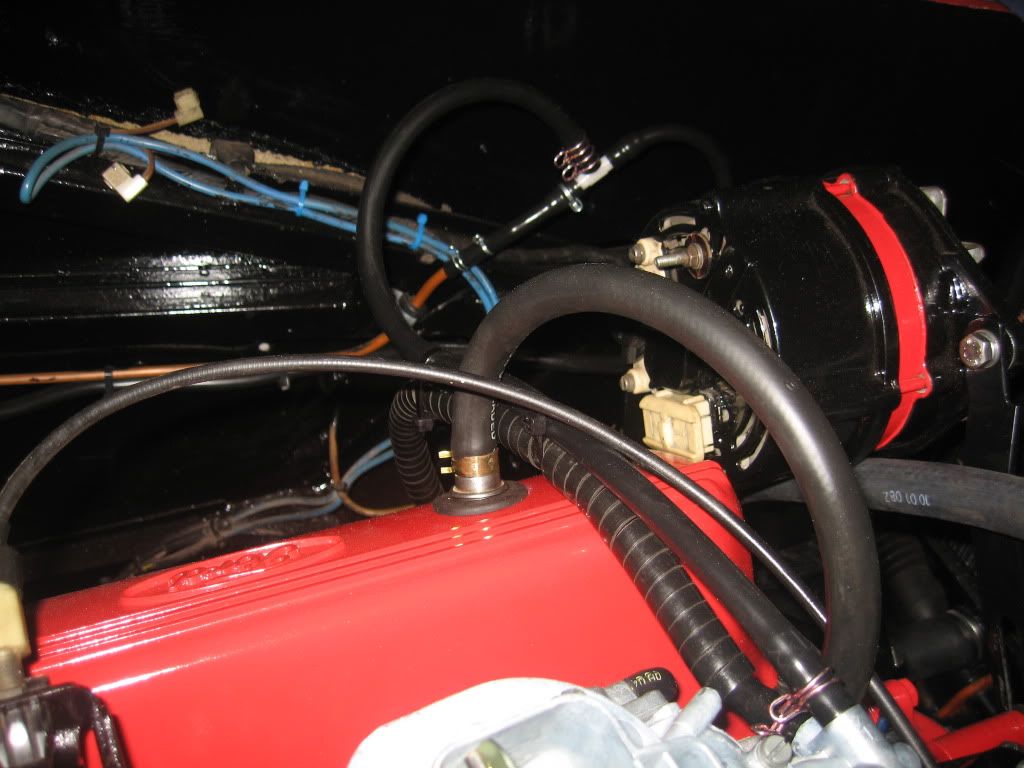
The original carb had no return fuel line and this one does, there is a tee piece supplied with the carb for this eventuality. There was also a fuel filter supplied, a large ugly plastic one which I did not fit, I already have a good quality glass filter fitted which should do the job if 2 are required I shall get a better inline one only 2 minutes to fit. The tee piece was fitted after the
pressure return valve. You can see the tee at the back of the photo and the fuel lines in and out of the carb.
That was the carb fitted and just the manual choke to do.

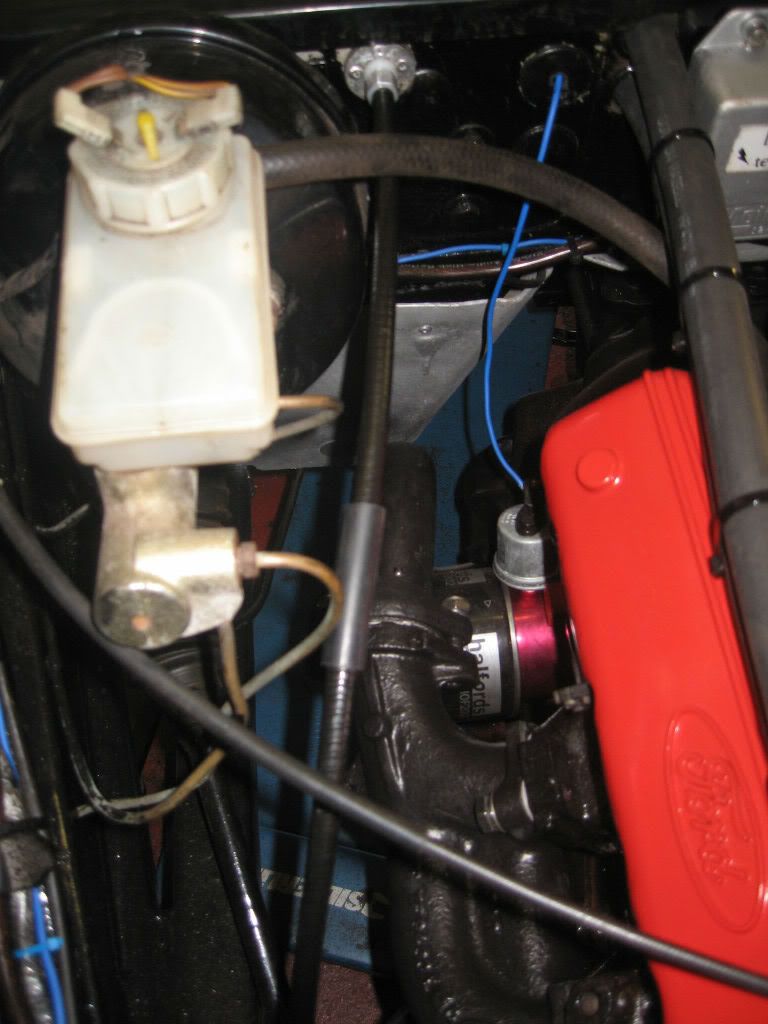
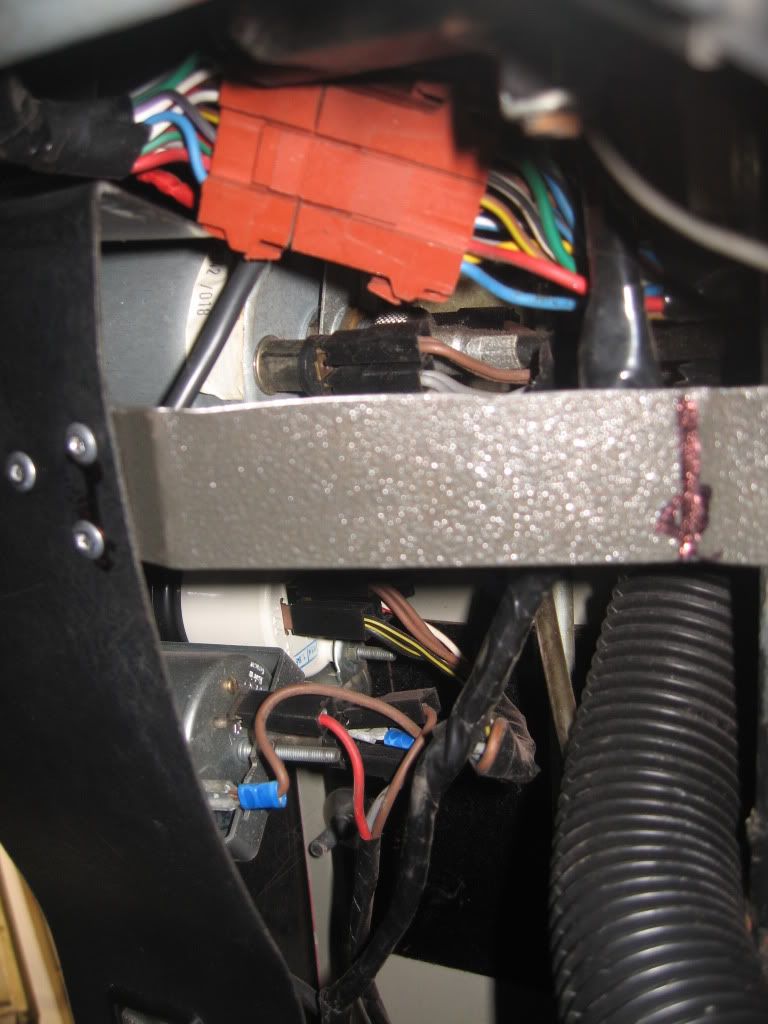
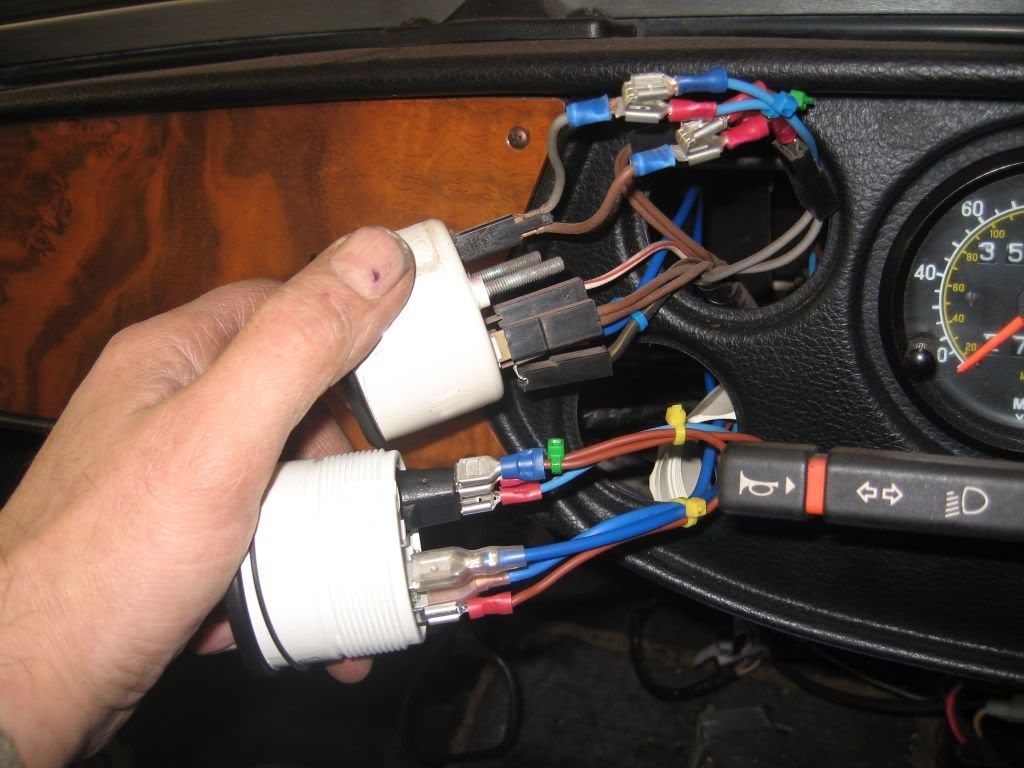
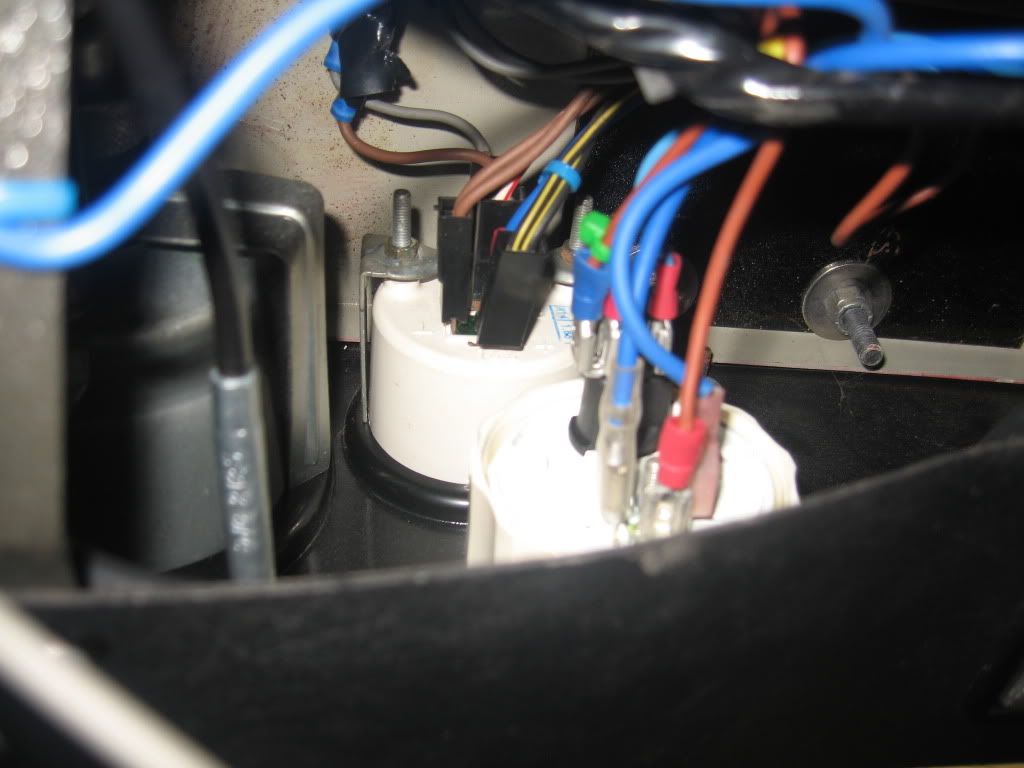
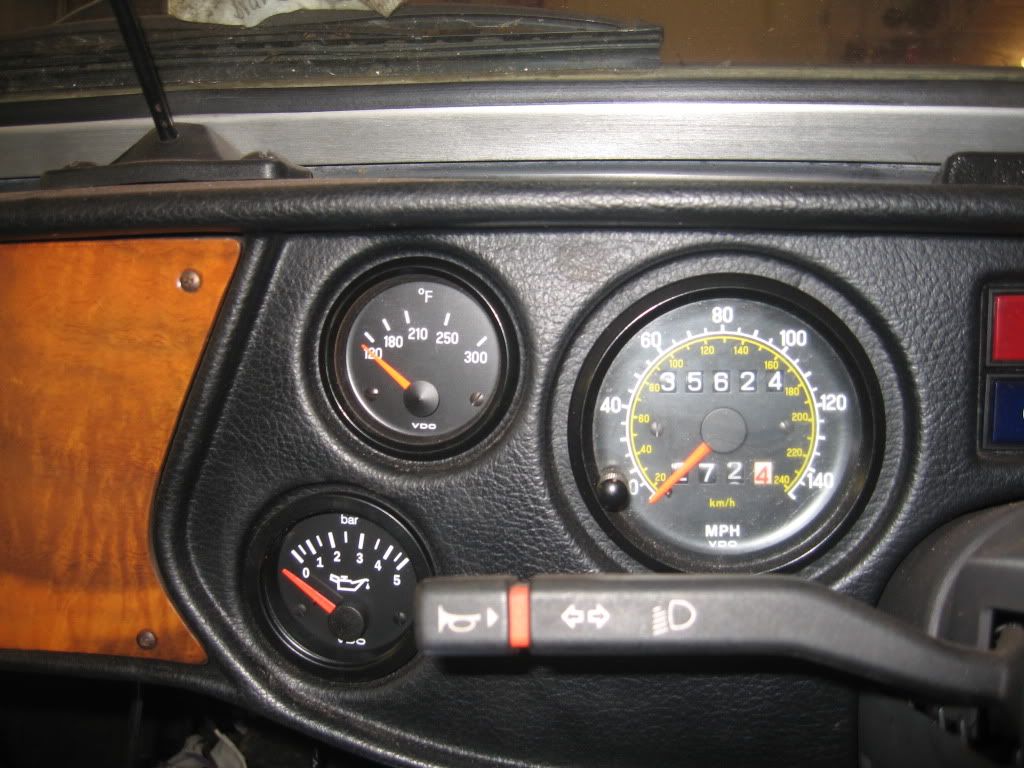
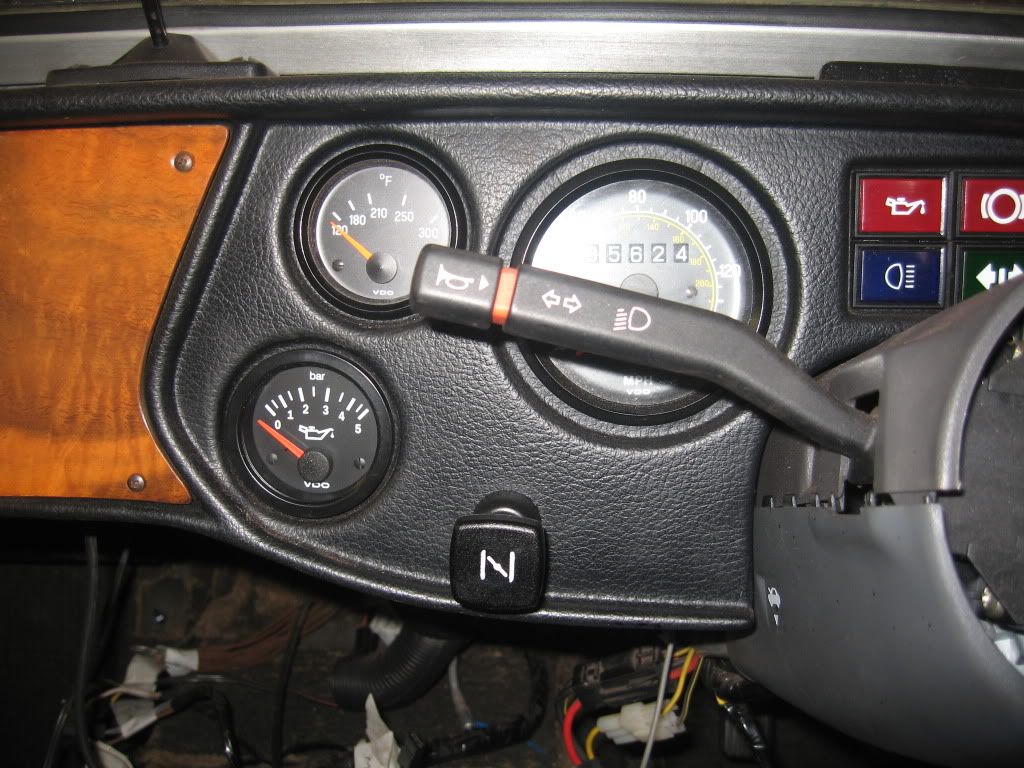
While working on the choke under the dash I decided to also get the oil pressure gauge fitted, this proved to be far easier than I thought it would be. The gauge and the choke were to be fitted to the left of the steering wheel the gauge in the clock hole and the choke beside it, unfortunately this side was very flimsy as no bracket was fitted unlike the right hand side so a bracket was made first out of a piece of steel and riveted it in place
The power for the gauge came from the water temp gauge fitted just above which made it very convenient, I first removed the clock and replugged the wires in so I don't forget where they go, this will be fitted elsewhere. The bracket for the temp gauge was removed then I pulled it out to reveal the wires, it was a simple job then of fitting branch connectors from the temp power and earth to the oil pressure sensor and light then a wire from the sender to the gauge.
I taped up all of the bare connectors and put everything back.
A view from under the dash.
And a view from the front, I shall be fitting chrome bezels when I get around to sorting out the cabin. It was very disappointing that the gearbox extension did not fit as this throws my whole plans for the center console radio space out of the window. Re-design needed.
Next came the choke cable. 
I had removed a grommet and punched out a hole for the oil pressure sender cable to go through (you can see this on the clutch cable photo)  and used this to take the choke cable, a hole was drilled through the dash and the cable threaded through and the pull handle nut tightened with a backing plate fitted.
I could have fitted it a bit higher but on testing I found it impeded the indicator stalk if pulled out and switched on at the same time so I fitted it a little lower than center.
The cable was all clipped underneath then along the heater pipes to the carb connection, I have tightened where I think it should be positioned which does not mean it is correct so it may have to be tweaked a little.
That I think is that for the carb just one more vac pipe to fit to the air intake, I have tried the original air intake but I think not. I have seen a large black one from Euro spares but it is around £100 so I may wait till next month for that.
I have also replaced the rubber fuel pipes on the fuel tank which I had forgotten about.

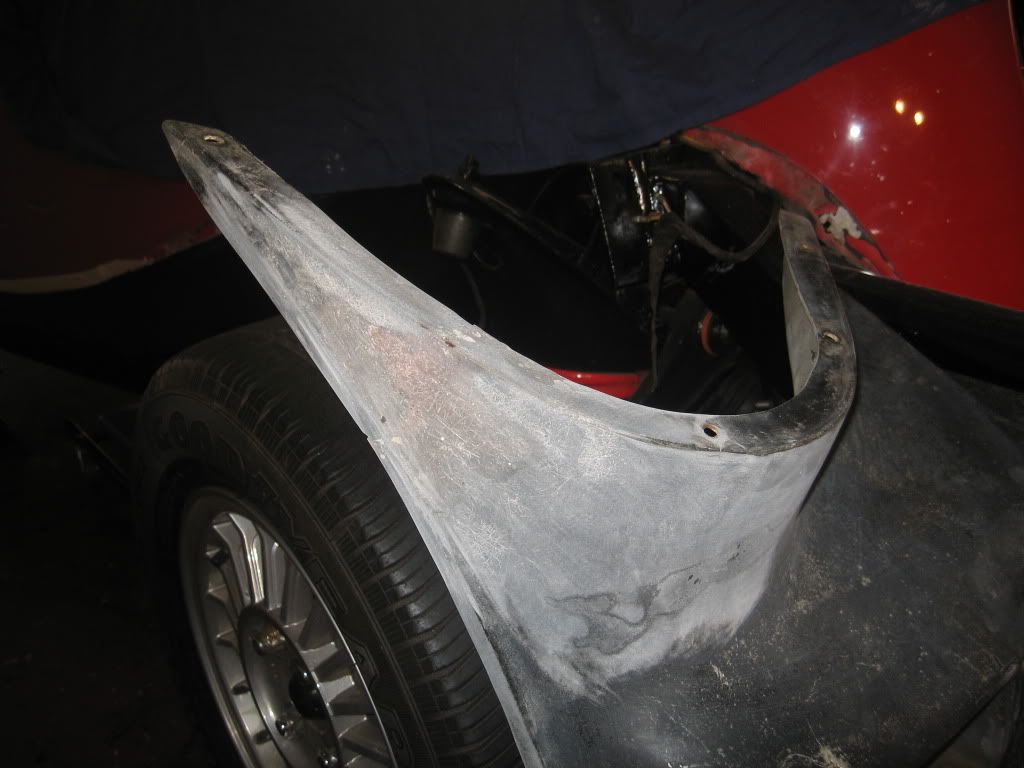
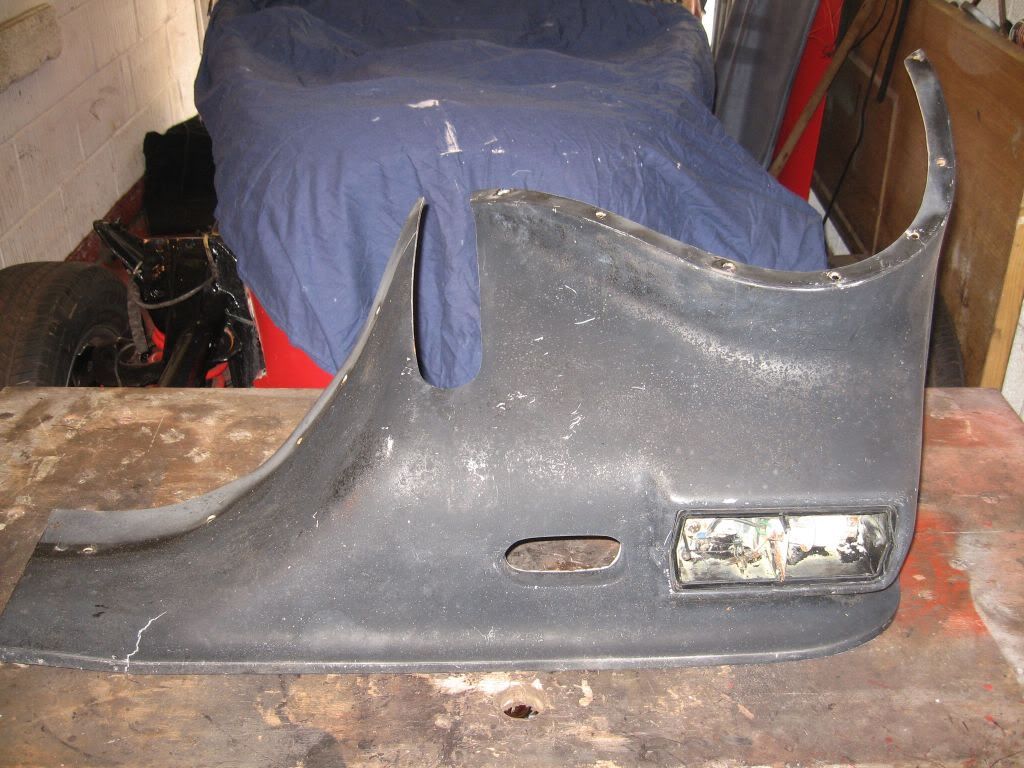
A while ago I mentioned that I would like to fit a snow plow spoiler but they are as rare as gearbox extensions that work, well not quite as Terry B came up trumps and found one for me. I picked it up from the post office on Thursday but unfortunately the royal mail didn't treat it with the respect it was due and broke it a little. Not a problem as its all part of the fun.
 Just a crack in this one.


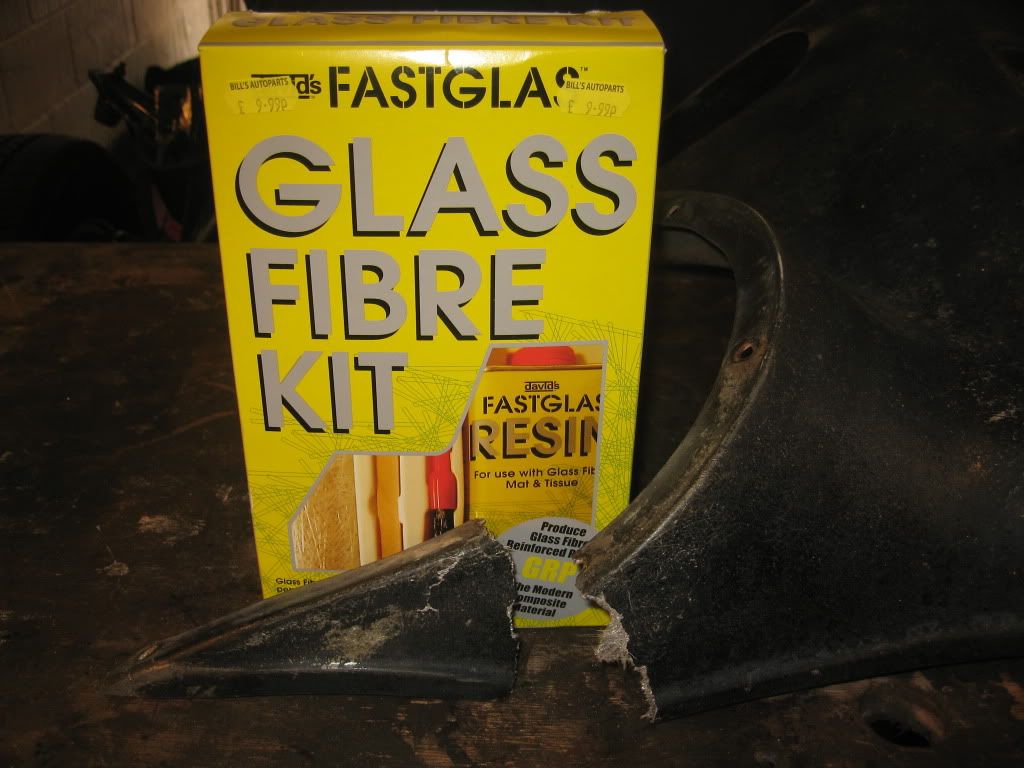
This one had the corner fully broken off so down to Bills autoparts and I bought a repair kit.
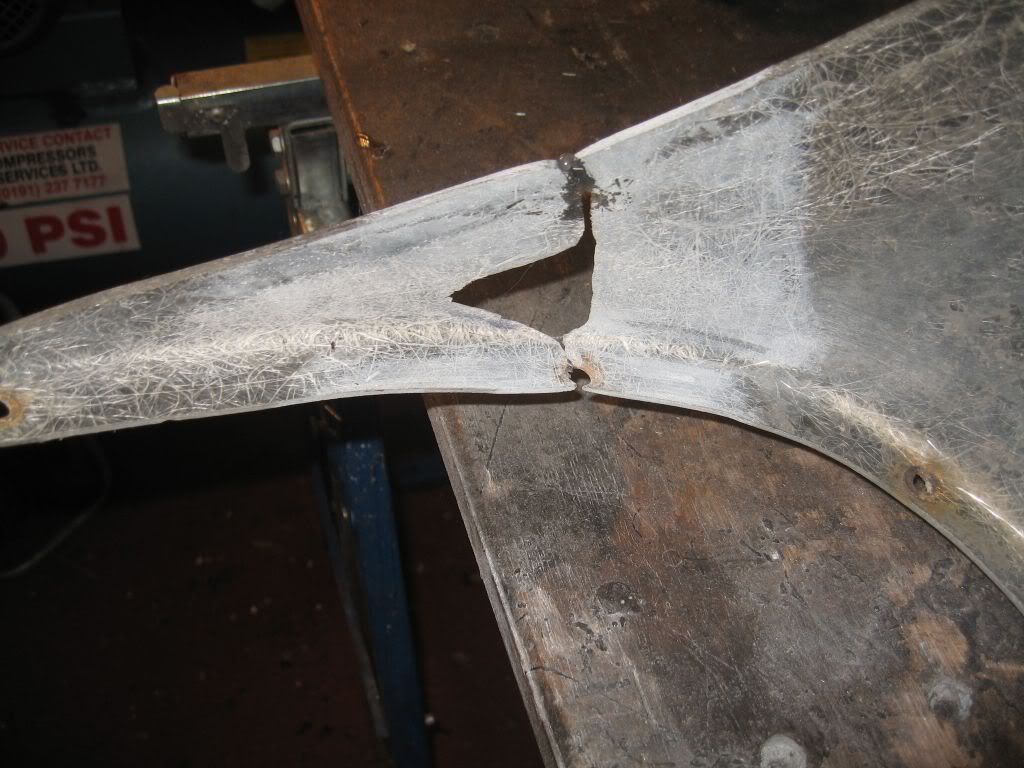
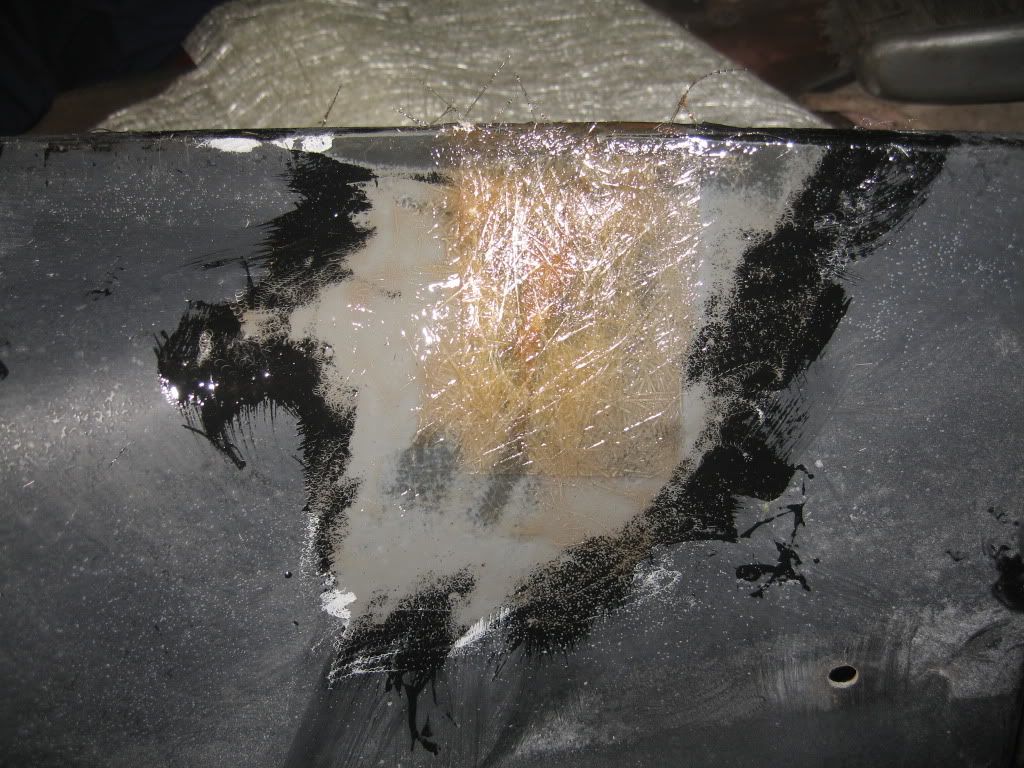
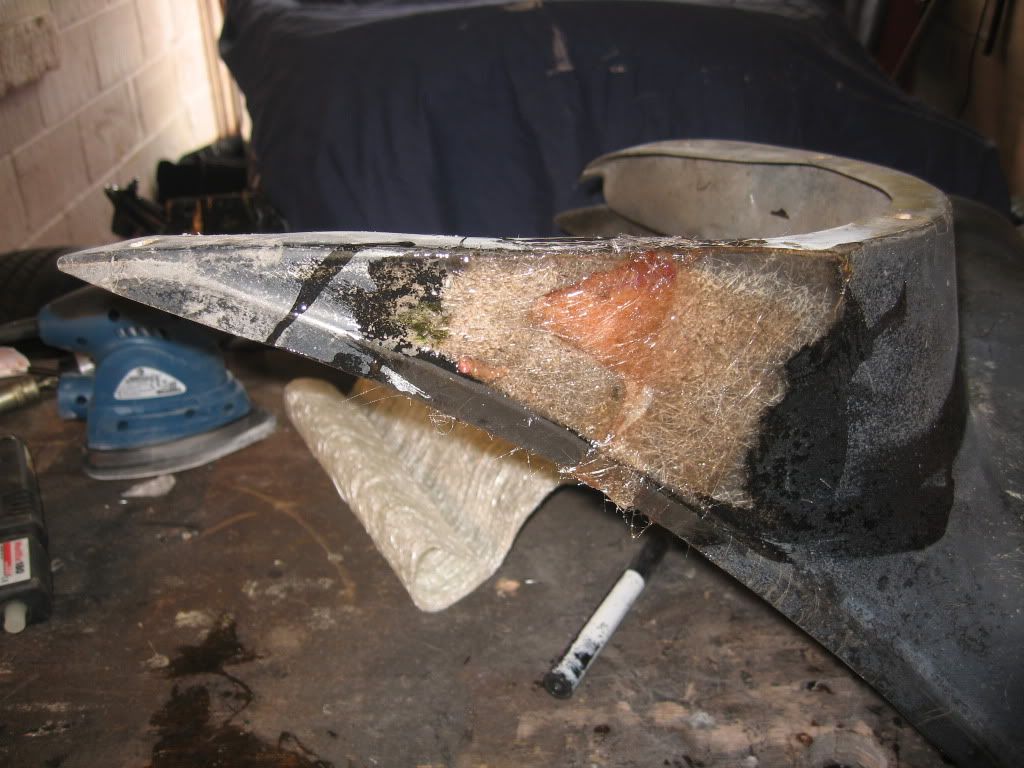
It was not a clean break off but a bit more damage into the middle which had to be cut out, the area was sanded and tapered down then ready for the repair. I first stuck the two pieces together on one side with the glue gun just to hold it together then mixed the resin.
The only time I have used this resin system is on pipework at sea mostly thistlebond, very much the same as this. I cut the fibreglass first and a bit of steel plate then wet the area and laid on the fibreglass then the steel plate and another coat of fibreglass. I waited till it dried then did the other side.
I shall wait until tomorrow so its nice and hard then sand it down with the rest of the spoiler before priming.
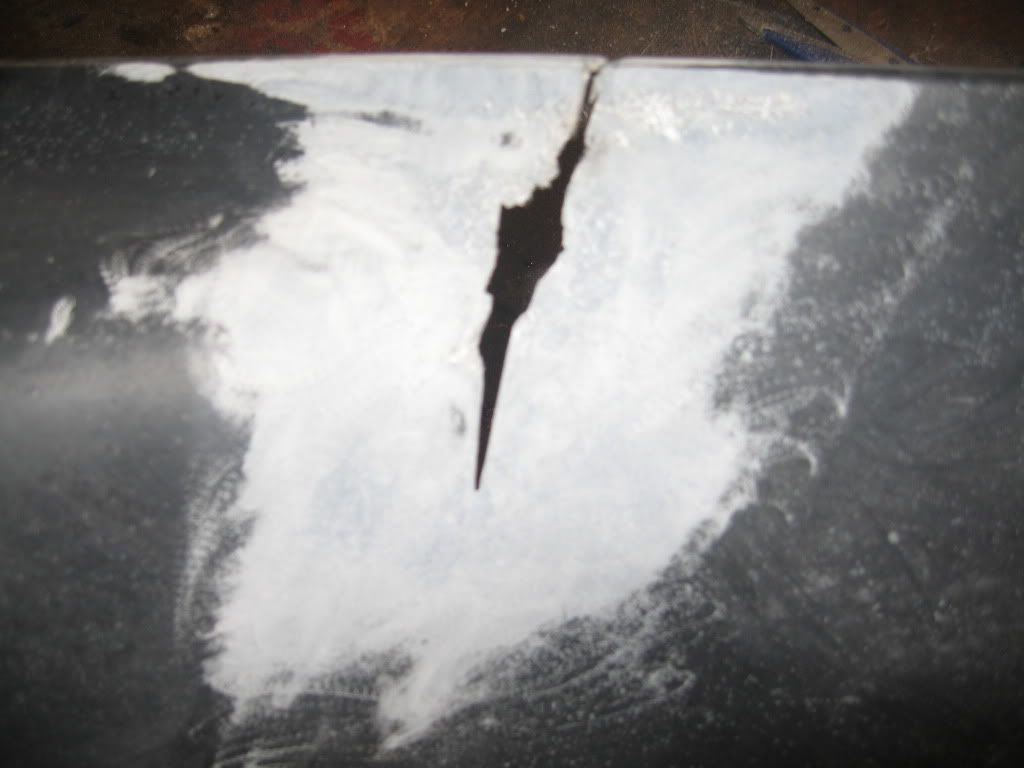
This is the crack on the other spoiler.
I did the same on this one and laminated a piece of steel in for extra strength.

Well a busy but good couple of days, look forward to tomorrow.

see ya Paul

Sunday, 10 June 2012

Gearbox extension not fitting

Hi
Well as the old saying goes: If you don't laugh you'll cry, well I've been laughing all afternoon.
Yesterday afternoon was spent getting the gearstick shortened and a blanking cover made and did it work, off course it did; the stick moved lovely and was just the right height. 
I even had Lynne standing there making a video of how well it worked.
(I got a little carried away with the rivets)
Well that was yesterday, today was a different matter.
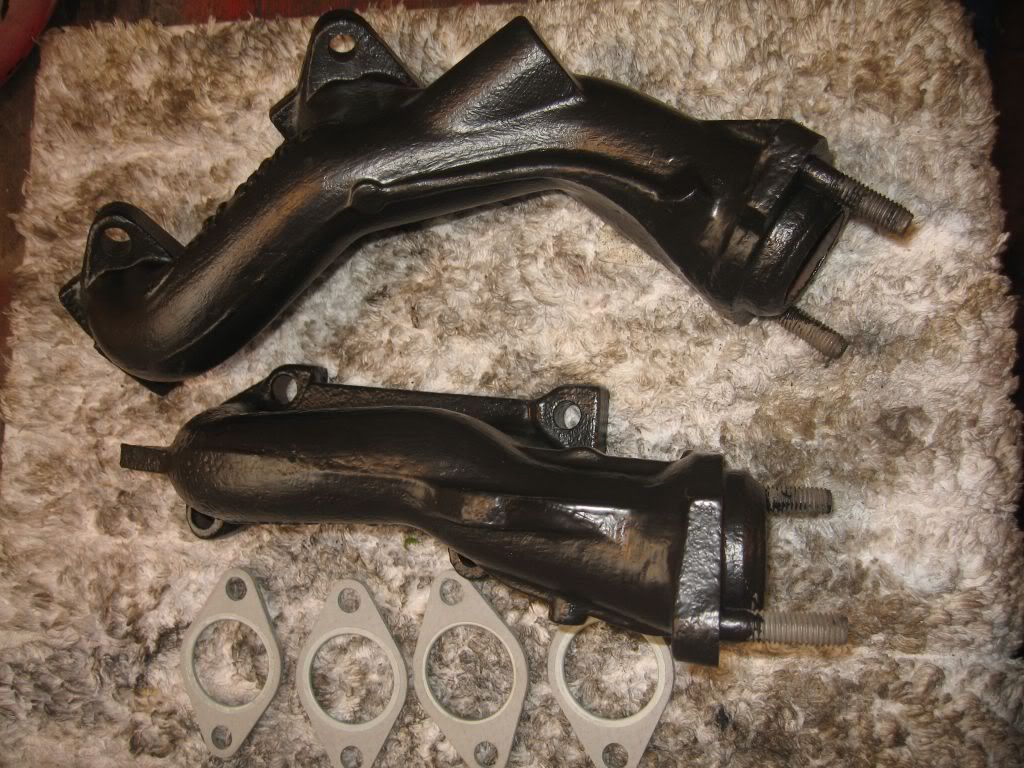
I decided to get a few jobs out of the way first, the exhaust manifolds had their second coat of high temp paint before we went out this morning and their were nice and dry to fit.

I have been a bit disappointed with the spray on high temp paint so I bought a tin of 600 degC paint from ebay and it went on well and dried quickly. I am still determined to build my own exhaust system, but I need to get the engine run up and tested so until I am all happy I shall stick with what I have, for the time being anyway.
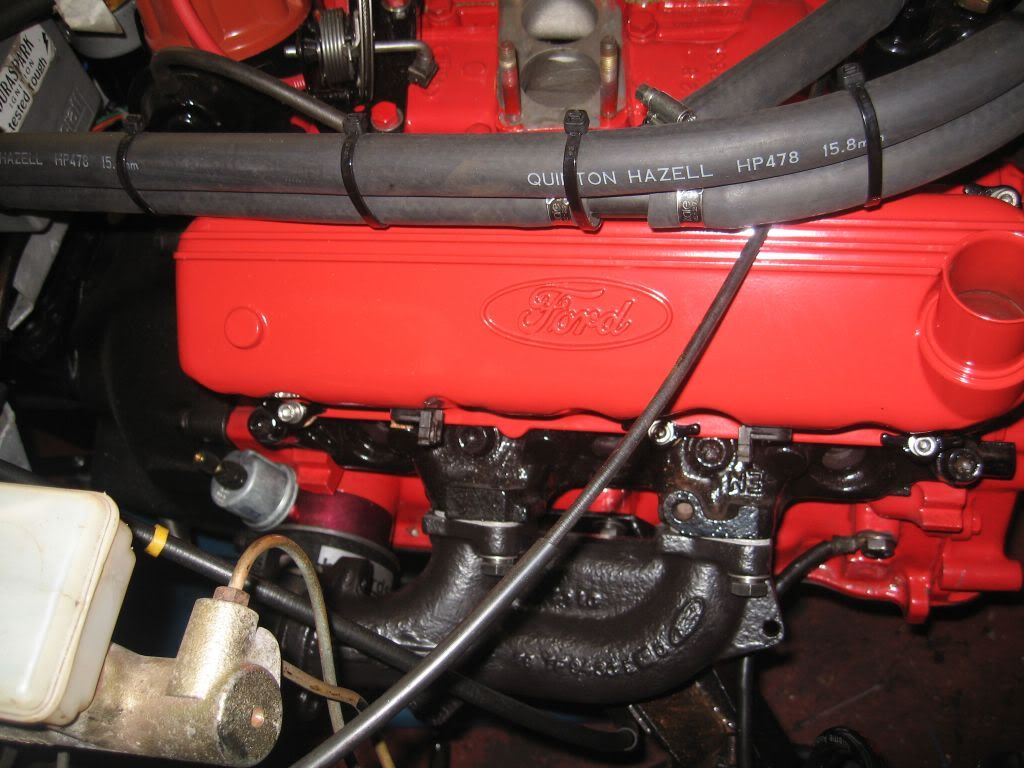
The exhaust manifolds went on easily, only 4 bolts either side and they look quite good.
The next job was the rocker cover that would not fit because of the alternator being in the way, as I thought there was still plenty of movement in the slotted bracket. I simply slackened off all of the bolts and pushed the alternator further over and re-tightened, I had to torque down the cylinder head bracket, just hope it has not made the head gasket weaker in that area.
Both rocker covers on.

It was the third job I had planned that caused the problems.
I had greased the drive shaft knuckle joints and got under the car with it when I realised I may have a problem, it did not cross my mind at any time when I decided on the extension and test fitted it on the bench to try the drive shaft in place to see if it would foul. 
Did it foul; of course it B*""#Y did, the knuckle joint on the shaft is perfectly positioned to just tap against the gear rod with every revolution.
Not much chance of making it work without re-designing the drive shaft so the knuckle was about an inch further back, so out it came and in the bin.
So it looks like it is back to the long arm gearstick again which means I shall have to re-modify the gearstick to fit, I shall take it to work and make a new section there. The only option I had now was to put everything back as it was so I made up a plate to fit over the hole and welded it on.                                                                                                                                                                                                                                                                                                     
I have been under and re-applied the burnt off underseal so that's as good as new.
Couple of days wasted here not to mention the £56 for the extension, I am a bit disappointed but still got to try these things.

Hopefully something good will happen tomorrow.

see ya Paul
Friday, 8 June 2012

Heater removal
Hi
Home again and back to work.

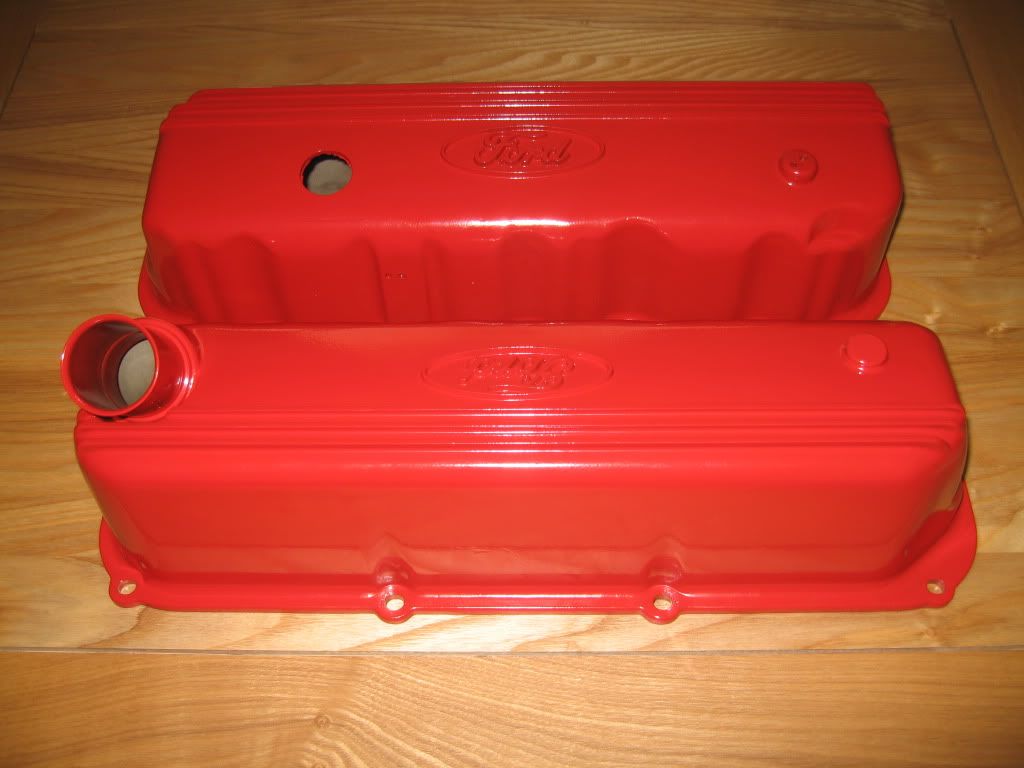
First job yesterday was to get the rocker covers to the powder coater's and today £30 lighter; I picked them up, and boy do they look nice.
I plan to either sand off the raised Ford and straight lines and polish or paint them black as highlight, a small job for the future.
I have re-fitted the the deflectors inside and the lead clips on the outside and tried to fit them, the reason for fitting is mostly to stop any dirt getting into the rockers. Unfortunately I have come across a small problem with the cover next to the alternator, it don't fit. The problem is the alternator power plug hitting the cover, I only need an extra 5mm or so which I may get by slackening off the bracket attached to the head bolt, the bracket has a slot hole and I may have a bit more play on it, if not I shall extend the slot and maybe gain the few mill I need.

When I started the suspension I thought that was going to be the difficult bit but no, when I worked on the engine / gearbox I thought that was going to be the difficult bit but no. So what is the difficult bit, taking out the damn carpet from the tunnel that is the most difficult bit of the whole restoration, (well so far anyway). 
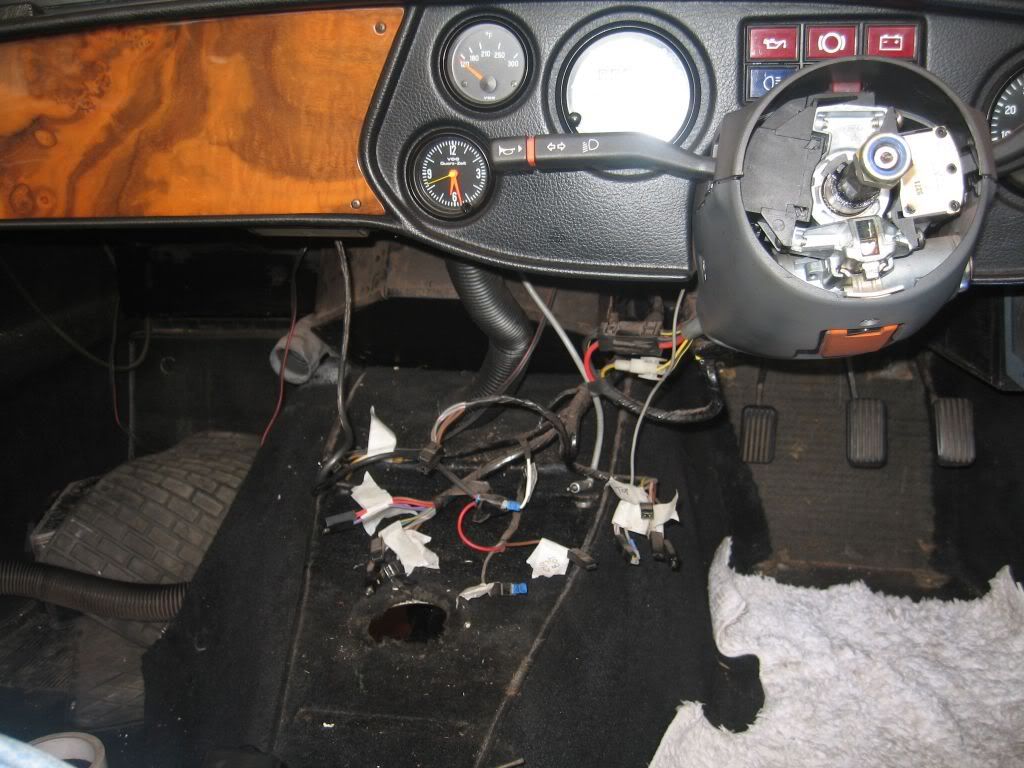
The interior is going to be the last stage of the restoration but because of the new extension to the gearbox I need to cut a new gear stick hole and blank off the old hole, so the tunnel carpet has to be removed for access. Easier said than done. First to go was the steering wheel and radio, unfortunately I did not have the radio removal tool so a little brute force and a whole load of ignorance and out it came. It was the original radio so no loss as I am hoping to have a Radio / Sat Nav system. Next came the center console; this was a bit of a work up as well, the upper bolts are mounted through the top frame and lower bolts go through rivnuts in the tunnel to the underside of the car. These took quite a bit of work to remove as the bolt heads are Phillips and are a bit inaccessible, fortunately the bolts were stainless so I was able to get under the car and clean the underseal from the threads and one of them came out relatively easy whereas the other would not budge. So out with the small cut off saw and no more rivnut, I shall replace both with hex head stainless bolts to make re-fitting easier. I unplugged and labeled all of the wiring and removed the clips keeping the vent operating cables in place, only now could the center console be removed. Believe me this is quite a work up and not for the faint hearted, you also need to be a contortionist to get your head under there to see what you are doing, not easy. With all this work done you would think the carpet would just pull out, ha ha nothing as easy as that. Next to come out is the heater
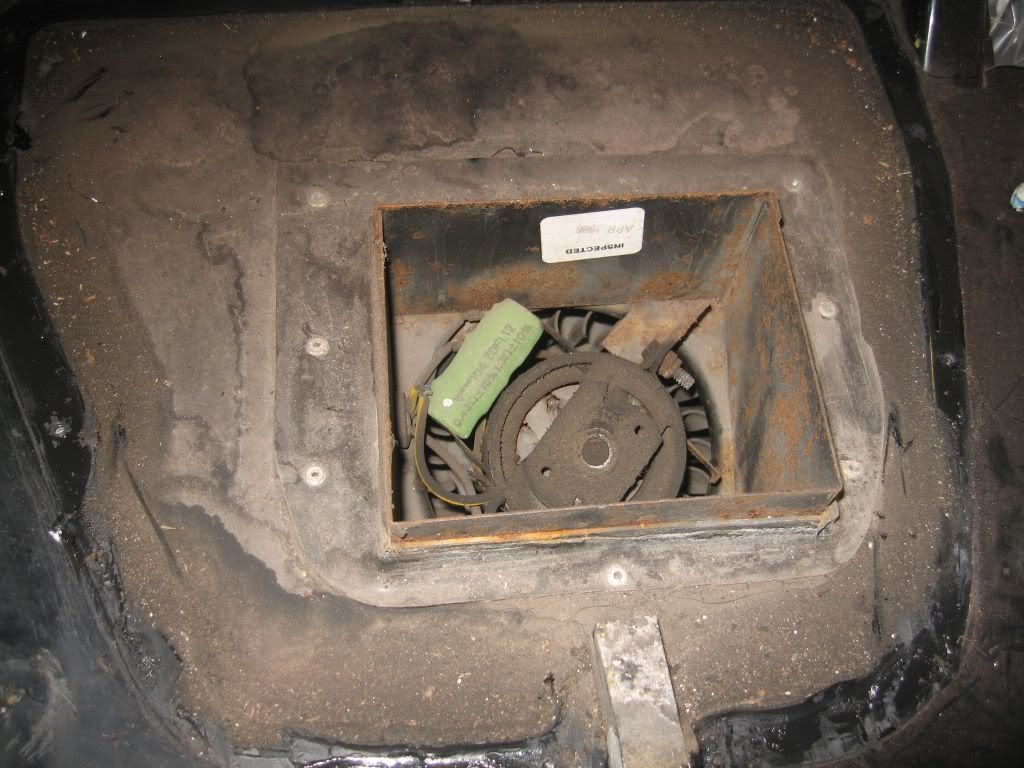
You maybe able to see the heater base jammed down into the carpet and it is a very very tight fit. The heater is held in place by 2 bolted brackets at the top and a bracket right behind, plus 2 very tight hoses and not forgetting the fan intake box sticking through into the engine bay. Not a lot really except it took over 3 hours of swearing to get it out.
This is the fan with the surround removed, years of sucking dirt has made it rather cruddy so a bit of work and testing here.
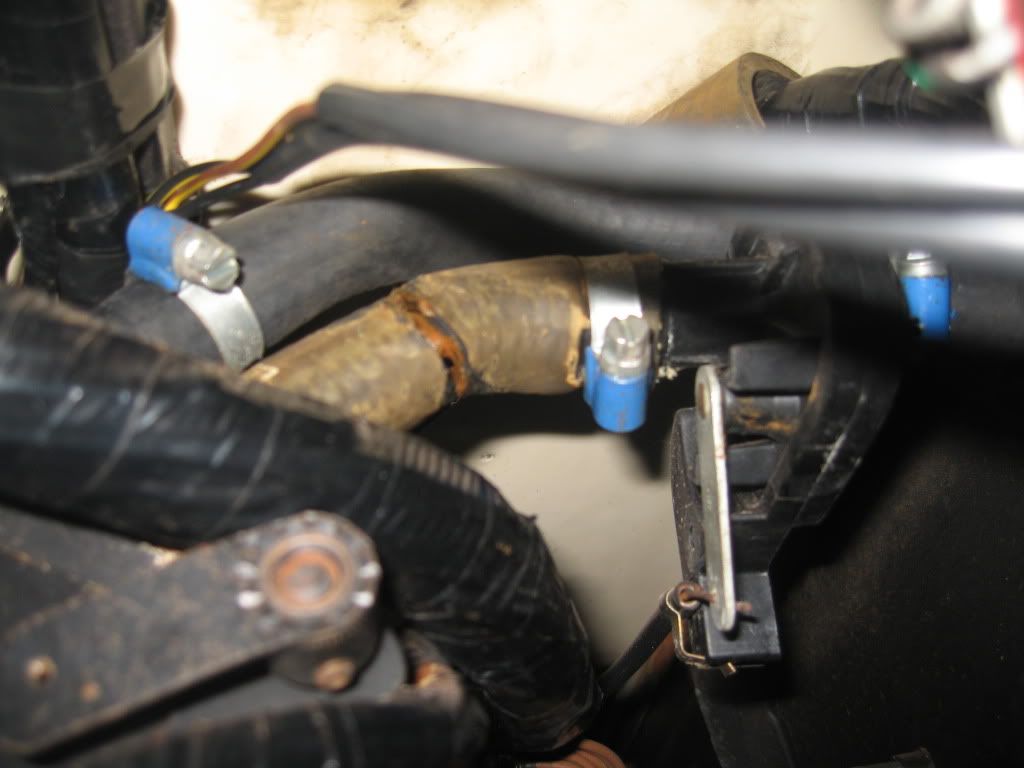
The bolts for the upper brackets are captive and once the nuts were removed the brackets needed to be bent over to free them, the other attachments were the hoses which after 26 years refused to come off. One of these I had already changed so that was relatively easy, the other which is attached to the water valve needed to be cut for removal.
This shot was taken right at the back of the heater and you can see the cut I have made and the water valve with its open / close arm. Even with the hose disconnected the heater still refused to move as it needed to be pushed back and up to then pull down the fan box section protruding through, what was stopping it was a right angle bracket hidden under the soundproofing at the back, once I pulled the sound proofing out the bracket came away and I managed to wiggle the heater out.
This was a major workup but gives me good access to get underneath to fit the oil pressure gauge.
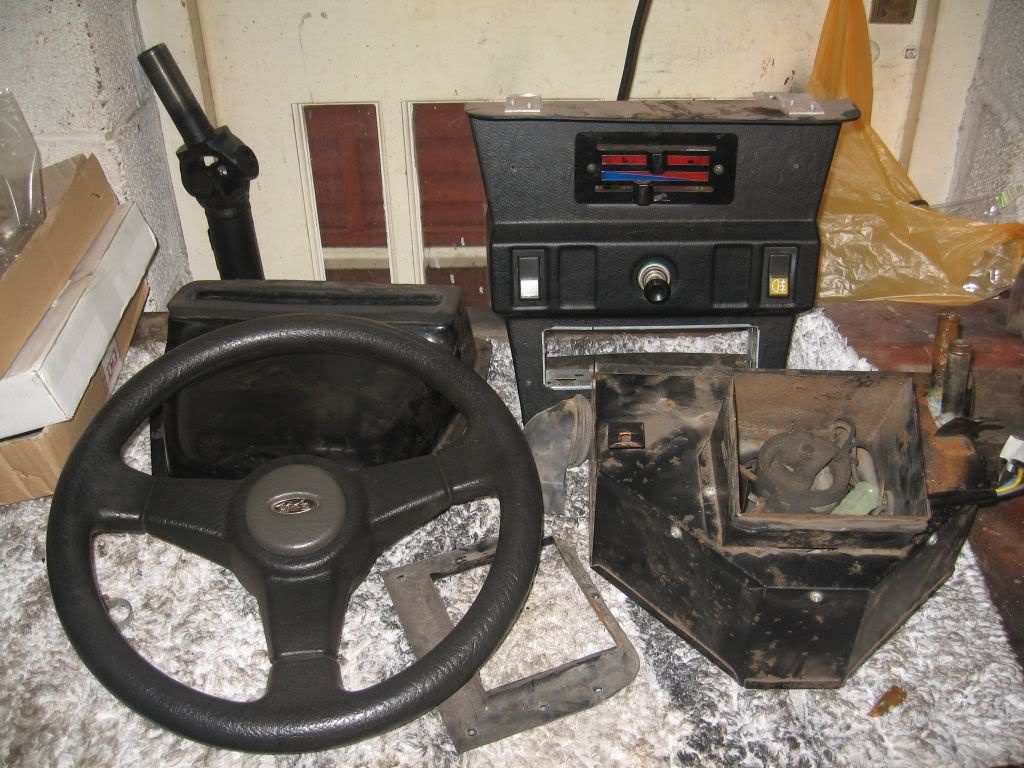
These are all the pieces removed just to get the carpet out of the way, I have taken lots of pictures of the wiring and heater mechanism so hopefully it will all go back together again.
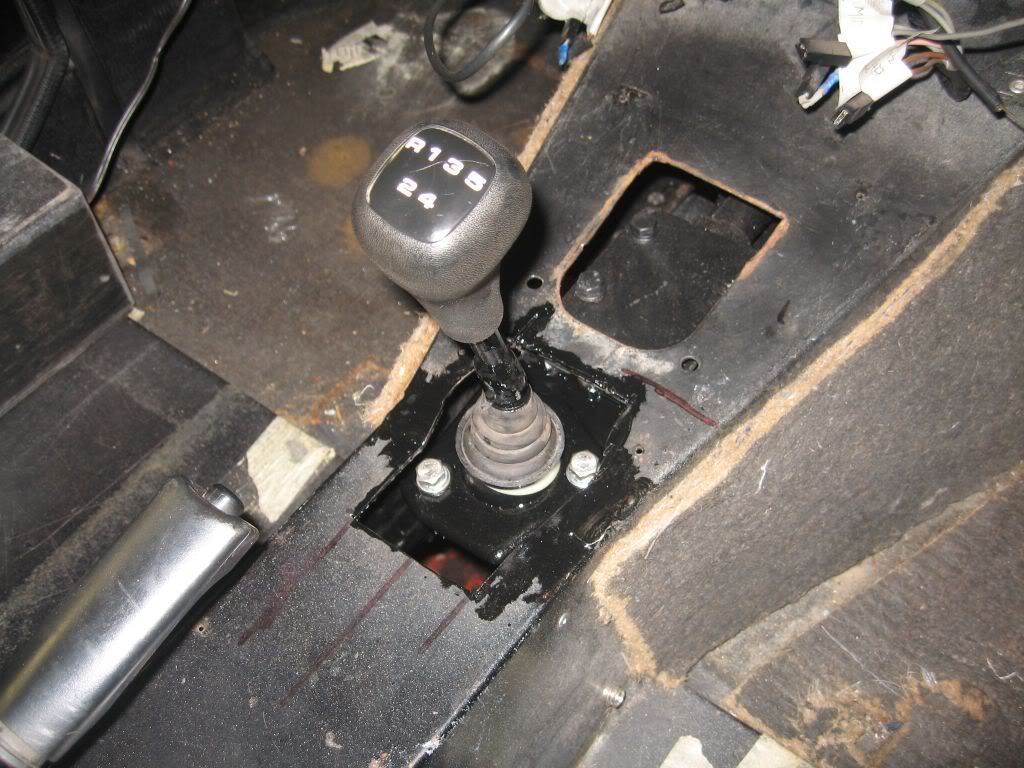
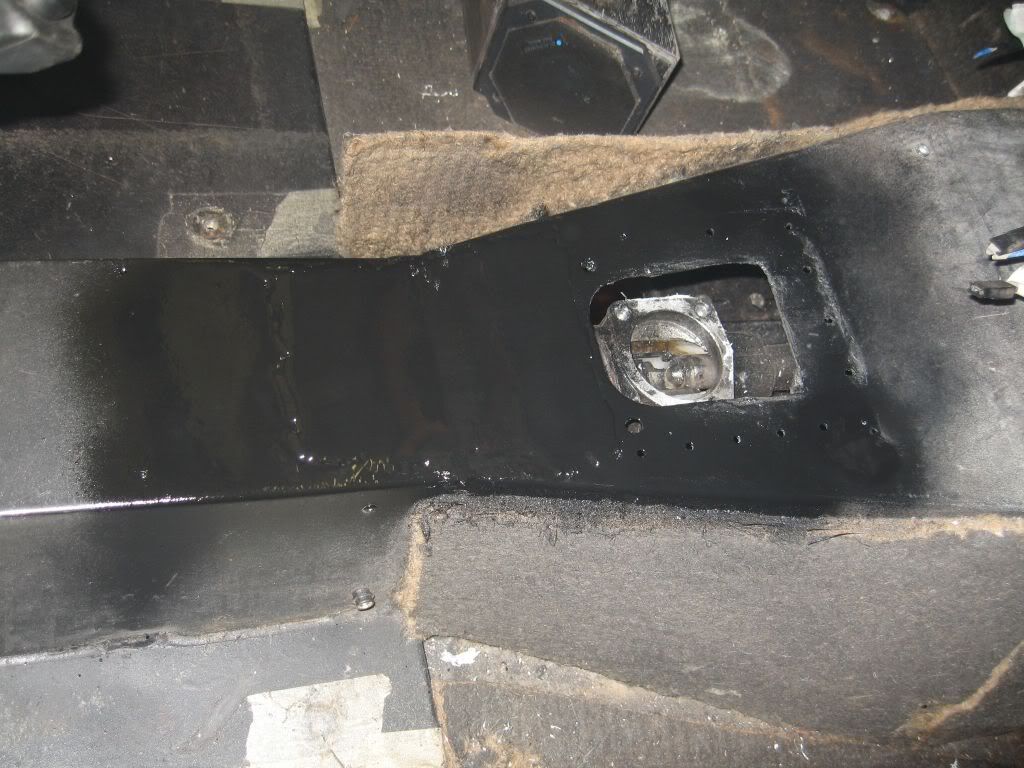
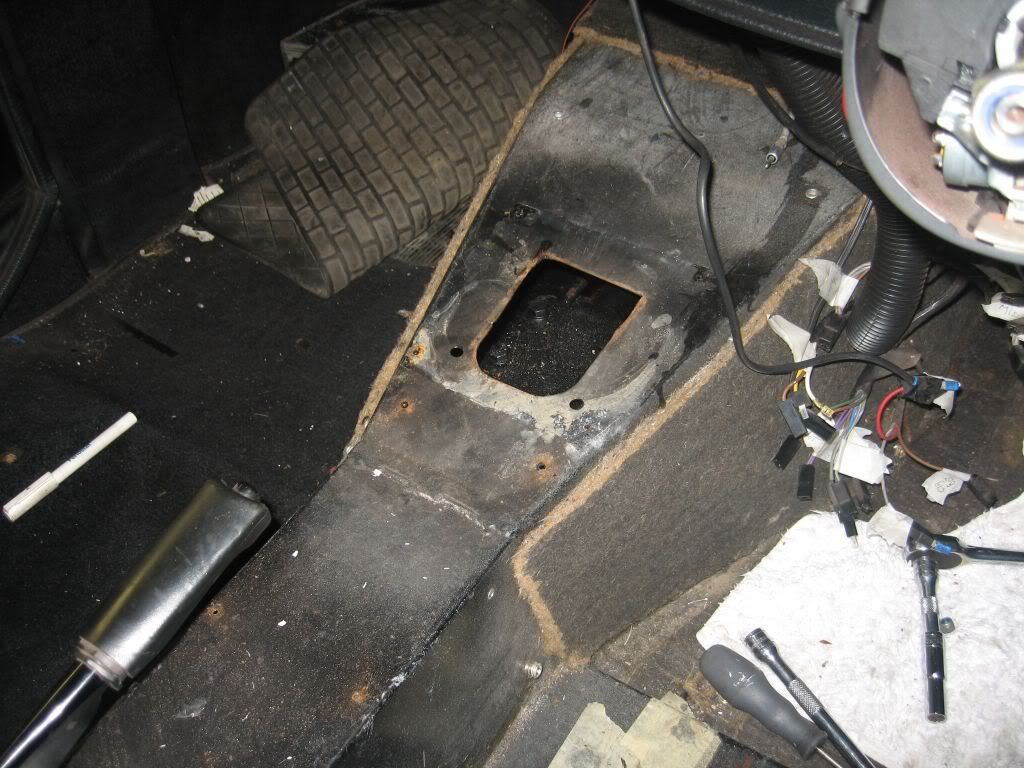
Now that I had the carpet out of the way I could get in to cut the new hole.
 I marked the new position and cut out the steel with a grinder.
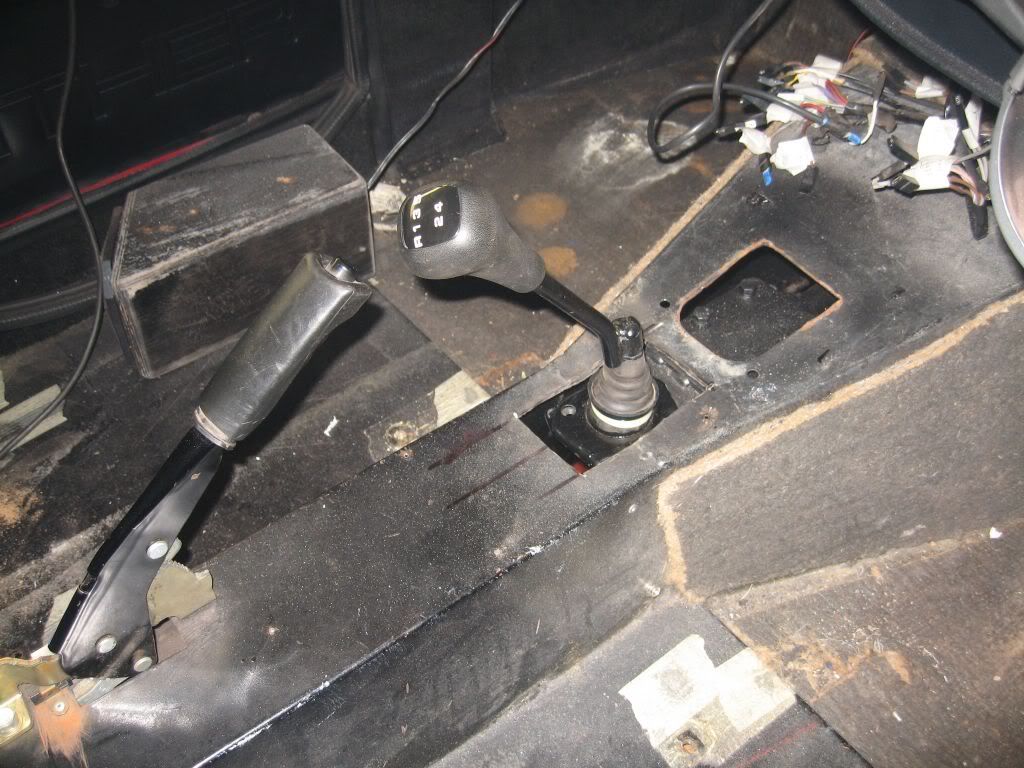
The gearstick as you can see is now to close to the handbrake, I thought this may be the case from the beginning due to the angle bent into the stick. This is easily solved by cutting out the bent and welding it back where it was manufactured, bit shorter but more sporty looking.
I have a piece of stainless to use as the cover and have decided to just rivet it in position instead of welding a plate over the hole, who knows I may have to change back to the original setup at some point.

Well that's for tomorrow

see ya Paul