Thursday, 19 January 2012

Thursday 19/1/2012

Hi
I'm afraid progress has been slower than I had been hoping for since getting home on Sunday, well today has more than made up for it.
Yesterday was a no day as Lynne had the day off and I was working on her birthday so she decided to have me out for the day, which wasn't to bad as I ended up with a new coat in the sales, result.
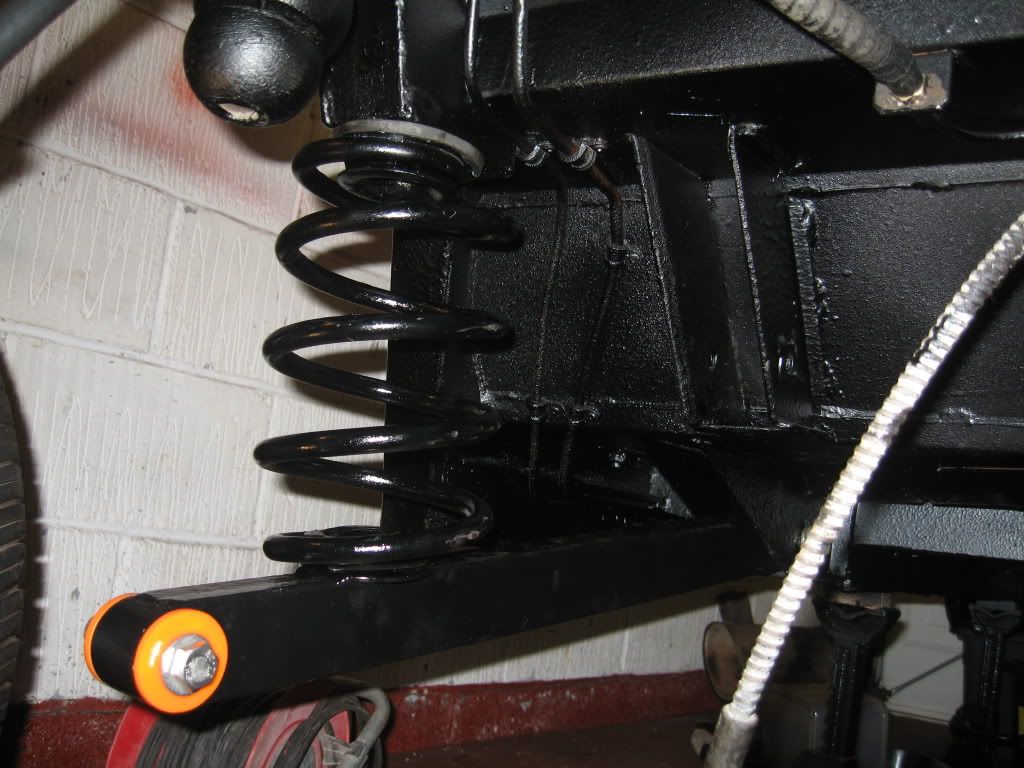
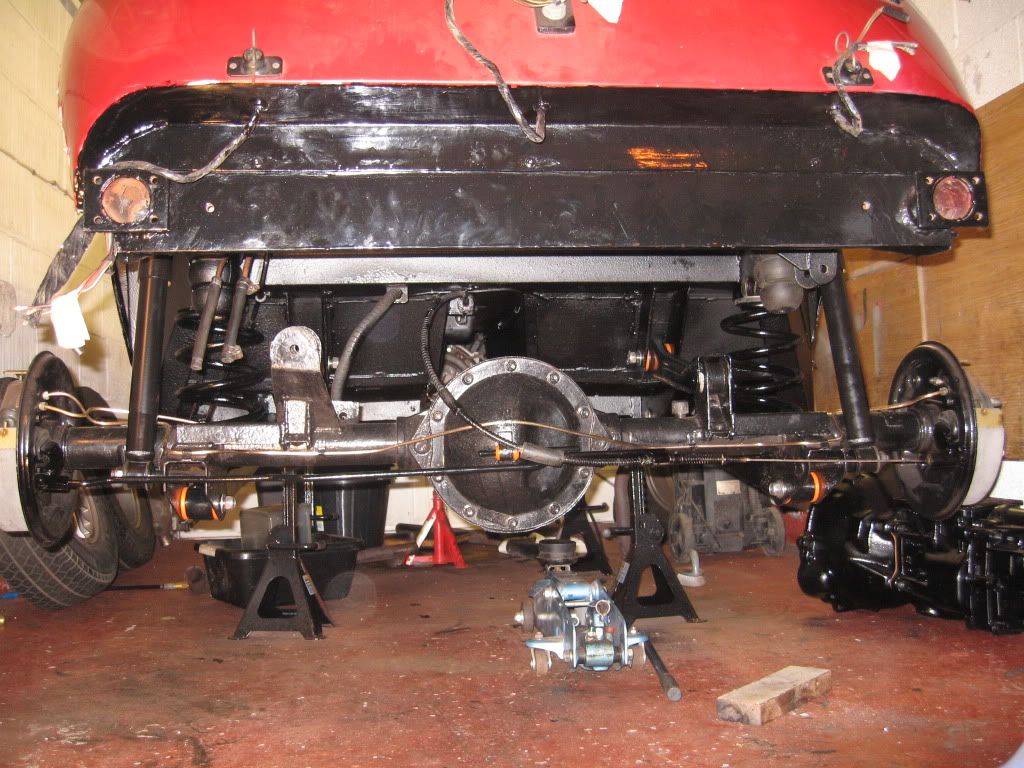
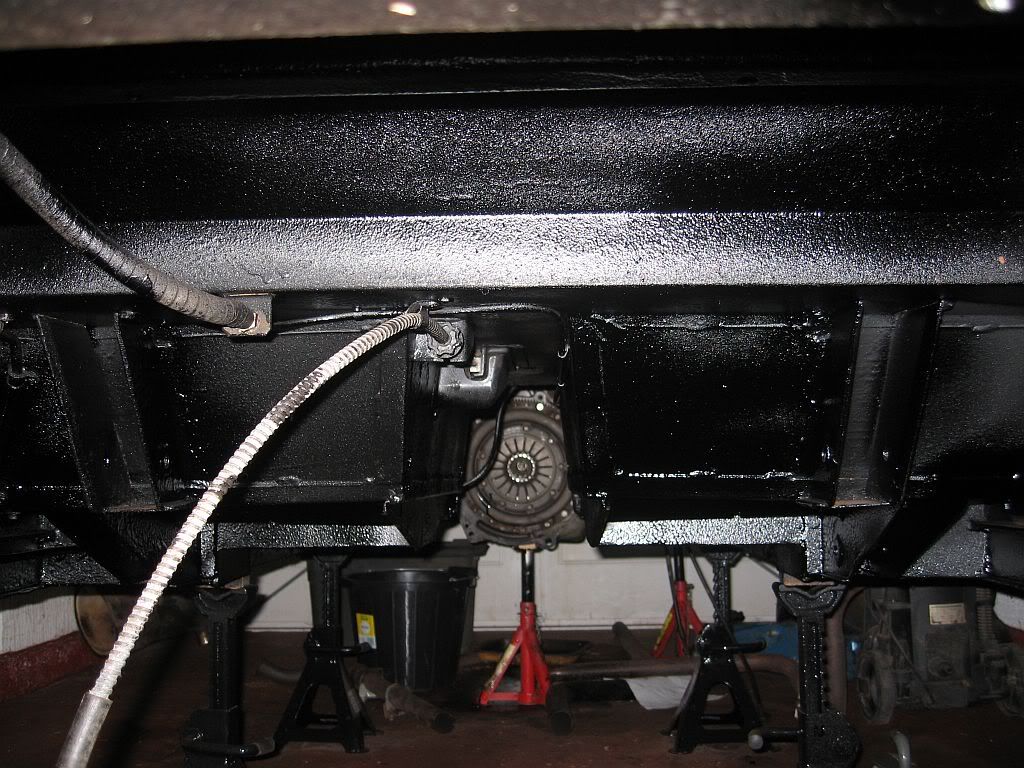
I did manage to get an hour or so in on my return and got under the car with a spotlight, what was left of the under seal and a paint brush, surprisingly there was very few places the spray gun had missed; in fact I was rather pleased with the result. I also attached the springs to the lower arms and fitted the bushes.
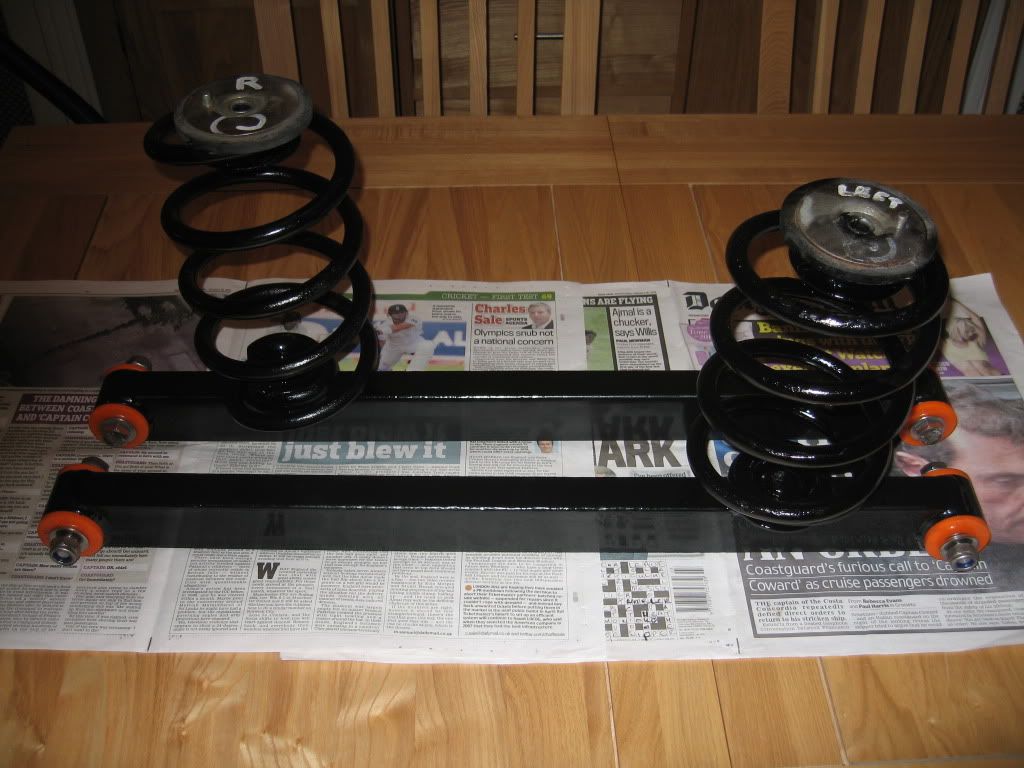
Lower trailing arms and springs
The bolts were also bought yesterday, 10 x 12mm and 2 x 10mm for the upper spring attachment, with washers and nylocks in stainless came to just under £20.

I started today by drilling out the 7/16" bolt holes to 12mm, I mentioned in a previous blog that the upper trailing arms were 1/2" BSF or UNF and the lowers were all 7/16" well to make life somewhat easier all mine are now 12mm. Unfortunately it is not as straight forward as it may appear, not a problem when you are used to difficult situations that have to be overcome but be aware if you do try it you will need a couple of unusual tools. or a decent file.
A couple of them I could just straight drill using a 12mm bit.
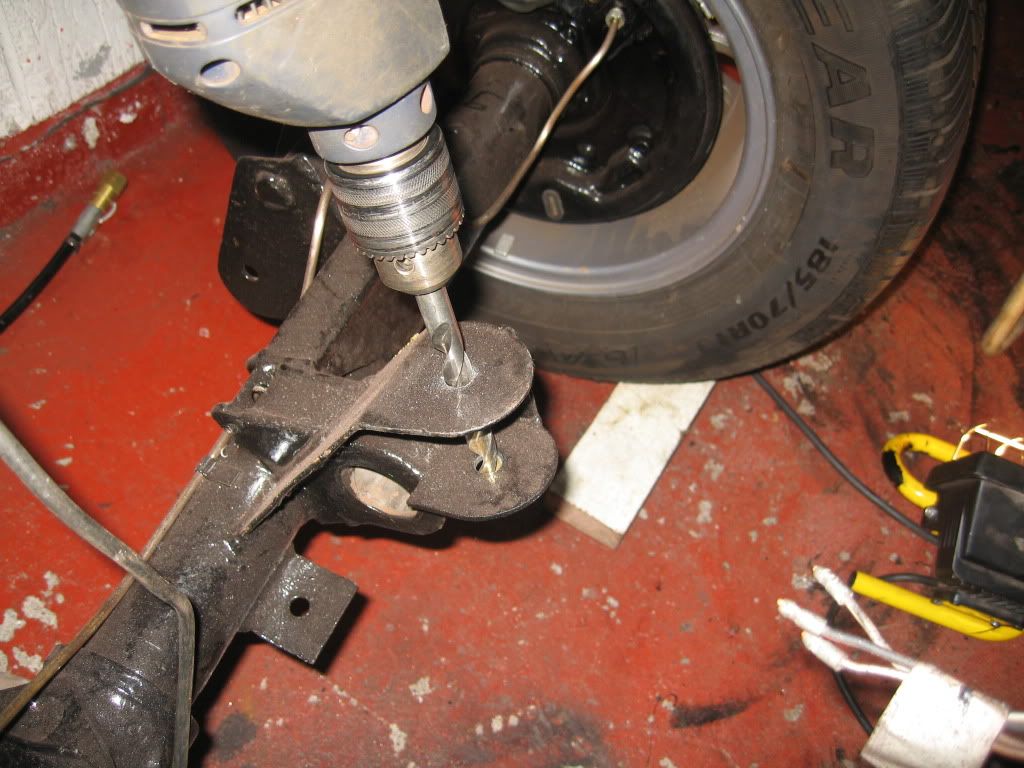
Most of them required a right angle drill attachment with a carbine rotary file.
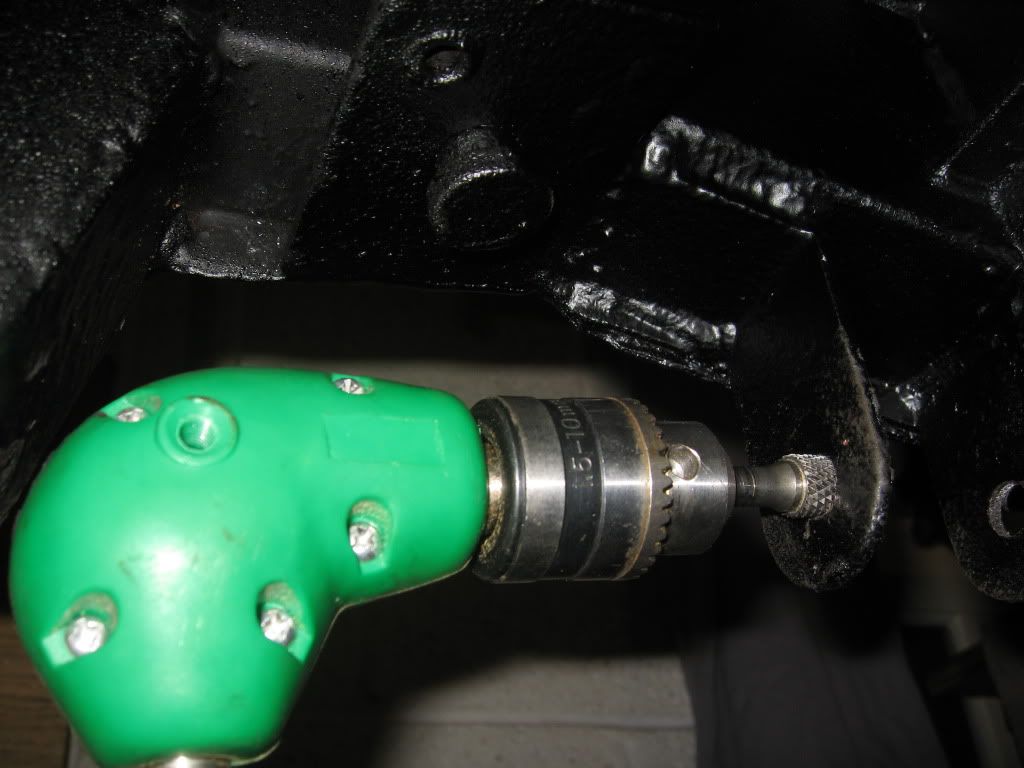
Right angle attachment
And 2 of them required the drilling of the first hole with the 12mm bit then a bit of filling before fitting a 12mm tap through this hole and threading the 7/16" to 12mm.
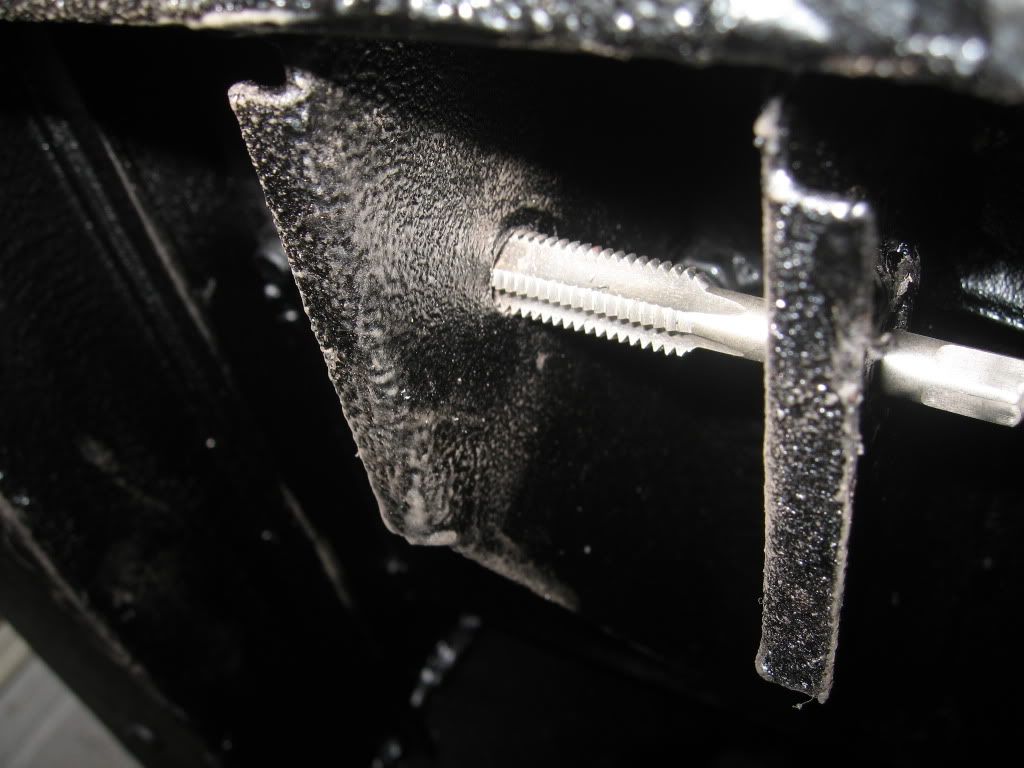
Chassis lower bracket
All this is because of the tight angles and lack of room to fit a drill and bit, If anyone buys the bushes I had made at Floflex then ask them to drill the inserts to 11mm to fit the 7/16" bolts fitted although I think it comes from a standard tube and cut to size. Still for an hours work it is well worth it as I have fitted all stainless and will never have to worry about grinding them of as I did with the originals.
I was now able to fit the lower arms and bolt the springs to the chassis, the new bushes fit like a dream, it took a bit of effort having a bobbin made in Teflon then a mold but seeing them slide in made it all worthwhile, very pleased.
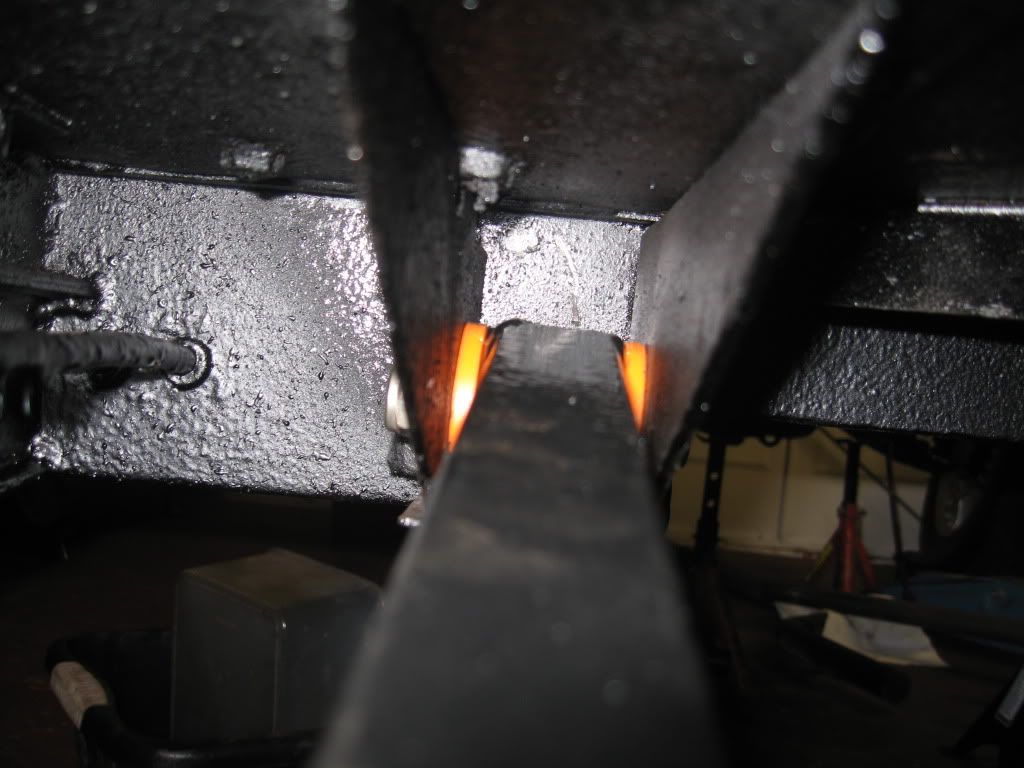
Lower arm new bush
The spring was bolted on first with the locating pin slotted into its hole then while loose I pushed the bush in place and bolted it all up tight.
Once these were in position I got out the upper arms and oversized bushes, for what reason I do not know? I had bought a attachment for my grinder to cut these bushes to size, stupid idea.
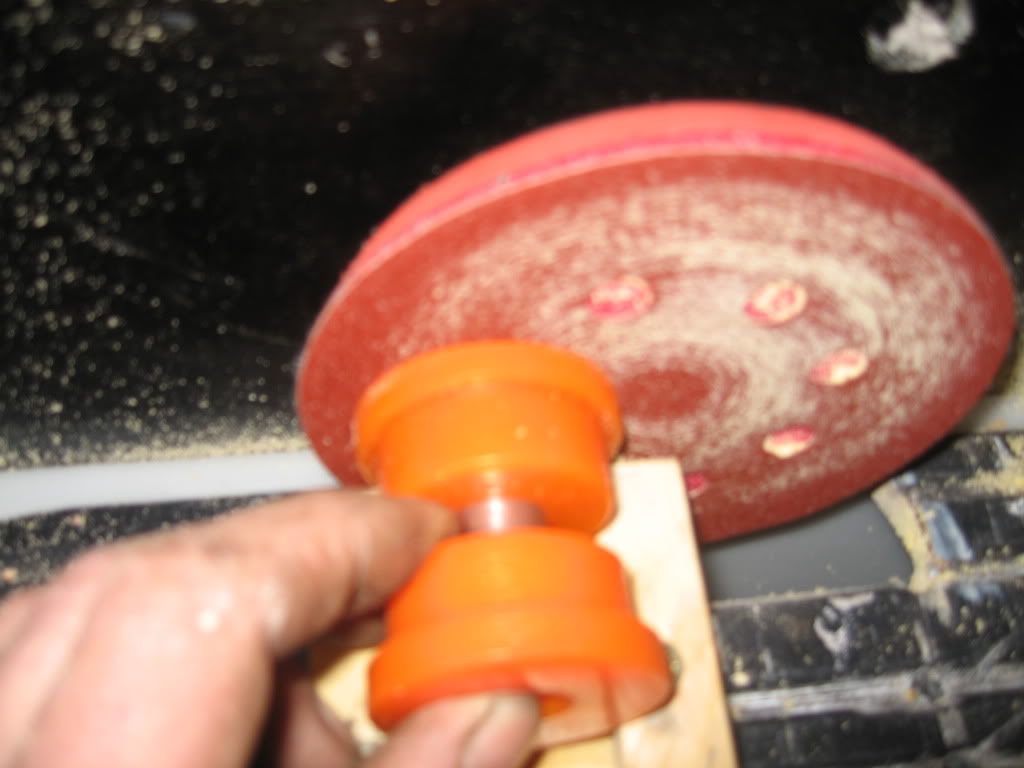
I had in the loft the perfect tool I made last year for grinding smooth the edge of glass using diamond pads, all I had to do was swap the diamond pads for grit pads and I had it.
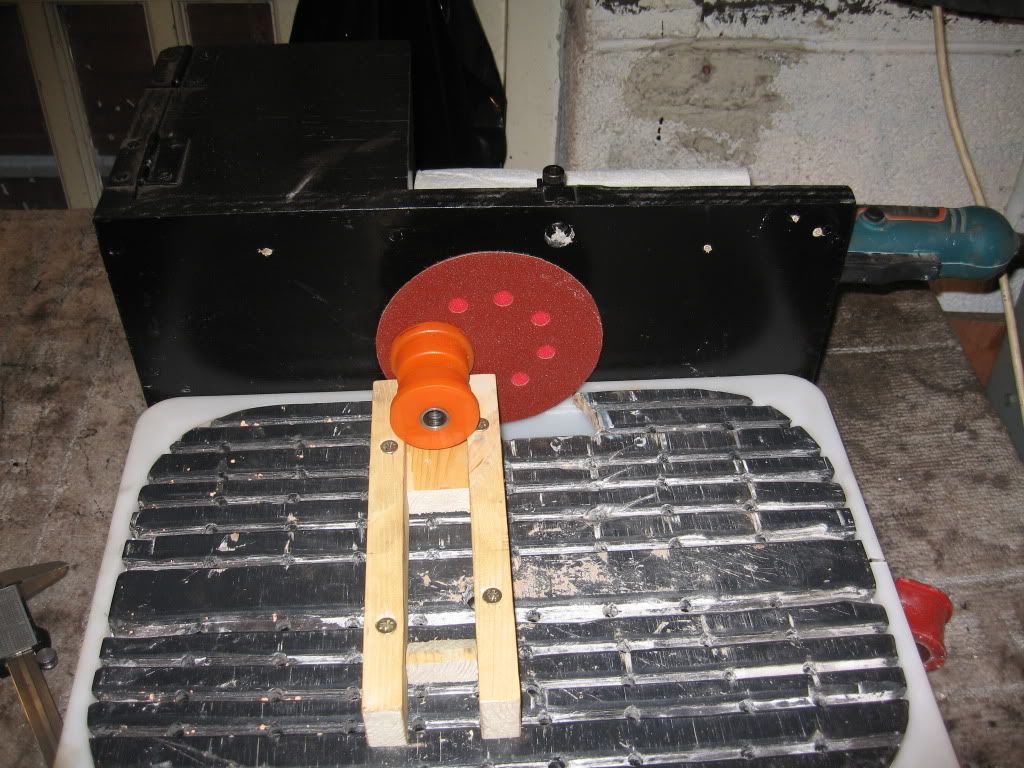
Horizontal grinder
The sander is just a box with my spare variable speed grinder fitted to the back, the work bench is the water trough for the water pump to go, I just removed the splash guard and pump and screwed on a couple of straight edges and da! da!, perfect. I had taken a lot of trouble when I first built it to get the wheel in as close to vertical and horizontal as possible so as long as I screwed on the straight edged square then I would have aligned bushes.
The bushes I am using for the upper arm chassis end are the one's selected by Floflex and they fit great in every department except width and these are.
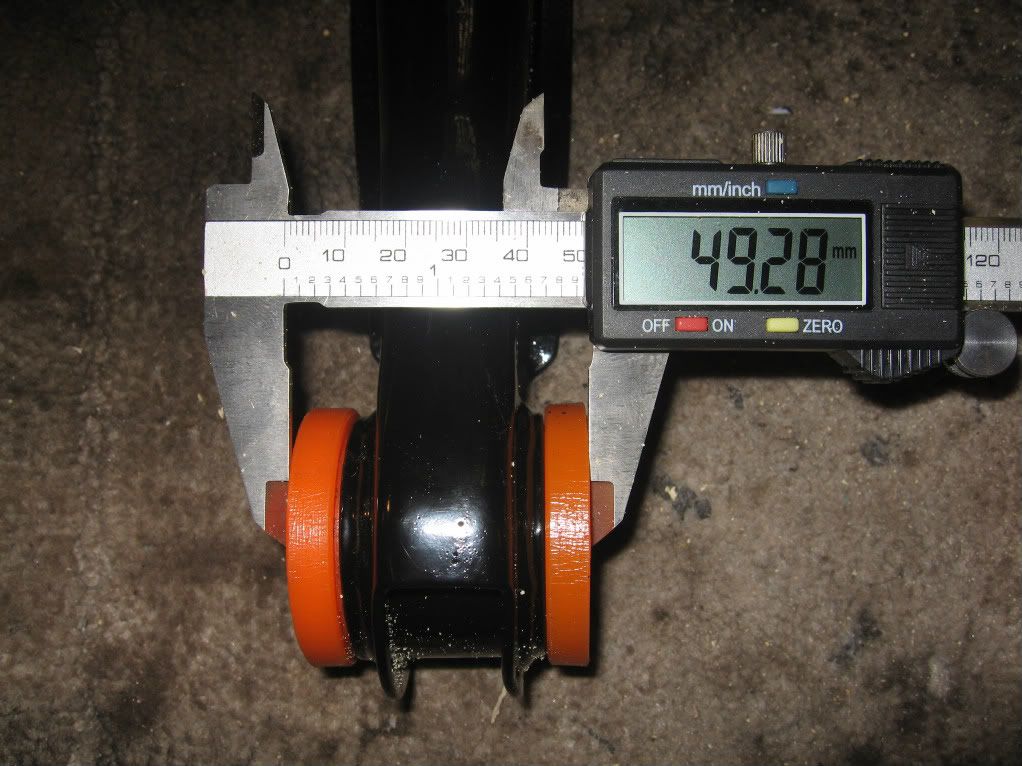
Upper arm bush before sanding
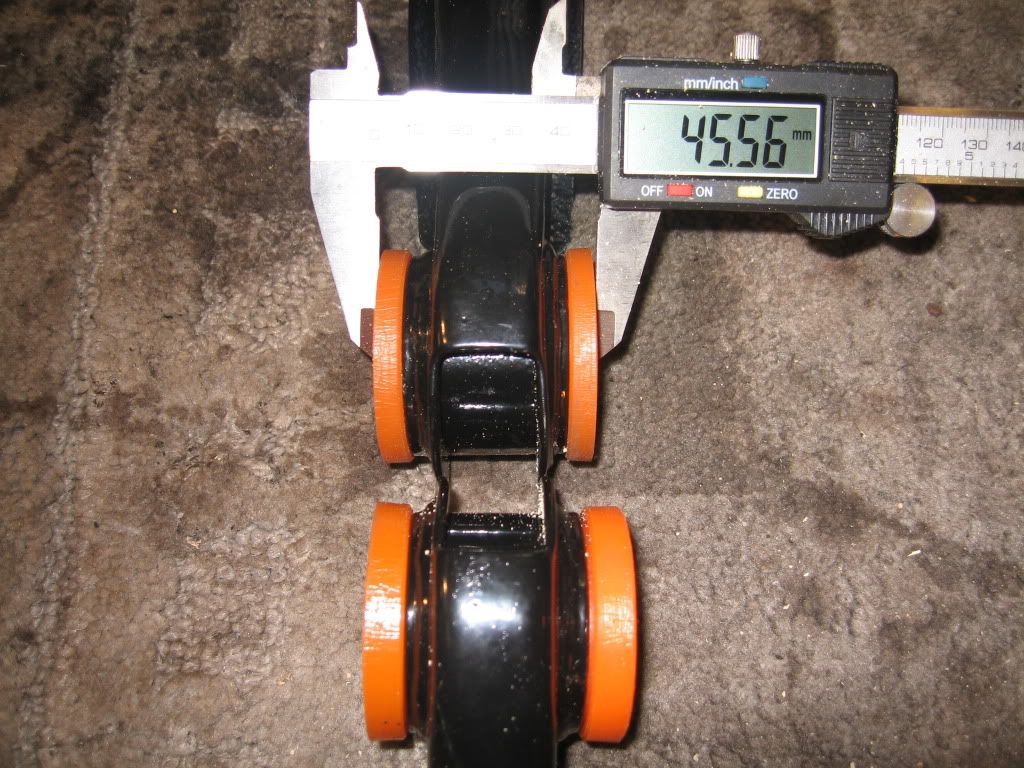
As you can see the O.D is 49.28mm, unfortunately it should be 45.5mm.
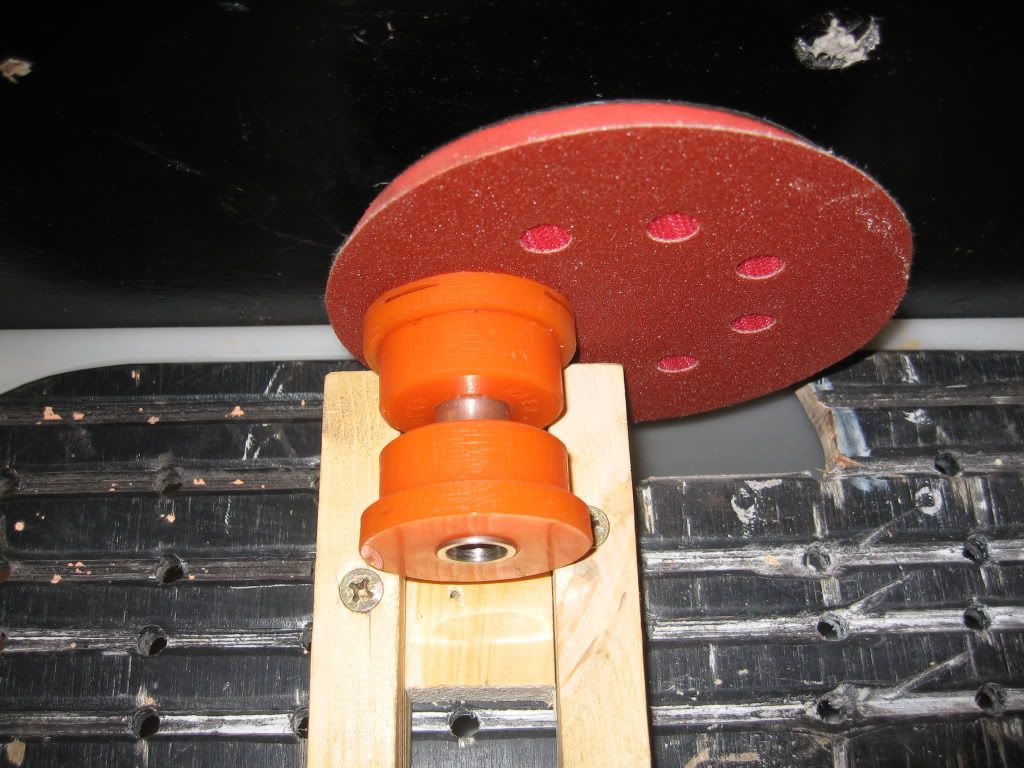
I rough marked to bush and give it a sand nice and gently and testing all the time.
The sanding disk worked great, I didn't go mad, turning it constantly and it cut down and gave a perfect finnish in no time on a 80 grit disk.
Bushes compared
Only .o6 out, perfect. The other one turned out just as good and the steel inserts got the same treatment. 
When finished I loosely fitted them and will fully fit when the opposite bushes arrive.
The opposite end of the upper arms have been ordered and an email from Cat at Floflex informed me they will arrive tomorrow along with the Panhard bushes that they forgot in the first order. 
I took the sizes for the axle end from a scale drawing luckily supplied when my front bushes came, I returned a set of the Capri bushes and ordered these new one's because the internal section is longer and will fit better. Hopefully these will fit and if so I shall post the order number.
I also received and fitted a poly handbrake bush 
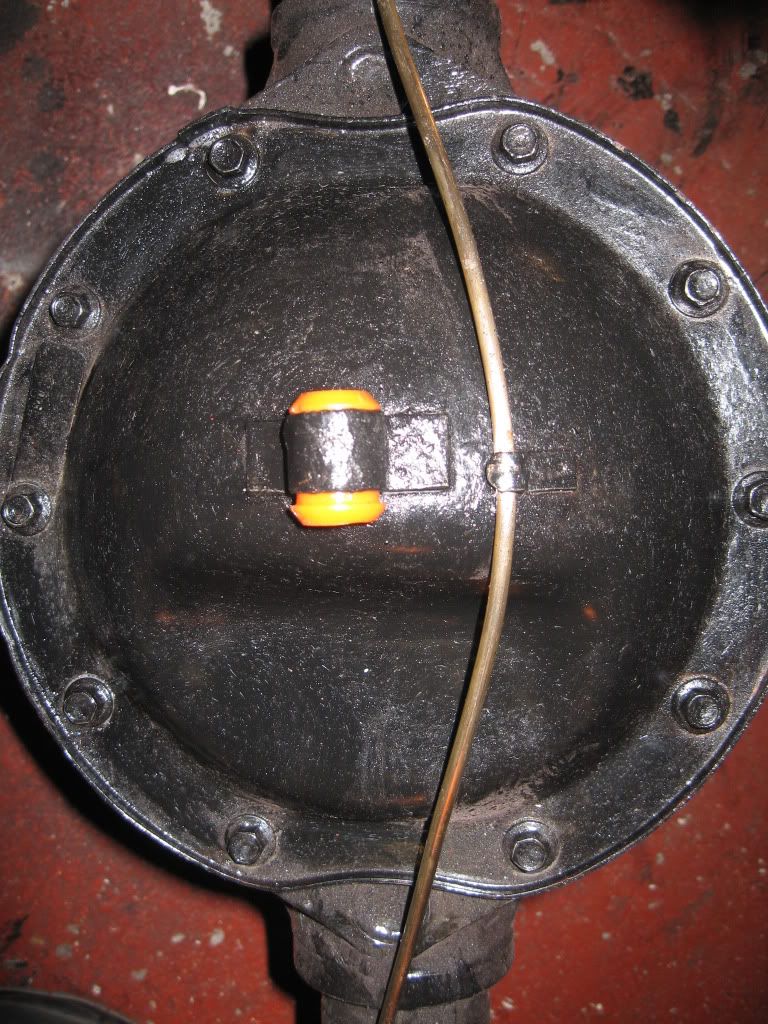
Handbrake bush
This just slotted in without a problem

Next was the shocks, I bought these on eBay and are for the Vauxhall Magnum, unfortunately the holes for the bottom bushes are to large at 12mm. There was a couple of ways around this but in the end I took the easy option and removed the bottom bushes from the originals, these are still in great condition and a polish with a bit of silicon grease and good as new.
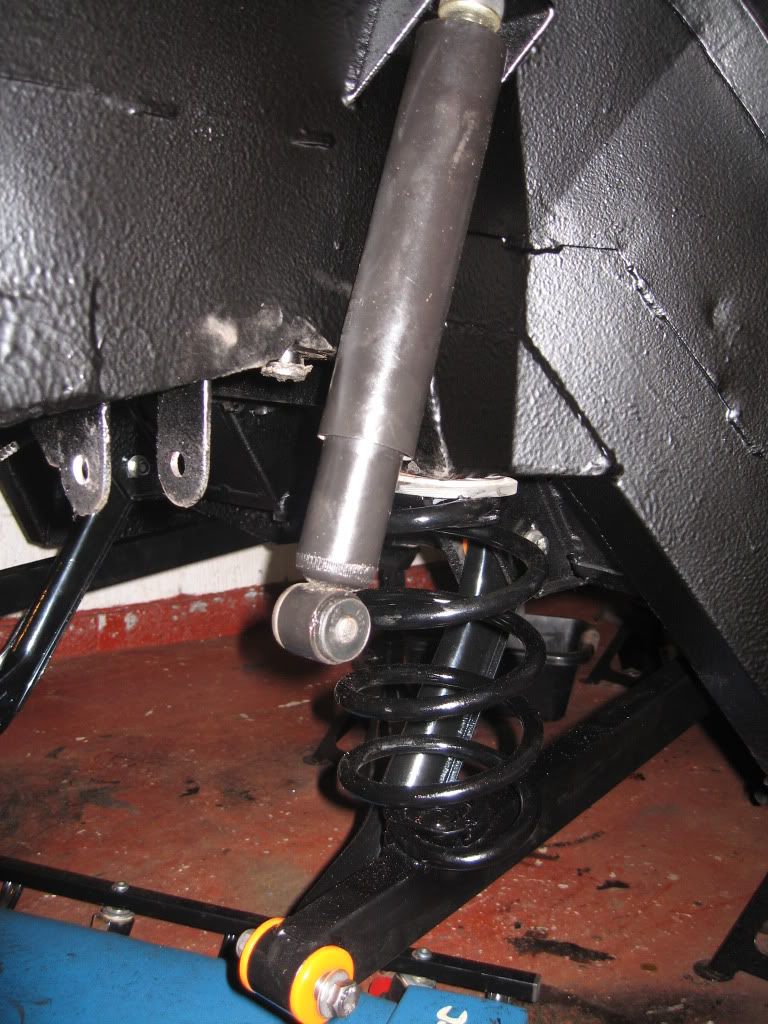
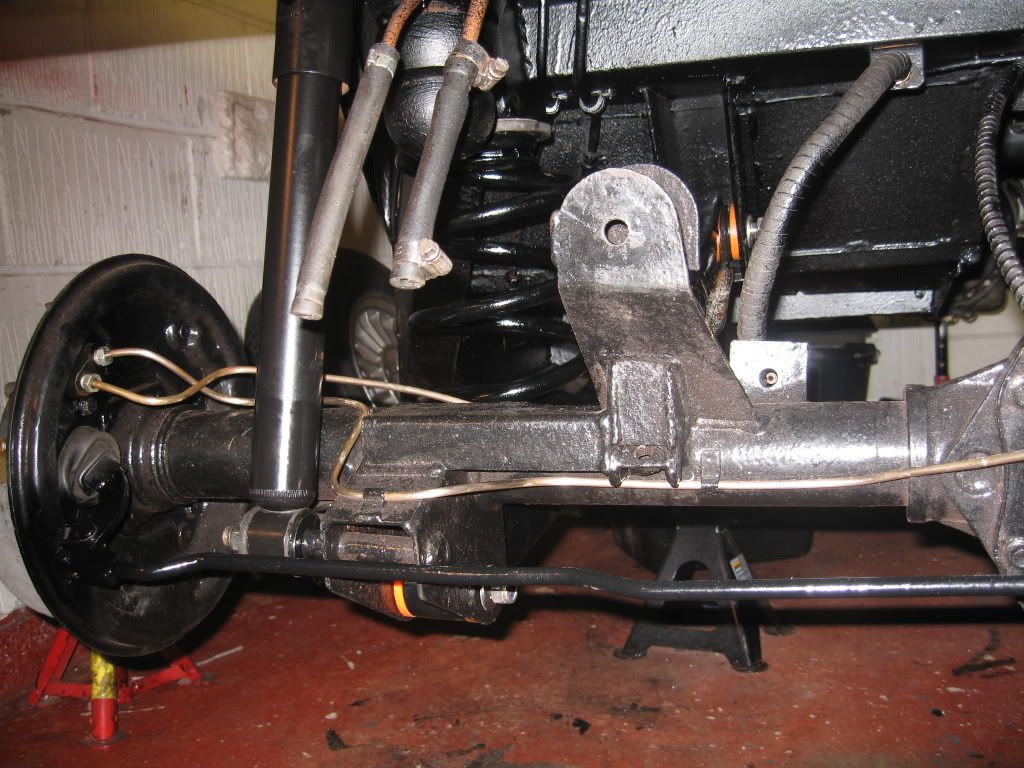
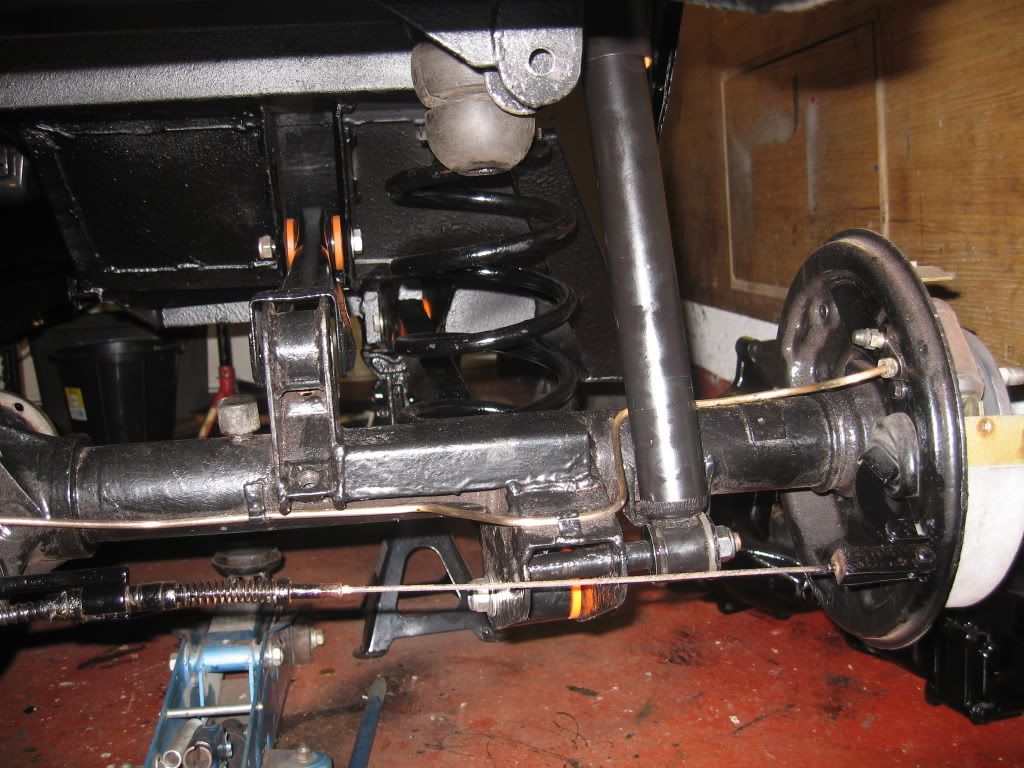
You can see here all three elements fitted, upper arm, lower arm and damper.
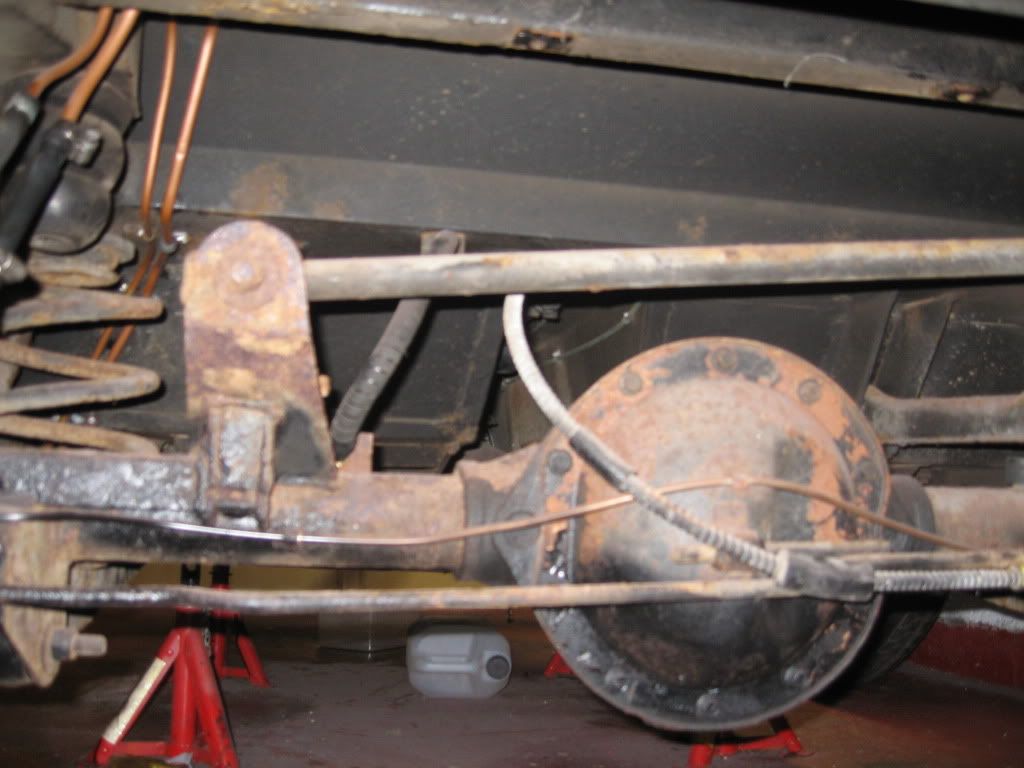
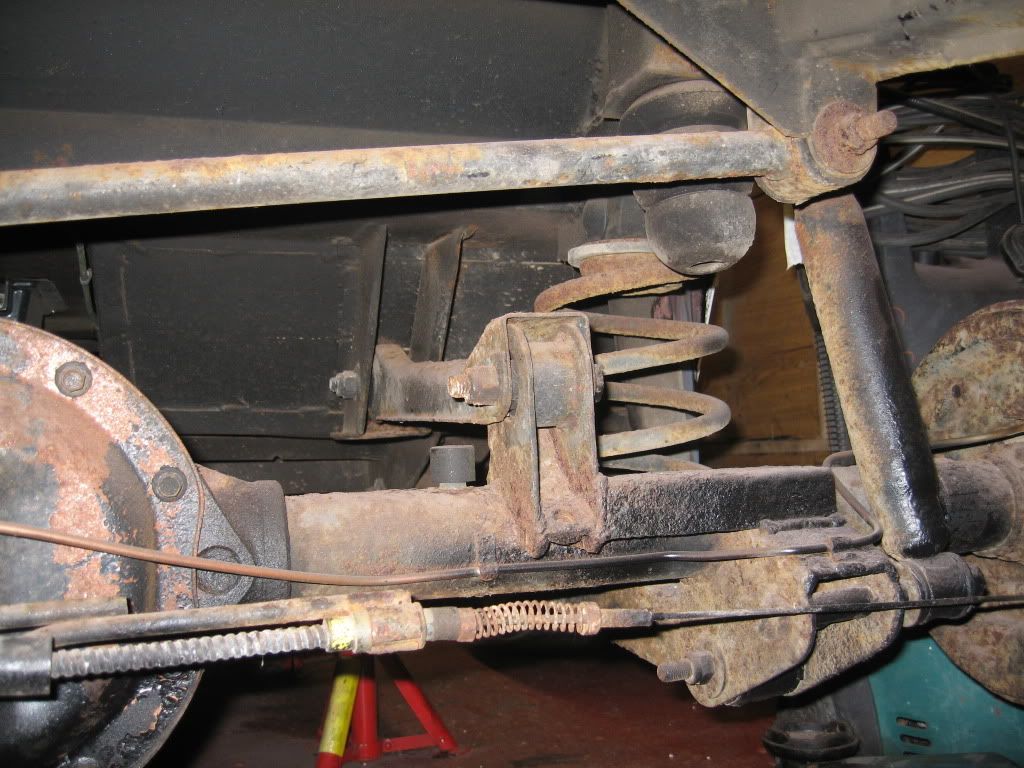
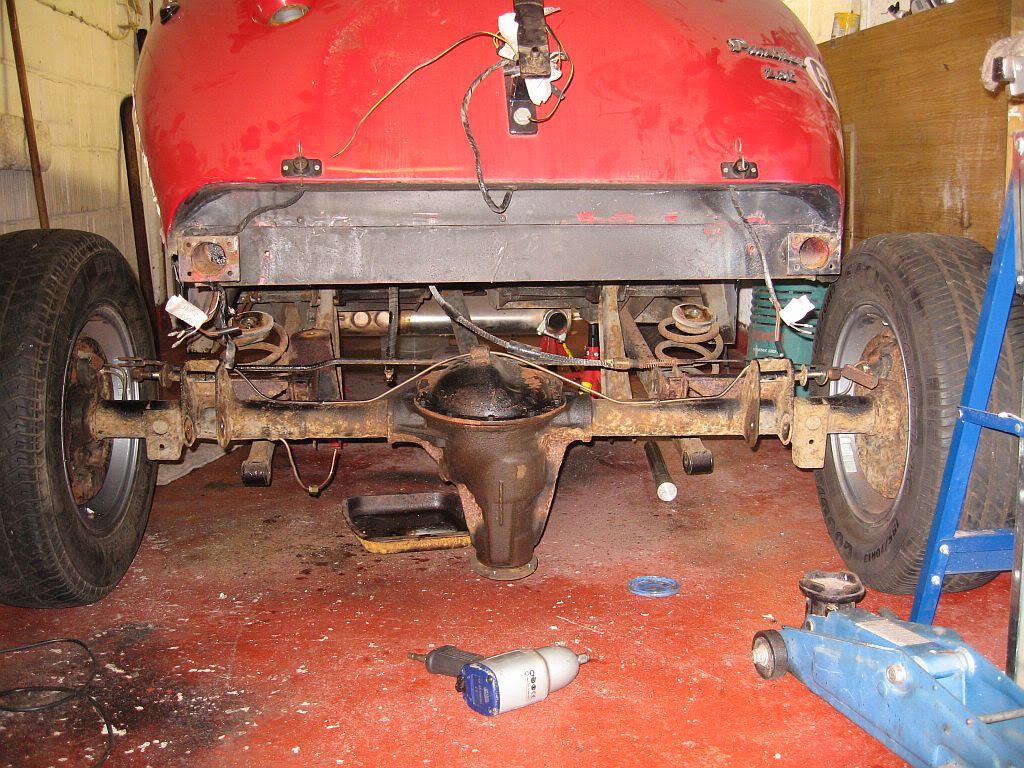
Once these were all in place it was time to fit the rear axle, I still had the wheels on so it was just a job of wheeling it into position and then jacking up one end and fit a stand then the other. Once up the lower arm bushes were pushed into position and a bolt inserted the same with the other end. Next came the dampers, I had fitted these to check them and had to remove again as the lower end needs to be fitted first.
I was pleased it only took about 20 mins to re-fit the axle instead of the half day it took to remove it, that was a bit of a workup.
I was a bit disappointed with the condition of the rear axle, I only painted it a couple of months ago and the gloss has gone already, could be the gunk I used to clean all of the dust from it, still no one will see it and its well protected.
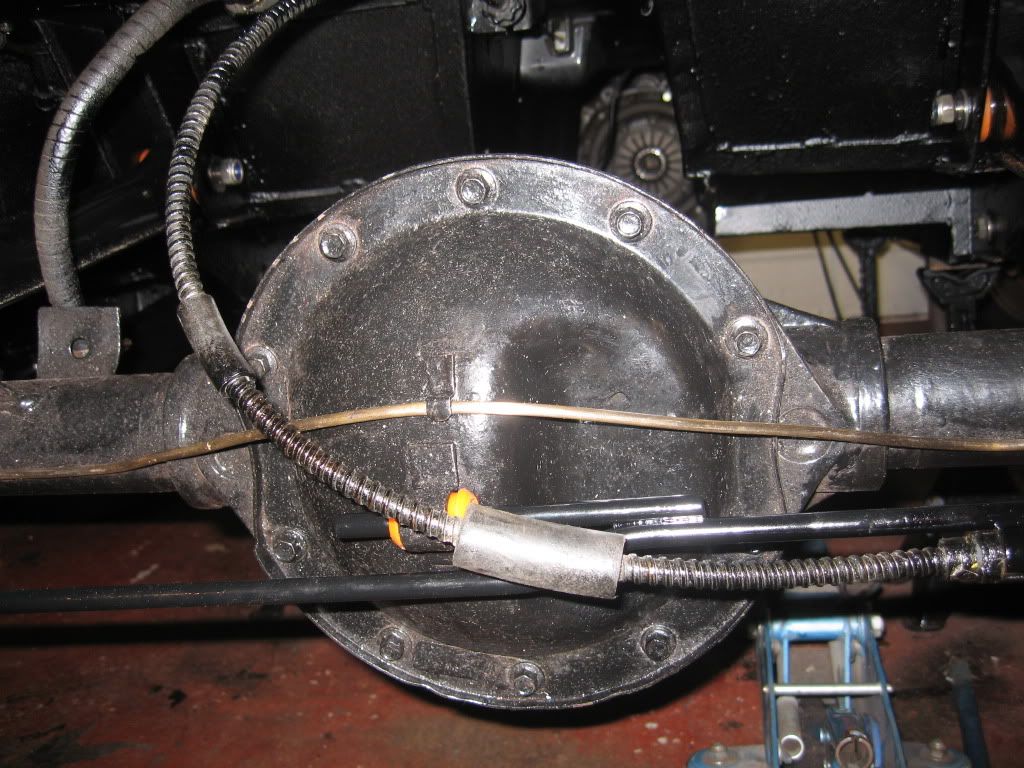
Next was the handbrake rod, this just slipped thru and the cable and Teflon sleeve slotted into position, I still haven't bought any E clips yet, but will track down a stainless one. Both handbrake levers had they Teflon stoppers fitted then connected up with the pins and R clips.
Not finished yet as the new bushes need grinding and the panhard rod to fit.

Just a few reminders 
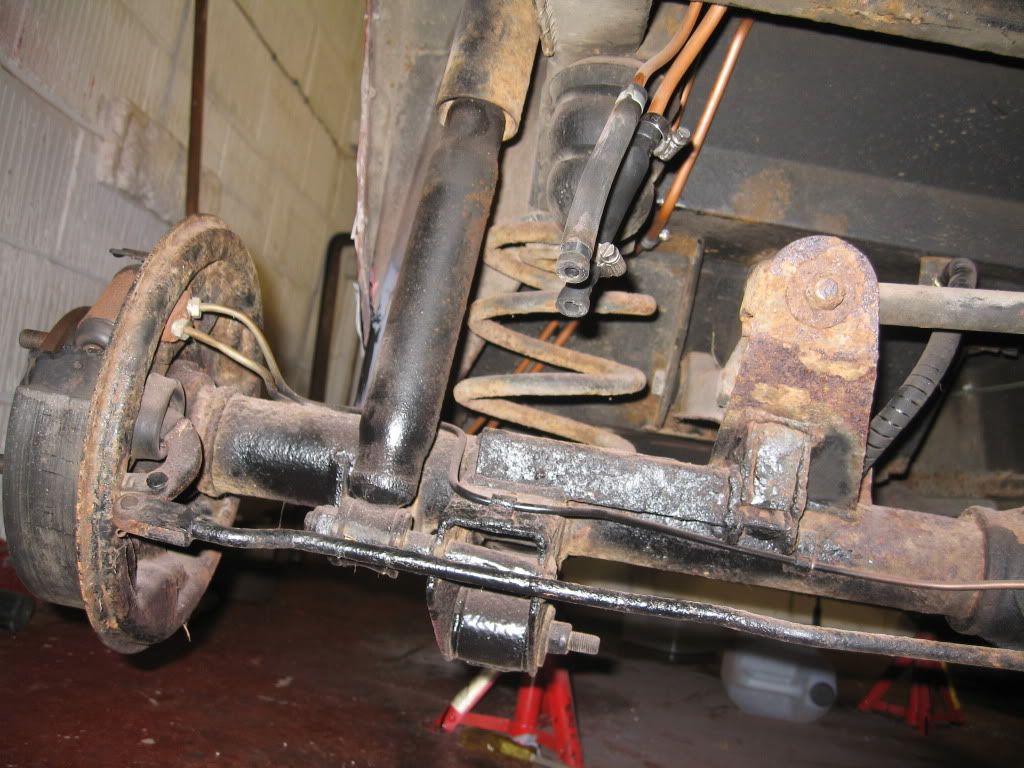
Well getting there slowly but surely.
Another good buy arrived today, 99p on Amazon, of course the sting was in the p+p at £3.80 but stll a great bargain.
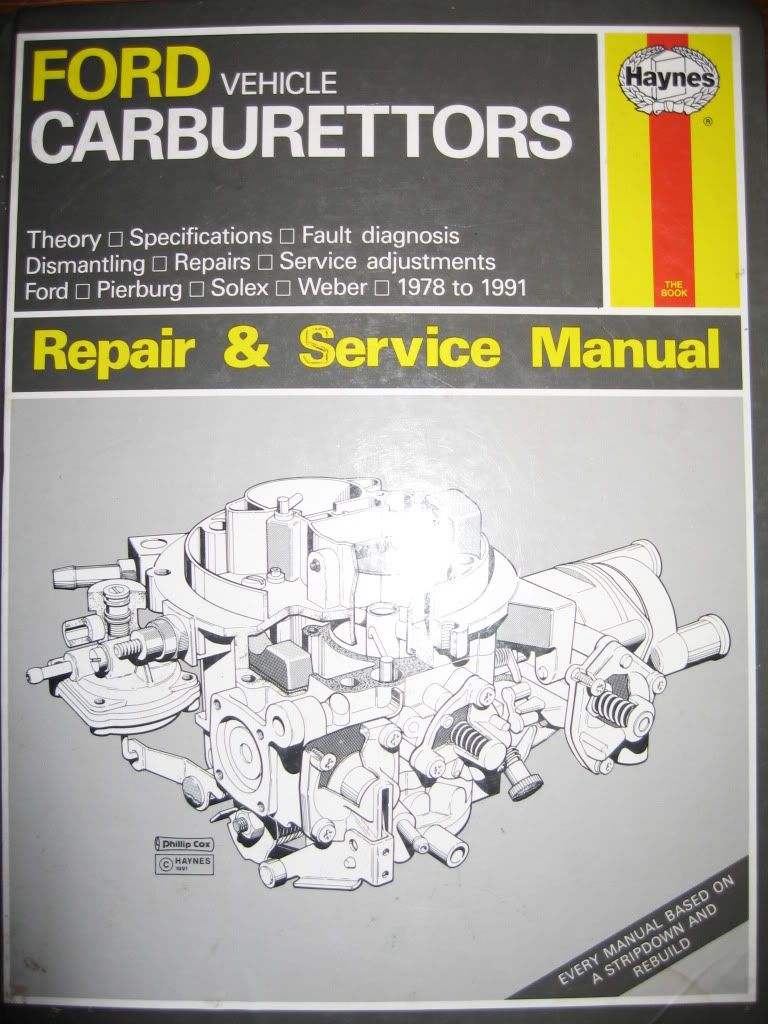
This manual covers the whole strip and rebuild of the Solex EEIB 38, great buy.
Well pleased with todays progress and hope to get the brakes fitted tomorrow and await the arrival of the rest of the bushes.
See ya Paul

Tuesday, 17 January 2012

Tuesday 17/1/12

Hi
Bit of a dirty day today, onto my 3rd boiler suit and thrown away a sweat top, messy job this under sealing and sand blasting. I have managed to use all 3lts of Tetra Schultz doing the wings and all of the underside, there are a few touch up areas to do but mostly its all done. It may not be the prettiest job in tight to get at places but I can be sure its well protected.
Under-sealed
A few hours were spent in the blasting cabinet doing the springs and the brake drums, the springs have had a prime with plastic undercoat and so far 3 coats of paint.
I also bought 2 tins of stonechip and have re-sprayed the radiator and the drive shaft, I shall do the underside of the petrol tank tomorrow, basically anything that can get chipped will get a spray.
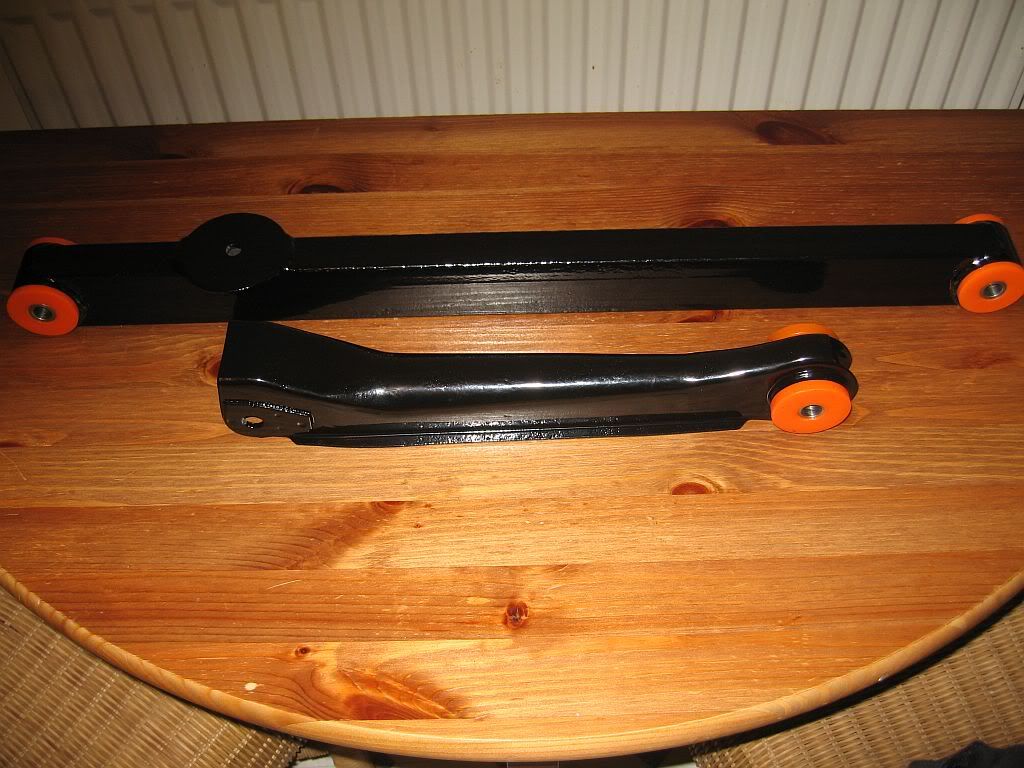
I have also been to the powder coaters and picked up my parts and again a lovely job done, cost £50.
Powder coated arms
The lower arms now have the new poly bushes fitted, next is to re-fit the springs then they can be bolted in position. First I need to go buy some stainless bolts and locknuts.
The lower arm bushes fit perfect into the arms, unfortunately they are to wide by 4mm. I have bought an attachment to convert my grinder into a chop saw and have a couple of thin cutting disks so I may have a go at chopping them. Nothing to lose as I can always go back to the void bush option.
Well it doesn't seem a lot done today but we are getting there.
See ya Paul
Monday 16/1/12

Hi
Just got back yesterday for a week so will try and get some progress done.
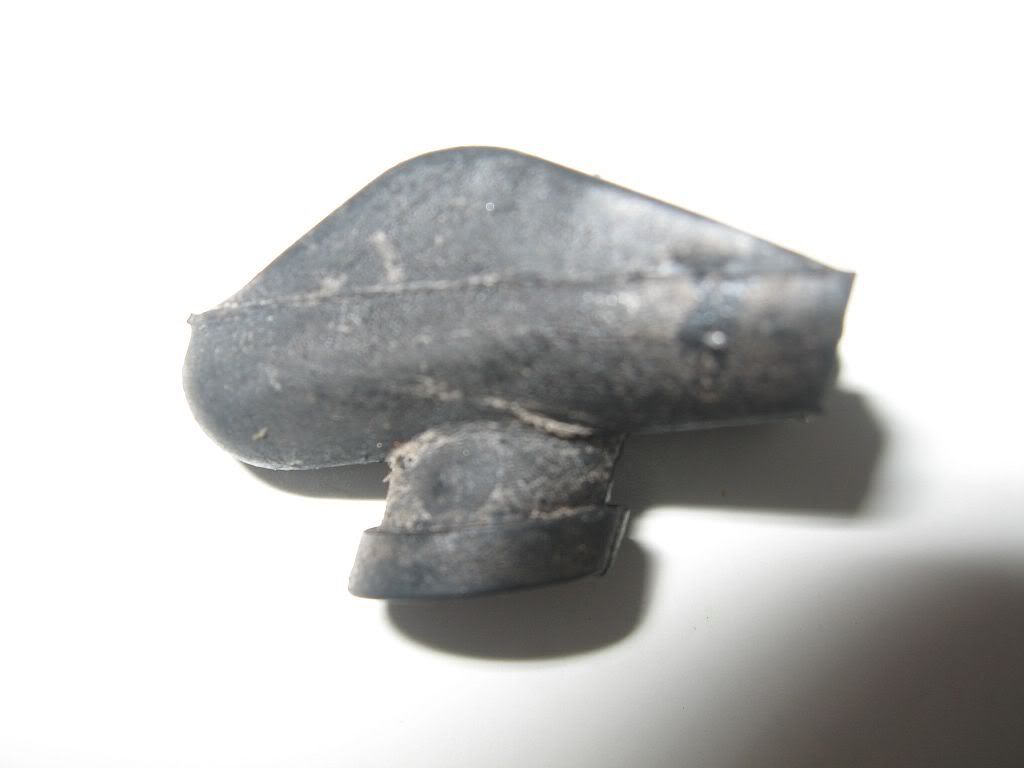
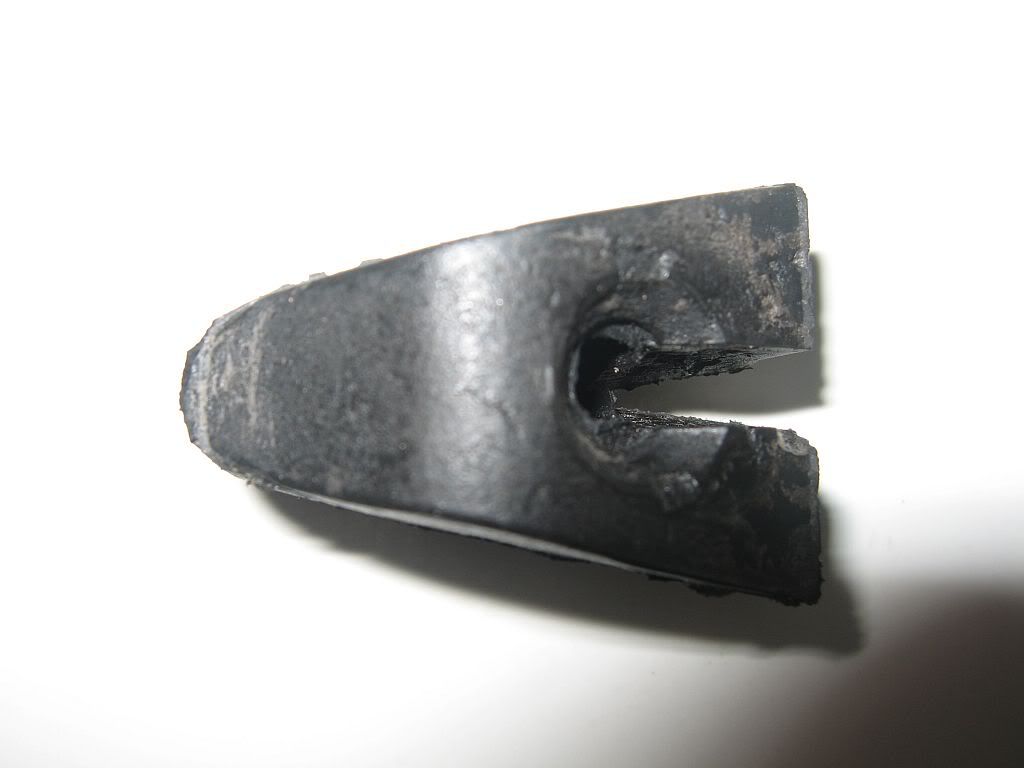
While away I managed to track down a few of the items I need, a bit of luck on a new clutch fork gripper which I found on eBay with only a few hours to go, they are probably still made but doubt I would be able to find one. Mine had a bit of damage where the rubber locked thru the hole, I would of course have been able to re-use the old one but if a new one is available then why not.

Fork gripper

 The part number supplied on eBay is

FORD CORTINA SIERRA SAPPHIRE GRANADA GENUINE NOS CLUTCH FORK CABLE GRIPPER

Ford Finis No. 6050236  Part No. 76BB 7L588 AA             £12

I also found and lost a Gearbox mount on eBay which I am now having difficulty finding through suppliers as everyone I have spoken to say it is no longer made and that even QH have stopped making them. When I find one I will post the numbers in case any one else needs one.

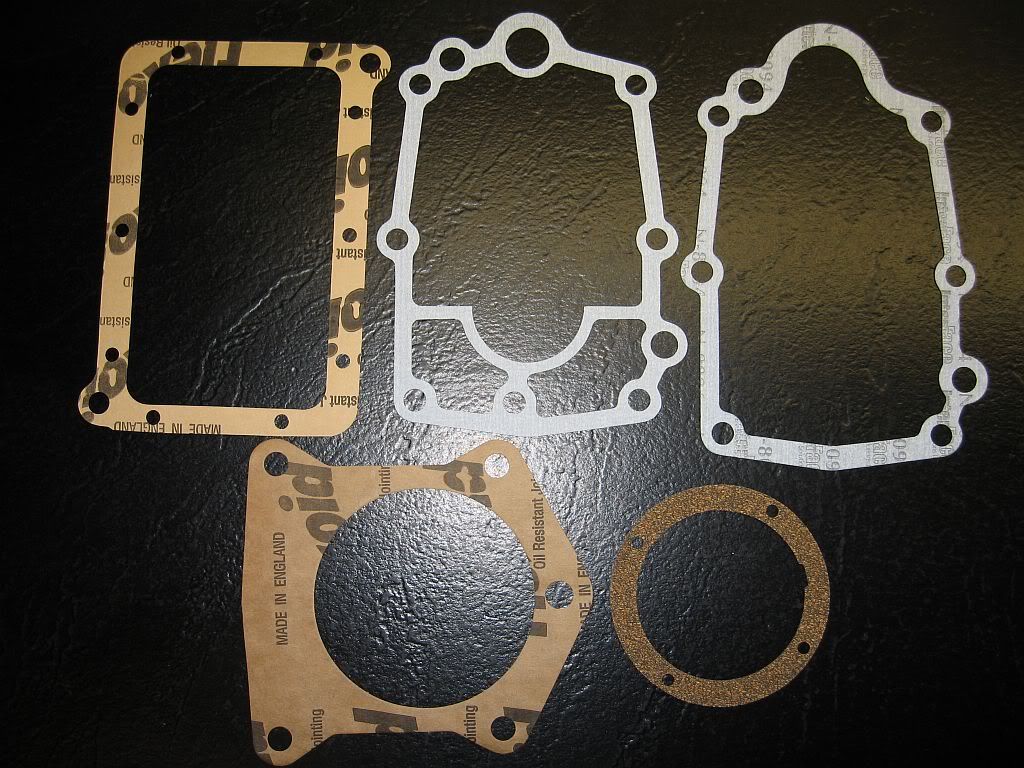
I said in my last blog that I had forgot to buy any Gearbox gaskets and would make my own, well that did not happen as my gasket material was a little dried out after sitting in the loft for many a year. So I bought a set for £6.75 on eBay.


I only required the bottom 2 shown in the photo and fitted them this morning.

Next job was the removal of the hand brake rod, as I have been to the powdercoaters today I have been getting as many bits together as I can.
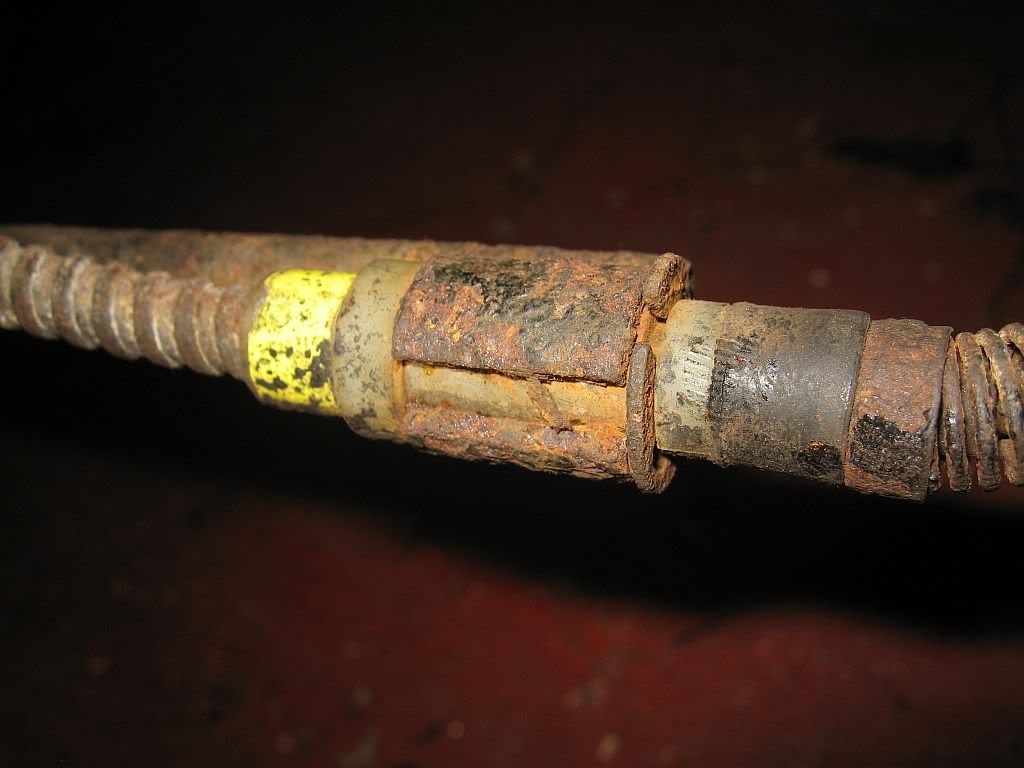
It took a bit of effort to get the thing apart as the rust had bound to the teflon section.
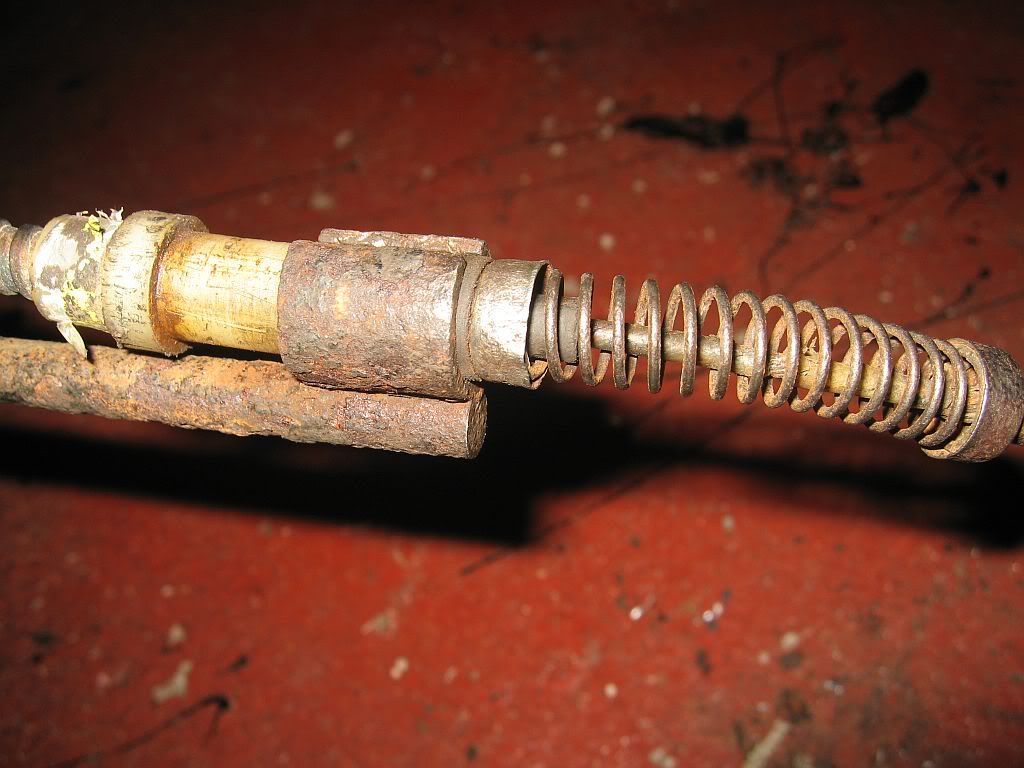
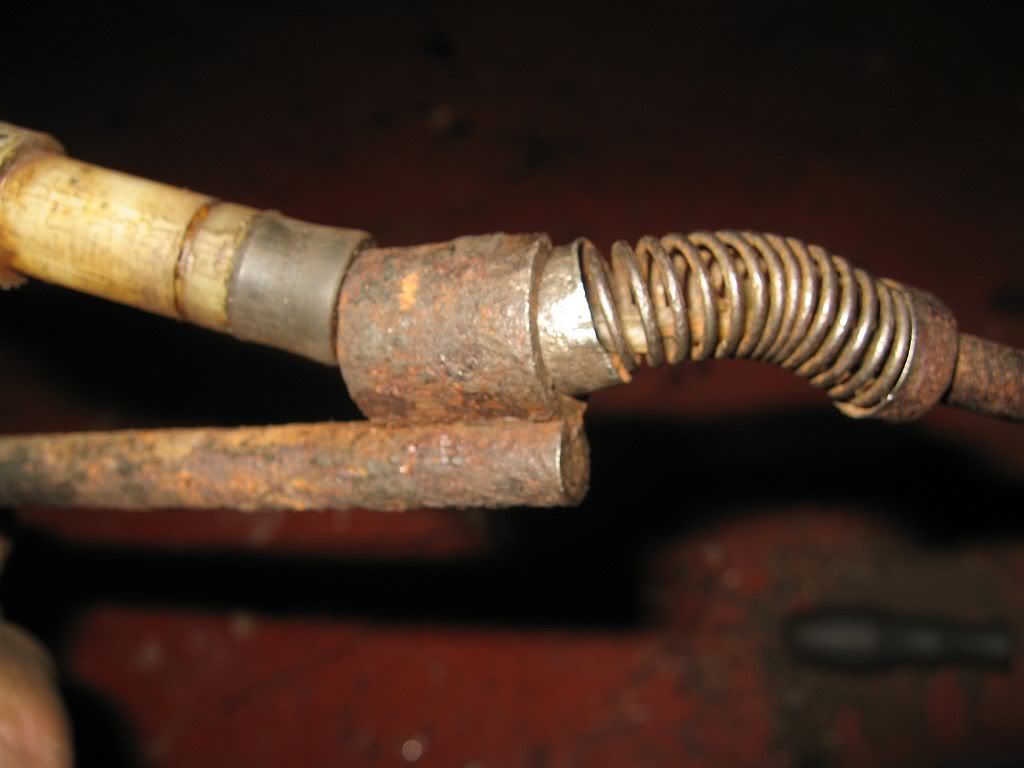
I started with a little lubrication around the teflon and steel sleeve then with a screwdriver eased out the E clip pressed into a groove, you can see it at the bottom of the sleeve. Unfortunatly mine was so far gone it just broke up on removal. These are around 12mm, plenty on sale on eBay as mixed packs for around a fiver for 2 to 300, only need 1.

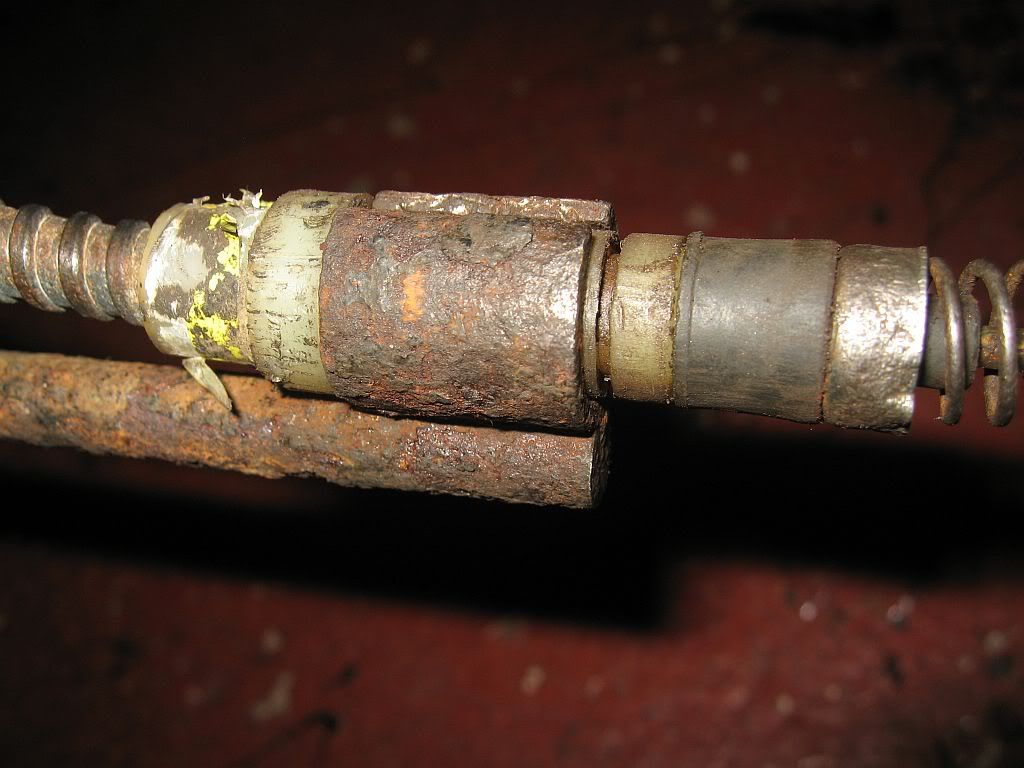
Here you can see the groove where the E clip was positioned and the damage to the teflon made while trying to twist the sleeve off.
With the handbrake released the metal sleeve and spring can be pulled back.
This is where the groove in the sleeve comes in, pulling back on the spring exposes the wire cable, the groove then slips over the wire and pops off. A bit of silicon grease on the spring when it goes back together should preserve it.


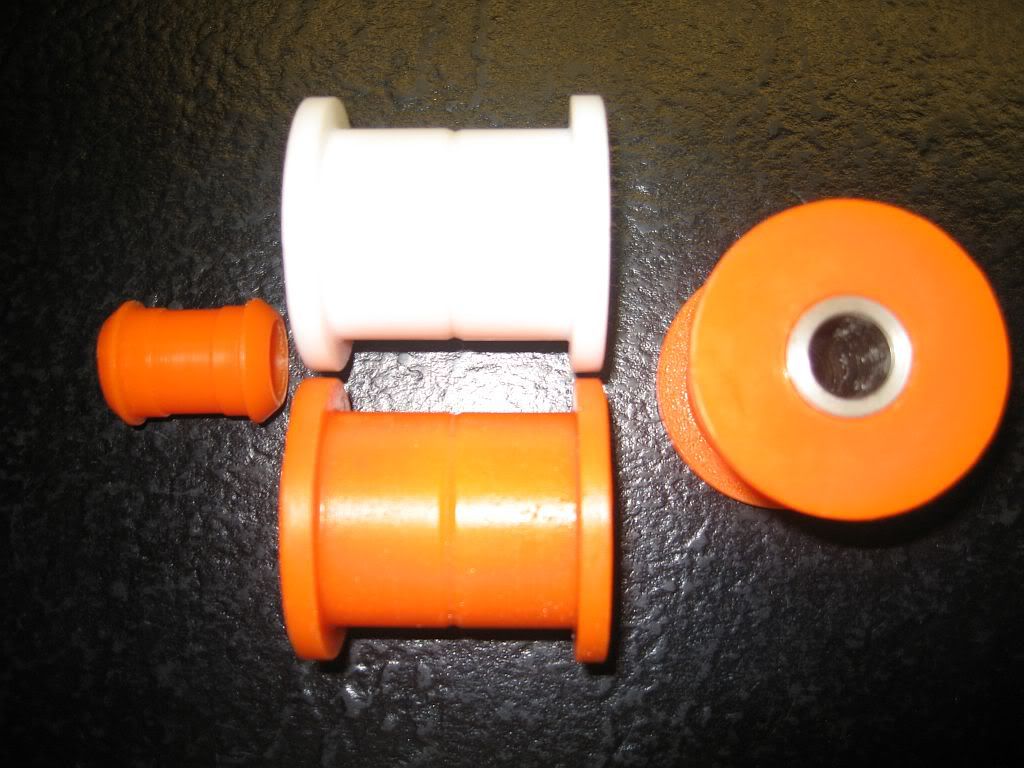
Back to the bush saga, I had arranged delivery for my arrival home and they is good news and there is bad news, the good news is that the bushes made from the new mould are pretty much perfect.

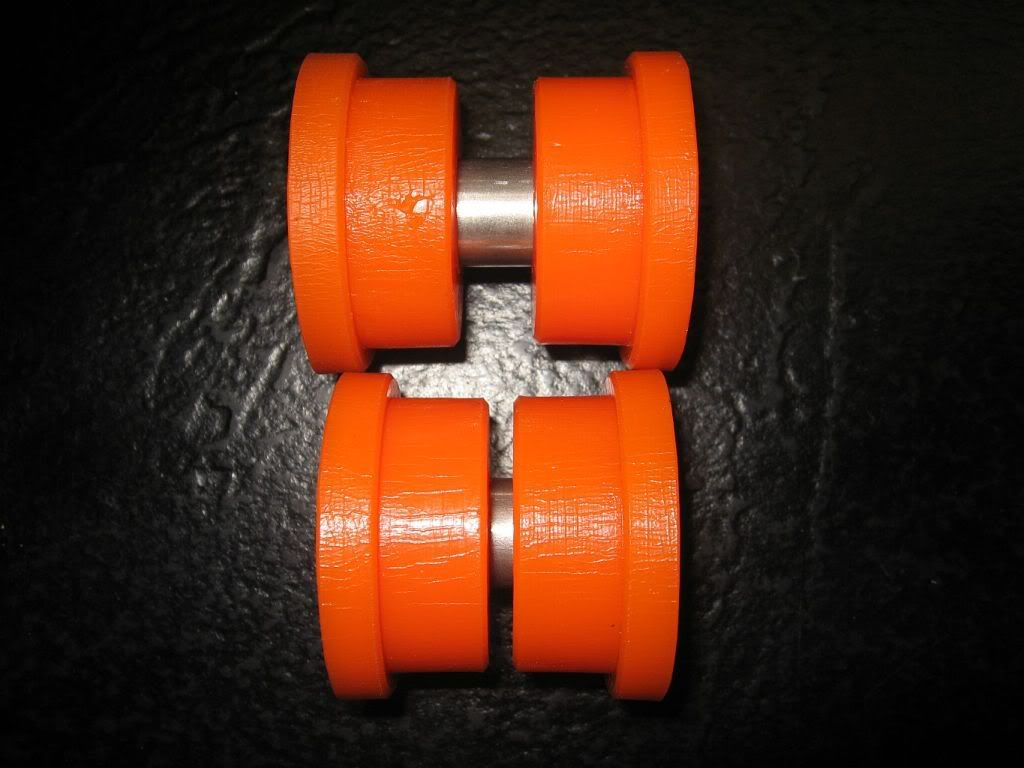
Here's a set, and they fit as good as they look, I have measured against the original mould and they are spot on. Along side them you can see the new handbrake bush.
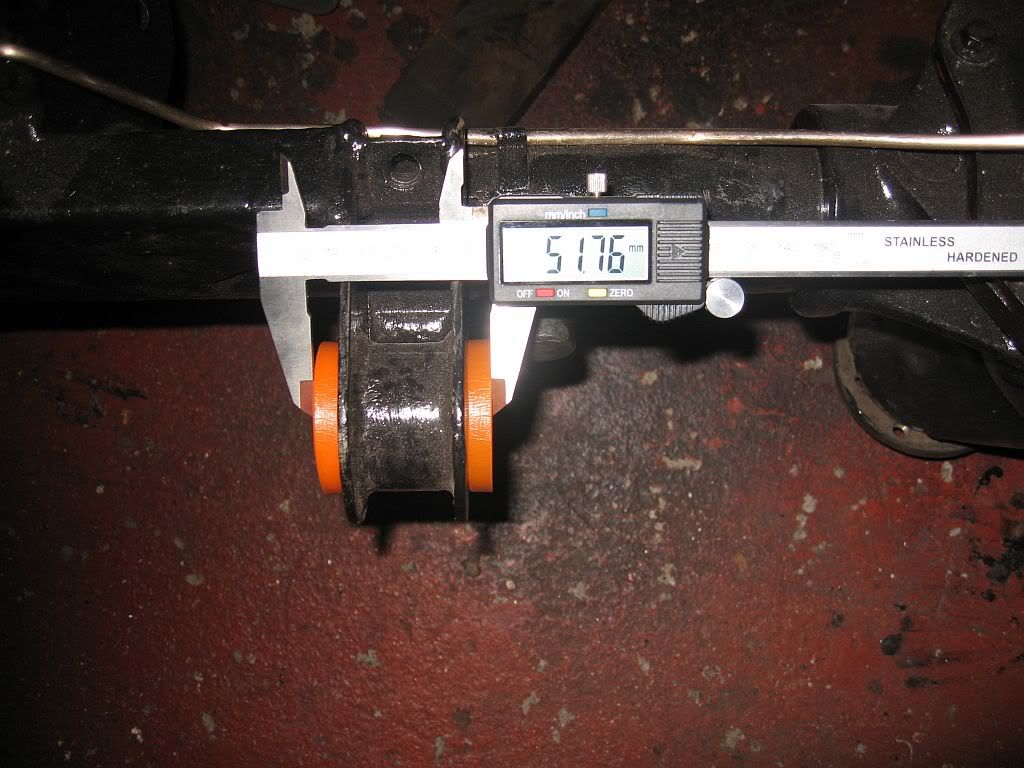
The bad news is that the other bushes that fit the upper arms are way out, I sent them a void bush to use as a template and they matched the inner bobbin section perfectly, but unfortunatly when in position they are to wide.


The bushes sent are from the Capri ARB and should be when fitted around 45.5mm wide flange end to flange end, these are around 6mm out at 51.7mm fitted. The bottom photo shows what it is and what it should be when fitted, so the saga continues. I have been in touch with Floflex who have offered a full refund on these Capri bushes but aren't prepared to go any further in tracing the correct size, they have looked once and that's it basically. So my options are to find the correct bushes and return these, or cut these to size, or to replace with void bushes. I have already spent £180 getting this far, it's no problem replacing the original voids with new as I have the correct fitting tool and the reason for removing has been accomplished as the trailing arms and panhard rod are at the powder coaters with the rest of bits and will be, I have been promised; ready for pick up on Tuesday (today) after 1600.
I shall wait till the arms return before deciding what to do. All part of the fun I guess.
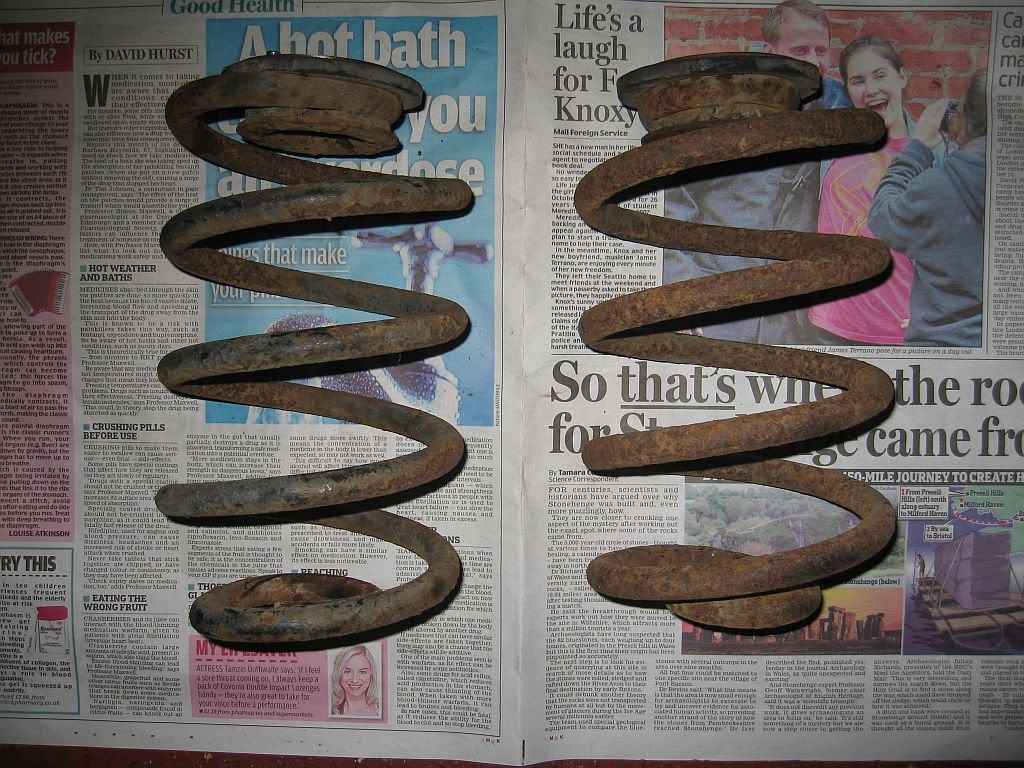
Next job was to remove the springs from the lower trailing arms, they is a drilling under the arm to get a socket in, it required the impact wrench to get these moving but came of pretty easily. The arms are, as with the rest in a sorry condition, the outside will be coated but because of the drilling for the spring bolt water is allowed to get up inside and rust away happily. I doubt the blaster at the coaters will bother to try and get right up inside this drilling so I will have to spray up inside with rust converter and then waxoil when dry. I was hoping to get the springs coated as well and called the company up to double check about the rubber buffer on the top of the springs to see if it would get damaged during the process, and I got the answer I was expecting; in that the oven would shrivel the rubber up. So I will have to sand blast the springs and spray myself.

You may be able to make out the rubber at the top of the spring.
So that was about all for the first day, a trip to the powder coaters on the North side of the Tyne, a journey that at 4 in the afternoon would normally have taken around and hour now took 15mins due to the new Tyne tunnel. Best money ever spent. I also stopped of at Bills auto parts and picked up 3lts of Tetra Schutz under-seal which is Tuesdays job, I want a couple of coats of under-seal sprayed on so overnight in the airing cupboard should have it nice and thin.
I have been thinking ahead a little while away and tracking down info on the Solex carb, I found a Finnish site that I have posted on my Links page. This site is dedicated to the Ford Taunus which is fitted with the EEIB Carb.
The other site is FORDOPEDIA an excellent site with a load of info about the Granada, Cortina and the COLOGNE engine
Well thats all for the fist day
See ya Paul
Friday, 23 December 2011

Friday 23/12/11

Hi
Just little jobs today; the first was a good look at the gearbox, I have been trying to figure out where the push button of the reverse switch has gone. It certainly didn't drop out when I removed the switch or pulled the electrics, even after a good look inside the selector box and gave it a upside down shake I couldn't figure it out. All of the gears select ok so I guess this has been looked at in the past and the outer end of the switch was just pushed back in and left.
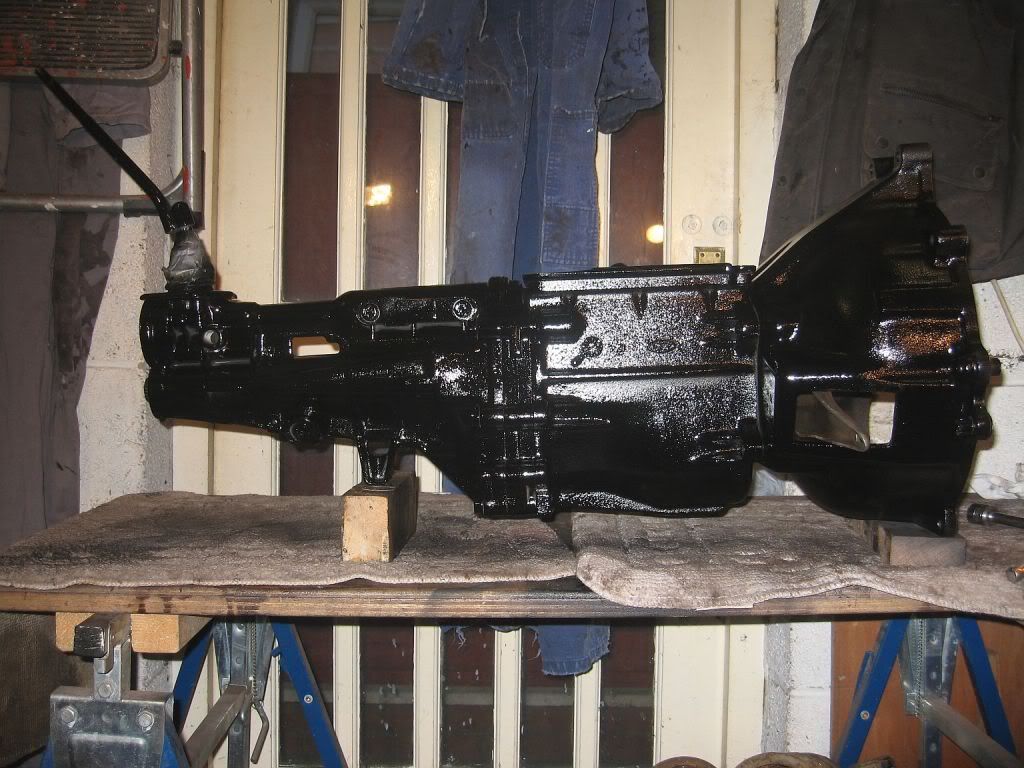
I have put the bell housing back on and shall have to find some where to stow it until the engine has been stripped and re-built, It certainly look a lot better now.
Type 9 gearbox
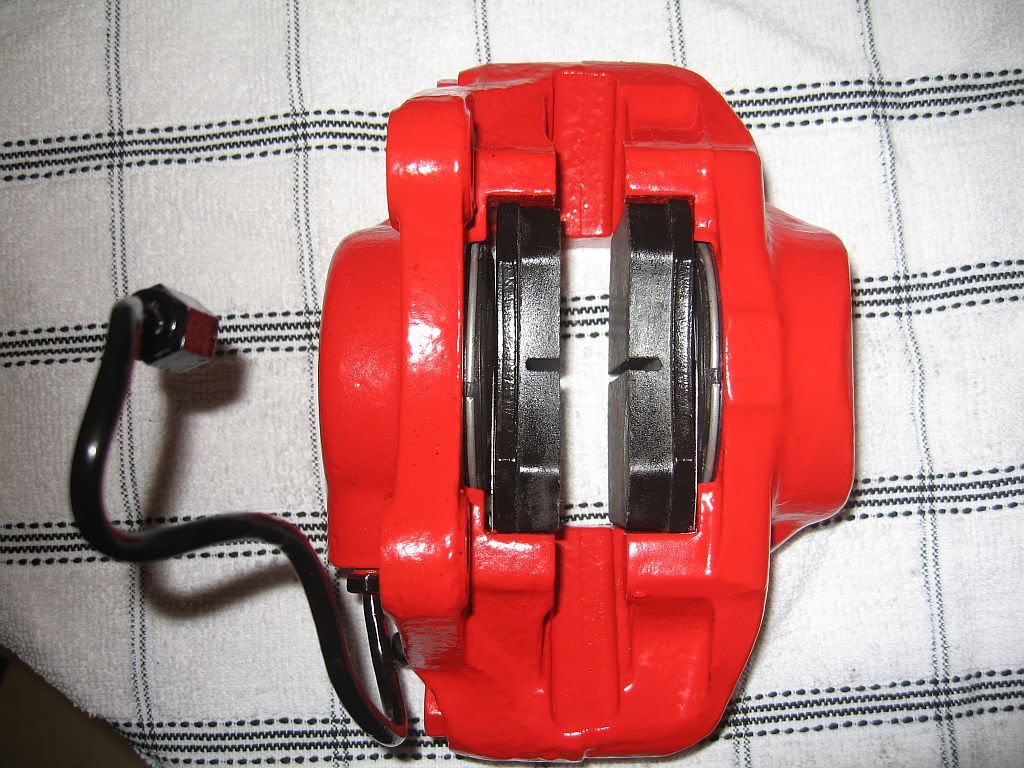
In between house jobs I decided to re-build my front calipers and do a little picture story of it, all of the overhaul kits and new pads arrived a while ago, I just haven't had time to do the rebuild.
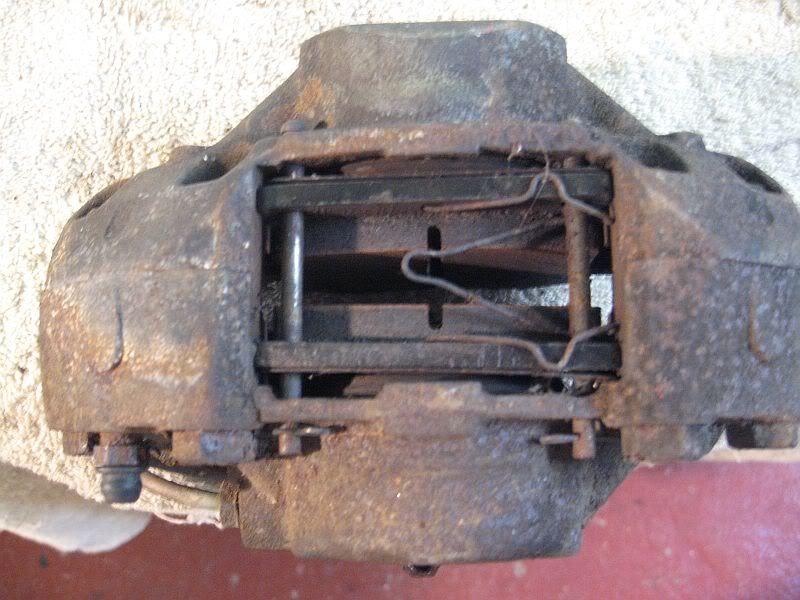
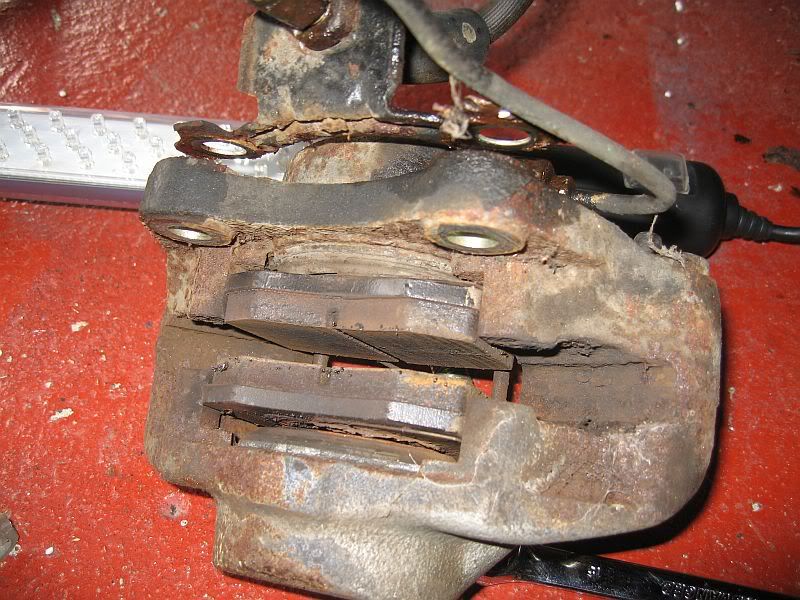
Just a reminder of how they started
Rusty caliper

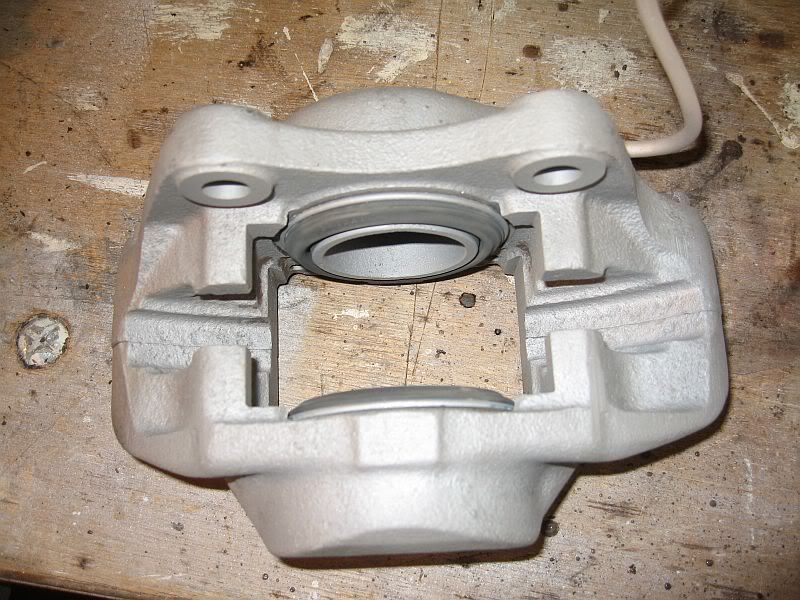
I am lucky enough to have a large compressor and blasting shed, If yours look like this and want to overhaul them then look for a powder coating firm and let them do all of the hard work. 
I did not want any of the blasting material to enter the calipers so I have left the pistons and rubber seals in position, I could not remove the attached pipe without damaging the nut so I have left them in place and just taped over the ends. The pistons in mine were seized and took a lot of work to release them, I had to use a combination of compressed air and leverage in and out to get them moving but eventually they came free.

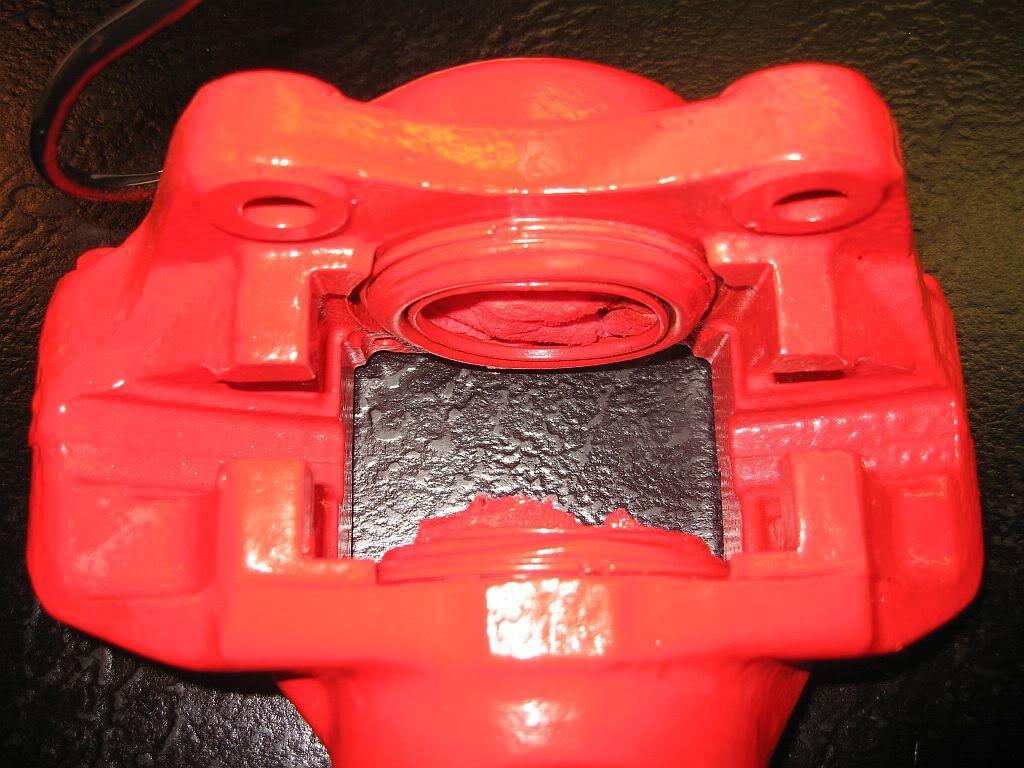
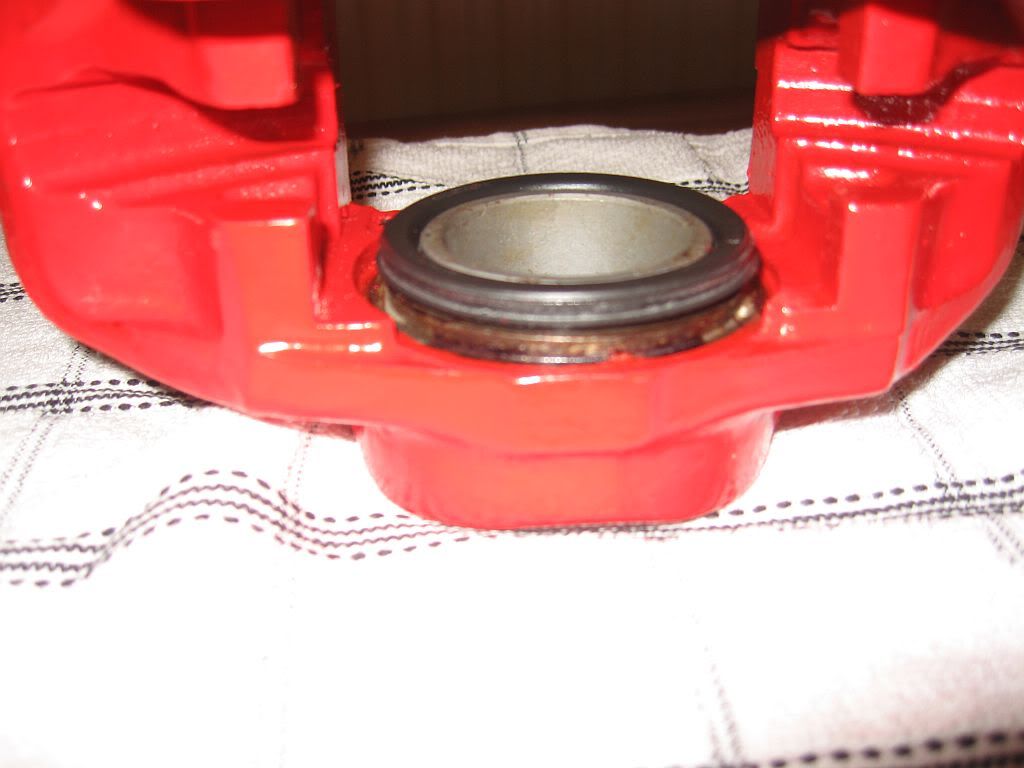
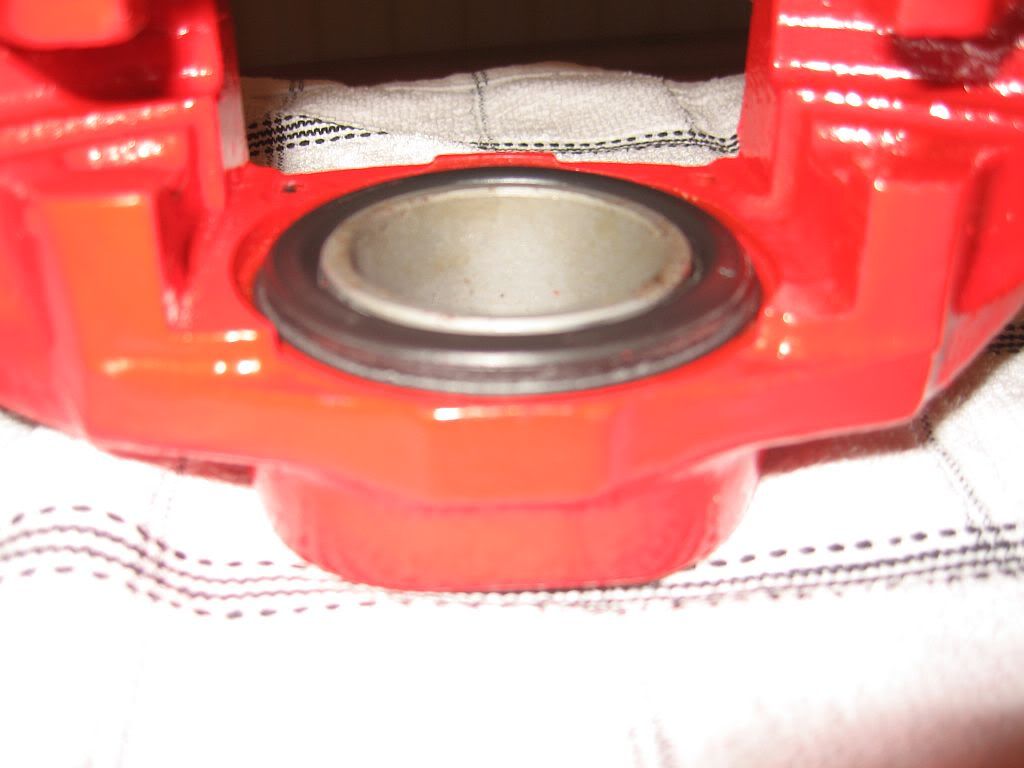
Once freed and cleaned up I stuffed the piston holes with paper towels and re-fitted the rubbers, a spray of primmer and a couple of coats of caliper paint and they were ready for re-building.
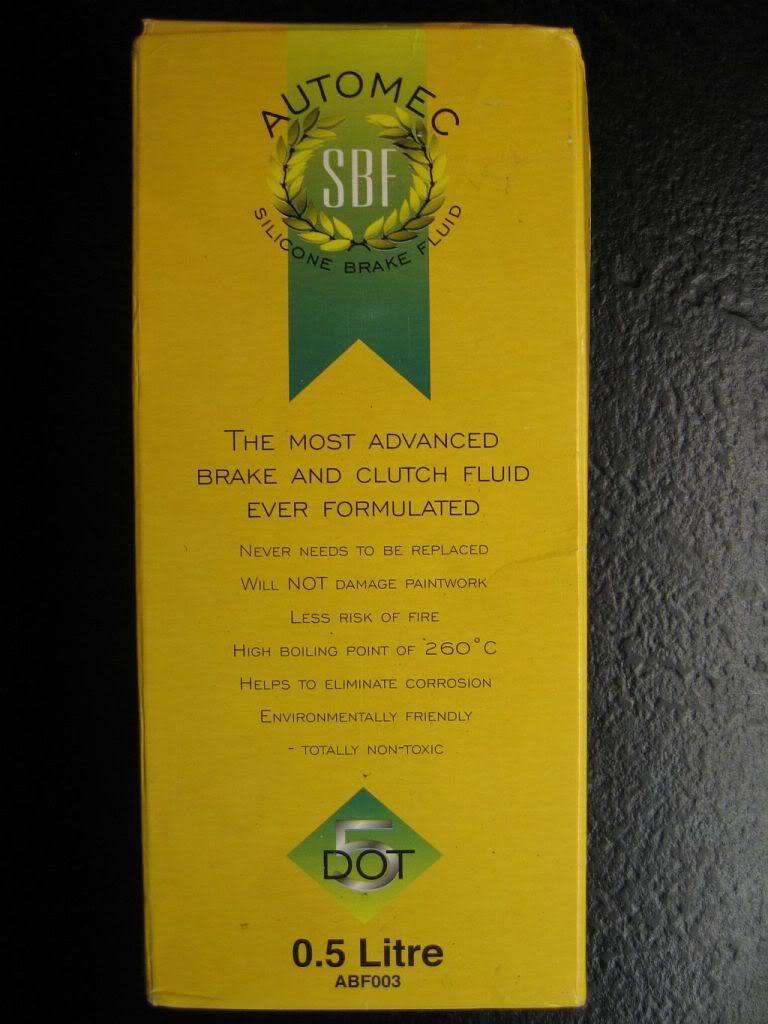
Silicone brake fluid
I am going to use silicone brake fluid when I refill the system, it is a lot more expensive than dot 4 at around £30 a litre but has many advantages over ordinary brake fluid and is also for clutch systems, I only have a 1/2 litre so will have to buy some more.
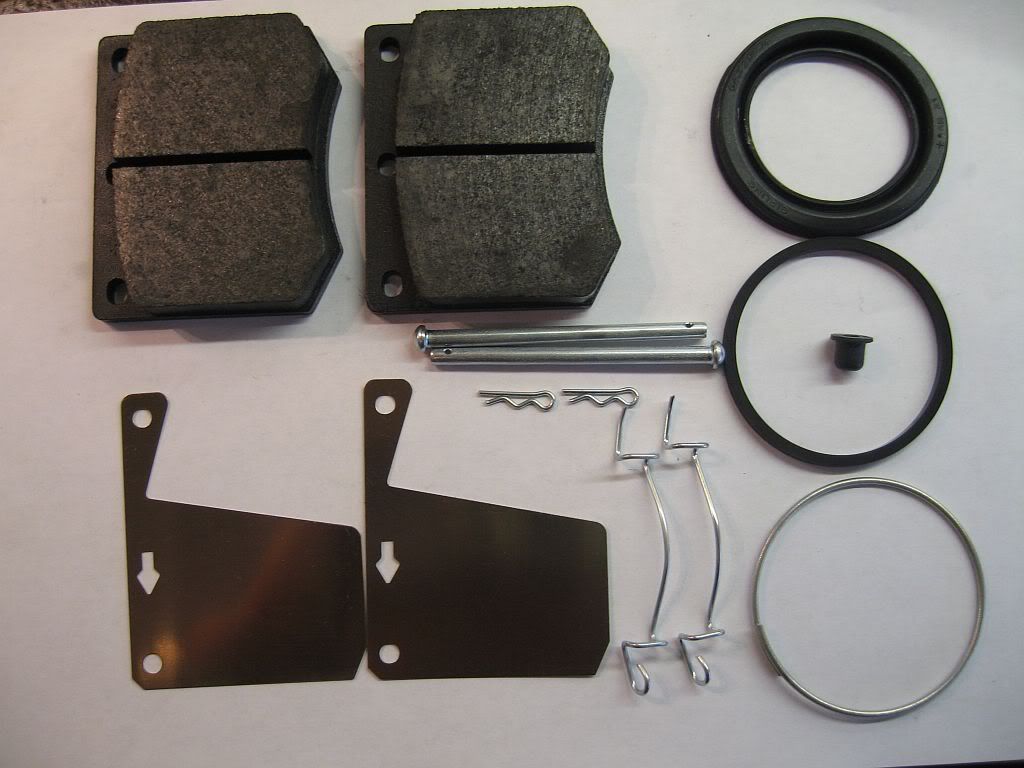
Pads and rubbers
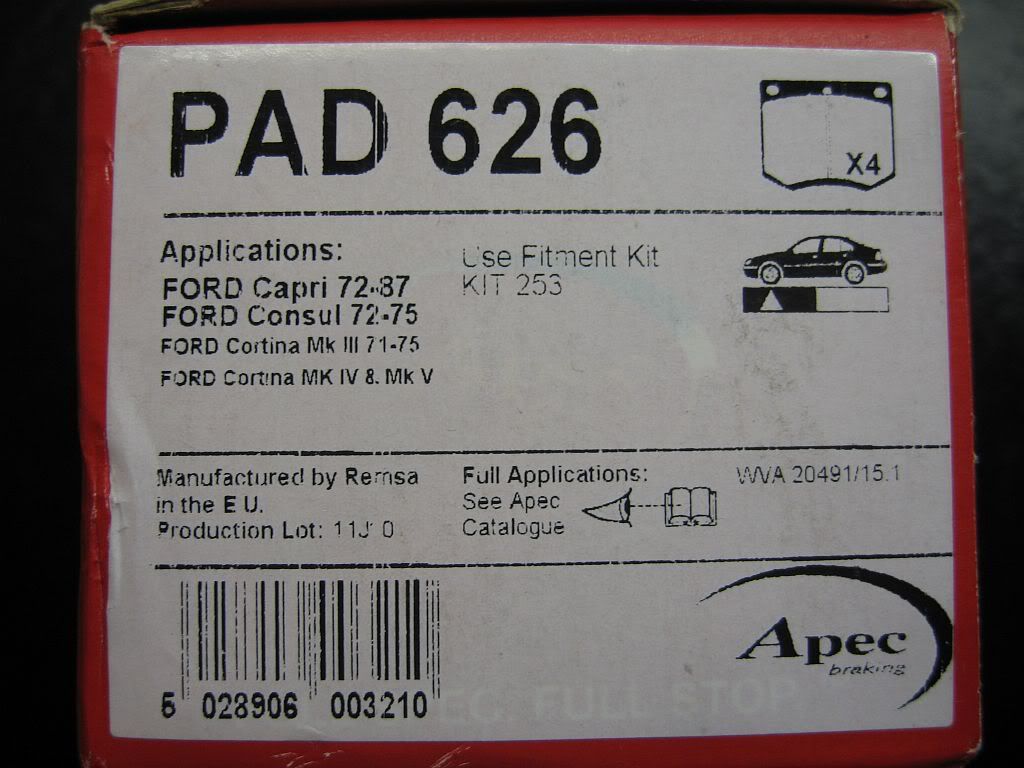
Brake pad numbers
 All of the parts to re-build the front brakes are easily available and I have posted the part numbers on earlier posts. This is all of the bits I used, pads, shims & pins with the rubber seals.
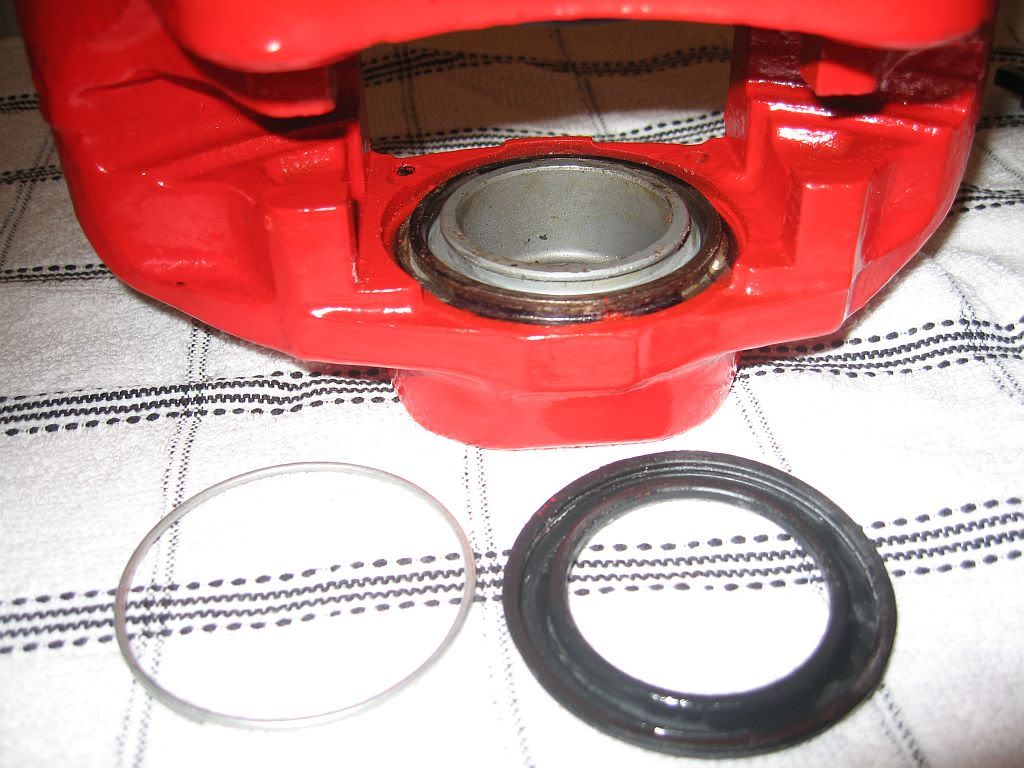
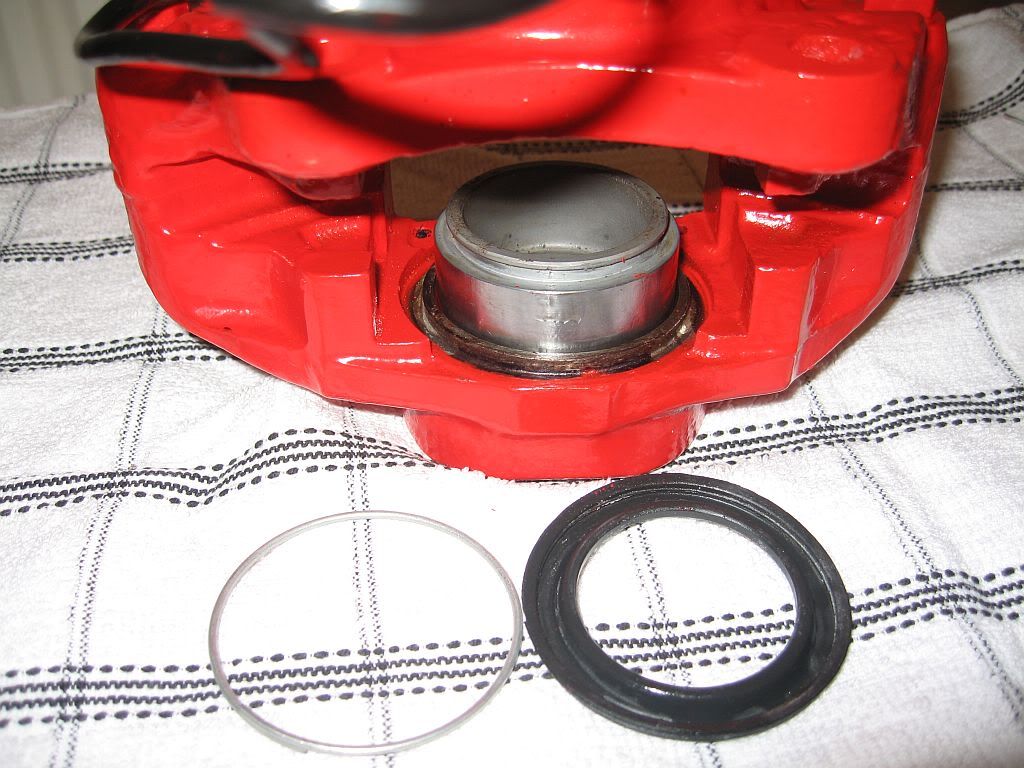
This is what you will start with, the rubber boot held in position with a spring ring.
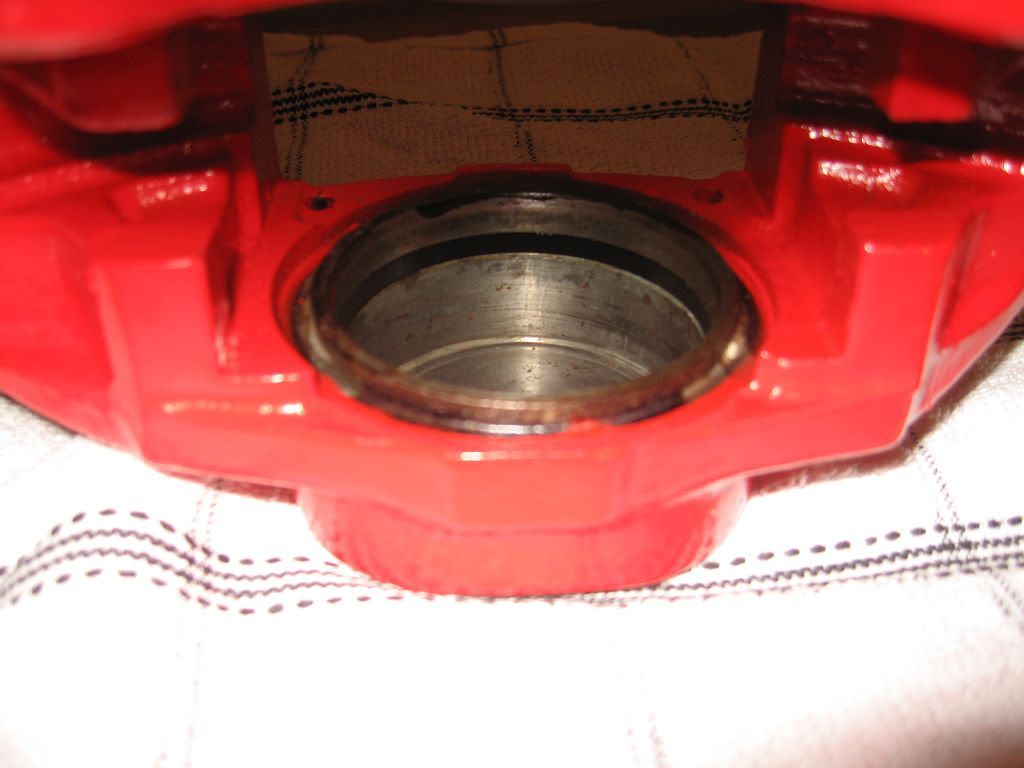
Spring ring and boot removed, this is were the piston needs to come out. You can try with a couple of screwdrivers and lever up or if you have a compressor blow the first one out then put your finger inside and cover the hole and force out the second. (Take care not to break your fingers as they do blow out)
Once removed then the inside and outside of the piston can be cleaned up, just don't use anything abrasive  on the polished piston.
You can see in this photo the rubber seal, this needs to be removed and replaced by the new seal. For lubrication of the rubber seal and the piston I have used a silicon grease, I have looked in 3 different part shops and none had caliper piston lubricant so after looking on eBay I found some and it says it is just specially formulated silicone grease, so I dragged mine out and applied a thin coating.
The piston is then pushed into position, strangely on one caliper I just used finger pressure while the other I need a bit of help from a clamp but once it pushed past the rubber it went up and down with ease.
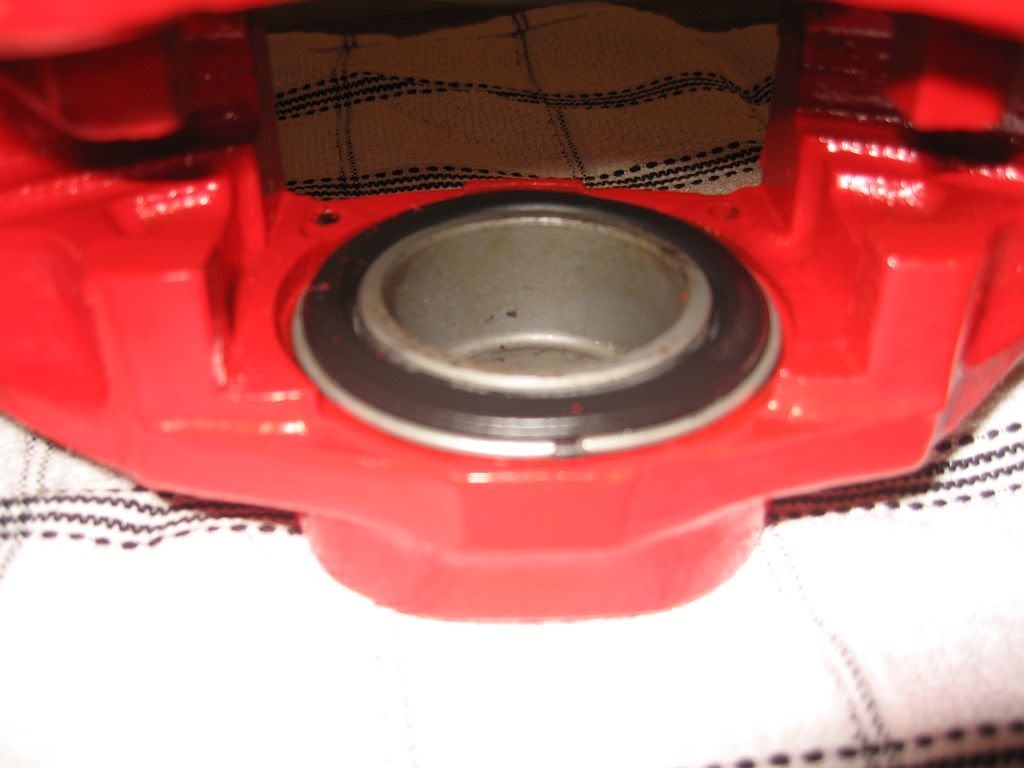
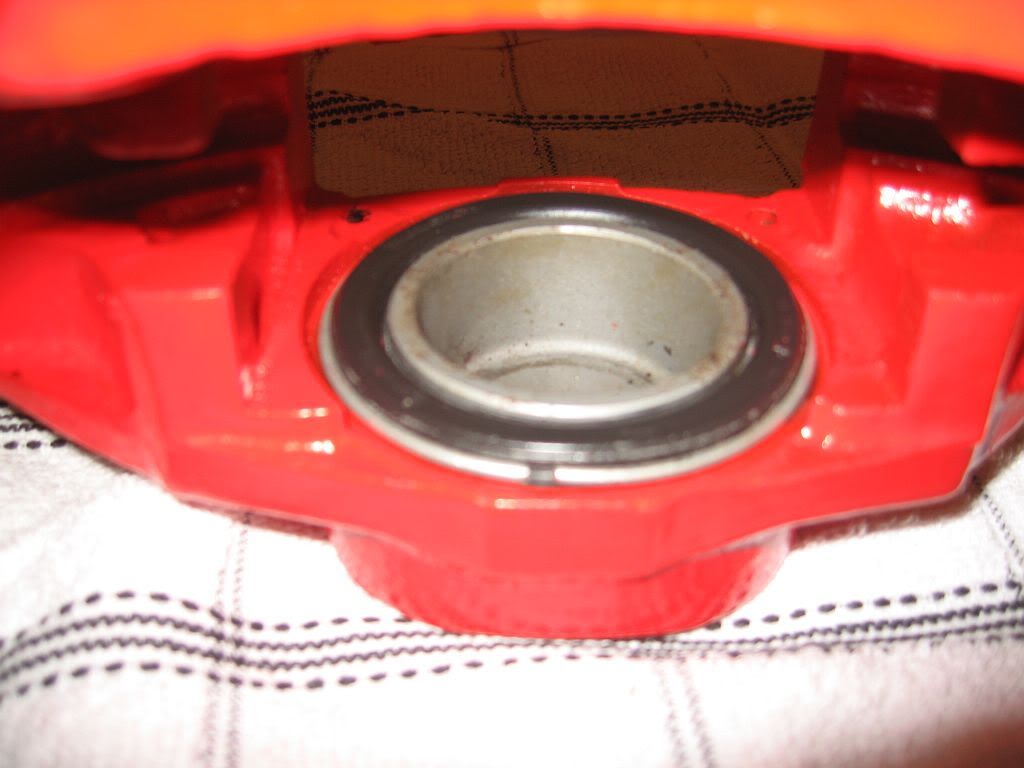
Here you can see the piston in a high position and the rubber boot fitted with the top lip in the piston groove.

Now push the piston all of the way down and the bottom of the boot will fit over the bottom caliper groove.
You can now stretch the spring ring around the boot locking it into the caliper groove. That's all there is to it, no reason to buy new calipers just overhaul them.
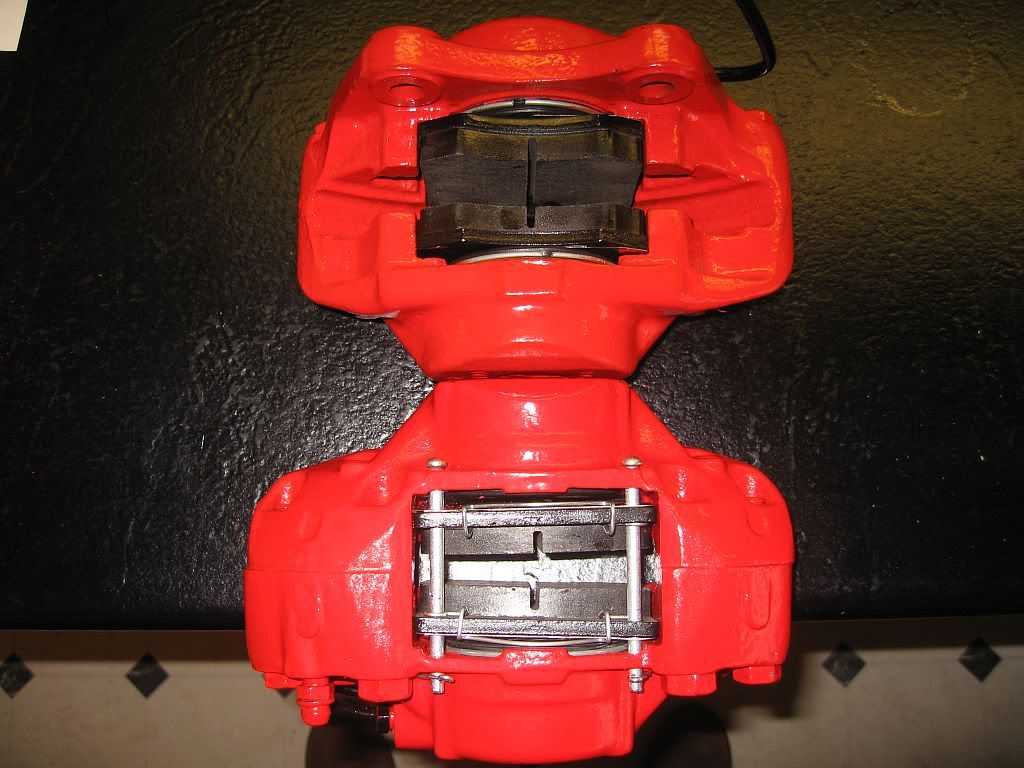
Re-fitting the pads is quite simple, I bought a new set a while ago but when I compare them against my old one's I can see that my old one's have had no use since first fitted so I shall keep these to re-use.
One thing I did notice is that the springs in the replacement set are different than what came off, but on checking Haynes they are the same as shown in there photos.
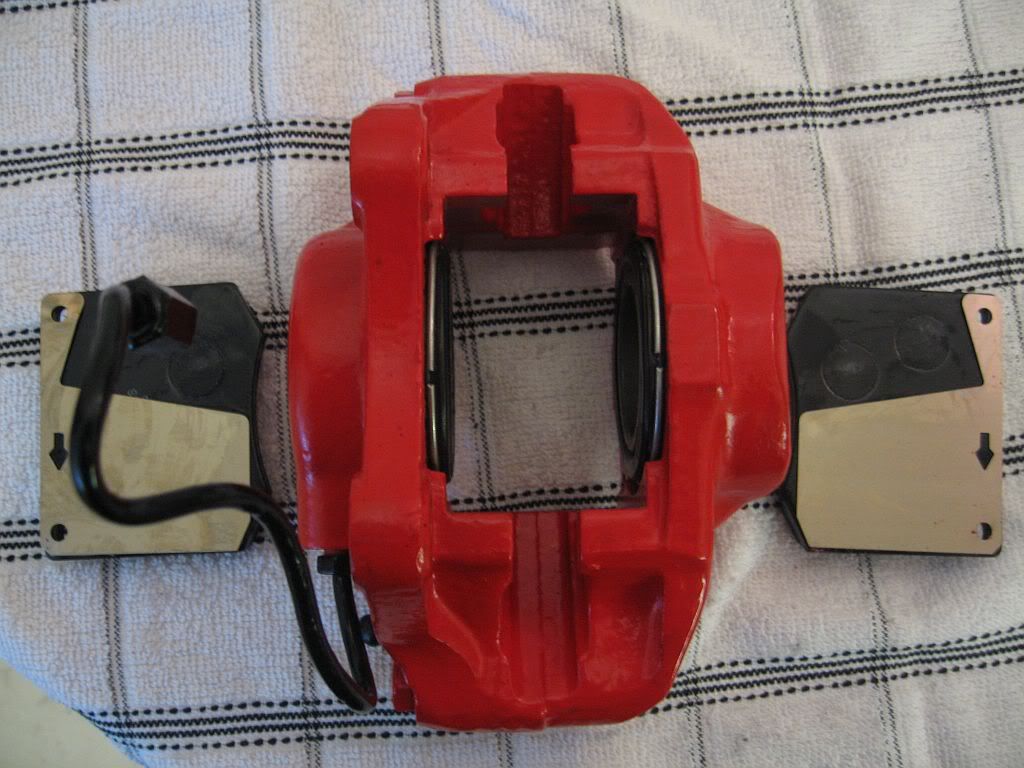
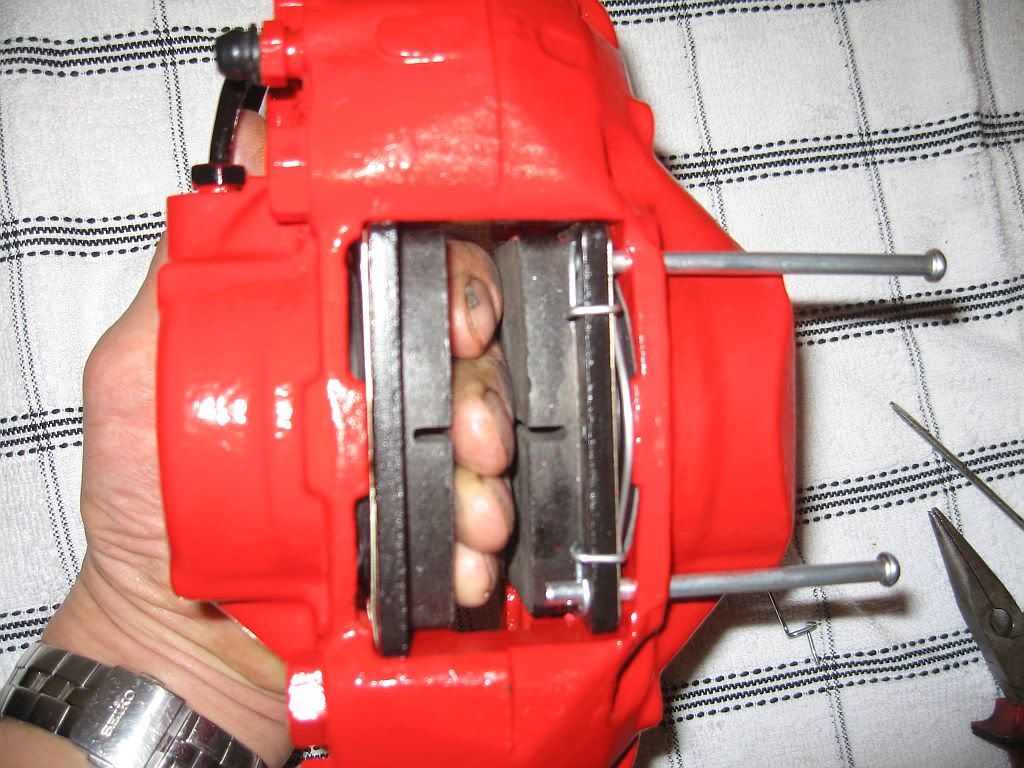
The shims need to face the direction of travel so lay out the pads and place the shims in position till you get it right, a little bit of lubricant between the pad and shim to prevent squeal then slot into position.

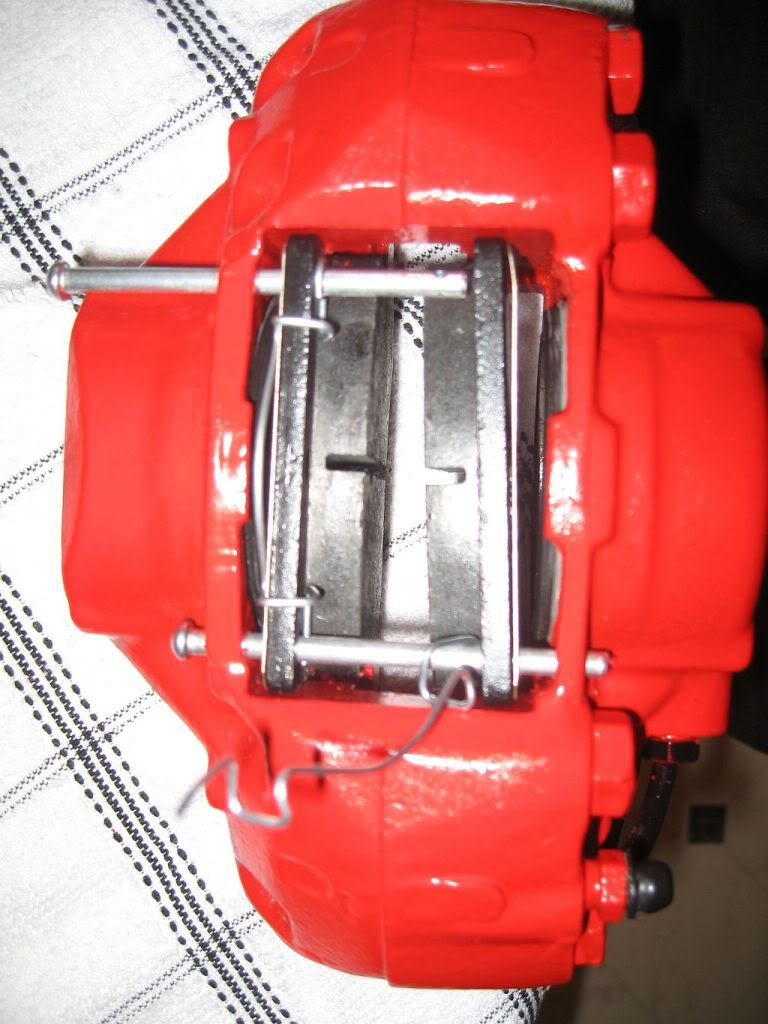
Once the pads are in position you can put your hand between to stop them dropping out while the first pin and spring are fitted. The new springs have a hook which the pin slides thru, you then fit the spring over the shim and dropped it down past the hole for the next pin to slide thru. With it being a spring it requires a bit of tension, just push the spring down with a screwdriver and the pin slides thru .
Now push the pin thru and hook on the next spring then slide the pin all the way dropping the last spring end over before it enters the pad and push it thru, just the R clips and new dust caps, all done.
That's the calipers complete just a little touch up on the paint where I have scratched them and ready to fit.
Well that's probably all I'll get done this time home and it looks like I'll be doing a 3 week trip when I go back and just maybe the bush's will be ready when I return as the engine re-build is reliant on having a rolling chassis.
Bye for now and a Merry Christmas & A Happy New Year
Paul