
Back on the seats again and the first seat is mostly finished, big learning curve here and glad I started on the passenger seat so all of the mistakes will be on Lynne's side.
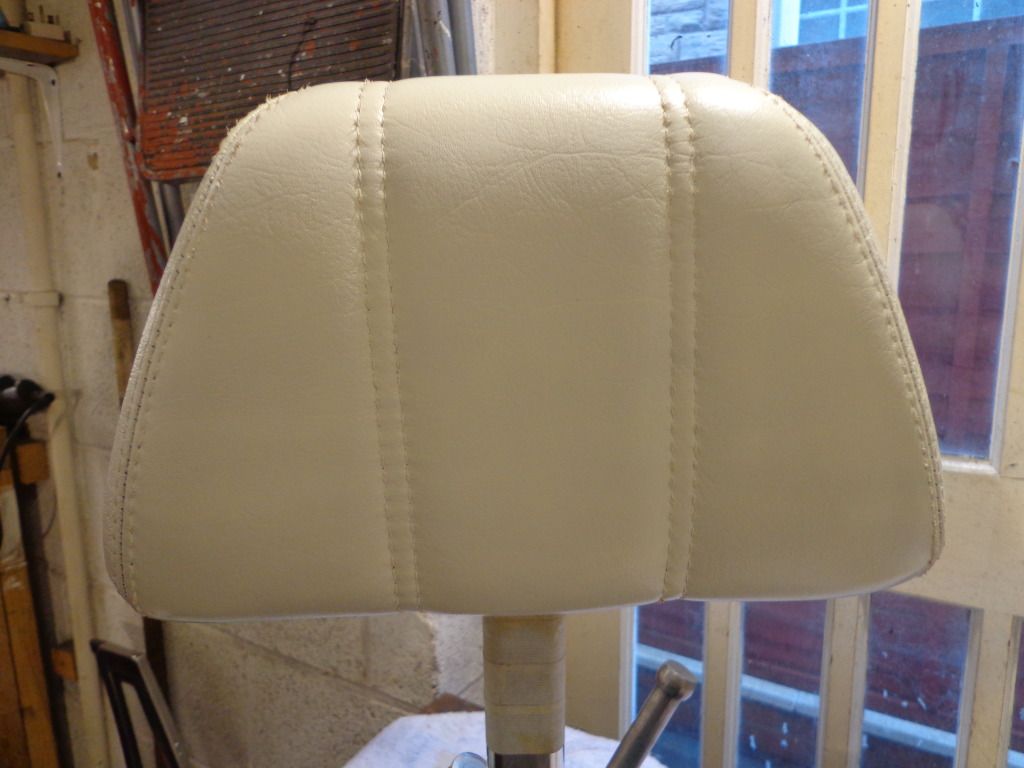
So starting on the headrests I following the instructions and used the sponge supplied to put on the first coat, I had to be very careful here as it is easy to get heavier streaks that are quite difficult to cover. The instruction say that the sponging is to get into all of the nooks and crannies, I dont think this is particularly necessary on items like the headrest and is more for seamed areas and deep creases.

I covered the headrests and set it aside to dry while I sorted out my air brush and found the correct mix.

I have a number of airbrushes and compressor setups from when I used to
do Glass and tile work, not as an airbrush artist but just for laying down
colour.
I made this as a commission a few years ago, deep carved and air sprayed on porcelain.
I started out using the colour straight from the bottle and it worked quite well for a while in fact I managed to get the first coat on both the headrests with minimal of problems, then the blockages started. I had used my fine spay airbrush with a 0.2 needle and it just started clogging up continuously.
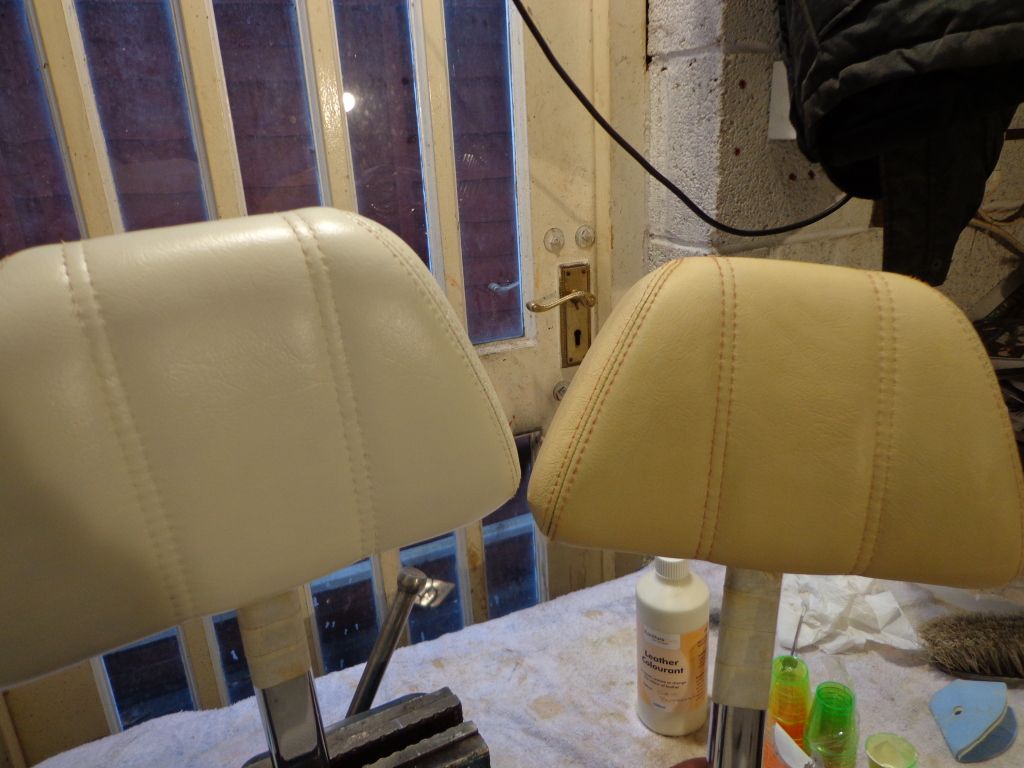
The new colour is Buttermilk.
Once I practiced on the headrests I was a bit more confident to do the larger pieces, I also have a mini smart repair spraygun with a 0.5 tip and thought I would give this a try and maybe speed up the colouring but no matter how much I reduced the pressure and how fast I worked I still got runs so it was back to the airbrush and a panel at a time.

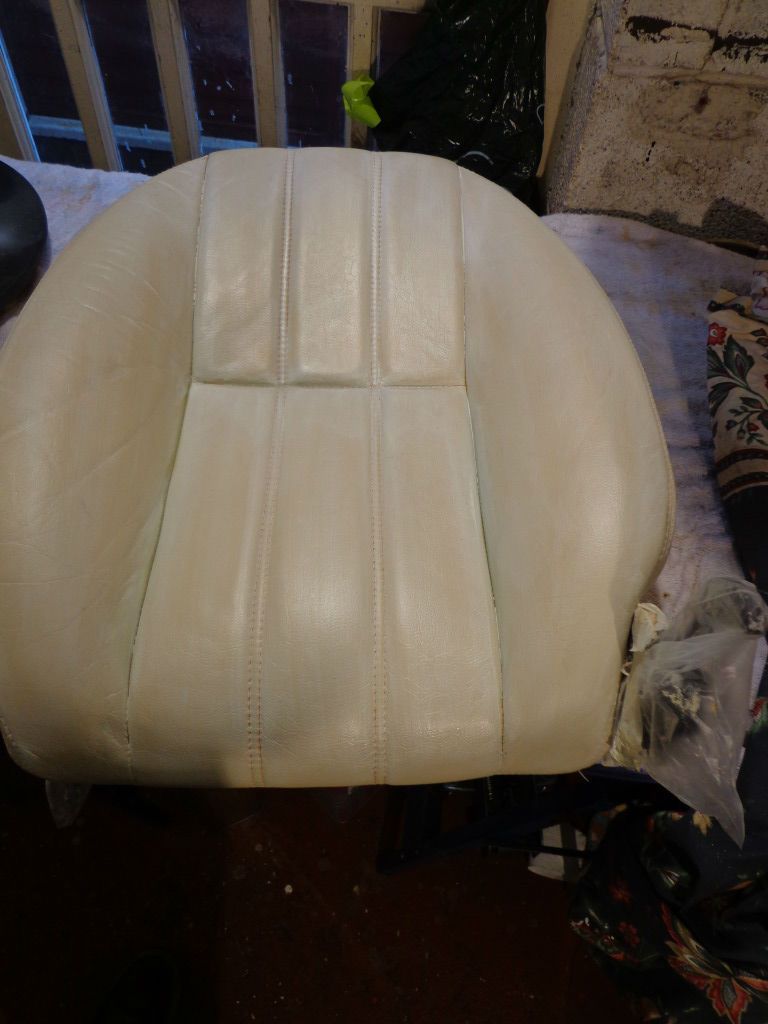
Then sprayed around 4 coats on both the back and the seat, and used the heat gun between each coat and it went on nice and smooth.
I let them dry for an hour or so before spraying with the gloss sealer, and gave all the parts 3 coats, drying with the heat gun between each coat.
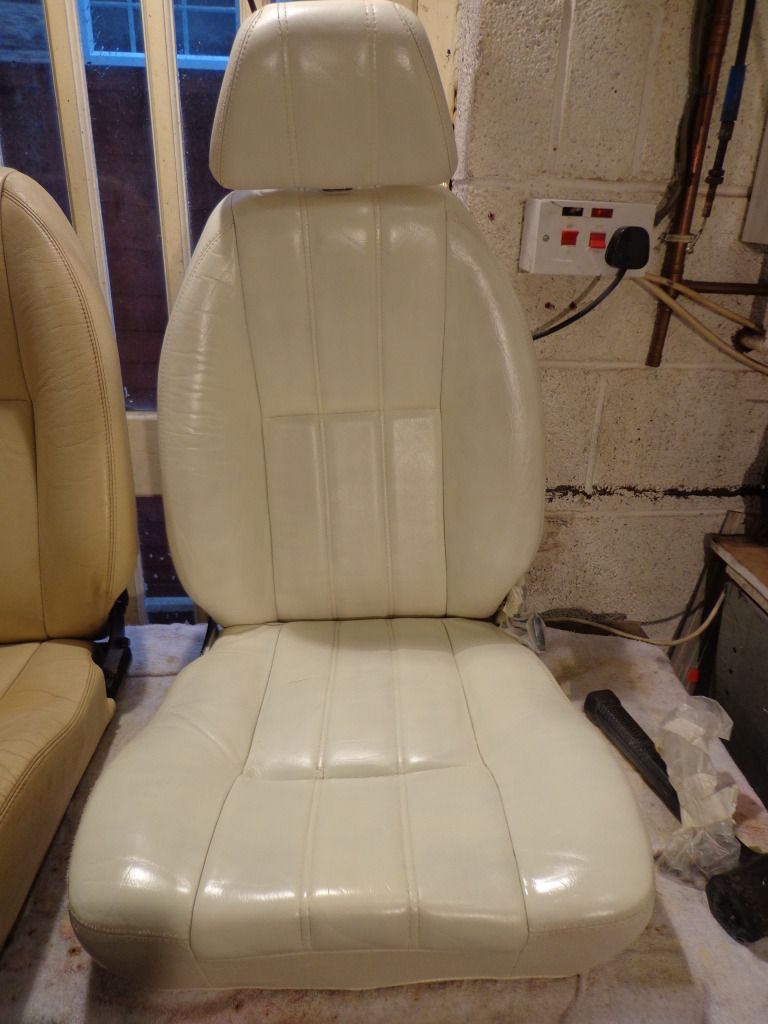
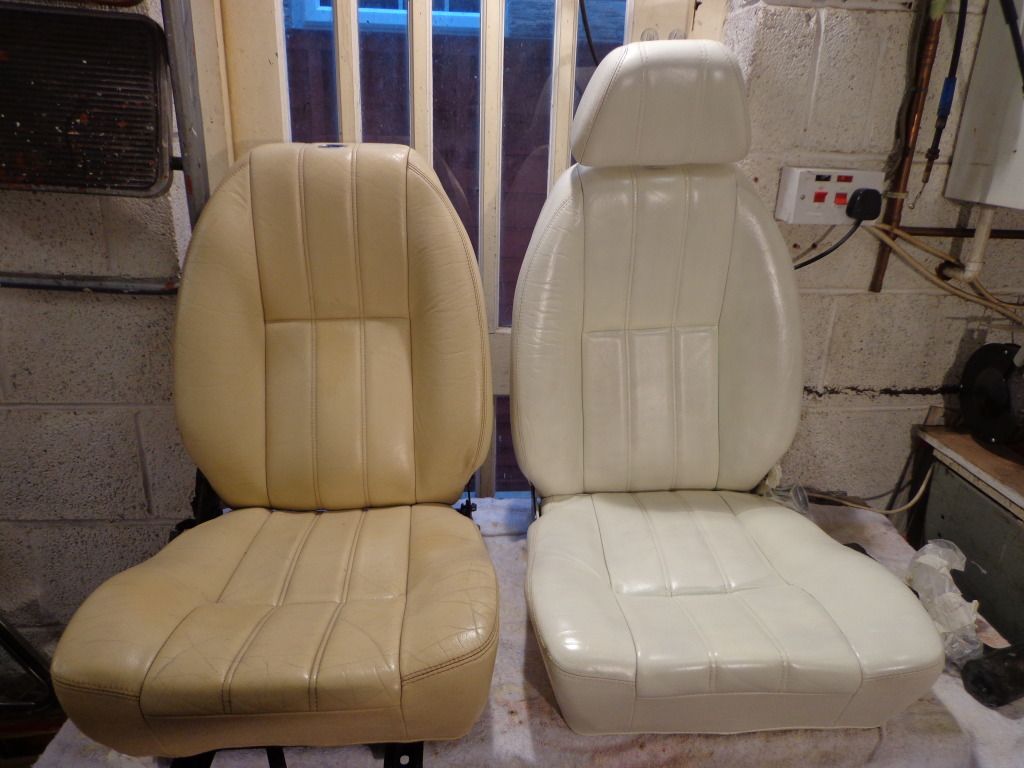
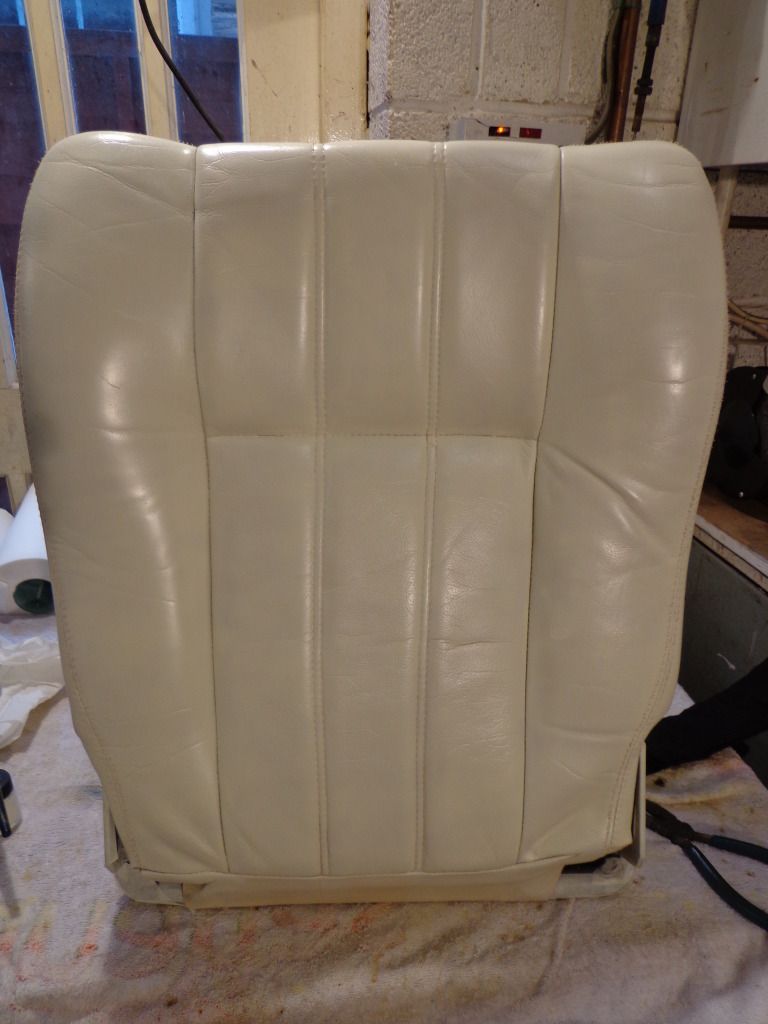
It looks a little white in comparison to the magnolia of the original but up close you can see the proper colour and its nice.
So tomorrow a couple of coats of satin then onto the other.
see ya Paul
No comments:
Post a Comment