
Home again, got back late Monday as we where a little late for the early flight so I had to hang around Schipol for 6 hours, nice airport but would have preferred to get the earlier flight. Love the new job.
Got back from a few days in Yorkshire yesterday, we went to Wensleydale and stopped in a nice old pub where the author of the James Herriot books had his honeymoon, best bit was the tour of the Black Sheep brewery, lovely beer.
 |
| Lynne being brave at Aysgarth falls, with added finger. |
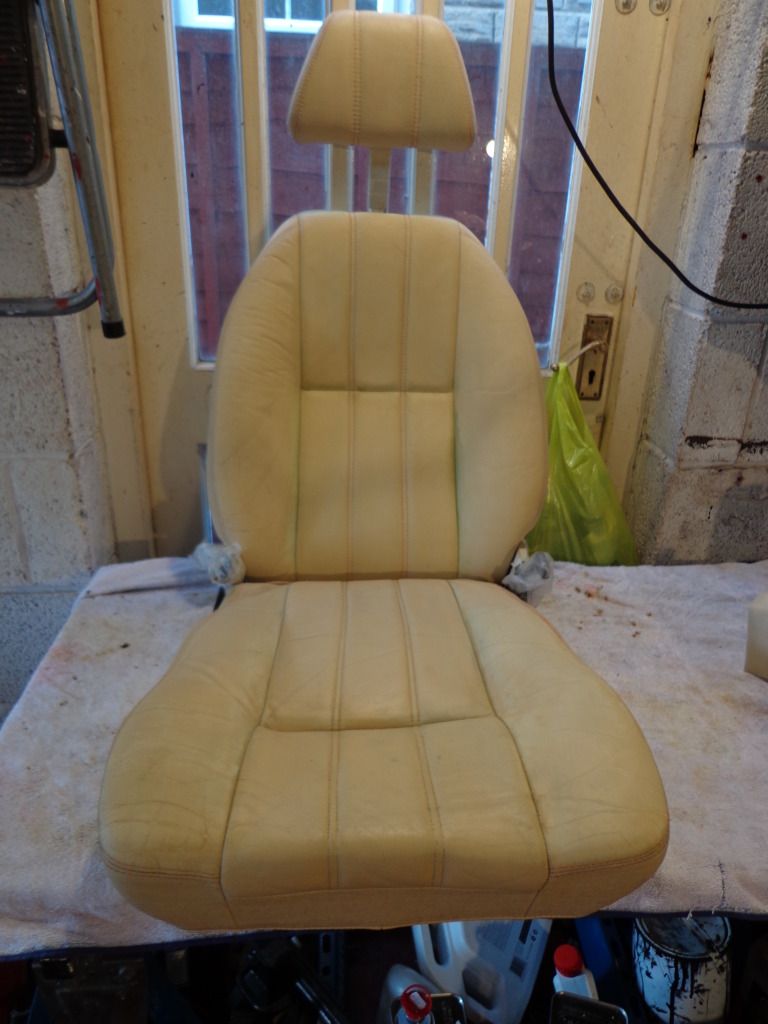
Managed to get back to work yesterday and decided to get the seats finished before starting on the bodywork as I know what the dust situation will be; so before going to Yorkshire I took a drive to The Furniture Clinic near Newcastle and had a talk with the guys there. It is split into two businesses, the restoration side that does furniture and car interiors and the internet supply / colour mixing section. I had a word with the restoration guys and got some tips and a quote for re-colouring both seats at around £330, more if any repairs are required. I then had a talk next door and bought the colouring and care kit to do it myself.
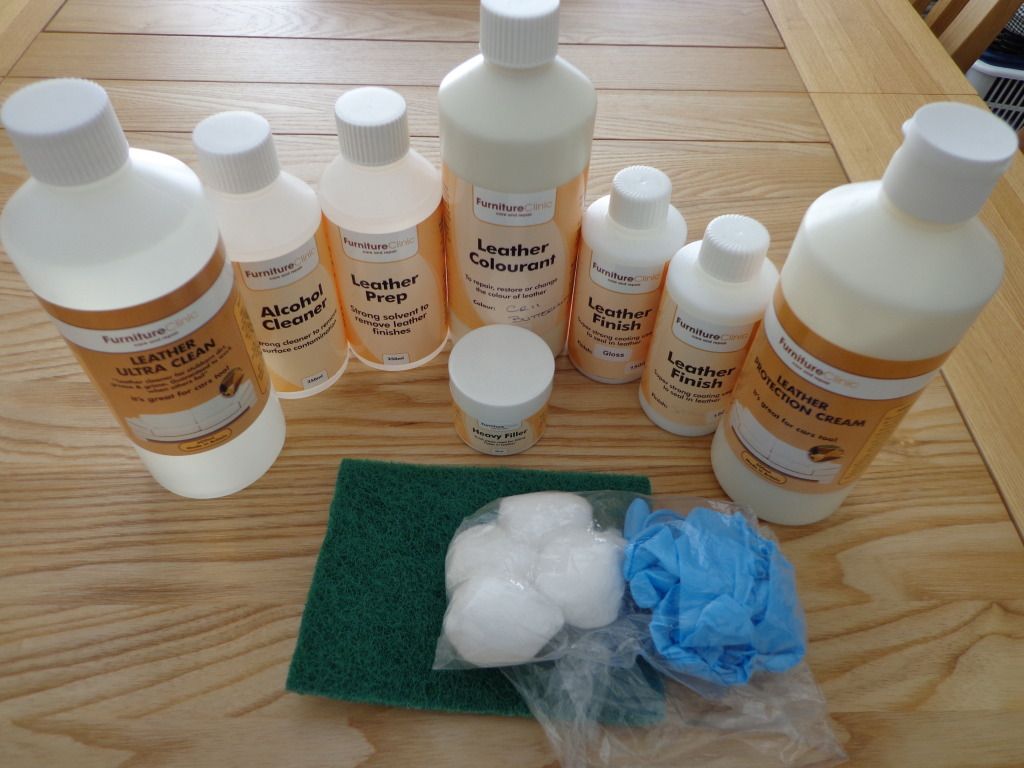
This is the medium kit which is enough for 2 seats and cost £67, it includes the prep for removing the old colour which is a solvent to remove waxes, silicons and colour plus alcohol prep for those that solvent won't remove also a sealer and silk finish. The medium kit has 1/2 a litre of colourant, I have gone for Buttermilk which is much lighter than the original colour. I was also told that the seats had been coloured once before, easy to see once the tell tale signs where pointed out, mainly the original thread colour (red) came through in places so this has to be removed first.
First was to read the instructions and watch the video again, (which I linked to last time) little did I realise that removing the old re-colouring would be a major task but as they say it is all in the prep.
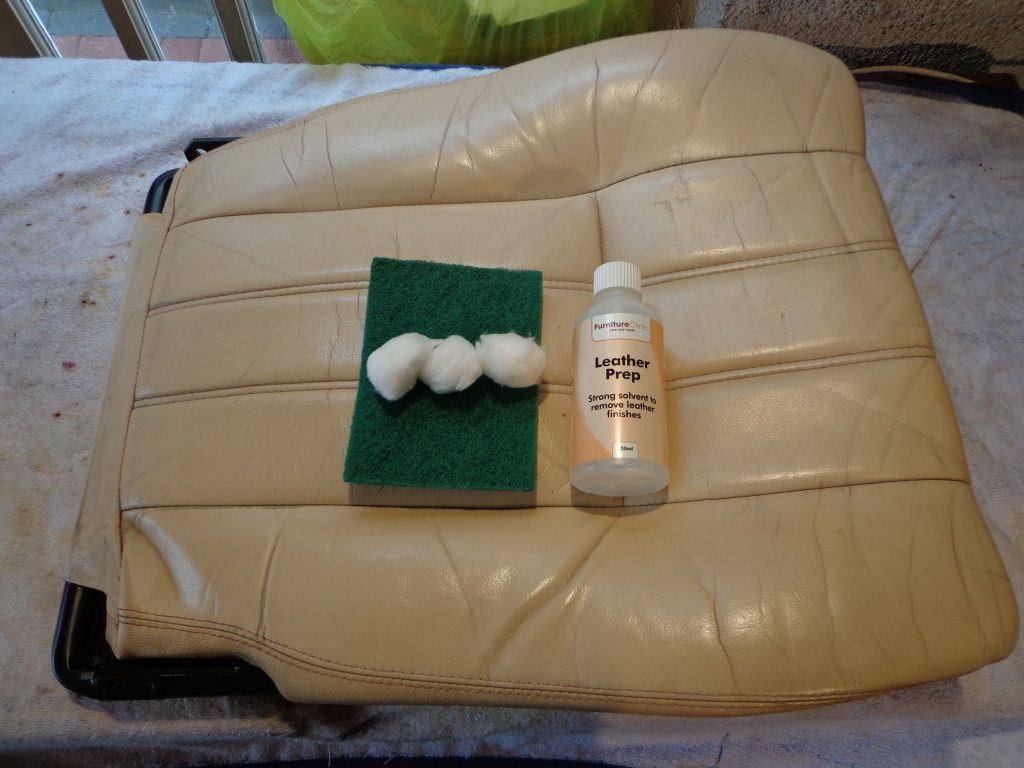
The leather prep is supplied in a 250ml bottle which I used up on just the seat bottom, this is supplied as a strong solvent and for some reason I thought it was a special mix so after using it all yesterday I drove the 20 mile to Furniture clinic for 1 litre more and had to fork out another £25. Guess I must have more money than sense as I just bought 5 lt of solvent thinners for £7 at my local auto paint suppliers, so tip #1 If you have colour to remove just use normal solvent thinners and save a fortune.
The re-colour took a bit of effort to remove, as with most paint when thinner is applied it turns into a sticky mess.
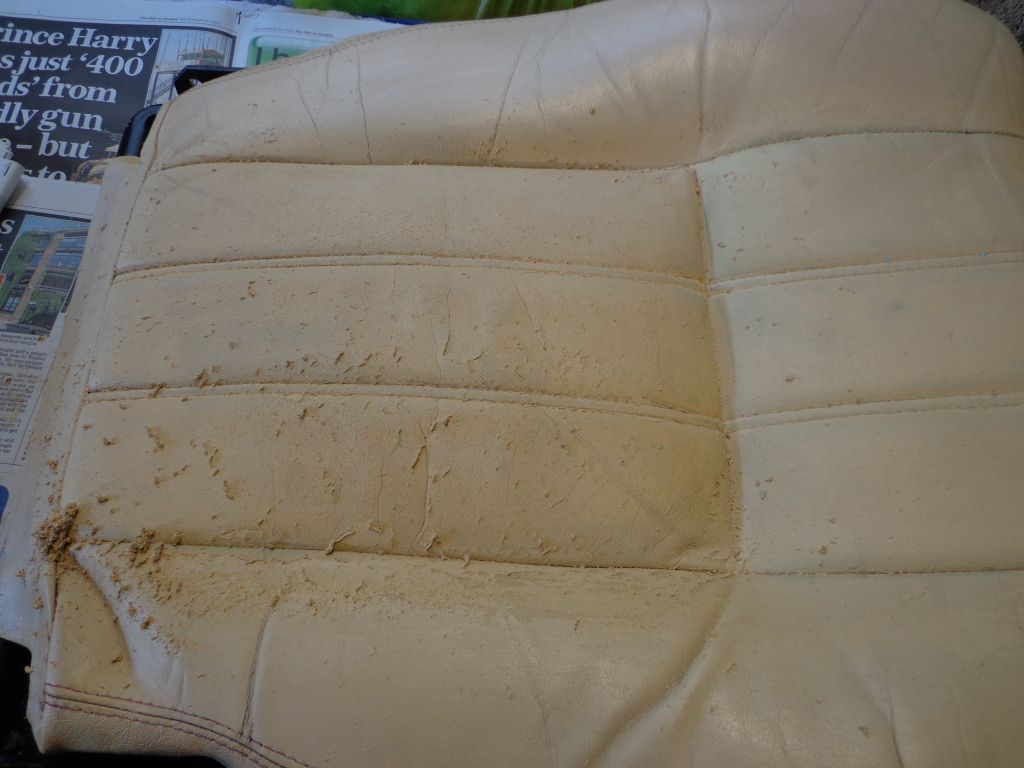
I don't imagine this is normal as the original colour would have been a dye, the scouring pad supplied soon got clogged up but I had a big pack of these for the bodywork so no problem.
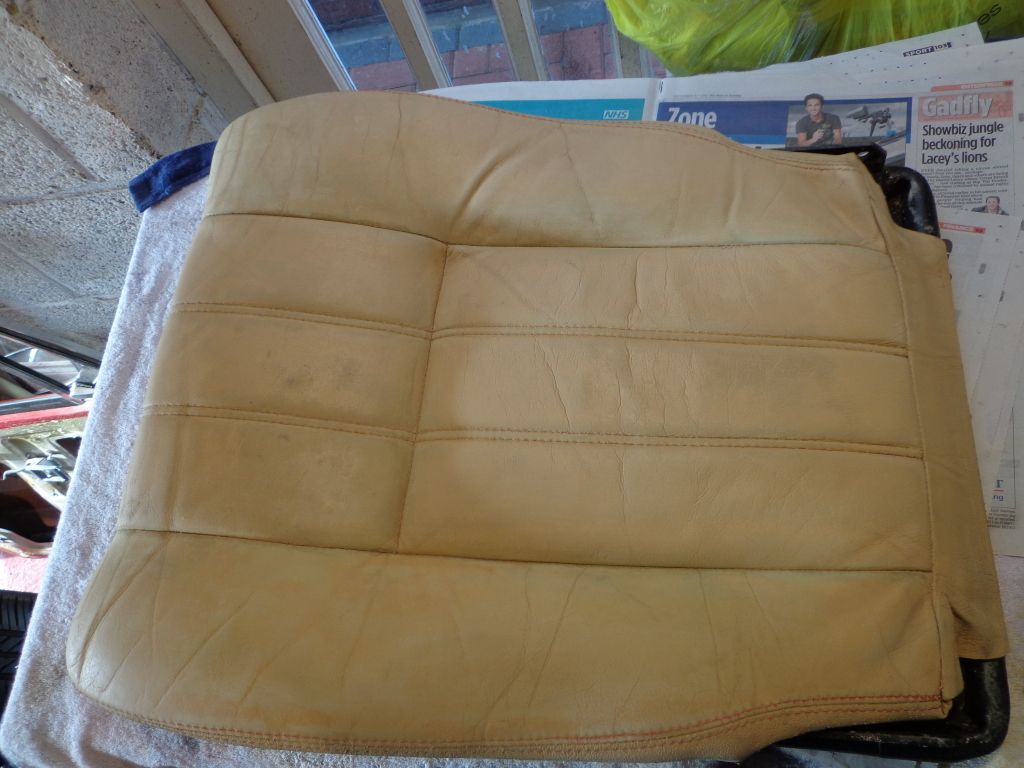
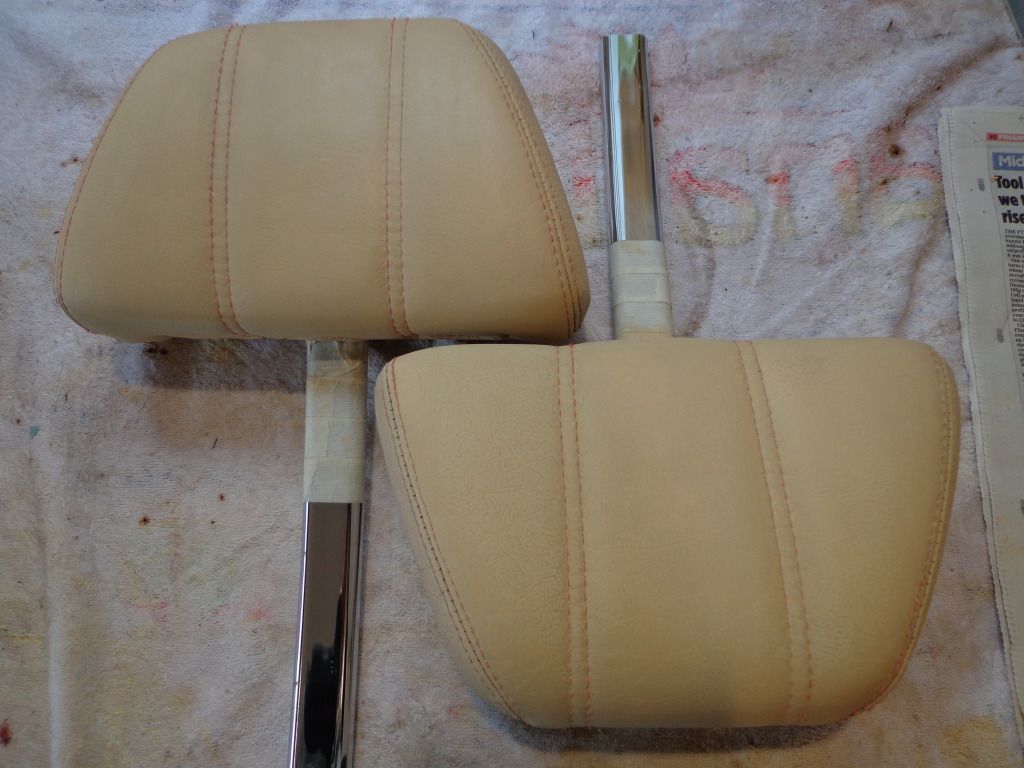
The headrest looked good before I started but after the original colour came through it showed what they looked like new.
 |
| Before stripping |
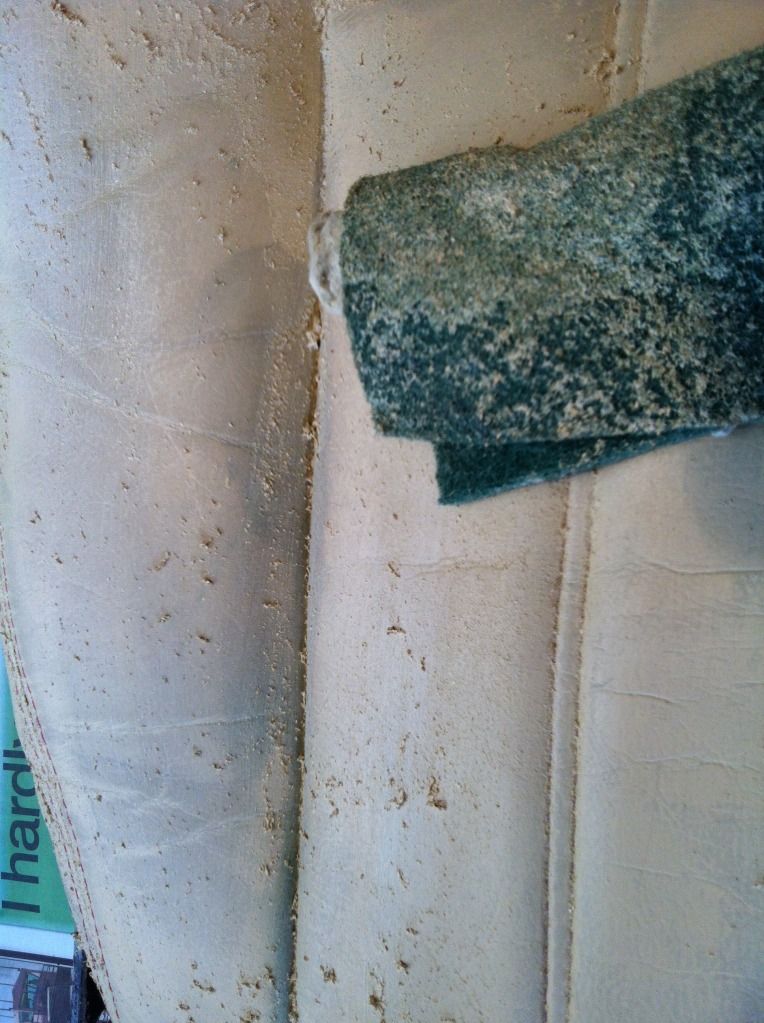
After a lot of hard work I managed to strip all the re-colouring off.
Now all I had to do is to remove the original colour.
This was now a simple operation, I also used the new thinners I bought and used it in larger quantities as I found that it dries very quickly and it is far easier to wipe off the colour while it is still wet.
Once all removed I dried the area with a heat gun and started sanding.
This was something I never expected to do, when talking to the restoration guy he said to treat the leather as if it was body work before re-spraying i.e remove the old flaky paint, sand, fill where required and sand smooth. I started with 320 grit as after being rubbed with the scouring pad and thinners the surface can be quite rough then worked down the grits until 1200 grit.
Still a lot to do in the prep as I still have the back and headrest to finish, not to mention the next seat. So plenty to get on with.
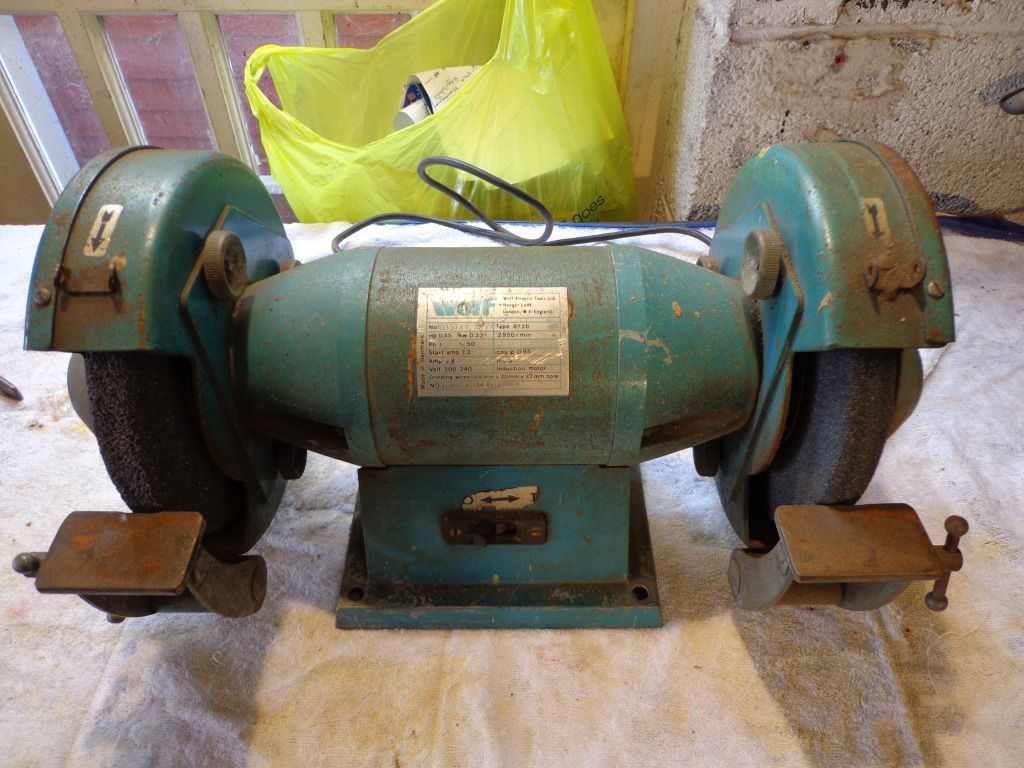
I also got a few things in for future jobs, my best bargain is an 8" Wolf grinder for £12 on ebay which after removing the guards, wheels then fitting pigtails and buffing wheels will be a polishing machine.
More in the future when I build this.
I also bought a large capacity spray gun for the 2 pack filler primer.
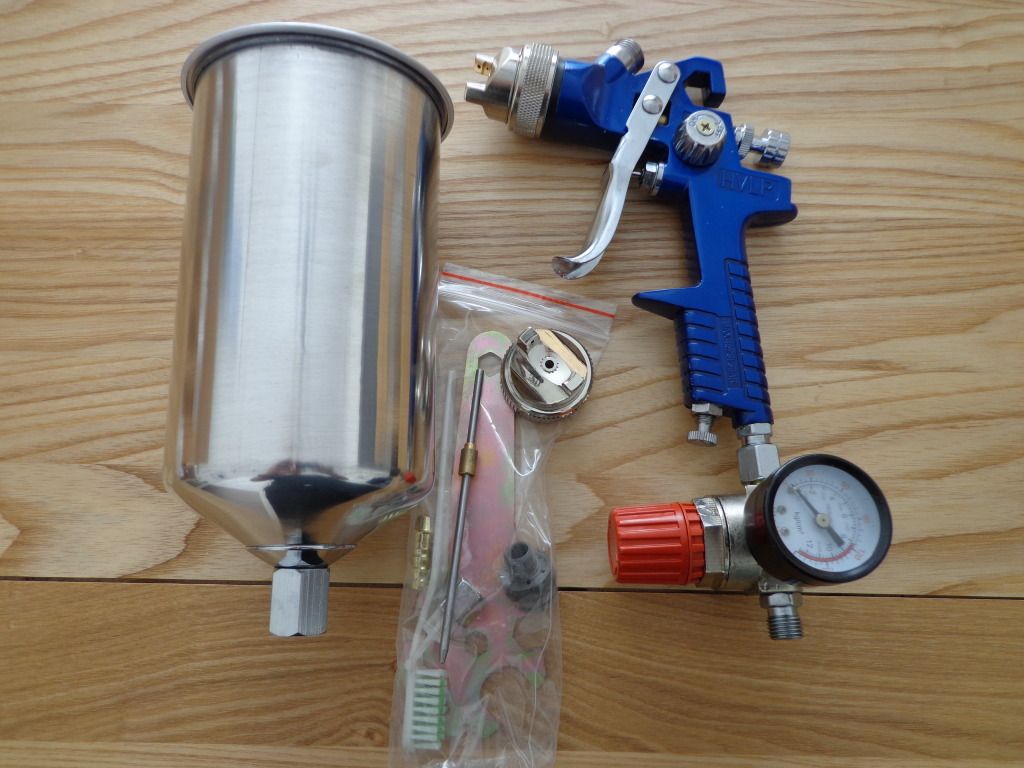
I picked this gun as it came with the pressure reducer and also a 1.4 and 2mm nozzle for thick then thinned down coats of primer.
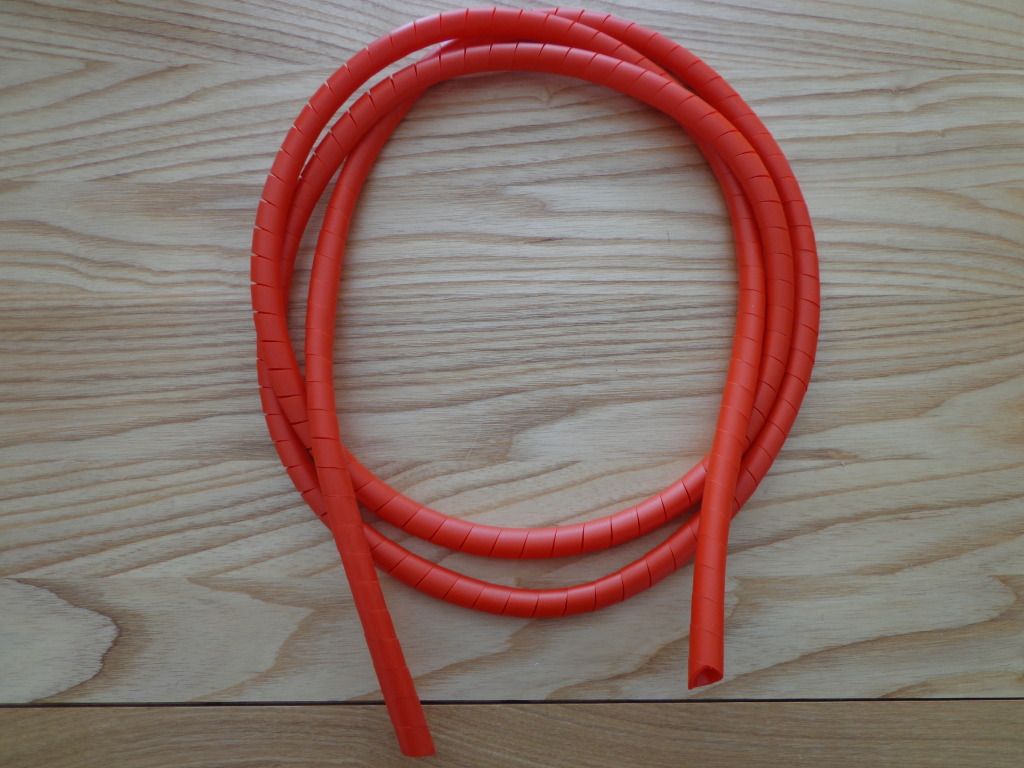
As I have fitted nitrile fuel pipe I needed something to protect it so I bought a couple of metres of spiral wrap, it's a little on the small side at 12mm o.d and only 9mm i.d but still wrapped ok.
Busy day and a lot more to come.
see ya Paul
ps anyone wondering why I'm not wearing protective gloves, well I was but they kept melting on my hands.
No comments:
Post a Comment