Tuesday, 10 July 2012

Bearing Shells

Hi
Well not much to write about as progress is slow while waiting for the parts to arrive.

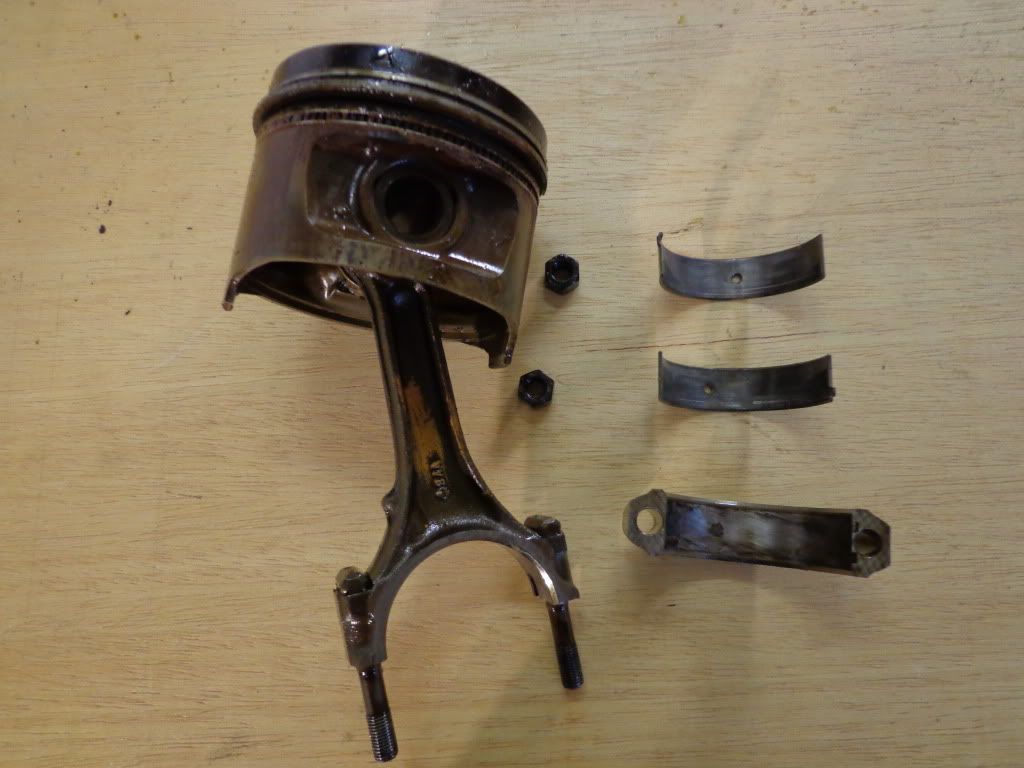
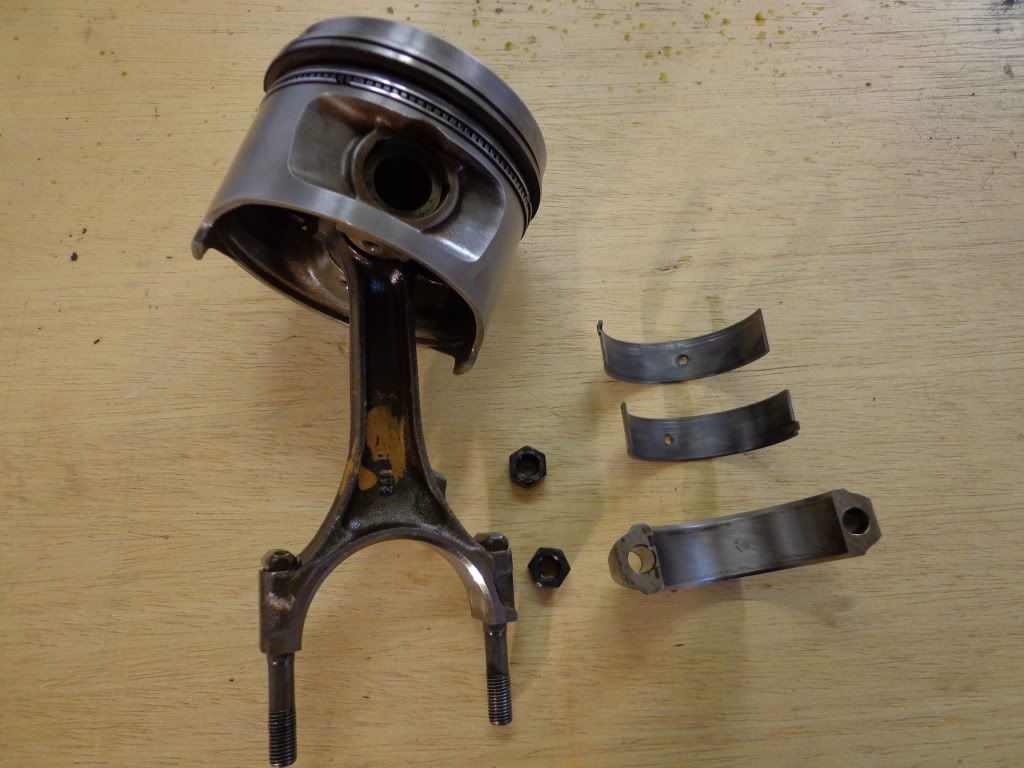
I have managed to get a few bits complete, all of the pistons have been removed and cleaned and replaced everything was fine with these. They just required a spray and clean where a little of the emulsified oil had gotten into the shell.
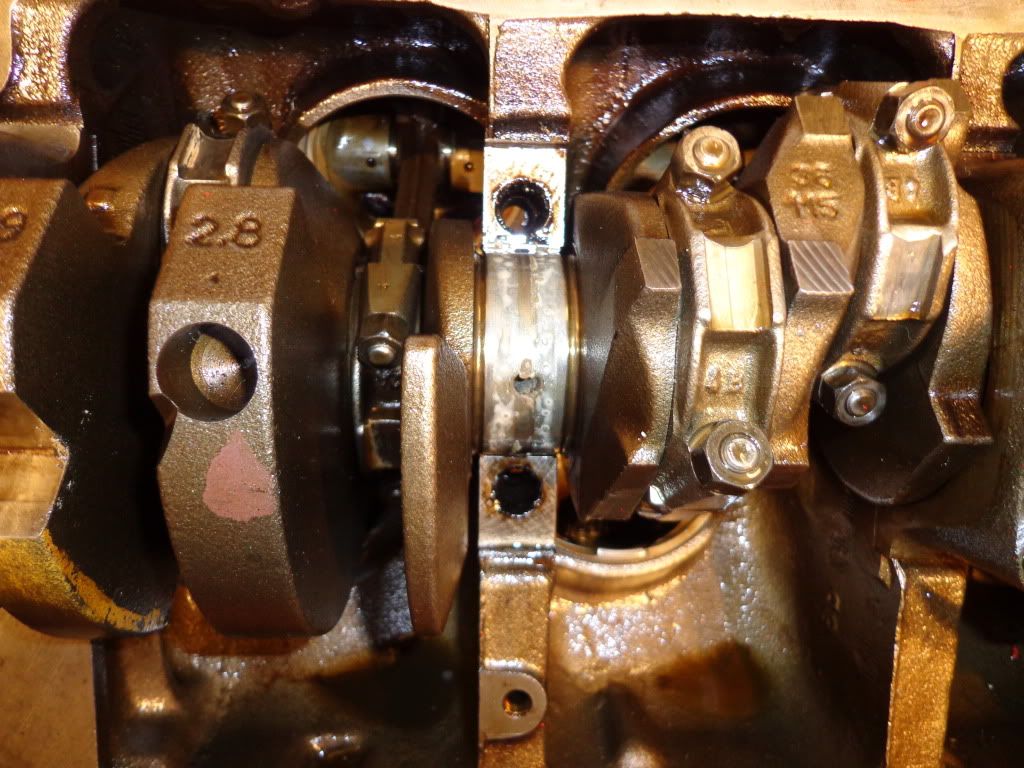
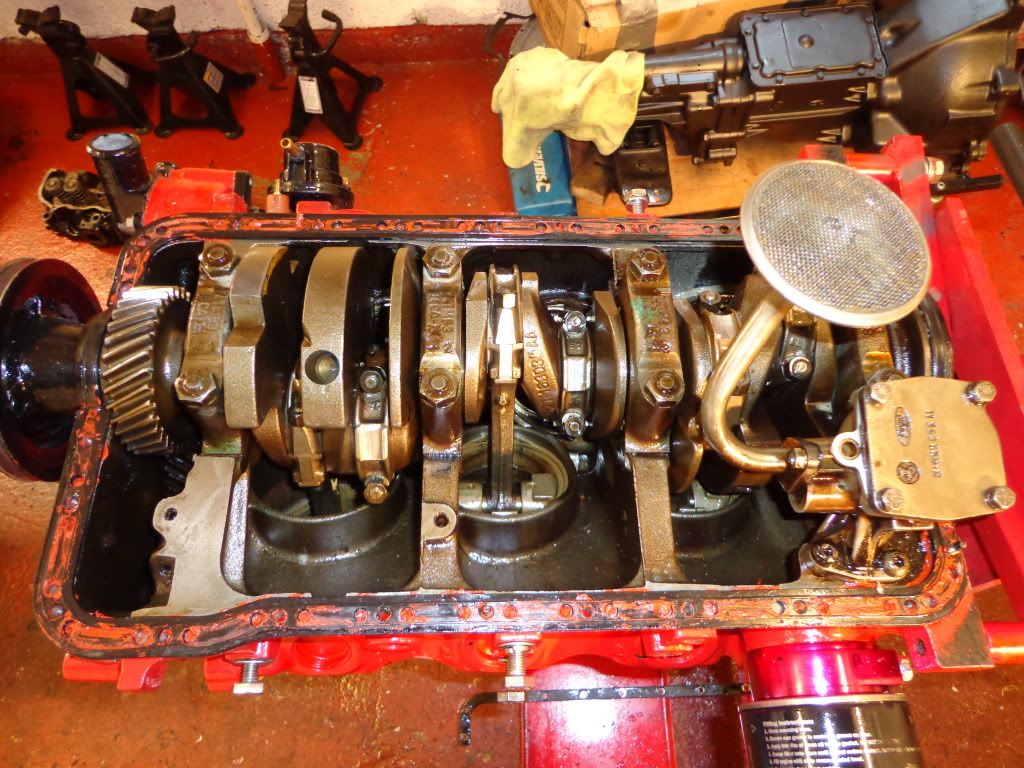
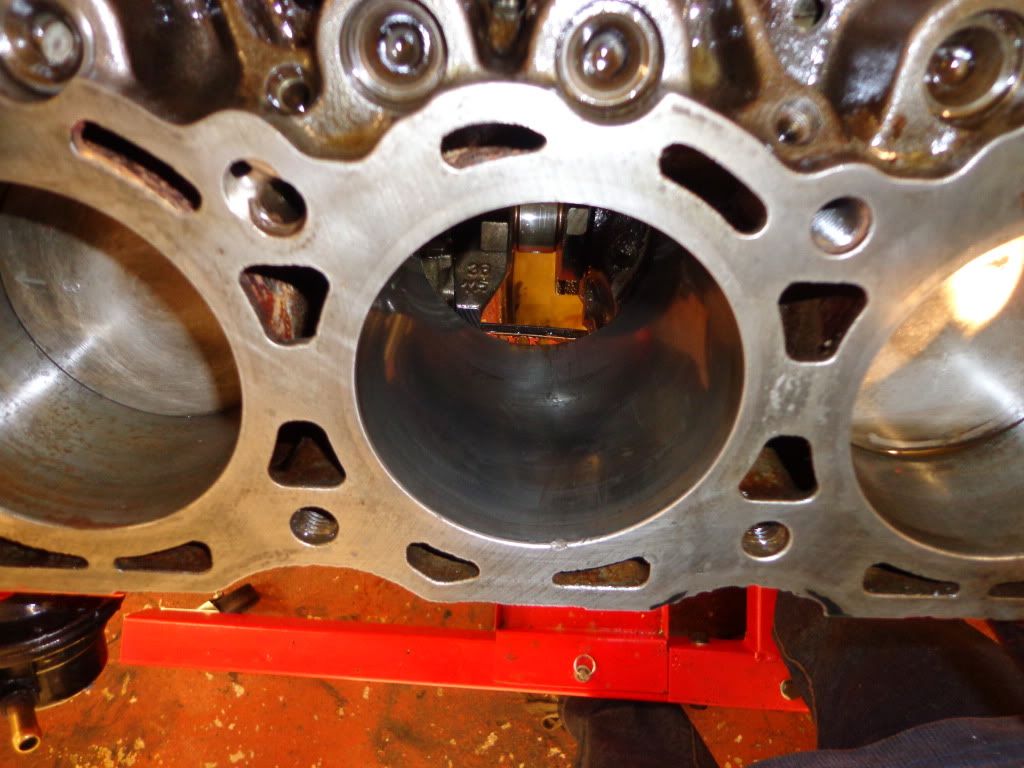
The main bearings shells were also in great condition although the oil way's around the wasted bolts were full of black sludge so the removal was a very good idea.
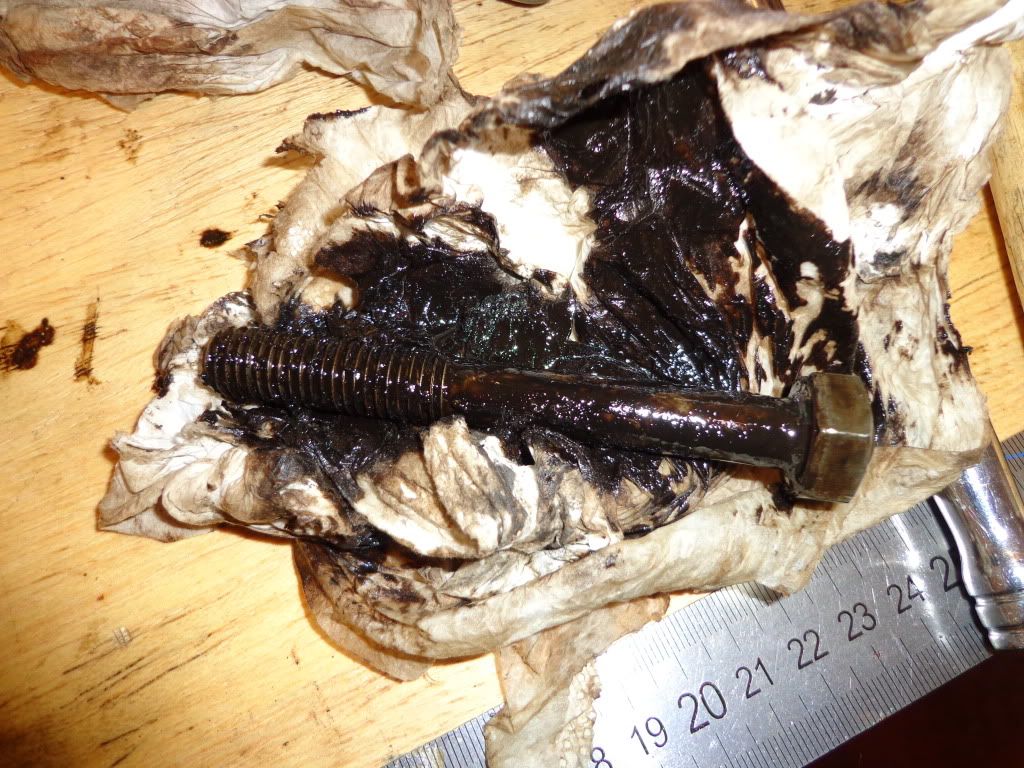
These are all spotless now and the oil passage ways have been oiled and blown through.
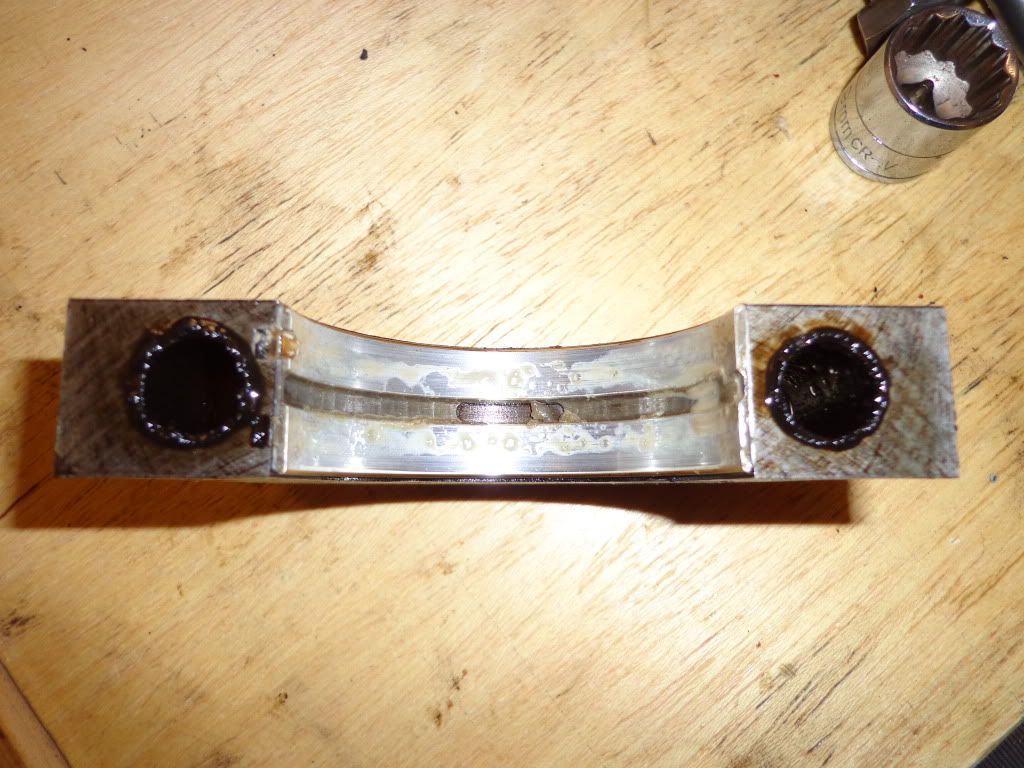
You can see the small amount of oil on the shell and that was about it.

I also removed the most rear cap even though I had it off to refit the sump gasket and oil seal, this was because before deciding to remove the engine I had thought about trying to remove the damaged piston in position and to do this I had to remove the sump pan. Two things I learn't while under the engine is that I had an oil leak from around the rear of the sump, this could be from either the gasket leaking, the new oil seal leaking or from the interface of the rear bearing cap not sealed correctly. The other thing I found out is that you can't access one of the sump bolts next to the curve around the rear oil seal, it is just impossible to get a socket in position you can't even get a socket on while the engine is turned over on the stand never mind under the car. So the engine had to come out, although this effort did make life a lot easier.
Once everything was cleaned up I used most of a tube of my new Hylomar blue on sealing the cap interface, around the outside of the oil seal and under and over the sump gasket.
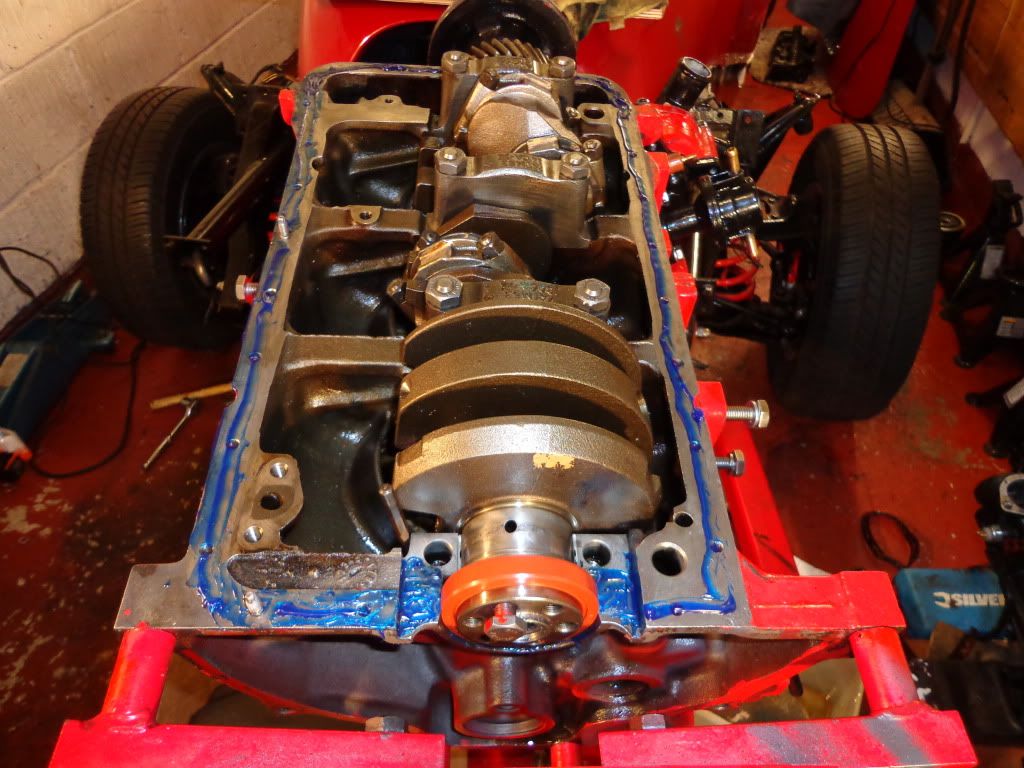
I had thought that maybe the sump gasket may have been the source of the leak and because I was using a old style sump pan without the buttons on to keep the gasket from squishing out I though I might have a go at repairing the original pan. I had a couple of sticks of silver solder lying around for years so I begged the use of some oxy acet gear and after giving the area a good grind I silver soldered the holes and the general area.
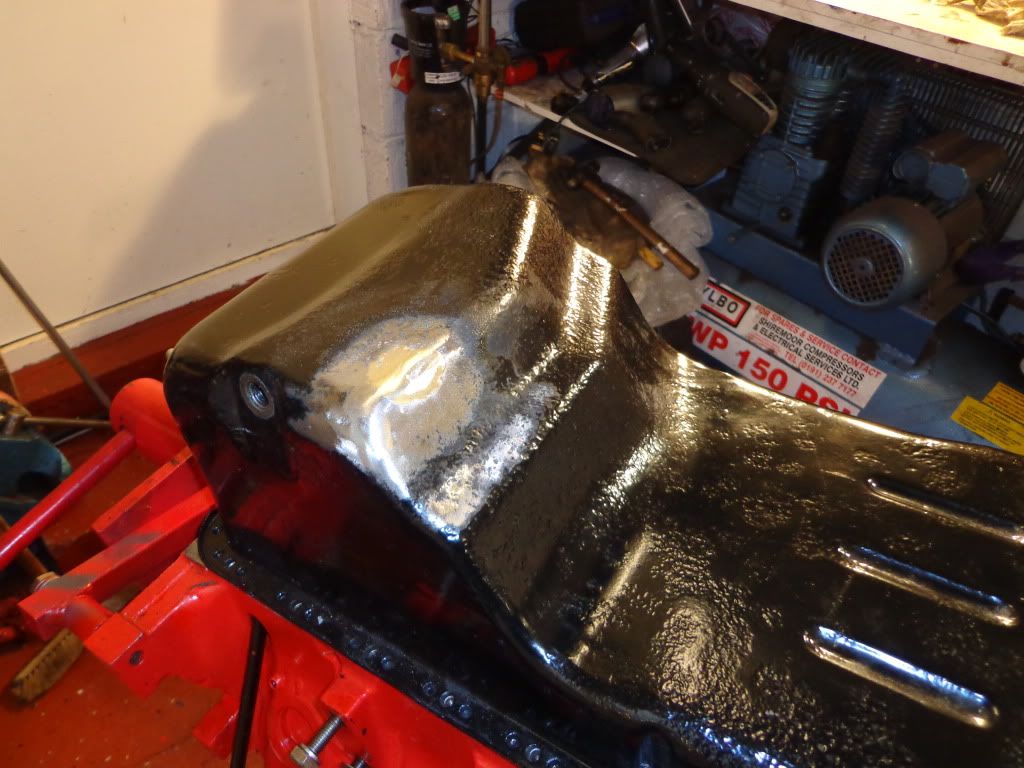
After a water test that held Ok I think I'll chance it. I have also got hold of a tin of Rust Bullet resin paint so I rubbed down the whole pan an give it a coat. When it was dry last night I gave it a coat of Stone chip.
The gasket and bearing cap was fitted and torqued down to 95Nm then with plenty of blue hylomar, the oil pump then sump pan was put on and tightened, I have made sure to take it easy and not let the gasket squeeze out by over tightening.
I am still waiting for the engine paint to arrive so until then I made do with just the prep work for painting, plenty of gunk to get all of the oil off and a good rub down with a scotch bright and wash down. I have also removed what I can and painted separately.
Not much else I can do until the head arrives, I have had confirmation that they are working on it and hopefully it will arrive before I return to work.
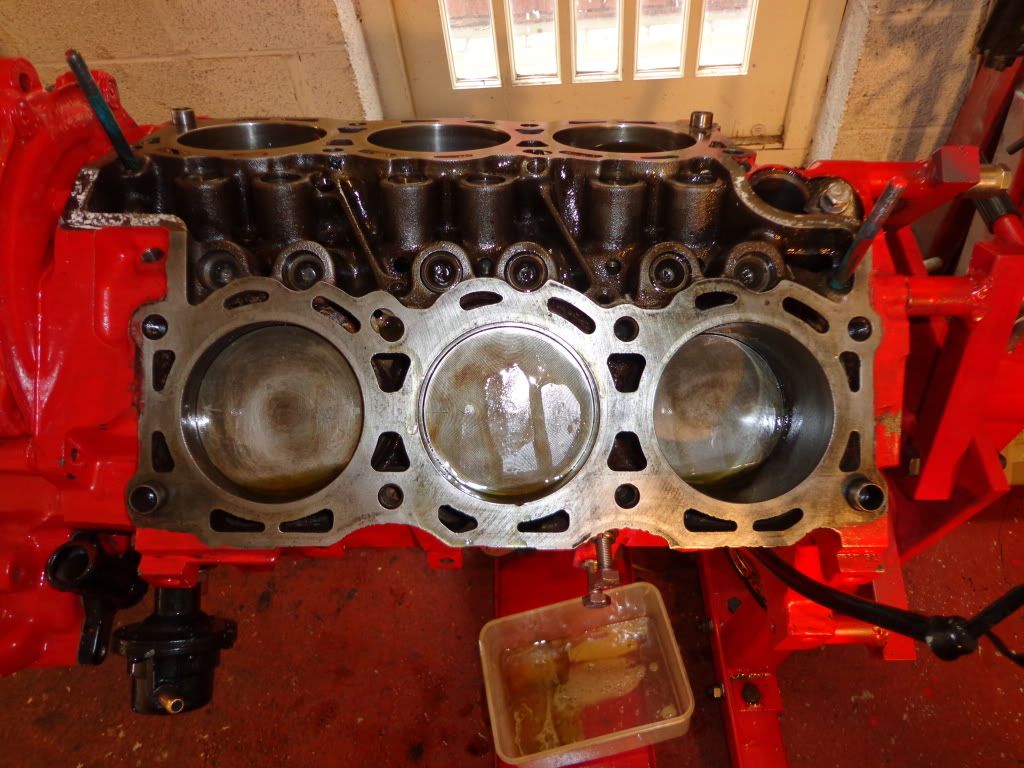
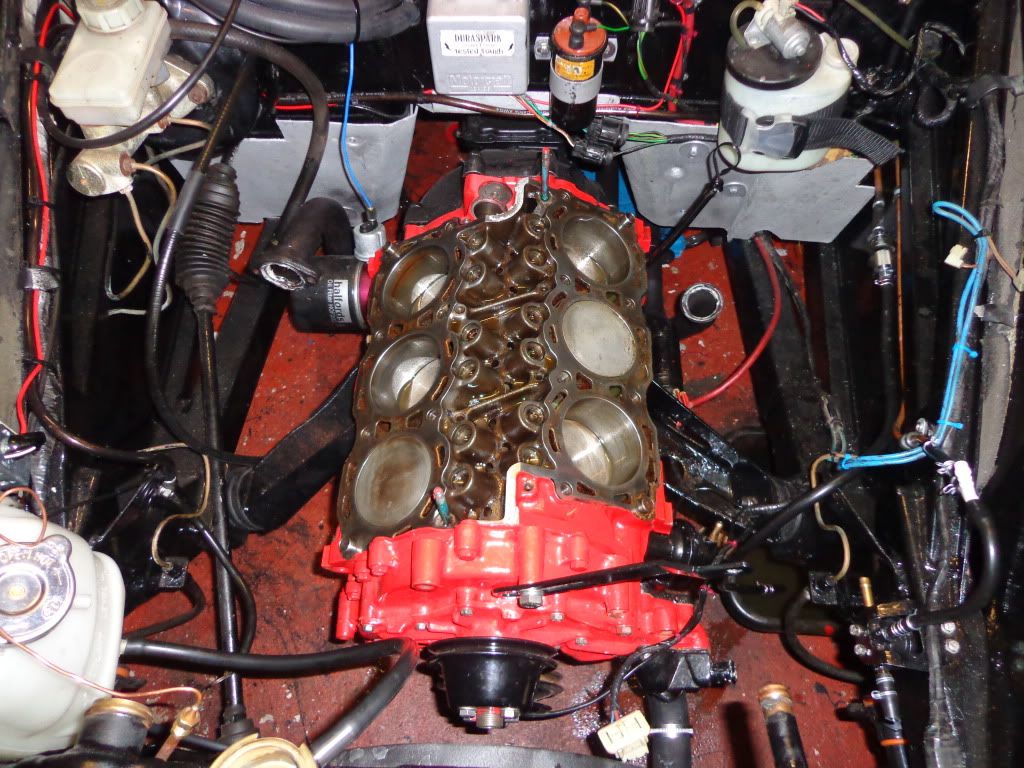
I have fitted one of the heads, after cleaning the faces and double checking that nothing has dropped inside.
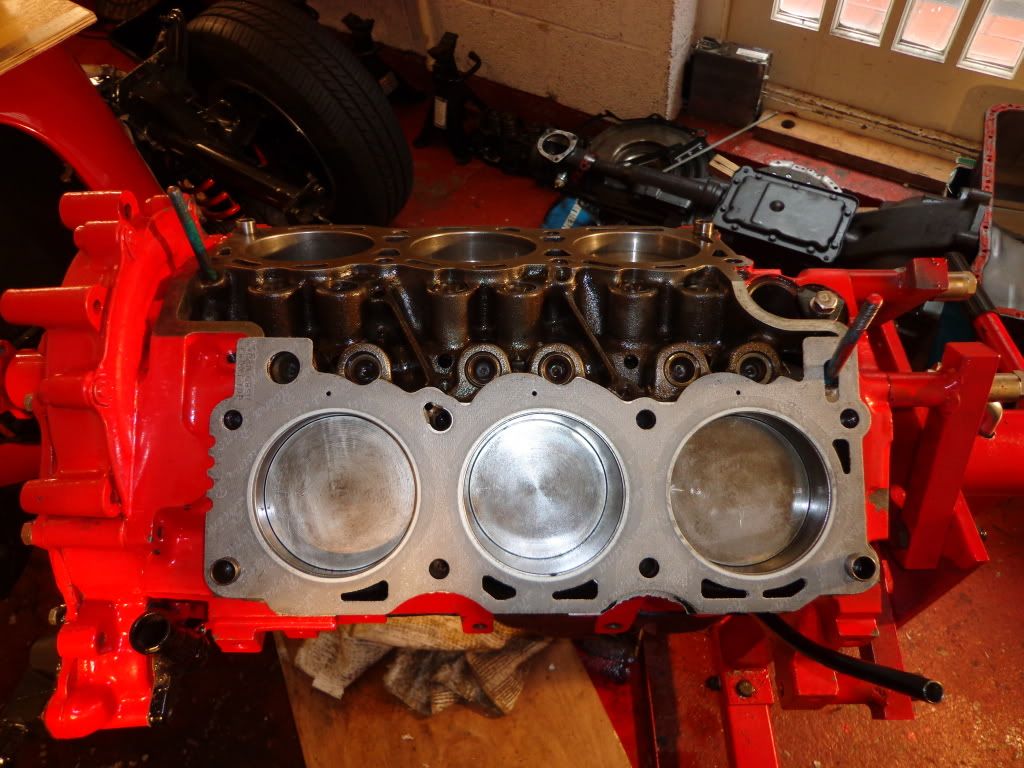
This is the new gasket, I have fitted the head over unit 5, out of sight out of mind.
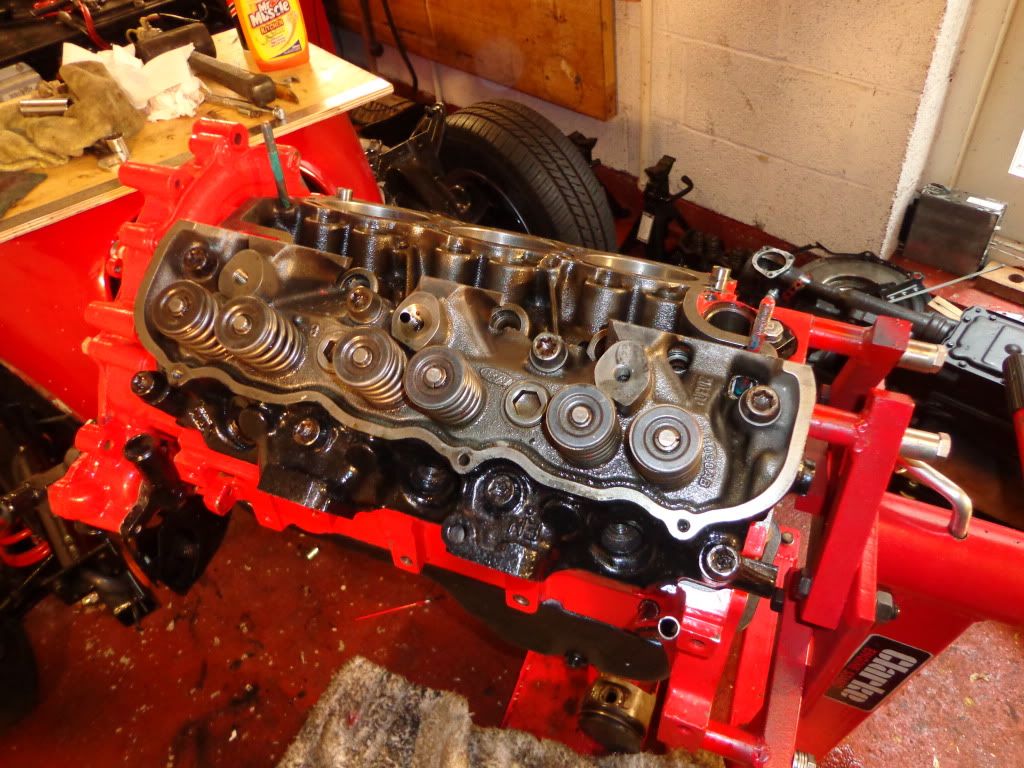
I have not torqued it down yet and shall wait until both heads are on before I do that, guess I'll just have to wait.

see ya Paul

Saturday, 7 July 2012

Fitting Piston

Hi
More deliveries today and my new / used piston was one of them.
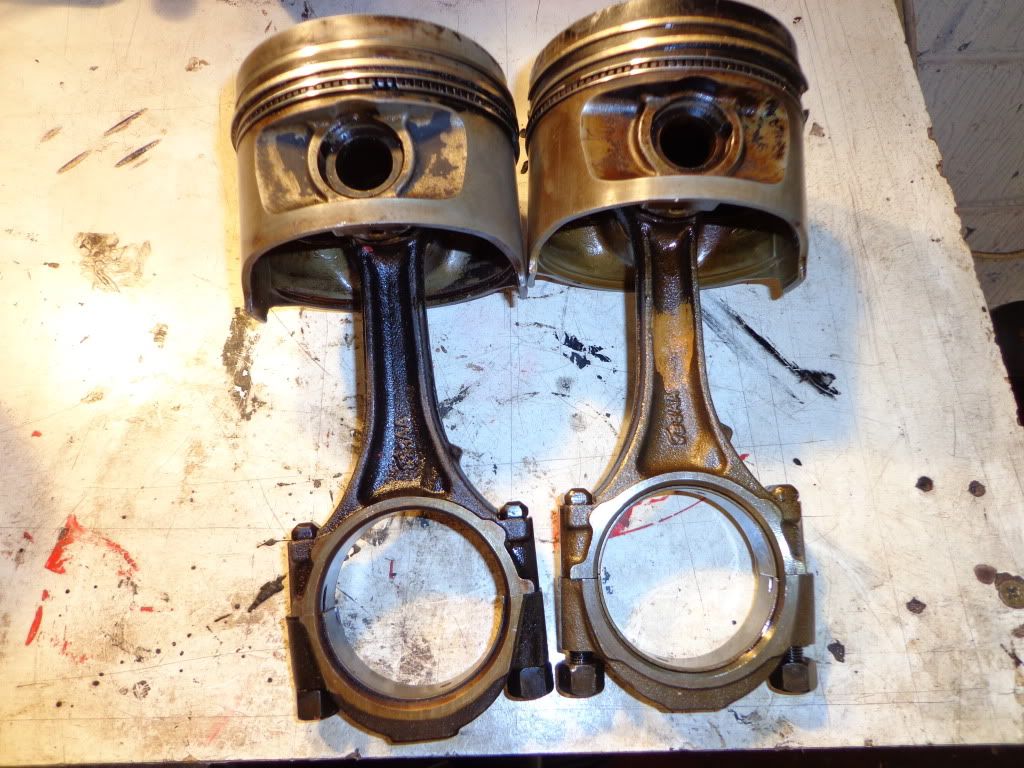
The new one is on the left of the photo, just a little oilier and a lot less damaged.
I was just going to use the crown from the new one and use the original conn rod but after trying to remove the gudgeon pin I soon realised that it had been pressed into the rod and unless I used a lot of brute force it was not coming out. I had asked when ordering the piston if I could have the piston from unit #5 because of the number stamp just in case I had to use it, I checked the part numbers and everything matched so after a good clean up in it went.
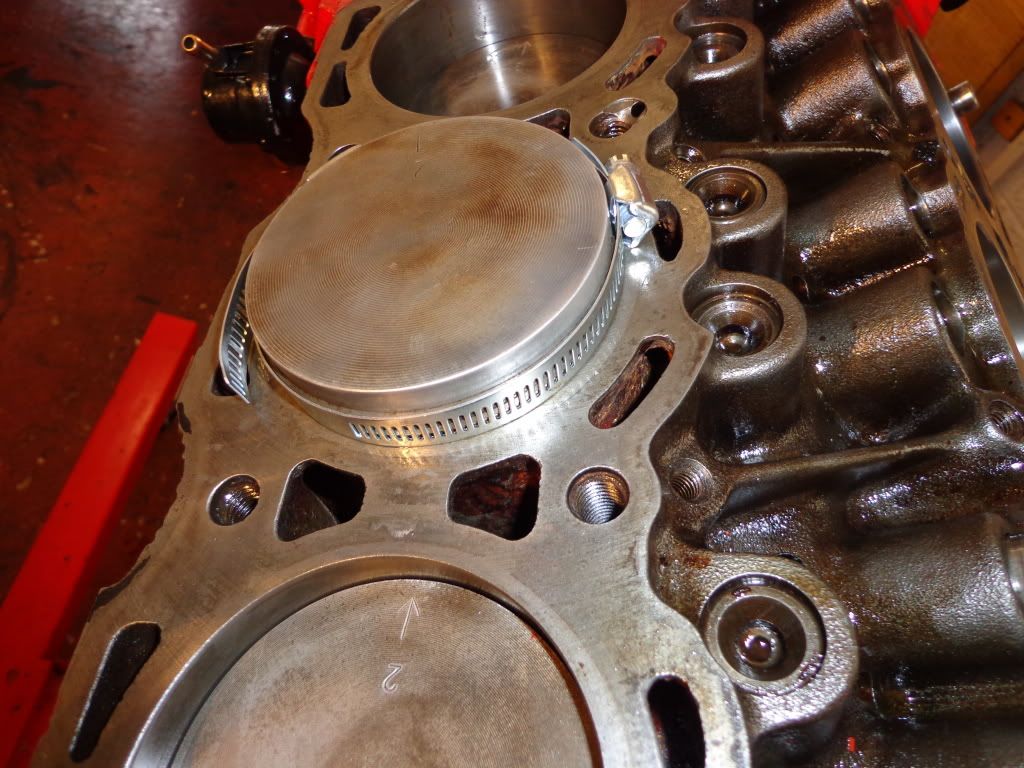
I did not have the correct ring compressing tool for fitting the piston so a little imagination required, well a couple of worm clips.
Plenty of oil and the bearings went in and torqued per the Haynes manual to 31 Nm or as near as I could get.
After fitting the piston I oiled everything up and gave the engine a turn. I then decided that as unit #5 had a lot of oily rust in the bore then maybe the rest have, so all of the pistons are to come out and all crank bearing caps are to come off.
After the first piston came out I am glad I decided to pull them.
The piston is a little cruddy but the rings still have movement so with the oil additive they would / maybe have cleaned up. Anyway a little bit of elbow grease and it cleaned up nicely, unfortunately I also do not have a ring expansion tool so instead of risking breaking a ring I just left them in place and sprayed plenty of WD40 into the groove and cleaned as best I can .
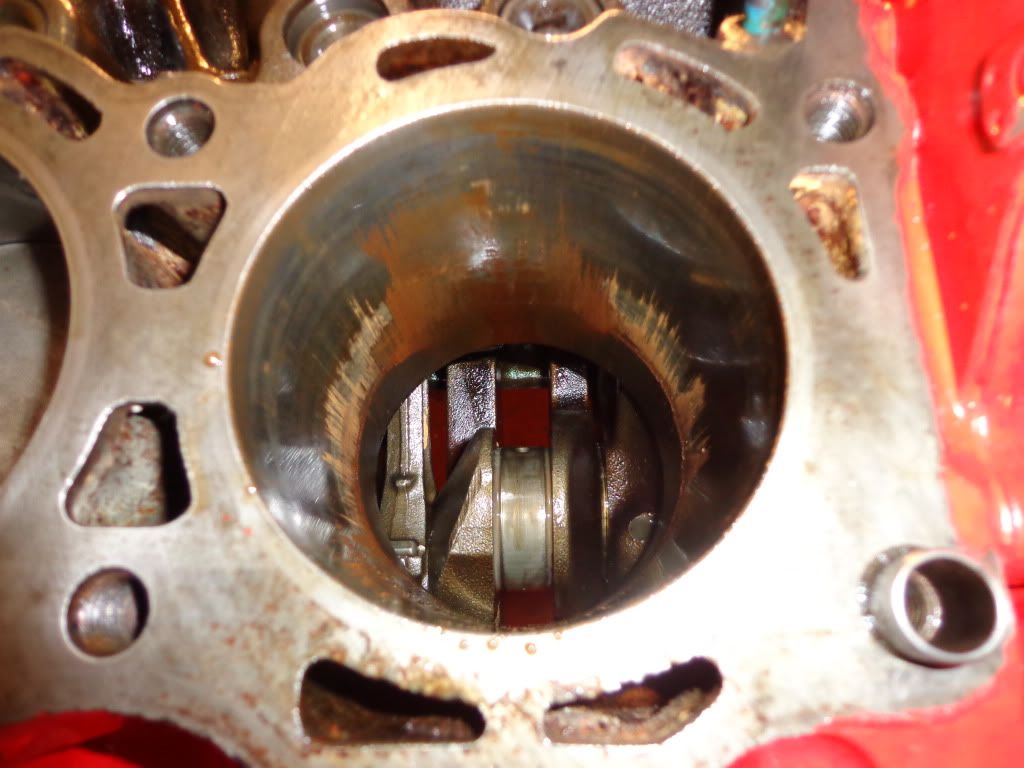
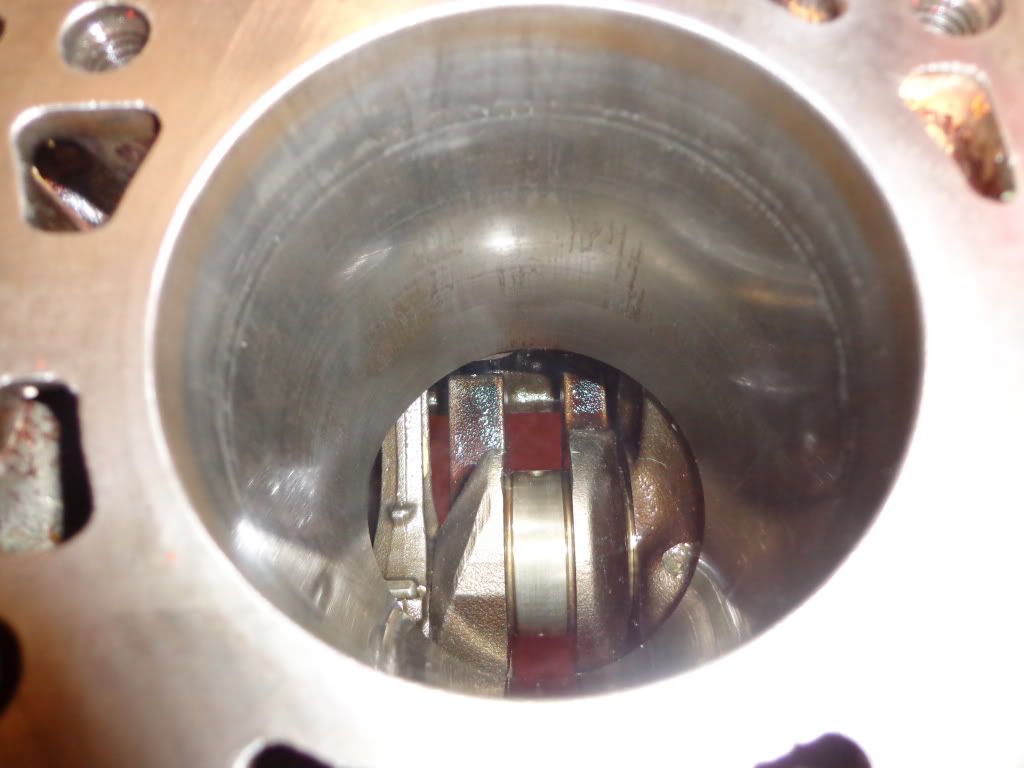
The bores were also a little cruddy.
So the rotary wire wheel and a good rub with the diamond paper and they came up nice.
I have only managed 4 units today and will carry on tomorrow and get everything spotless.

til tomorrow

see ya Paul

Friday, 6 July 2012

Engine damage

Hi
Back again and 2 weeks away to think about my broken little engine, when I say little this is what I am used to working on.
You really make sure no spring washers are left in these baby's intakes or it may cost a few hundred thou and a trip home.

I have managed to gather the new parts together although only the head gaskets have arrived, I had a good look at the air manifold gasket and because of the minimal torque and the quality of the gasket material I have decided to re-use it, not so with the heavy torque on the head so a new set have arrived. I was going to buy the same gaskets by Payen but I came across a set of Ford original 2.8 Cologne by Reinz for around £28, I looked up Reinz before buying and they also are a high quality manufacturer so good enough for Ford then good enough for me.
The head is at the Car Clinic and was supplied by Tickover for around £55 inc delivery they have also supplied me with a few other pieces in the past and have been very helpful, I reckon the total for the head will be around £300. The piston is from a Capri and I bought this from a guy on eBay for £11 inc delivery, and he says it in fair condition so hopefully I'll just need to change the conn rod and piston rings and all should be good.

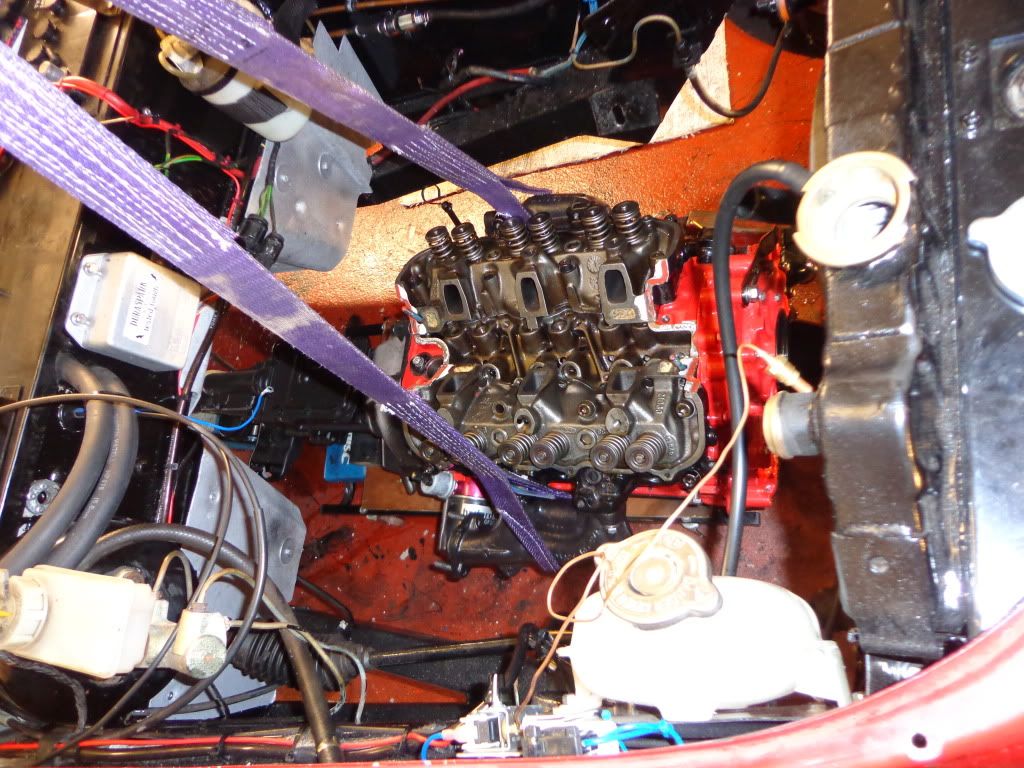
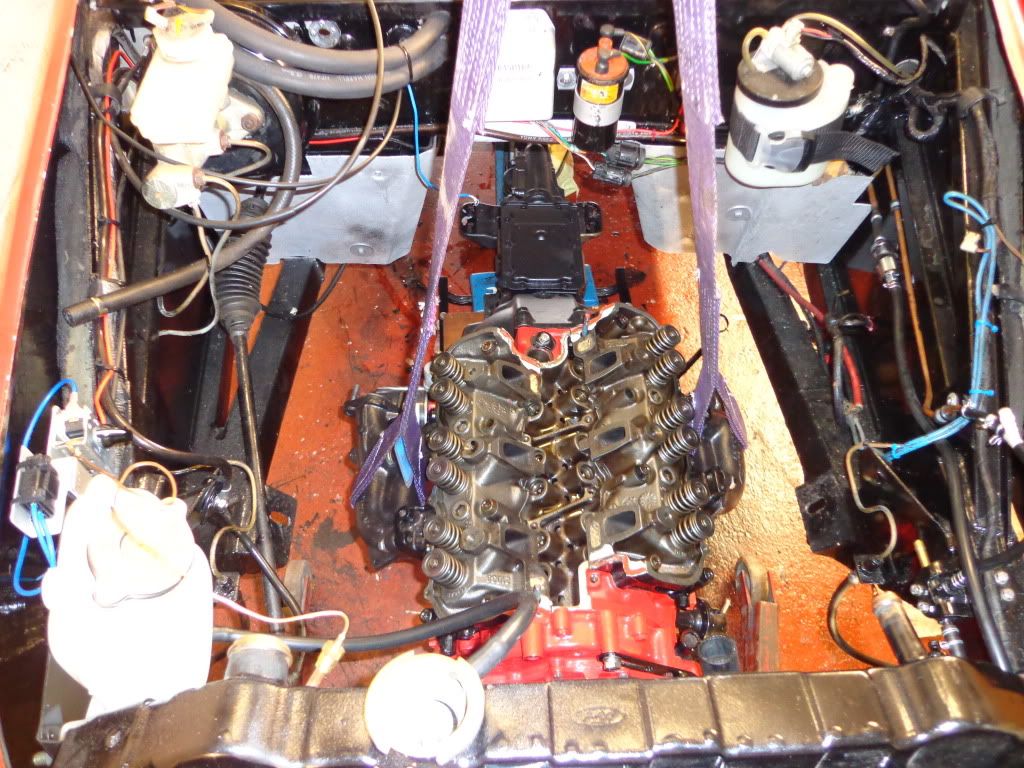
I tried to get started yesterday morning but after having a good look at the damage and draining the oil I just didn't have the get up and go to get started, don't know if I was more angry at myself for it happening or upset about it so I packed it in for the morning and went out to buy the bits I'm going to need. I went and bought another 5 litres of 10w40 and engine flush from Halfords, came home, kicked the dog and felt a whole lot better so got to work. It was mostly prep work getting ready to lift the engine/gearbox out again, so back up on the stands; exhaust first followed by the drive shaft followed by clutch cable etc. I refitted the heads and exhaust manifolds with the lifting straps fitted and any other bits removed so it was ready for today's lift.
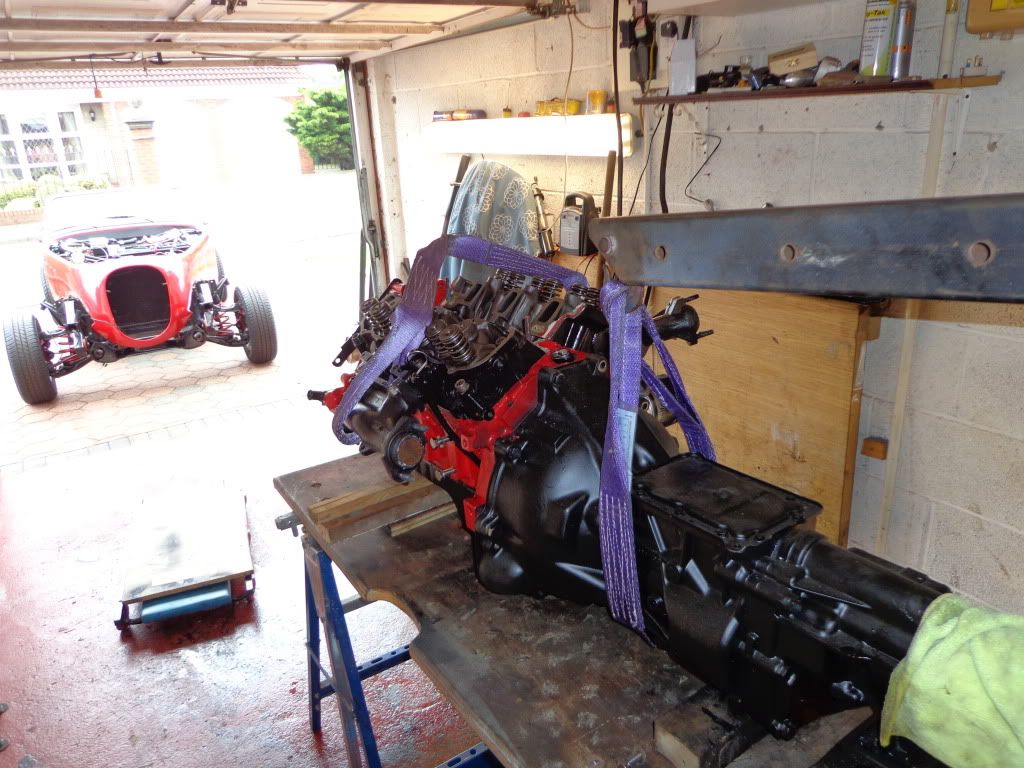
All of the prep work paid off as today it was just a matter of rigging the hoist, taking the weight and removing the mounts. The jack was positioned under the gearbox and I lowered the engine onto the trolley.

I then lowered the rear of the car onto its wheels and rigged the lifting straps to the front and lifted the car with the hoist until I was able to pull out the engine, hope nothing else goes wrong but if it does I'm getting to be a dab hand at this fitting removal business.
I was now able to lower the car and push it outside so as to rest the engine on the workbench and remove the gearbox, clutch and flywheel.
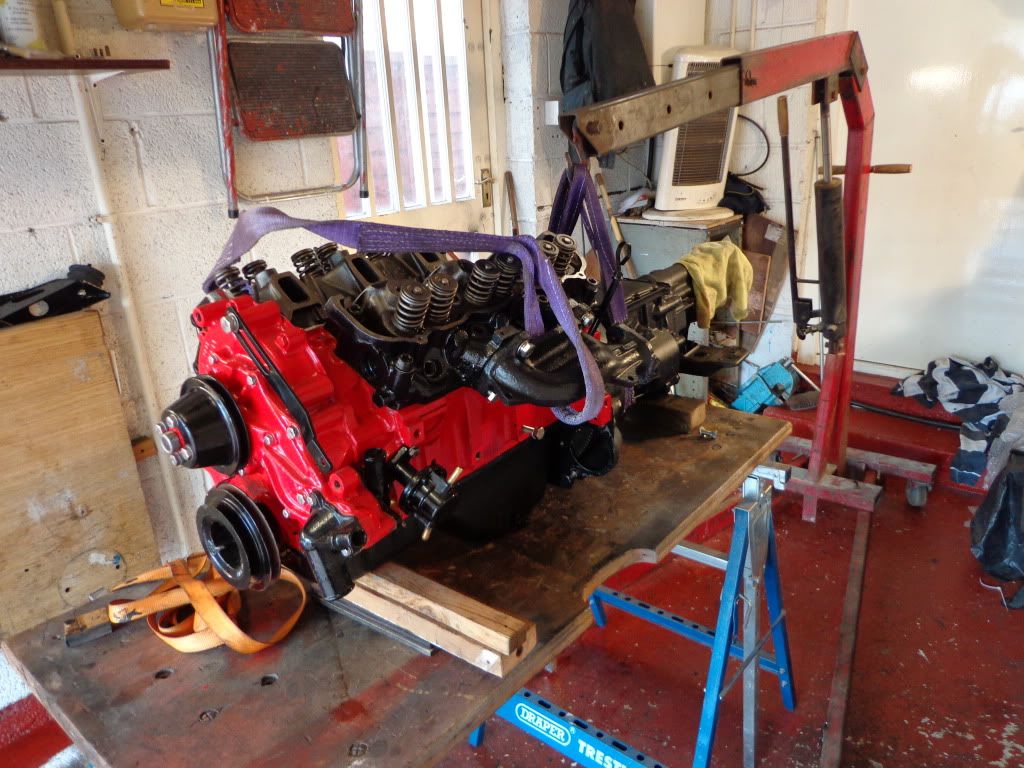
The engine stand that had been dismantled and stowed in the shed had to be rebuilt then the engine mounted. I remember I foolishly wrote in my last blog that I didn't think any water had gotten into the sump, well how wrong can a person be, it may not have been much but it had certainly emulsified so after removing the sump pan a lot of cleaning was necessary, luckily because I had not turned the engine on the stand before removing the pan hardly any had gotten into the engine itself and had remained in the sump. The pump was dismantlement as that was full and the sump strainer removed and cleaned.
A lot of cleaning required around the flange area to remove the old sealant but not much else it seems.
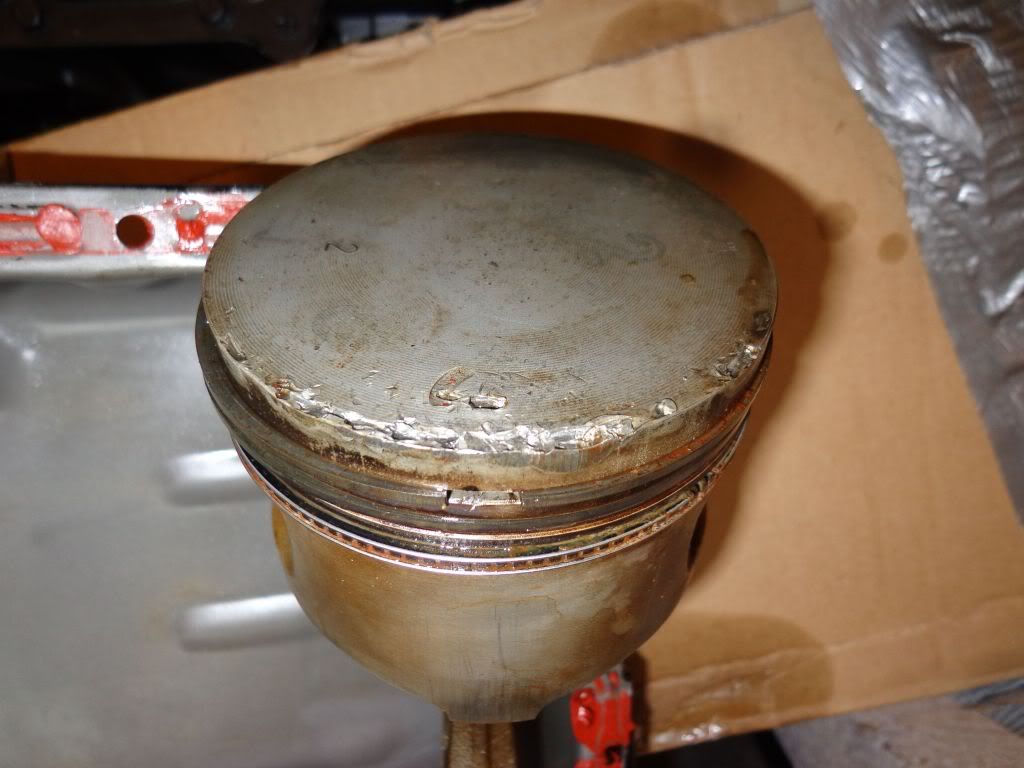
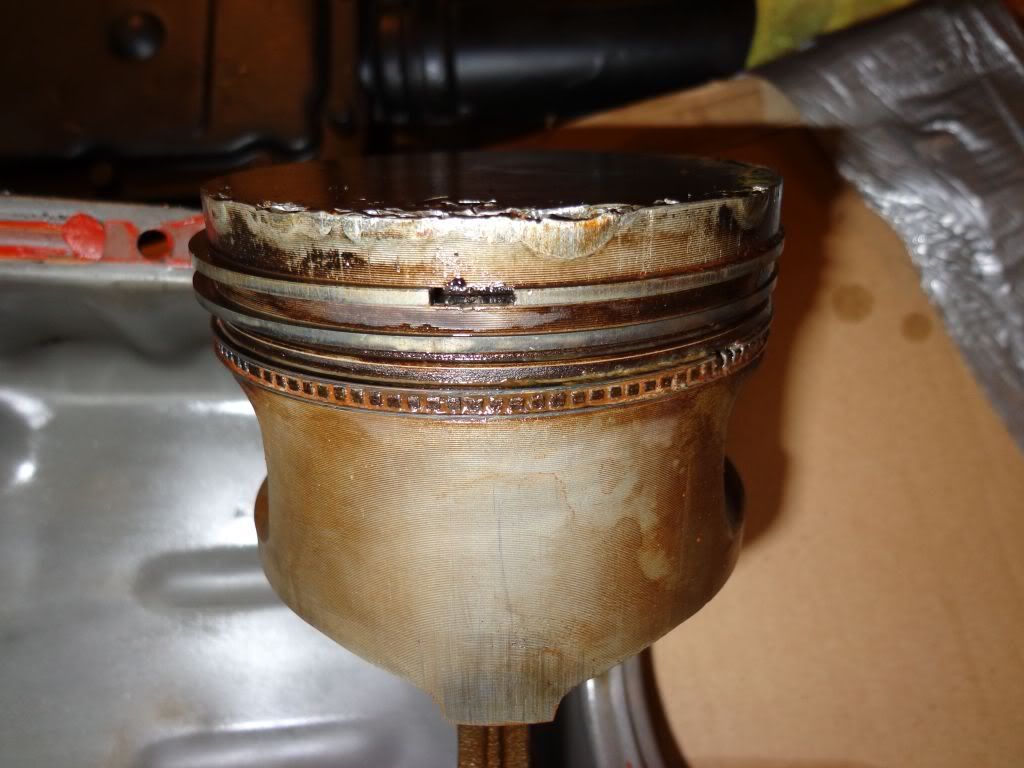
Now for the bit I had been dreading, on first inspection when I found the damage it did not seem to have affected the bore to much now it was time to find out. I removed the bottom cap, the bottom shell and tapped out the piston, it was a good job I had bought another piston as the damage is worse than first thought.
Defiantly a deceased piston, the first ring is a little tight as the crown has been squished a little but I have managed to move it and it should remove easily enough. Its £86 plus vat and p+p for a full set of rings so I am hoping to reuse the ring set as there does not seem to be any damage to the top ring.
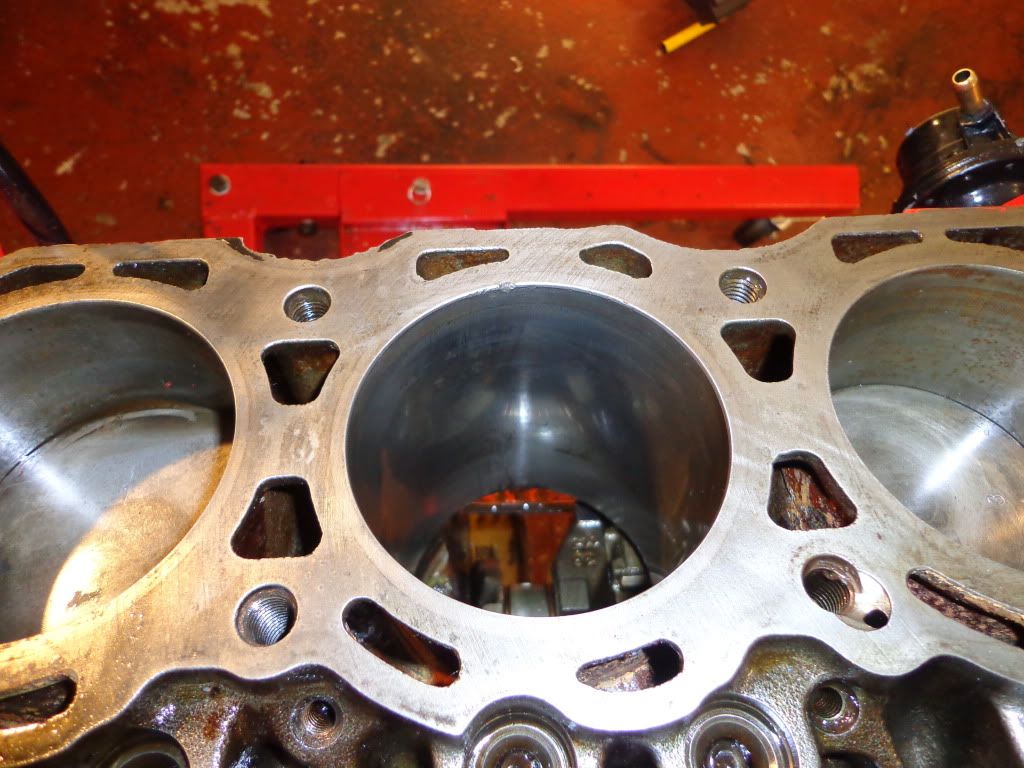
Once I had inspected the piston I plucked up the courage and turned the engine, the bore was a little rusty and dirty from where the water had been so a rub with a scouring pad and some diamond wet and dry to clean it up and the spotlight was put on it. I am a very very lucky boy as apart from a few chip to the very top of the bore the inside seems not to have been damaged.
So now I just have to wait until the head and piston arrive before I can rebuilt and refit, a lot of cleaning first as the engine is covered in oil and dirt so a good clean, rub down and repaint while I am waiting.
While away and after a number of emails from Terry B I have found out why the engine would not start, for which I am very grateful or the damage would have been much worse. 
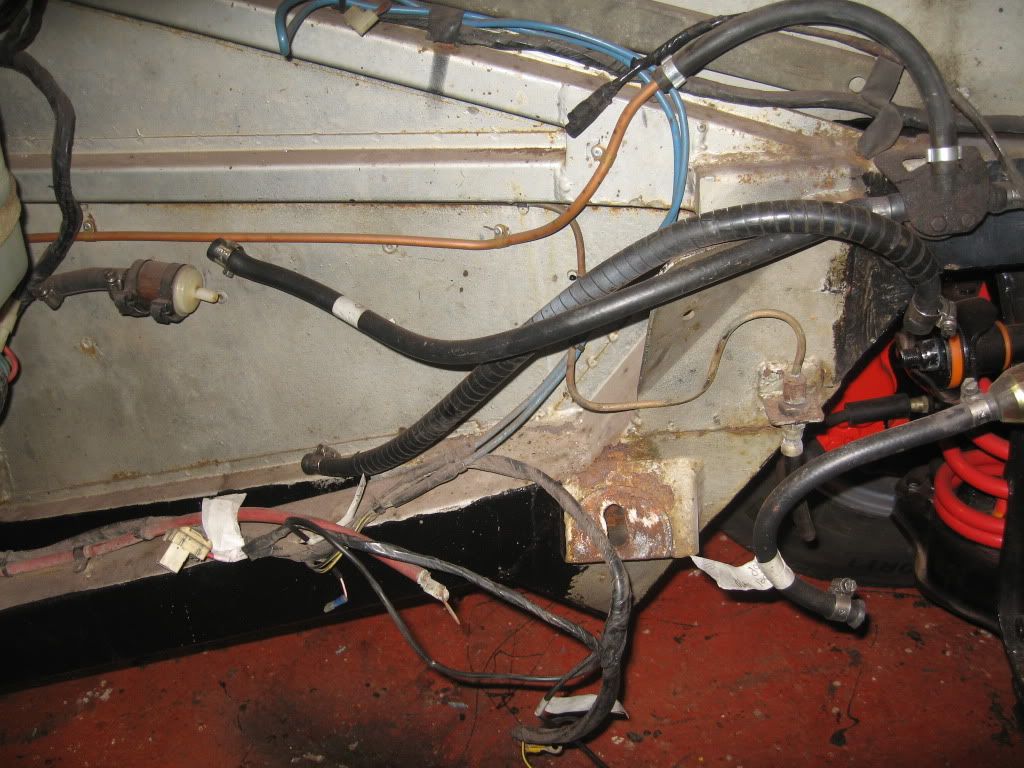
It would appear I made a rather bad mistake on piping up the fuel system, when I took the picture of the fuel pipes they had been moved out of the way to remove the engine.
This moving made the pipe from the fuel regulator (the pipe with the white tape) look like it was coming from the fuel filter to the regulator and that the loose pipe with the pipe protector was from the fuel pump to the carb. Well this is the way I fitted them, wrong!! the way it works is fuel filter to the fuel pump inlet (protected pipe), out of the fuel pump to the regulator inlet, out of the regulator to the carb and the return from the regulator back to fuel tank. Simple. Also the carb return had been blanked internally which you can't see and I was never told so I followed the instructions for the fitting of the carb which states to pipe for the carb return goes to the system return and Weber supplies the tee to do just this. Wrong again, thankfully.
So when it is all back together and correctly piped up it should start first time, I wish.
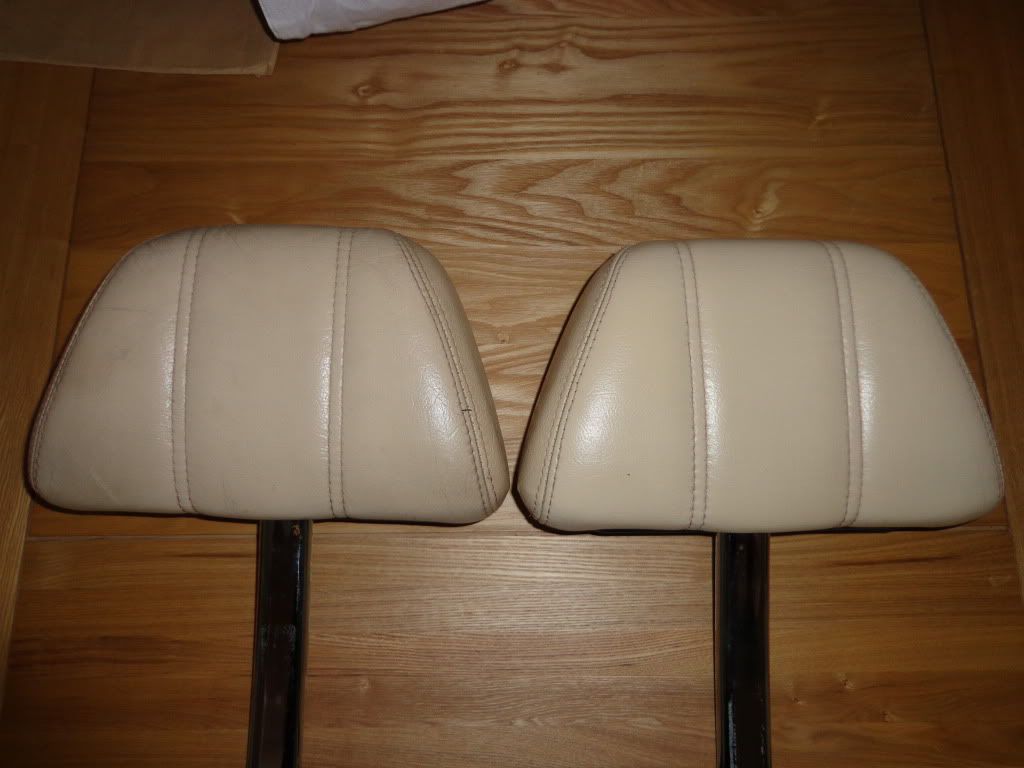
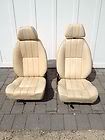
Some other good news, my TVR Griffith seats have arrived and look great if a little grubby, after all they are 20 years old. I had a go at one of the headrests with a little saddle soap and a rub with conditioner and it has come up lovely, once I clean all of the leather and re-colour them they will look like very clean 20 year old seats.
The cleaned headrest is on the right also the frames need a little work but that's no problem.

Well that all that got done today.

see ya Paul
Tuesday, 19 June 2012

Engine damage

Hi
Its official (A) the engine is a little broken and (B) I have got to be the biggest idjit in the world.

Dropped Lynne of early this morning for work then home and a boilersuit on, I started at 0720 and by 0815 the heads were off.
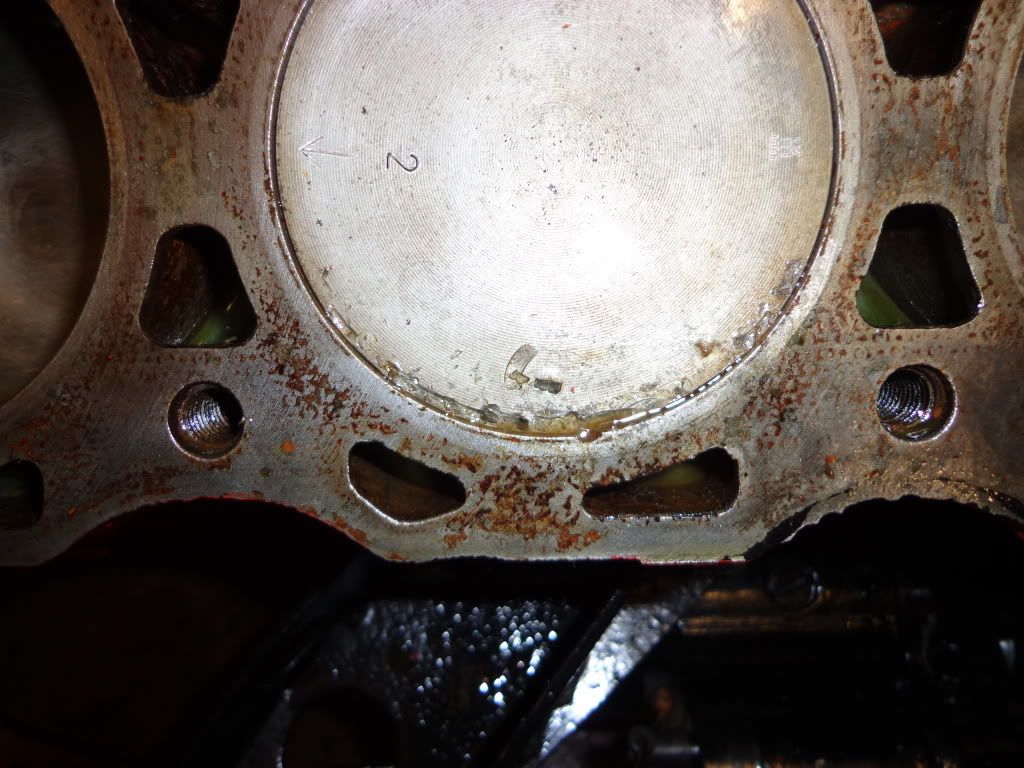
I found the problem immediately and its looks to be rather expensive, I thought when I was building the heads back up that I had taken great care in the build but apparently not. It looks like a stray spring washer found its way into the air intake (I presume) then got sucked into #5 unit and bashed itself around a bit.
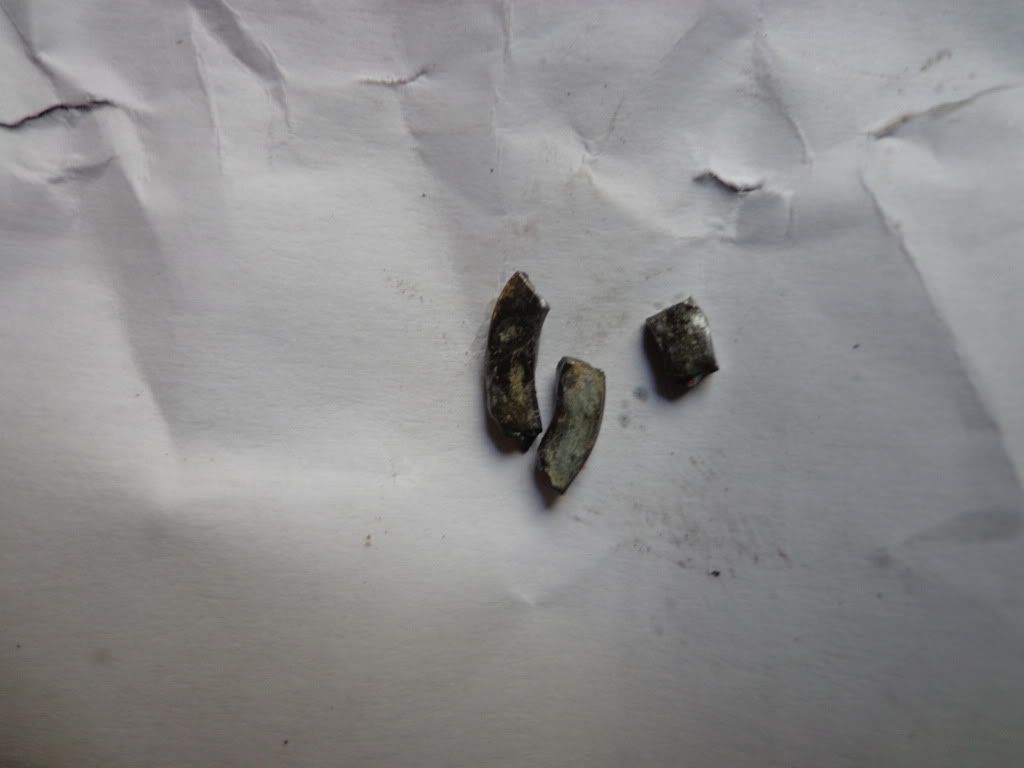
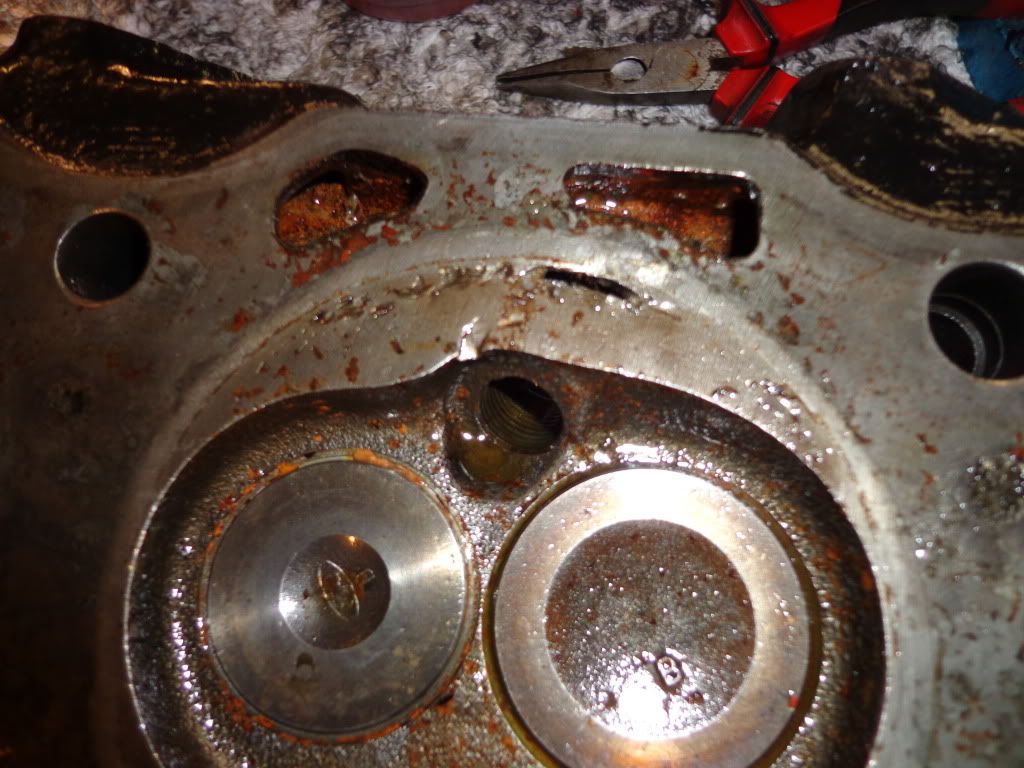
I found 3 broken pieces embedded in the piston crown and another stuck in the hole that had been punched through the head. Surprisingly and luckily the piston bore does not looked scratched although that is on the first look and rub with a rag.
I have turned the engine and sprayed WD40 liberally into the bores and oiled to preserve while I'm away.
These are the bits from the piston, the piece sticking out of the hole in the head went flying as I attempted to pull it out.
A piece was embedded very close to the bore but seems to have been pointing inwards and did not scrape.
You can see the extra hole punched through into the waterway.
I can only assume it came from the air intake which means it would have had to pass the air inlet valve as it certainly was not sitting on the piston when I put the head on.
So decisions to be made.
I have spoken to the man at Cologne engines who says the piston should be Ok if the ring groove isn't crushed, so will check on that.
The head will defiantly have to be replaced, so I shall be looking on eBay for a replacement and a standard head exchange at Cologne engines is £215 plus a new set of gaskets then I am back in business, or maybe take it where I had these heads done either way it is a bit of a major setback to my plans.

well back to work for 2 weeks then engine out again.
see ya Paul
Monday, 18 June 2012

Heater overhaul

Hi
Well there's good day's and there's really really not so good days and this one has been one of the latter.


Yesterday was engine run day so off to the petrol station a couple of times and 10 litres of unleaded went in the tank, battery was fully charged and ready to start. Nothing not even a click so out with the meter, checked the battery, fuses, starter motor control wire; all good, so it was out with the starter motor. I had no jump leads so I called my brother in law who came round and we put a test on the starter and zero, so a few taps and nothing so I gave it up for the days and sprayed the starter with WD40 stood it on its end and let it soak in over night. This morning no problem a couple of taps and it spun out on first test so back in it went.
I decided to get the heater parts out of the way while I waited for my brother in law to come round.
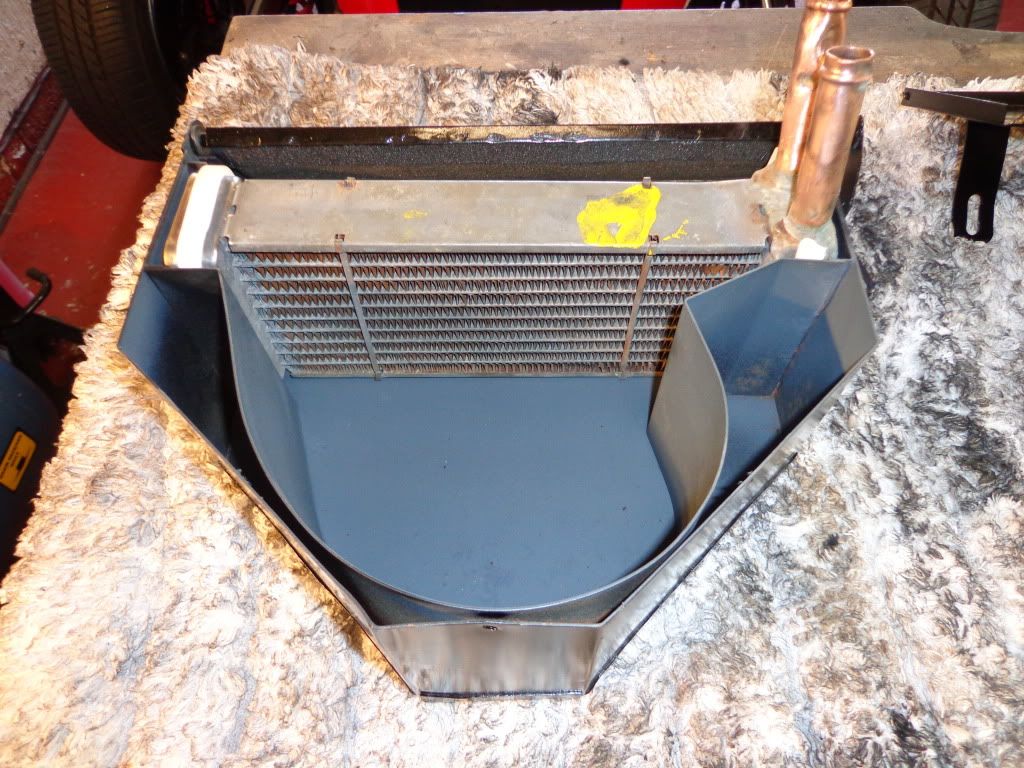
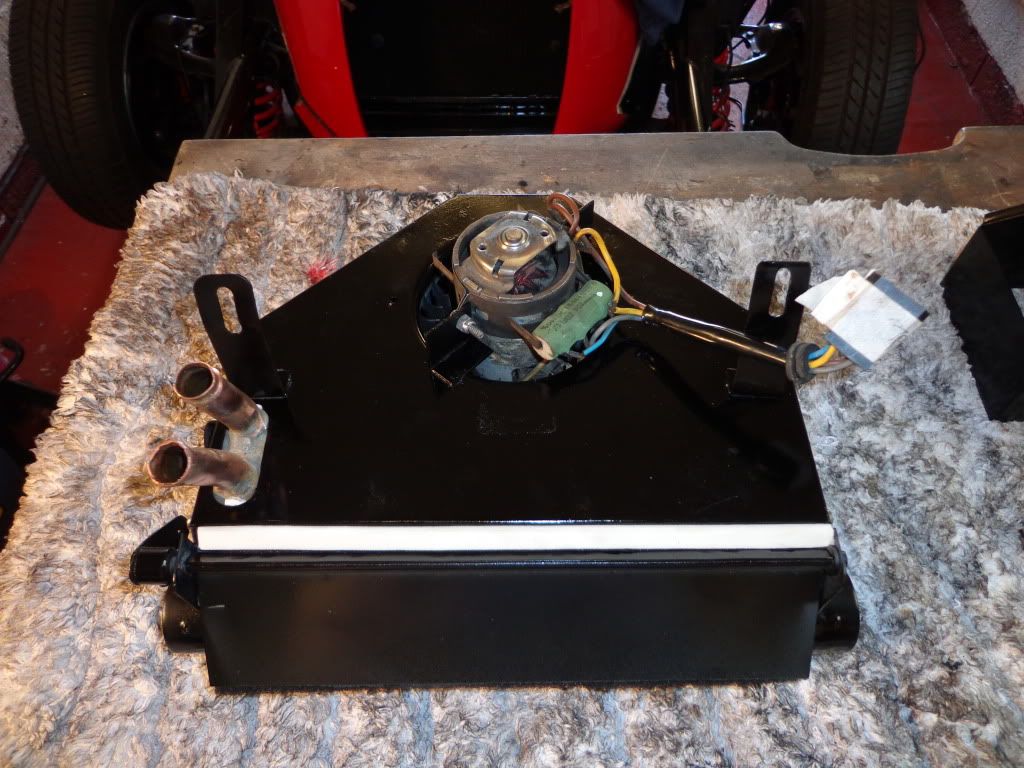
The heater had new window draft sealer stuck on before sliding into its box.
Then the motor was attached to the lid was fitted.
Ready to fit.
So the starter was fitted, the battery fully charged, (again) the water level in the radiator checked (still full) and ready to go. 
This time the starter motor turned the engine over lovely but no firing, so the fuel pipe was removed and the fuel sucked through but no firing. We even sprayed fuel into the carb and tried but nothing, we decided that because this carb has a return pipe then there is no need for the pressure valve in the system so a re-route of the fuel pipework and the supply went straight to the pump and the return directly to the fuel return pipe and tried again and all we got was backfiring from the carb.
At this point I decided that there was something a bit more involved than my basic knowledge of car engines could manage so I called it a day.
I took a drive to a local garage where I know the owner and arranged for the car to be delivered there next time home for him to sort, but I could not leave it there and needed another look. 
First check was to ensure I had the distributor at #1 TDC and not 180 degrees out, then that the firing order of the cap and lead was correct, all Ok then I took the cap off and checked the radiator, empty!!
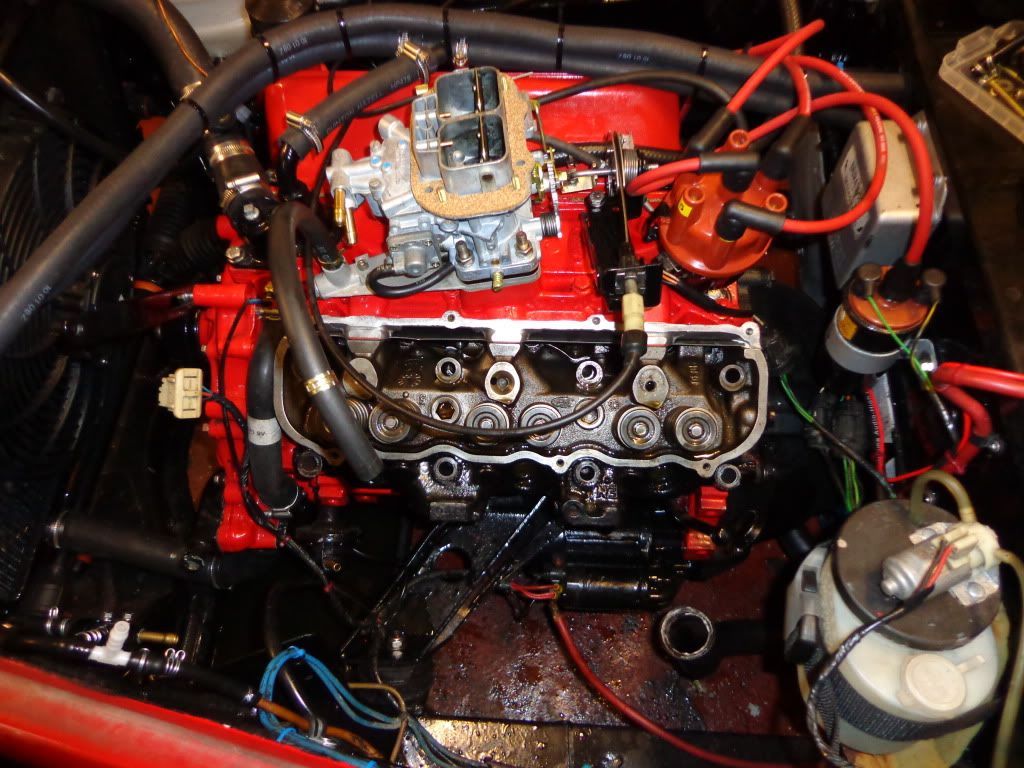
I guess this is a long way of saying that the engine is shagged, I removed all of the spark plugs and water poured out of units 5 & 6 I then turned the engine over by hand and more poured out. 
So what is the problem.
I am going to have to strip the heads again and first check if the gasket is damaged, that may account for it and hopefully this is all it is, if not the gasket then the head has either been damaged during the cutting out the material for the unleaded conversion which is a known problem or there is a crack elsewhere. When I had the heads done I asked about the dangers of the unleaded conversion and was told it was at my own risk but they do it often and haven't had a problem for years. So a pressure test is required on both heads as the water did not drain until the engine was turned and pressure was put on it.
So what to do.
First I have drained the engine and turned it over by hand to get out as much water as possible, the exhaust is removed and the head bolts removed, unfortunately no matter how we tried the gasket seal would not break to allow the rest of the water out so I have filled the pistons with as much oil as I can squeeze in and kept turning by hand. I have checked the dip stick and the oil level is normal, if there was water in the oil then the oil level would have risen, I shall bring home some water finding paste which turns pink in the presence of water but hopefully none has gotten past the scrapper rings and into the sump.
This really could not have happened at a worse time as I have to leave for work a day early and set out at 1030 tomorrow so my main concern is rusting inside so before I leave I shall try and get some more oil in the pistons. 
This could prove to be very expensive so fingers crossed I have just made a mistake on the head gasket, but a full strip down when I get home hopefully without the engine coming out again.
Till then
see ya Paul
Saturday, 16 June 2012

Heater removal

Hi
Home again after a couple of days break in the Yorkshire moors, had a lovely time and stopped at a 18th century country manor house called Hackness Grange very nice couple of days.
Lynne
Shame about the rain storms.
Got back at lunchtime and got stuck straight in, I had a bit more stoneguard spraying to do on the propshaft knuckle and the underside of the axle diff. Once done I got the car dropped back onto its wheels, I'd forgotten just how low down the car is.
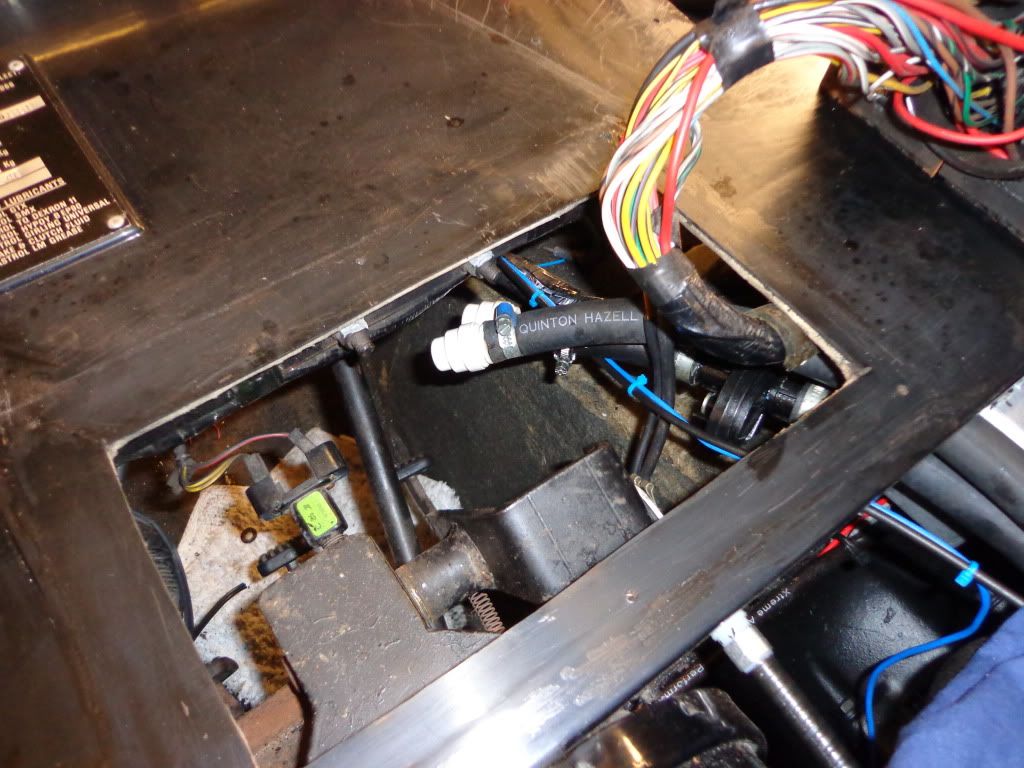
I am hoping to get the engine turned over this time home just to see what leaks on both the cooling and fuel system so I have topped up the cooling system ready. Before filling I have blanked of the heater pipework under the dash with some 15mm pipe blanks and added a bottle of Holts speed flush.

I have filled the rad right up and shall leave overnight to see what leaks or not as the case may be.

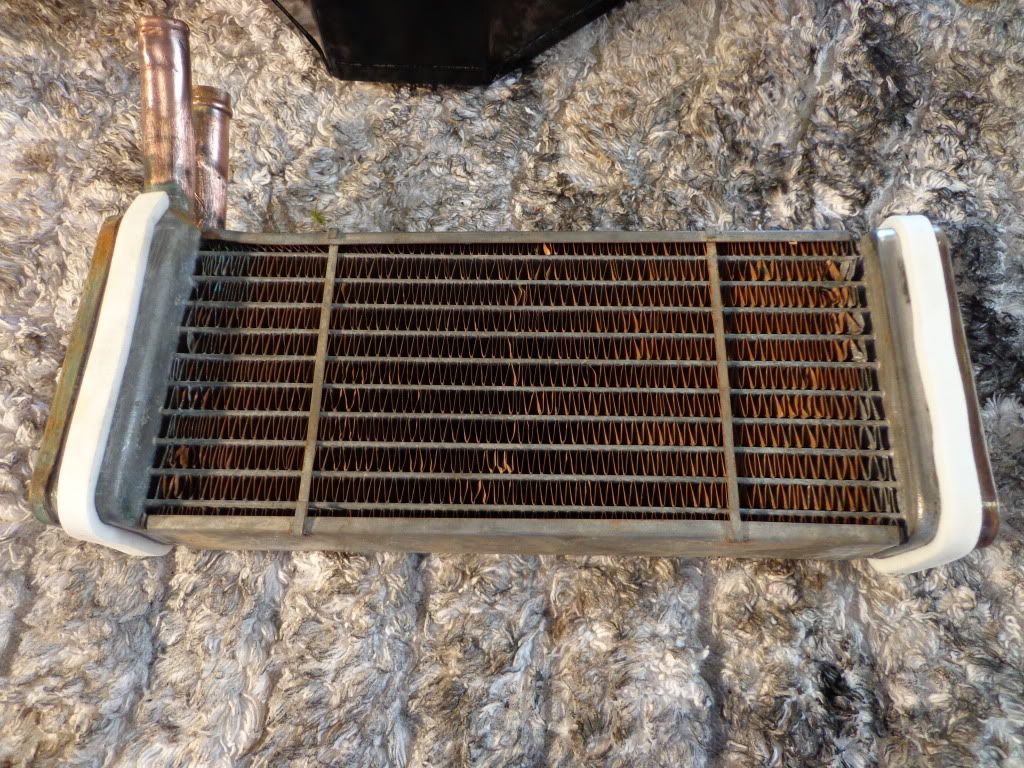
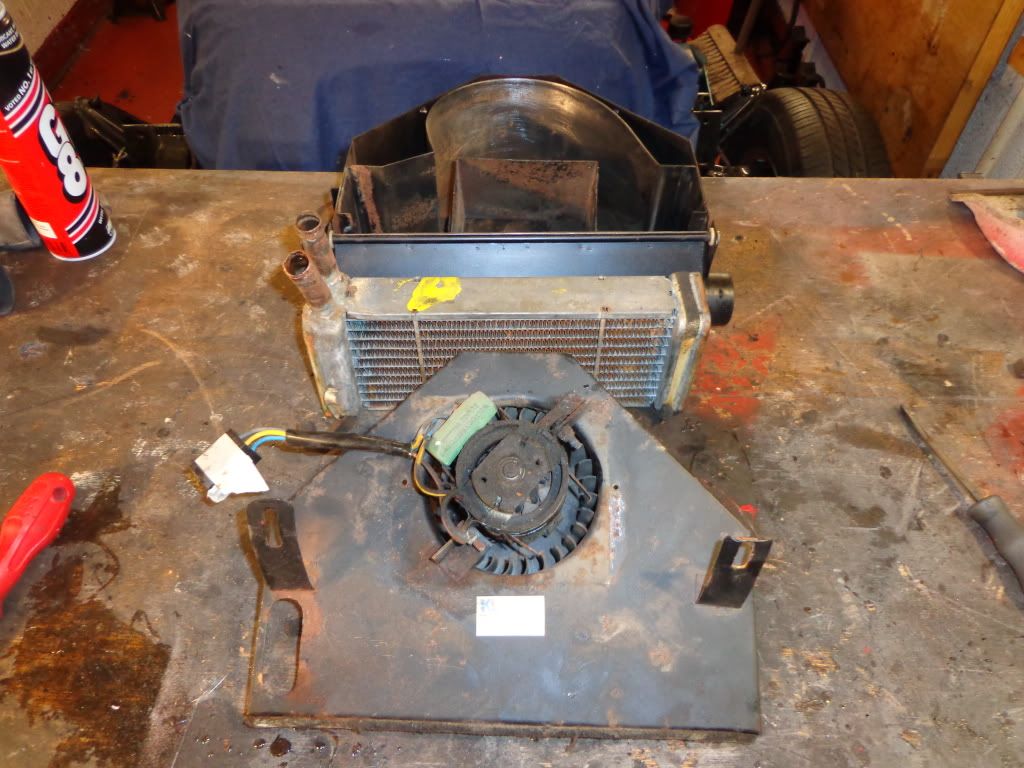
The main job today has been stripping and cleaning the heater, It wasn't really in that bad a condition considering what it has sucked up over the years, I thought it would have been a lot more rusty inside but not to bad.
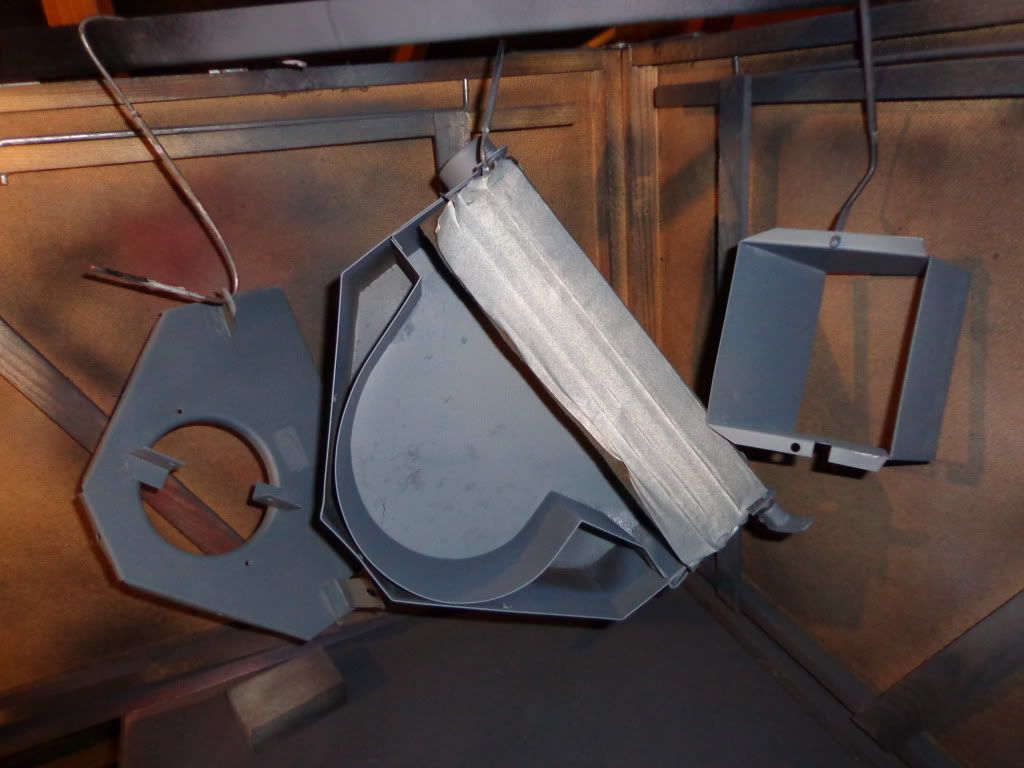
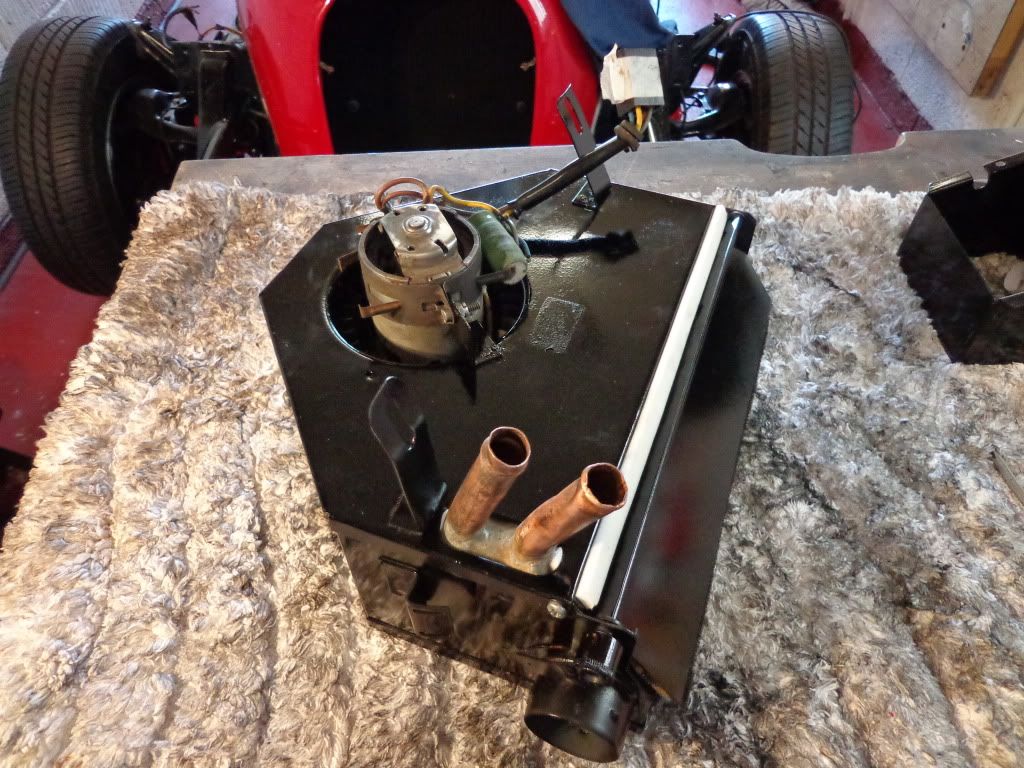
I stripped down the heater unit to its main components which is only the heat exchanger, fan unit and metal work. The metal work has been given a good rub down with emery cloth and primed with acid etch.
Not much I can do with the heater unit it is either sound or it leaks but seeing as the footwell was dry when I bought the car I reckon its pretty sound so I have just blown it through with compressed air and cleaned up the tail pipes.
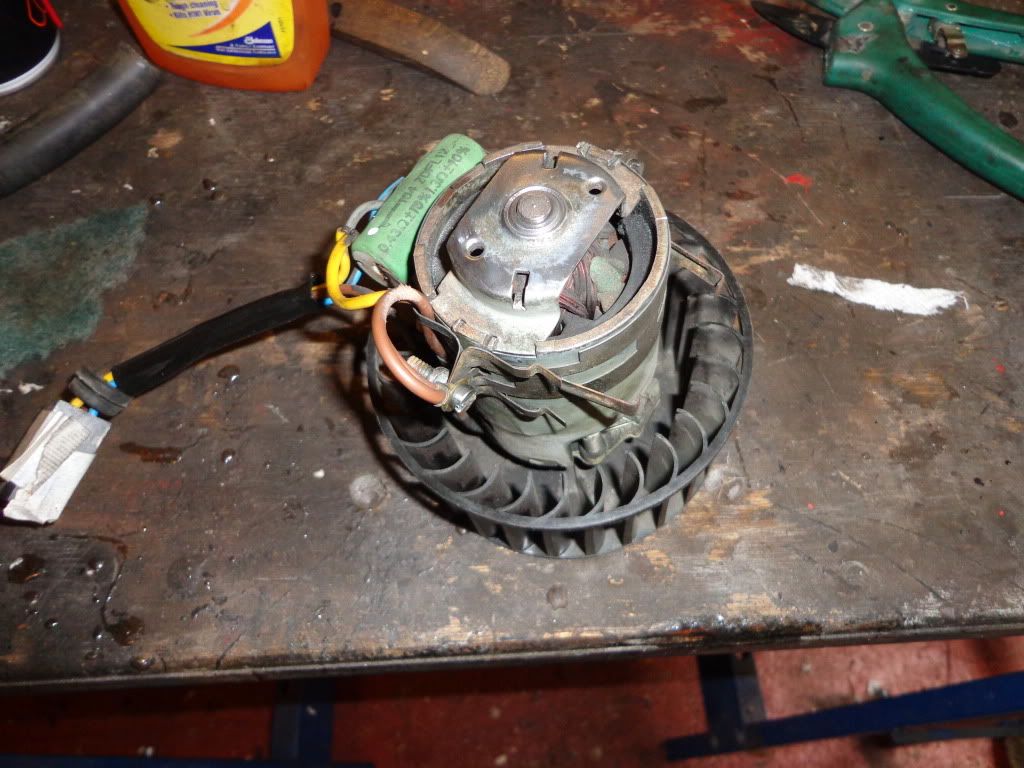
The electric motor had a lot of oily gunge around the top so a good spray with solvent cleaner and a scrub, came up quite well. I shall give it a run before I fit it back into the car.
That's all I've got done today, the primer will be set tomorrow so will be able to paint and fit back together.
Can anyone out there help; 
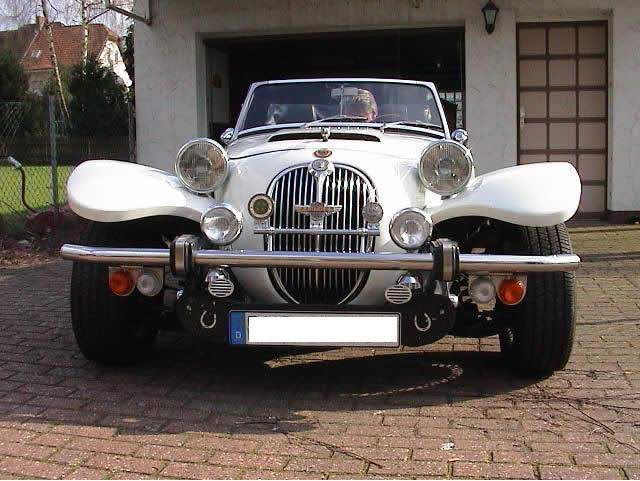
I have found a photo on the web of a German Kallista and was wondering if anyone recognizes the grill it has fitted, it looks like a Mk2 Jag but was hoping someone out there knows for sure.
If you know what car it is from could you please let me know.

see ya Paul

Wednesday, 13 June 2012

K&N filter

Hi
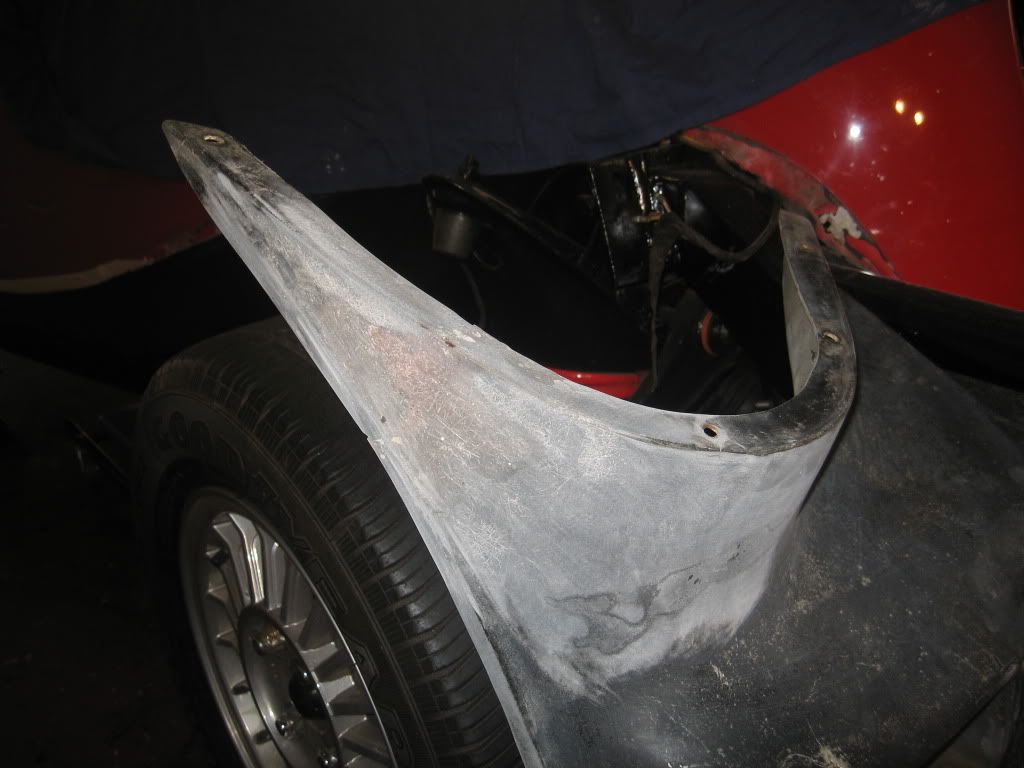
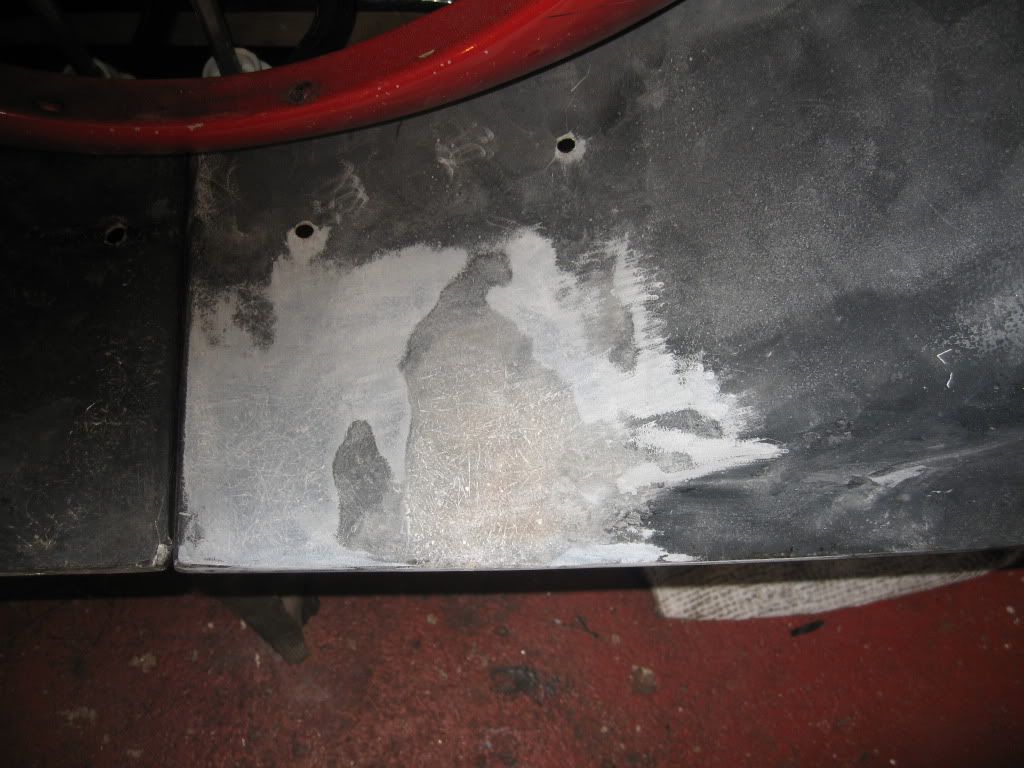
Just a little more progress today mostly in the engine bay but before that I had a look at the fibre glass repair and it came up very well indeed. I feathered in the outside repair without taking to much of the fibre glass repair away although you can hardly see the repair so hopefully it will be the same when the paint is on.
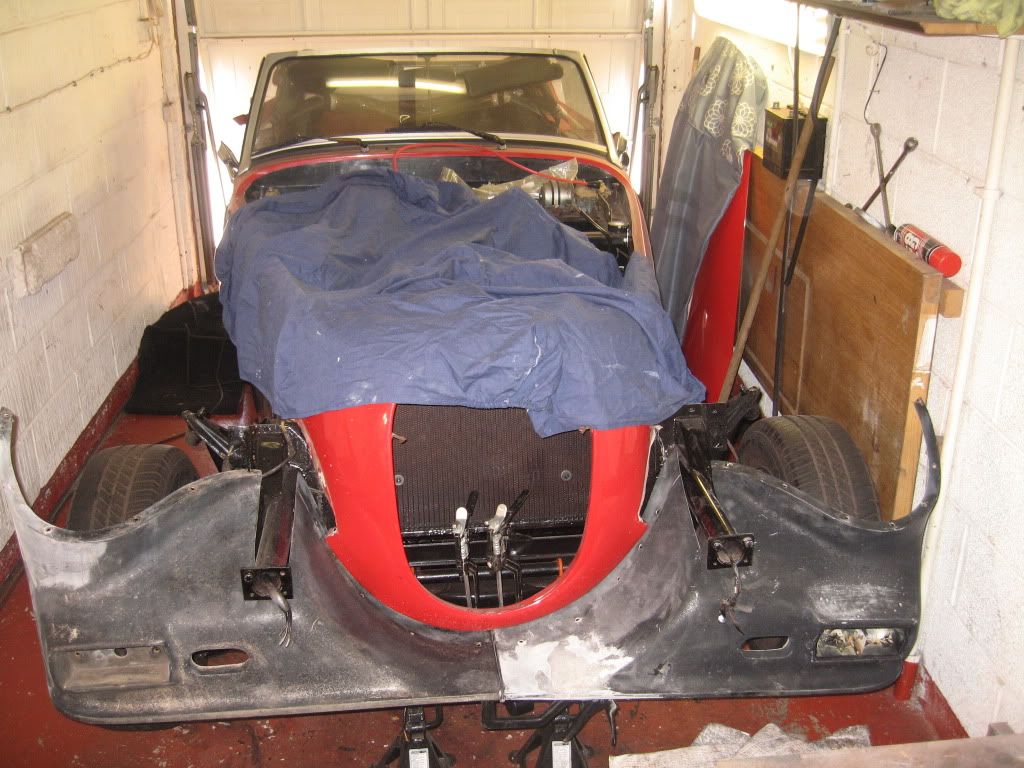
I have test fitted the spoiler to see if it fits in the middle, Terry has told me that because of these cars being hand made that there is a huge variations in the build and that some cars require a spacer in the middle. Mine seems to fit ok but I have just clamped it in the middle without the wings on, you may be able to see the holes already drilled from its original fit and they are a lot more forward. These will need filling if they remain in this position.
This is part of stage 3, the doors off stripped and repaired, windscreen out, wings back on and new steps to be made and spoiler to fit not to mention all of the paint rubbed down and filled where necessary then painted so in the loft with the spoiler till then.
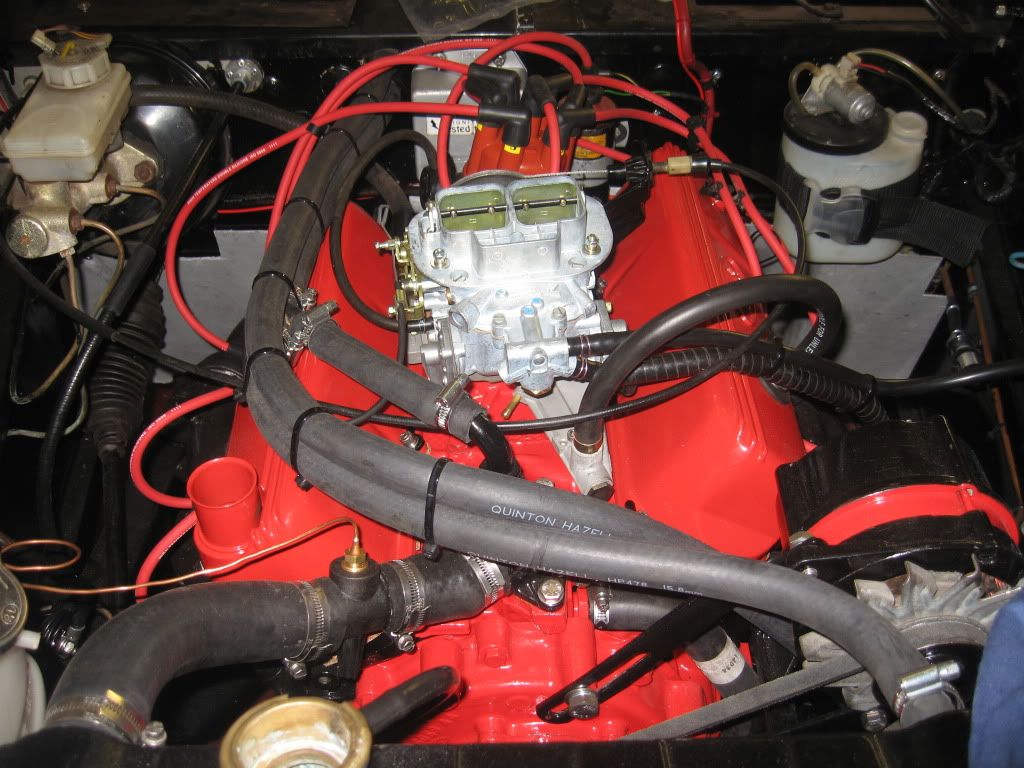
Not a whole lot left to do in the engine bay but still an afternoons work. The spark plugs went in followed by the HT leads, I had printed sticky numbers for the distributor cap and hopefully I got them stuck on in the correct firing order.
I was going to go for the large round black air filter from Europa spares but have decided to go for a Chrome K&N performance filter
I spoke to the guy at Fast road cars an authorized Weber dealer who seemed to know his business and he recommended this filter, one of the questions I asked was about the emission pipe from the rocker cover that fits into the original filter and also the small 5mm pipe from the carb to the filter. He says that the 5mm pipe can be plugged and the emission pipe is fed down somewhere under the engine and allowed to vent. Seems a bit hitty missy to me but apparently no performance filters have these pipes plugged in, so see what happens.
The rest of the day has been spent cleaning the plastic surround and painting where I can, It is badly cracked in places and very gunged up and took a lot of scrapping to remove the waxy oily residue.
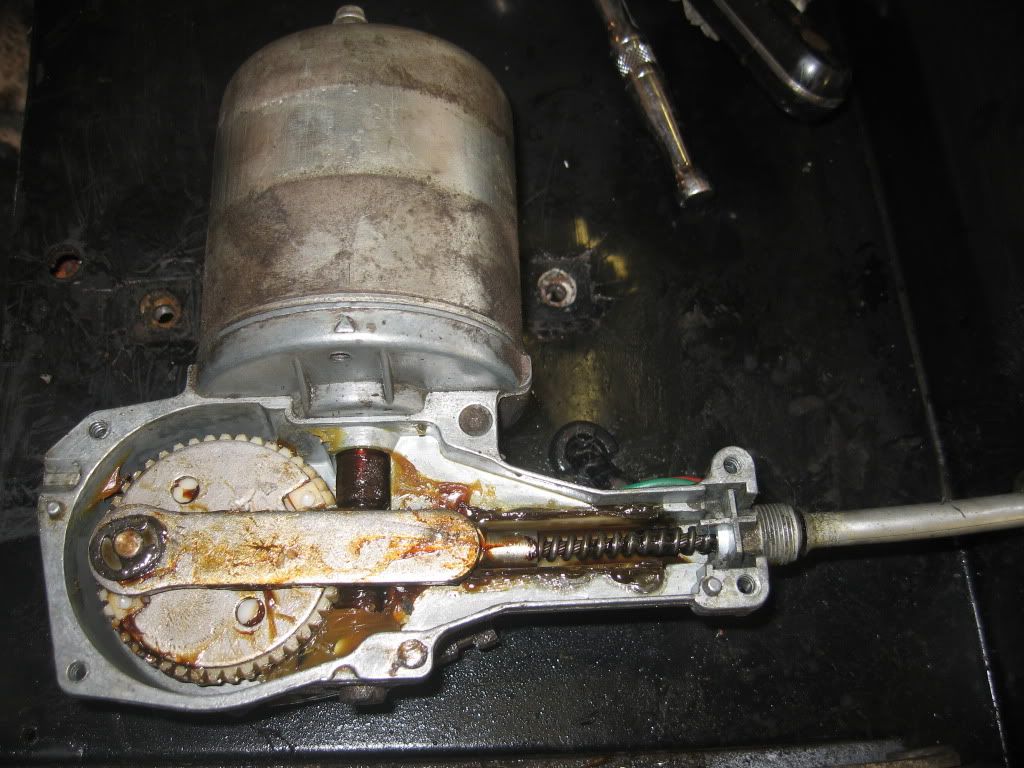
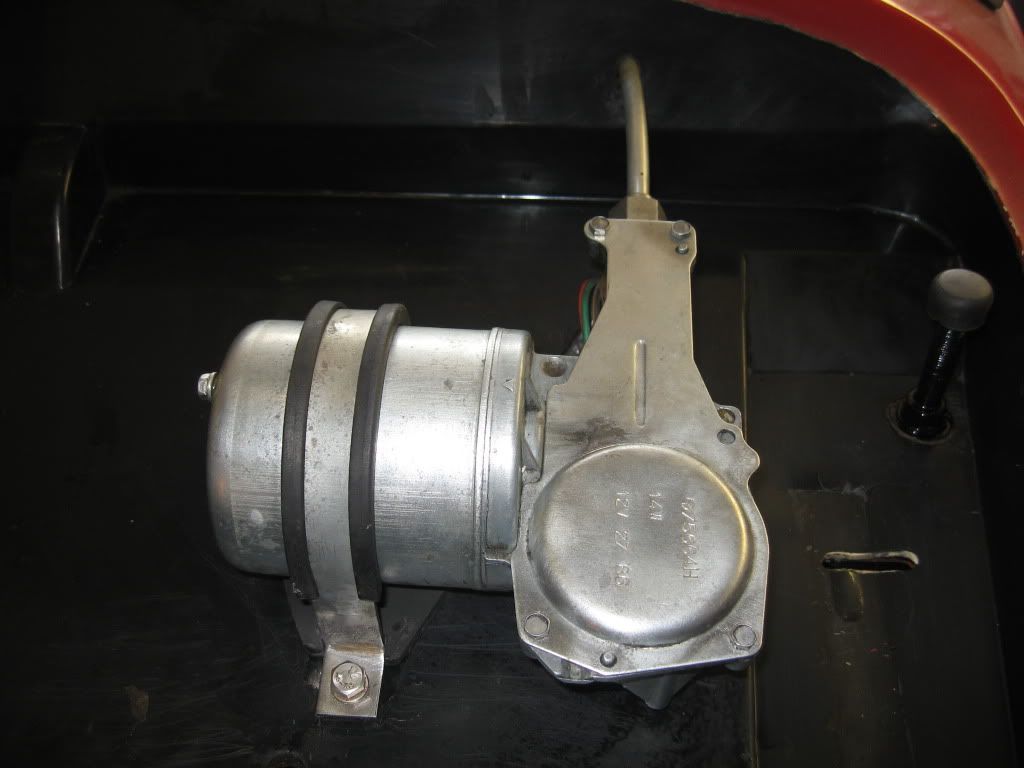
I was going to remove the wiper mechanism to clean and get underneath it until I removed the cover and thought better of it.
I was still able to lift it and clean under by removing the bracket then put the lid back on and gave it a good scrub.
I have also removed the bonnet hinges as they are in need a good polishing although I nearly gave up after struggling with the bolts, must have been some fun job to fit these originally.

Other than the air filter I have been doing plenty other buying while I have been home.
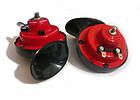
The first was a set of snail horns, maybe a bit premature but I like to have things available. At around £9 with P+P so not bad.
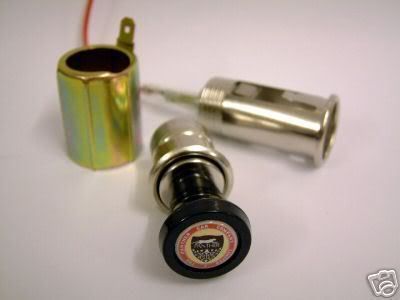
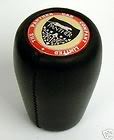
The next I decided on when I removed the center console and it is the cigarette lighter, same as the horn I like to have it available. This cost £15 inc p+p but on opening the parcel I found that it also came with the gear knob which is sold separately for £17 inc p+p. Whether or not this was a mistake on there part I don't know, but I now have a new gear knob.

From first buying the car I have been deliberating about the seats, whether is was cheaper and easier to buy new one's than to have them re-furbished or to fit one's from another car. I have been in communication with Terry B for quite a while over this and had virtually decided to have them recovered by Ray at Vee Six, I would also have had to buy headrests from Bruno at over £30 each so it was working out really expensive. I have now been informed that the seats from a TVR Cerbra fit but require a bit of alteration to the runners and the moving of the seat belt mounts, not a problem. The problem is finding them, well I did not find the Cerbra seats but I found a set of Griffith seats which are Cerbra seats as they used the same seats in both models. The one's I have are from a 92 model in Magnolia and I found them on eBay, I have only gone by the photo but for being 20 years old look in better condition than my MX5 seats at 12 years old. The guy who is selling them is happy to hold on to them until I get home next time as we are going away for the weekend so I don't want to take the chance of missing the delivery.

I shall either have a go at restoring and re-coloring the leather myself or get a price for a pro to do the job although after blowing up the photo I can see very little scuffing and the guy selling them says they have been well looked after but could do with a good cleaning and conditioning of which I have all of these creams for my other cars seats.
The delivery is £30 and the seats cost £104 so hopefully I'll get them to fit and I will have saved myself a few hundred pound and have nice comfy seats, will have to wait till next time home to test fit.

see ya Paul