
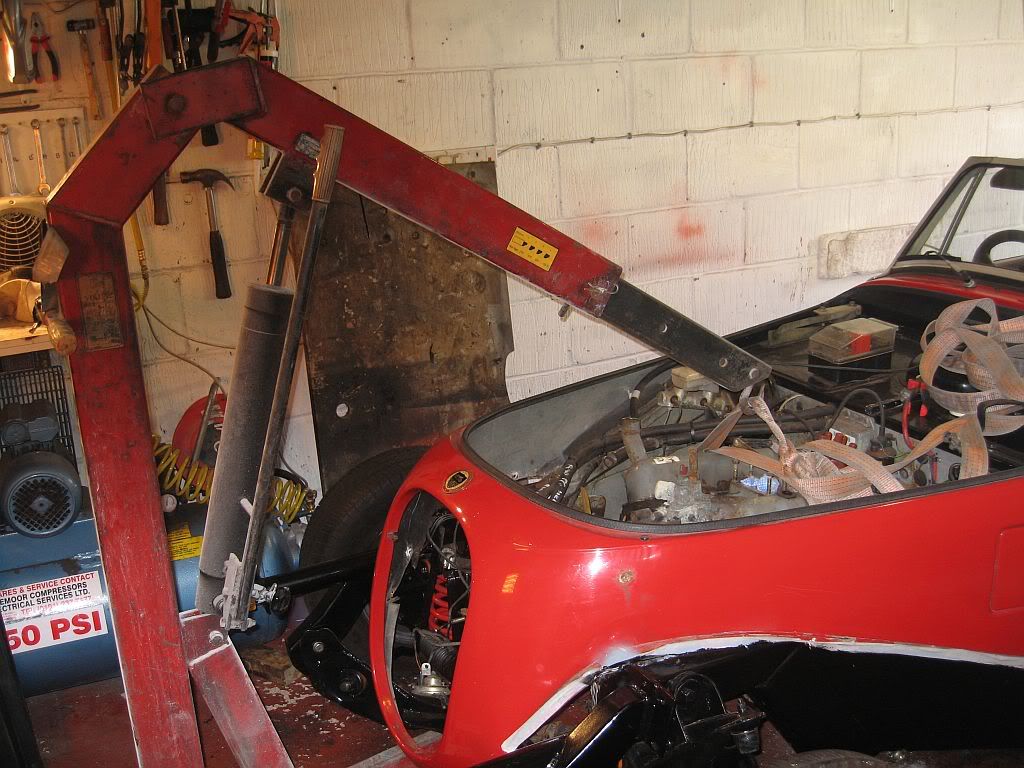
Today was pretty momentous as far as the strip down is concerned as it was engine out day.
It came out quite easy, due mostly to all my prep work yesterday i had only left 2 nuts to remove. The hardest part was the building of the crane, this was originally from a garage before the paint shop got it and its a pretty heavy bit of work.
It came out quite easy, due mostly to all my prep work yesterday i had only left 2 nuts to remove. The hardest part was the building of the crane, this was originally from a garage before the paint shop got it and its a pretty heavy bit of work.
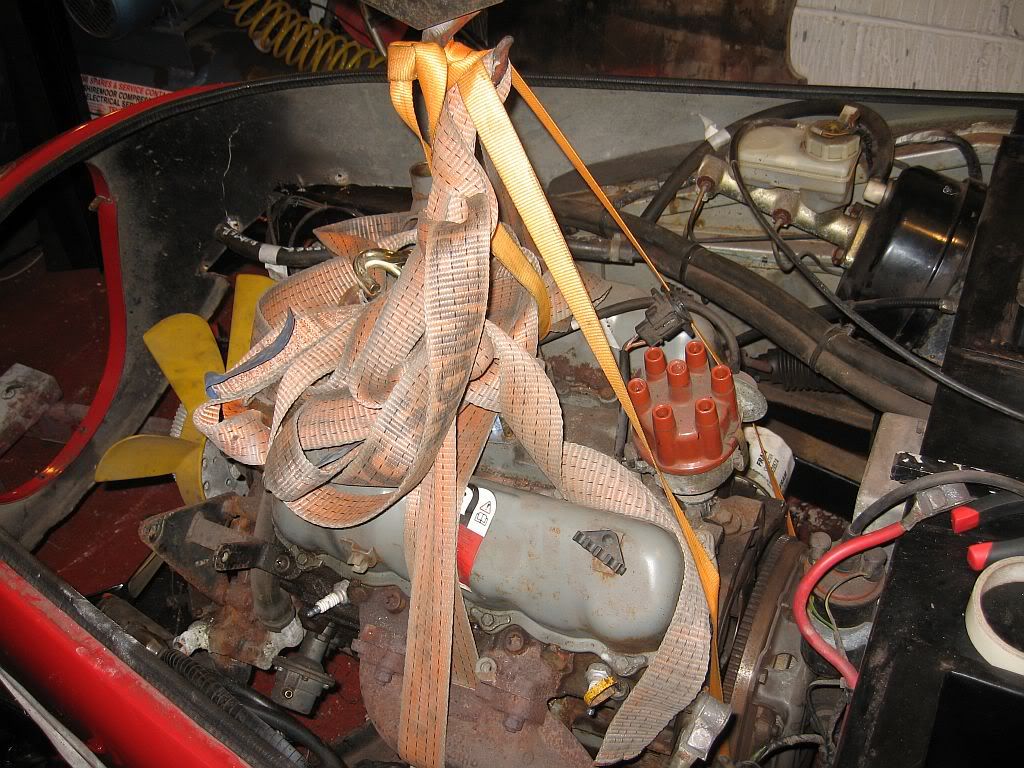
The strop I had was a tie down strap around 20ft long so I had to knot it to get the correct length, not something that's allowed on board ship. But no one was looking.
I started to lift with a central pull, the strop was through the exhaust manifolds but the engine started to drop back, so I used the jack to lift the back of the engine and fitted a second strap around the fly wheel.
It took a bit of shaking to free the rubber mounts, but once loose it was just a matter of guiding the engine clear of obstacles while pumping the handle.

Once the engine was clear I pushed the car back until well out of the way of any accidents.
I have been waiting for this moment since the day I opened the bonnet.
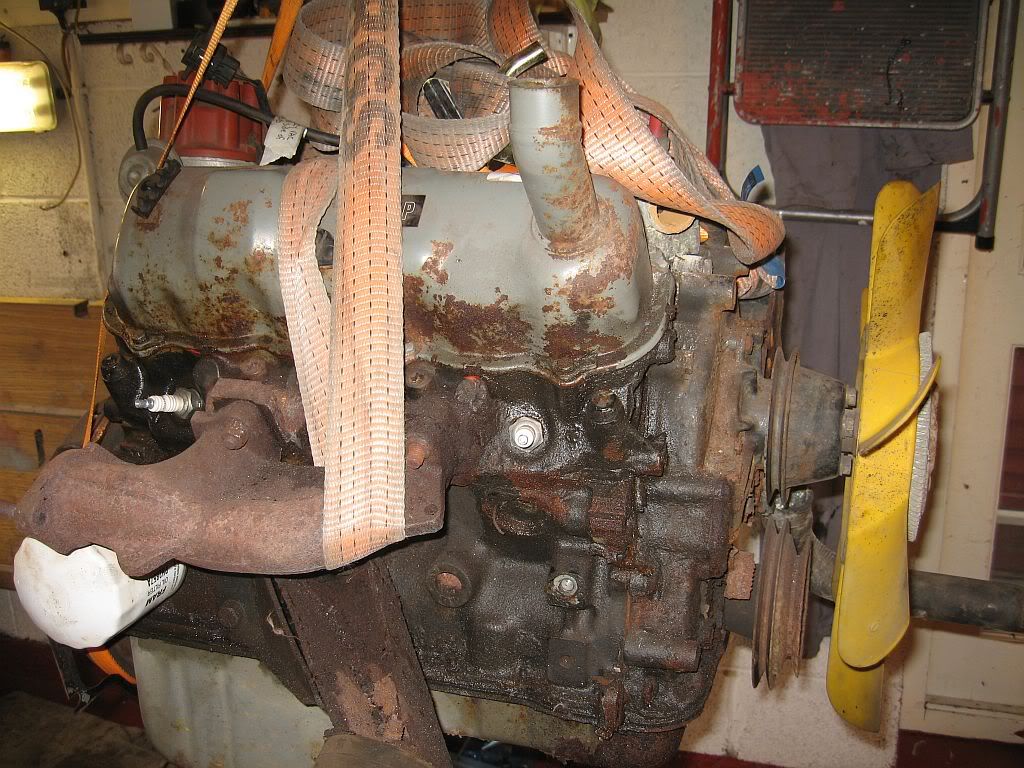
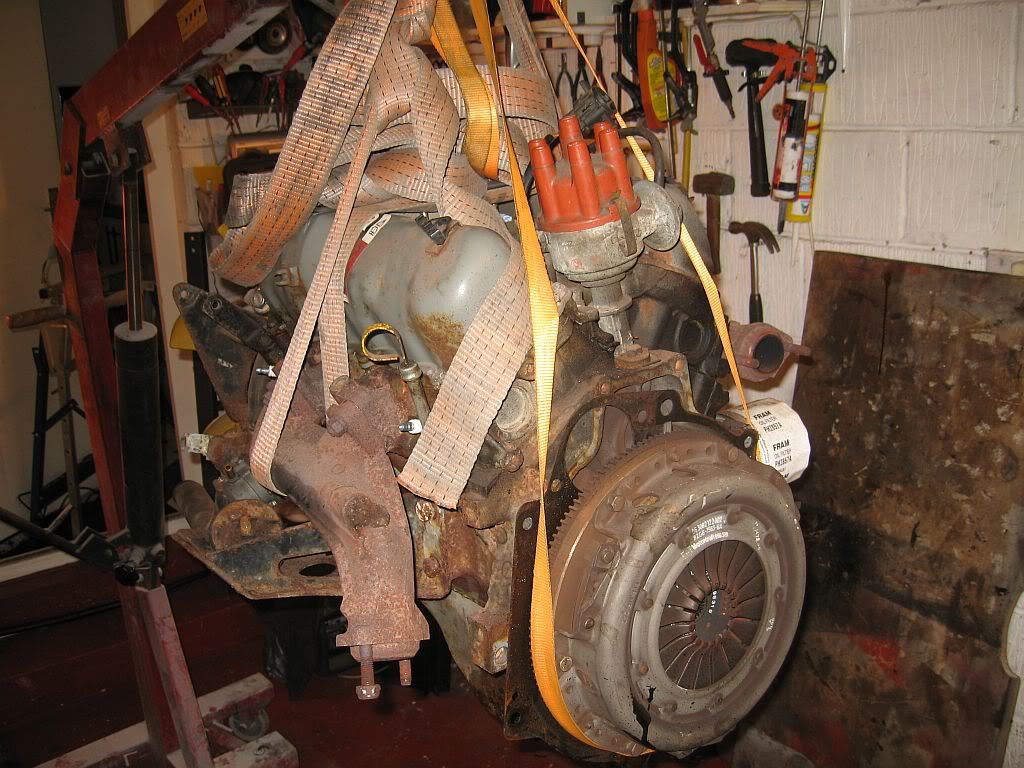
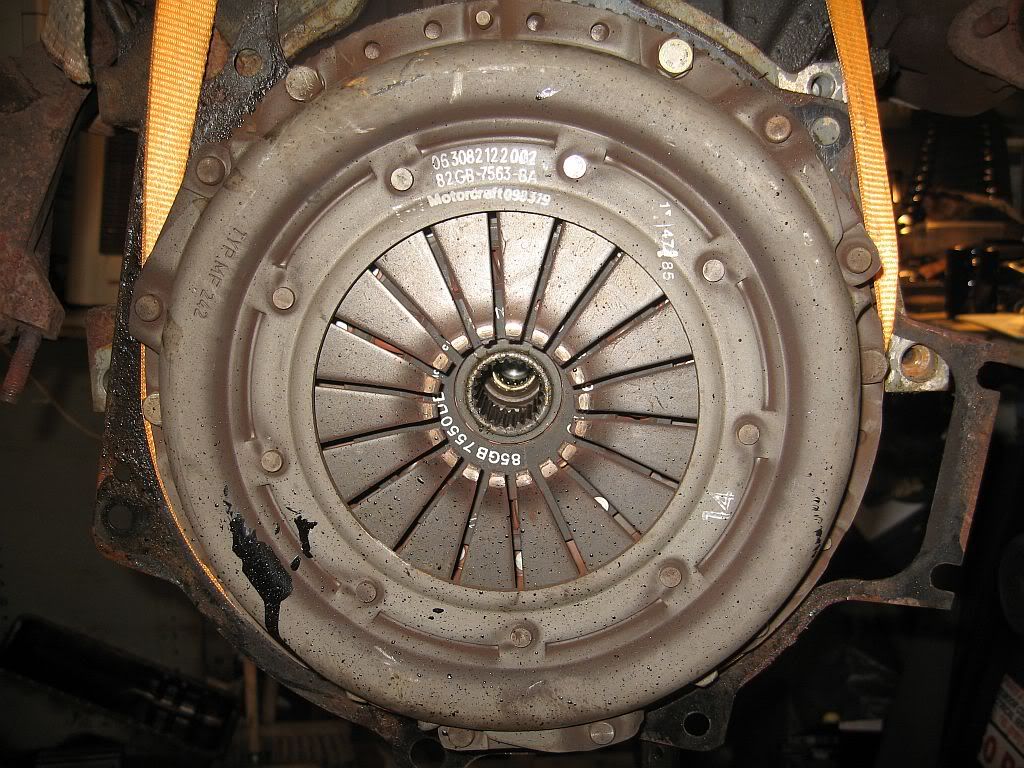
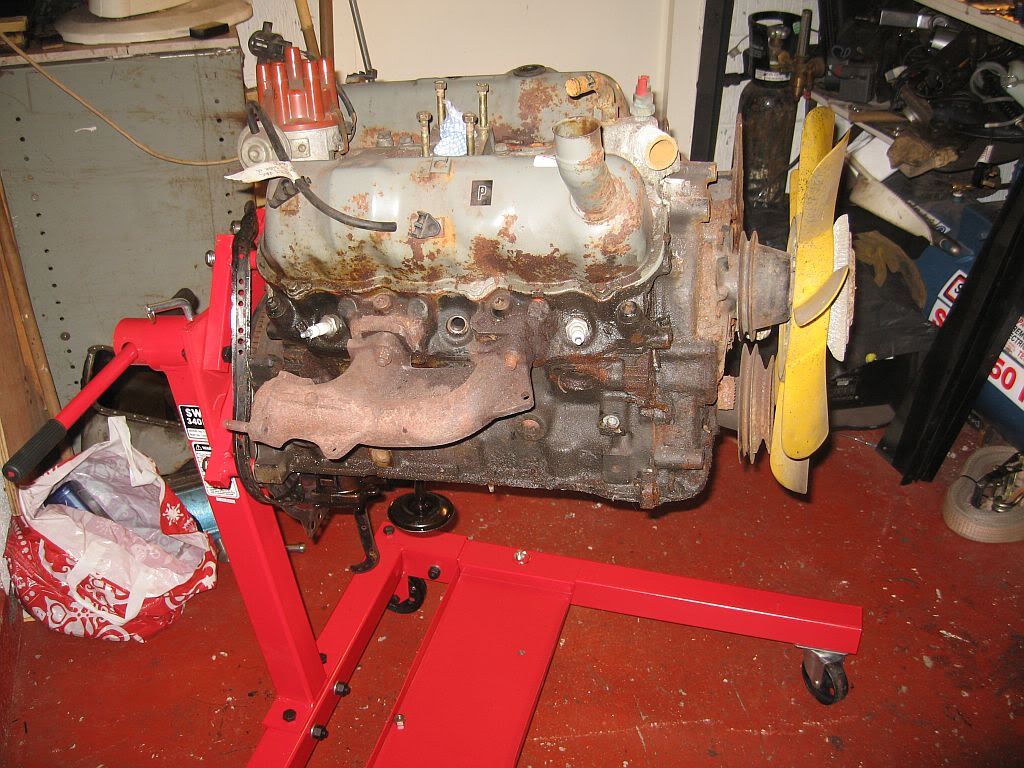
Once free I could really get a good look at the engine and see just how bad and where the leaks are, and it looks like the rocker covers may have been to blame all along.
I still had one of the hoses attached from the water pump and this is what greeted me

The last thing I had time for was the removal of the oil pan,removing this has created a lot more work as 3 of the bolts have sheared, strangely none sheared where the oil leaks are, wonder why.
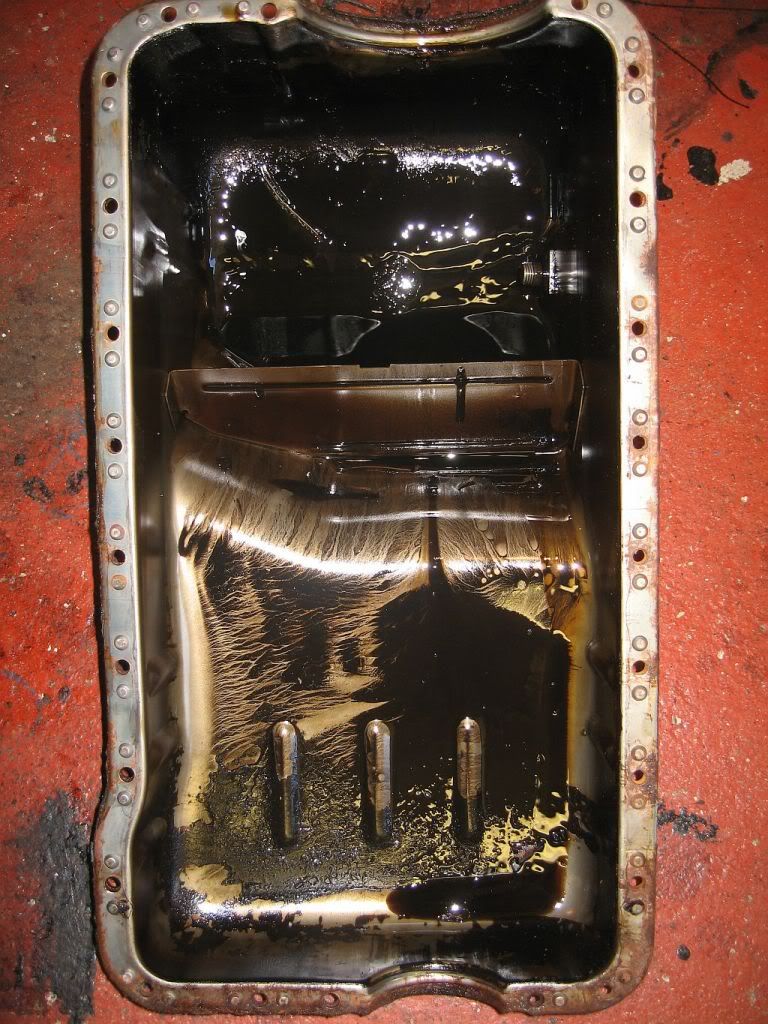
The inside of the crank case needs a good clean as well.
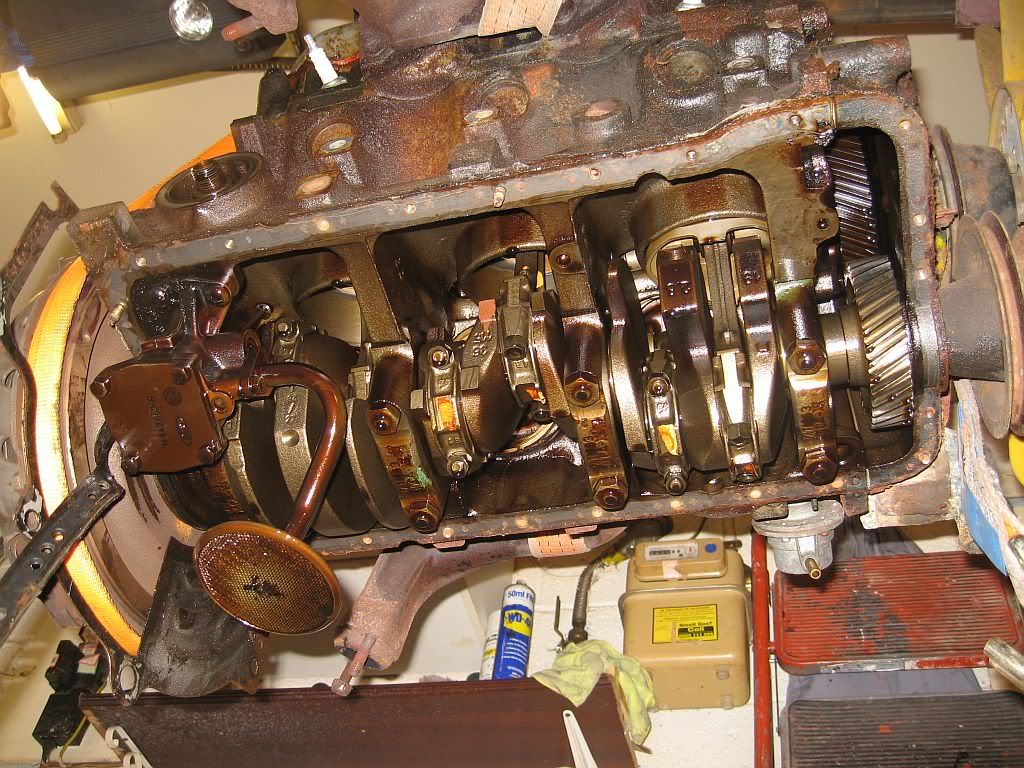
I was just going to rest the edges of the block on wooden blocks until I saw the condition inside so I had a need of an engine stand were I can spin the engine. My boss Richard was going to show me how to strip and re-build the engine but now that I have lowered my ambitions I saw no reason to drag Richard down here just to help clean the engine. He has an engine stand he was going to lend me but as he is building a mini for his son and may need his, so I am now the owner of a lovely red Machine mart stand.
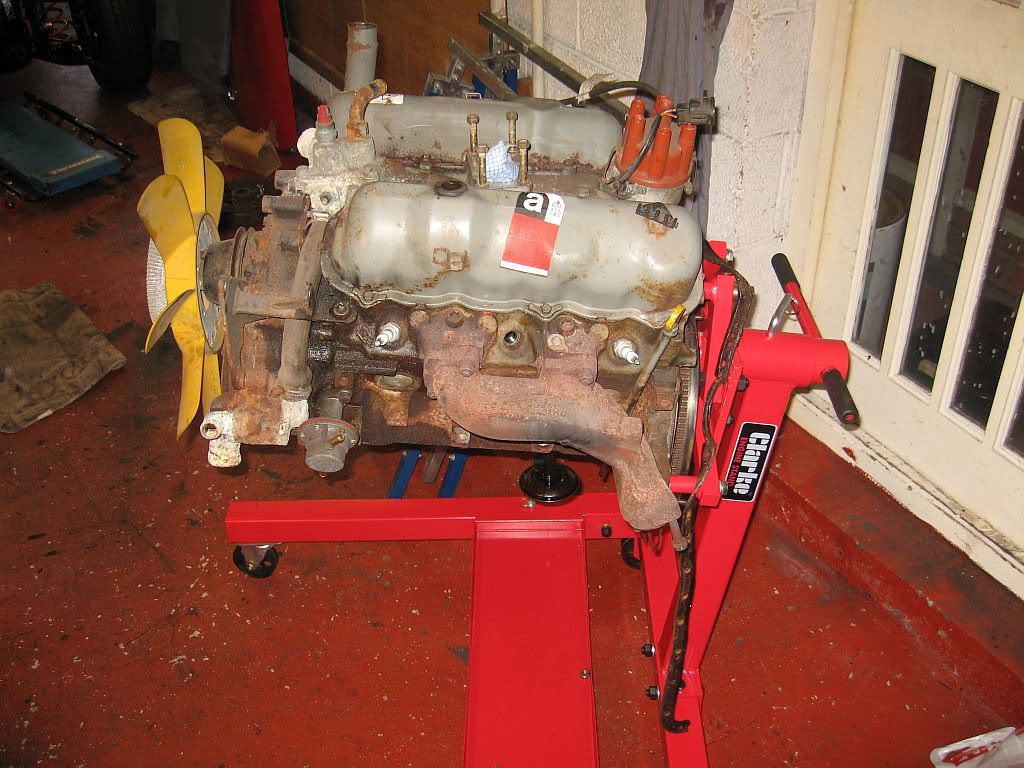
Before bolting it on I got out the wire brush and cleaned up the fly wheel and plate gearbox mount gasket as the stand bolts onto the gearbox mount.
I am pleased with progress so far, and will carry on with the strip down tomorrow.
see ya
Paul
No comments:
Post a Comment