
Thing went pretty much as I had planned today;
After dropping Lynne's car of at the paint shop I got a lift home from Tony the boss who is going to do the re-spray on my car and he wanted to have a look, I am pleased to say he is quite looking forward to doing the job. He is already suggesting paint and say's Jaguar do a lovely plum colour with flecks in it and is considering designs.
My friend came round after to help turn the car and this went without a hitch, I am pleased to say that the steering which was one of the MOT failures performed great, as if it was powered, I even gave the car its first wash and the garage floor as well.
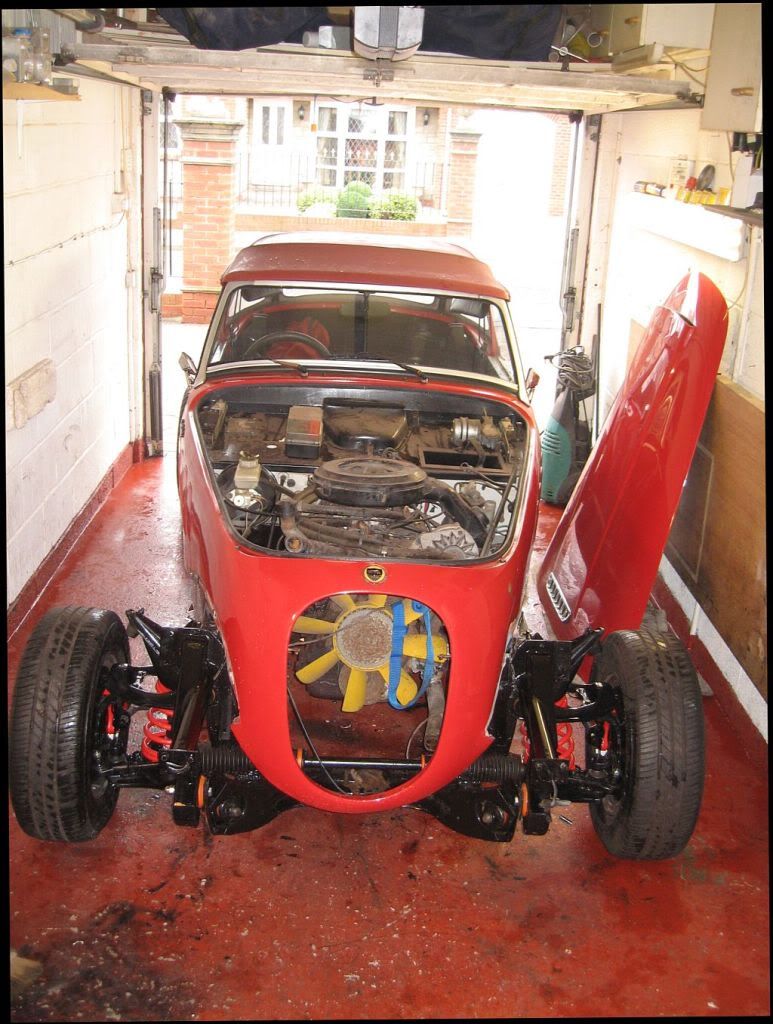
While Ben was here I roped him into helping with the bonnet, only 2 bolts each side and 1 in the stay, which is also looking a little worse for wear. I have seen these on a site for around £15 maybe car solutions, I'll check.
Now it was time for the engine;
I have borrowed the lifting gear from Tony who dropped it of when he delivered Lynne's car and a proper heavy one it is to.
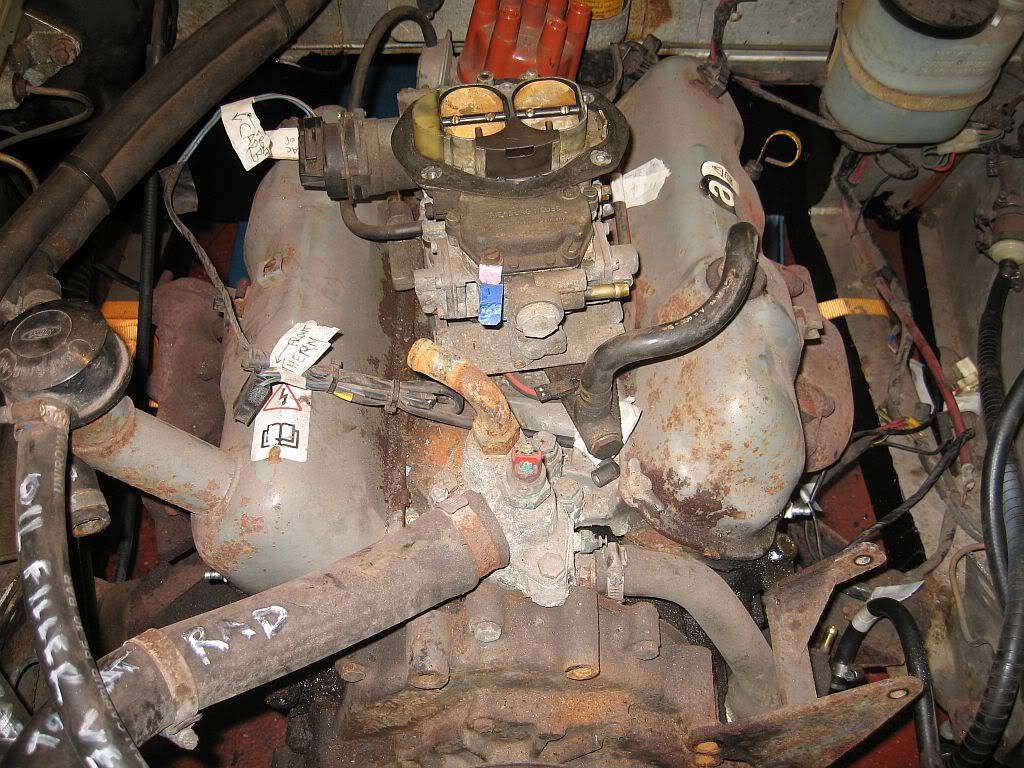
I started by photographing and videoing all around the engine then labelling everything as my dread is not having a clue where bits go when re-building, so it was hoses and electrical connections first. Its not before time either that the hoses are being changed as the fuel pipes especially are quite bad, I would imagine that they were flexible once but now its as if a steel tube was inside the rubber. The inside of the water hoses are quite bad also although these are full of a white oxide so the pump will have to come off and either be replaced or see if it cleanable.
The alternator and bracket was next, this to was seized and no way would it move to tension the belt without a crow bar on it, I have had to leave the bracket in place as the torx bolt attaching it to the engine is seized solid. I have it soaking in WD40 overnight but even with the impact gun it would not budge.
I'll have another go when the engine is out as the bracket is for powder coating.
The next major part to remove was the carburetor, lots of connections on this to remove so as well as the photos and video I did a drawing of each connection.
The first part was the throttle control linkage and bracket, only 2 bolts hold this on and 1 clip to the carb.
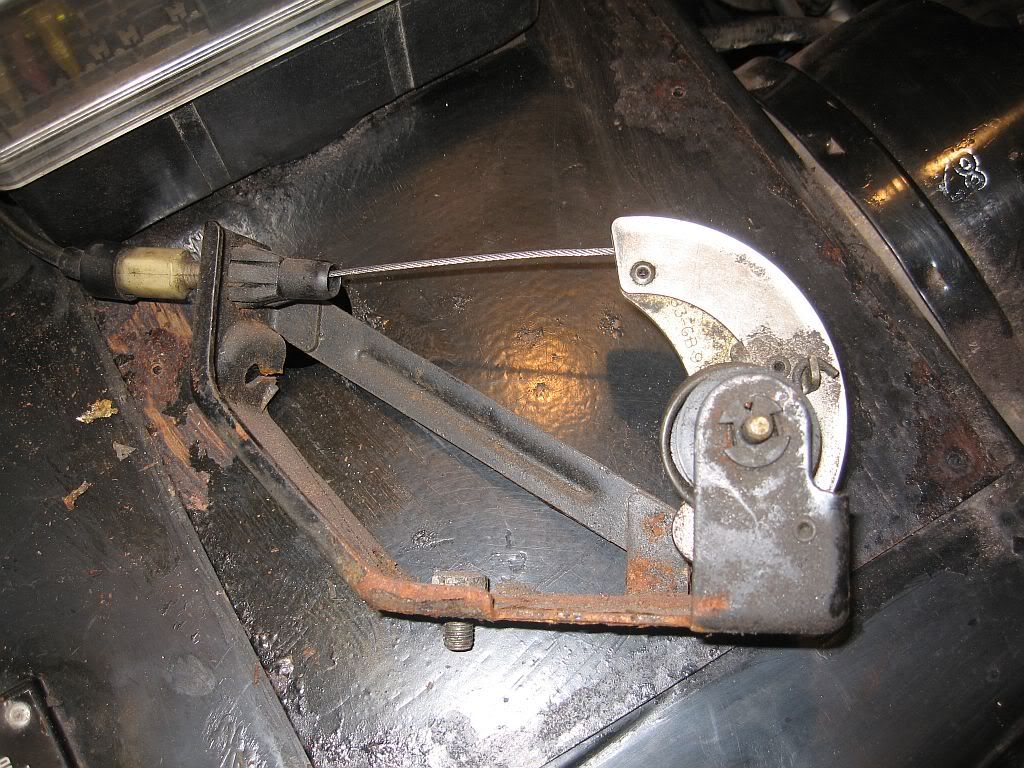
On having a good look at the linkage I can see basically how to detach the wire and mechanism from the frame as again this needs to be powder coated, I shall spend a bit more time having a good look and a read of the manual before I attempt it.
Only 4 nuts holding the carb down and these came of without a problem and I carefully laid the bits down as they came off, I did not realise how many plates and gaskets were under the carb, somehow I thought it was just bolted down.
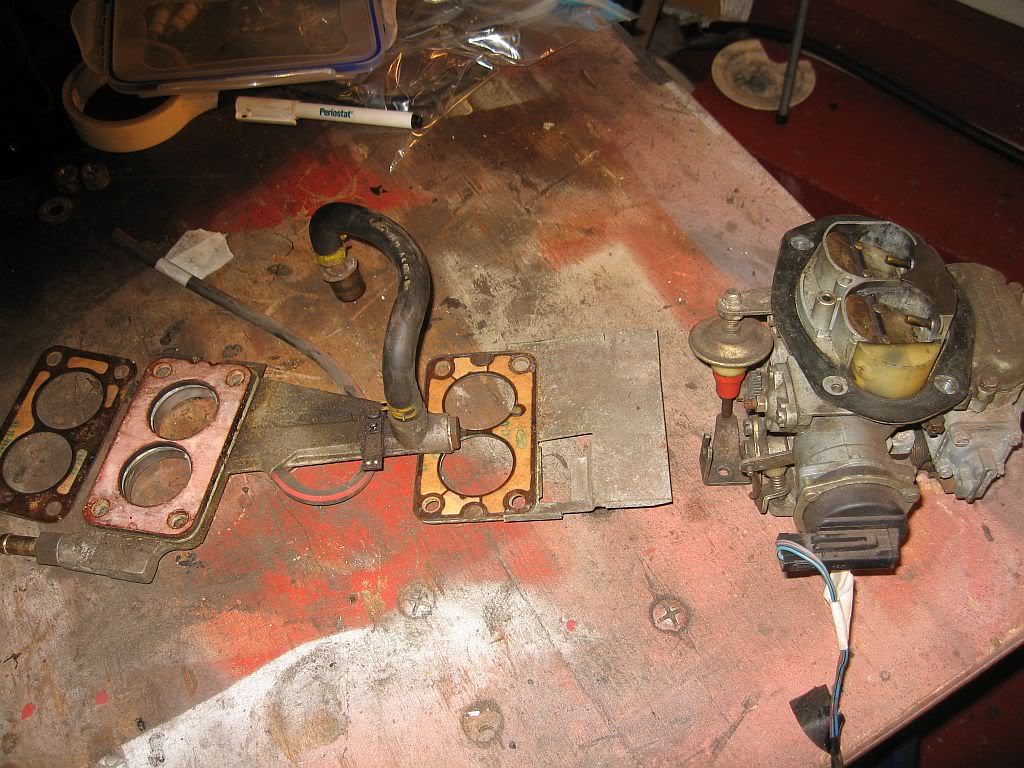
There are a total of 7 parts here, gaskets plates a hose and the carb, I have been making enquiries about the carb; is it Solex or Pierburg. Every search comes up with the same carb, and the answer (i think) is that they are one and the same animal. The outside looks stained and dirty but looking inside from underneath it is pretty spotless, so a good clean and polish and a good blow with compressed air on the spring should clean it up. I now need to track down the gasket set for re-fitting.
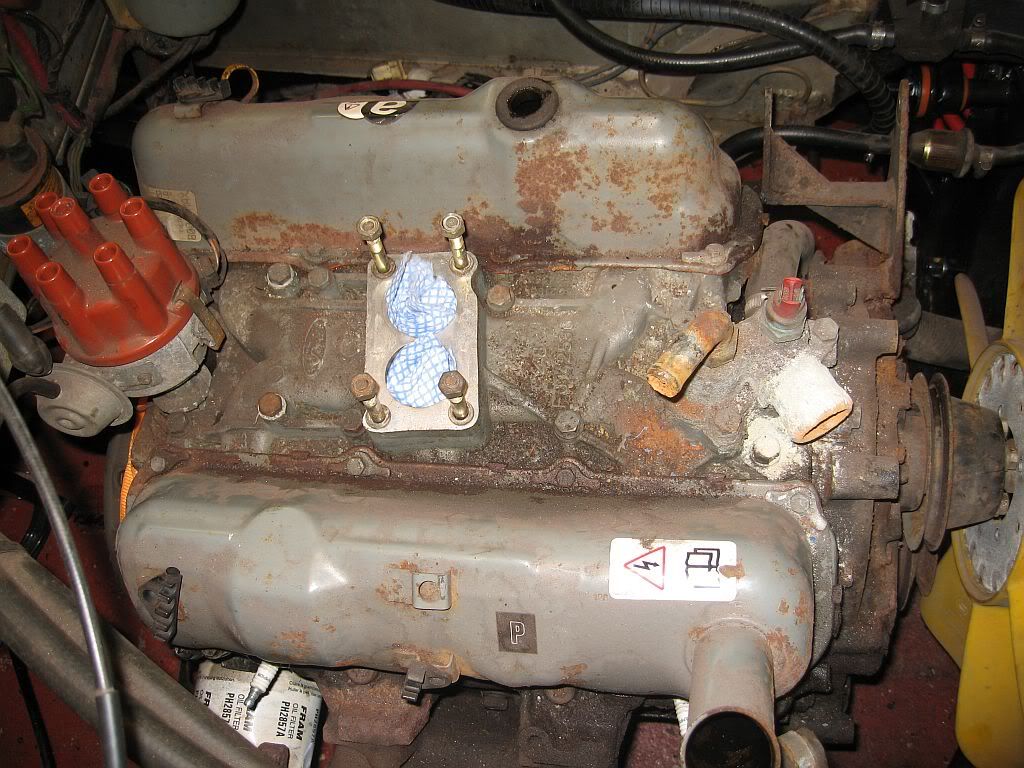
The inside of the air intake manifold is also spotless and to keep it this way I have plugged the holes and shall make a cover to go over the top for when the dirt is flying. You can see the white oxide on the thermostat housing, this is also inside the pipework, the lower pipe was mostly plugged with the stuff.
I have undone what bolts I can on the engine mounts and hope its enough to lift, if not I shall undo the bolts holding the brackets to the engine, other than that the engine is ready to lift, but that's a job for tomorrow.
See ya
Paul
Can you tell me where can I buy the carb repair kit?
ReplyDelete