Saturday, 14 December 2013

Fitting Center Console

Hi
For some reason I thought that fitting the console would be a doddle, how wrong could I be, all day on that damn thing and have just finished.

It started nice and easy, I thought I'd fit the top brackets for the luggage rack and see what the new cover looks like.
I have not restored the rack yet and there are a few rust spots on it, I shall see about having it re-powder coated. Every thing fit nice and the wheel went on great.
I never realised just how much of the number plate and lights were obscured by the spare wheel I'm surprised the MOT lets it through.
The cover looks fantastic, black mohair with the Winged Panther embroidered in silver.

The console fit took a good 5 hours to get finished and a lot of the problems were of my own making and the others caused just by the very tightness and inaccessibility of the space. 

I started by fitting the control wire back onto the vent opening on the fan, these are wires that slide inside an outer casing, one is connected to the control valve for the heater and the other to the vent, the opposite ends are connected to the sliding mech on the console.
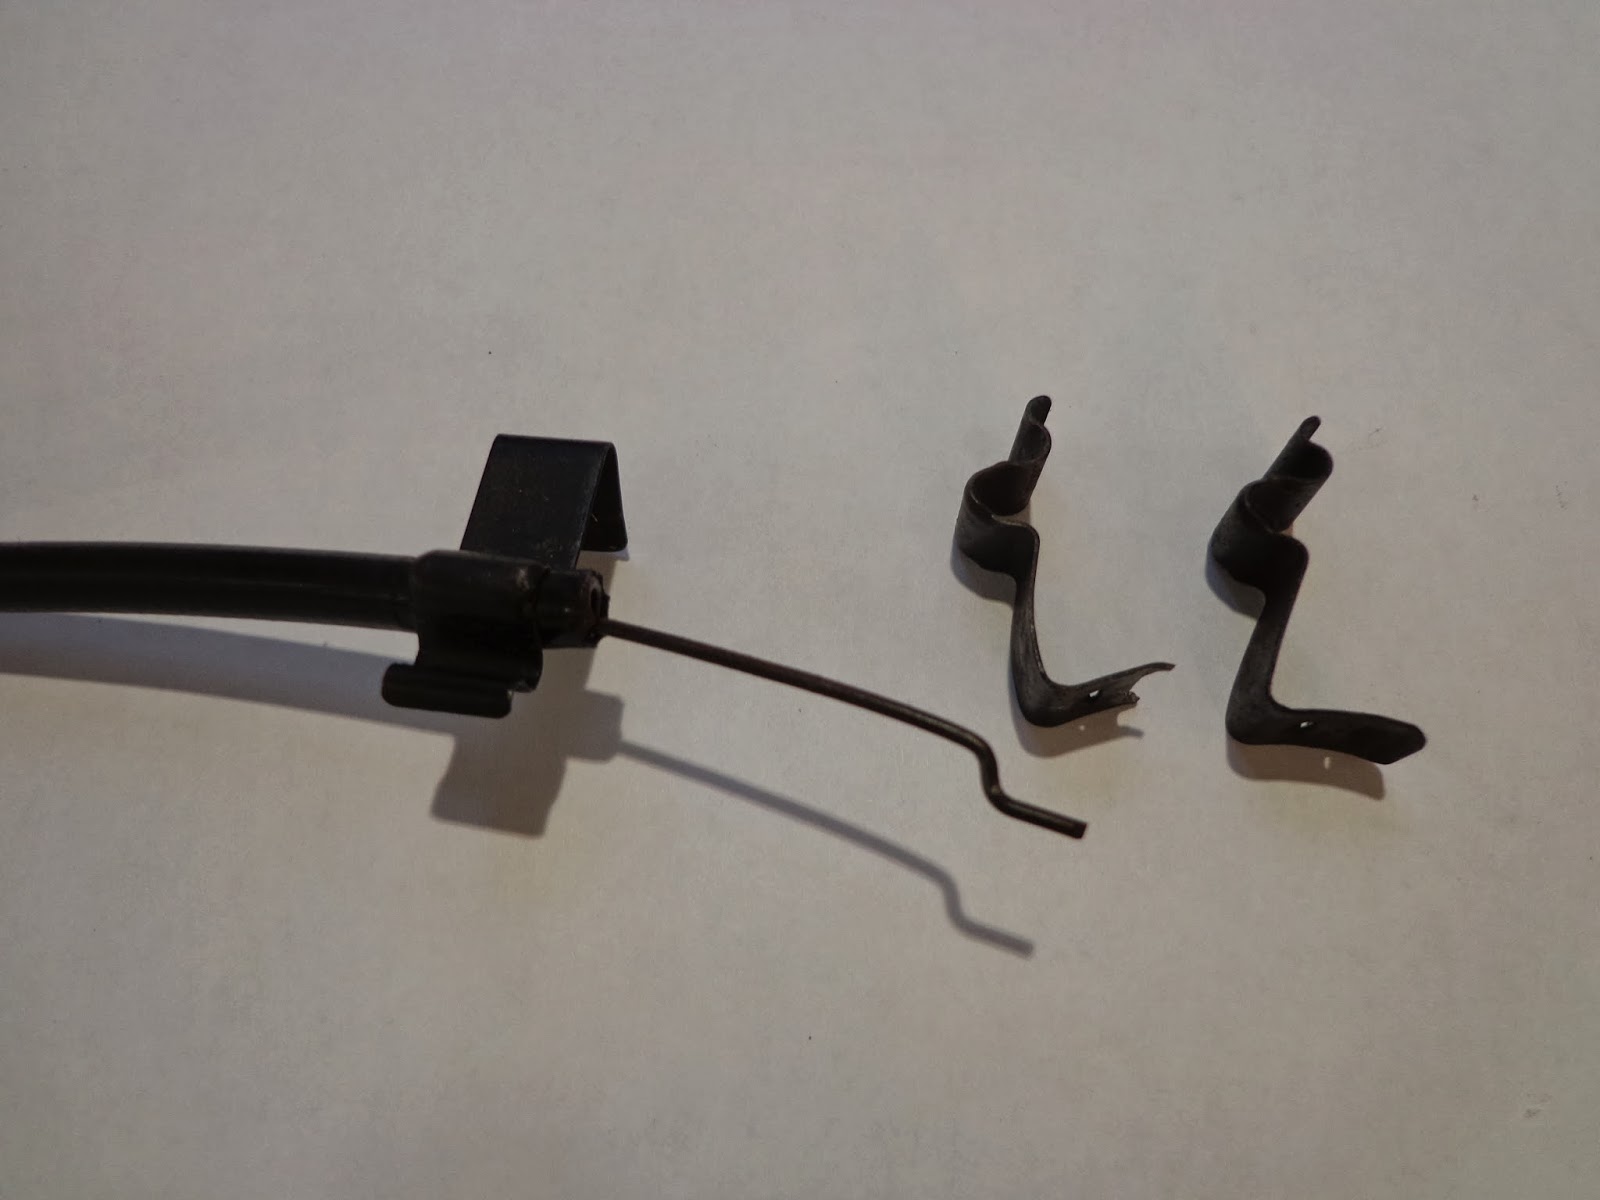
They are kept on very tightly with special clips.
I had left the water valve wire in place and only had to fit the vent wire.
Once this was on I connected the air hoses to the vent under the dash, unfortunately I had fitted the bracket to secure the dash in such a way as I could not fit the hose, so it was under the dash to drill out the rivets then re-secure after the hose was in place.
The opposite hose was no problem to fit and went straight on.

Fitting the console proved a little more difficult as I had also fitted the other 2 dash securing brackets in the wrong place and had to drill these out which is where a good part of the day went.

The console went in relatively easy after that, unfortunately I realised that the carpet was around 10mm out of center and made the console look out of align due to the piping, so I had to unfasten the heater and move it side ways to expose the bottom bracket and cut a little out of the carpet and shunted the carpet along the few mil required. The heater had to be put back which was relatively straight forward. 
Next was the new fixing holes, I had drilled new holes in the bottom of the console and marked these onto the carpet, I drilled and tapped these to 5mm and screwed the console down.
I had removed the sliding mech as it was impossible to fit the wires in position.
Having removed the slider made wiring up the console a whole lot easier as it was a little difficult to access, I bolted the start relay to one of the hold down bolts and connected the switch to the start button, the fan and fog light wiring was no problem and just plugged in.
I have tidied  the wiring up a bit but it still looks a mess, I am no way nearly finished yet as the power supply to the multi adapter has to be fitted and the stereo wiring sorted, the dash brackets also need re-fitting plus 110 other jobs under the dash.
Christmas shopping tomorrow so not a lot will get done then.

see ya Paul

Friday, 13 December 2013

Carpets and Heater

Hi
Got home Tuesday evening, I was due home on Wednesday but the ship was sailing for port that day so the relieving crew came a day early and we were boated of to Ostend Belgium then Eurostar to London. 

While away I have made a few purchases, the radio I bought looks great and is what I wanted fitted in the dash, unfortunately the sound quality isn't great due to it being mono. To fix this I have bought a stereo amplifier and a new set of stereo speakers.
It was a relatively cheap amplifier at £15 from China and came with a small set of speakers that I shall fit somewhere under the dash and plug either my mp3 player into it or buy another Pure Highway DAB radio and fit that. I had another look on eBay for stereo speakers and found a slim set that would (I thought) fit great in the back of the car. 
I tried everything on Wednesday and the sound quality is great, I made up a bracket arrangement that allowed the speakers to fit right at the rear of the car and fit them in place.
All of the wiring was already in position so it was just a matter of connecting, I shall fit the amplifier under the shelf in the passenger section and will find somewhere for the small set of speakers.

I have also painted the luggage rack and spare wheel brackets and fitted these.

The main part I have been waiting for arrived last night and that was the center carpet section, Ray made a great job of the alteration and has put the altered section under the center console so you won't ever know it had been altered.

As the side sections were already in place I started by fitting the rear carpet, Because this area will take a lot of hammering from luggage I had another go at the carpet hidden stud fixings and after stabbing myself another half dozen times I got them to work. I also used some impact adhesive along the dropped edge and clamped into position.
I also added a little glue to the side sections and clamped them up.
The center carpet fit perfectly and I fitted more of the hidden stud fixings down the side of the tunnel to connect to.
I stretched the carpet centrally over the tunnel as much as I could then clamped into place to hold it there.
The seat belt anchors where perfectly positioned to clamp the bottom of the carpet into position so these went on next.
I worked my way along one side fitting the carpet to the stud fasteners until one side was fully fastened and the excess on the side trimmed.
I was now able fit the stud fixings to the other side and stretch the carpet into position. Still having difficulty with some of the fasteners but practice is all I need.
It did not take long to finish and mostly the studs are on.


The gear stick cover took a little time, mostly as I knew that any mistakes and I would be calling Ray for another center section.
I want the rubber part of the cover to be in contact with the metal of the tunnel and not sitting on the carpet so as to wick up any water, so I fitted the rubber first and marked the holes and cut out little sections of the carpet and screwed the rubber in position. Once it was aligned by the screws I cut around it so as the rubber sits neatly in the hole.
The chrome section of the cover plate is larger than the rubber and will fit cleanly on the carpet and clamp it down.
And thankfully that is what happened.

Now time for the heater.
The bracket that the heater sits on had to be exposed, so a few careful cuts.
The heater bottom sits on the bracket and the top section is bolted onto the 2 bolts attached to the crossbar, the hoses have to be connected as the heater is raised into position on the bracket and this proved to be a bit of a problem but I managed it after a few attempts. The wiring plugged straight in and I gave it a test and it worked straight of on both speeds.

After fitting this I gave the foot well carpets a try out.


The last piece of carpet to go in was the cover for the fuel pipe, I have tie wrapped this in position for the moment and will figure out how it fits properly later.
Tomorrows job is to sort out all of the wiring for the center console and get that fitted, one problem I found when locating the console holes when fitting the carpet is that one of the threaded riv nuts is turning, not much I can do about it so I shall squirt some silicone in the hole and drill and tap another.

Another problem I realised I had caused was with the start button wiring, I had wired it to the Yellow/Black and Red which worked great except it should have been Yellow/black and Black. The problem was that the first way it was wired by-passed the start switch so in effect you did not need the key, you would not have any indicators but you would have a running engine, all changed now and you need two clicks to allow it to activate.

see ya Paul

Saturday, 9 November 2013

Door Caps and Card

Hi
Been working on the door caps most of the day, nice and dry this morning and I gave them a good inspection, wish I hadn't. I noticed that a couple of the areas I had filled where slightly dipped on the passenger side cap, if I could notice without the lacquer on then it would jump out at me with the lacquer on, so I rubbed down these areas and filled again which of course meant fully priming and rubbing down. I have just put the finishing coat on now so there should both be ready for polishing tomorrow.

In between waiting for the coats to dry I got to work on other things, I was interested to see what the new aerial would look like so I found a longer bolt and put it in position, still needs a bit of work but it looks a little longer than what I really wanted. Will keep on looking.
Just very difficult finding something that fits that angle, I shall ask Phil if cutting the rubber duck aerial down in size will affect reception by much, although it does not really matter as the radio is only MW and LW of which I doubt have many decent stations.
This is what I am after, any ideas.

I also made sure I had all of the parts available for when I fit the door cards so out with everything and checked them over.
What came to light apart from the missing screws was that I had not found a chrome surround for the door handle enclosure, Terry B had put me onto the chrome surround for the door lock which is from a Mini and easily available. On the other hand the door opener is from a Austin Allegro (first car I ever drove) and I have been unable to find any chrome surrounds  for this model. 
So I can either fit the chrome and hope I find the other in the future or leave it off, or as I will do, say what the hell and fit it anyway.

Once I found all of the screws I gave it ago, Ray had cut the holes for the winder handle and door handle in the back leaving the job of piecing the vinyl to me.
I ensured all of the screw holes in the back of the door where lined up.
Then gave it a test fit.
I then pieced the center of each cut out then refit it leaving the door handle screws in the door to feel where to cut out.
Once happy I refit the card and fit the door furniture.
I was right about painting the door capping's the red colour as it really sets off the design of the door card.

Not much more done today as the prepping of the caps took quite a bit of work but well worth it.

Off on Monday and back around 14th Dec
See ya Paul 

Friday, 8 November 2013

Starter Button & Door Cappings

Hi
Busy last few days but very little to show for it, again I am just pottering around as the center carpet won't be here before I go back away on Tuesday for 4 weeks.
Most of the jobs have been wiring, these have mostly been straight forward although a couple of problems have come up. Phil the electrician has been around a couple of times but mostly this is to steer me in the right direction then I have been doing the jobs and he checks them over the next night.  

One of the problems that came to light is one I never even dreamed off and that is the indicators flashing to fast, Phil picked up on this when he first came round and couldn't understand it until on Wednesday night when he realised that I had fitted LED rear lights then it dawned on him. The problem was that the load had dropped and the relay was working faster as the speed of the indicators is load related on the relay, so in effect I had taken out the rear indicators. This Phil recons may be an MOT failure, so to fix the problem he has given me some Resistors to fit in the system.
I need 2 x 11 ohms one for each side or 2 x 22 ohms on each side which i now have, very simple to fit, one lead fits into the indicator circuit while the other end goes to earth, we did a test yesterday and it worked perfectly as the flasher relay now has the correct amount of load to give the required flashing speed.

I have also wired up the radio and had that working on MP 3, unfortunately the original speakers are a bit broken so I have seen a nice set of Pioneer surface mounted speakers which shall sit behind the seats. I have run the speaker cable to the boot area and hid the wire behind the carpet, I also re-routed the aerial cable from the drivers side to the passenger side as it would not reach with the radio being moved.
I have been looking for the correct aerial for some months now, I do not want an electric aerial but a bee sting and have been unable to find a suitable one. Phil said I should look for a Rubber duck aerial which I had never heard of so a quick search on eBay and I found an old but new stock item.
I need to do a slight modification to it as the angle is a little out but other than that it fits a treat.

I sorted out all of the mess of wiring under the dash and fitted the ends to the appropriate switches.
It may still look a bit of a mess but believe it or not that's what yours looks like when you remove the center console and pull out all of the wires.
There will be no cigarette lighter as I have used that hole for the starter button so I am utilizing it as a power supply, this will be bracketed behind the console and the power adapter will be plugged in and attached within reach for the MP 3 and sat nav etc. As yet  I have been unable to get power to the lighter illumination which is not really a problem but I would like to know why that circuit is dead. Another dead circuit is the fog light which is a much more serious matter, when I first wired this in it worked great, the dash light lite and the fog light lite but when I tried it the next day it was totally dead. The fuse is fine but there is no power getting to the fuse so at the moment I am scratching my head, I haven't tested the fan unit yet but on a meter test there is power.  
The starter button was the next in line, I bought this as a kit and it contains everything to fit.
This is the power loom that comes with the kit, it has a relay and illuminated starter switch which clips into the starter button, it was recommended by the suppliers to fit an inline 5 amp fuse which I have done. The other parts are the push button and the snap lock wire fittings of which I had a bit of a problem with.
There are 6 connections on the loom, 2 x heavy wires which go to the ignition switch, 2 x power connections which attach to the cigarette lighter wires and 2 x illumination wires which are supposes to go the cigarette lighter illumination wires but as mine are not working I had to find some where else for them to fit.
Maybe a little difficult to make out but you need the yellow/black wire and the red wire from the dash, these are the ones you see in the movies that when you rip the wires out and touch them together you hot wire the car. I originally thought the red and black but that didn't work so I tried the yellow/black and black and away it went.
I had a little difficulty with the snap lock connectors as after first fitting to the black wire, I tried to remove it and snapped the knife section so I went back to the best method and that was soldering a connection on. I soldered both wires and taped them up, I used the snap locks on the cigarette power and earth and away it went, a bit daunting at first but very simple in practice.The illumination came from one of the dash gauges and all it needs now is to clip onto the starter button and its done.

Another job was to fit the dash fully which meant firstly fitting the cowl around the steering column, I can't remember it being this difficult to remove but believe me it was very difficult to fit. typically it wasn't till it was fitted that I realised that I could adjust the steering column to give me a little more play, not much but a little, probably would't have helped but it has allowed me to lower the column a little to take into account of the dash sticking out the thickness of the new veneered section as it was touching the cowl. I also riveted the underside brackets in position.

There are 4 nuts to slacken on the frame work.
2 at the front you can see and 2 on the back bulkhead which allows the whole assembly to drop a little.

I also spent some time trying to figure out where the top section of the center console was secured under the dash, still can't figure it out but when I had it fitted I released that the choke pull was in a really bad position as it was right in front of the gear stick.
After a bit of a think I remembered I had a nice award badge issued to Panther in 1984 for winning first prize for the Kallista design. 
So out with the choke cable and on with the badge.
I then had to figure out where the choke cable would go and I had very limited choice in the matter so I drilled a hole in the only place available and it fits in great.
The warning panel is a degree or so out but that's Ok.

I also got the interior light working, I fit the passenger side door switch and wired that up to the circuit and fit the wires under the dash.
I slipped a bit of shrink wrap over the wire before feeding through the door and connecting to the switch.
The wiring circuit has a live to one side of the lamp and 2 connection on the opposite side. One connection is a positive earth so that you can switch the light to be on permanently and the other connection attaches to the wire from the both doors to act a broken earth which is connected when the door is open and the sprung pin is released to make the circuit. 

Another job done on the door was the broken door release lever.
I marked of where it needed attaching and removed it from the door lock to weld.
It works perfectly now.

The door caps also needed restoration as the veneer is cracked right through on both caps.
I had bought Birds eye maple veneer to cover it and made up a softener for the veneer but the more I thought about it the more I knew I would make a complete arse of it so after a bit of thought I decided that they would look better contrasting the door cards. I have plenty of veneer on the dash so a bit of colour on the caps would look great.
I had to remove the cracks or they would just come through the paint work so out with the sanding disk.
I sanded out all of the cracks down to base wood.
I then filled and sanded smooth.
After 3 coats of primer, sanding down between coats.
Then around 6 coats of the red base coat.
Not done yet although they are starting to look good, I shall start the lacquer tomorrow and give them around 6 coats before polishing back and waxing.
I have used my new airbrush to spray these and I am rather pleased with it, I bet no one new that Snap on make airbrushes and I bet even less people have heard of Bluepoint.

I am not to sure of the relationship but basically Blue point tools are Snap on, the airbrush instructions even have Snap on in brackets next to Blue point logo. I found this out quite a while ago and am always looking for Blue point tools on eBay and buy them when I can as they are Snap on at a quarter of the price. 
So now you know.

See ya Paul