Monday, 4 November 2013

Headlights

Hi
Nice quiet weekend with just a few jobs done, basically I can't progress onto the bigger jobs until the tunnel carpet arrives.

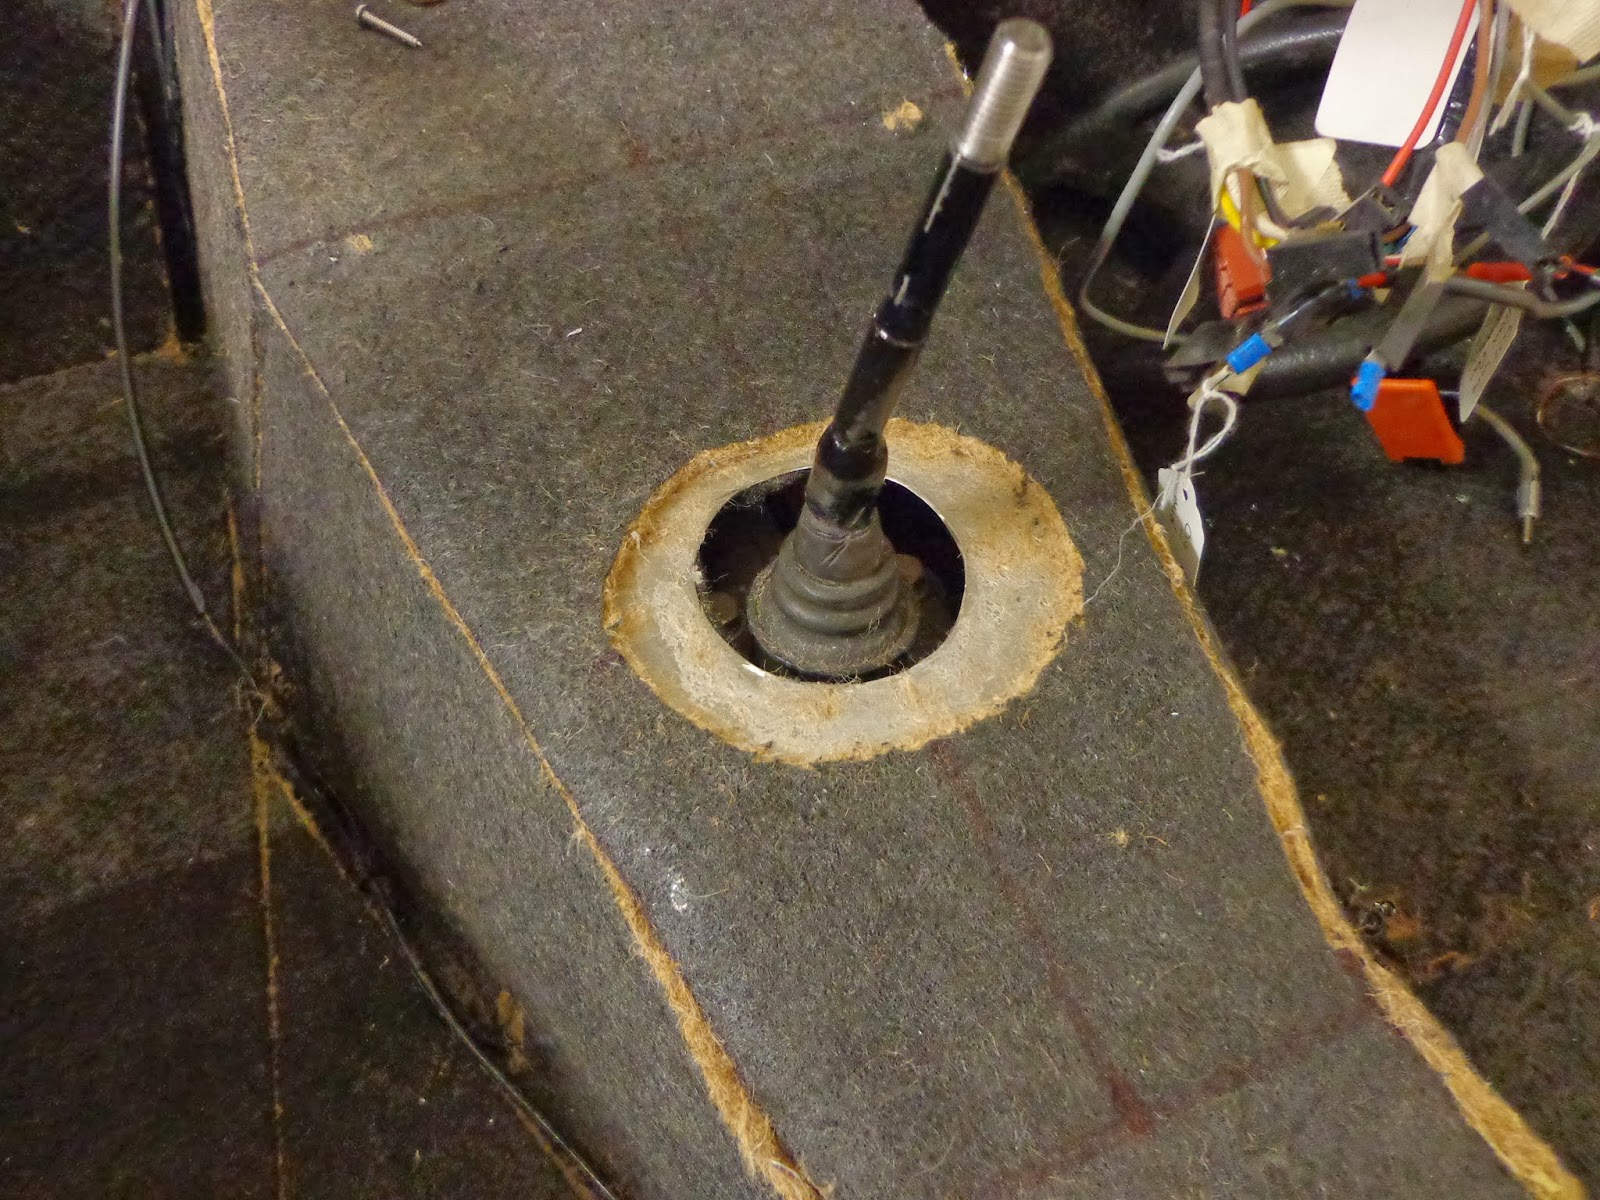
The first job was the gear stick surround, I had the underlay cut and the holes tapped so it was just a job of finishing it off. Ray had supplied a nice vinyl cover which had to be trimmed and glued in place.
I had shortened the gear stick when I made my attempt to fit an extension to the gearbox, unfortunately this did not work due to the drive shaft knuckle joint being a little close and I never did get around to extending it again, so the vinyl surround had to be trimmed to suit the shorter stick.
I fed the surround through the base plate and cut around then clamped in position to get the best fit, once happy I got the glue gun hot and stuck the surround to the underside.
  I trimmed around the holes and screwed in position.
Will look better once the carpet is fitted to contrast the chrome and the cream against the red of the carpet, I had bought the Panther corporate logo gear knob on eBay a while ago and fit it on the stick. If anyone thinks of buying and fitting one of these knobs then be aware that they do not come threaded so you either hammer it on which probable would damage the decal or as I did tap out to 10mm and screw it on.

The door trim also arrived, If I had of realised that this trim was the same as is used for the windscreen seal I could have saved a few pounds by ordering together.
Anyway it went on nicely, it just needed a rubber mallet to persuade it to fit in place and I left the ends long until the dash cheek plates are fitted then I can see where to cut.
I have also fitted the corner covers and these just need riveting in position.
Late yesterday Phil the electrician came round for an hour and figured out the problem I was having with the residual current coming back to the driving lights when in dipped, and as always it came down to an earth problem. Phil was also unhappy with the size of the wire I used for the headlights and driving lights although I bought from an auto electrical dealer for headlights, so he brought round some huge 3 core wire that he said would be best.
Can you tell the new wires, a hint (there blue)

So today's job has been rewiring the headlights, the problem lay in me trying to be good and running a separate cable from the driving lights and connecting to the main beam wire in the box plus the earth wire to the headlight earth. I have removed this wire completely and have run a short wire from the driving light to the headlight and connected to the main inside the headlight, the driving light earth wire was cut and riveted to the light body which in turn is bolted to the bumper.
Would you believe it, everything works perfect, no more residual current running back through the earth.

Sidelights
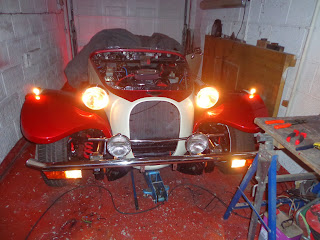
Dipped
Main beam
I am getting a much greater understanding of the car electrics by making these mistakes which after all is what this restoration is all about.
Phil is coming around again tomorrow night after work to check out my work and to see what else needs doing.

See ya Paul

Friday, 1 November 2013

Carpet Fitting take 2

Hi
Well I guess it didn't turn out so bad after all; car trimmers please carry on reading.

Today was a bit of a repeat of yesterday, this time I knew what went where and what I was doing, well nearly knew.

The first bits were again the two side pieces and this time I learn't a lesson from yesterday and that was to use glue on the vinyl wraps, this morning when I started all of the edges I had turned had pulled off, the carpet was stuck fine but not the edges. So today I glued each in place before moving on to the new piece.
Again with the bottom sections, I had a lot more wires this side as all of the rear lights run along this side of the car, in places I cut away a slot in the underlay and put the wires in that.
The trim edges are a lot neater here and I did the same on the other side and neatened up where the two beaded edges meet by removing one of the beads, I have also trimmed to the side of the car.
Again the footwell section was just a matter of trimming to size.
I was surprised at how fast it went with a little practise.
Next came the boot section, I have tried to use the hidden fasteners that were originally on the car and Ray supplied another load but I'm afraid that after stabbing myself a half dozen times and still not getting them right I gave up and will stick to the tape.
I loosely fit in position and marked out for the fuel pipe and cut that.
I secured the rising section at the back so that I could correctly position the area around the tunnel for cutting.
I have left a bit of overlap onto the tunnel until I get the tunnel carpet then I can trim to suit. I have also been informed by Ray that Panther did not put underlay on the tunnel section after the gearstick. Don't know why this would be, but the carpet is made to suit this and with the extra 10mm either side from the underlay it would not only put the carpet fit out but also the seats may be a little too tight of a fit.

I next fit the two seating area carpets, from these sizes I was able to see where to trim the side panels and cut them close to the sides, I have not stuck anything down as yet until I have everything in position.
Looking very good I just wish the tunnel carpet had fit as it would have been finished today, O well.

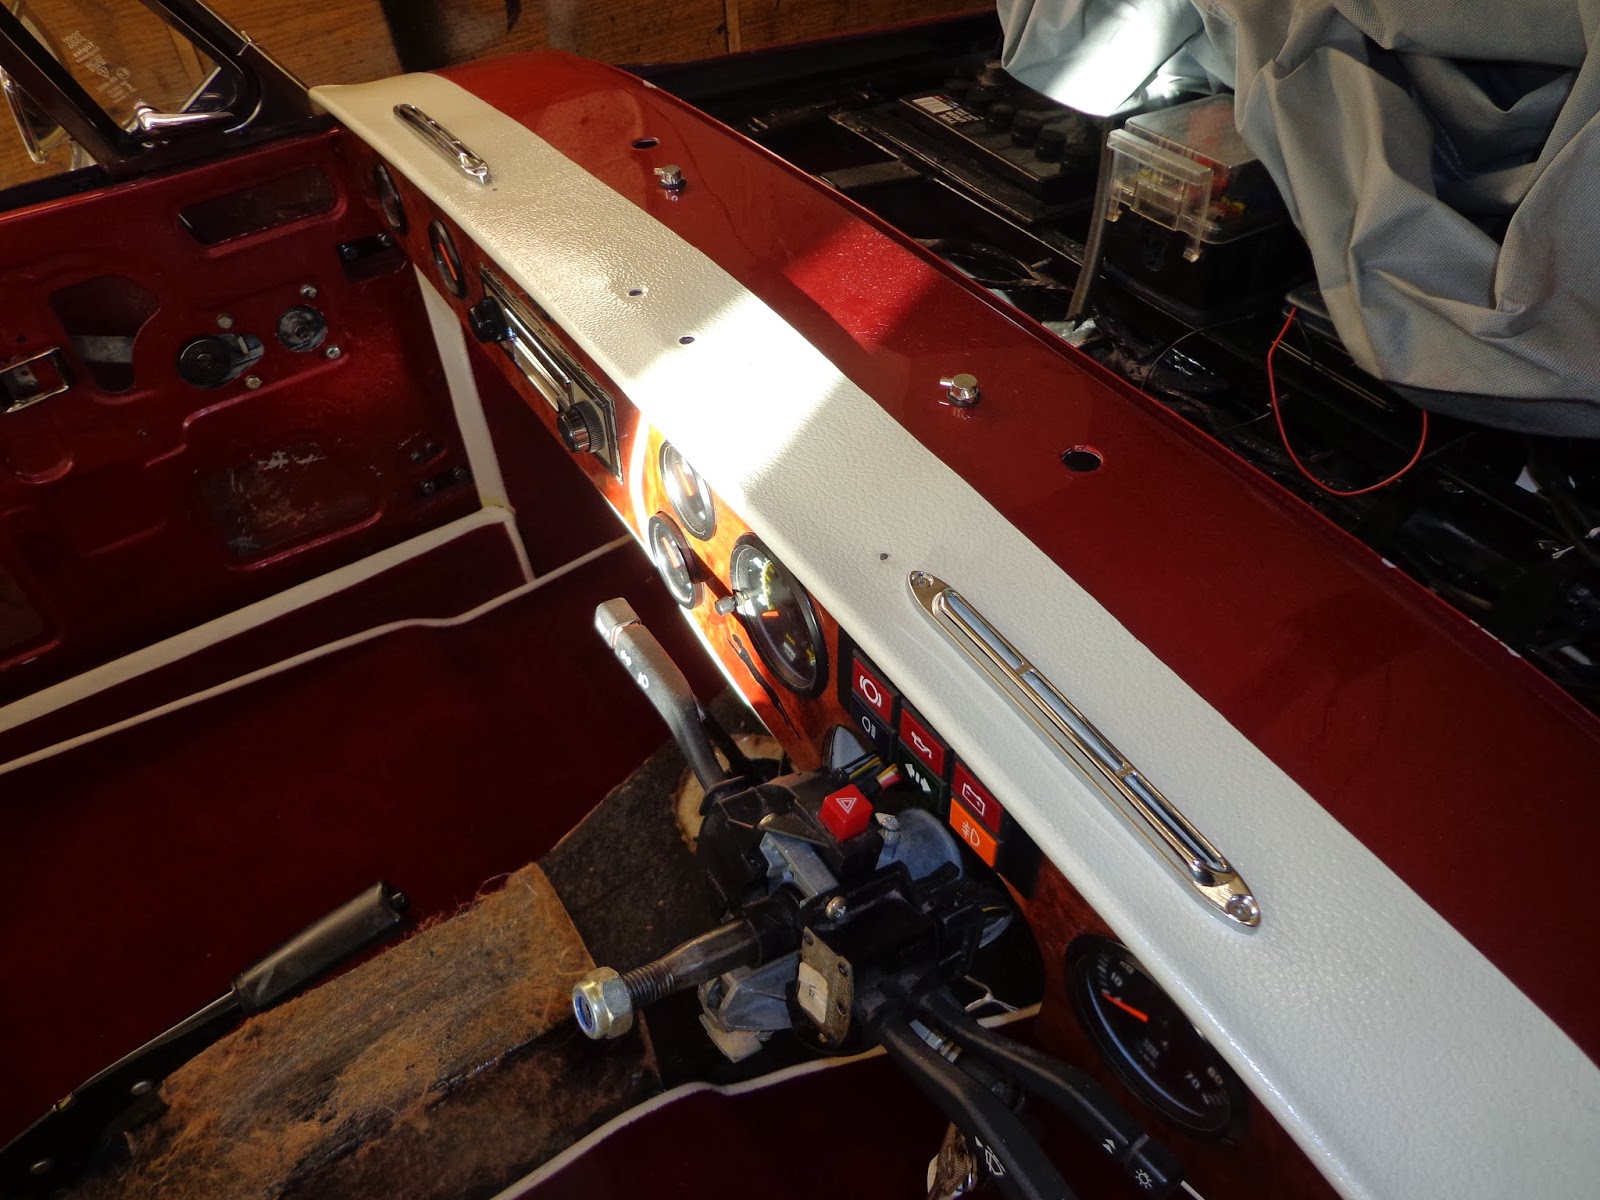
I was a little stuck on what to do after this so I got out the new demisters and seen to fitting them, these are not as long as the originals so the holes are a little out. I have used one of the holes and filled the other, I have ordered touch up paint and this should cover it nicely.
Really nice demisters from Holdens.
I also could not resist trying one of the door cards.
Got to say that you could do a lot worse than getting Ray of R.S Sewing Solutions to do your interior as the workmanship is fantastic, well done Ray.
Starting to get there but that's all for the day.

see ya Paul

Thursday, 31 October 2013

Carpet Fitting

Hi
First a warning, If there are any car trimmers reading this then please look away now as I wouldn't want you to lose your dinner.

Well its not that bad as I have really only just started and it probably will get worse.

And it started with a bit of a problem, as most long time Panther owners may know and as I have been learning over the last couple of years is that; No two Panthers are the same. Basically that's because they are hand built but also that they went through a number of design changes during their production lifetime. One of the design changes happened (I asked Terry B) around 1985 when the handbrake was moved two inches forward of the 1984 model, what's the problem you may ask, well a template for the tunnel carpet was taken from an 1984 Kallista and does not fit a 1986 Kallista.
So not much got done yesterday as I was trying to sort out the problem with Ray, the conclusion is that the tunnel carpet is being returned and Ray is very kindly making me a new one of the correct dimensions.
So if anyone is after a new carpet set then please ensure that the correct year is made.

Yesterday was not a whole loss as phil came round for an hour and the indicators where very quickly sorted and the hazard problem was also fixed.
Both front and back working very nicely, the problem was basically a wire mix up, just a matter of swapping them around and they worked. The hazards were just as simple as I had blown that fuse since last testing them, now that most things are wired up there should be no more problems of wires touching. Of course there are still electrical problems and Phil is coming round tonight to find out why I am getting residual current back through the driving lights, no problem just a crossed wire again.

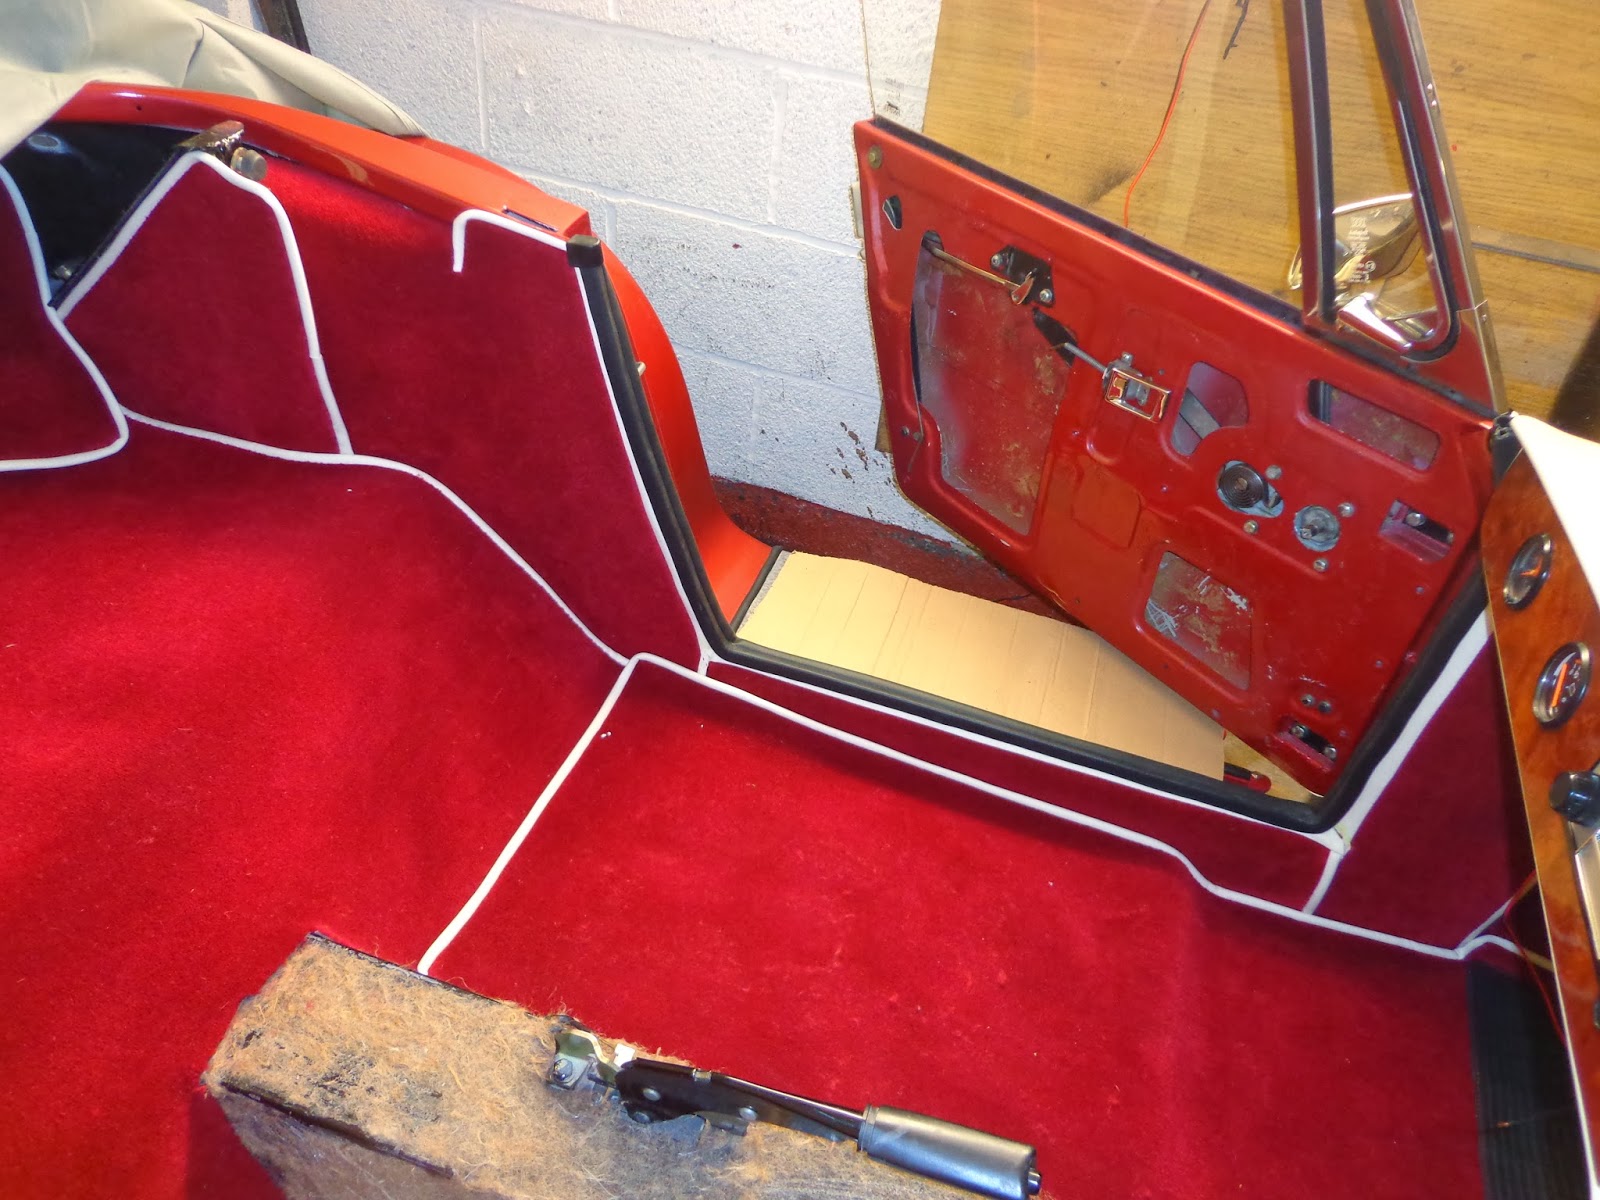
So today was all carpet, Ray very kindly sent me a load of photos on the correct positioning of the pieces so I started with laying everything out in the car to have a look.
Lovely carpet.
I stripped everything out and thought the best place to start was behind the seats on the side panels.
This first panel is a little tricky as there are a number of angles to turn the carpet into.
The second piece goes under the seat belt angled upright and because there is trim on both edges I had to decide which would overlap the other.
I went for the angled being the overlapper and trimmed the first section to suit.
I had bought a roll of carpet tape to use instead of impact adhesive so when I was happy with the fit I covered the area with the tape.
Then carefully stuck the carpet into position.
The vinyl turns around the door frame and the door trim will cover, I shall wait until it is all well stuck before cutting the excess from around the door edge. I could see a bit of a problem in the future and that is fitting the bolt for the hood even though the flap is there to access the bolts it will still be difficult, maybe its to high.

The next piece to get cut was the angled overlap, I don't know why the Panther design is for the trim edging to come only half way down.
So I have cut the stitching on the piece I trimmed of the first section and spent 10 minutes when finished to sew it onto the edge.
Not machine sewn but its behind the seats and no one will ever know.
I shall stick the angled side into position and buy some velcro for the edge as I need to access this area for the seat belt attachment.

Next was the inner footwell section, this piece just needed trimming to size and sticking on as there is no edging to worry about.
The underlay I fitted was a little close to the edge of the door where the vinyl needs to fold and the door trim fitted so I trimmed off the excess all of the way around. I also remembered the wire for the door light and fed that through before sticking the carpet on.
I test fit the sections.
The upright section would be the first to fit as the bottom section has the trim on both edges.
I first had to do a bit of fitting and trimming.
I made a bit of a mess of one of the corner joins but that will be hidden by the trim.

After I had double checked everything I fit the tape.
Then stuck on the first section 
The bottom section went on next.

I found the rubber trim and realised its the same trim used for the windscreen edge so I have been on eBay and ordered another 4m, not much point in using the old stuff with a nice new carpet, so I shall leave the trimming of the edges until that arrives on Saturday or Monday.

Well thats one side mostly complete and I shall attempt the drivers side tomorrow hopefully learning from the mistakes made on this side.

Just have to wait for Phil now and hopefully some good news with the drivers lights.

see ya Paul

Tuesday, 29 October 2013

Underlay & Gaiter

Hi
Been busy these last two days on the underlay, never realised how much of a job it was to re-lay a car. Each piece was measured up and cut to pattern then stuck down with impact adhesive, I started out with the tin of solvent free but after running out I ended up buying a tin of solvent Evostick, never realised how expensive this stuff was £14 for 500ml wow. Still it finished the job.
The first days got me up to the seating area, really difficult to cut the jute as it is interwoven with polyester strings which I imagine is to give it extra strength but it quickly blunts the blades and I ended up using a scalpel.
Got started today determined to finish it until I realised I hadn't bought sufficient to do the job, guess 2sq m just ain't enough.
I had enough to finish all of the seating area and fully under the dash, luckily for me I knew a man who has a lot of rolls stored above his paint booth so I shot off the see Ant at Paint Right who did my respray and he was quite happy to let me have some.
So I have finished all of the back area and up the sides of the doors, can't remember if the top of the fuel tank area was covered, but easy enough to put some on when I get there with the carpet.
I have been cutting holes in the underlay for the carpet studs to be reattached to the carpet and riveting back those that the rivets had rotted through and had pulled out with the old carpet, I have also bought a 25m roll of double sided carpet tape to stick it in the places where there are no studs.

I was also wondering what to do with the gear stick gaiter as the old one was just the rubber and seeing how I have a nice new matching vinyl gaiter from Ray I thought I had better spruce it up a bit so I had a little search on ebay and came up with a beauty.
It is from a MGB with a chrome outer bezel and a new rubber gaiter.

The vinyl gaiter will need cutting to size but hopefully it will fit under the chrome bezel.

I knew that the centre console is very close to the gearstick and I was a little unsure of whether or not it would fit when I ordered it, I has 130mm to play with from the centre of the gearstick to where the center console ends and luckily for me it just fits other wise it would have been £20 down the drain.

I had to turn the bezel 90 degrees to where it should sit as it is longer than wider but it fits nicely.

To fit it I put the stick in the neutral position and cut around the rubber removing the underlay.
I then refit the rubber and drilled and tapped the holes to 6 mil, unfortunately being from an MGB the stainless screws supplied are 1/4" BSF and I didn't have a tap to suit so after a search I have found 3 stainless bolts and the fourth may turn up or I shall buy some. 
I have screwed it down and tomorrow I shall fit the carpet and make the same cutout as I did in the underlay and hopefully the rubber will seal the carpet from the weather.

Tomorrow should be the start of fitting everything back together and Phil the electrician is coming late afternoon so hopefully some other things will be working as they should.

see ya Paul