
Well I guess it didn't turn out so bad after all; car trimmers please carry on reading.
Today was a bit of a repeat of yesterday, this time I knew what went where and what I was doing, well nearly knew.
The first bits were again the two side pieces and this time I learn't a lesson from yesterday and that was to use glue on the vinyl wraps, this morning when I started all of the edges I had turned had pulled off, the carpet was stuck fine but not the edges. So today I glued each in place before moving on to the new piece.

Again with the bottom sections, I had a lot more wires this side as all of the rear lights run along this side of the car, in places I cut away a slot in the underlay and put the wires in that.

The trim edges are a lot neater here and I did the same on the other side and neatened up where the two beaded edges meet by removing one of the beads, I have also trimmed to the side of the car.
Again the footwell section was just a matter of trimming to size.


I was surprised at how fast it went with a little practise.

Next came the boot section, I have tried to use the hidden fasteners that were originally on the car and Ray supplied another load but I'm afraid that after stabbing myself a half dozen times and still not getting them right I gave up and will stick to the tape.

I loosely fit in position and marked out for the fuel pipe and cut that.
I secured the rising section at the back so that I could correctly position the area around the tunnel for cutting.


I next fit the two seating area carpets, from these sizes I was able to see where to trim the side panels and cut them close to the sides, I have not stuck anything down as yet until I have everything in position.


Looking very good I just wish the tunnel carpet had fit as it would have been finished today, O well.
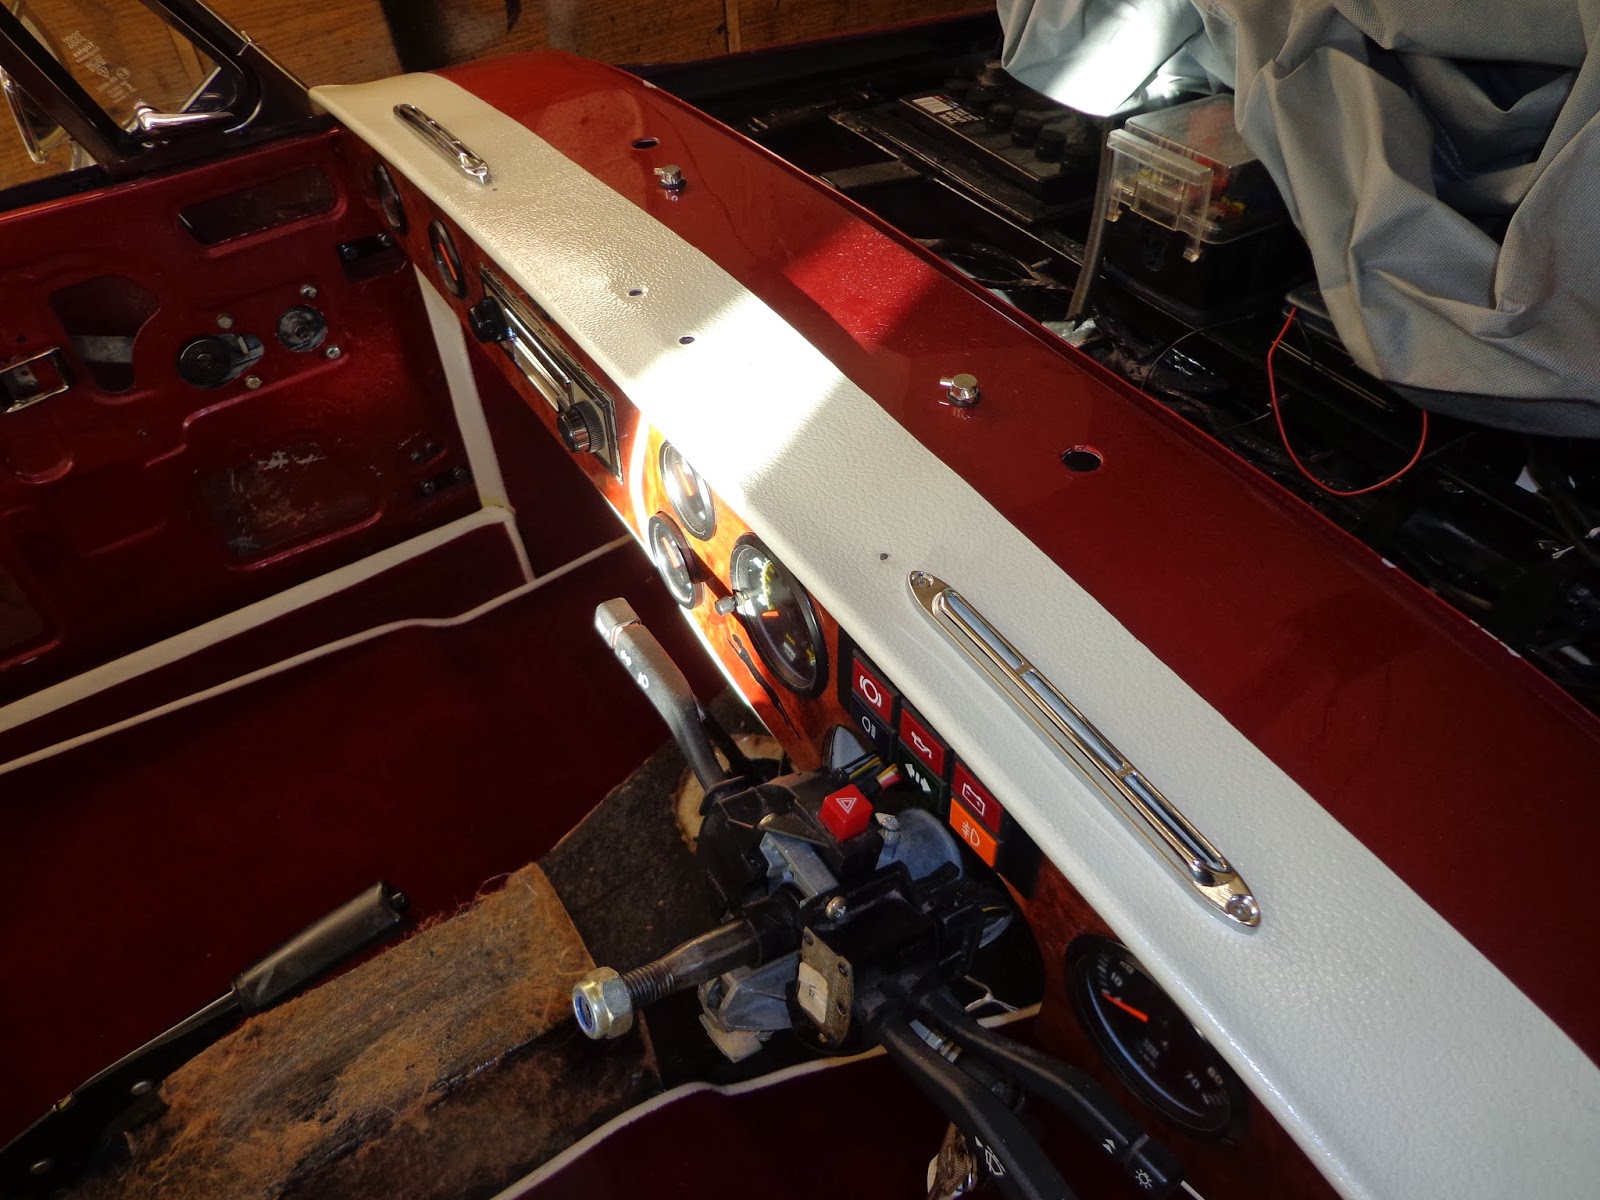
I was a little stuck on what to do after this so I got out the new demisters and seen to fitting them, these are not as long as the originals so the holes are a little out. I have used one of the holes and filled the other, I have ordered touch up paint and this should cover it nicely.

Really nice demisters from Holdens.
I also could not resist trying one of the door cards.

Got to say that you could do a lot worse than getting Ray of R.S Sewing Solutions to do your interior as the workmanship is fantastic, well done Ray.

Starting to get there but that's all for the day.
see ya Paul
Hi Paul
ReplyDeleteI am in the middle of loads of stuff on my Kallista just like yourself, definitely we both have a different approach to loads of stuff but always interested to see how the others approach it all, wish I had the time to do the blog stuff like you.
BR
So which is it? Install the baseboards previous to or following carpet is installed?
ReplyDelete