
Back at it again.
I spent all of last week down at Teeside airport, one of the best fire training establishments is based there and I had been put on a 6 day Fire emergency fast response team and Heli emergency course, so I can guess what my emergency station in my new job will be. Great course, put lots of fires out and had a great time.
Did a bit more on the engine before starting on the body work, seems I made yet another mistake which I have rectified. The first time I follow the instructions in the user manual and I get it wrong.
I had used 15w40 oil for the flushing oil but thought for the general running I would use what the manual says and that is 20w50 WRONG! I have been reliably informed by Terry B that 20W50 is to heavy and that 15W40 is the correct one to use. So it now has yet another filter and is topped up with Castrol GTX.
I have also made a video of the timing which after looking at does not show the timing marks very well but what the hell it still sounds nice.
The last few days has been spent stripping the rest of the car and getting together the materials for preparing the bodywork.
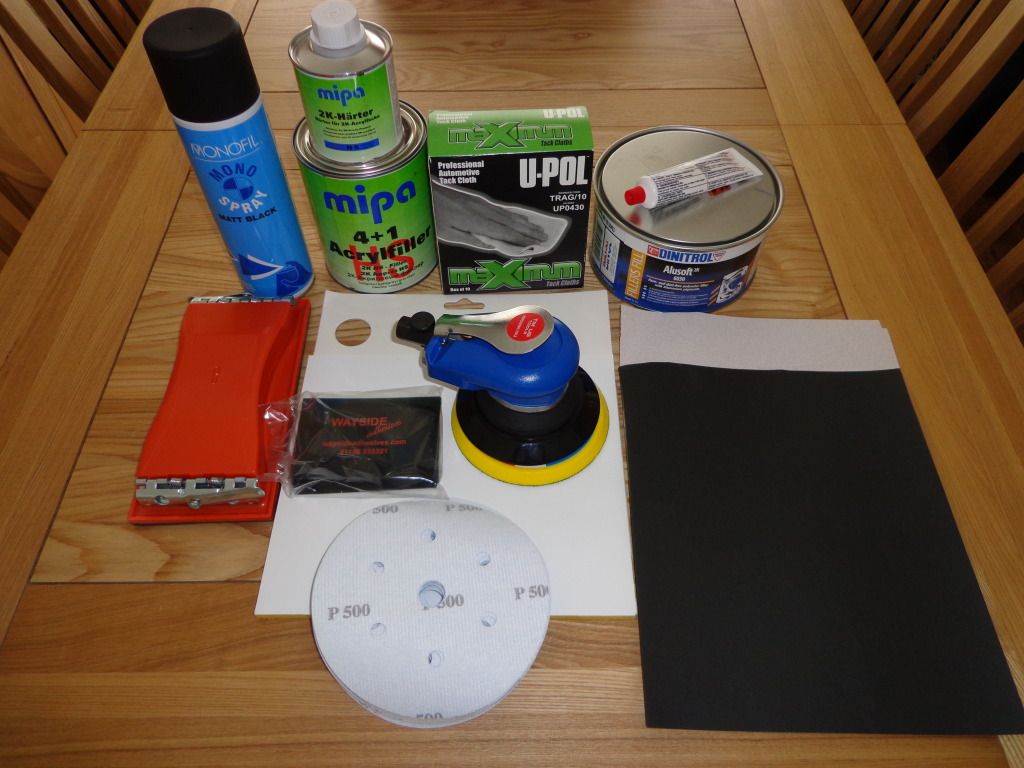
Flat blocking pad and different grades of paper from 40 to 800
DA Sander, still waiting for the 6" pad
100 6" discs in 4 different grades 120 220 380 and 500 for the DA
Box of tack rags
2Kg tin Aluminium filler
Onion board for mixing filler
Pack of 10 filler mixing/applicators
Tin of black spray for checking high/low spots for when rubbing down
Tin of 2 pack primer filler
5 Lt tin paint prep
No doubt this will not be the end as I am bound to have missed something.
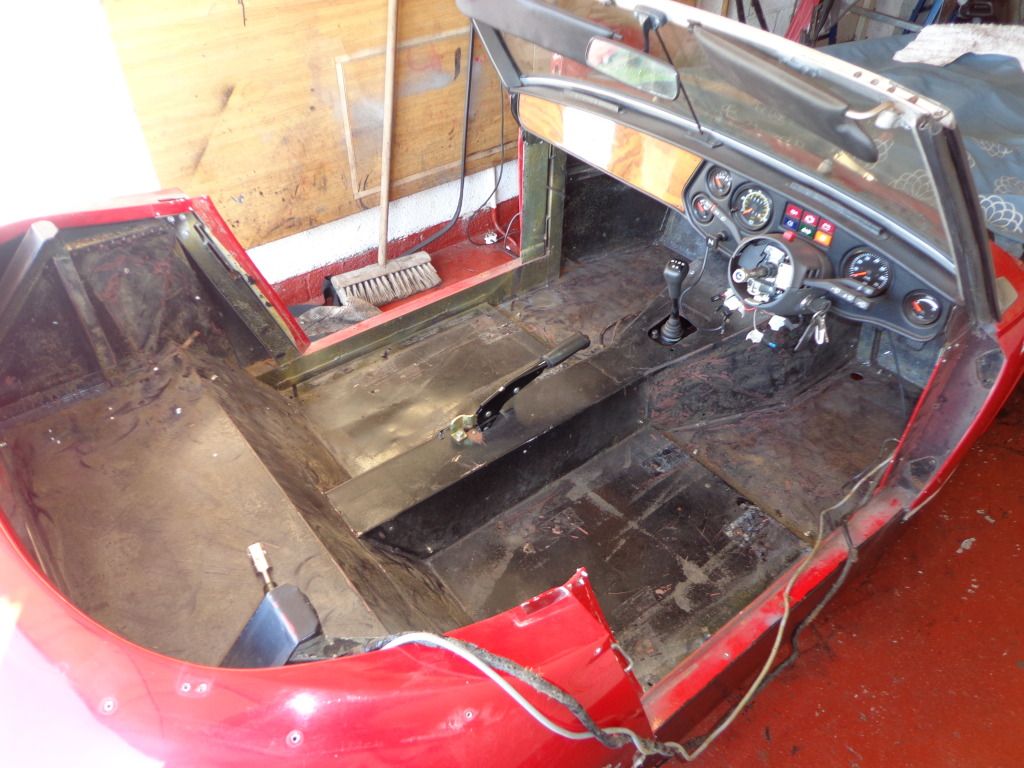
Before starting the bodywork I needed to remove the other door, seat belts and the hood, these came of easy just nuts and bolts. I shall strip the door and the get the frame off the hood later.
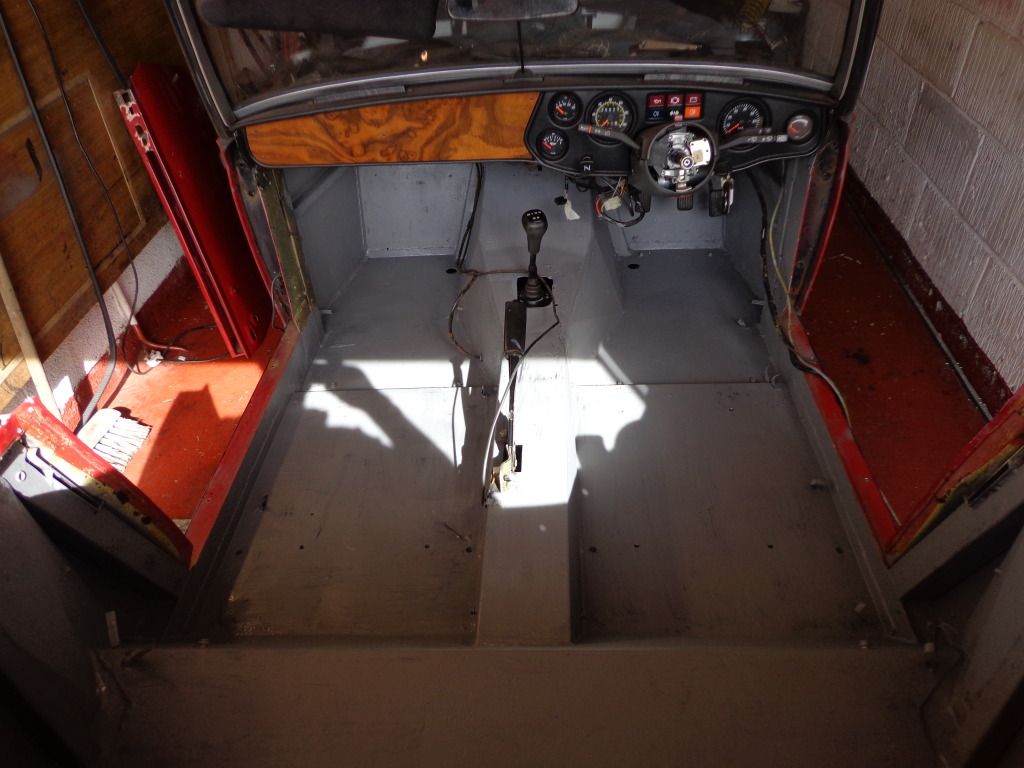
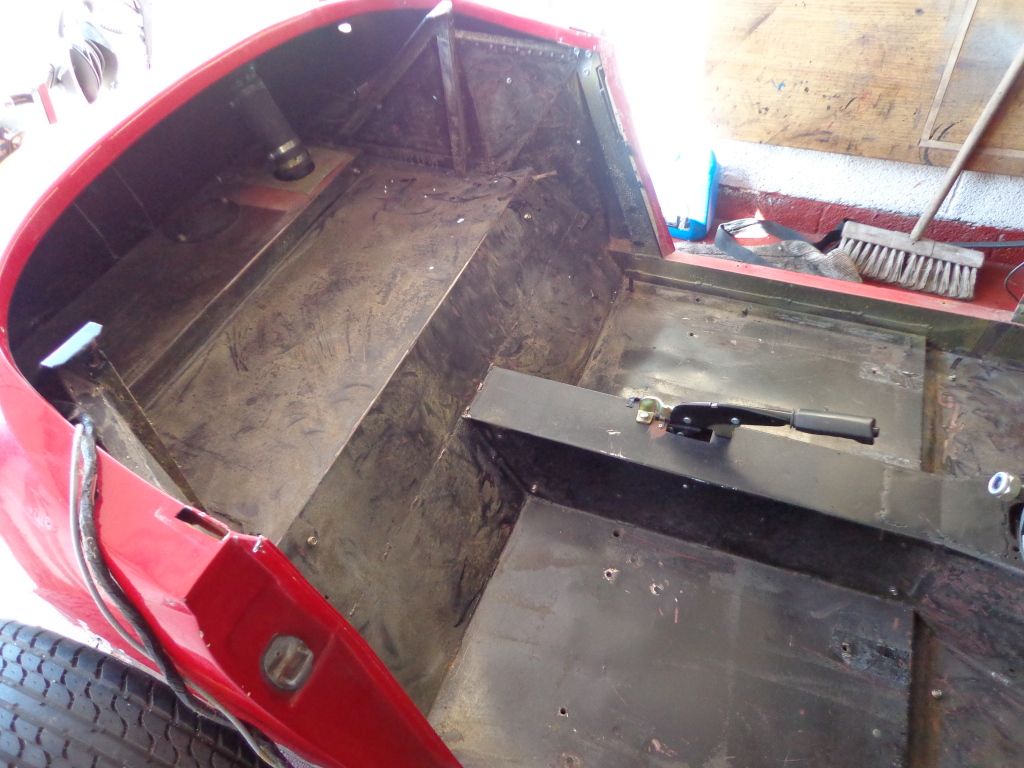
I have spent the best part of today trying to remove the rest of the soundproofing and carpet then cleaning the residue; and what a job it is. Both the soundproofing and carpet are glued down, I started with a chisel to scrape underneath until I remembered I had a multitool then it went a lot easier.
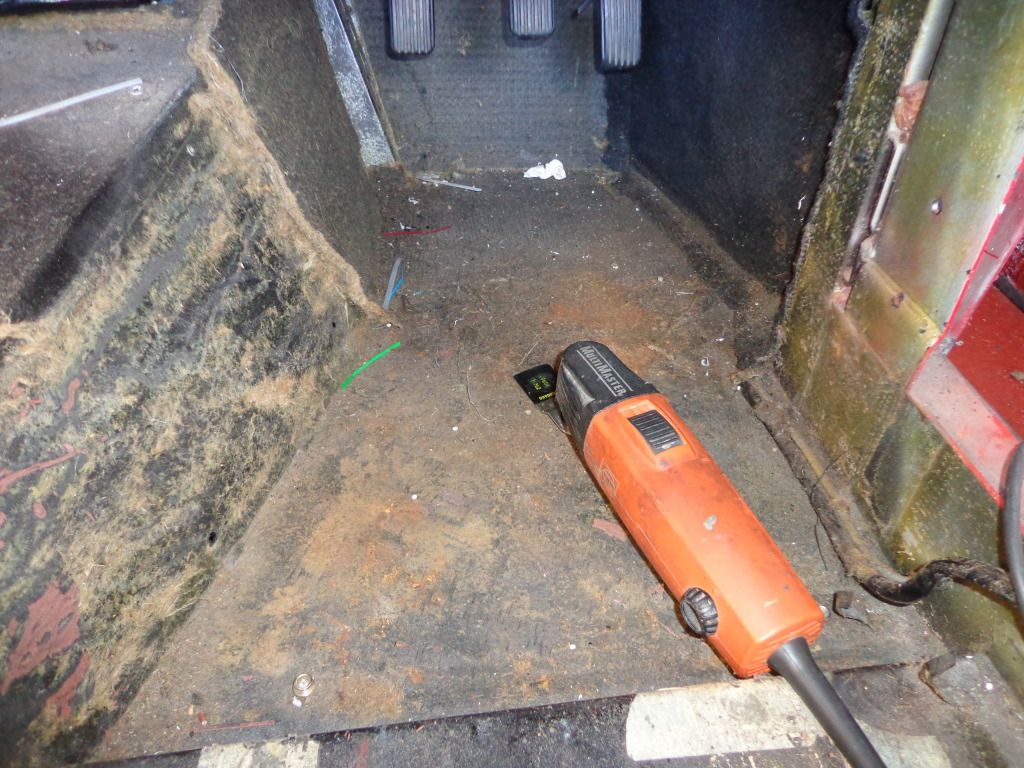
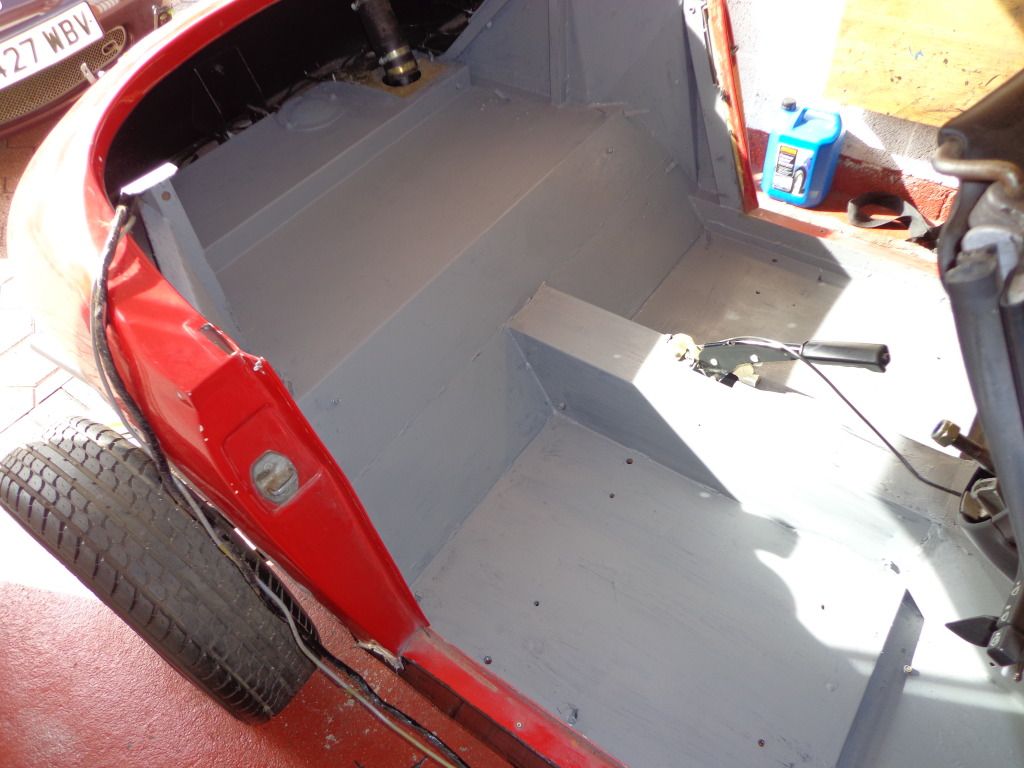
I new from working under the car that the footwell was not holed but was pleased to see just how good it was, there was a light coating of rust on the surface but that soon disappeared once I attacked it with the wire wheel on the grinder.
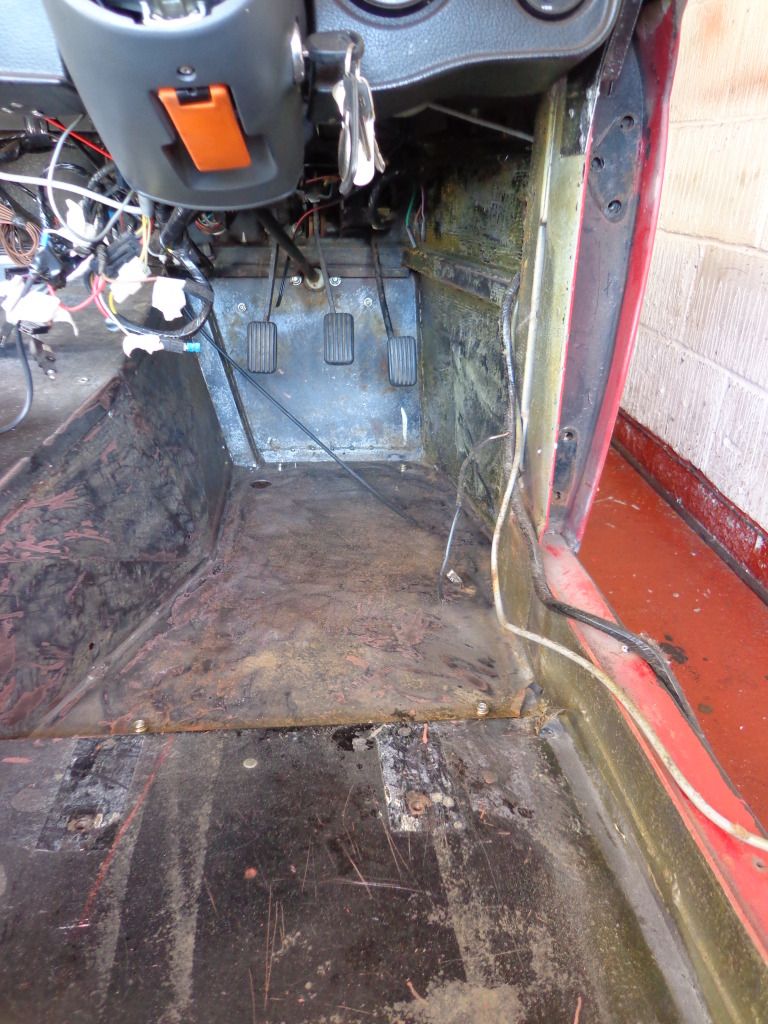
I have used Zinc oxide primer and shall paint it black tomorrow.
see ya Paul
No comments:
Post a Comment