
Not as much done yesterday as I was hoping for, to many things happening but I did manage to get stage 2 finished and today got onto stage 3 of the restoration.
I started yesterday by getting the engine warmed up for an oil change, I gave the engine a good run yesterday even driving it backwards and forwards in the drive to get both the engine oil warmed up and the gearbox, diff oil circulating. I let it cool down a bit before draining and changing the filter, I had added a tin of Wynn's oil flush to the oil to reach the oil ways that I hadn't been able to clean. On draining the oil I was very pleased at how clean it came out, pretty spotless, in fact; it cost over £25 in oil, a filter and the Wynn's to give it a flush but better safe than sorry. It would have been another £20 for the replacement oil except my Brother in law has a couple of MG's he is restoring and had bought his oil in bulk 25Lts of Comma 20W50 in 5 Lt tins for the price of 2 tins and he very kindly let me have one of the tins.
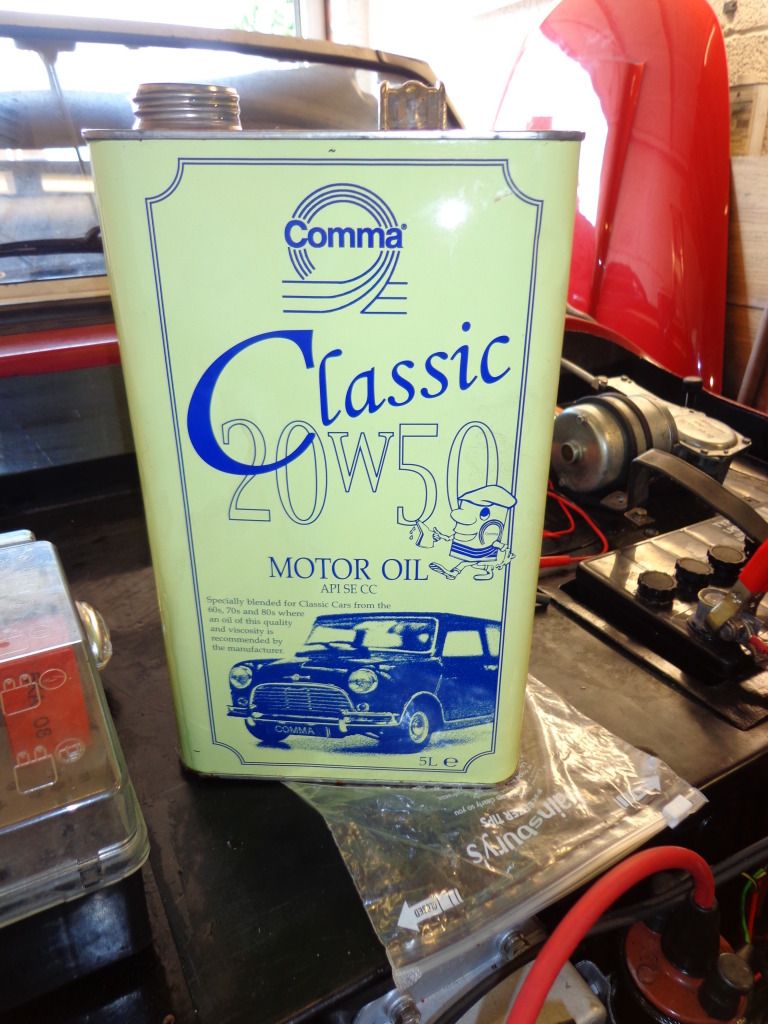
I checked in the handbook and this is the recommended grade of oil for the Cologne engine although it has a very strange leaf green colour, never seen that in an oil before, lots of reds but never green.
Next I set up my timing strobe gun to check the the timing but even with this I could just get a ballpark setting, it sounds good and looks to be around 10 degs but the scale is so wide and a little difficult to see.
Well that was stage 2 finished, I image there will still be a fair bit to do in the engine bay latter on but for now that's that.
Stage 3
Getting the body work / wings rubbed down and filled where needed.
The doors removed / stripped and de-rusted.
The cockpit stripped of the carpets and soundproofing then painted.
The hood removed and the frame cleaned and painted.
The windscreen removed and stripped then new seal fitted.
The windscreen framework either polished by myself or professionally done.
The new seats temp fitted and the runner modifications done.
The seat belt mods done.
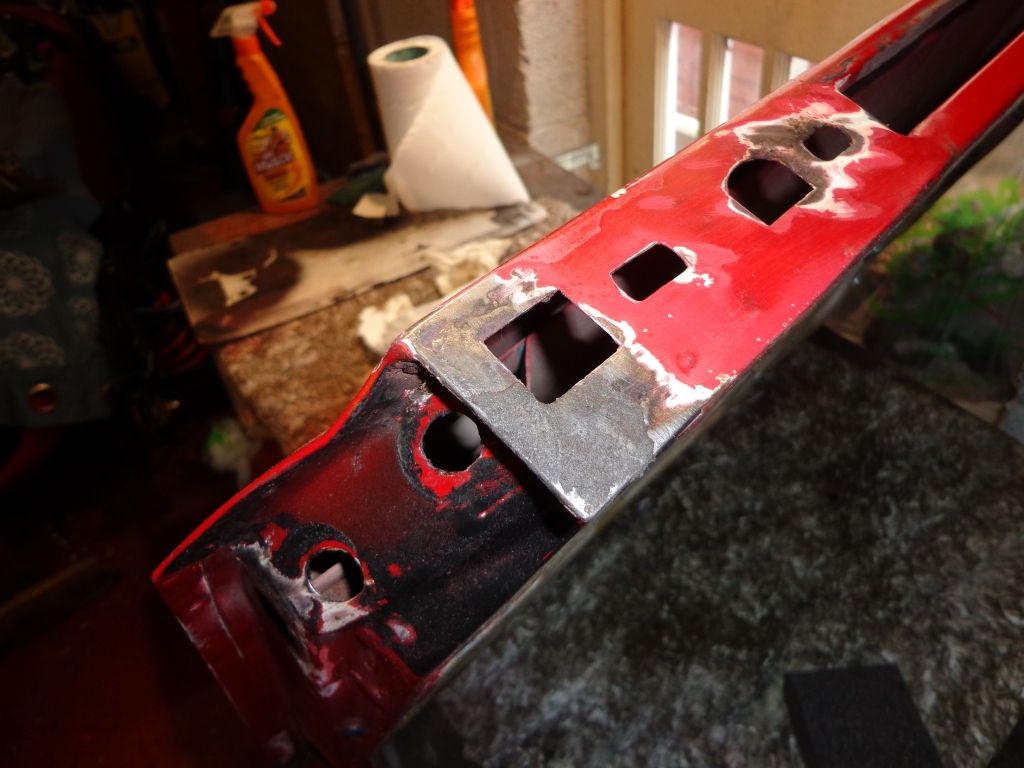
Re-fit the wings and manufacture new step frames.
Bend the stainless plate to fit over the step.
New soundproofing fitted.
Carpets bought and center section fitted.
Heater fitted.
Respray.
Well that's the basics, so where to start.
I already have a lot of the carpets removed and I have ordered the soundproofing from ebay, there is a whole mountain of soundproofing to choose from but I have stuck to thick Jute that was originally fitted to the car. It cost £25 for 2m x 1.37 which may be enough to complete the inside, if not I shall get some more.
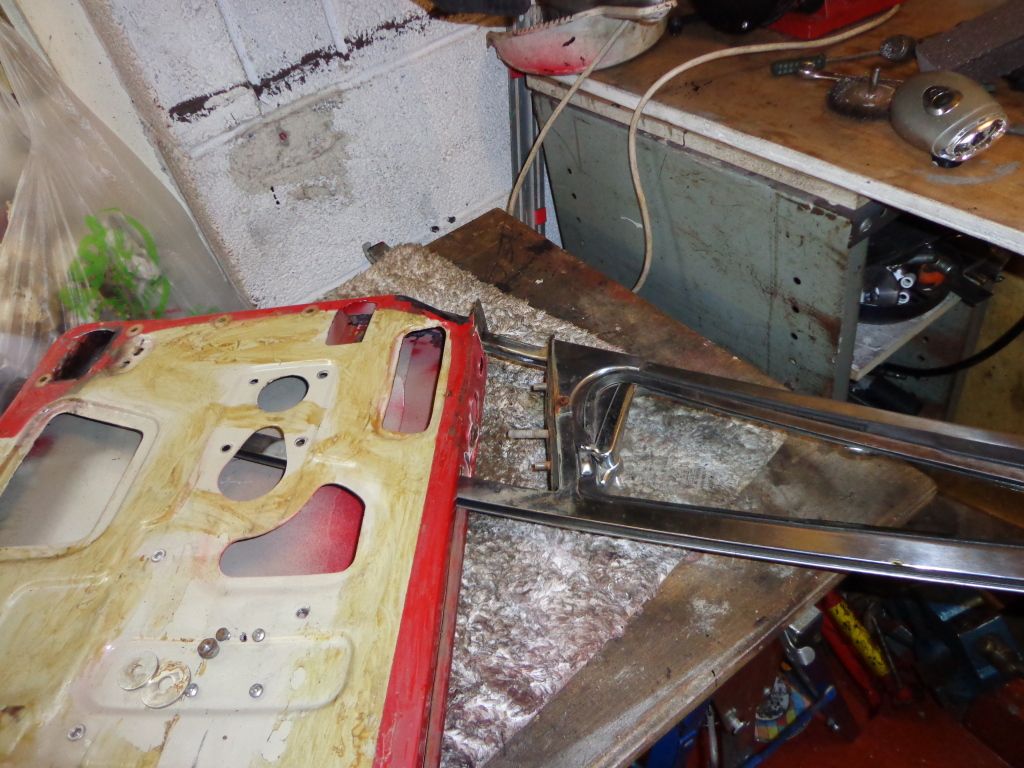
I had planned to start with removing the rest of the carpets and soundproofing but the door kept getting in the way so change of plans and off with the door.
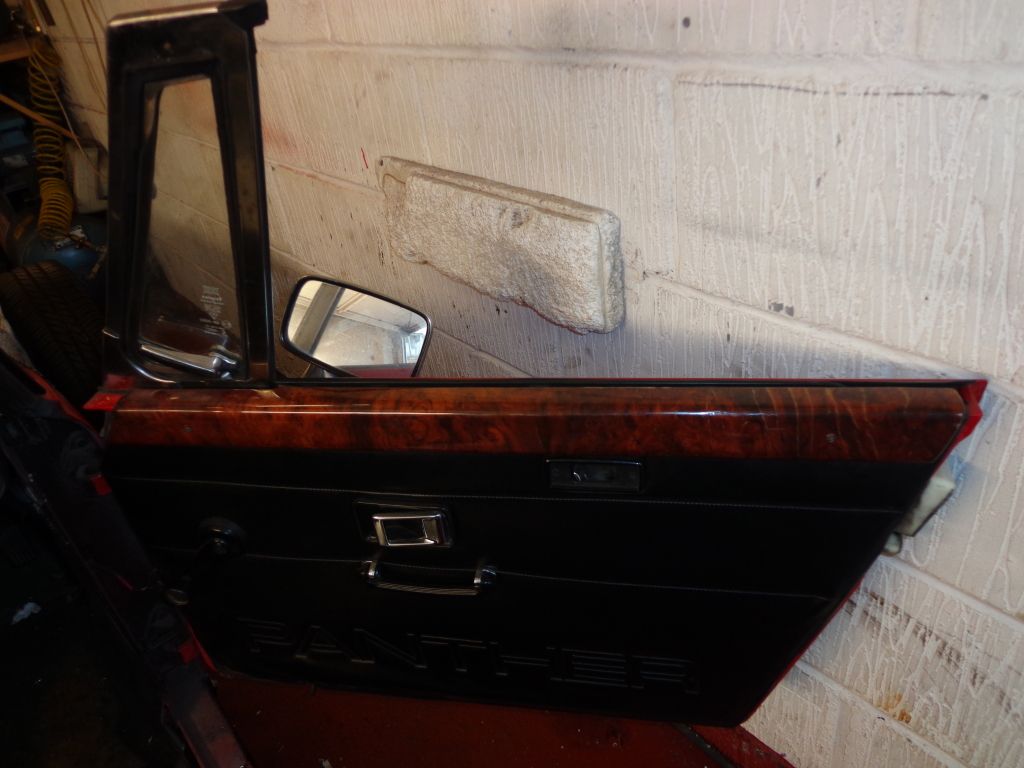
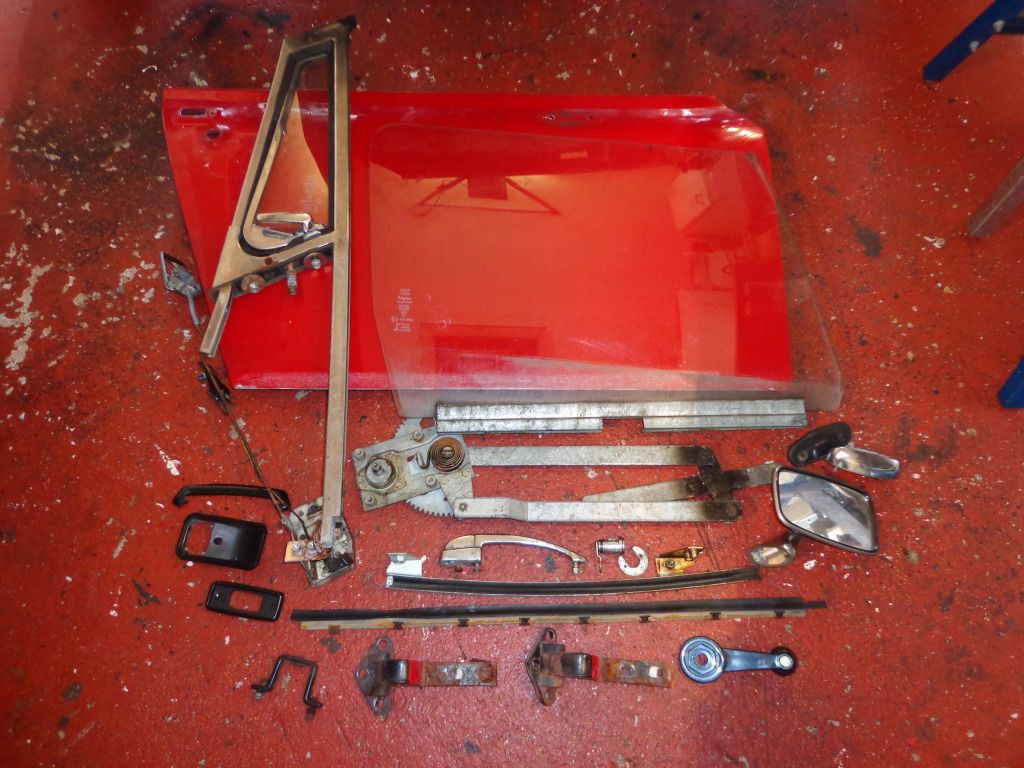
I never new that there were so many parts to a door, not including the screws and bolts there must be around 20 parts to remove, so I started with the capping then the handle, trim and winder before removing the door card. This is kept on with a series of push studs around the edge and then it is pushed up as there is a fold over that fits between the window and the door.
The plastic sheet is stuck to the inner side which was easily removed in one piece reveling all of the inners.
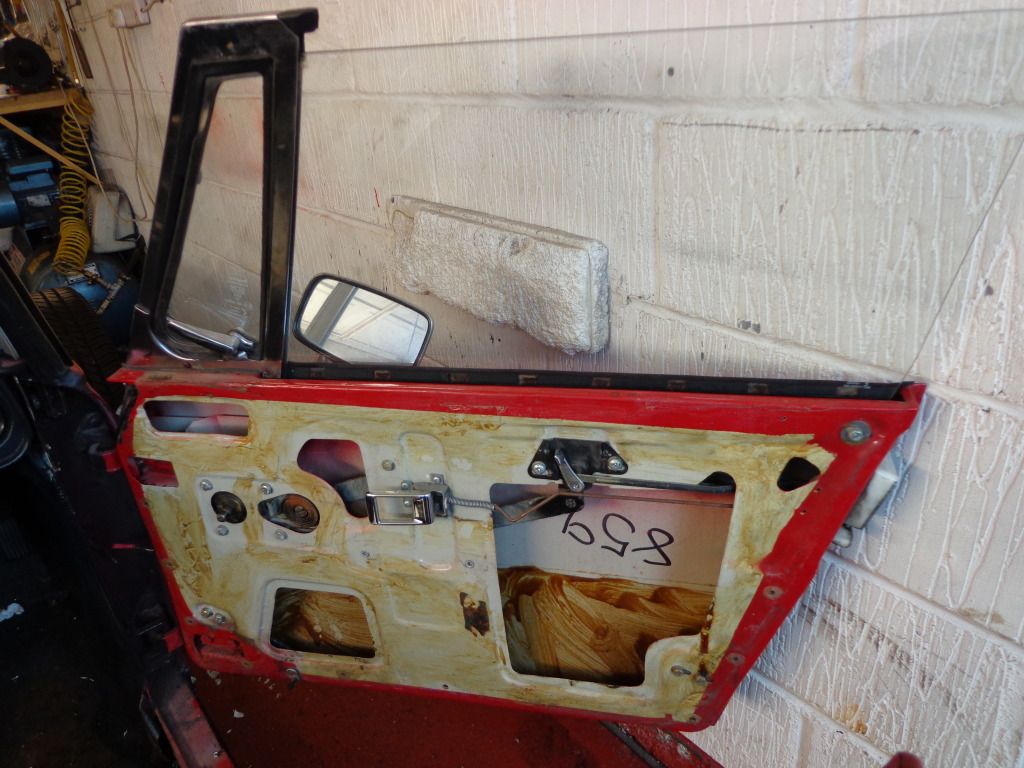
I was very pleased at just how rust free it was after all of these years, many thanks to the builders for the wax oil treatment on the inner skin.
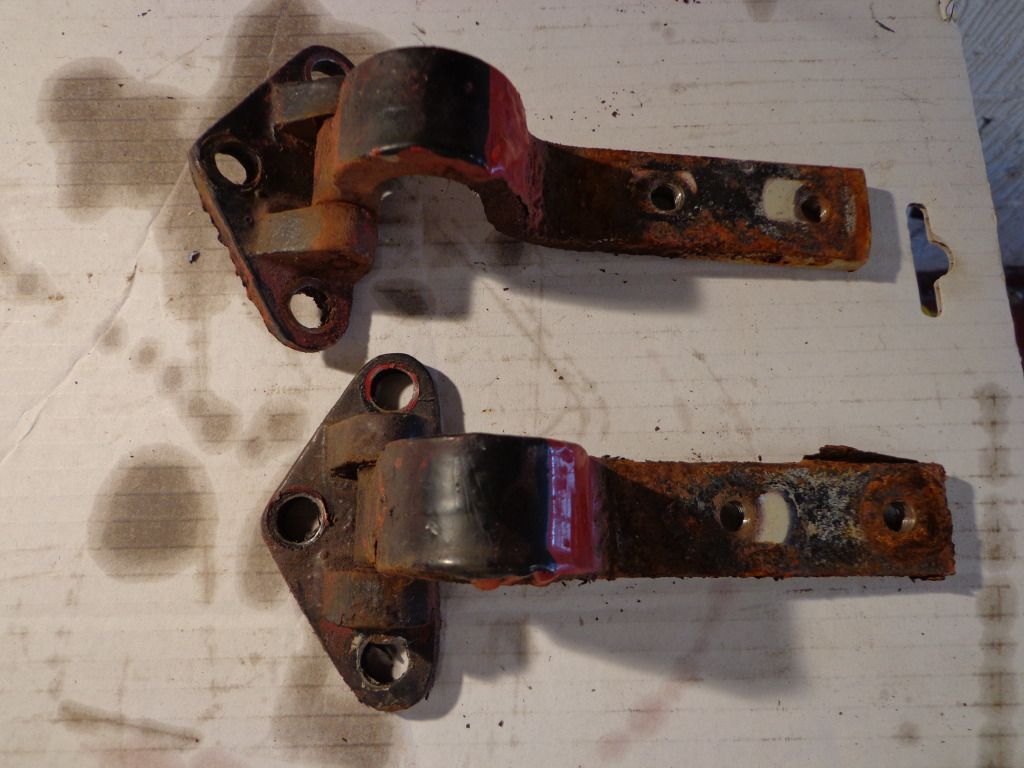
The hinges and door swing stop came next, these have had a rougher time of it but nothing that a sandblast can't cure, I may pull the pins and have them powder coated with the next batch, the door is quite heavy so a little care required when the last bolt is removed.
I now had to figure out how to strip the door apart, it took a couple of hours but mostly that was because a number of the screws had rusted to badly.
The wing mirror was one of these, they is a screw at the rear that must be removed to remove the mirror section to get access to the screws in the door, typically it was not stainless, so I ended up drilling this one out. I plan on replacing the mirrors so any damage does not really matter.

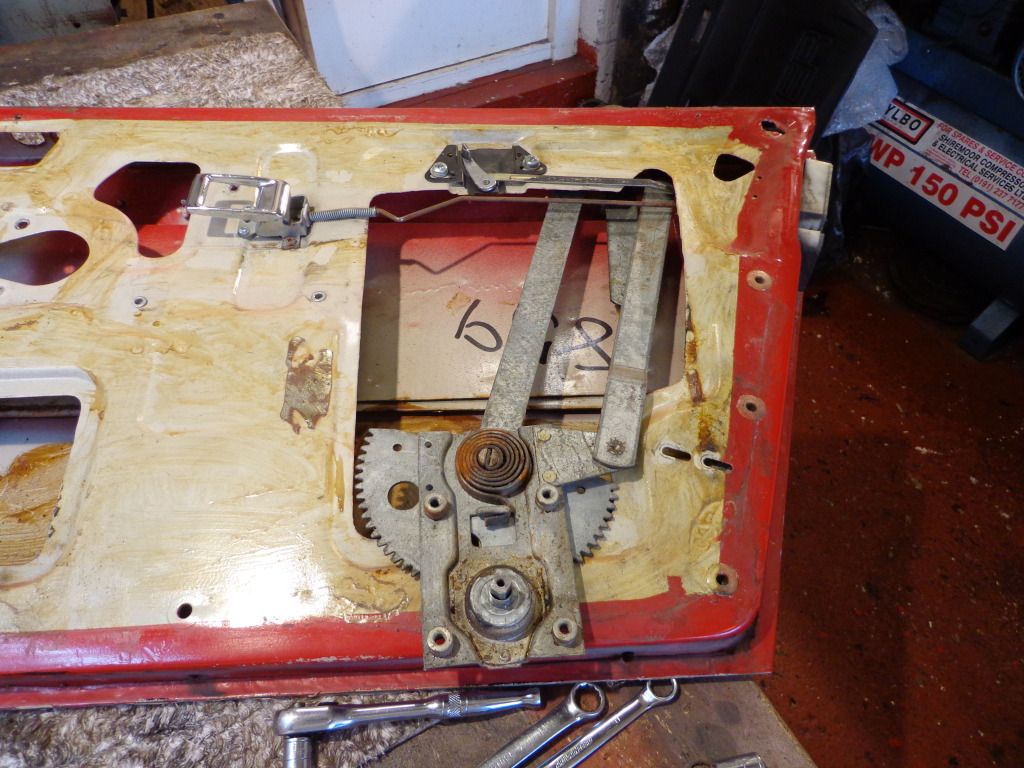
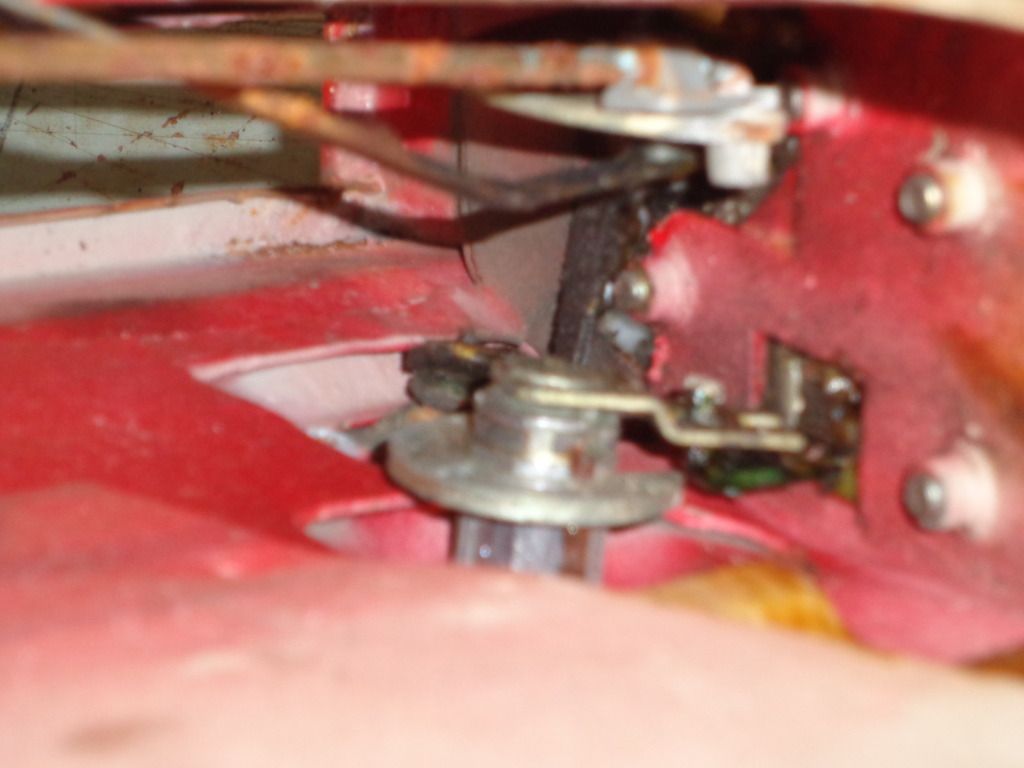
I started the strip with the hinges first then I removed all of the bolts for the window winder mechanism, the side light is held on with 3 nuts and these where also removed and 2 bolts on the bottom bracket which must be removed to allow the side window to slide out I wound the window down and then wiggled it out.
 |
| Side window bottom bracket |
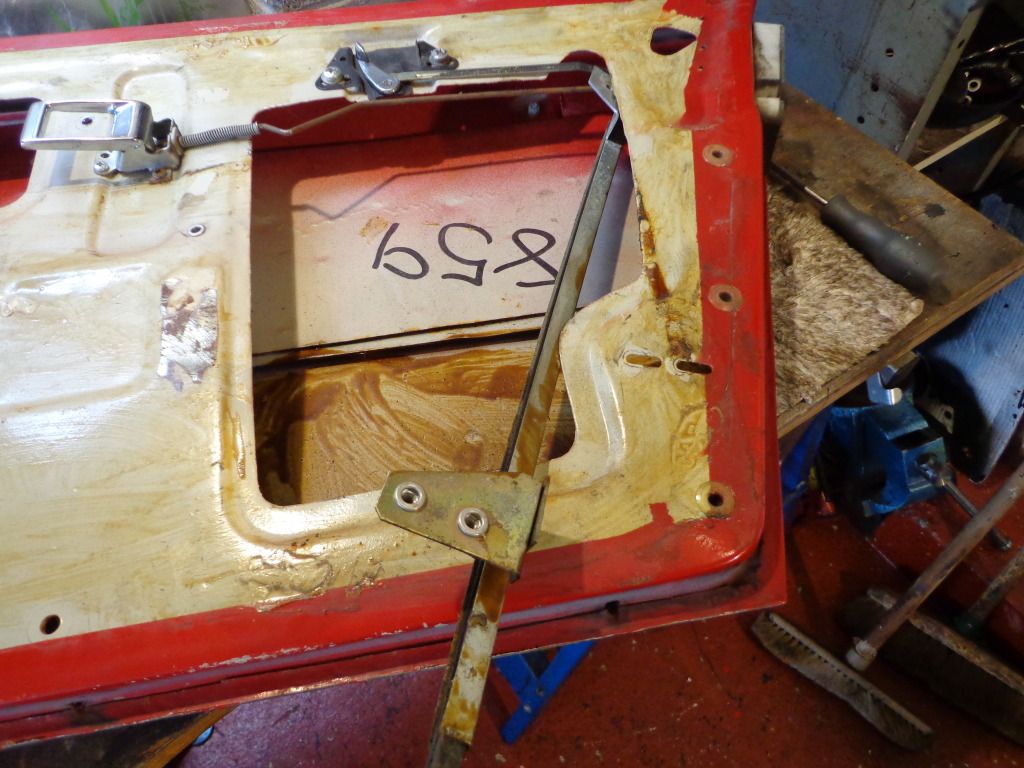

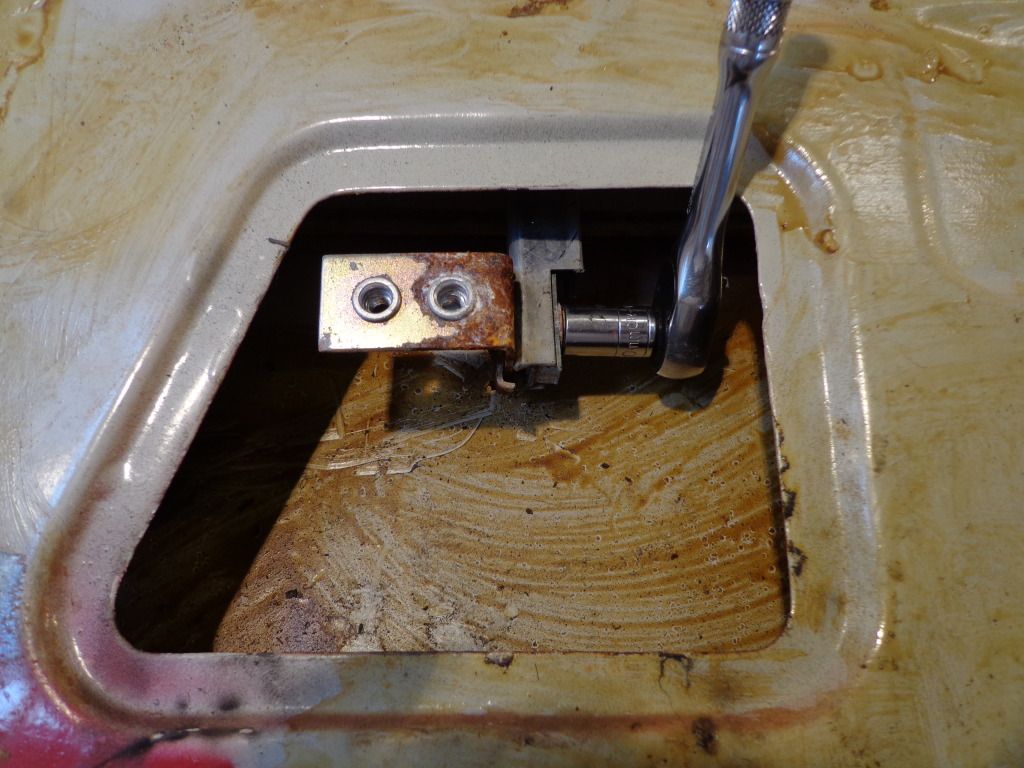
All that was left now was the lock which out of all of the parts caused the most trouble, the locking plate is kept in position with 2 very thin allen bolts which are accessible through 2 small holes but unfortunately none of my whole collection of imperial and metric allen keys would fit. You can see the thin bolts on the interior shot I took, I tried grinding down a key to fit but ended up cutting through them with a air hacksaw then at last the lock dropped out.
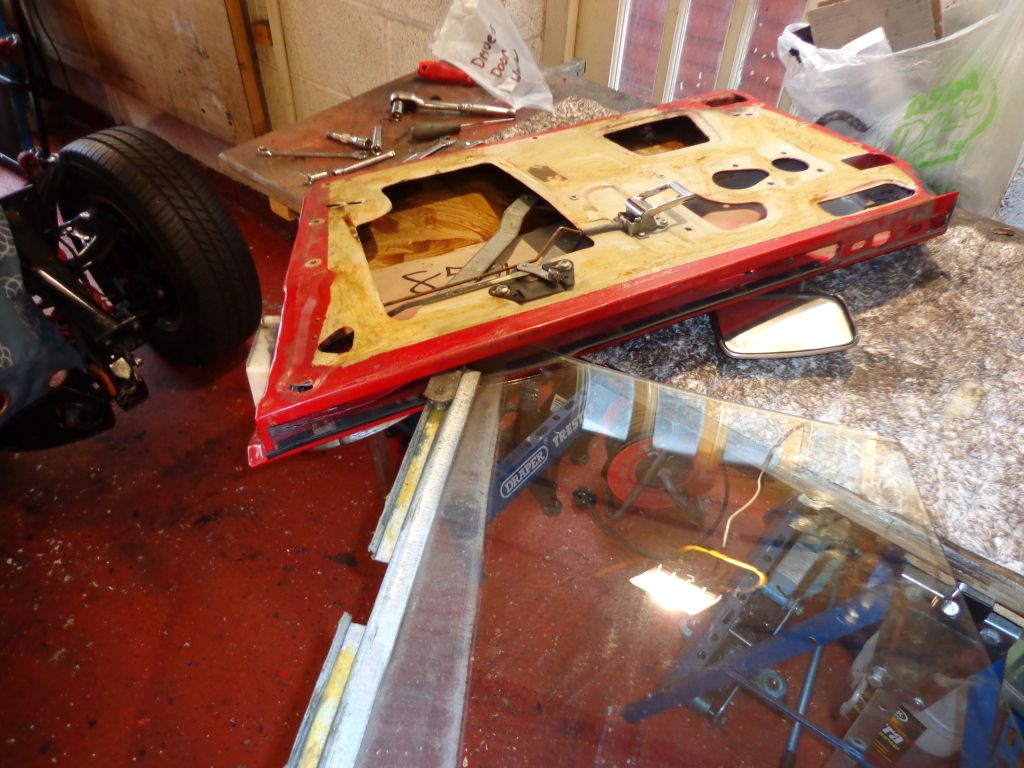
That was the door stripped and a whole lot of parts go together to make a door.
After a good clean and rub down with spirit the only rust problem appears to be from the leading edge of the sidelight where it is exposed and meets most of the weather.
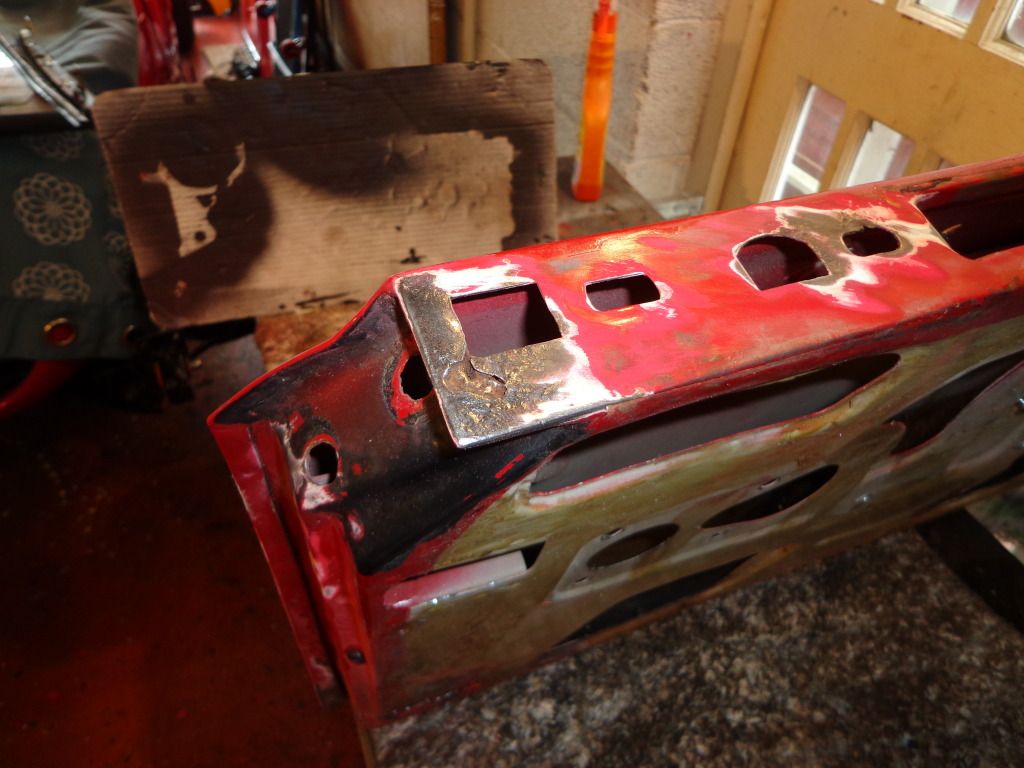
I lifted the flaps of the rusted section and cleaned out all of the rust before applying rust cure to the area, I then mixed some A+B molecular metal putty and filled the hole.
It is fast curing but I have left it overnight and shall sand it down tomorrow then acid etch prime, I have also cleaned out all of the interior using spirit and when the paint job is done I shall re-apply the waxoil.
A lot to do over the coming months and a new job so looks like I shall be rather busy.
see ya Paul
Hello Paul, this is alfonso. Looks like you are making real good progress. I was told the doors for the Lima are from the MG midget so im assuming the same applies to the Kallista? Do you know what car the windshield is from
ReplyDelete