
Hi
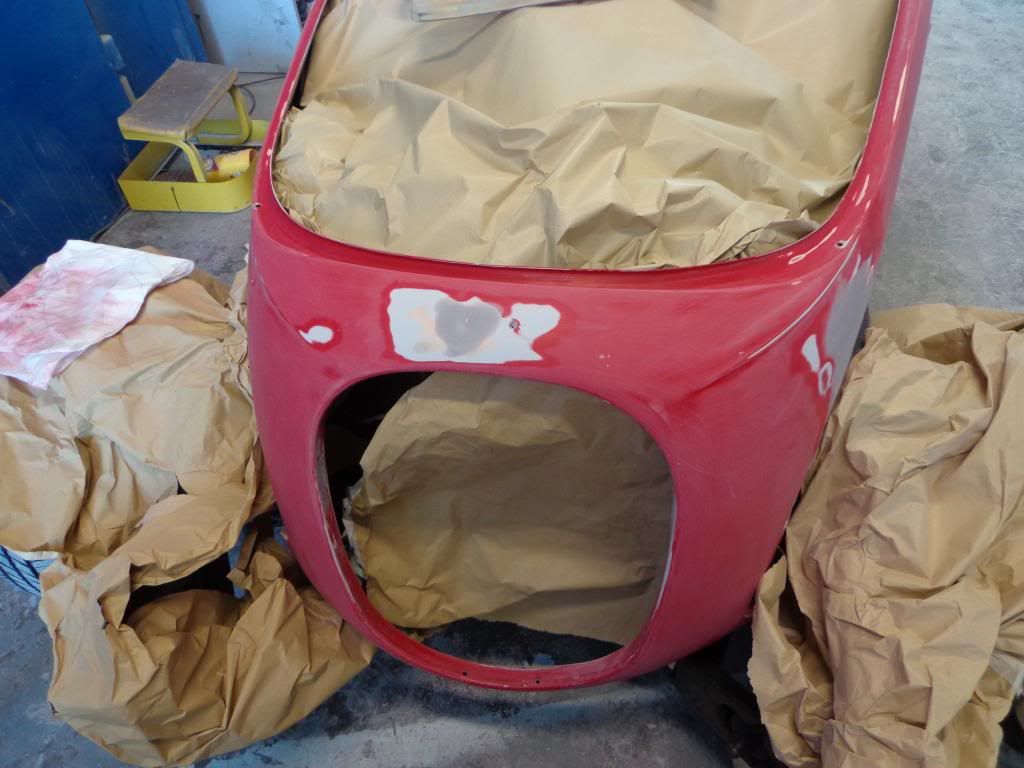
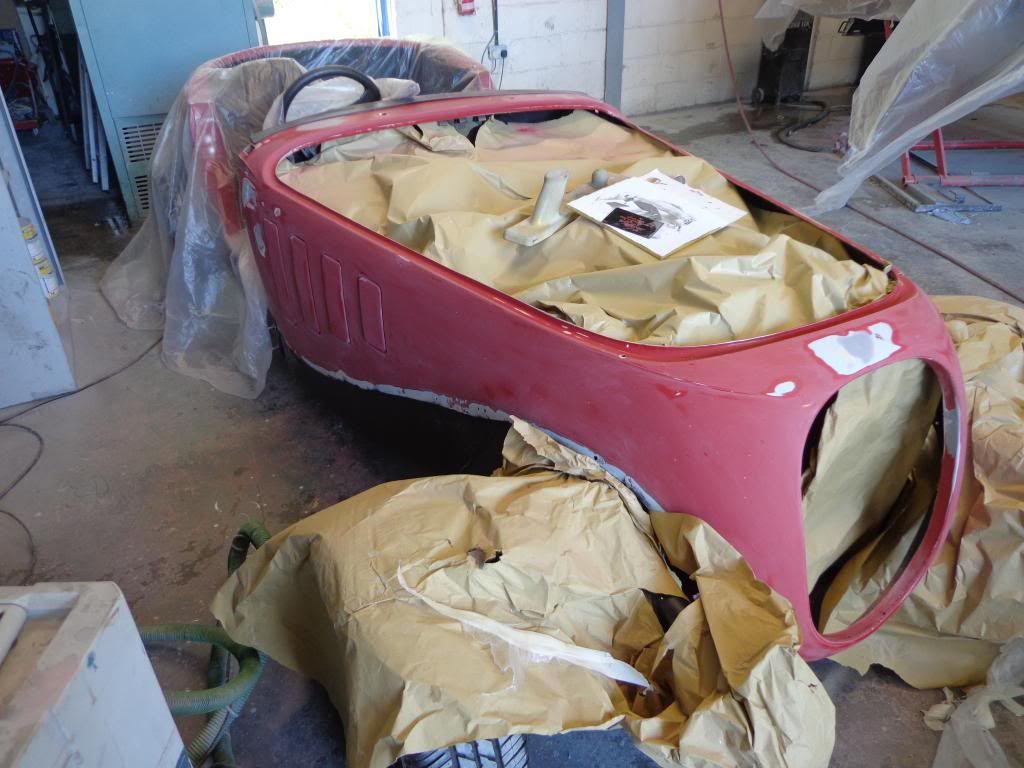
Well that's 95% of the rubbing down and filling complete, the rest I will leave to the lads in the shop, although they will say that I have managed only 80% when they find lots more that I have missed no doubt.
Its surprising what you can feel when you rub your fingers over the paint, I never noticed the 2 dents in front of the windscreen until I started sanding.
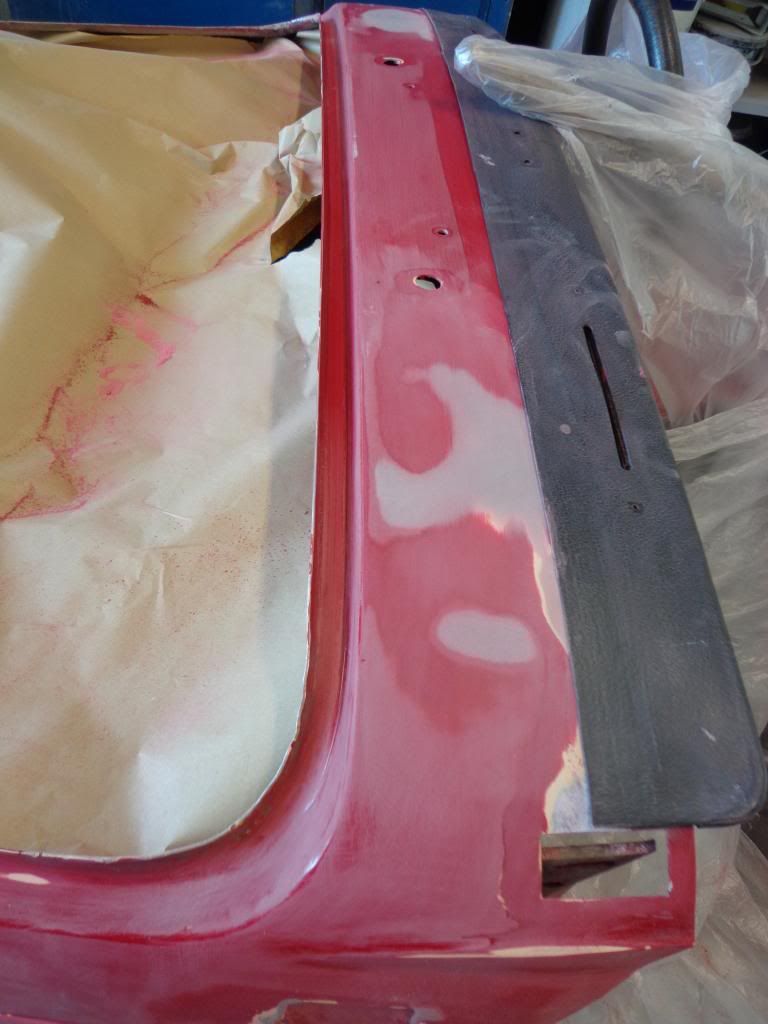
I rubbed these areas down and filled, another bad area was the union jack flag recess, trapped moisture over the years had lifted the paint, this was a bit more difficult to get too so I had to use a pointy tipped sanding machine and managed to get into the corners.
There was a section of crazed paint under the recess and when I sanded this down I found a nice little dent so that was filled also.
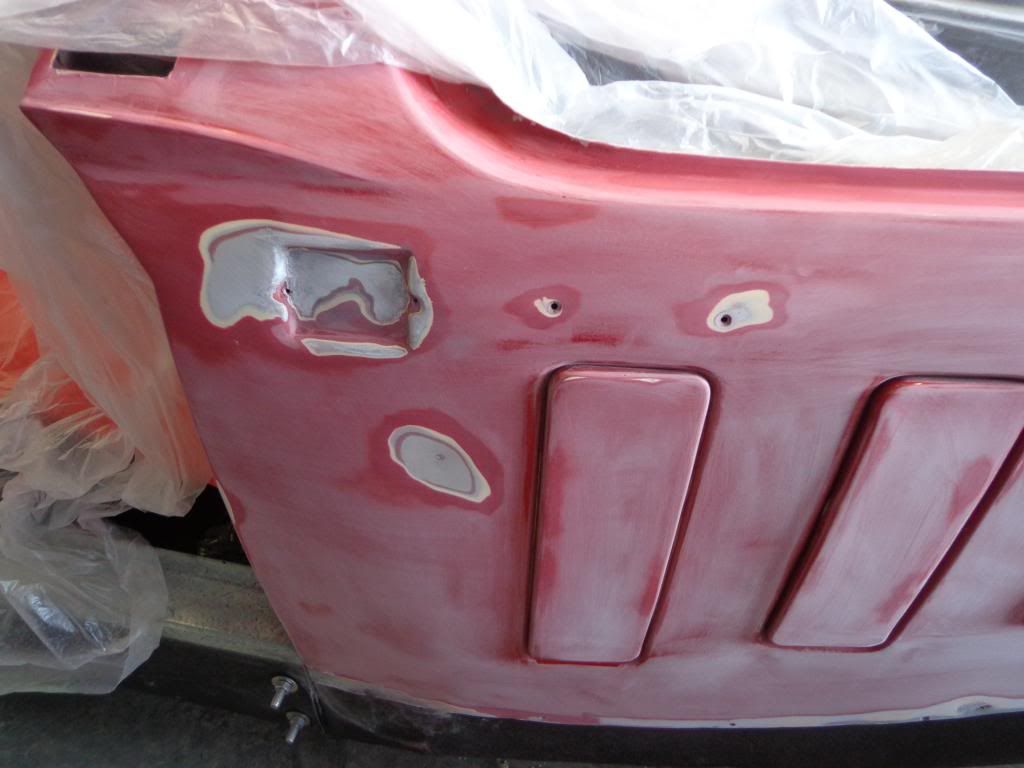
I have finished the front section and repaired the damage caused when I removed the grill mounting brackets, I will have to re-use these as I image that having a Jag grill re-chromed will cost around 4 to £500, maybe more; if there want to charge £120 plus for a pair of 6" light plinths so I guess I shall call Bruno and see if he can get a hold of a wire Kallista grill. Unless anyone has one for sale, give me an email if you have.
So thats me finished as they are only open till 12 tomorrow and I am going away on Monday for a few days but hopefully the priming will be complete on my return.
I received a timely email from Terry B this morning reminding me about the filler cap drain hole modification, he mentioned it a long time ago and I had completely forgotten about it. It's pretty obvious when you look at the filler recesses that water will build up there and the chances of getting into the tank are quite high judging by the quality of my filler connection.
I had made the piece of pipe when Terry first mentioned the fix to the problem and unbelievably I managed to find it straight away.

It is only a piece of 10mm copper tubing around 50mm long and deeply swaged on one end, I had completely forgotten about this mod and so I have not ordered the rubber tubing for the drainage, I rectified this straight away and have 1m of 10mm i.d silicon tube coming. I shall find a convenient area and drill a 12mm hole to feed the pipe outside and problem solved.
I marked off the best place in the filler recess and drilled a 10mm o.d hole, it is slightly off centre as the recess is positioned to the side of a downward curve which changes where the water will lie.
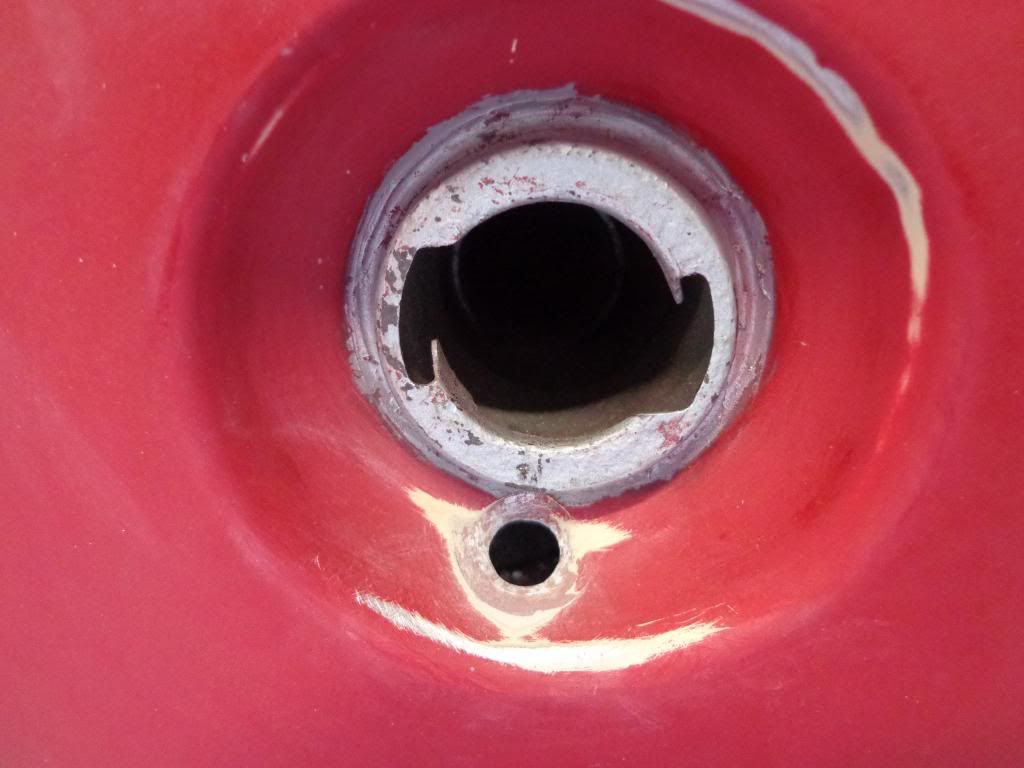
I managed to use a pointed hammer and shaped the inner edges so that the angle of the swaged pipe end will fit into the shaped hole, this makes it flush to the bottom so all of the water will run away.
To secure the pipe in place I mixed up some Araldite and glued the pipe into position.
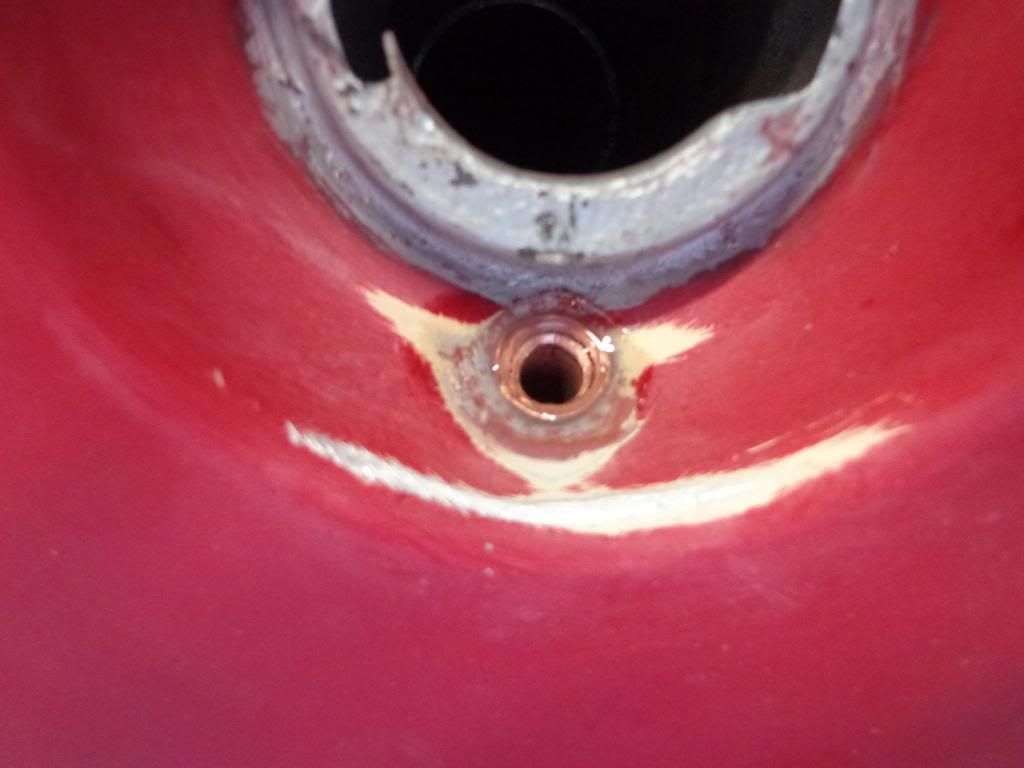
Once painted you will think it was built like this.
Won't be till next week till I see the progress so till then.
See ya Paul
No comments:
Post a Comment