
Not a lot done this week as I had a paint brush and a couple of litres of white gloss put in my hand, so everything in sight has been prepped and painted and still not finished.
Managed to get back on the car and started on the wiring, I knew I had one repair to do as I caught an indicator loom in a rotary wire brush and ripped the outer sheath off, so this was the first job.
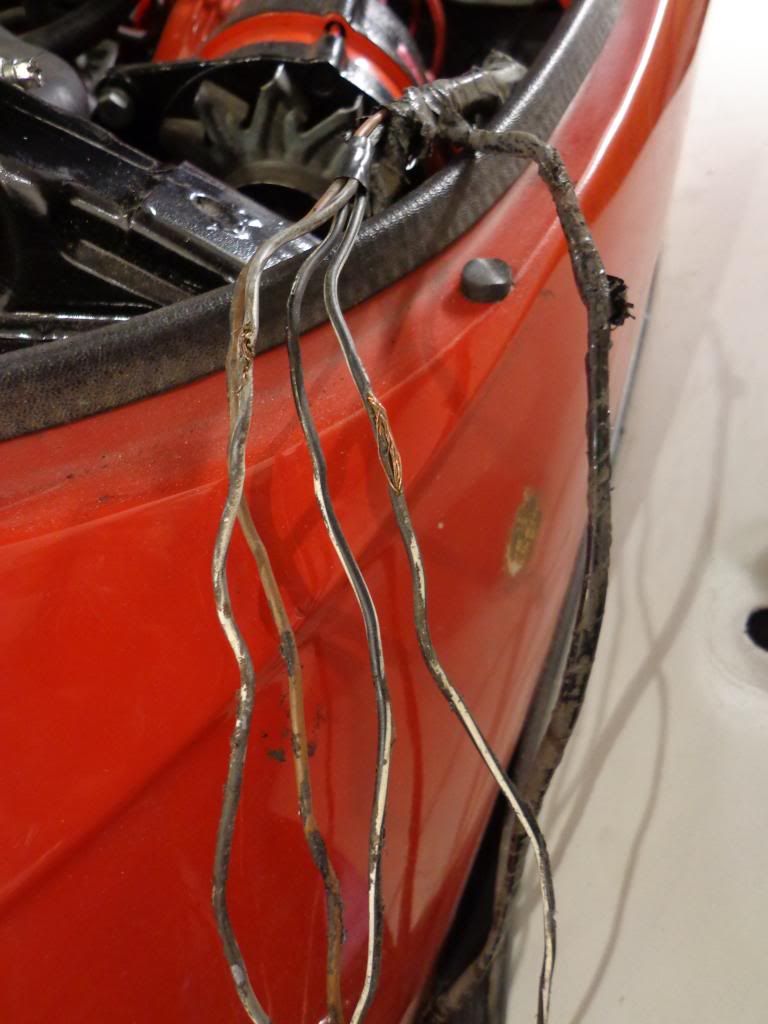
The repair was simple on the single wire as I slipped on a shrink wrap sleeve and shrunk it in place, the other wire was a twin as 2 wires went into a single bullet. To fix this I snipped the bare wire and fitted a wire connector and crimped the ends then I tested the indicators to ensure the connections where good before covering the wires.
I had bought a couple of meters of 12mm shrink wrap in preparation a long time ago and got busy stripping all of the tape from the front loom. I then slide on the shrink wrap over each loom section and shrunk in position.

You can also see in the photo that I removed the brackets that held in the grill, and this was not an easy job as I ended up having to grind of the heads of the screws which scored the aluminium surround which will have to be filled.
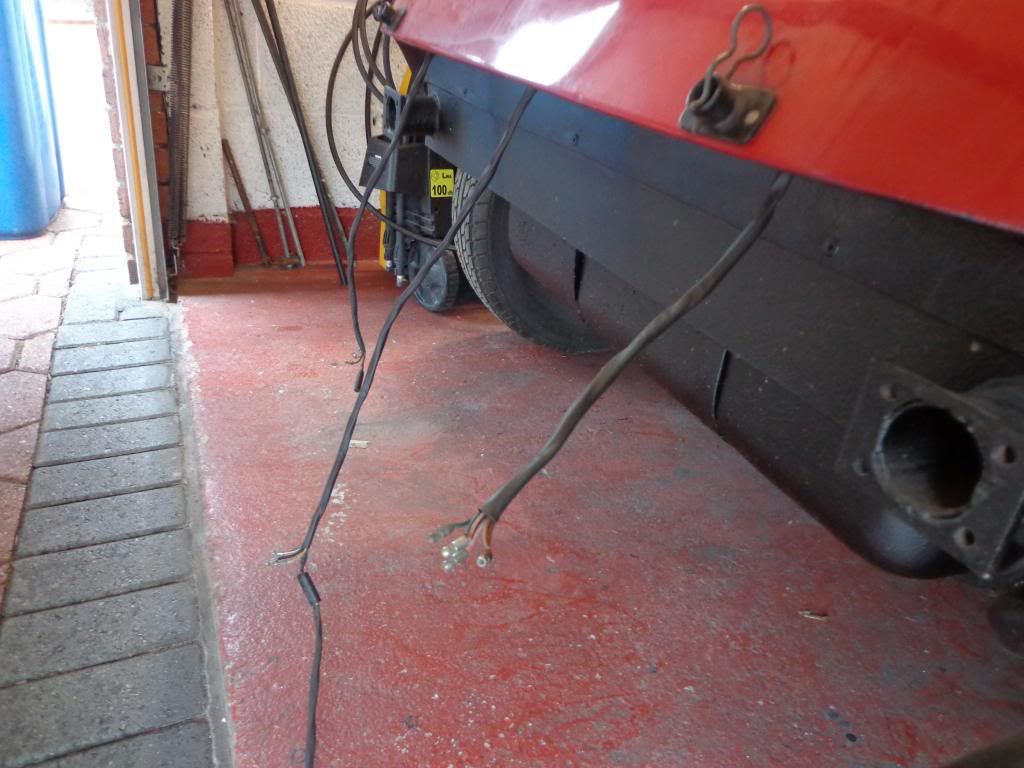
I carried on the wire sleeving on the rear wiring which where looking a little weary.
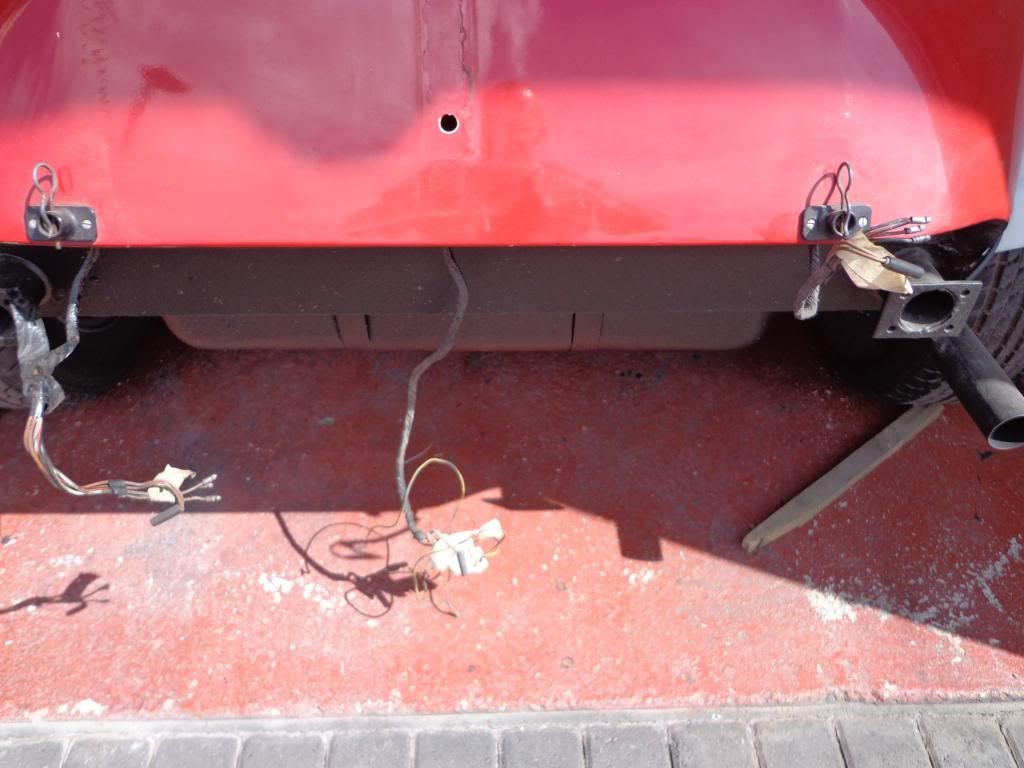
Looks a lot neater now.
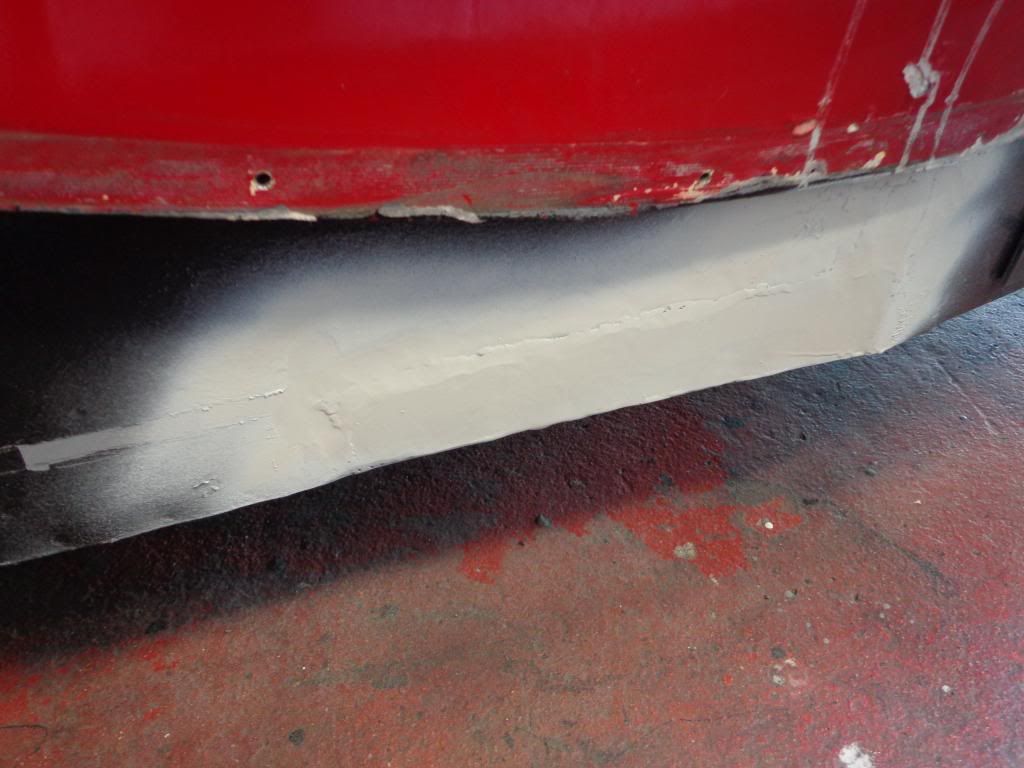
I was removing the wings yesterday and noticed a bulge in the side paneling, I had noticed a difference when I was originally rubbing down the sides and thought it was a weld, that was a long time ago now and it has got a lot bigger.
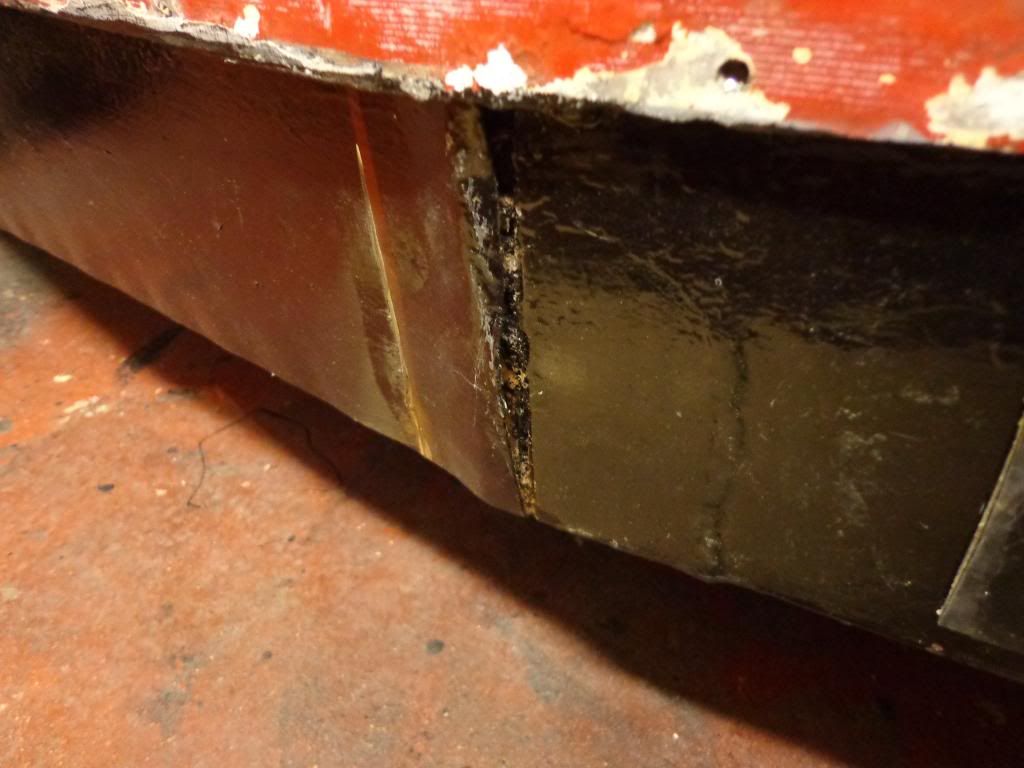
After a poke around I started pulling out rust, so out with the grinder and I cut a section of the siding off.
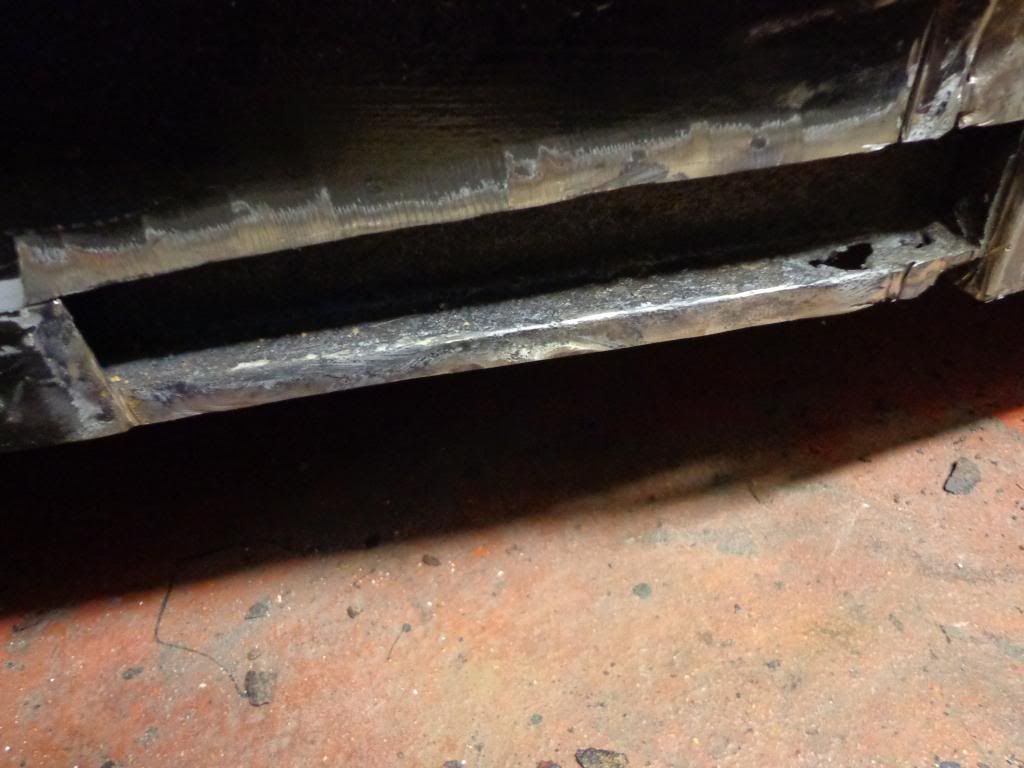
You can see the hole in the box section that I poked through, I scrapped out all of the rust and after a feel around underneath I found a drilled hole that I had missed, maybe this never had a rubber in and allowed water ingress. Once cleaned out I sprayed in rust converter then siliconed a patch over the hole, this is not a load bearing section but just to hold the side paneling in place.
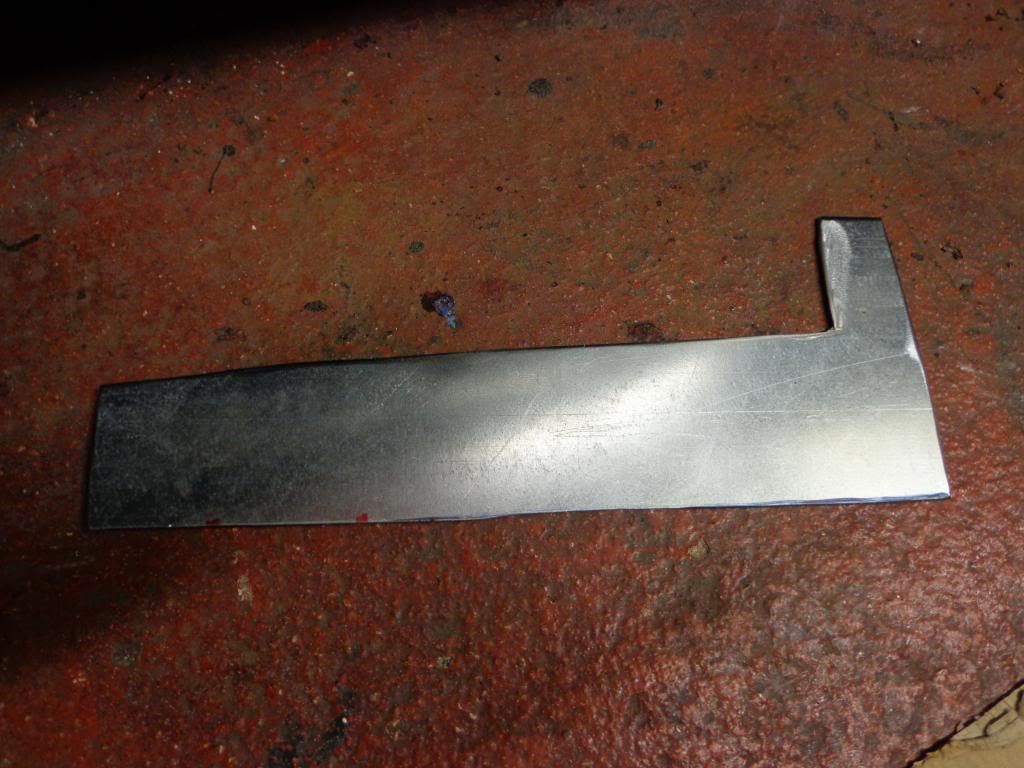
I then made a paper template and cut a steel patch to weld in place.
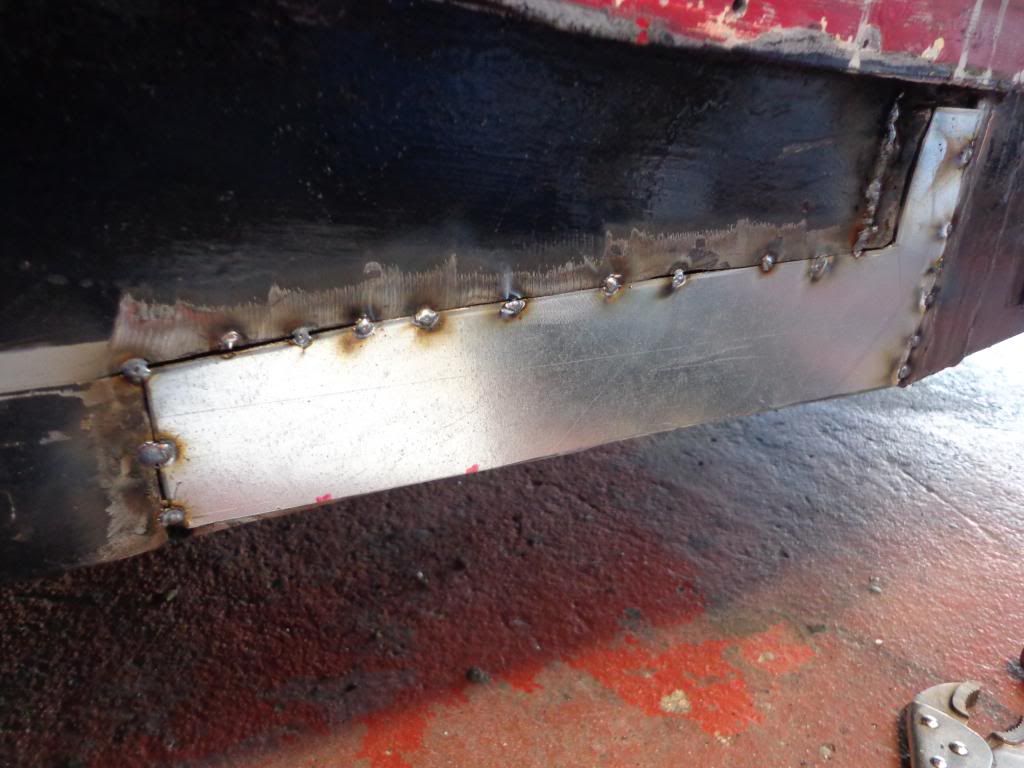
I tacked this in place.
Then welded up.
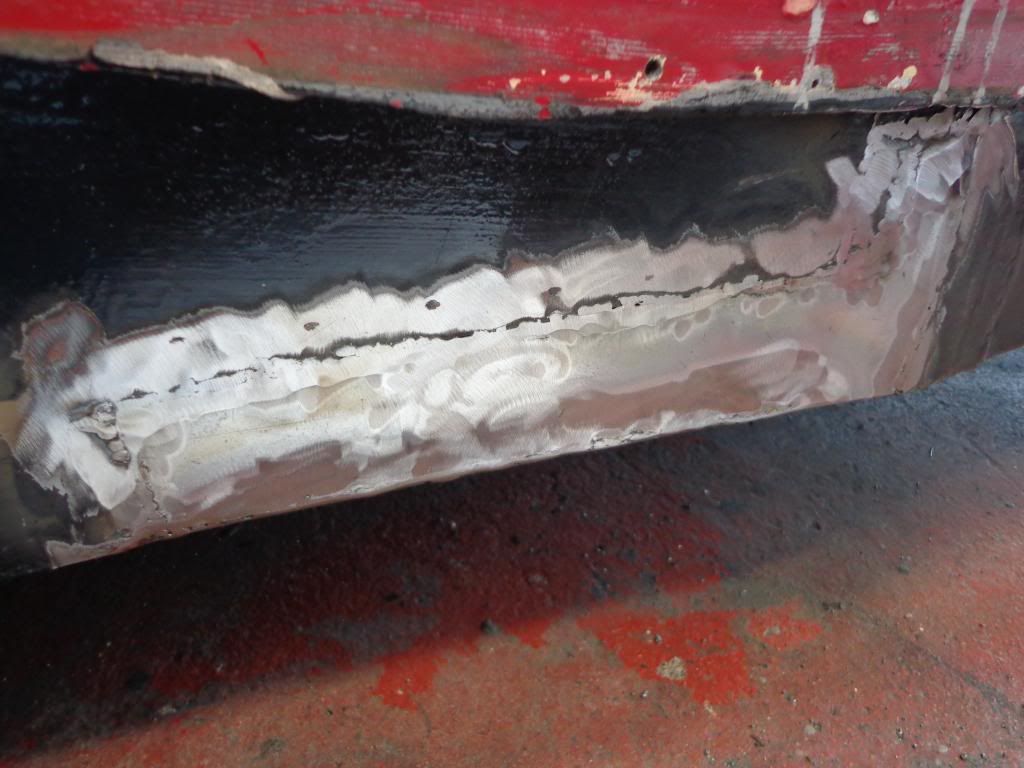
I sprayed with acid etch primer then gave it a good coat of stone chip paint.
I warmed up a tin of waxoil and poked the tube through the hole in the box section and gave it a good spray, I have had a look around to see if I had missed any other surprises and thankfully I could find no more.
Well its finally happened and the paint job has been started.
I am having it done by the same business that did the work on my MX5 and they made a very nice job on that so I have been through the colour cards and have picked 2.
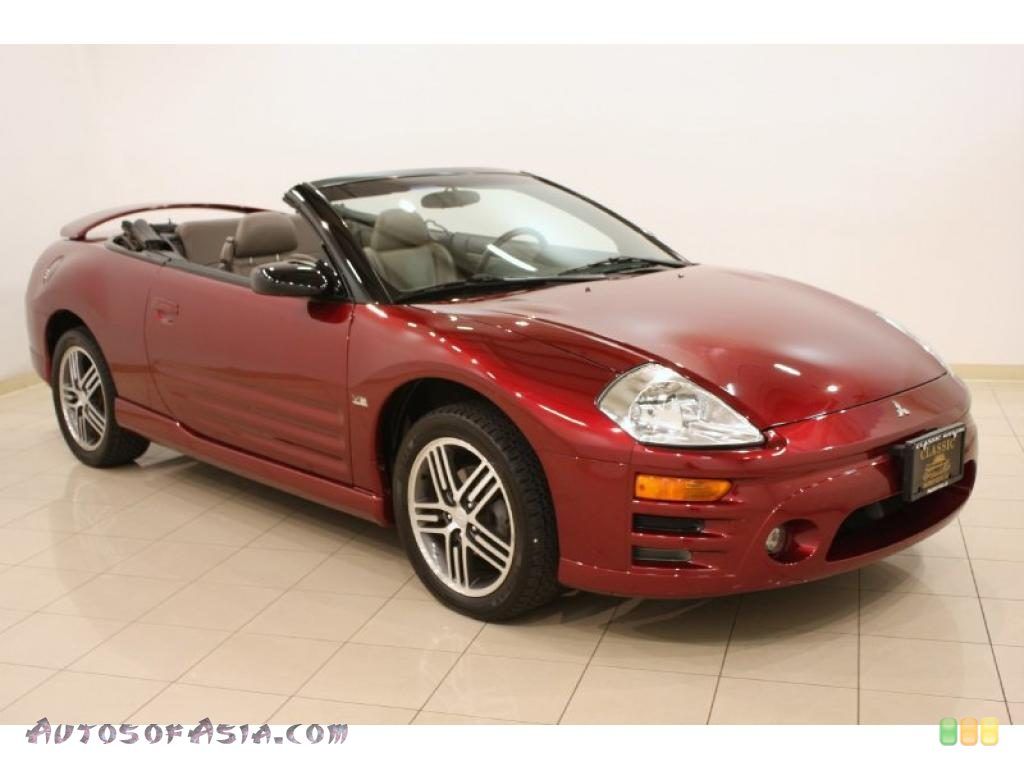
The main colour is to be a Mitsubishi Red Pearl.
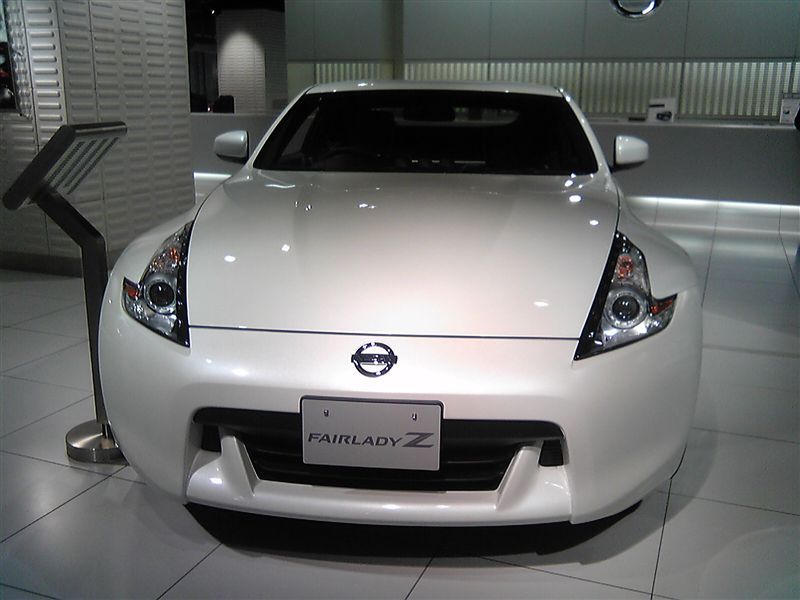
The second colour is to be Nissans White Pearl.
Tony the owner of the paint shop came round this morning to help transport the parts to be painted.
The plan is to do all of the parts that can be taken down and to spray with the red, then when I get back from my next trip away I shall have the car transported so work can be started on the body.
Once the body is painted red the doors will be fitted and then we can mask up to paint on the White Pearl.
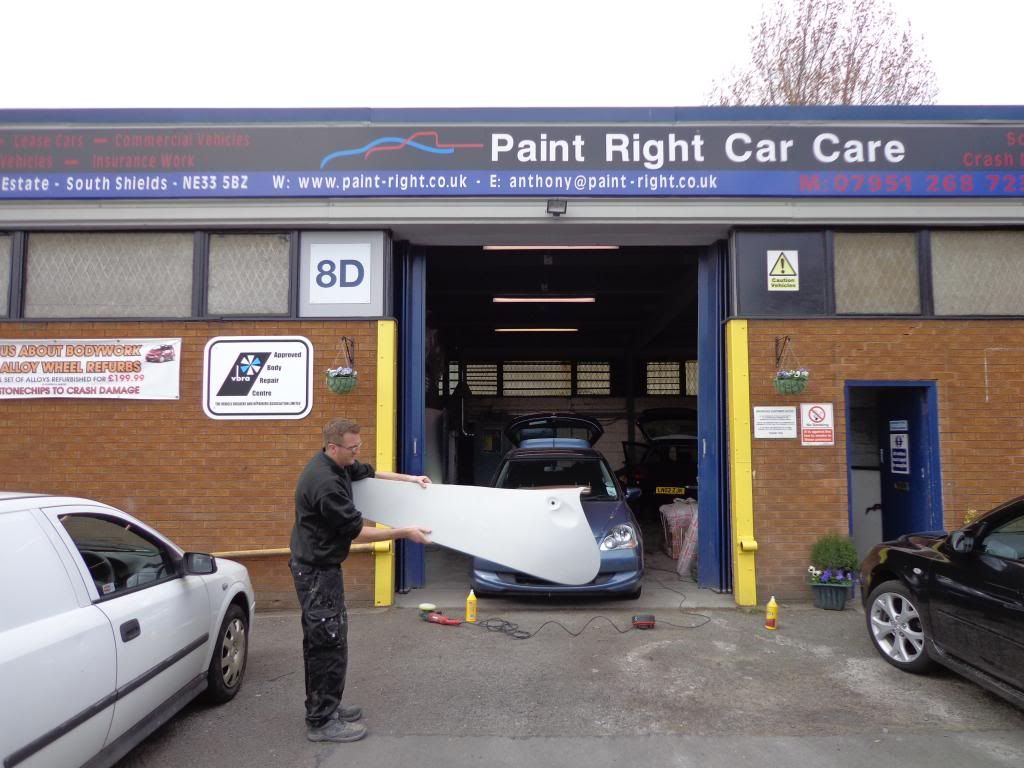
I have spent the day at the paint shop as I am quite friendly with the boss Anthony (holding the wing), so they don't mind me being there, learning the job and helping with the sanding.
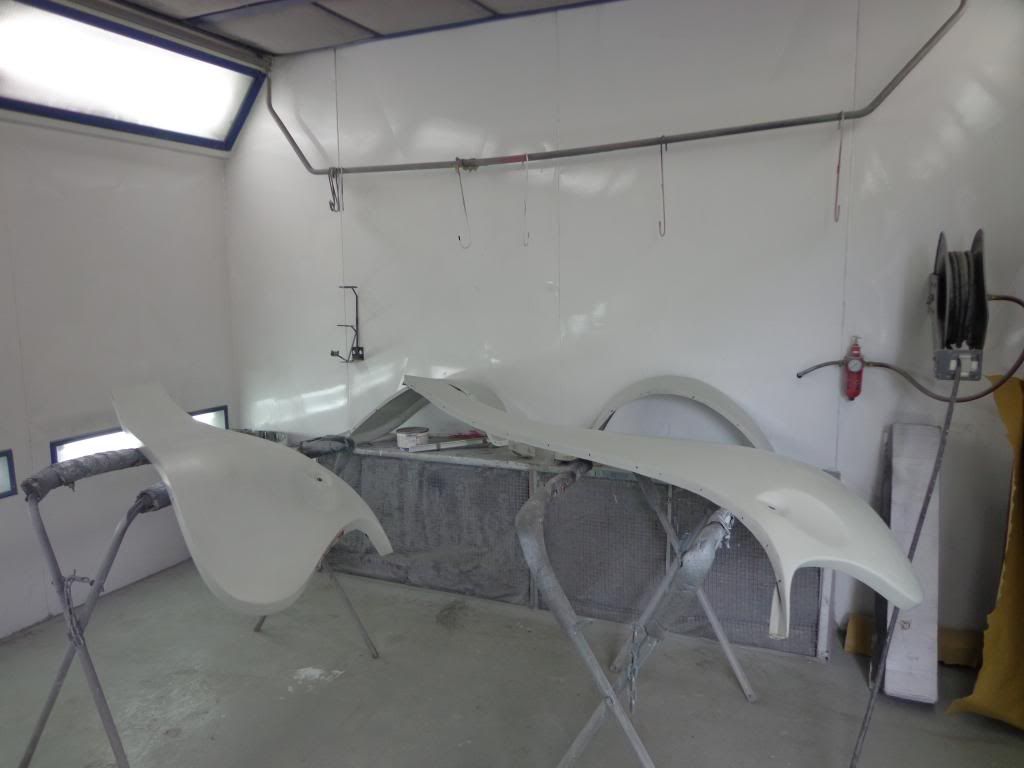
The front wings where up first.
I had already given them there first coat of primer so it was just a matter of sanding down and filling any areas that required it.
When happy Mike started the first of 3 coats of primer.
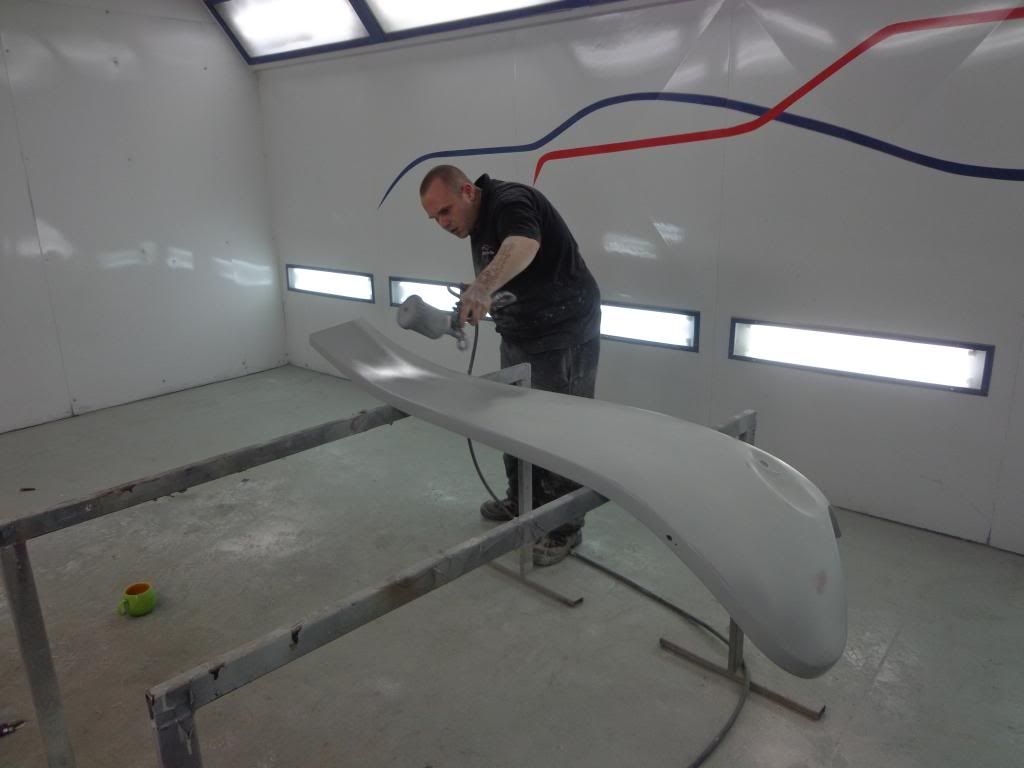
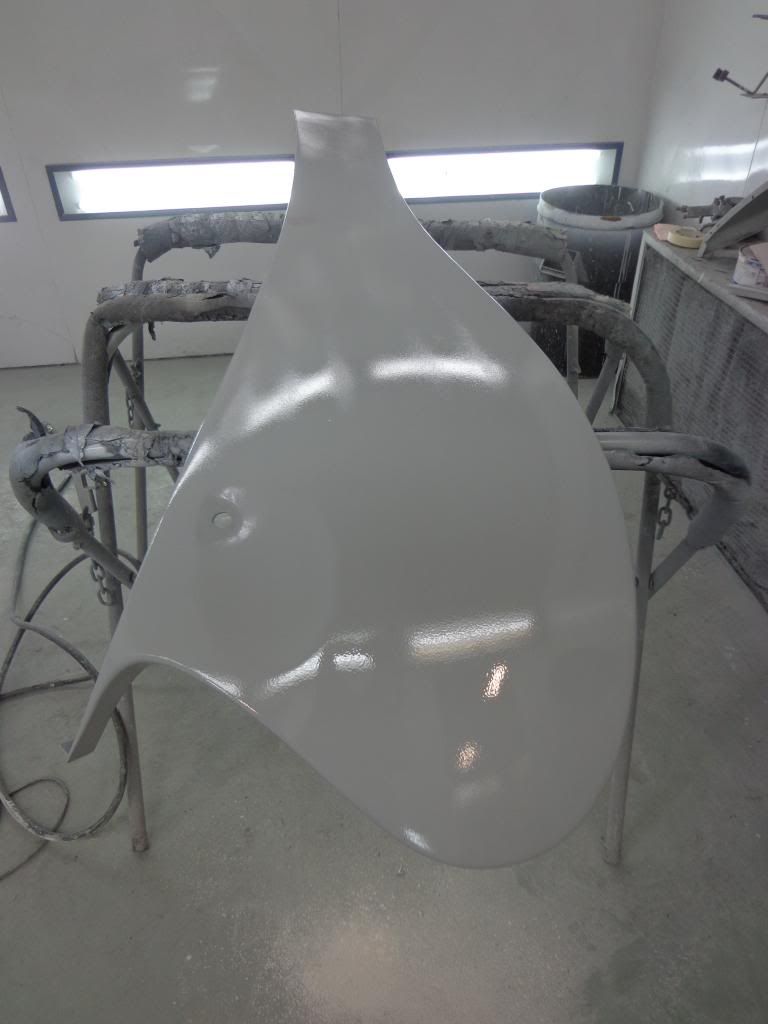
 The primer will be nice and dry tomorrow when it will be blocked down before moving onto the other part's until they are all ready for the first coat of Red.
Looking forward to tomorrow.
See ya Paul
I have spent the day at the paint shop as I am quite friendly with the boss Anthony (holding the wing), so they don't mind me being there, learning the job and helping with the sanding.
The front wings where up first.
I had already given them there first coat of primer so it was just a matter of sanding down and filling any areas that required it.
When happy Mike started the first of 3 coats of primer.
Looking forward to tomorrow.
See ya Paul
No comments:
Post a Comment