
Hi
Last day home today so I have been busy finishing bits off and getting the garage clean.
Had a nice time away shame it snowed.
 |
| Otterburn Castle Hotel |
While away I was thinking about the stainless covering for the step and whether it was the right thing to do; to fit my modified cover running up the wing or to have a regular stainless step.
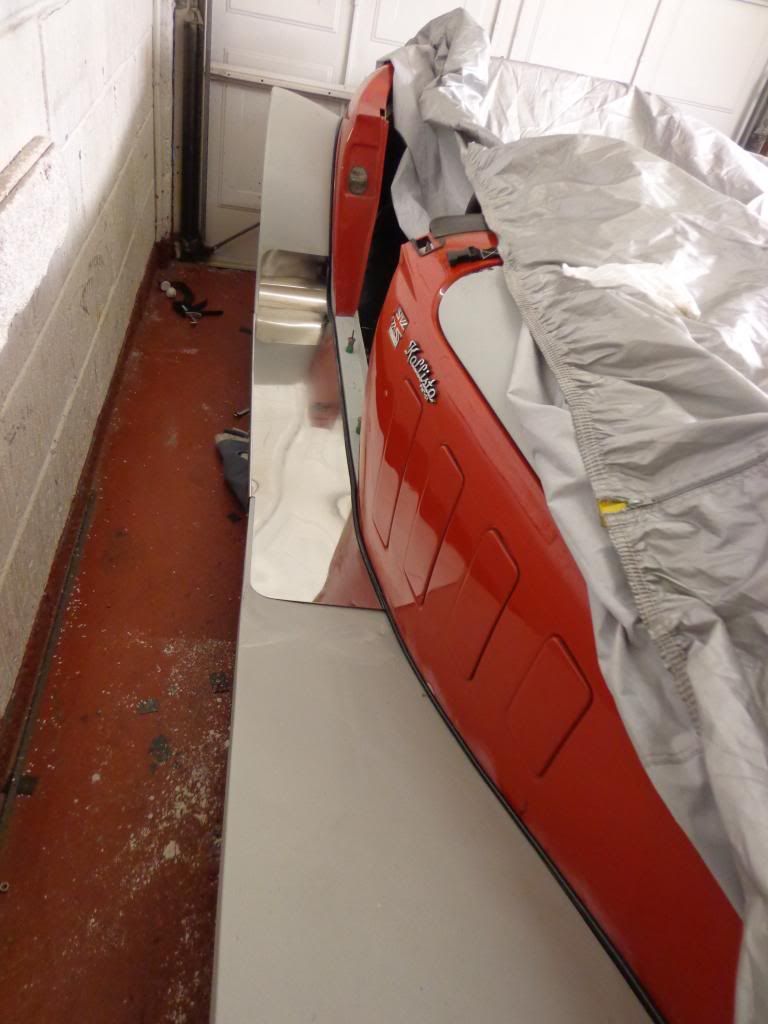
So I made up a normal Kallista stainless step from a piece of thin stainless.
I folded the stainless over the step with my homemade folder and fit in place.
I then had the leading authority on car design look at both and to decide which one she liked and the lady picked the original Kallista design, so what's a man to do; go along with your wife's decision of course.
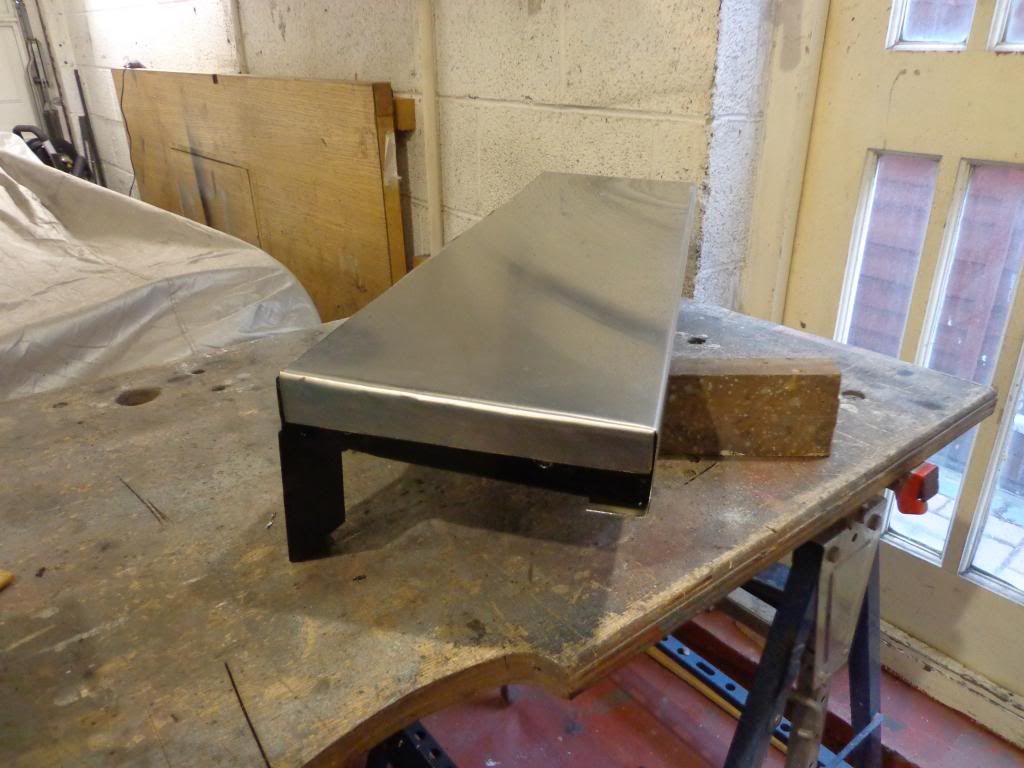
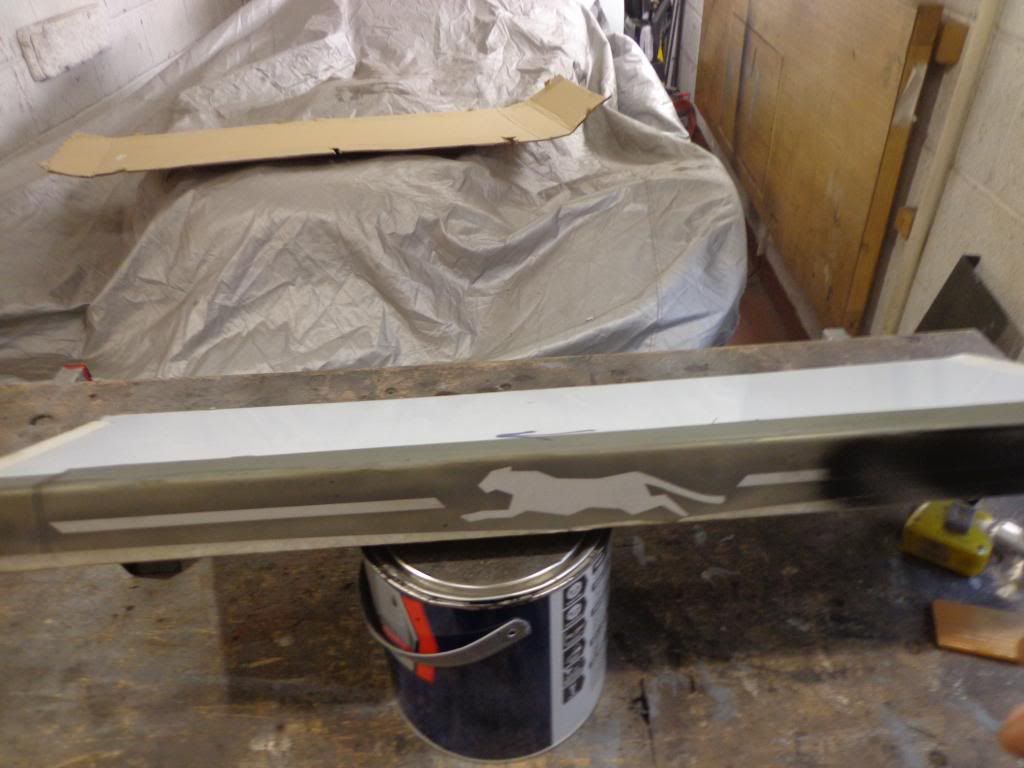
I only had the one piece of thin stainless, so to make the new covers I used the stainless from the modified cover and cut off the sides and the lower part of the front where it folded under the step frame. This meant there was no sides just a top and front, not a problem as this is all you see anyway, I had also made the frame a little wider than the original as the modified cover was to lie on the top of the wing and the extra width was to make up for the sides of the original aluminium cover.
The first side was made and glued on to the frame, I was very pleased with the results and started to cut the other to fit, unfortunately on the last inch of the cut I had a kick back on the grinder and scored the stainless. I was not best pleased and went on ebay to find some more stainless.
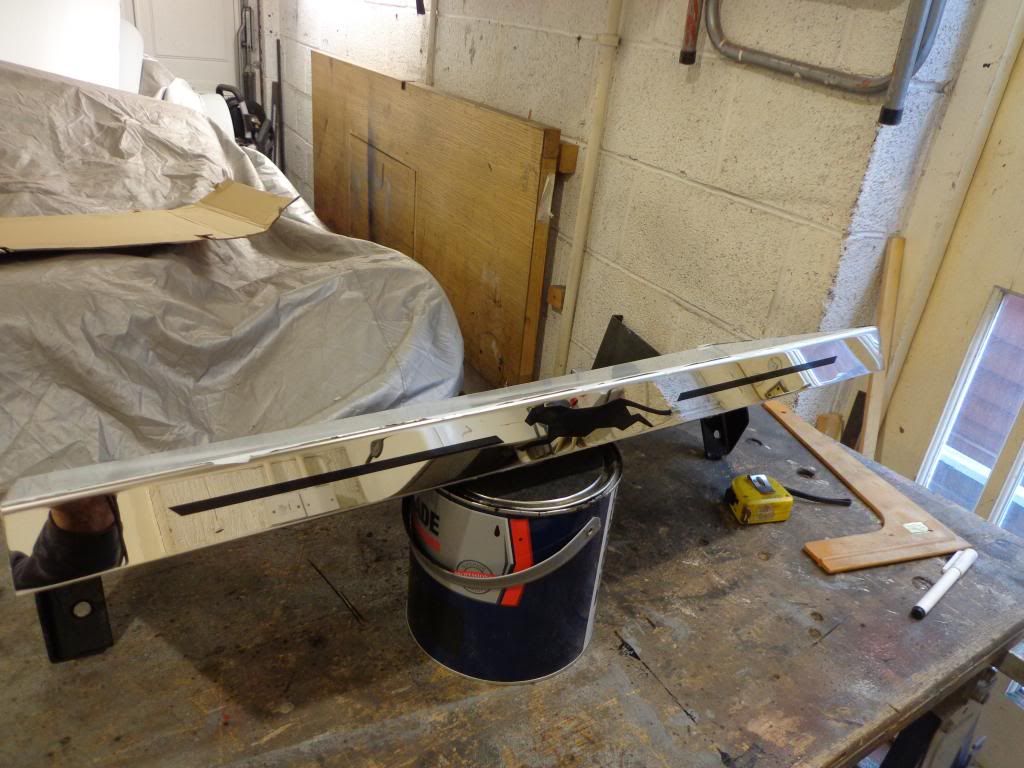
Unfortunately the firm I used before does not sell on ebay anymore, so after a search I found a firm called Inspiredsteel that would cut to size and bend for you, after a few emails I had my order in and it was delivered yesterday. I also decided to change from plain stainless to mirror finish, it was a bit more expensive at £50 inc delivery but not much, as I would have had to pay for the bending as my folder won't handle 1.2mm plate.
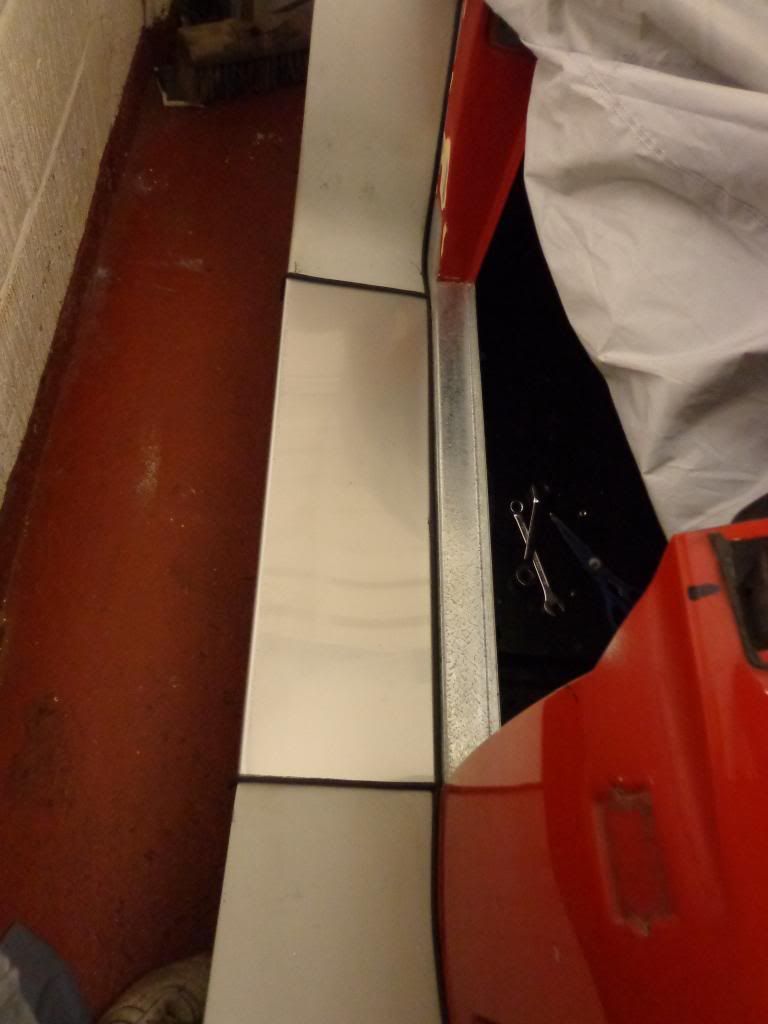
I ordered slightly larger than required so I could grind to fit and used impact adhesive and lots of clamps to glue it together, .
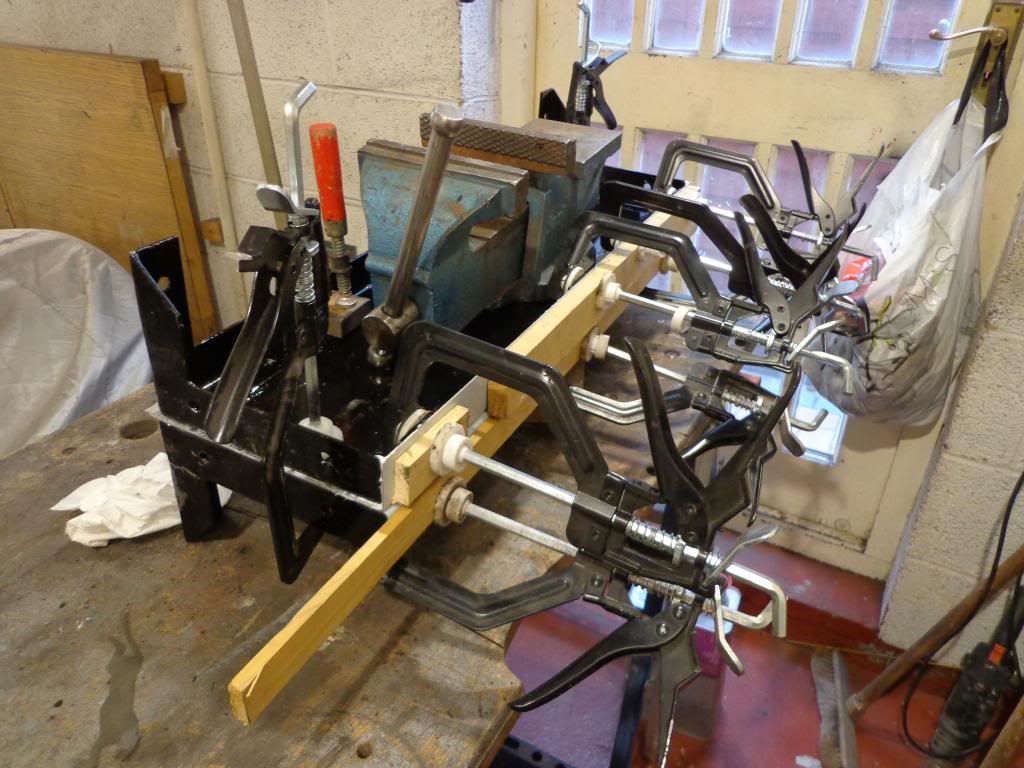
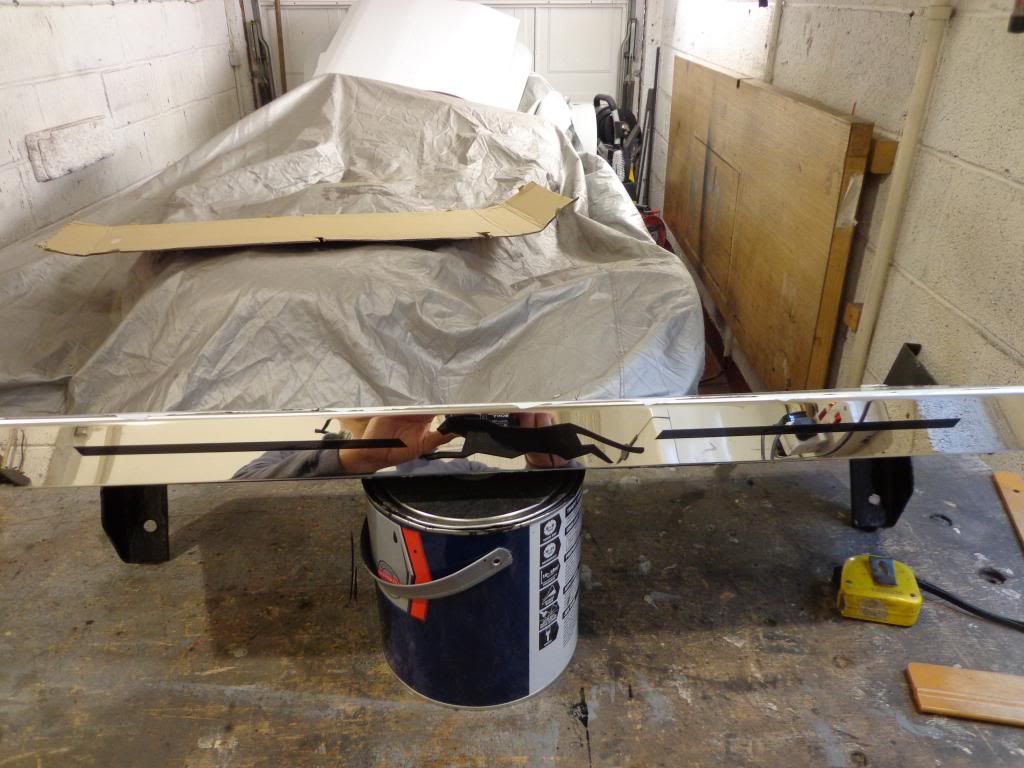
Because of a lack of clamps I laid one step on top of the other and tightened down.
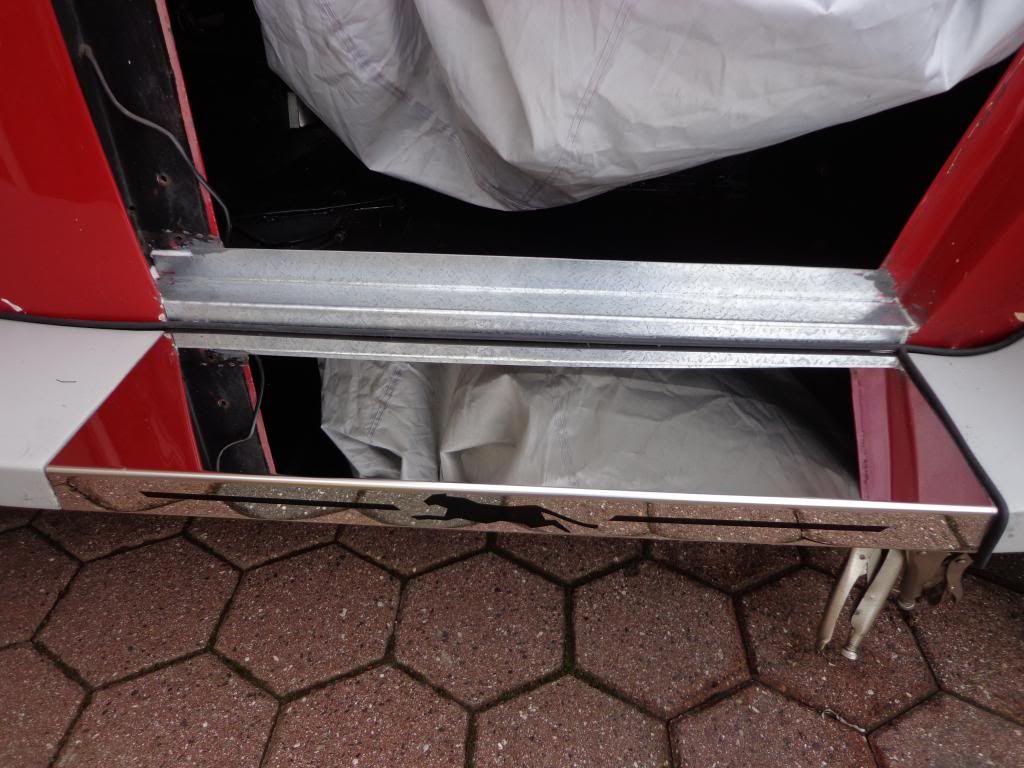
The mirror finish stainless steps would look great by themselves but I thought I would try to make them look a little different from all the others with some art work, I have been etching and coloring glass as a hobby for years so thought I would give it a go on stainless.
For a test piece I scanned the Panther design from the logbook and etched and painted it onto a piece of stainless.
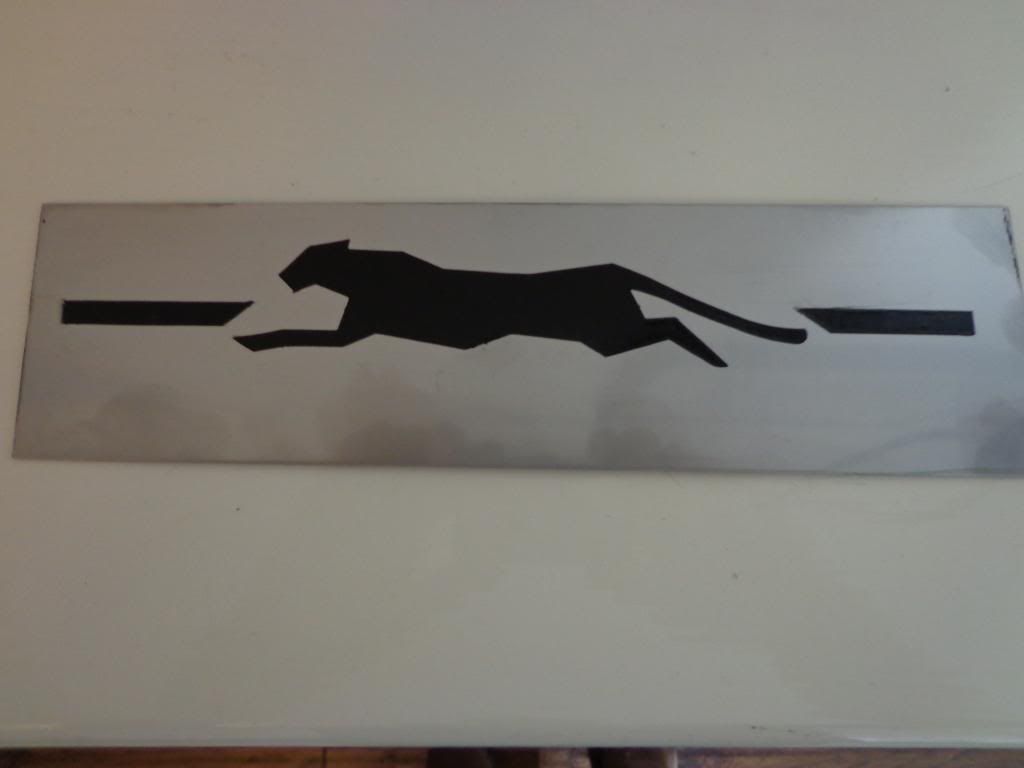
For anyone who wishes to know how its done.
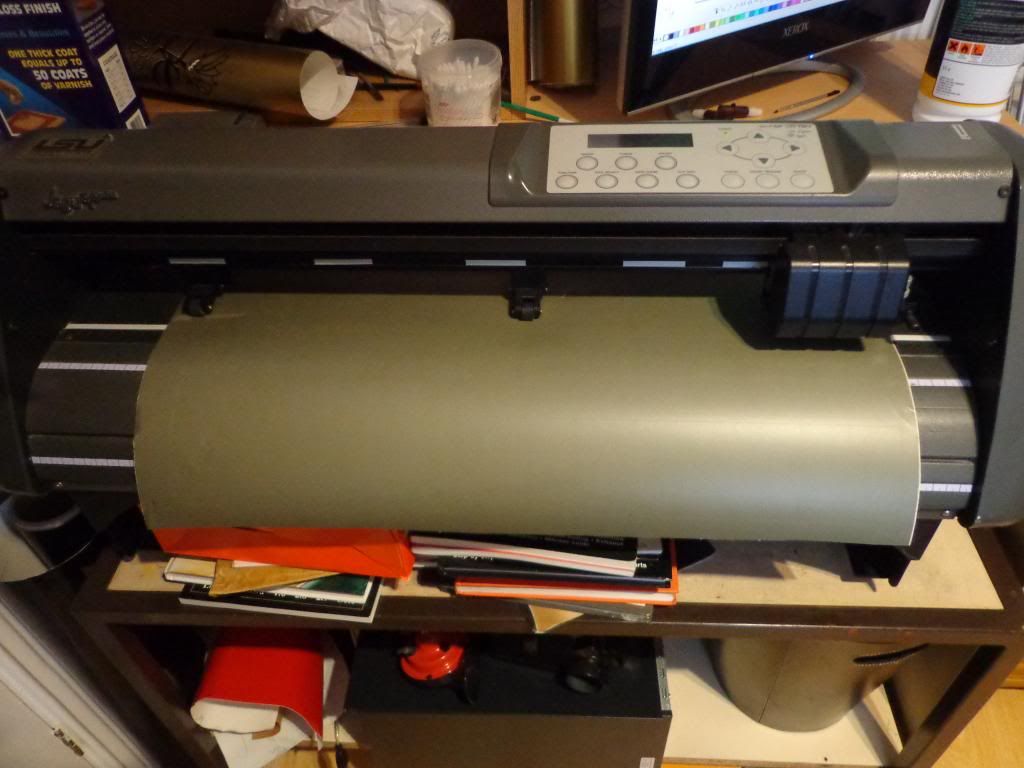
You first scan your design and import it into a design program as a bitmap image then convert it using the program to a vector image, this is a mathematical image as opposed to the bitmap being dots and allows you to manipulate your design. I then drew the stripe lines. Copied and reversed so I had one for each side.

The image is then sent to a cutting machine where the image is cut into a roll of resist.
You can then transfer the resist onto the material to be etched.
The image to be etched is peeled off leaving the resist, you can now blast the design in the cabinet not going to deep but enough to allow the paint finish to be below the surface of the material.
Of course you don't need a computer or a cutting machine to do this, you can draw it out by hand on a piece of vinyl and use a scalpel to cut it out, still need a blaster though.
I then mixed some decent black paint, I had a tin of One Shot pin striping paint which should last a lot of years and airbrushed onto the design.
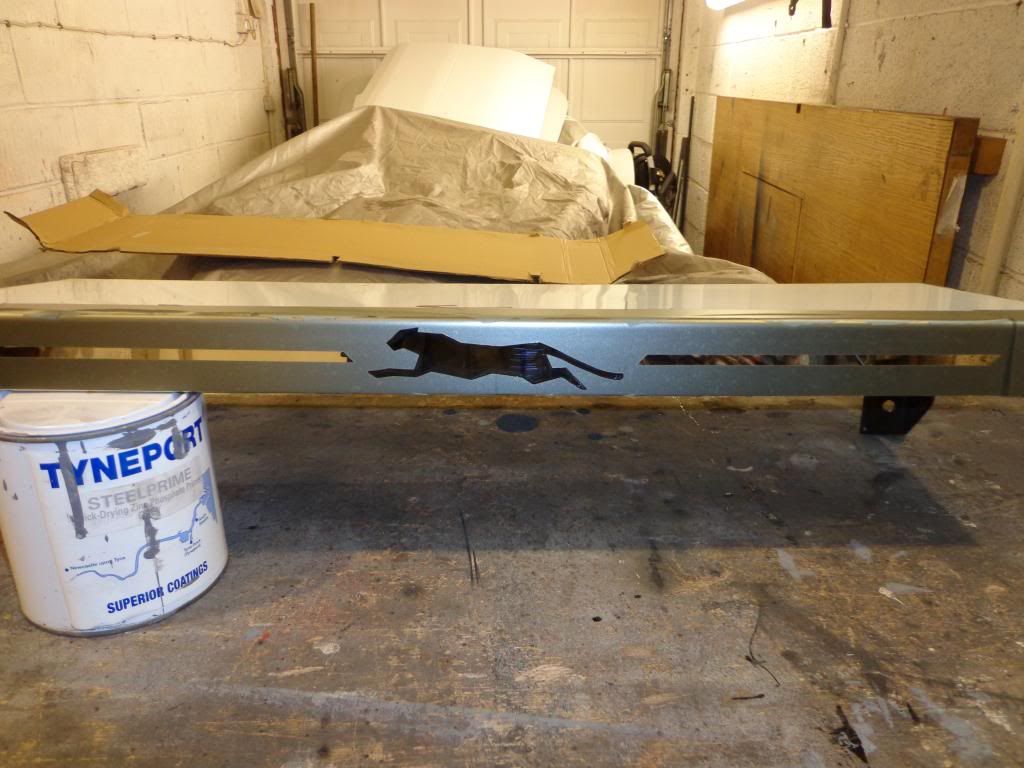
When the resist was peeled off I was more than pleased with the outcome.
Very difficult to see in these photos.
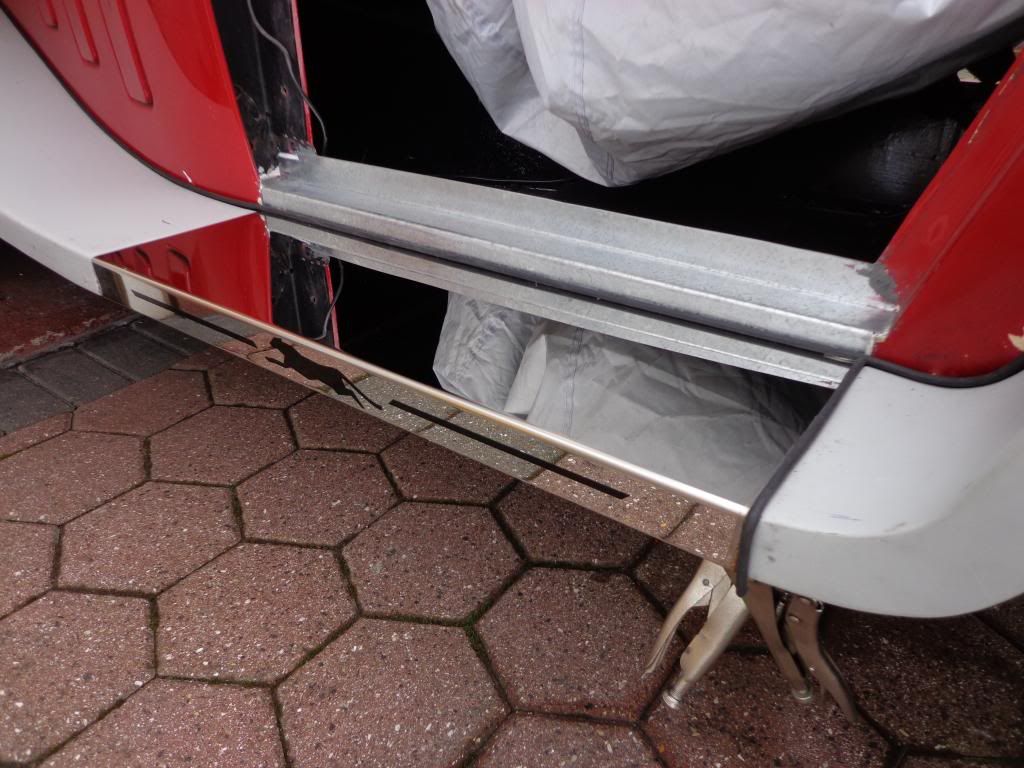
I test fit one side to see what it looked like, I was hoping to use the original separators, unfortunately one of them was broken, must have happened on removal so I had to make my own out of the wing piping rubber.

I shall glue these onto the edge with silicon to be part of the step.
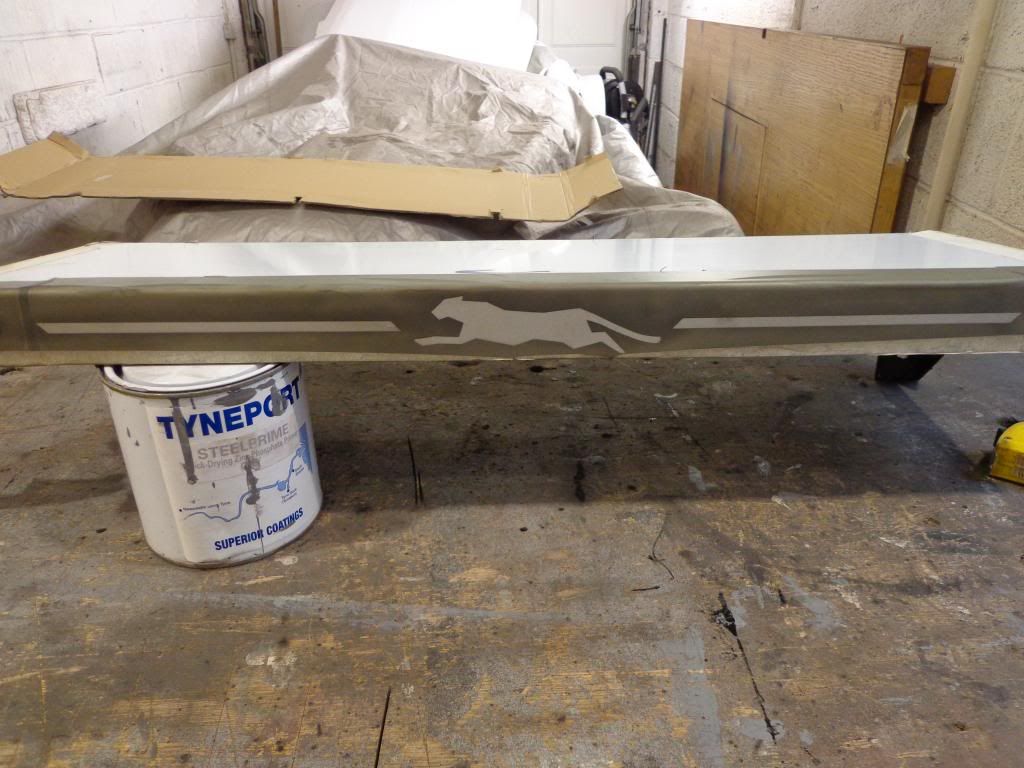
I still need to do a little fettling to get things to fit perfect but it does look pretty good, not for long I bet once its on the road.
I am also thinking of fitting 22mm tread from Woolies in three sections and having the aluminium extrusion colour coded to the body colour, then if any standing is done it's on the rubber and not the mirror finish.
I have taken it back off now and covered it again with vinyl for protection.
Well that's all I have managed this time home, my sound proofing for the scuttle has not arrived yet so I will have to fit that when I return and then it will be almost ready for paint.
See ya Paul
No comments:
Post a Comment