
Hi
Almost finished.
It has taken a while and one hell of a mess due to all of the grinding dust so next job is to pressure wash the garage again and clean my lovely shinny engine bay.
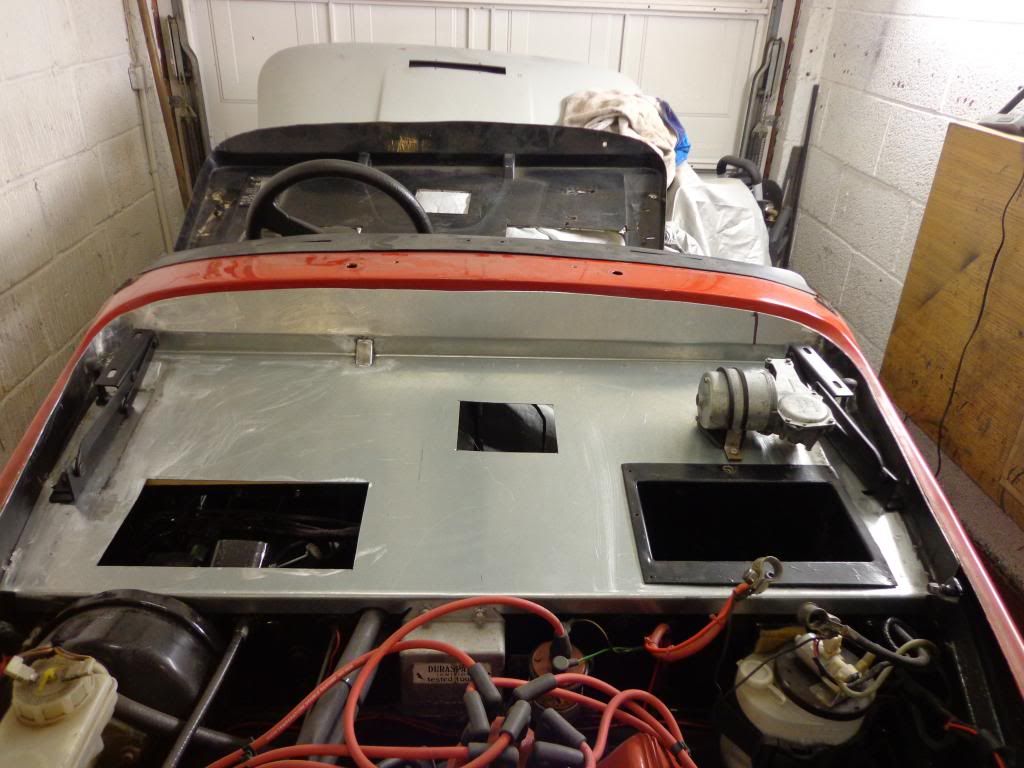
The scuttle fits quite well although if I was to start over I would do a bit of re-designing on the rear section where the back is slightly bent. I can see no requirement for this apart from looking good, what the bend does is to bring the back upright in front of the rear box section frame, so instead of the scuttle being supported by it, it misses it completely.
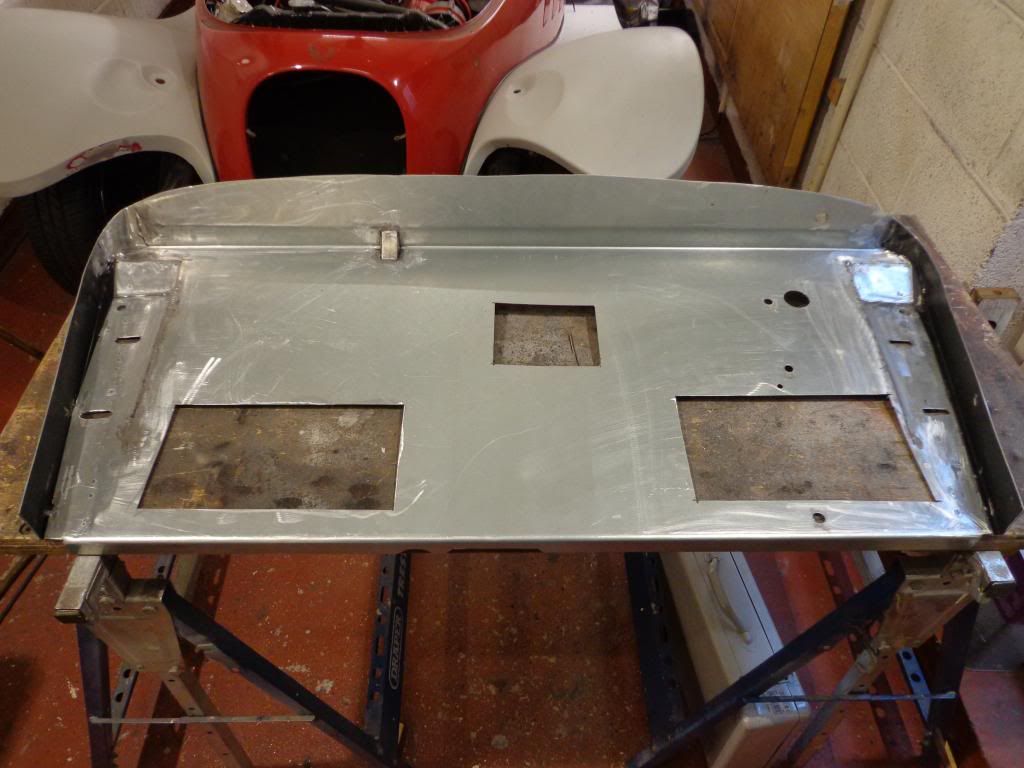
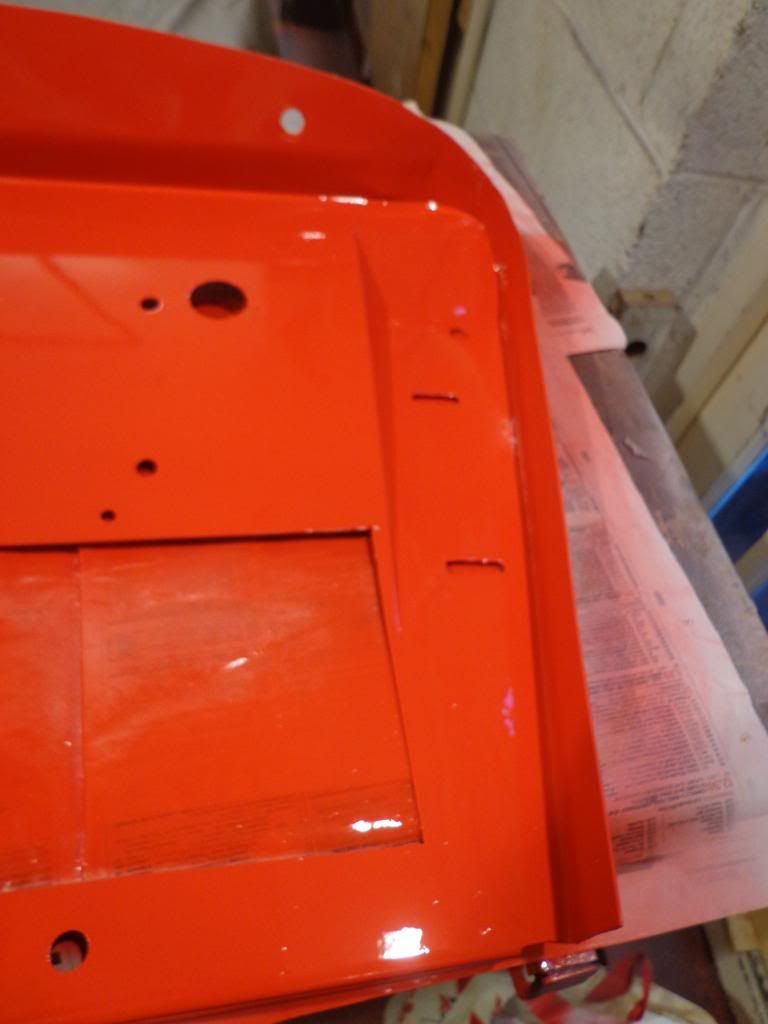
I have spent the last couple of days drilling the holes and slots for bolting the hinges and boxes down, these where just a matter of marking off from underneath and drilling, my slots aren't to great but they will be hidden by the hinges.
I decided against the extra rib in the back as there ain't no one going to see it.
I have fitted the window wiper motor and have figured out how to fit the drive rod.
The drive is fairly easy to strip down, just the 2 nuts to remove from the cover then slide the pipe off, the drive mechanism then simply winds itself off the drive screw.
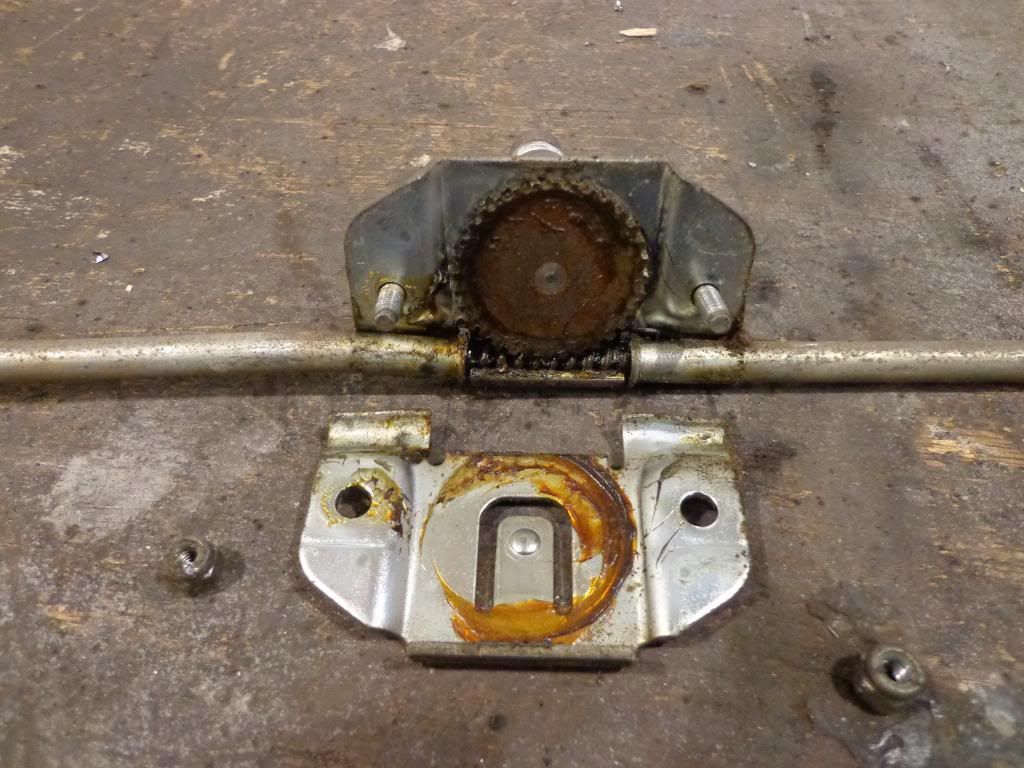
Do the same with the other drive and pipe, and you are left with the flexi drive and the drive pipe cover.
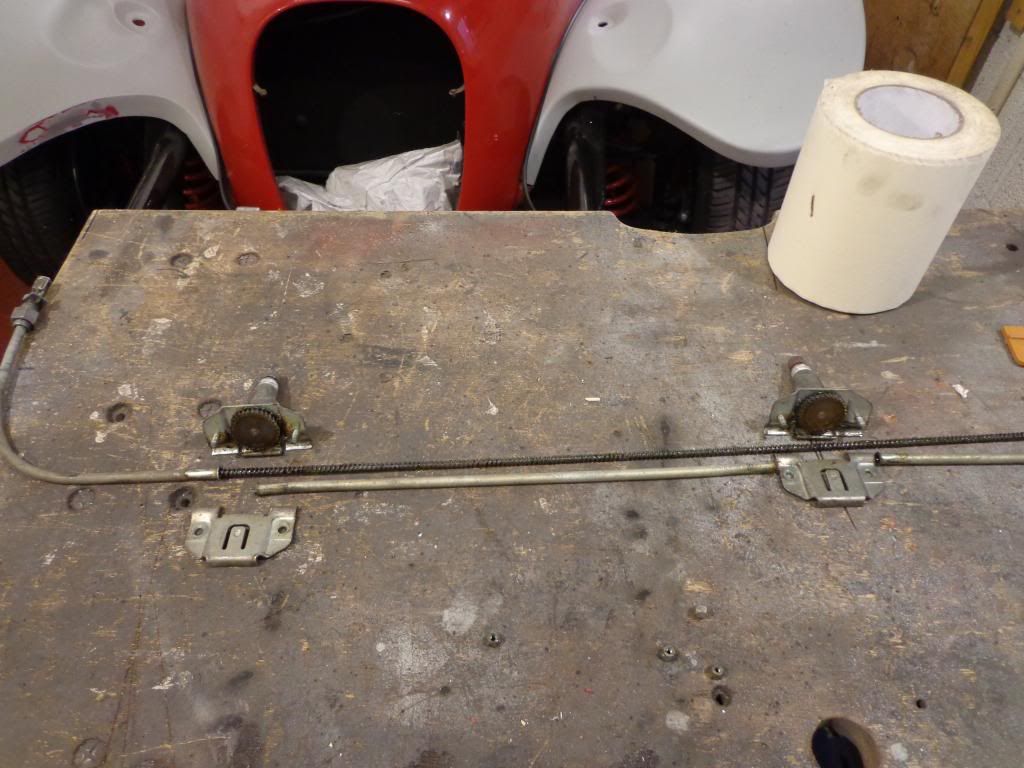
I marked off the scuttle where I thought the drive should go through and drilled the hole a little large as I shall use a grommet to seal the hole. So, when I refit I shall slide the grommet onto the drive pipe, slide the drive pipe through the hole in the scuttle then re-build the drive sections and hopefully get the scuttle to fit.
The power block for the wiper motor is quite large so I shall use the same method as the drive, I have cut a 30mm hole and shall slit a grommet to allow the wires to slide in then superglue it together.
That's the metal work all finished, I cleaned it all up with thinners and mixed up some ally filler and filled the gaps where the sides where fitted and any other areas that needed a bit of help.
Once all sanded then a couple of coats of etch primer.

Its amazing what a coat of paint covers, you would think it was a pressed panel.
I rubbed the primer down and had a search of my paints, the good engine paint I had was mostly used but I found the nearly full tin of Hammerite I had originally bought for the engine but did not use. I set up my spray gear and mixed the paint with thinners then 3 coats later it looked great.
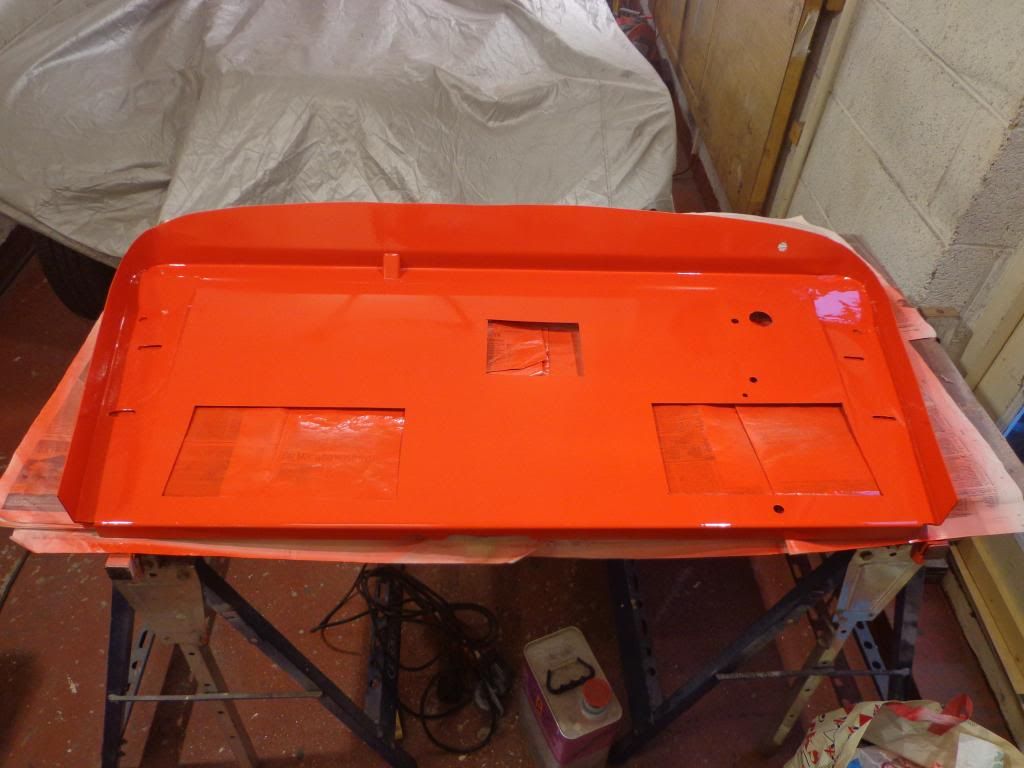
A little bright but the paint is still wet and will dry a little darker and less shinny, I hope.
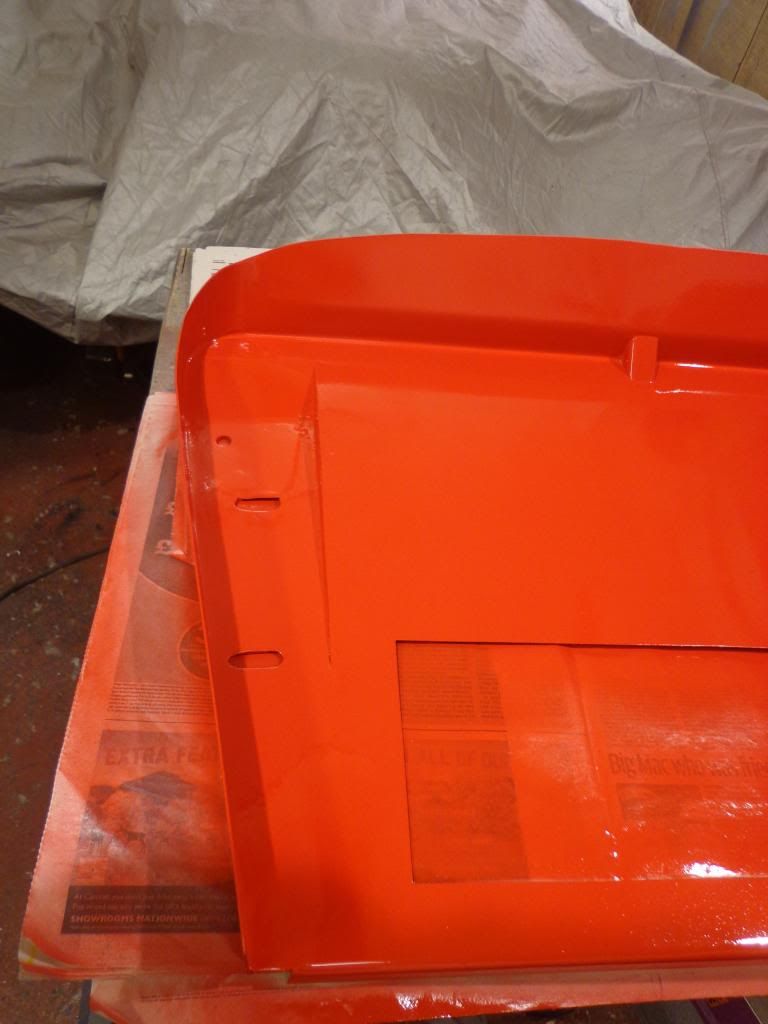
The turned corners look good, no sign of the welding.
See what its like tomorrow when dry and fitted.
I remember when removing the heater just how difficult it was and refitting will be a bit of a nightmare so I am thinking that it maybe a good idea to fit this loose and remove it when the centre carpet is down so as to aid the fitting of the heater, much better access from above. This causes a bit of a quandary as I should have this and the bonnet in place for the spray.
Will have to think on this.
see ya Paul
No comments:
Post a Comment