
Managed to get more time in and have mostly finished the scuttle, although it is not as good as I was hoping for.
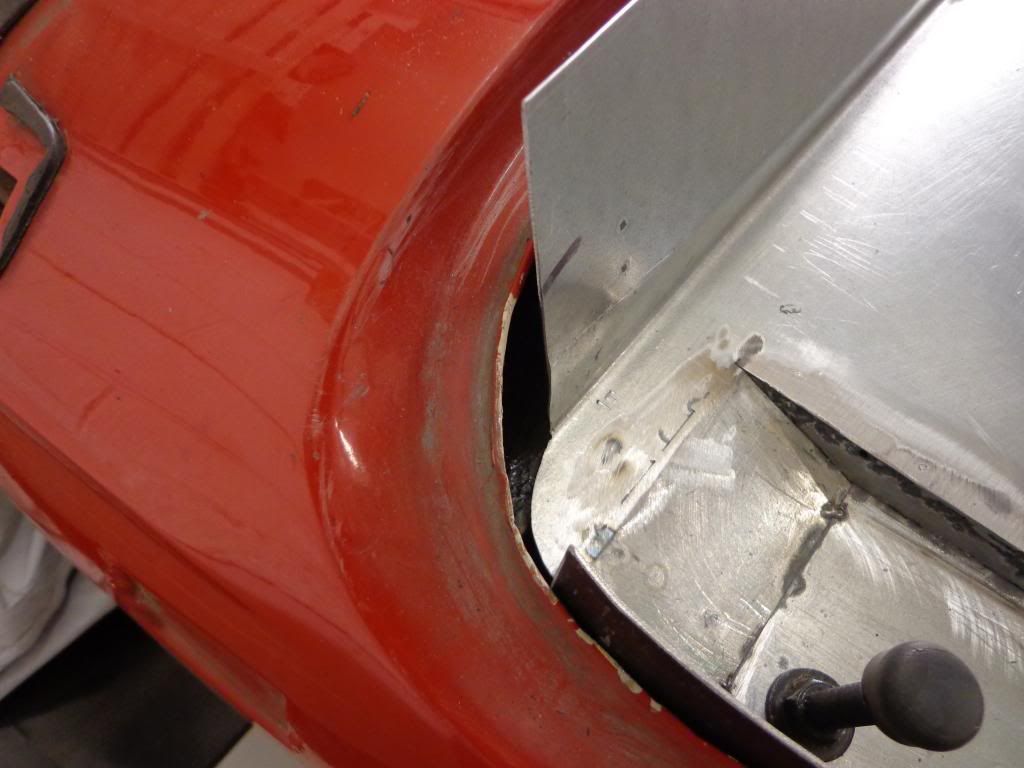
What I suspected about taking the measurements from the original was correct, I am around 15mm out on either side of the back end. I spent some time figuring out how to fill the gap and remembered I had some 90 deg angle framework in the loft which with a bit of work fit quite well.
 I have shaped the end to match the rise in the scuttle and slipped it under the edge.
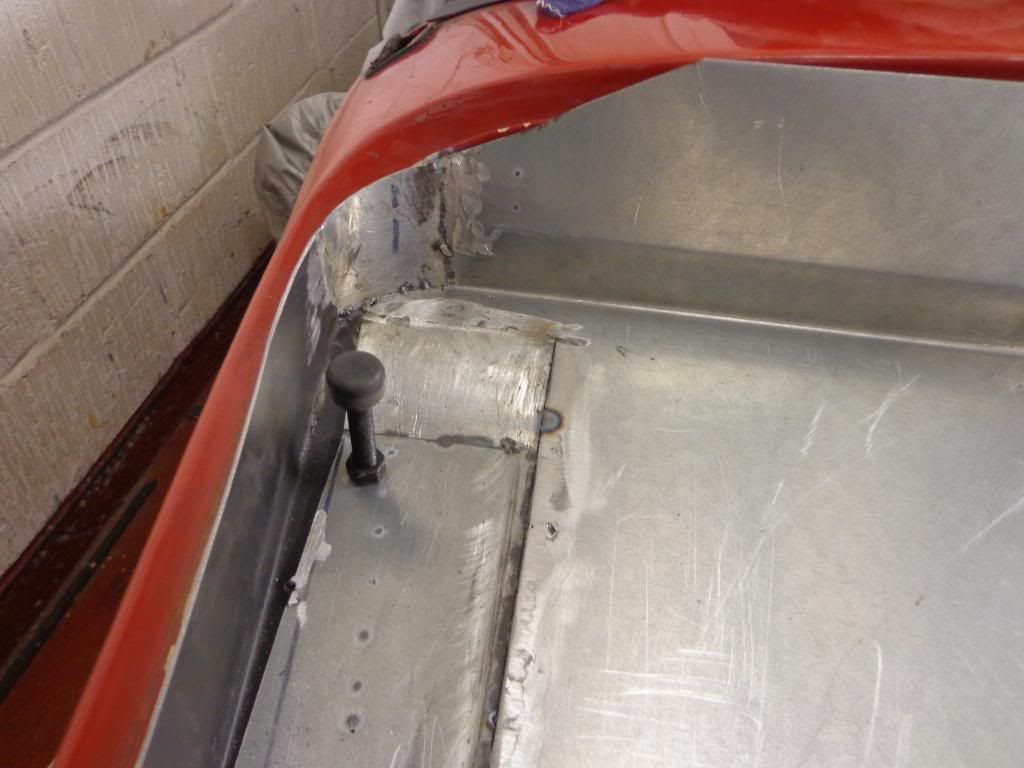
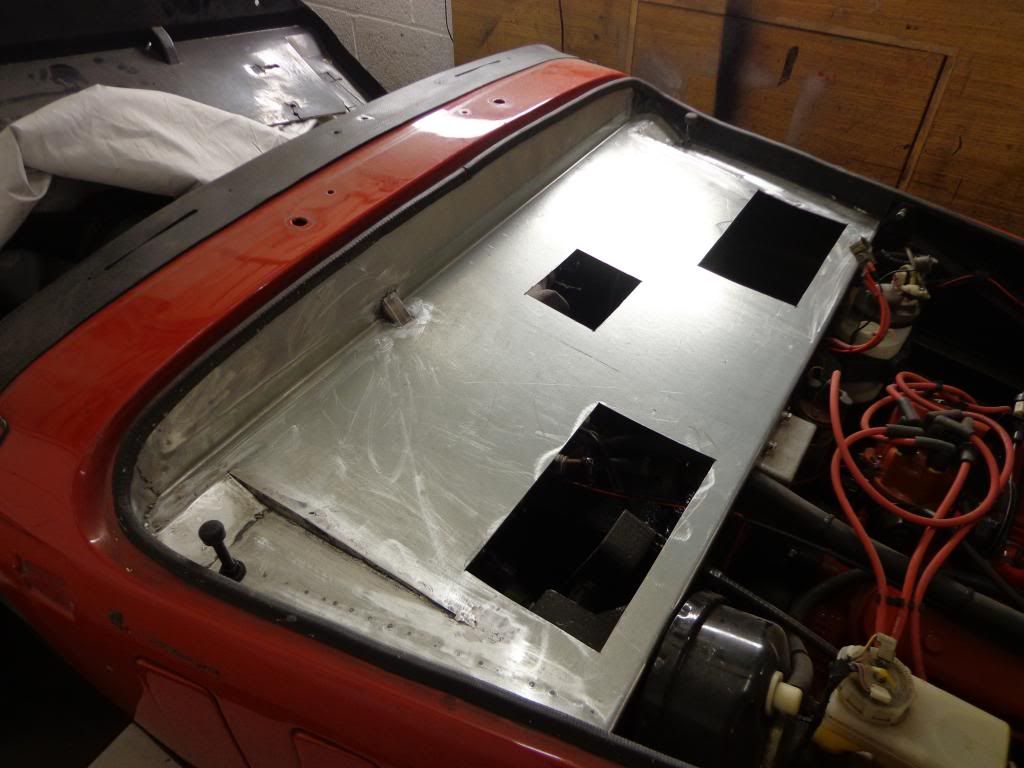
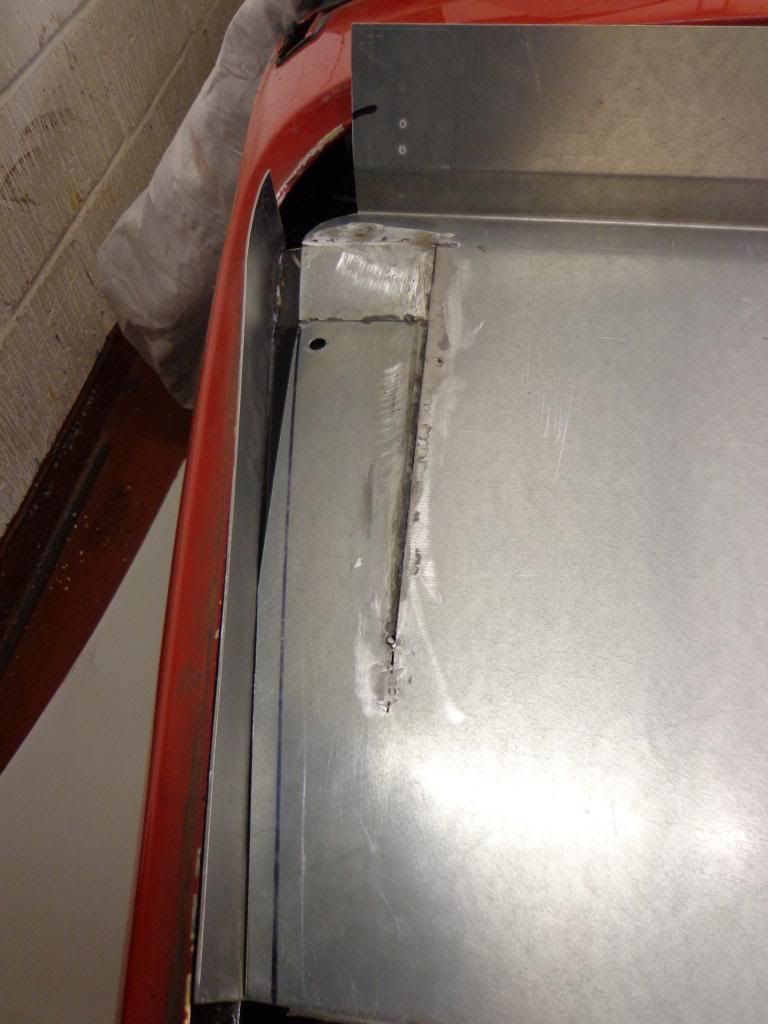 I marked of the scuttle edge first so it was parallel to the angle section and trimmed it off, you can see the 15mm gap on the scuttle base, this method left a gap at the round edge which needed filling.
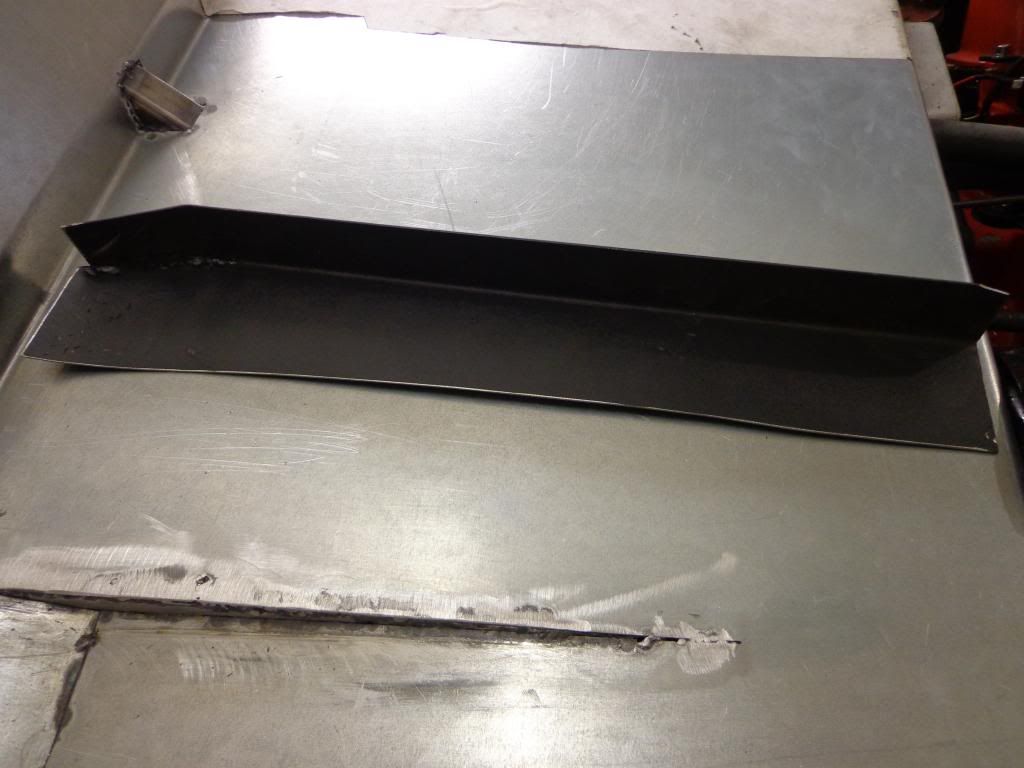
I bent and beat a piece of plate over a pipe until it filled the gap and tacked into position, to get it to fit easier I made the transition between the new section and the back of the scuttle by flattening the angled back section.
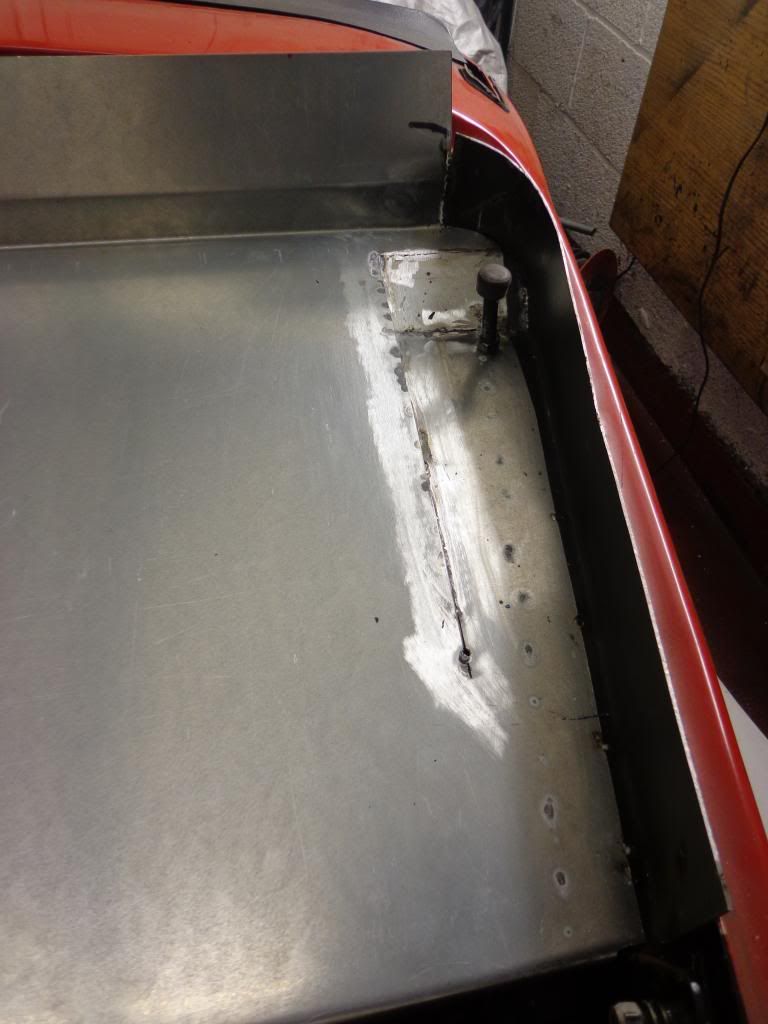
 Once tacked I removed the scuttle and welded and filled in any gaps.
 It fits quite well and cleaned up Ok.
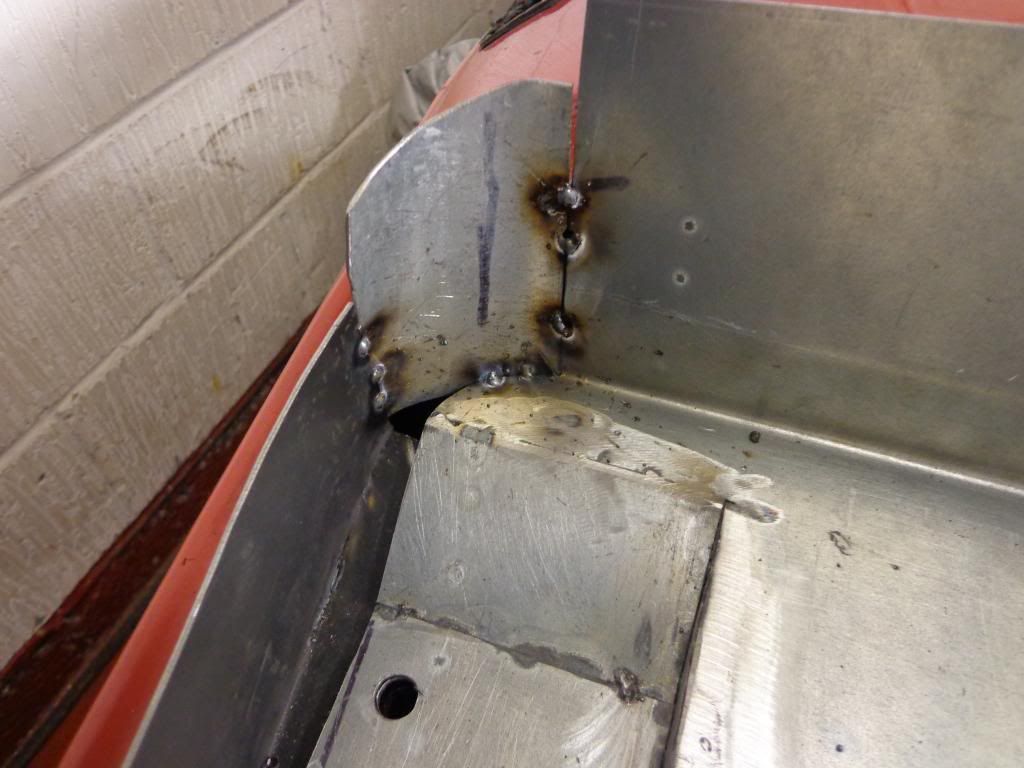
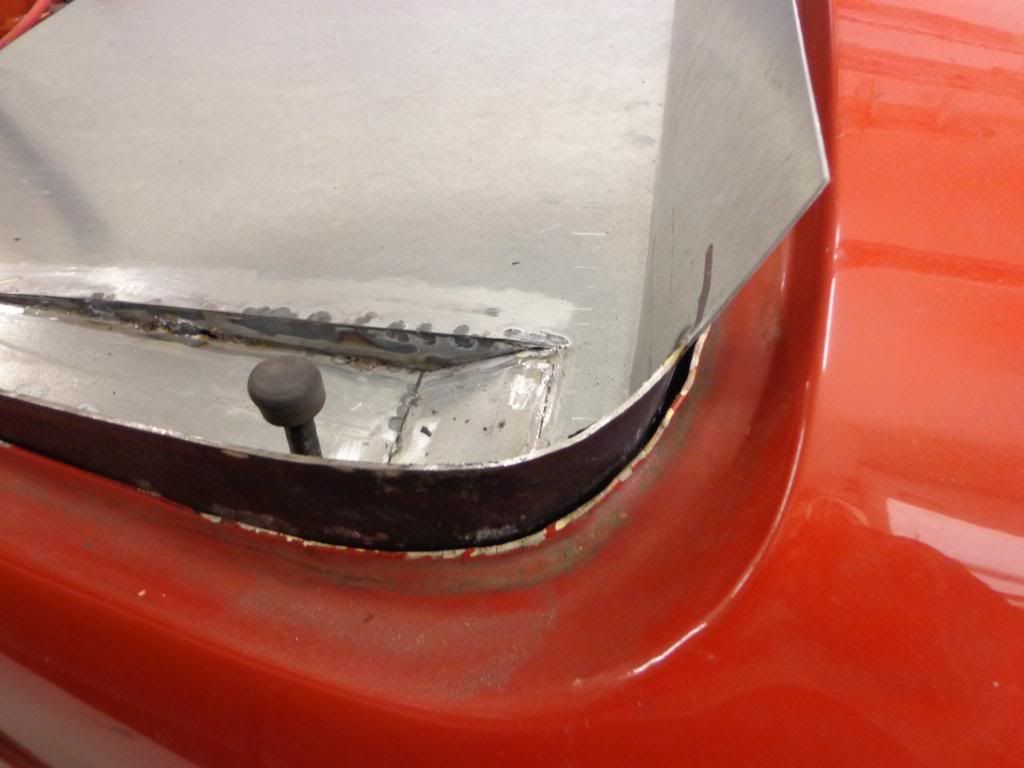
When I started the other side I realised that instead of making the angle iron infill in two sections I could make it in one, so I left it quite long and with a bit of trimming and bending I manged to get it to bend and fit quite well.
 As you can see in this shot it fit quite well.
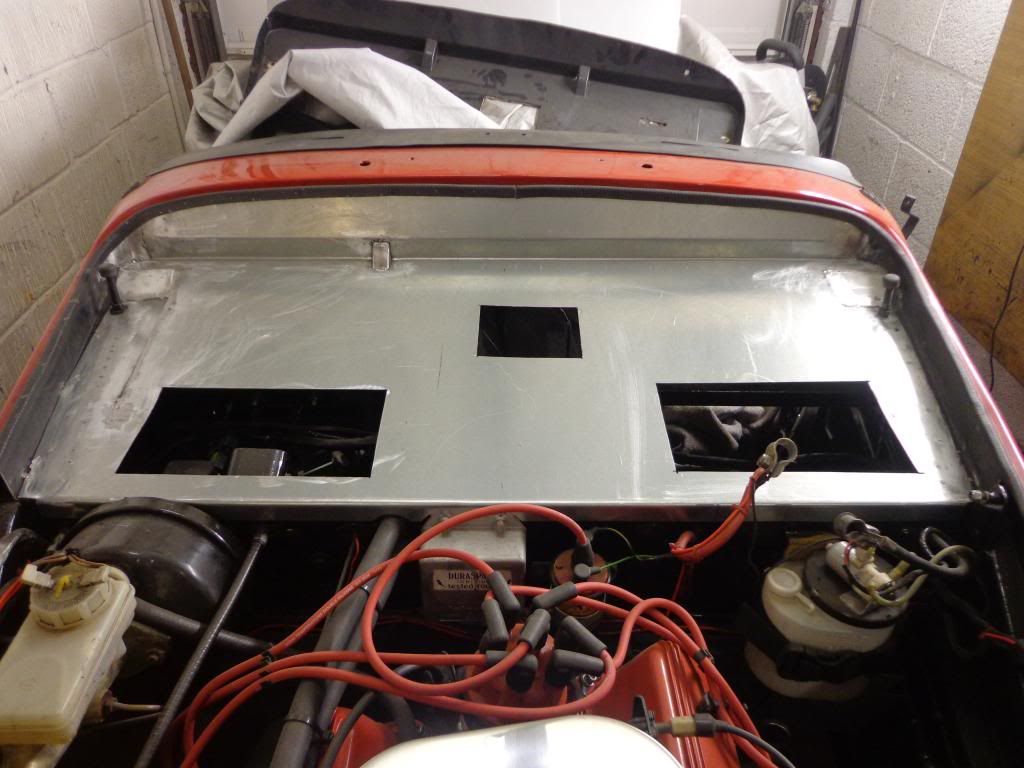
 When I was happy with the fit I welded it all together and cleaned it up, I then marked and cut all of the cutouts from the original and fit in position.
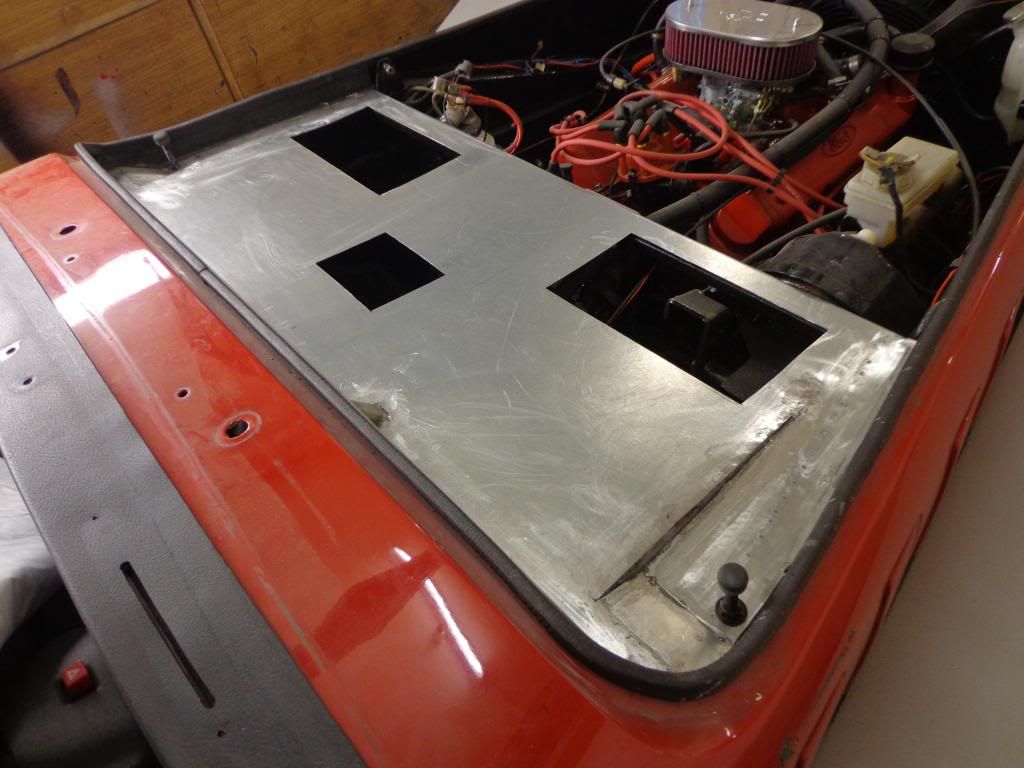
I marked all the way around the back and sides and trimmed the excess off, you can see it fitted with the trim in position around the edges.
 It is basically a perfect fit but still not quite as good as I was hoping for mainly because of having to fill in the side's but still not the pigs ear I was expecting.
It was to have been powder coated but I have decided against this as I am going to use filler on the edges where the angle iron fits underneath and then sand smooth.
 I have also ordered some 2mm soundproofing for the underside to stop any rattling.
I bent and beat a piece of plate over a pipe until it filled the gap and tacked into position, to get it to fit easier I made the transition between the new section and the back of the scuttle by flattening the angled back section.
When I started the other side I realised that instead of making the angle iron infill in two sections I could make it in one, so I left it quite long and with a bit of trimming and bending I manged to get it to bend and fit quite well.
I marked all the way around the back and sides and trimmed the excess off, you can see it fitted with the trim in position around the edges.
It was to have been powder coated but I have decided against this as I am going to use filler on the edges where the angle iron fits underneath and then sand smooth.
So tomorrows jobs are to drill all of the holes before priming and painting, a nice red I think to match the engine.
see ya Paul
No comments:
Post a Comment