
Well a full day today and a good email from Terry B, when I posted yesterday saying that the reverse light twists off well that was a little fib (it came of in me and guv Honest). It appears that my car suffered from a common fault in that the plastic connection on the reverse light breaks, when I first got the car home and tested the lights the reverse light was not working then. So it seems that when I tried to remove it yesterday it came off rather easily, I have just bought a new one on Ebay £11 inc p+p Ford Capri reverse light switch to fit Mk3 2.8 I will post a picture and order number when it arrives.
On the Bush front, I have called Cat at Floflex who said the bush model is perfect for a mold but can't be made until after the new year, not a problem as I will be away after Christmas and won't be back until a few weeks into January also the cost is £50 so; so far that's £76 inc P+P. Also on the bush front, I have been informed by Terry B that not all Kallista's have the same size bushes. I don't know whether this means early 2.8's or later one's or 1.6's or 2.9's, mine is an 86 and the sizes are posted on the previous blog so if you require bushes then take a measure if the chassis side is 48mm external fit and the arm size is around the 34.5mm internal then they should fit and I think they will be charging around £13 a set but to be confirmed.
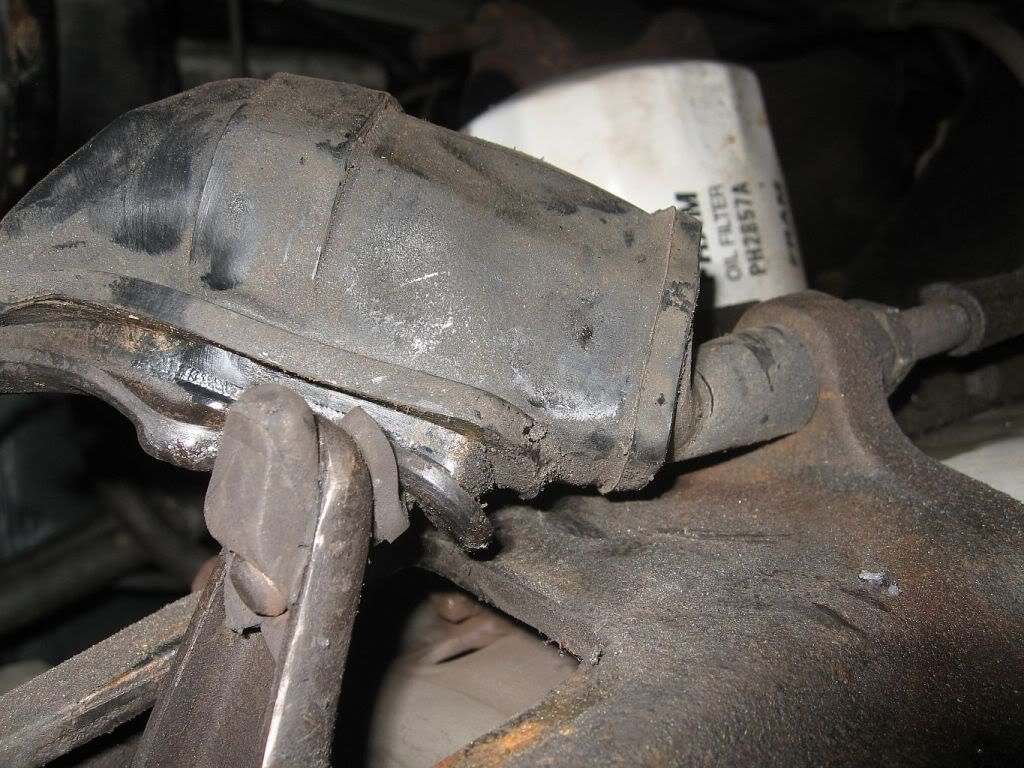
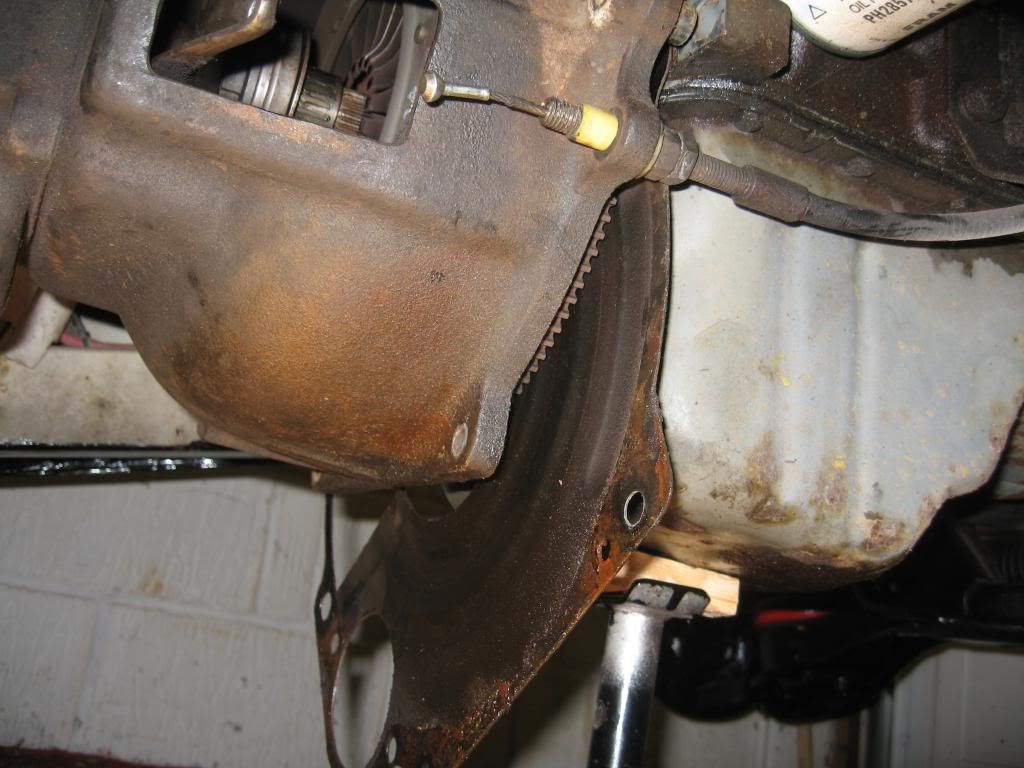
The rest of the day has been spent removing the gear box, the first job was the fork gripper, after I figured out how to remove it; now its off I shall spend the next 6 months trying to figure out how to refit the damn thing.
First, pull back the rubber boot protecting the fork hole, once this is off you can see the fork gripper.
 |
| Fork gripper & rubber boot |
Now this took some looking at to figure out how to remove it, on close examination you can see from the back a key hole cut out. The button end of the cable slides through the large hole and slides up the key, the gripper is slotted on and the rubber is pushed through the keyhole locking everything in place. To remove you need to use the play in the cable and the forward movement on the fork, I found it easiest to clamp the clutch pedal in the forward position under the fuse box which saved me having sore finger from pulling it.
 |
| Clutch pedal clamped |
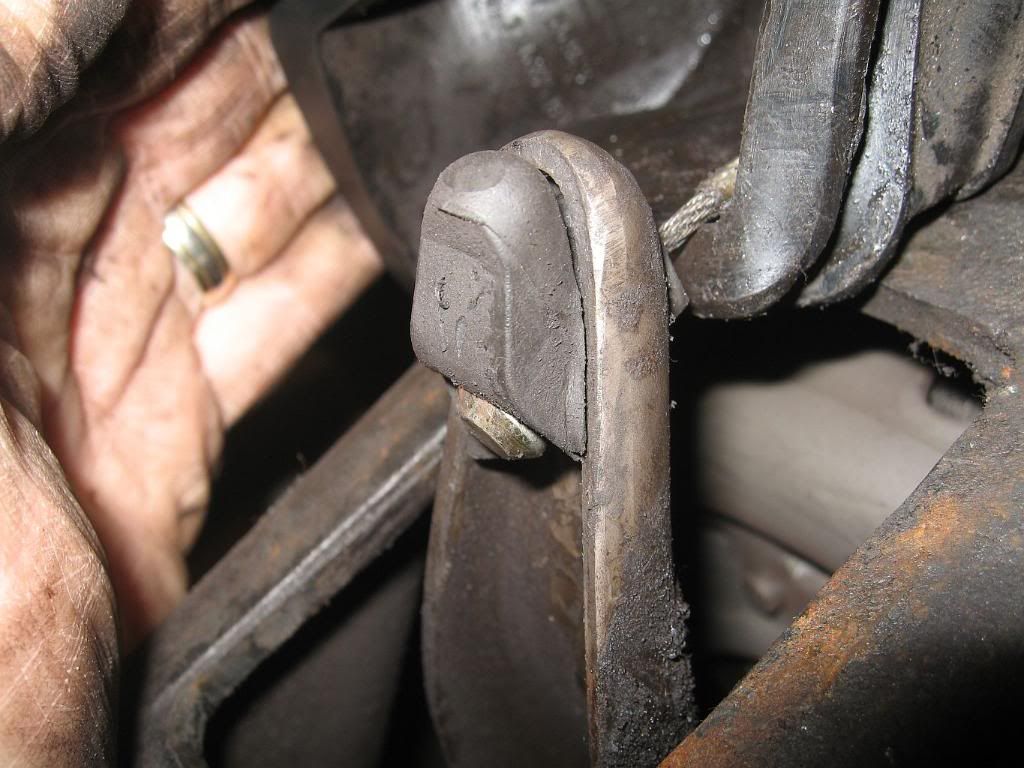
This alows the gripper to be pulled from the keyhole it is then just a matter of turning the gripper and sliding it off the button, which can then be slide out of the large hole.
 |
| Freed cable |
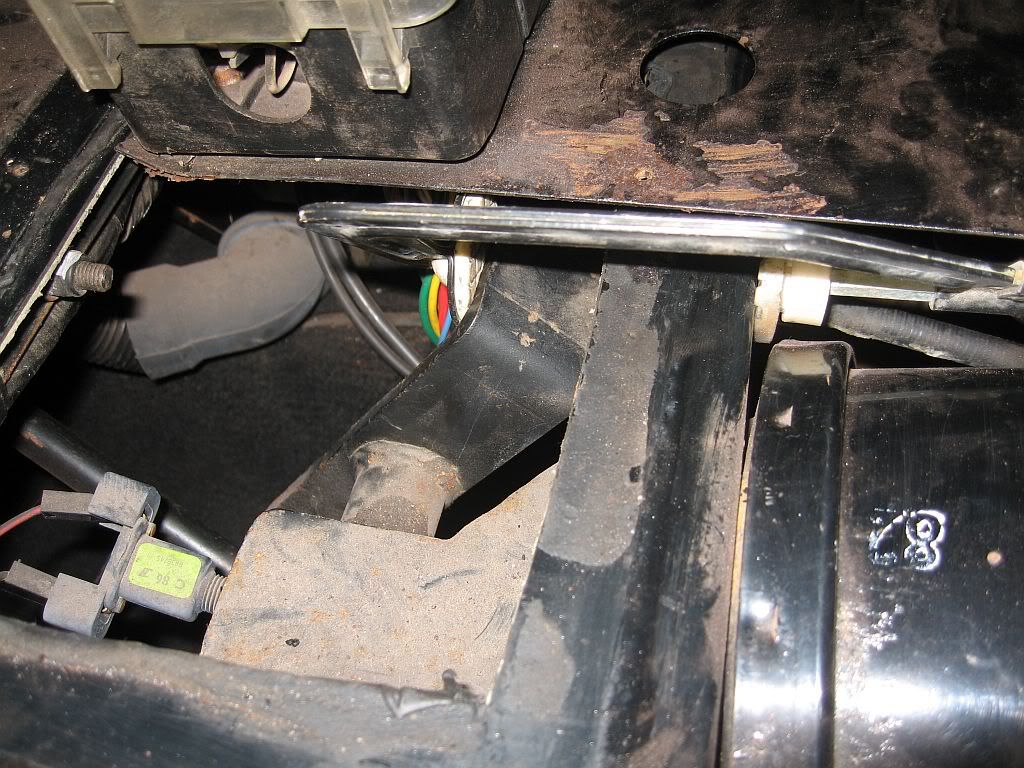
The cable is also fed through a very tight plastic bush to hold it secure during operation, mine needed to be jacked out of the bush using the lock nut used to hold it secure, of course I forgot until I had pulled of the bell housing, typical.
 |
| Clutch holding bush in orange |
Next was the removal of the gearstick, I know from reading Terry's how to; that the carpet needed to be removed to access the plate riveted onto the tunnel under the gear stick rubber. So first I removed the seats which are now sitting in the loft, this was quite a simple operation just slide all the way forward and back to reveal the allen hold down bolts, then the seat belt anchors. Once I lifted the carpets I realised that the whole center console had to be removed as the carpet runs all the way thru to the front pedal area. I'm afraid this was to much for me, I know it will have to come out eventually but not today, so I'm afraid I did a bit of a bodge job.
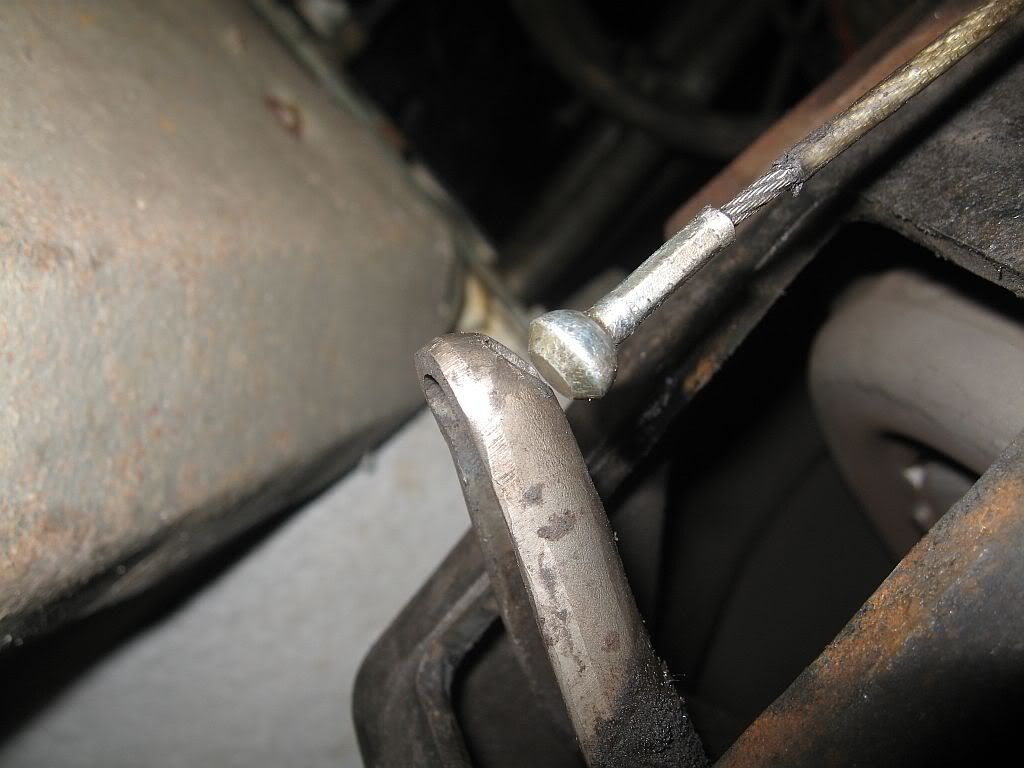
After lifting the gearstick rubber I could get to 2 of the torx bolts but the third was just covered by the cover plate so I'm afraid I got the drill out and managed to cut out sufficient metal to get the torx key in. The gearstick lifted free but had to be pulled clear from below, I'll worry about the refitting later.
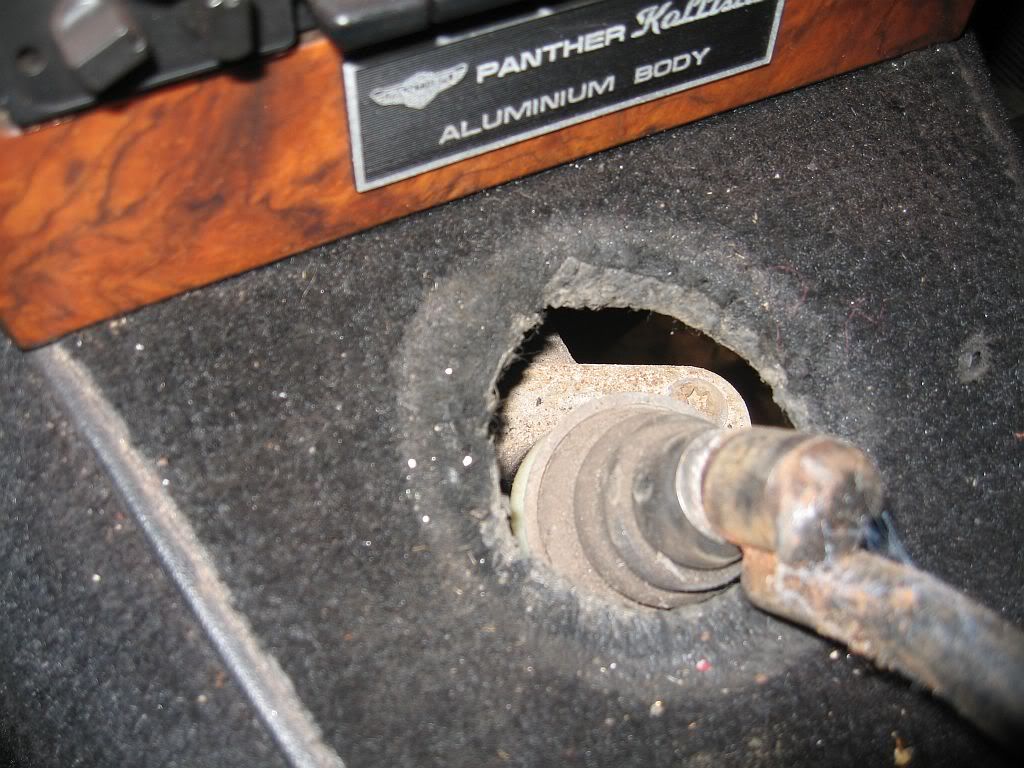 |
| Access to torx bolts |
I could now set the jack under the gearbox and start removing the bell housing bolts, I also set a stand under the engine sump to keep the engine in the correct position once the gearbox is pulled.
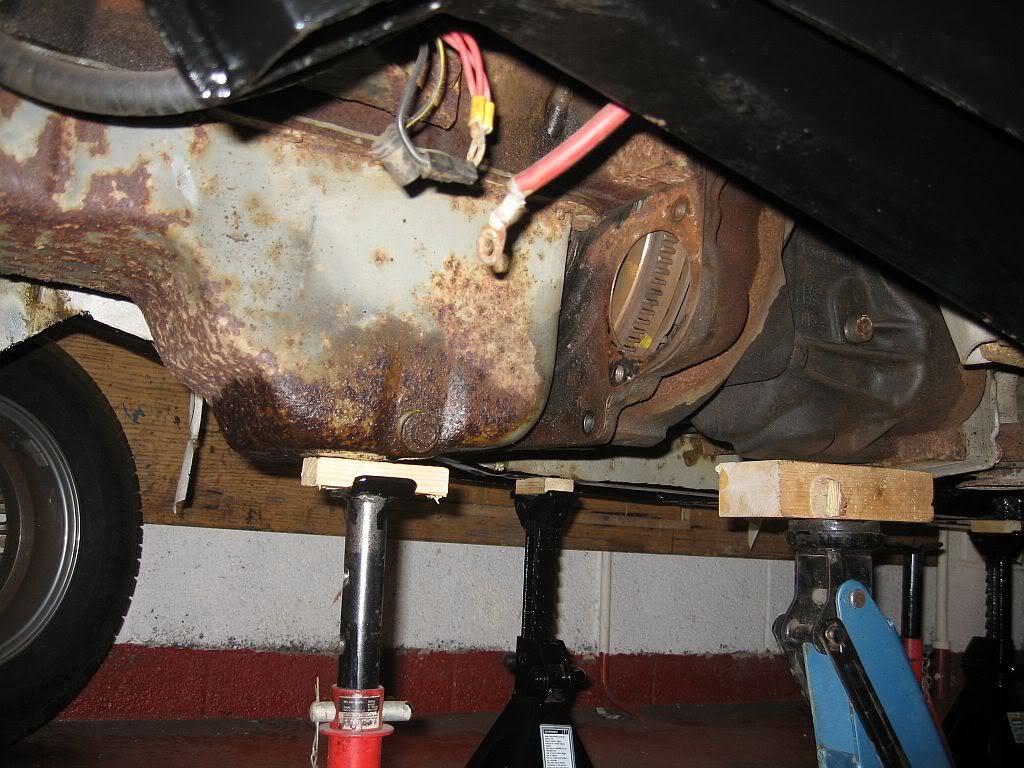 |
| Sump held |
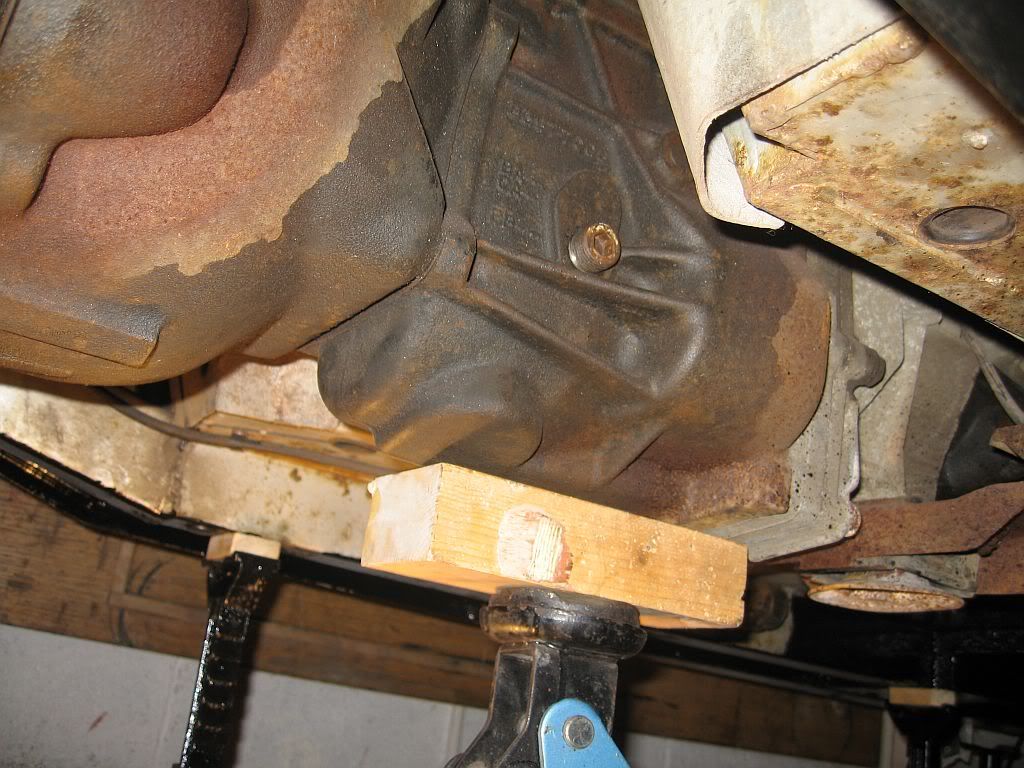 |
| Gearbox held |
I took the advise of Terry and slung a strap under the rear end of the gearbox through the stick hole and secured with a hammer shaft
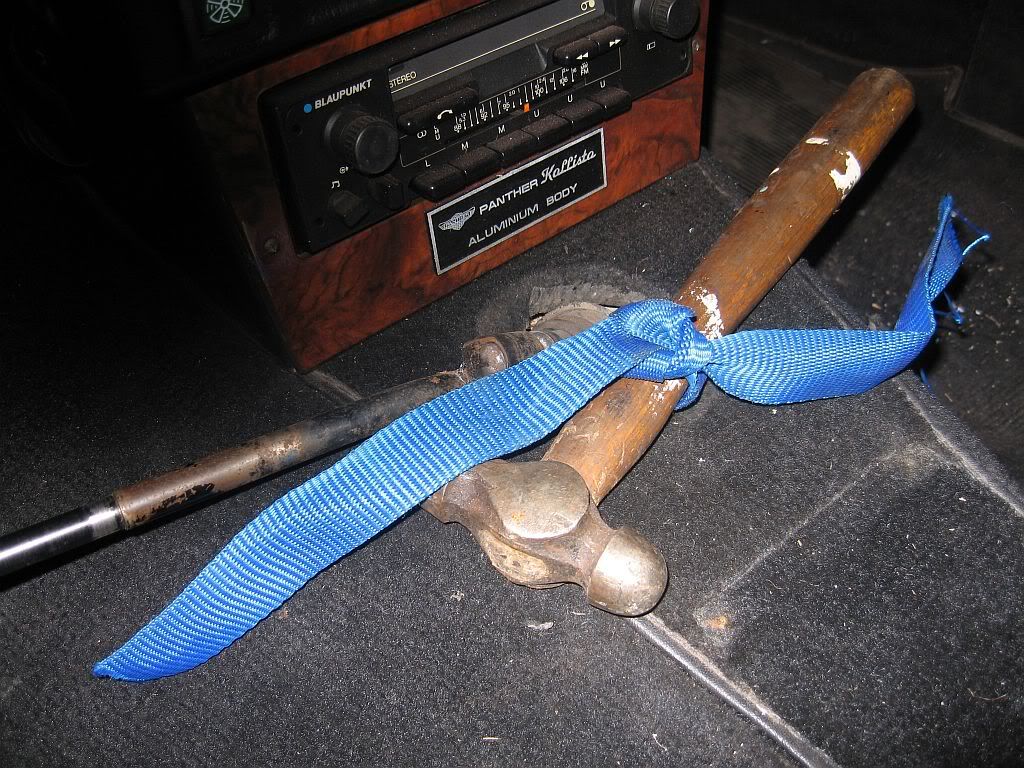 |
| back end of gearbox secured |
I next removed all the bolts around the bell housing but left 1 bottom bolt in its hole just loosely tightened, I then undid all 4 bolts holding the cross member and the gearbox was ready for removal, strange thing; as one of the top bell housing bolts was missing. Wonder where that went.
Using a large screwdriver I was able to lever the bell housing away from the engine quite easily, once it started to move I removed the last bolt and went under the back of the car and eased it out. Once the front was clear I removed the strap and gently lowered the jack, this was possibly the easiest part of the whole operation as it just pulled out from under the car and through the tunnel space.
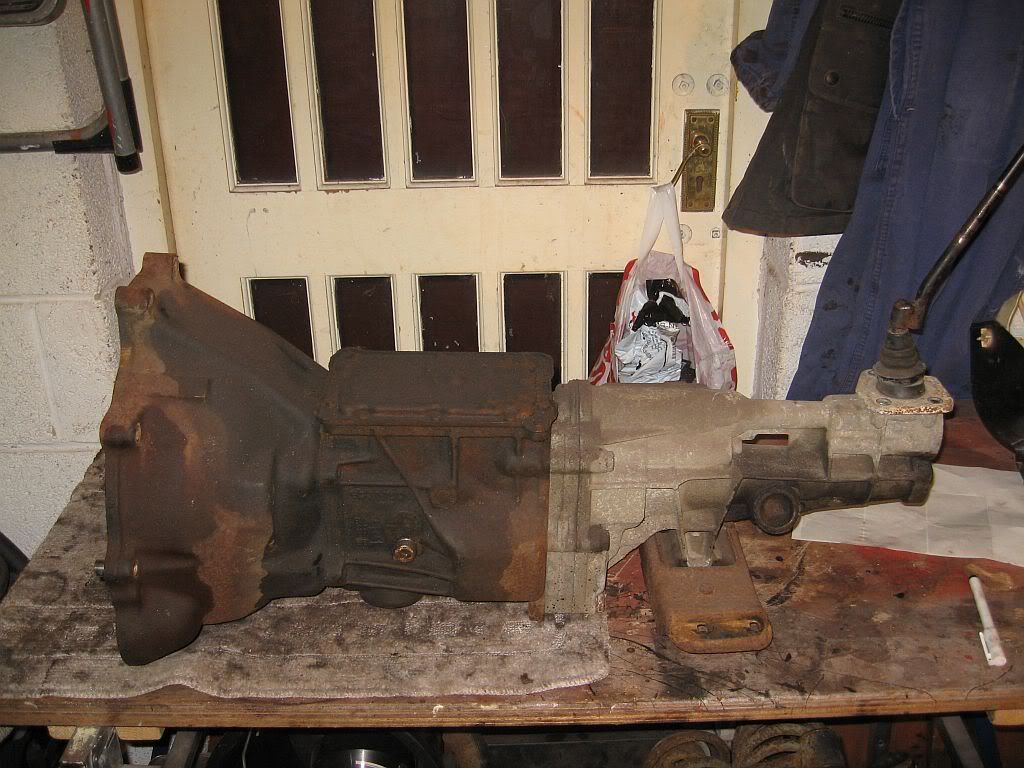 |
| Ford type 9 gearbox |
Now that it is out I can try and find out where all the leaks are from, by this photo it looks like the top cover is leaking.
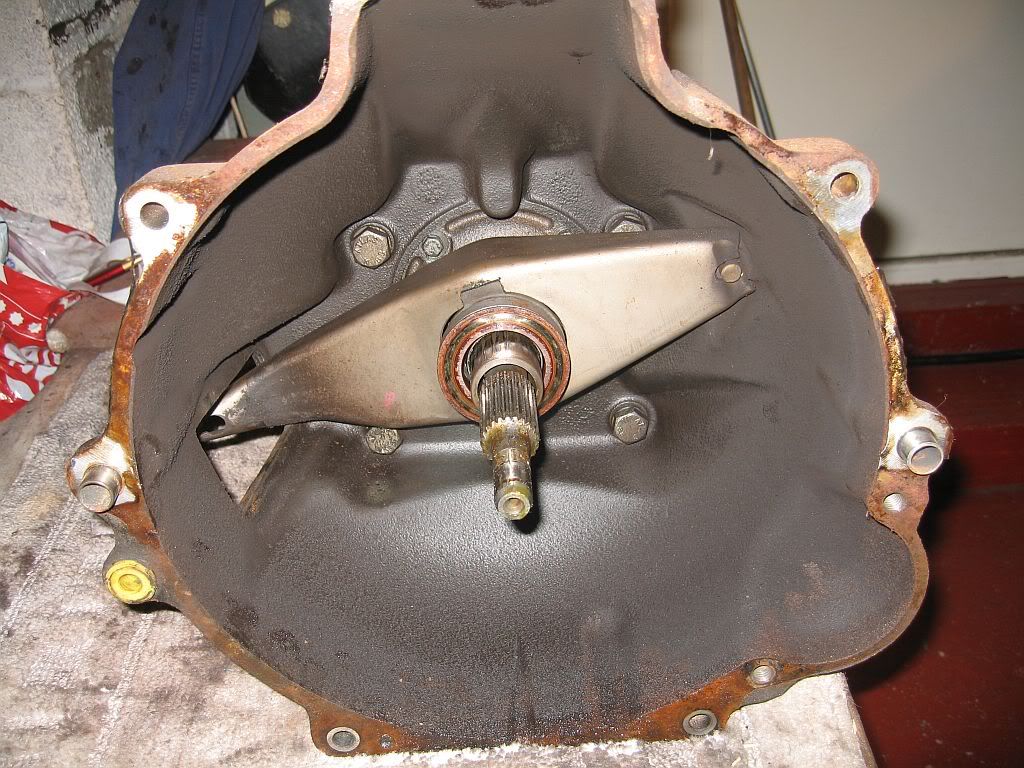
Looking in the bell housing doe's not show any obvious oil leakage, but I shall still re-new the oil seal.
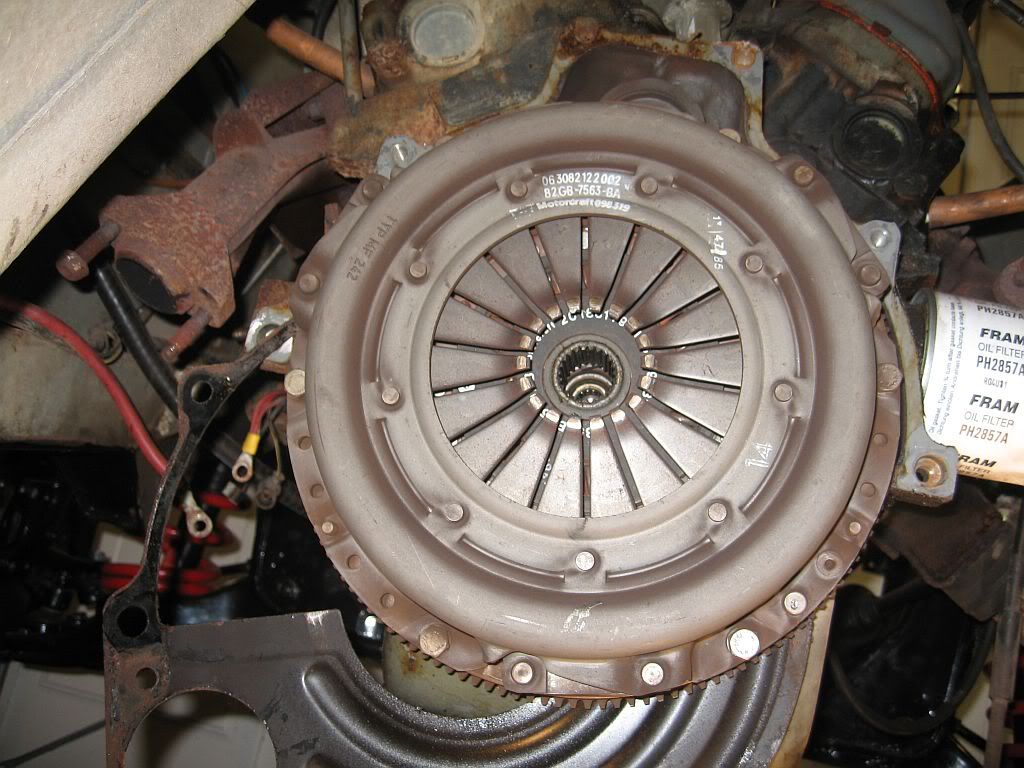 |
| Clutch |
The clutch looks like it just came out of a box but I shall be replacing this as well, the plate gasket which you can just see has a lot of oil around the bottom which may indicate a leakage from the engine seal. Investigation required.
Well its sitting on my work bench looking rather sorry for itself but will soon be cleaned up and lovingly painted just as soon as I have sorted all of the leaks.
I also feel much safer now as I have replaced my Aldi stands with a couple of sets from Halfords, much safer.
See ya Paul
No comments:
Post a Comment