
Hi
Well I've been busy since the gearbox came out, yesterday was spent mostly under the car.
First job was to replace the fuel tank pipes that I had removed to paint under, I had to drill out the clip pop rivets which damaged them so eBay supplied the replacement. These are rubber sleeved to prevent any rubbing on the copper.
Next was to get on with the underside painting, I had stopped at the gearbox and was now able to carry on right to and into the engine bay; around 90% done. I found only one rust problem which was built into the car, this is on the 2 gearbox cross member brackets. They have been stitch welded into position leaving around a 2 mil gap most of the way around, perfect for all the water and mud to get forced in and badly rust.
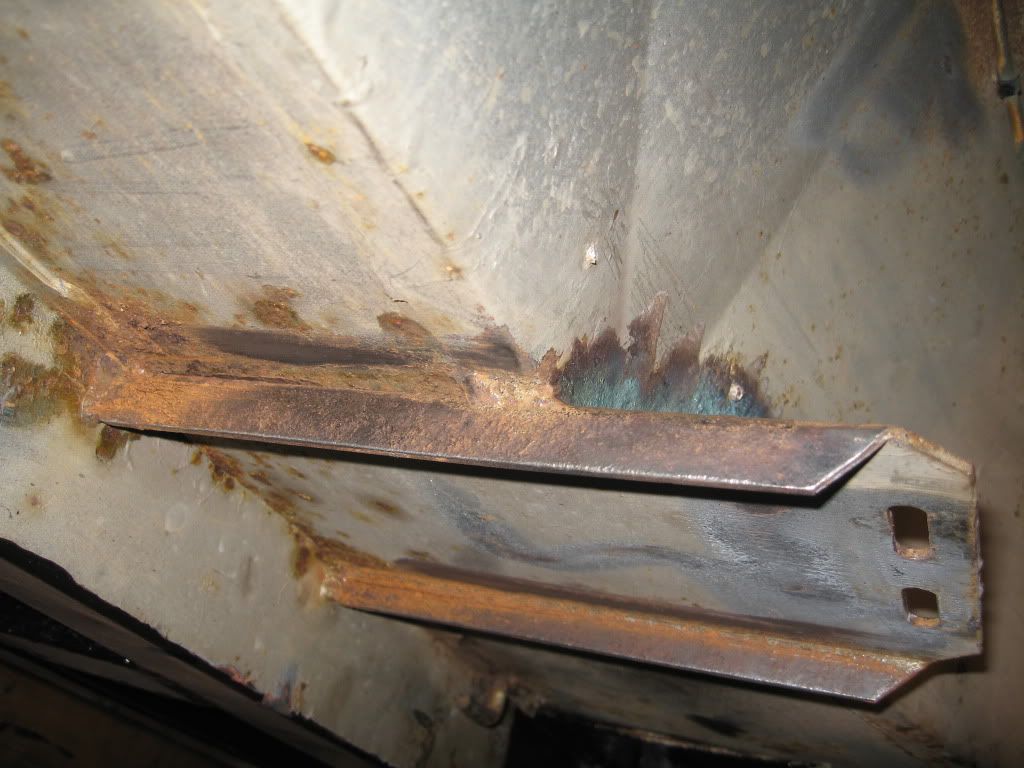 |
| Cross member bracket |
You can see the gap, which is all the way around; I would advise those of you who have laid the car up for the winter to check this area out. I scrapped out as much rust as possible then sprayed in rust converter, once this had dried I sealed all around it with roof and gutter sealant before painting.
Another area I checked out was under the fire / heat shields, these are kept in place with pop rivets which I drilled out to remove for painting. All in good condition underneath.
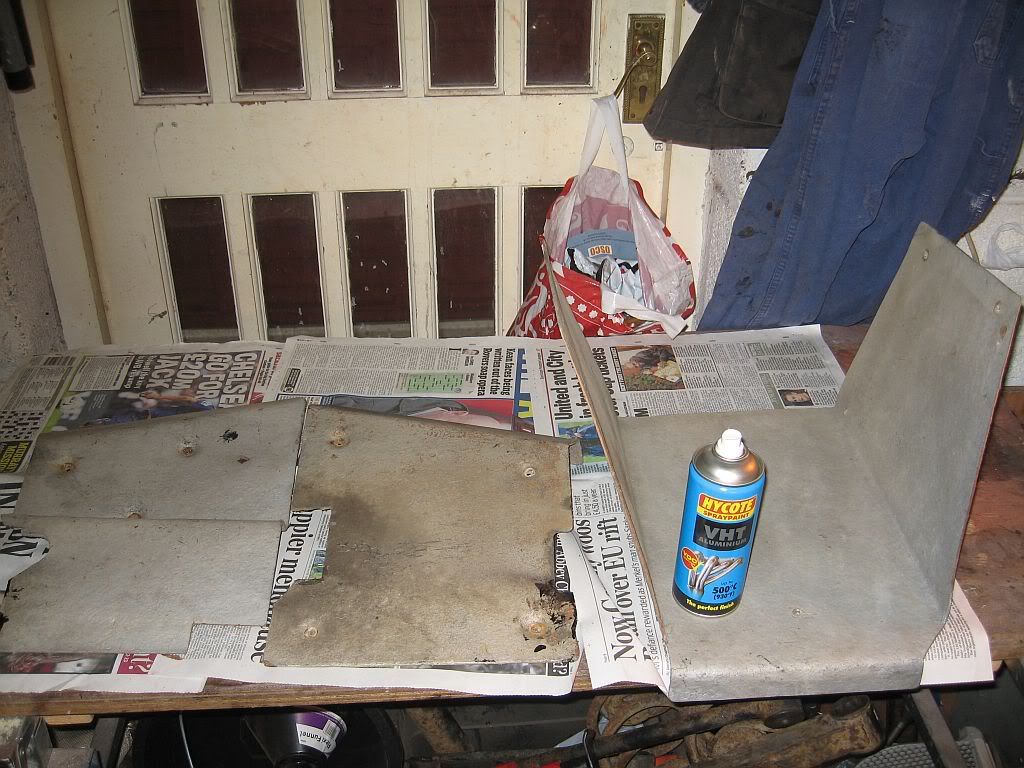 |
| heat shields before |
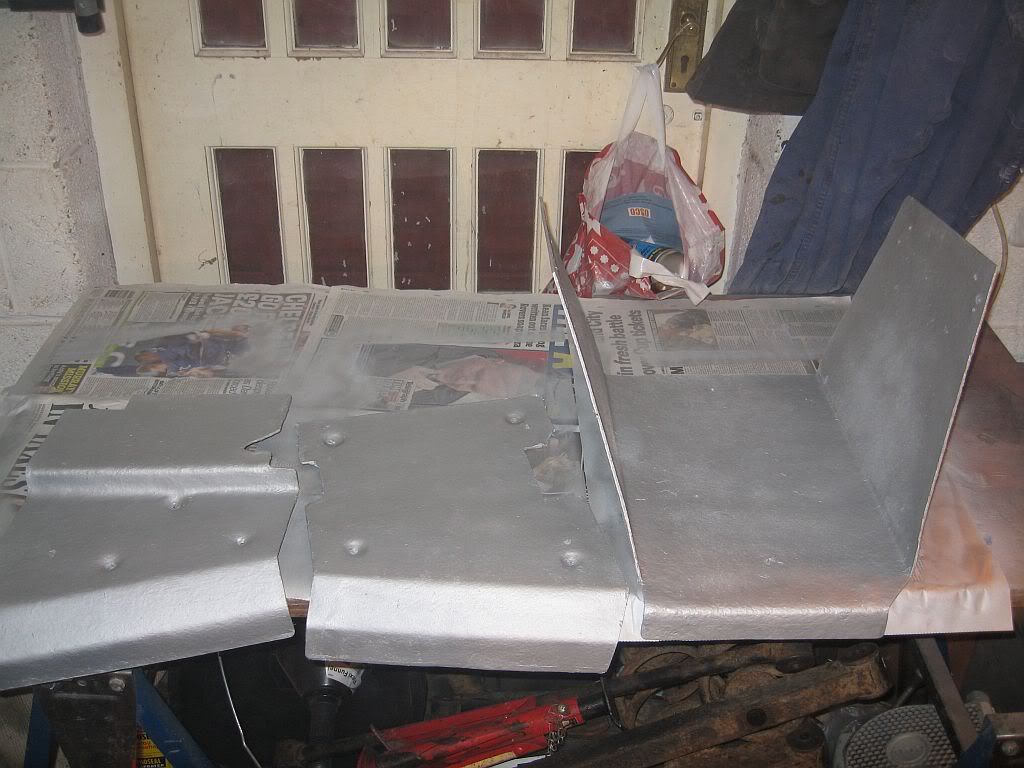 |
| Painted |
These sprayed up nice using VHT ally paint, will contrast well with the black chassis paint.
Today's efforts have all been directed to the gearbox, with all of the oil leaks and rust it looked in pretty bad condition.
Before I finished yesterday I gave it a good spraying with gunk and let it soak in to give me a fighting chance. First job was to drain out what was left of the oil, the book say's it holds 1.9lt of 75W90 semi-synthetic well I managed to get out just over half a litre and that was with leaving it to drain for half and hour and shaking it. So if you have a leak check the level.
I also removed the support bracket and found one side of the rubber was broken away from the metal section, luckily a number is stamped on so hopefully I will be able to track down another.
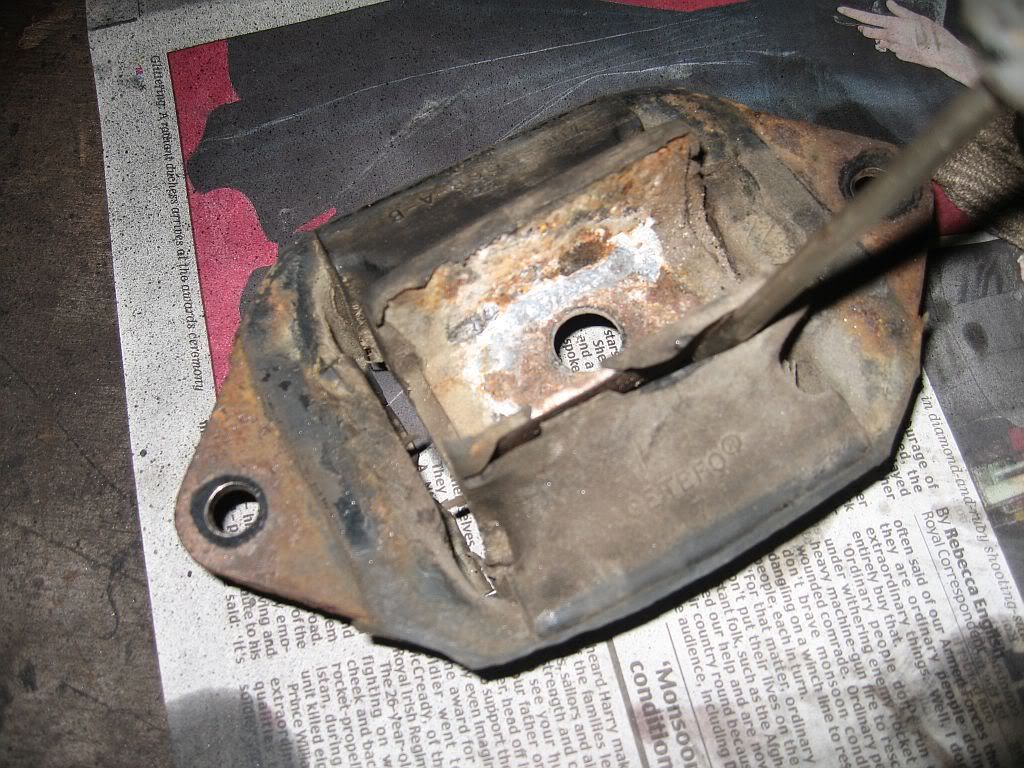 |
| Cross member rubber support |
I have pushed a screwdriver into the split off portion.
After a good wash down with more gunk I attacked the gearbox with a wire wheel and wire brush and underneath that oily exterior was a beautiful butterfly; well gearbox anyway.
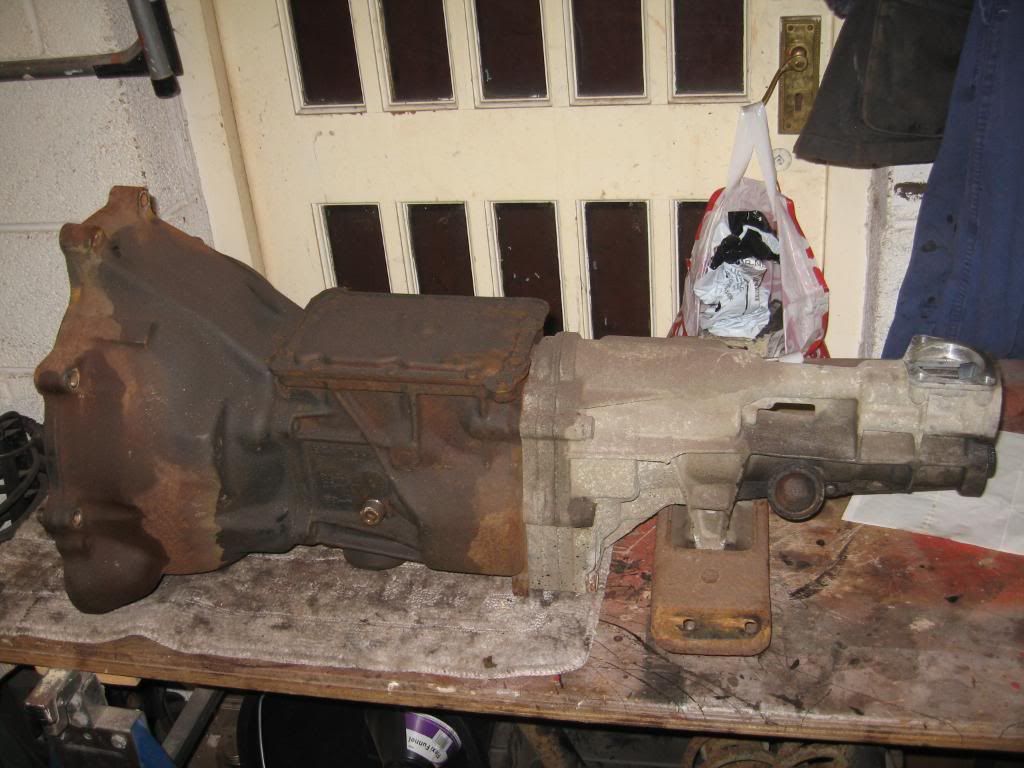 |
| Oily Oily |
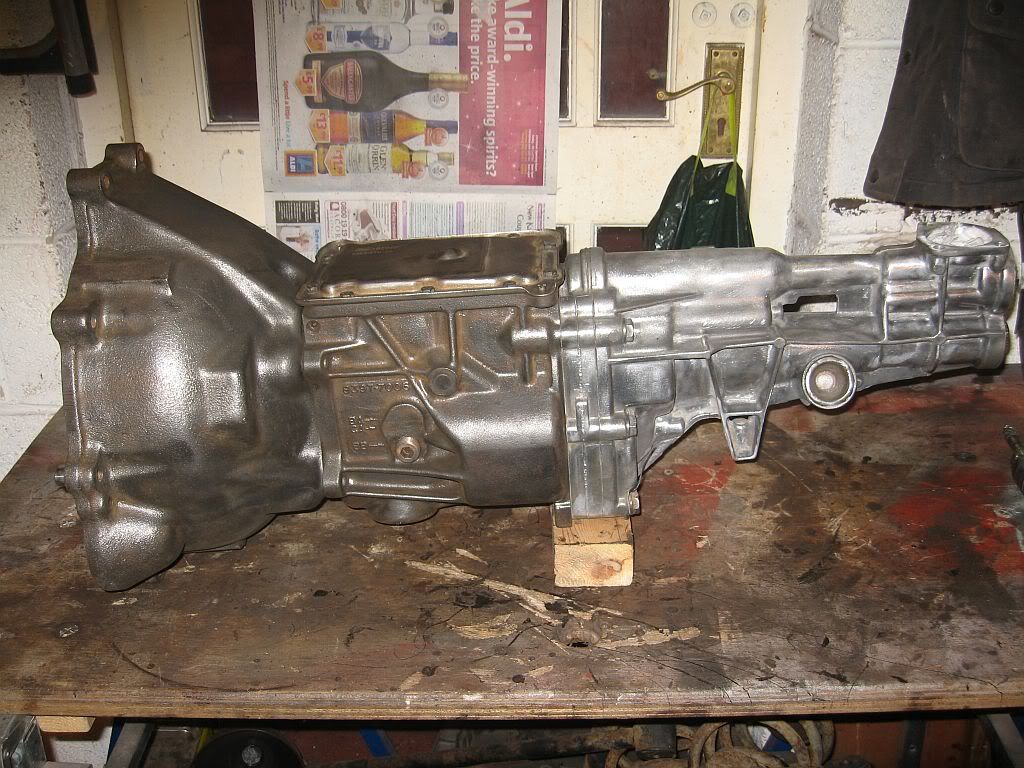 |
| Shinny Shinny |
I could now start changing the oil seals as the new ones arrived yesterday and started removing the bell housing. Firstly the release bearing and fork had to come off. Out came the Haynes manual as with everything else this is my first time.
The release bearing plate and plastic backing disk can come out as one by using a short screwdriver at the back of the plastic bearing holder and levering. The plastic tabs have little clips hidden at the back which are easily released.
 |
| Release bearing |
To see what I was doing I removed the release bearing from the plastic bearing holder but this is not really necessary. Once this is off the fork is just slipped off the securing pin.
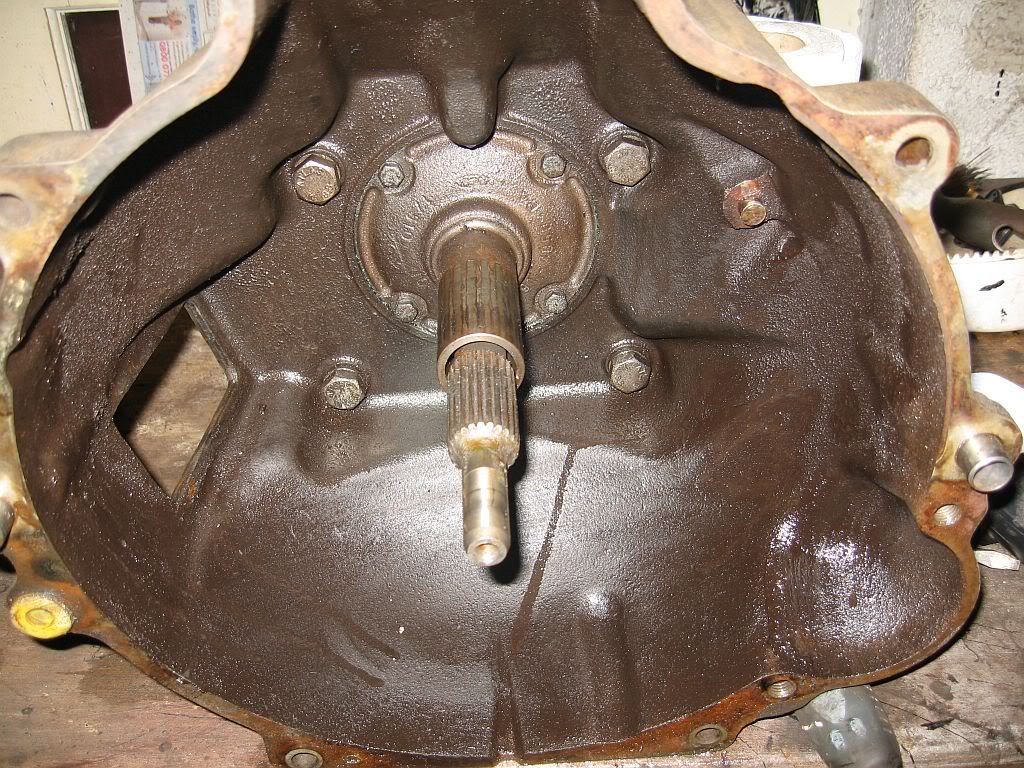
I removed the bell housing next, this is just 4 bolts and it tapped off revealing a gasket behind; I did not think to order any gaskets but I have the material and have spent the last 39 years making them so I'll knock a one up.
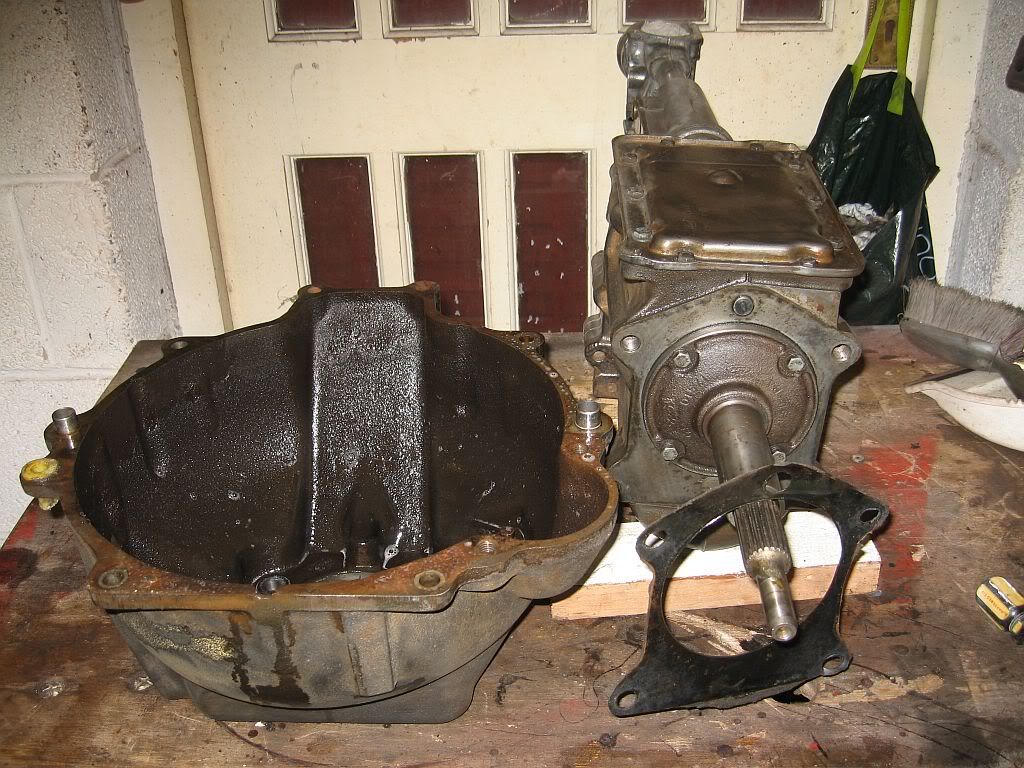 |
| Bell housing removed |
You can now see the condition in the bell housing interior, a lot oilier than I first thought but soon got cleaned up.
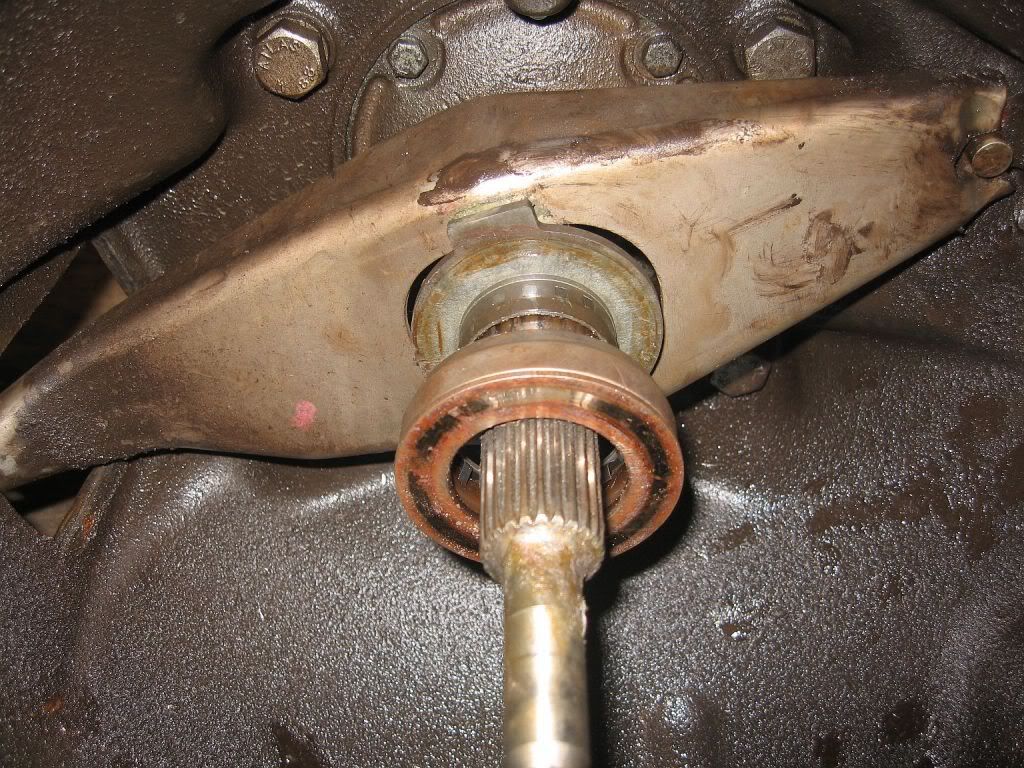
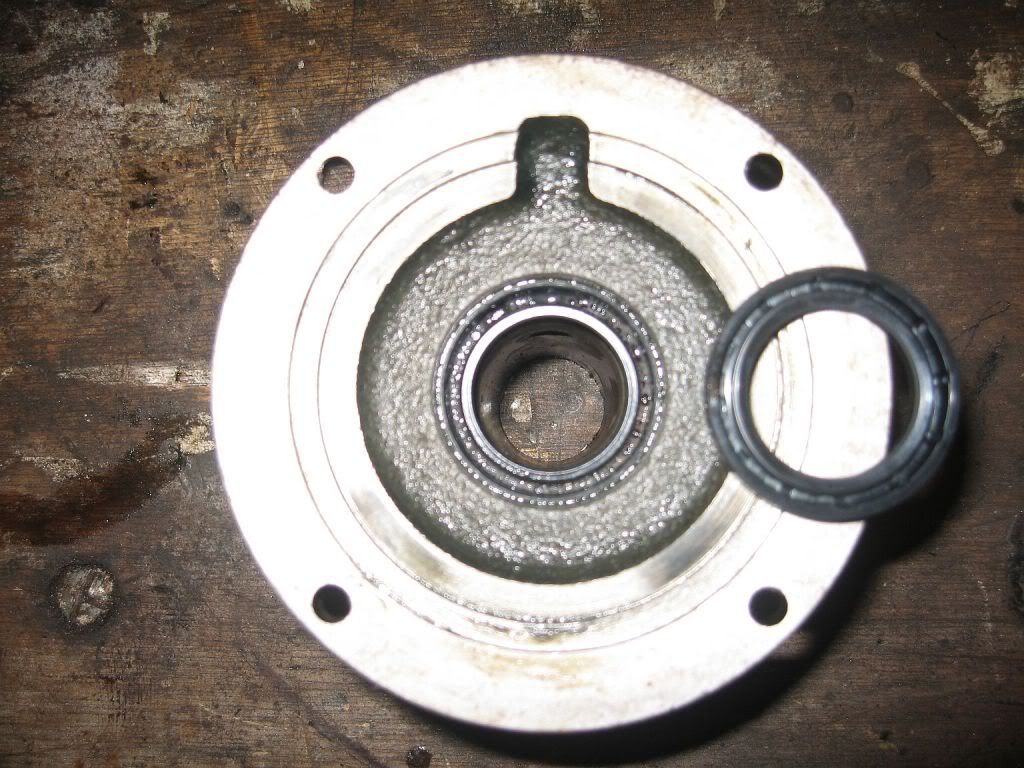
The drive gear bearing retainer is held on with 4 x 10mm bolts which need to be removed to access the oil seal.
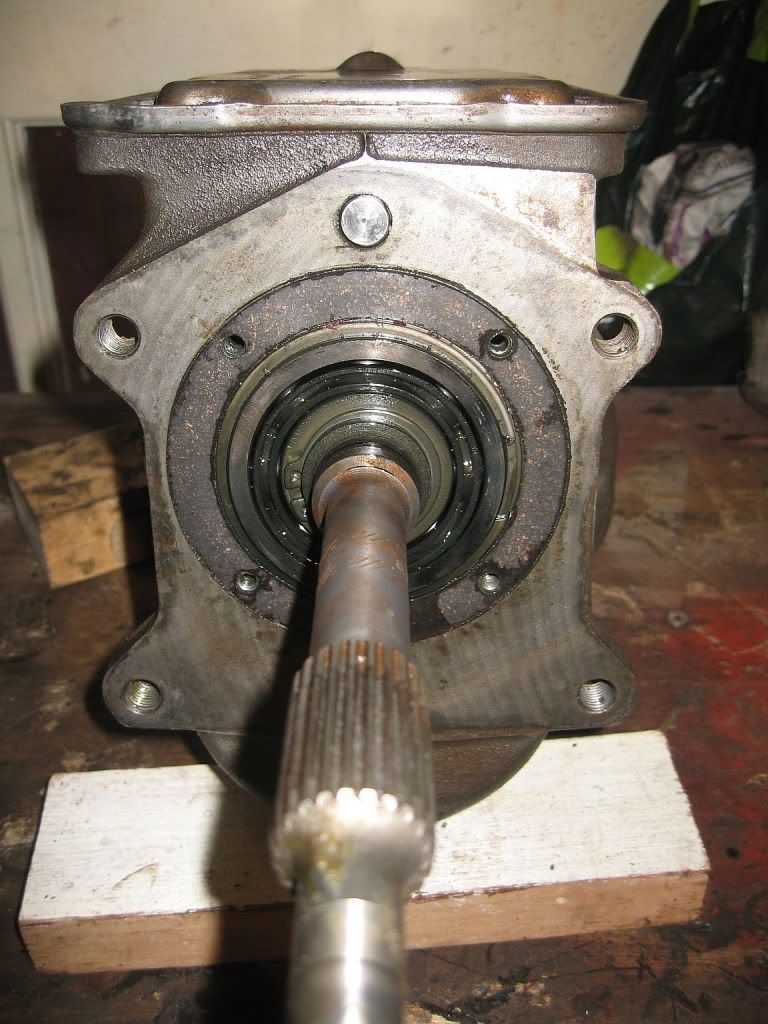
This is a view of the drive gear bearing once I removed the retainer, this has a cork gasket which is in good condition so I think a little hylomar when I re-fit the retainer.
As I said earlier I had ordered my oil seals from the same company I got my diff oils seals from and they are great quality.
eBay number 310347096166 Gearbox oil seals
Once the retainer is off then it is a bit of a job to remove the oils seal, unfortunately the oil seal removal tool I ordered did not arrive until after 4 this afternoon, all done by then
So it was a case of brute force and ignorance again, with a little bit of care.
I managed to get the retainer seal out with just a few scratches that soon were polished out, a spray of WD40 to ease the way and tapped it in place. As I said, I replaced it using the old cork gasket with a rub of Hylomar. This was bolted back on then onto the next.
The speedo bearing came off a lot easier, just a screwdriver in and out it popped.
The last one and the biggest was the drive end, again this was a bit a workup as the bigger they are they seem to have more steel in them. Still a little chisel work and out it came.
This is the new one in position,
It was a very tight fit getting it back in and would not go in by equally tapping around, so a large hole drilled into a lump of wood made the job much easier.
With the seals all replaced it was just a job of painting, I plugged what holes I could and masked the flanges then a couple of coats of primmer, when dry a top coat of gloss and hey presto a new looking gearbox.
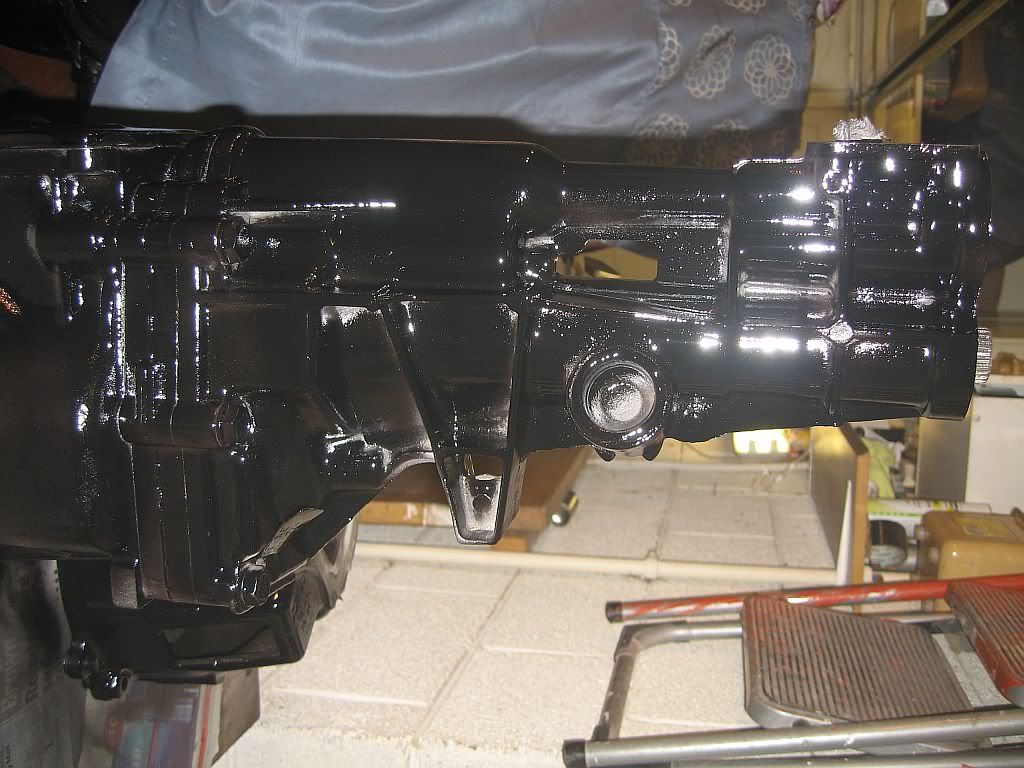 Not the best photo's as it is standing with the drive thru a hole in the bench but will post a photo when rebuilt.
eBay number 310347096166 Gearbox oil seals
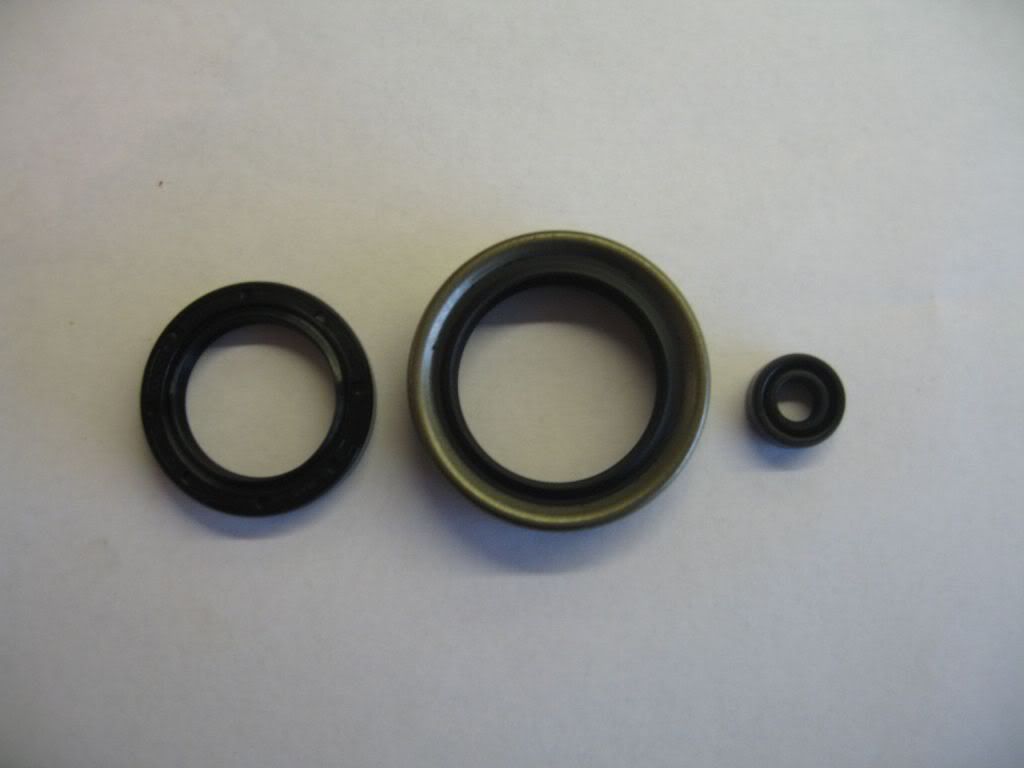 |
| Front, rear, speedo |
So it was a case of brute force and ignorance again, with a little bit of care.
 |
| Retainer & new seal |
The speedo bearing came off a lot easier, just a screwdriver in and out it popped.
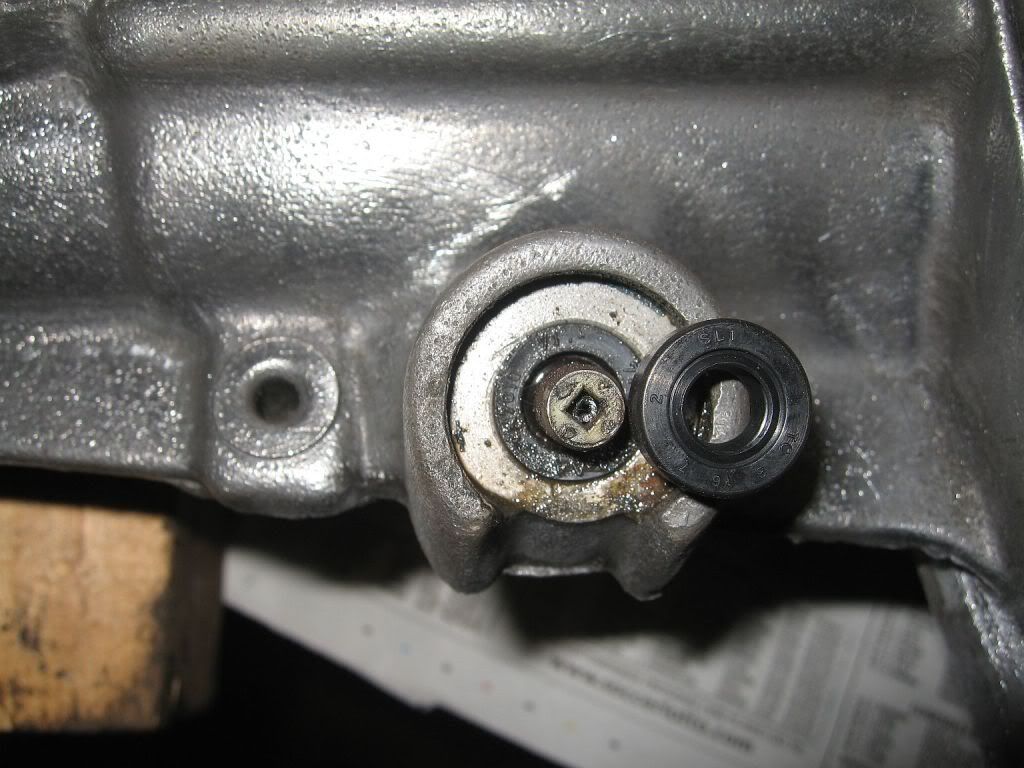 |
| Speedo & new seal |
 |
| New seal in position |
It was a very tight fit getting it back in and would not go in by equally tapping around, so a large hole drilled into a lump of wood made the job much easier.
With the seals all replaced it was just a job of painting, I plugged what holes I could and masked the flanges then a couple of coats of primmer, when dry a top coat of gloss and hey presto a new looking gearbox.
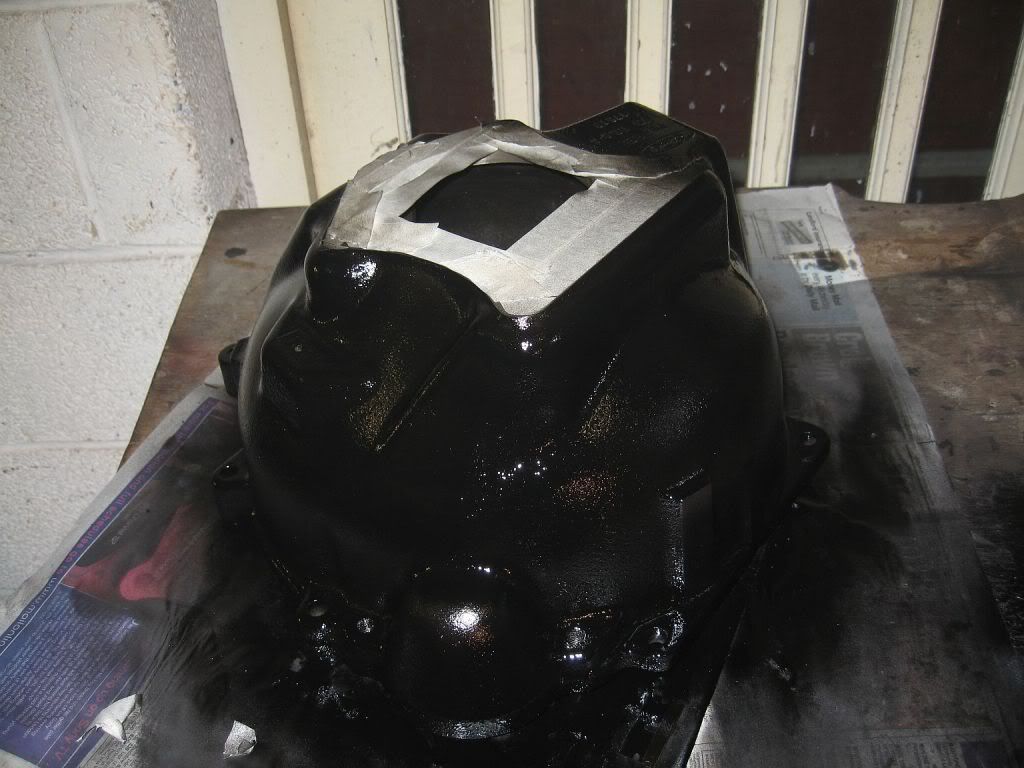 | |
| Bell housing |
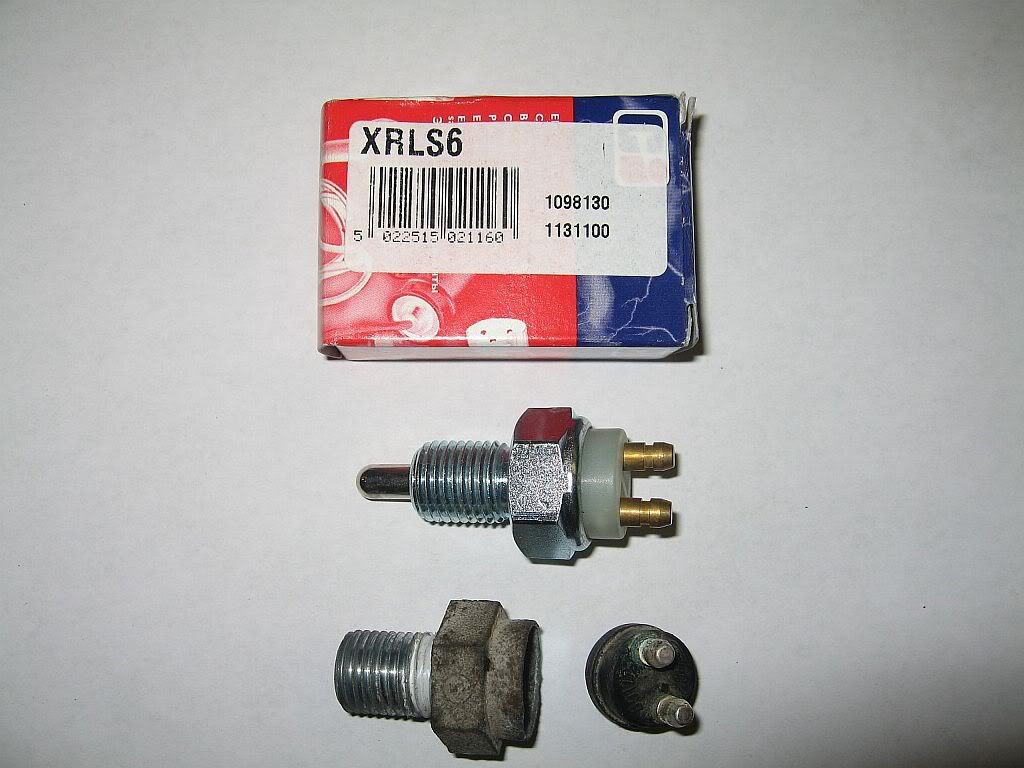
Also arriving in the post today was the new reverse switch I ordered, when comparing the two together I asked myself where has the plunger section gone. Still in the gearbox I guess, and I will have a bit of a job pulling it out I reckon.
No comments:
Post a Comment