
Just little jobs today; the first was a good look at the gearbox, I have been trying to figure out where the push button of the reverse switch has gone. It certainly didn't drop out when I removed the switch or pulled the electrics, even after a good look inside the selector box and gave it a upside down shake I couldn't figure it out. All of the gears select ok so I guess this has been looked at in the past and the outer end of the switch was just pushed back in and left.
I have put the bell housing back on and shall have to find some where to stow it until the engine has been stripped and re-built, It certainly look a lot better now.
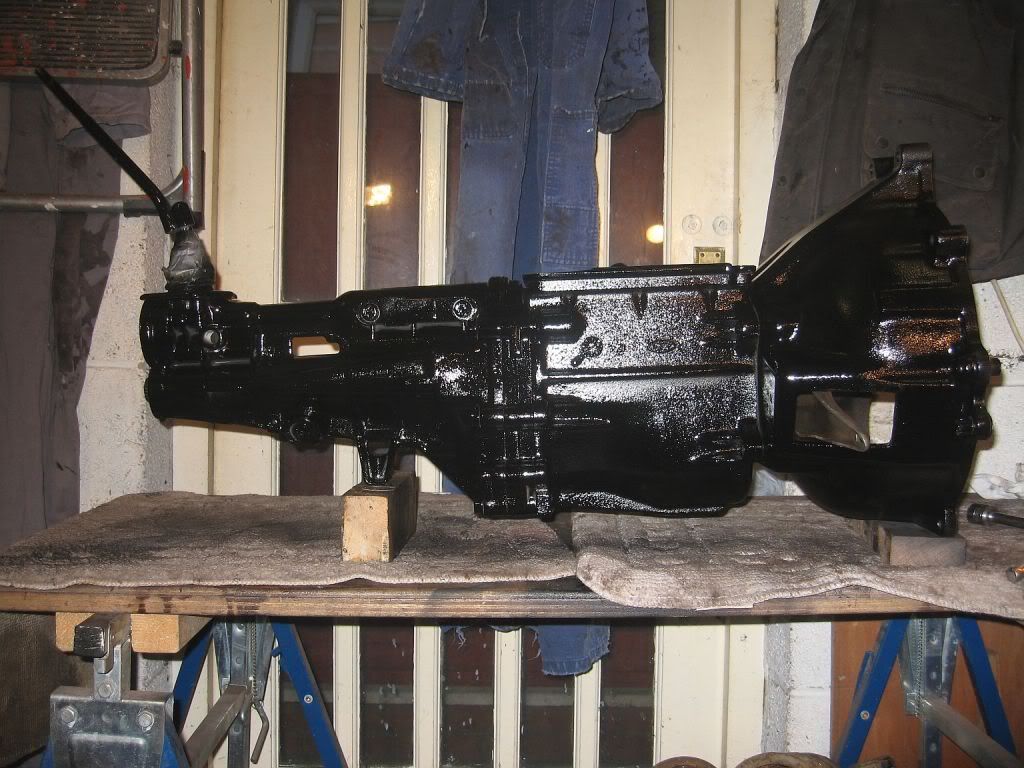 |
| Type 9 gearbox |
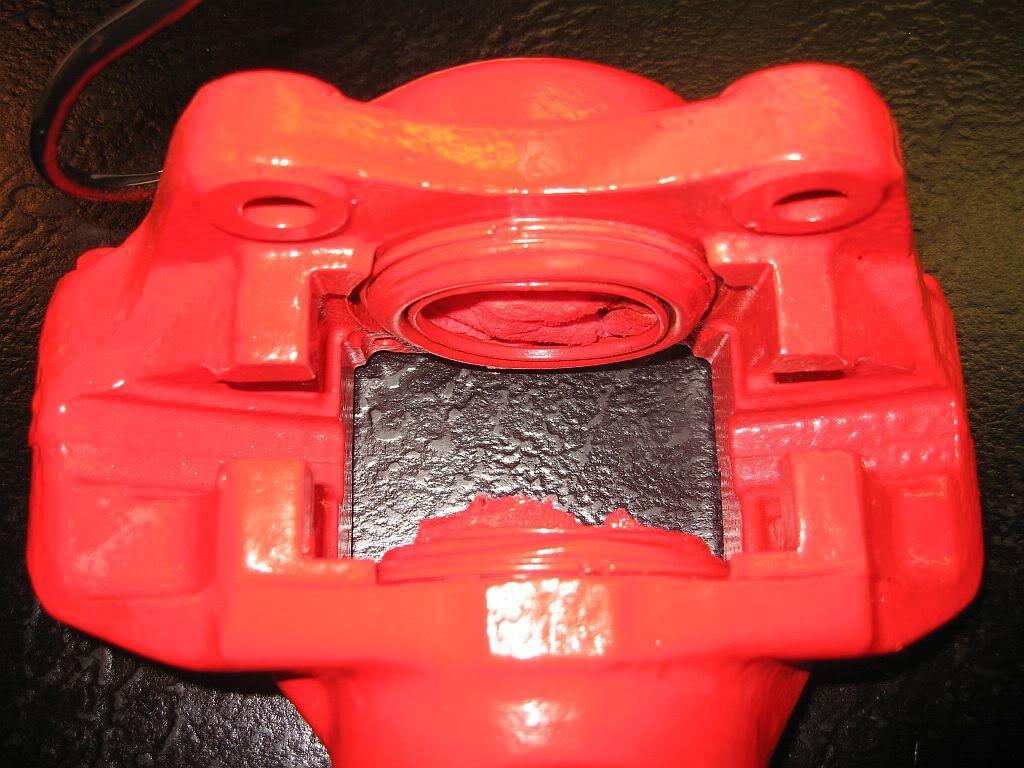
In between house jobs I decided to re-build my front calipers and do a little picture story of it, all of the overhaul kits and new pads arrived a while ago, I just haven't had time to do the rebuild.
Just a reminder of how they started
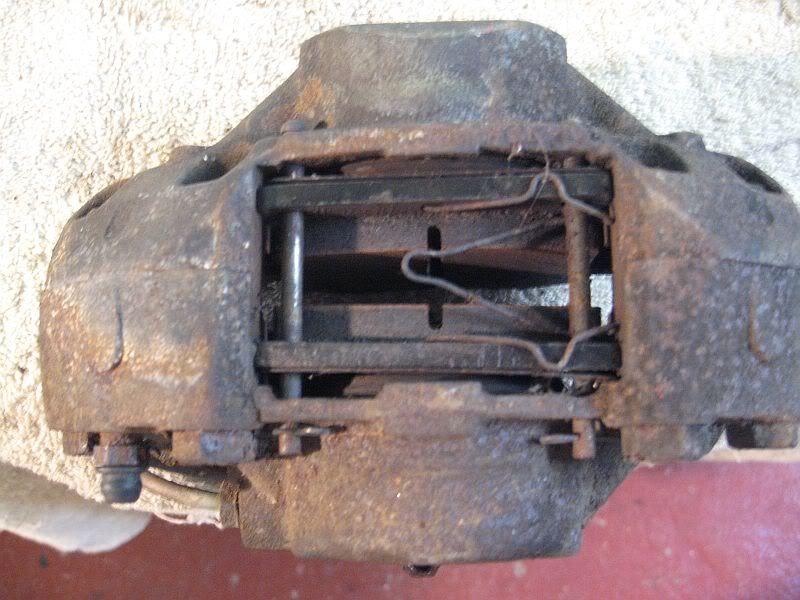 |
| Rusty caliper |
I am lucky enough to have a large compressor and blasting shed, If yours look like this and want to overhaul them then look for a powder coating firm and let them do all of the hard work.
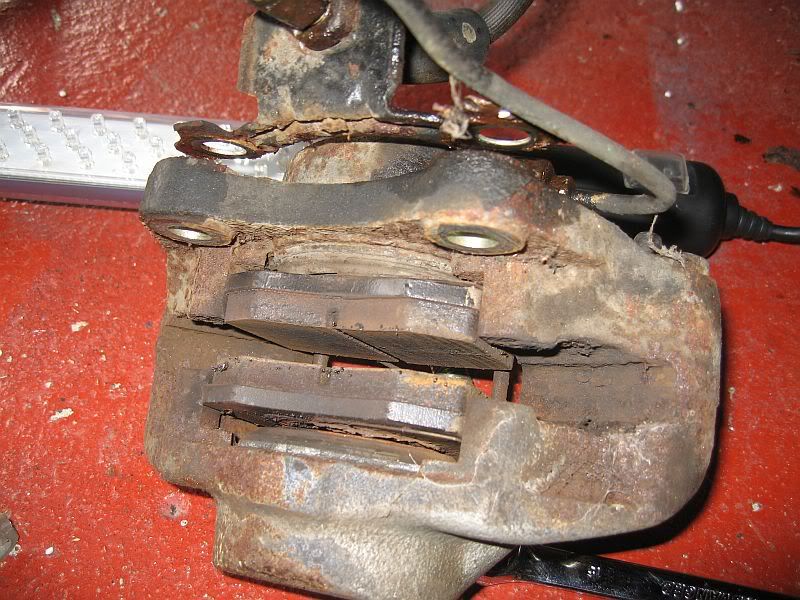
I did not want any of the blasting material to enter the calipers so I have left the pistons and rubber seals in position, I could not remove the attached pipe without damaging the nut so I have left them in place and just taped over the ends. The pistons in mine were seized and took a lot of work to release them, I had to use a combination of compressed air and leverage in and out to get them moving but eventually they came free.
Once freed and cleaned up I stuffed the piston holes with paper towels and re-fitted the rubbers, a spray of primmer and a couple of coats of caliper paint and they were ready for re-building.
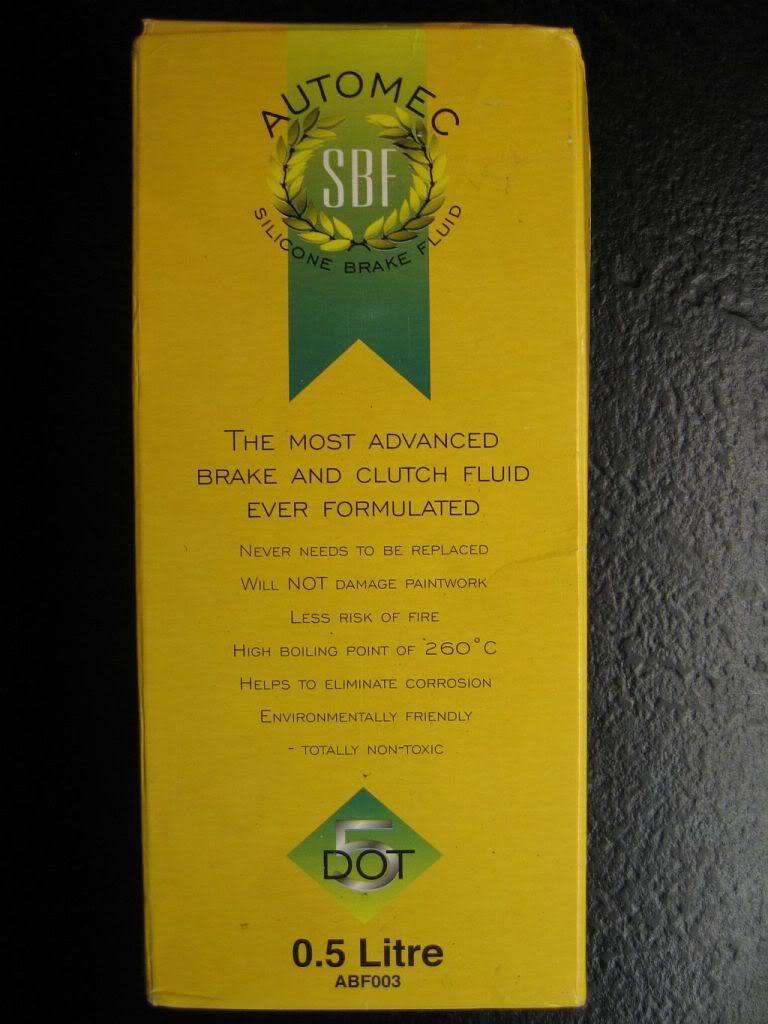 |
| Silicone brake fluid |
I am going to use silicone brake fluid when I refill the system, it is a lot more expensive than dot 4 at around £30 a litre but has many advantages over ordinary brake fluid and is also for clutch systems, I only have a 1/2 litre so will have to buy some more.
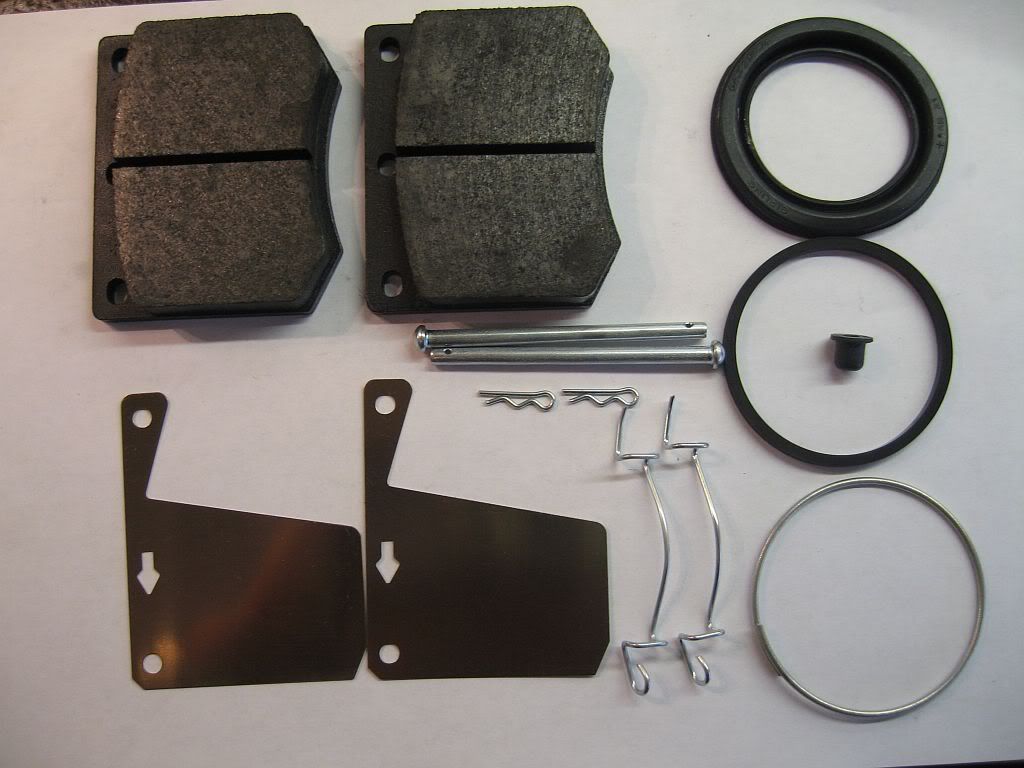 |
| Pads and rubbers |
 |
| Brake pad numbers |
All of the parts to re-build the front brakes are easily available and I have posted the part numbers on earlier posts. This is all of the bits I used, pads, shims & pins with the rubber seals.
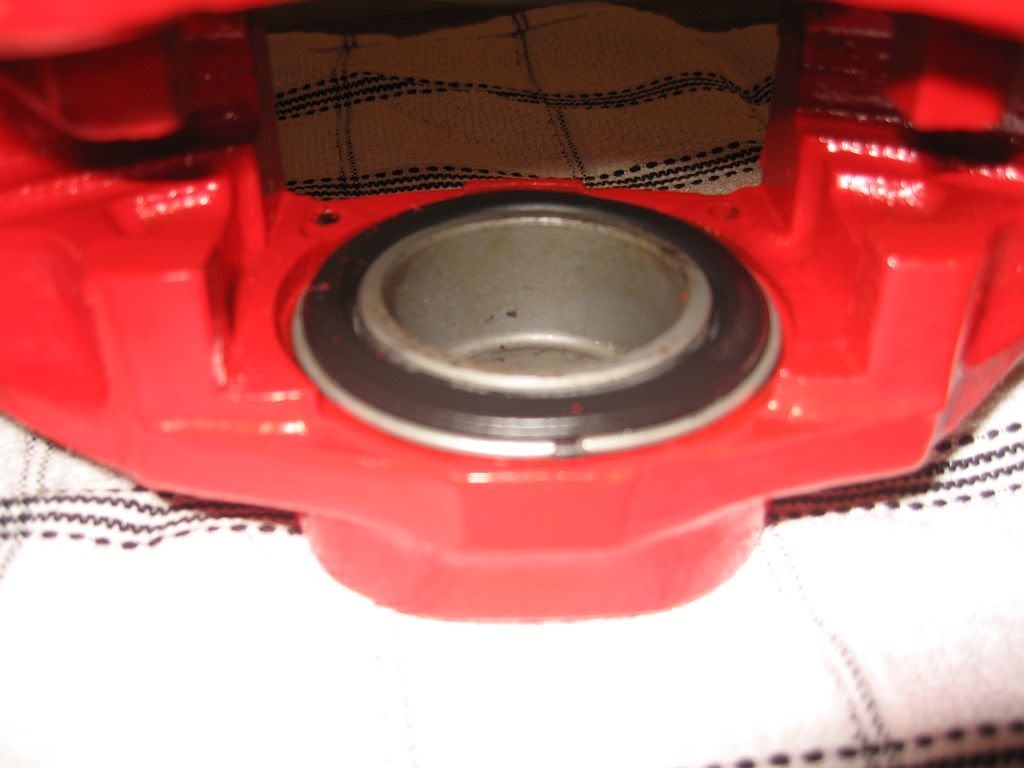
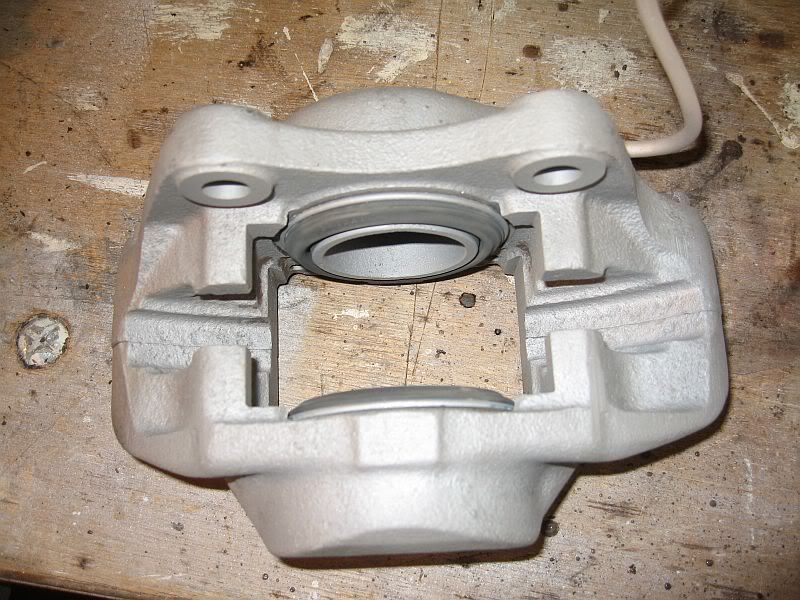
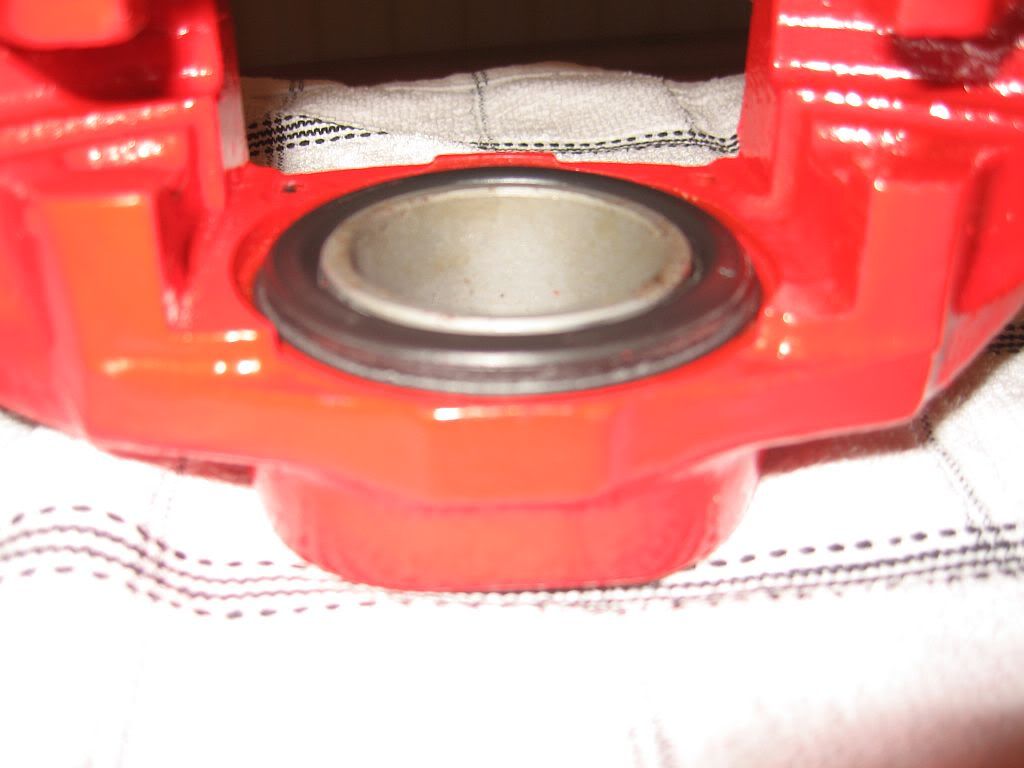
This is what you will start with, the rubber boot held in position with a spring ring.
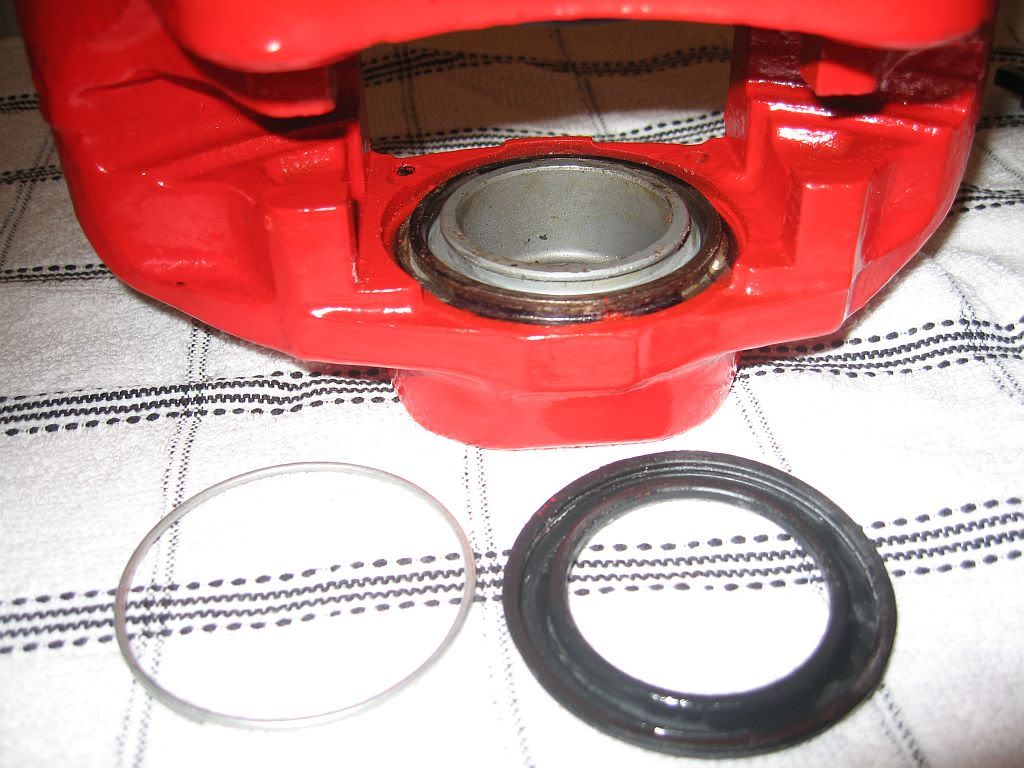
Spring ring and boot removed, this is were the piston needs to come out. You can try with a couple of screwdrivers and lever up or if you have a compressor blow the first one out then put your finger inside and cover the hole and force out the second. (Take care not to break your fingers as they do blow out)
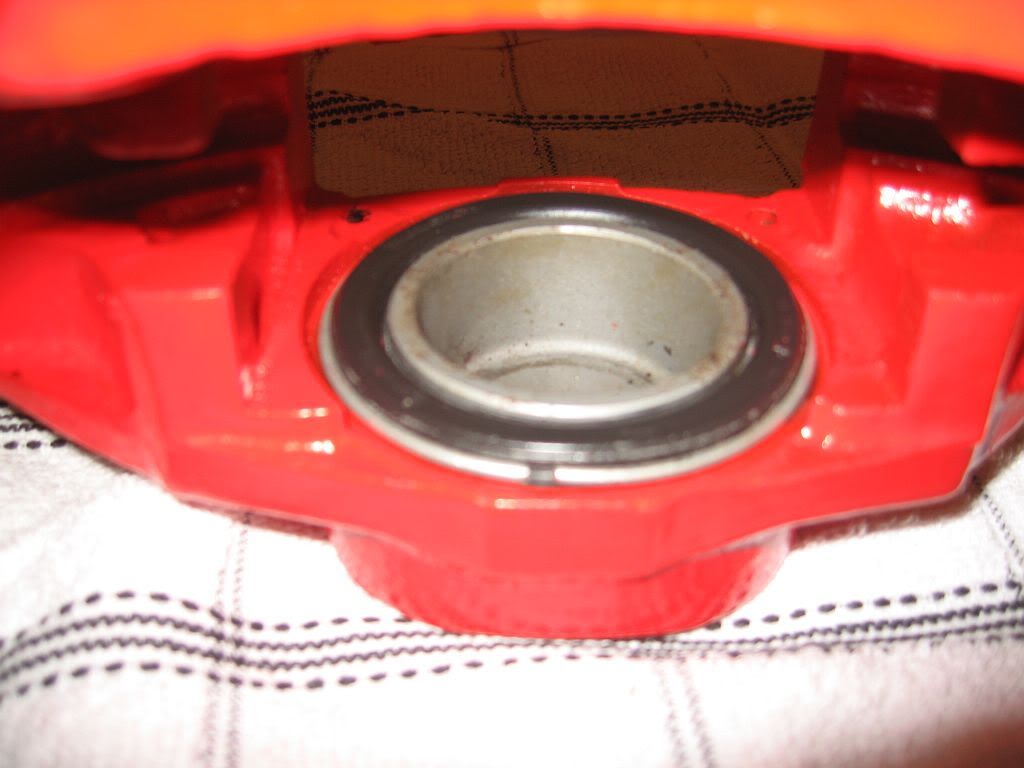
Once removed then the inside and outside of the piston can be cleaned up, just don't use anything abrasive on the polished piston.
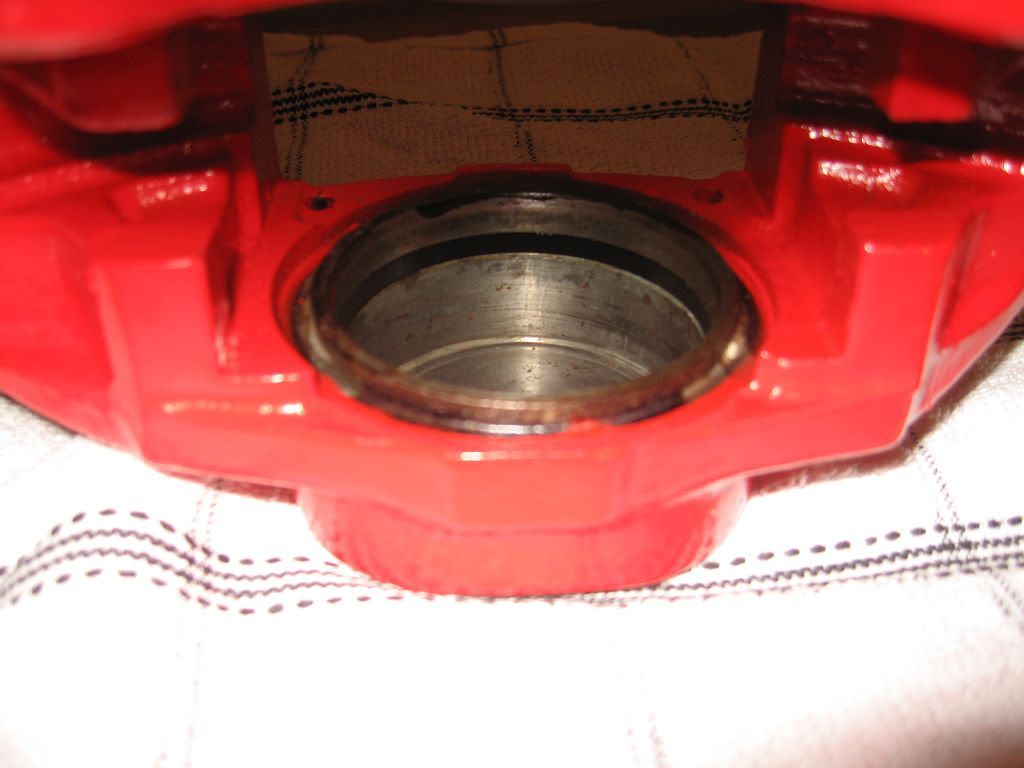
You can see in this photo the rubber seal, this needs to be removed and replaced by the new seal. For lubrication of the rubber seal and the piston I have used a silicon grease, I have looked in 3 different part shops and none had caliper piston lubricant so after looking on eBay I found some and it says it is just specially formulated silicone grease, so I dragged mine out and applied a thin coating.
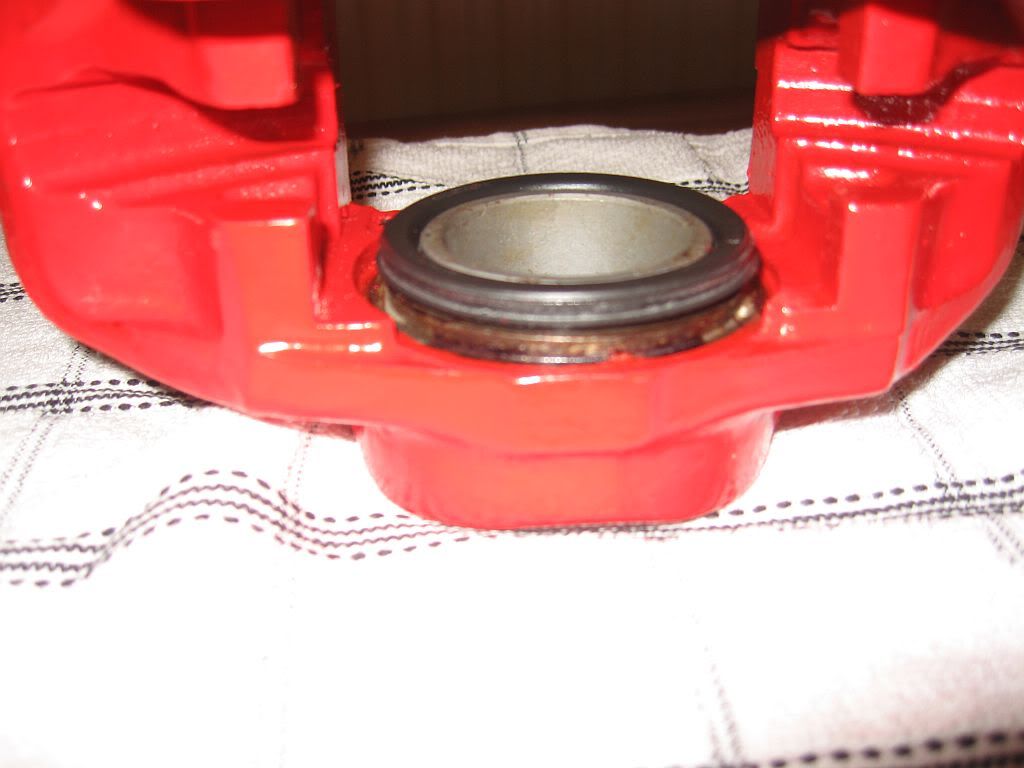
The piston is then pushed into position, strangely on one caliper I just used finger pressure while the other I need a bit of help from a clamp but once it pushed past the rubber it went up and down with ease.
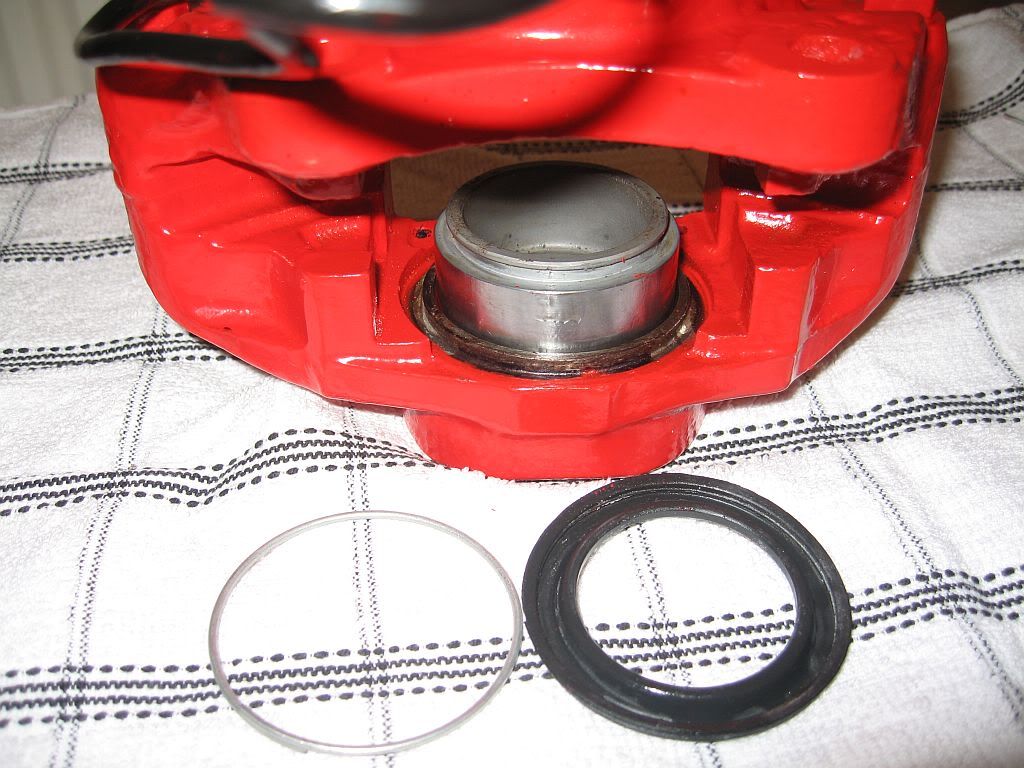
Here you can see the piston in a high position and the rubber boot fitted with the top lip in the piston groove.
Now push the piston all of the way down and the bottom of the boot will fit over the bottom caliper groove.
You can now stretch the spring ring around the boot locking it into the caliper groove. That's all there is to it, no reason to buy new calipers just overhaul them.
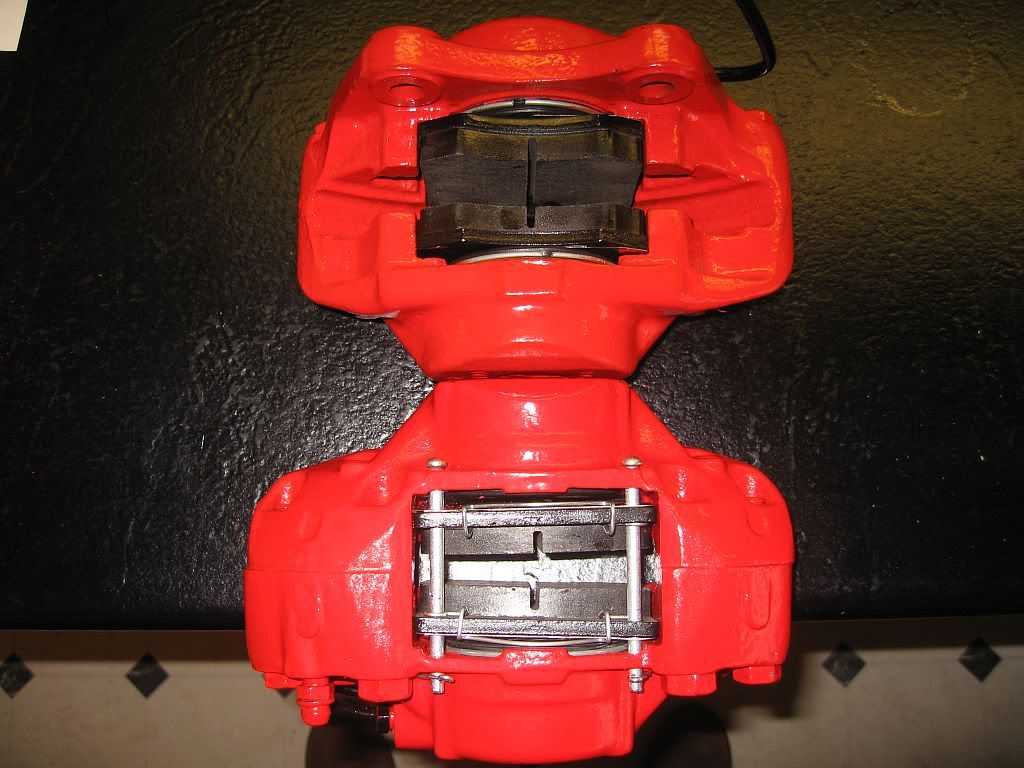
Re-fitting the pads is quite simple, I bought a new set a while ago but when I compare them against my old one's I can see that my old one's have had no use since first fitted so I shall keep these to re-use.
One thing I did notice is that the springs in the replacement set are different than what came off, but on checking Haynes they are the same as shown in there photos.
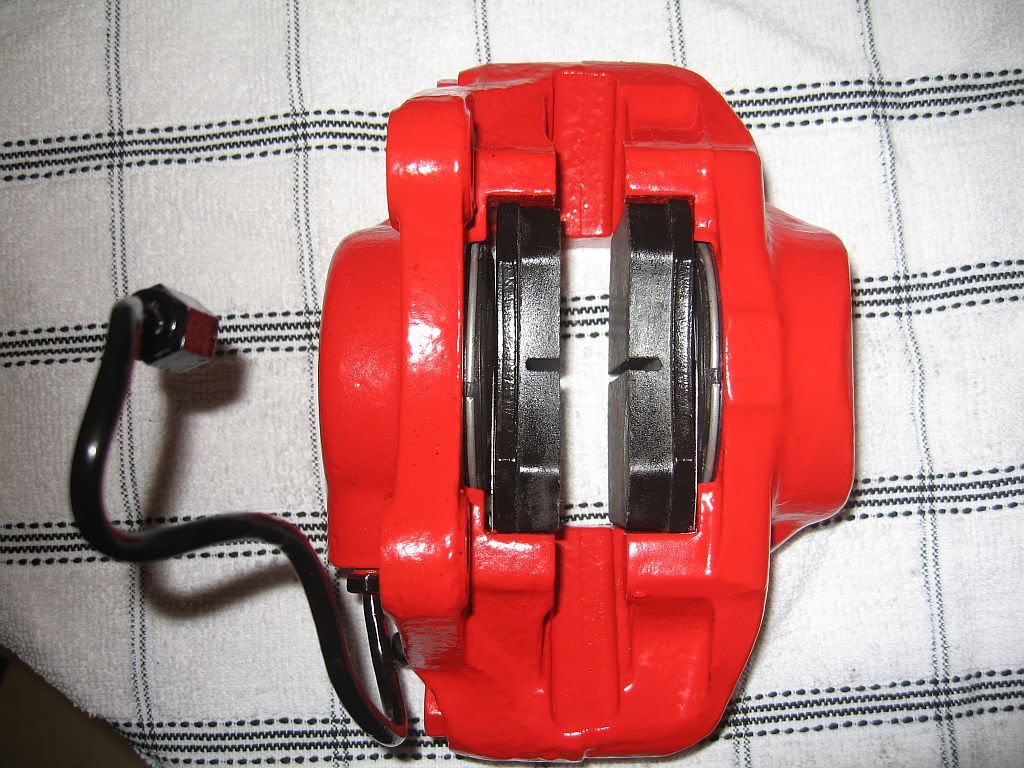
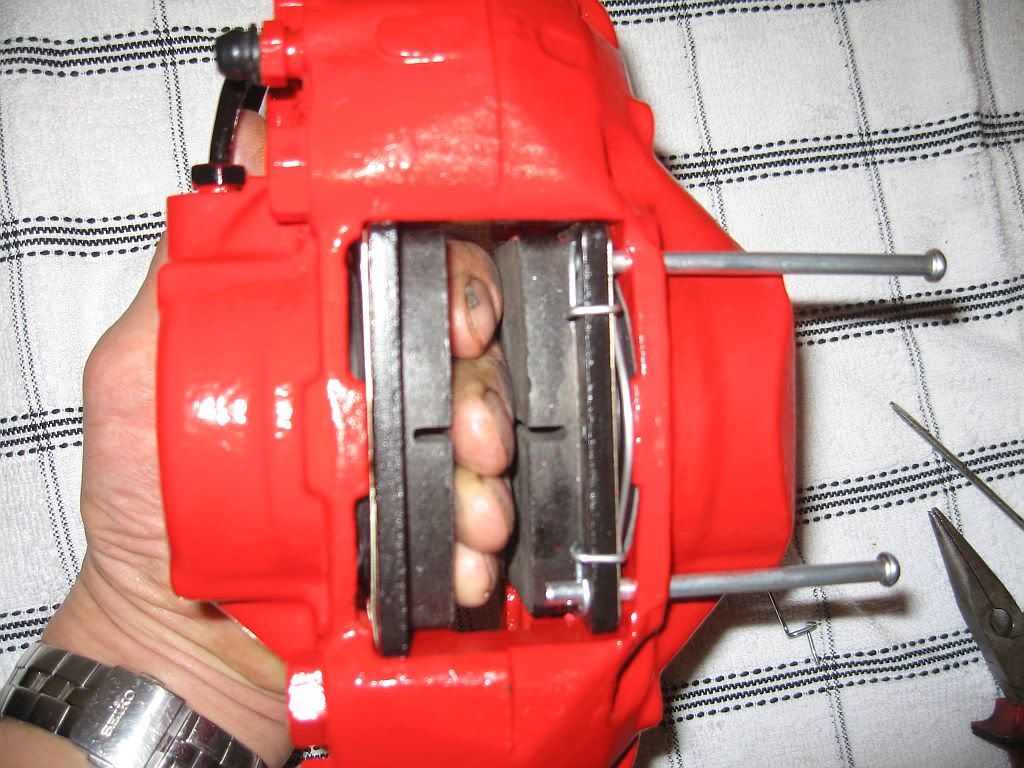
Once the pads are in position you can put your hand between to stop them dropping out while the first pin and spring are fitted. The new springs have a hook which the pin slides thru, you then fit the spring over the shim and dropped it down past the hole for the next pin to slide thru. With it being a spring it requires a bit of tension, just push the spring down with a screwdriver and the pin slides thru .
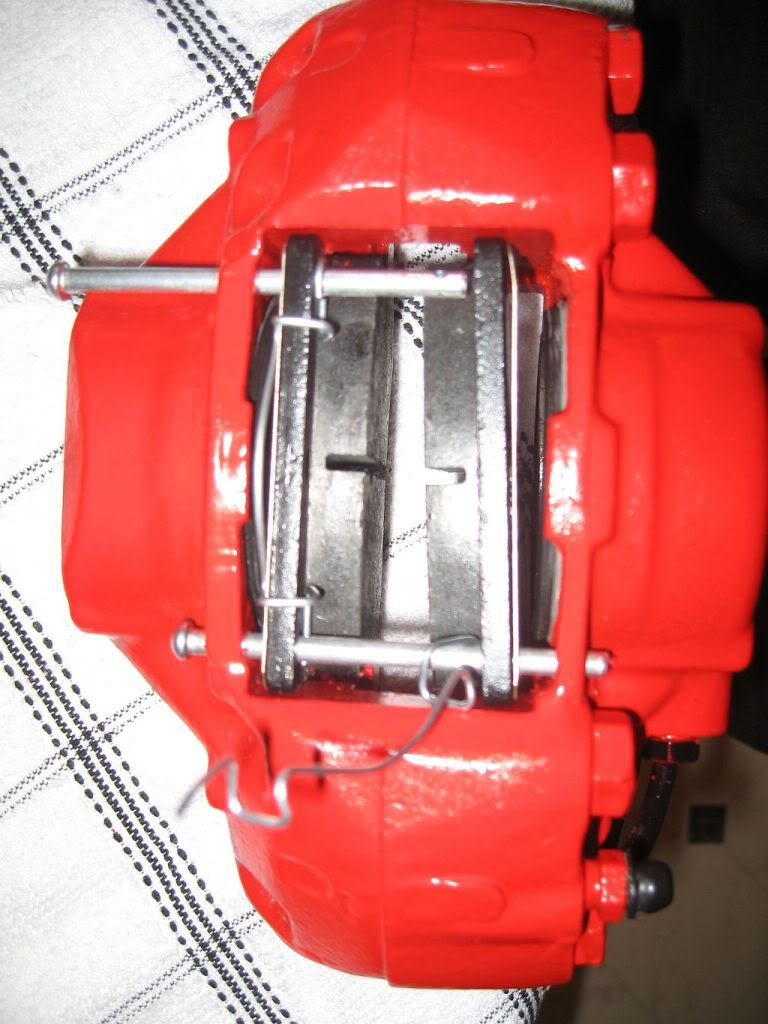
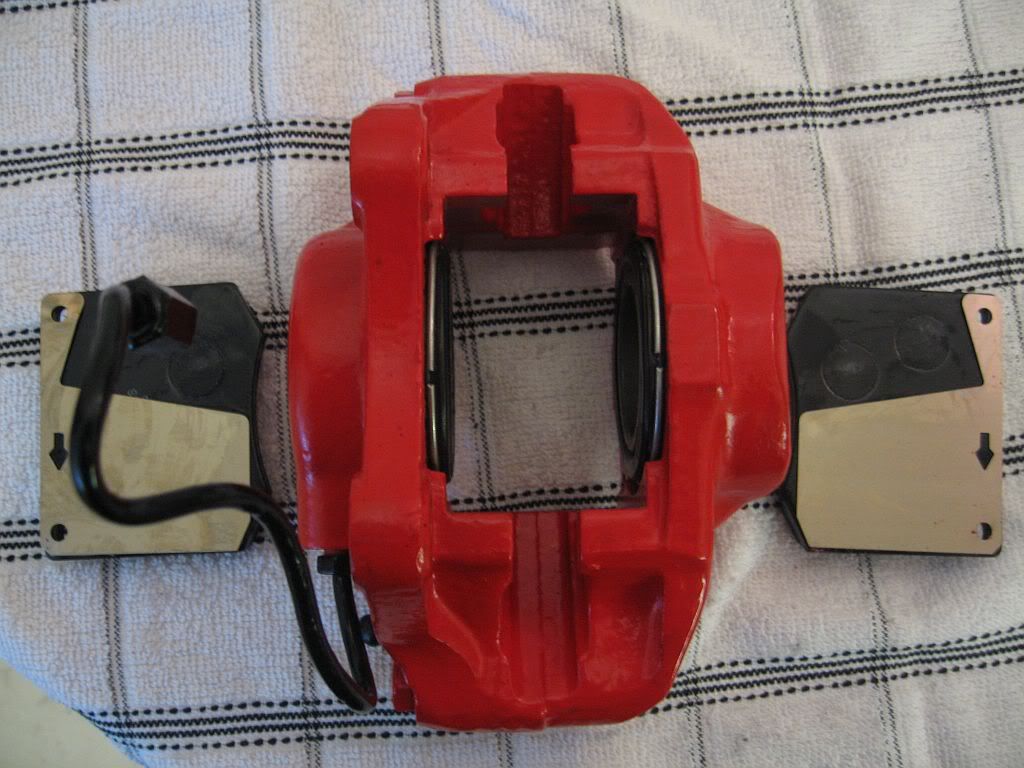
That's the calipers complete just a little touch up on the paint where I have scratched them and ready to fit.
Well that's probably all I'll get done this time home and it looks like I'll be doing a 3 week trip when I go back and just maybe the bush's will be ready when I return as the engine re-build is reliant on having a rolling chassis.
Bye for now and a Merry Christmas & A Happy New Year
Paul
No comments:
Post a Comment