
Started on the suspension and brake removal on the nearside of the car, and was pleasantly surprised how easy it was to remove the nuts and bolts. I recently finished stripping out the 4 corners on my Mk2 MX5 Icon for a sandblast, bush & shock change and believe me at only 12 years old it was a pig to get apart.
First off was figuring the best jacking points on the car, there is a good position under the chassis but I settled for the front suspension sub frame as a good safe area.
The brake caliper came next and the caliper slide off the disc as there was minimal lip, I could not remove the pipe from the caliper with out I suspect damaging it, so I had to break it at the hose coupling and drain out the brake fluid. The caliper was heavily rusted and I know from the MOT that it is seized.
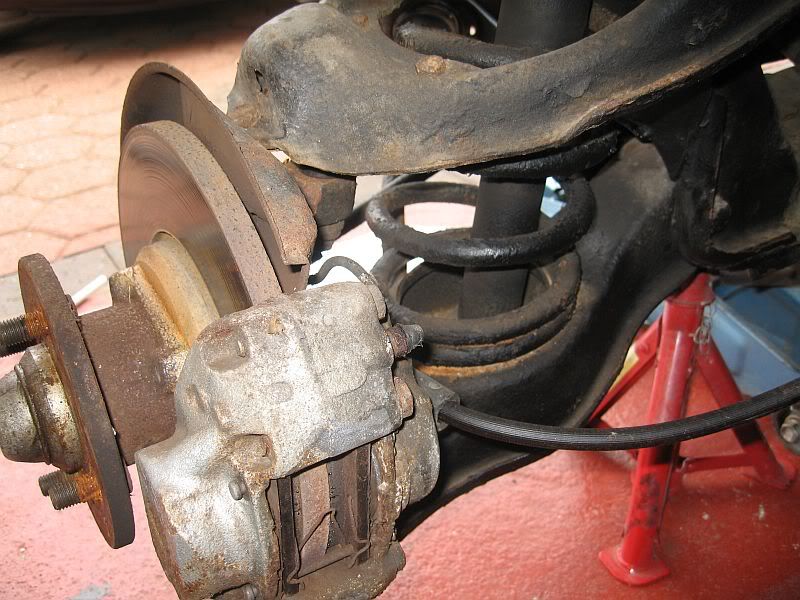 |
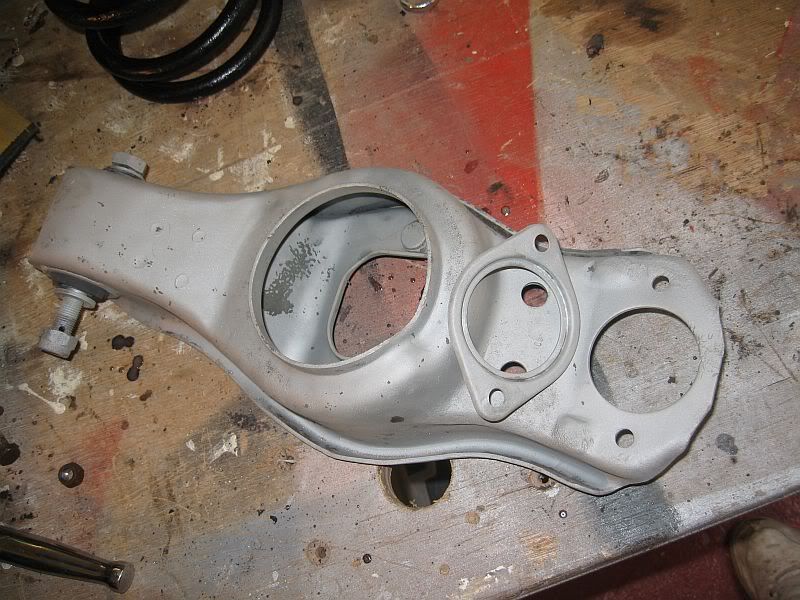
| Nearside suspension |
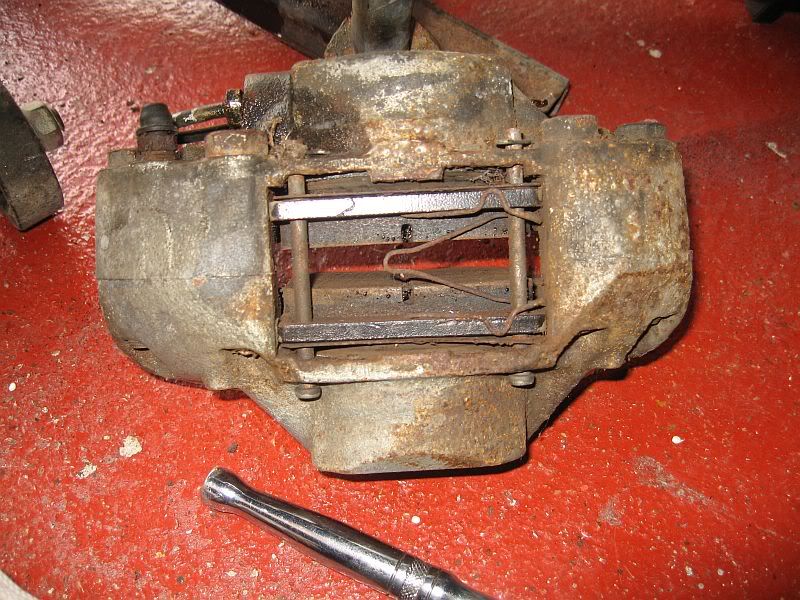 |
| Caliper |
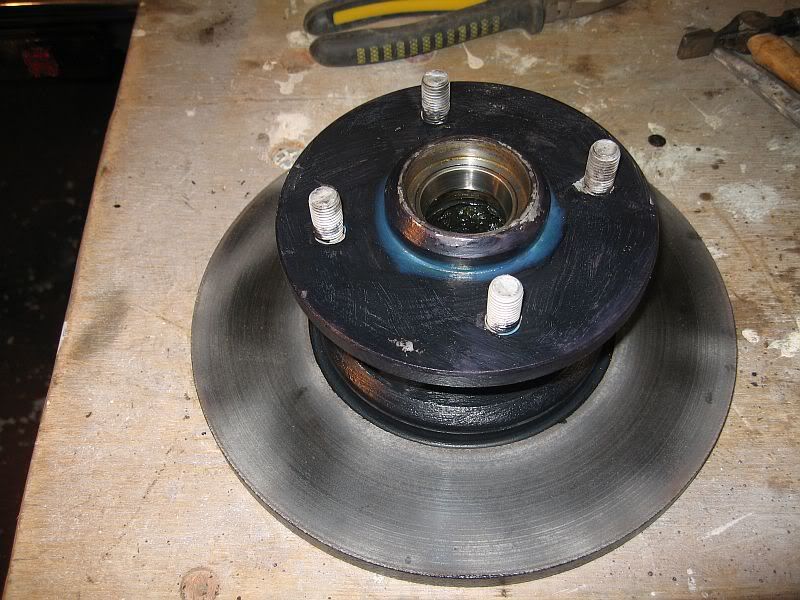
Next to come of was the wheel hub, I have read about this type of wheel bearings in that the torque is minimal but was very surprised when after removing the split pin I managed to undo it by hand, the book says to do it up to 27Ib ft then undo 90deg which will give the required end float. Seems to be correct as I checked for free play before removing and all was tight.
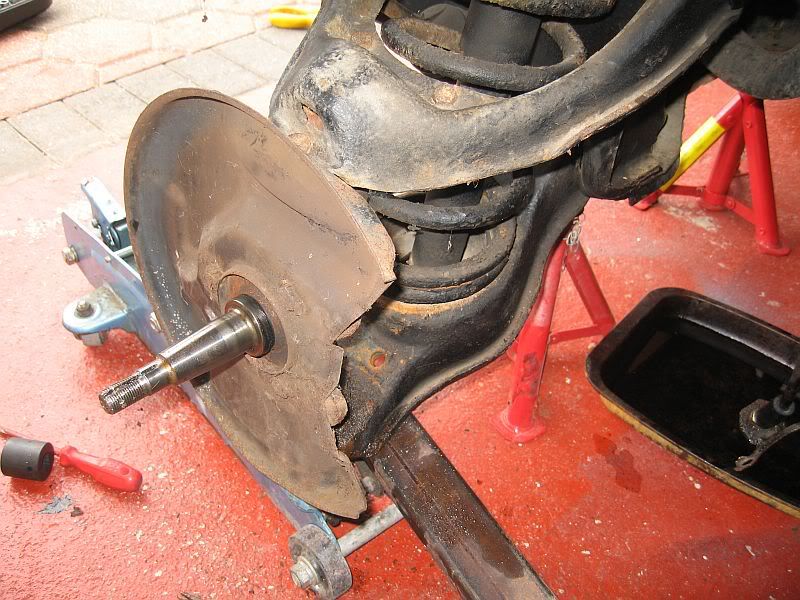 |
| Stub shaft after hub removal |
Its hard to believe the quality of the steel on the disc, its been sitting around for years, minimal driving to put it on a trailer and the disc is pristine. The wheel bearing is either a Timkin if stamped with a 'T' or Skefco if stamped with a 'S' so the book says.
I undid the steering track rod end next, just a few taps and the tapper came free; hope the top and bottom are the same, they where (starting to like Ford). Then removed the disc protector and the Tie bar, the bushes were in a bad way.
Needed to compress the spring next, luckily I have 3 different sets of compressors as it is such a tight area to get them in that I had to mix match the hooks, I could have jacked up the lower side of the wishbone and undo all of the bolts and gently bring it down but I am a scaredy cat, so play safe.
Spring compressed I undid the shocks and the upper and lower suspension arms, needed a bit of jacking to ease the weight but a few taps and things started to come undone
.
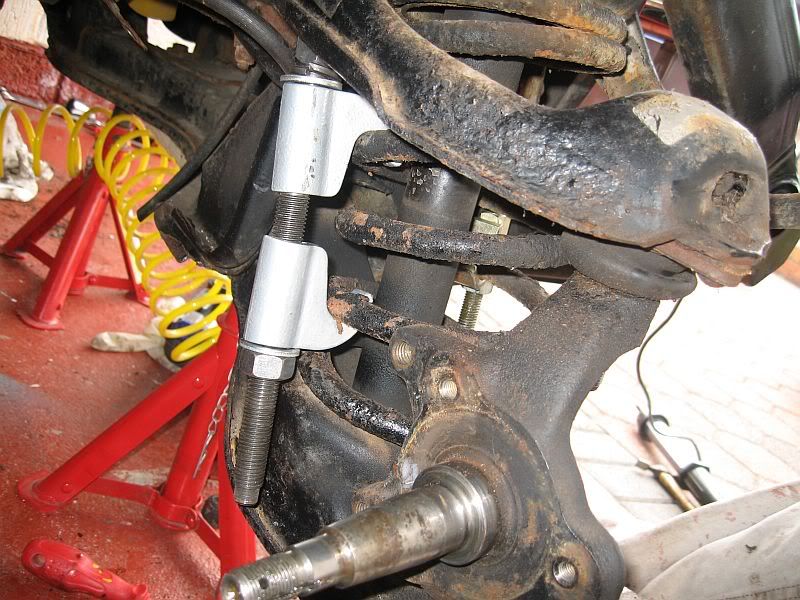 |
| Spring compression offside |
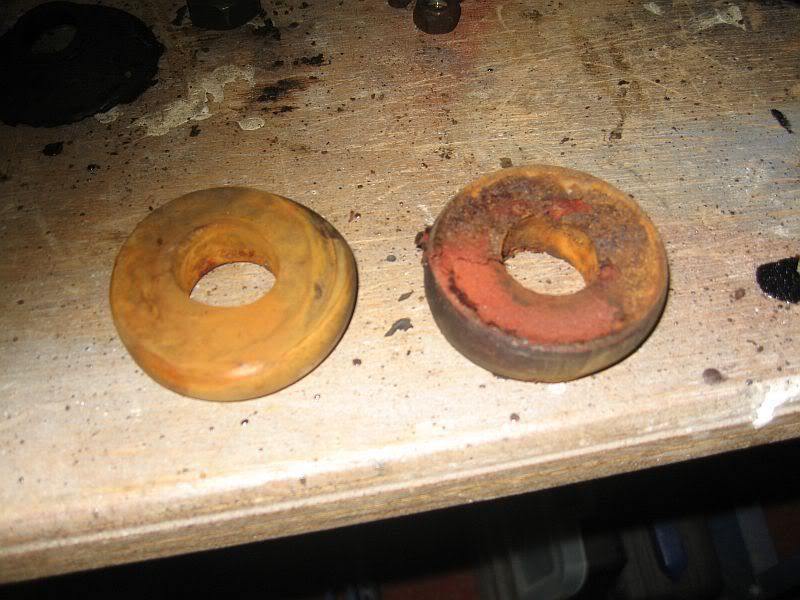 |
| Tie rod bushes |
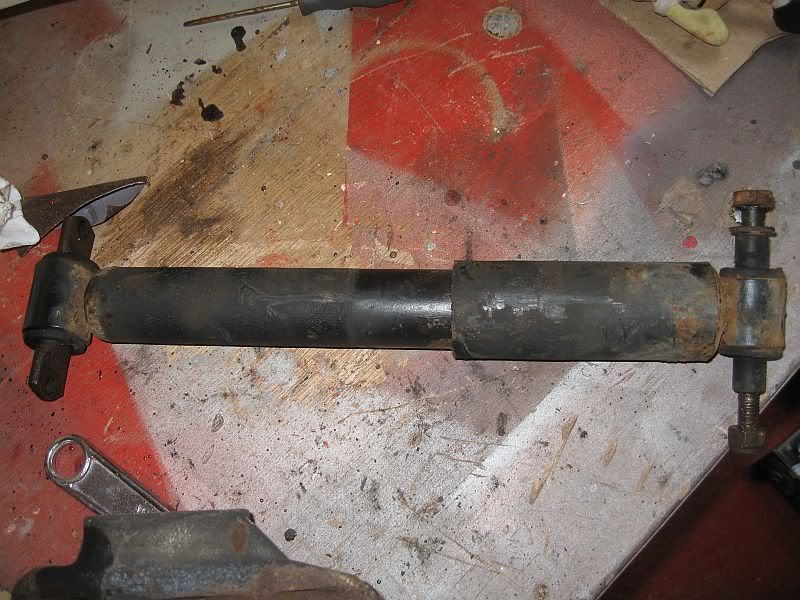 |
| Shock |
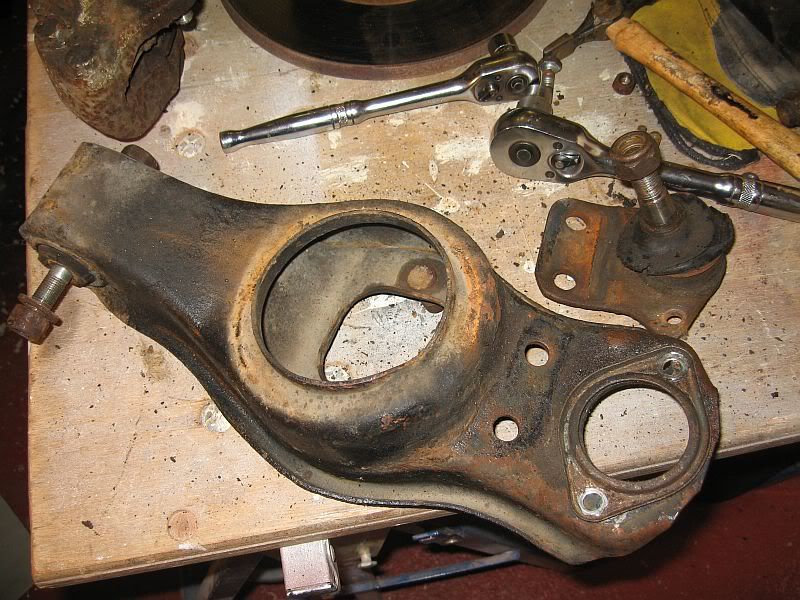 |
| Lower arm and damaged ball joint |
 |
| Hub with bearing |
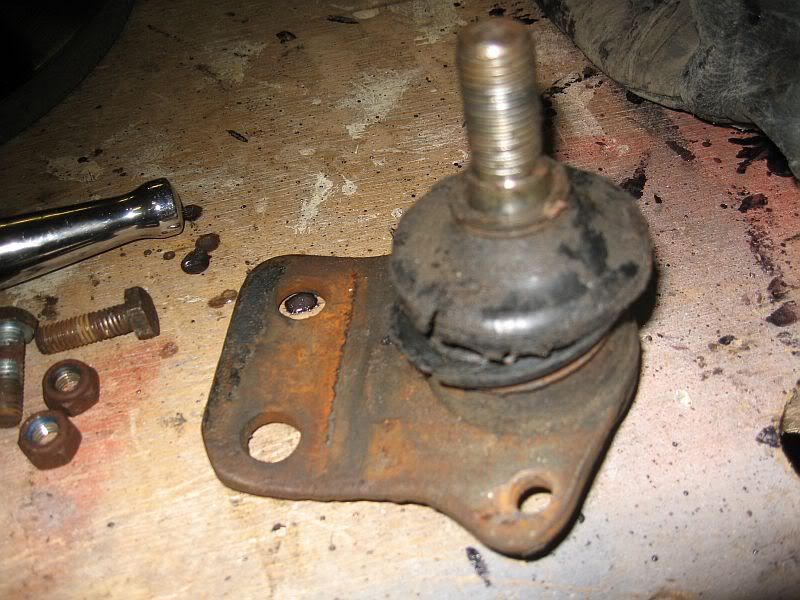 |
| Damaged lower ball joint |
 |
| After blasting |
 |
| Blasted and vactan applied |
I am replacing all ball joints, track rod ends, tie rod bushes and shocks, I also need to check all of the bushes in the suspension arms but they seem to be heavy rubber and OK. That's all for today start on the caliper and the rest of the blasting tomorrow.
See ya Paul
See ya Paul
No comments:
Post a Comment