
Got back late afternoon on Wednesday from Denmark but had the good news on Tuesday that the car had passed its MOT and was dropped of on Tuesday night. Now the work begins.
To say I was lucky to find Tony the owner of the garage is an understatement as there are not many garage owners that would take a car in for a month and go over it in his spare time with a fine tooth comb to sort out any problems and fix them. I gave him a list of things I wanted checking extra to what would be normal for an MOT certificate with the permission to fix anything he found and to treat the car as if he was going to be driving it and one of the biggest things he found was the steering column.
He initially identified a problem with the indicators as they would not automatically switch off after a turn was complete and the steering lock did not work, on removing the steering wheel he found a bit of play in the column and thought it was the bearing that was gone.
He removed the steering column from the car and found a couple of things wrong; thankfully none of the problems found where caused by me as I had not removed the column from the car only the knuckles in the engine bay.
He identified the problem causing the movement as the spring being in backwards, it is a tapered spring and needs to be fitted the correct way around to give the tension on the column. This was put right and a new bearing fitted, looks like its been removed in the past.
He identified the problem causing the movement as the spring being in backwards, it is a tapered spring and needs to be fitted the correct way around to give the tension on the column. This was put right and a new bearing fitted, looks like its been removed in the past.


He also found that the wheel did not engage far enough down the shaft and that the whole of the frame was in the wrong position, once he explained the problem to me I realised that the difficulty I had removing the screw from the top binnacle cover was caused by this as it was set partially under the dash and was hell to get in and out.
The frame then came out and was marked to re-position it setting everything a little more forward and drilled.


I don't propose to understand quite what the problem was but everything went back together and the indicators now automatically stop and the steering lock works. Also the screw to remove the binnacle top cover that I had such a difficult time removing is now in its correct position and easy to access.
I now have another problem which he did not realise until the car was being driven to my house and that is the wheel is a few degrees out of centre, this was not caused by Tony as I had thought for a long time that when I replaced the steering column to the rack it was in the wrong position I could not really tell as the wheel alignment was so far out, now it is set up correctly it is pretty obvious. So one of my jobs is to move the rack out a little and re-adjust the spline where it enters the rack to centre the wheel.
The tracking and geometry is fully set up for KPI, Caster and Camber.
Again this is something I am not trained in but Tony had all of the gear to do the job which he said was twice as old as the car but still worked just fine.


I would love to be able to explain what was going on with each picture but I am just a thicky.
The KPI (King pin Indication) is 2 3/4" on both sides which is unadjustable and is set by the upper bearing.
The Castor is set to 2 deg's
The Camber is at 1.5 deg's
The front wheel bearings were set up correctly, I had them set up Ok but just a little on the loose side, they have to have play to allow for the expansion of the bearing due to the heat generated and I had them a little to loose.

The brakes where tested and the rear brake shoes also got looked at and although they have auto tensioners on them a few adjustments where made.
He has also found a couple of other things that I shall have put right although one of them could have been done when up on the ramp and that is a small oil leak from the speedo cable where it enters the gearbox. I had fitted a new rubber seal in there but he thinks it just needs repositioning as it may not be in far enough, there is also a shaking on the speedo dial until it reaches 40mph where it settles. He said he remembers this was problem on the Cortina and there was a fix at the time which will be looked at in the future.

I was also missing the lock nuts for the flexi brake pipes where they are fixed onto the brackets, he has replaced them.
The Carb has also been adjusted for the emissions and it ticks over and runs lovely.

The clutch was checked and I had set it up correctly also the timing was spot on at 9 degrees and the tappets were good so at least I got some things right.
The modification I had made to the cooling system works well, this was fitting the expansion tank as suggested by Terry B and also the electric fan works great. I have had the car out most of the afternoon and the temperature has held steady, think it was around the 170 deg F mark but will check.
Another mod that I should have done before was the fan belt tensioner, I realised when I had the problem with the alternator cabling that it was to close to the rocker covers and needed a longer belt but hadn't got round to it. The problem was caused by the fitting of the new ally rocker covers as the old covers are shaped to allow the alternator to fit.

You can see just how tight it is.

And even tighter round the back.

I made a longer tension bar, unfortunately I was working from memory as I only had the length dimensions with me and got the angled cut out on the wrong side but this turned out to be no problem when fitted.
The new belt is a 1175mm x 10mm
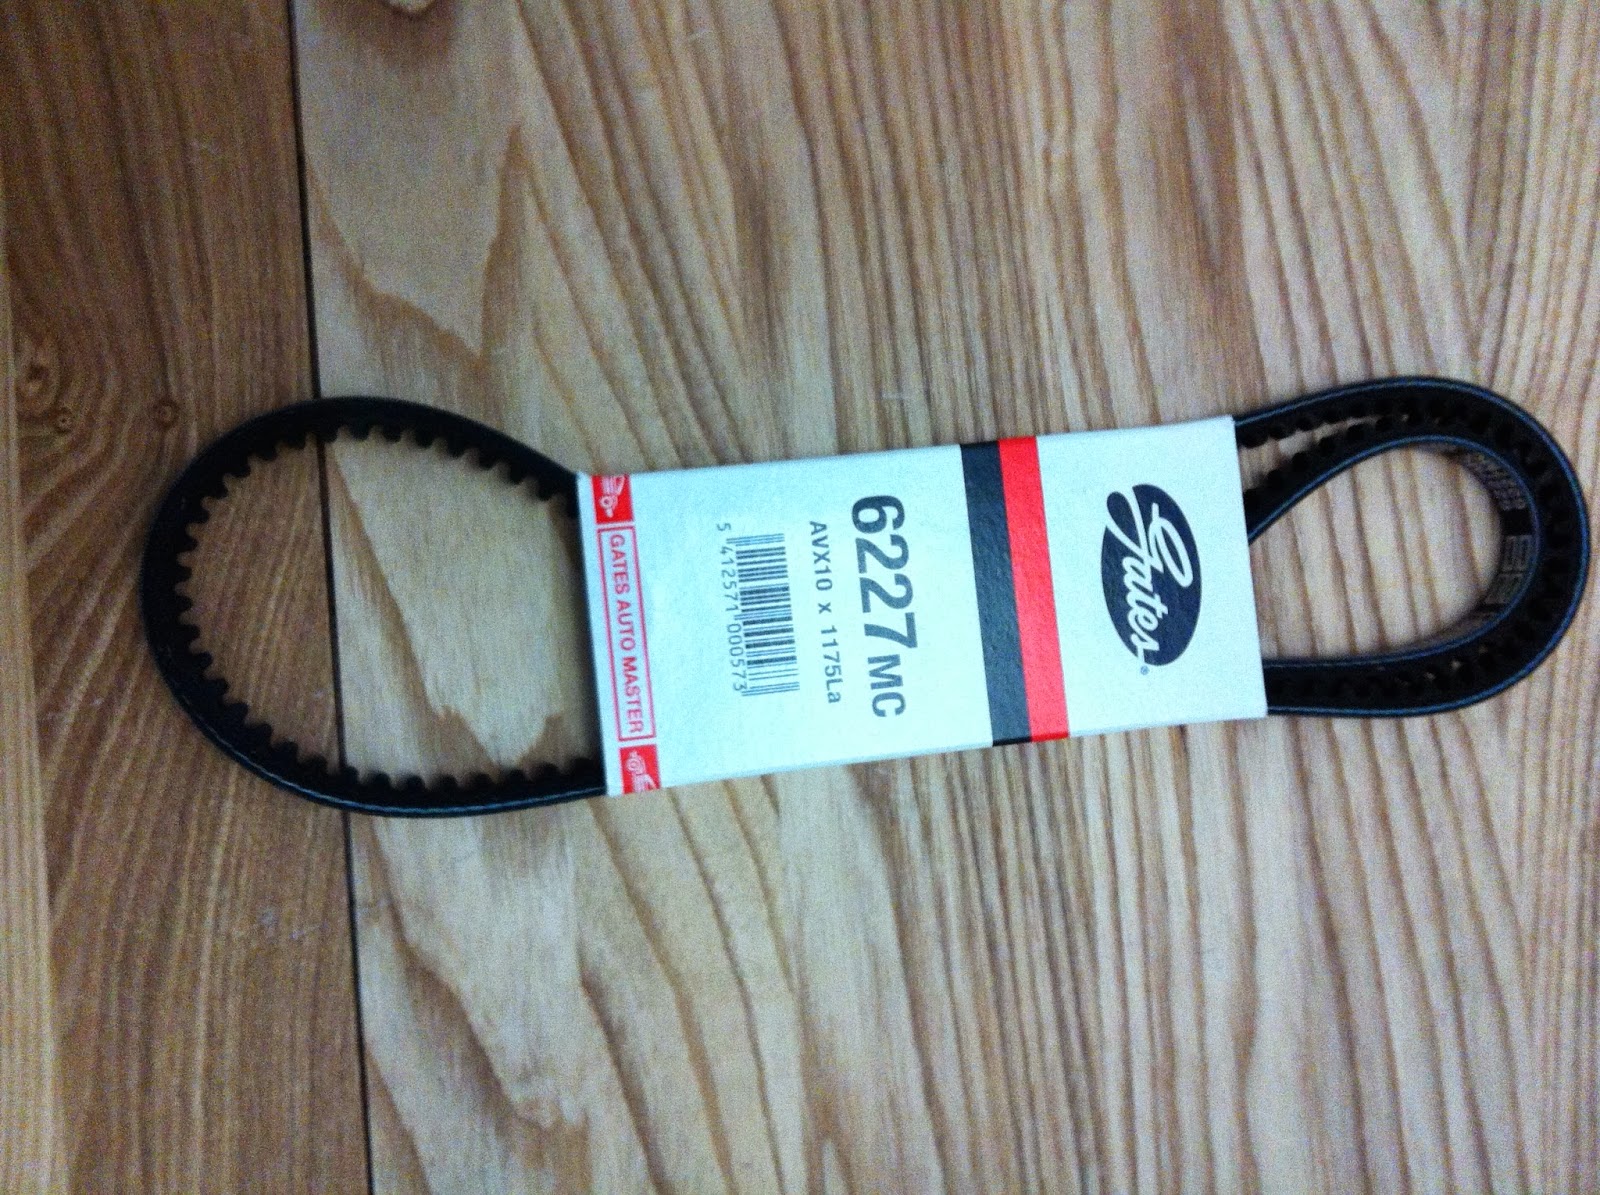
The extra distance brings the alternator out much further away from the rocker covers.


Much easier to change the belt now.
I took it of SORN this morning and bought 6 months road tax as it will get laid up for the winter and I shall SORN it again then but lots of jobs to do.
The dash needs a little work as removing the light cluster to get to the wiring and to remove the 24v lamps that had been fitted caused a bit of damage to the veneer, I shall have to think of a fix for this. I have also booked it in with Ant at the paint shop for the 4th August where the paint finish will get a machine polish and any more paint damage will get fixed but other than that it drives great and I only stalled it 3 times while out.
See ya Paul


