Friday, 26 July 2013

Rear Valance

Hi
Finally a full day to get some work done, unfortunately it will be the last for a few days as tomorrow afternoon we are on a guided walk off Hadrian's wall which I am looking forward to.
There was a lot of overspray on the underside where the valance was to sit and also a bit of polishing required, I had been given a bottle of Farcla G12 fine cutting compound by Ant when I brought the car home as there is still a lot of polishing to do and while away I bought a bottle of Meguiars Glaze for finishing off.
I gave the lower half a polish and glaze then tapped out all of the threads then got out the black paint, the back underside had been painted and coated in underseal but was now a little oversprayed so that got painted first.
I also sprayed waxoil up the bumper tubes before fitting the bumper, now on looking at the picture I think I have the bumper a little low. Will rectify tomorrow.
Next to go on was the valance, after one attempt to fit by lying on my back and trying to bolt it on I gave up and removed the lights which gives easy access to the brackets and bolted it on.
I then refitted the lights.
I had bought the new LED rear combination indicators last month,
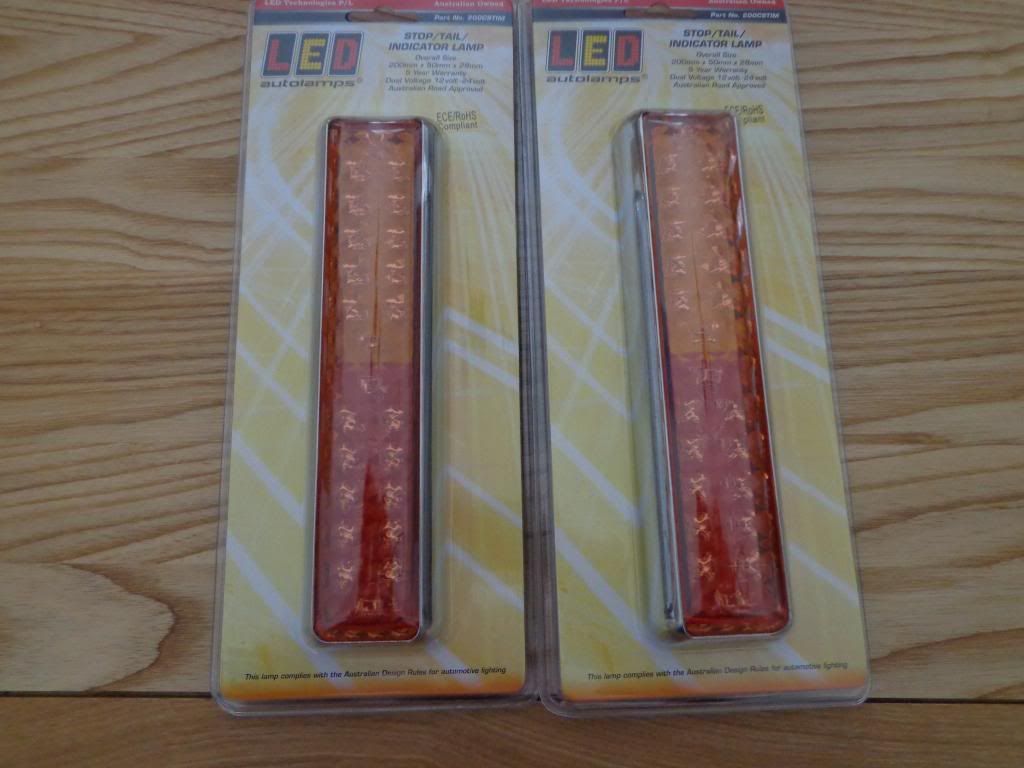
but unfortunately the bracket holes were of a different width. I started to make a stainless plate to mount them but was unable to remove the back of the indicator to bolt it on as I had to lever the lens out and I was sure I would break it so I scrapped that idea. I then came up with the idea of using double sided tape, I first cut some standoffs and stuck them on as the original mountings stuck out.
Then with a bit more tape I stuck them on, this is proper automotive tape and ain't coming off again.
Yes; now that I look at it I realise it is too low. 10 mins work in the morning.
I have bolted on the number plate although that will come of again when I get the proper black capped bolts, I have had no joy with a replica number plate and may keep it as it is one of the only original pieces left on the car.
Once finished on the rear end I finished of the mod to the filler cap drain, I had already fitted the drain pipe.
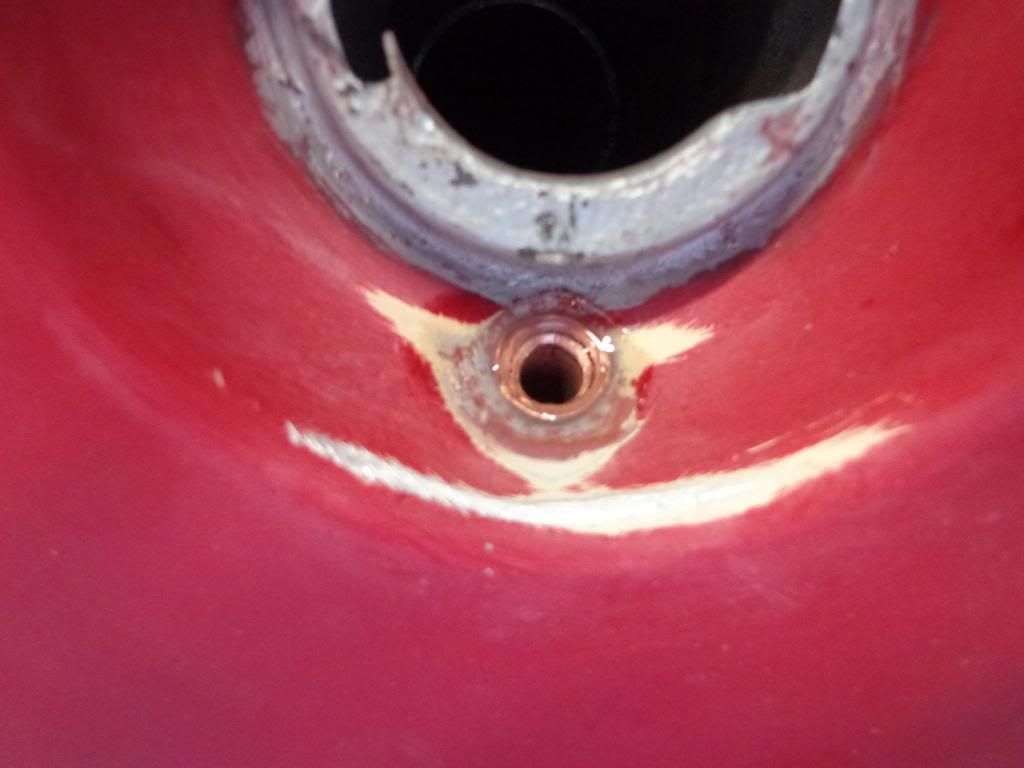
and had ordered the 10mm tube a while ago and now had a chance to fit it, I jubille clipped it to the pipe inside and fed the tube past the filling tube and it emerged down the side of the fuel tank.
The tube was trimmed it of and tie wrapped in place.
Next in line was the step treads, these were all ready to go on, the step needed a little polish as there was some overspray around the edges from the touch ups but that soon came off.
The passenger side door catch was fitted next, the paint on the passenger side catch had reacted so I have rubbed it down and primed ready for another attempt.
I went back down to the paint shop to see what parts were ready for collection and picked up the grill, it still needs a little polishing but looks fantastic in position, I will try and fit in the morning.
I also picked up the headlights, to think I was going to throw these away.
They are better now than when new, I have fitted the new bolts I bought from SVC but unfortunately the locking tab on both lamps have broke off, this may cause a few problems when setting the headlights, I will try and rivet them on again. 
While away I bought what was advertised as chrome rims for 7" headlights under the assumption that 7" headlights where 7". Thats not what arrived.
Mine are the ones with the lamp and the rule says 7", the one's that arrive are nearly 81/4" so I have had to return them.
I tried this morning to clean the rust of my old ones with the idea of colour coding them. 
They were a little on the rusty side.
So I thought a little sandblasting.
'O' what a bad idea, bloody big hole.
I have called SVC and he knew exactly what type of rims I require, unfortunately he has none and said they are not made anymore but if I was to remove the clips from mine and rivet them on the new ones they should fit ok. Fingers crossed.
Till tomorrow

see ya Paul

Thursday, 25 July 2013

Finishing the Doors

Hi
Got home on Late Monday but not a lot accomplished since then, mostly because Lynne has taken a week of her annual leave and we have been out and about and also that the colour coded items at the paint shop had been forgotten about. They started the day before I got home and when I went round today there was still polishing to do.
We had a nice drive into Northumberland yesterday and visited CRAGSIDE the first house in UK and possibly the world to have electricity, it is the house of Lord Armstrong, a victorian industrialist on the River Tyne into shipping and armaments and of course electricity generation.
Lovely old house and possibly the biggest fireplace in the world.
I have done a lot of ordering of parts while away and 13 parcels were here when I arrived home.
The most important parts where the runner guides for the doors.
I don't know why but I didn't really think about these at all, well not until I got a door built up and realised that they were so worn that the rubber weather seal did not touch the glass as it sagged too much. 
There are 2 seals per door, one on the inside runner
and the other on the quarter light.
Unfortunately you can't fit these while the glass is in, so I had to strip the doors again to remove the runners and fit. Once the runners were in I could then fit the outer weather seal, these have small clips that fit in six places on the inside of the door rim.
And they are a complete pain to fit, there is a tool available from Sussex classics for around £11 but after receiving the drawing of the tool from Bruno I had one made in 5 minutes.
The clip fits in the little bend and you use the other bend to pull the clip in place.
Easy as that (NOT)
Anyway both doors done, half an hour on the seal clips then I thought I would fit the handles, as the door handle gasket kits had also arrived. It was then that the realisation that the nuts to secure the handles were positioned behind the glass and totally inaccessible with the glass in. That was late yesterday afternoon, so I gave it a rest for the day, (and had a cry)
So after spending the morning out with Lynne I spent the rest of today stripping out the doors to fit the handles.
I didn't have to totally strip the doors, just remove the side runner, all of the bolts and the locking mechanism, I could then ease the glass enough to get at the holes.
You can see the bolts and how difficult it was to get at them, thats the problem with a long restoration in that you forget about these little things.
Anyway the handle went on and I built up the doors easy enough.
Once the handle went on I started on the wing mirrors, I bought the whole package from MG Hive and no disrespect to them but the TEX wing mirrors are utter rubbish.
I have fitted them but will look to getting hold of some small helicoils to repair the drilled out threads on the originals or look for some better quality mirrors.
To fit, first the plastic gasket fits into the door holes, these have plastic plugs to accept the angle adapter screws.
Next the angle adapter in screwed in place, this locks everything to the door by expanding the plastic screw plugs into the holes.
One of my plastic plugs broke off on the first bit of pressure, I managed to remove it and fitted a bolt through in its place.
Next goes on the tapered edge block.
The block has undercut sides, the idea is that the mirror has the opposite angle to lock in one side and a pointer grub screw to tighten under the other side, great idea and it works great on the original, unfortunately the TEX mirror does not have the angle cut to fit under the opposite angle just a square cut edge which makes it wobbly and easily pulled off. No problem, I will sort it.
All fitted.
 And after a bit of work both were done.

Before going away I got together all of the parts for colour coding and took them to the paint shop.
Twenty parts in total and I have most of the white ones back, and they made a great job of them.
I have received the veneer to cover the dash, center console and the door caps, what I came up with was some beautiful pieces of Maple Burl and Red Maple Burl, to separate the two colours I found some black and white dental inlay. For the leaping panther I have a piece of black tulip veneer and 2 pieces of 5mm thick buffalo horn which I shall cut out and carve into panthers to inlay in the door cappings to add a bit of 3D depth.
I also found on eBay a new choke pull in polished stainless.
I have also fitted the lights to the rear valance as I hope to have most of tomorrow to work on the car and plan to start on the back end and work forward.
To help progress tomorrows work I got under the car and used up 2 tins of underseal and sprayed all of the underwing area, getting a lot on the new paintwork as normal.
I have also been in communication with Ray of RS Sewing solutions and have put my order in for the mohair hood, hood cover, carpet, door cards, gaiters, spare tyre cover, sun visors etc etc, unfortunately Ray is so booked up that the back end of September is the earliest he can start. Hopefully he may be able to get the carpet to me earlier so as to get the heater in.
I have also figured out how to use facebook (about time) and have put a link to 'Panther Kallista Restoration' where I shall post for each blog update.

see ya Paul 


Thursday, 4 July 2013

Dash Removal

Hi
Only a few days left to get all of the items for colour coding stripped and ready before I go back to work, so I hope to get them all ready to take down tomorrow. 
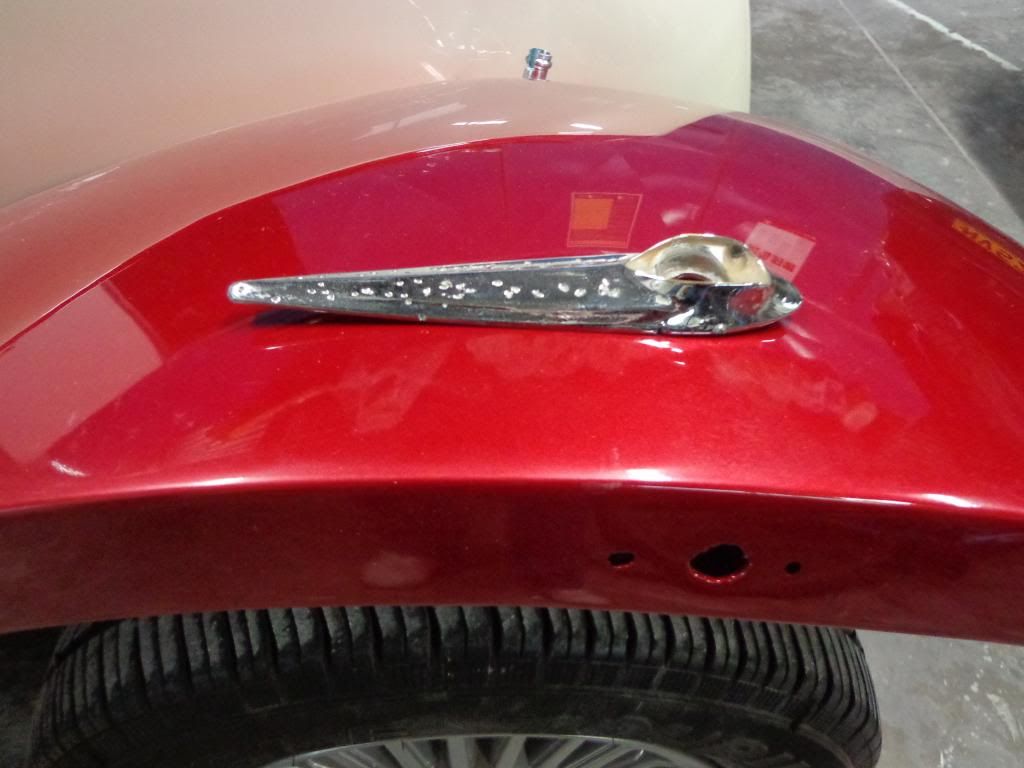
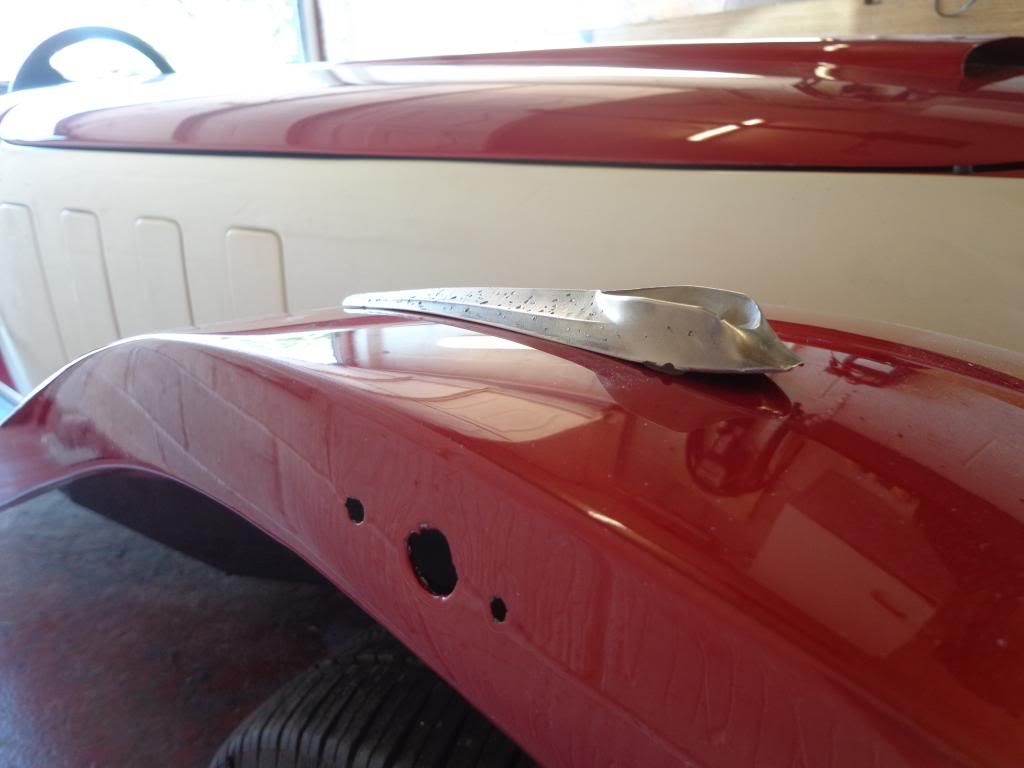
The headlight are all prepared so to finish of the lights I needed to start on the sidelight plinths, I had a bit of a problem with these and that was matching the curvature of the wing.


Luckily I had bought 3 as the first one I tried to bend ended up in 3 pieces. oops!
The plinths are made of cast zinc with virtually no malleability in them, so I was going to make up the curve with ally filler then I realised that is was the edges preventing any movement, so I just ground off the edges then with my best Uri Geller impersonation I gently bent them to the curve.

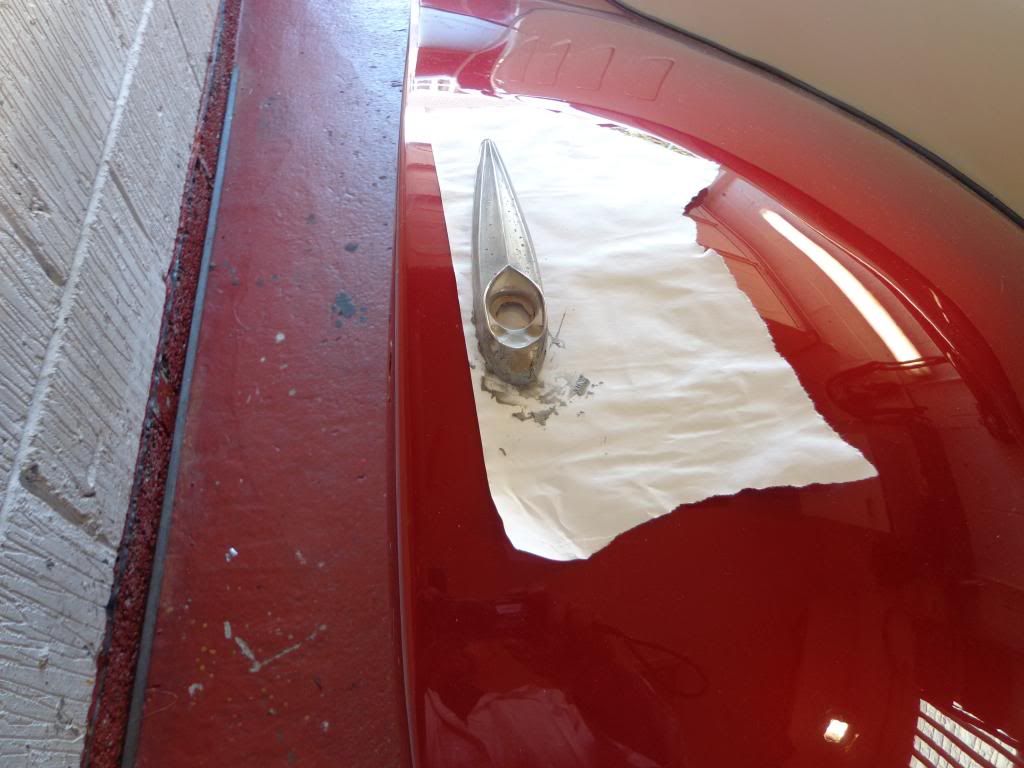
I couldn't do much about the front so I mixed up some filler laid a piece of paper on the wing, filled the underside and pressed it onto the paper.

Once it dried I peeled off the paper, filled the rest of the underside and sanded smooth.
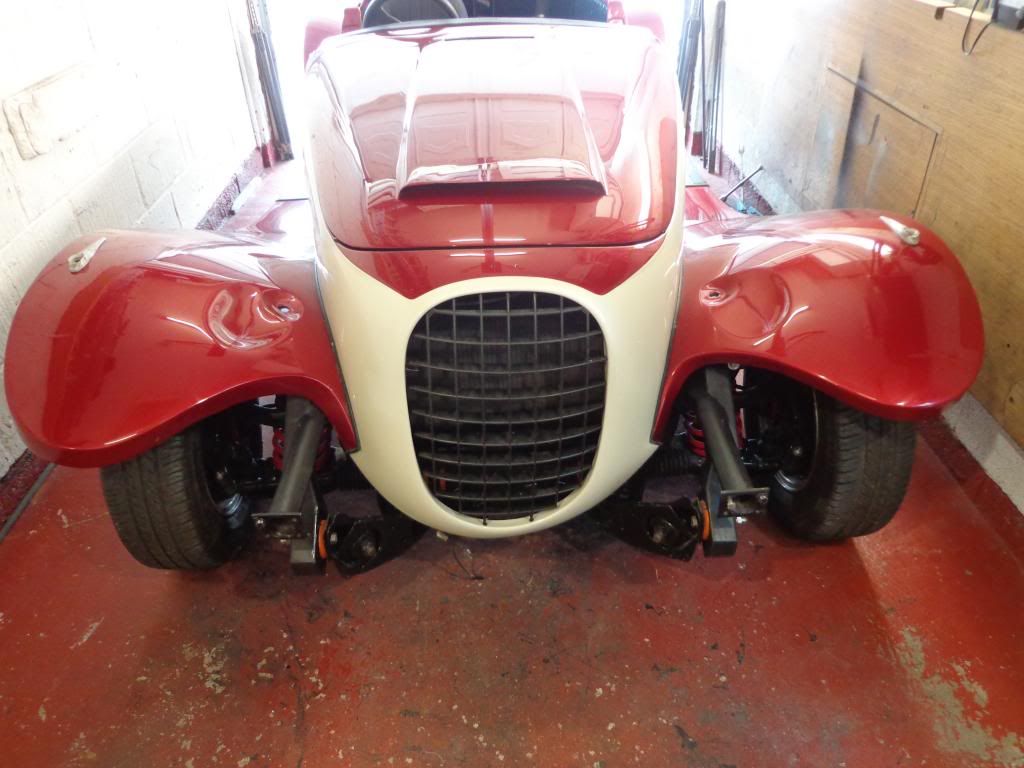
Once the pits are filled and colour coded they will give some great definition to the wings.

One of the other jobs was the grill, I first polished up and fitted the brackets and the rubber grommets to the inside rim.


I had to do a fair bit of repairs to the grill as one of the top bars had disappeared so I cut off the bottom centre and stuck it on the top, plus a few more cracked and broken bits got glued.
I also plan on getting a chrome grill from Bruno but until then I shall have the option of having the front colour coded (headlights, sidelights and grill) and when I get one I can swap for chrome (headlights, sidelights and grill) when ever I feel like it.

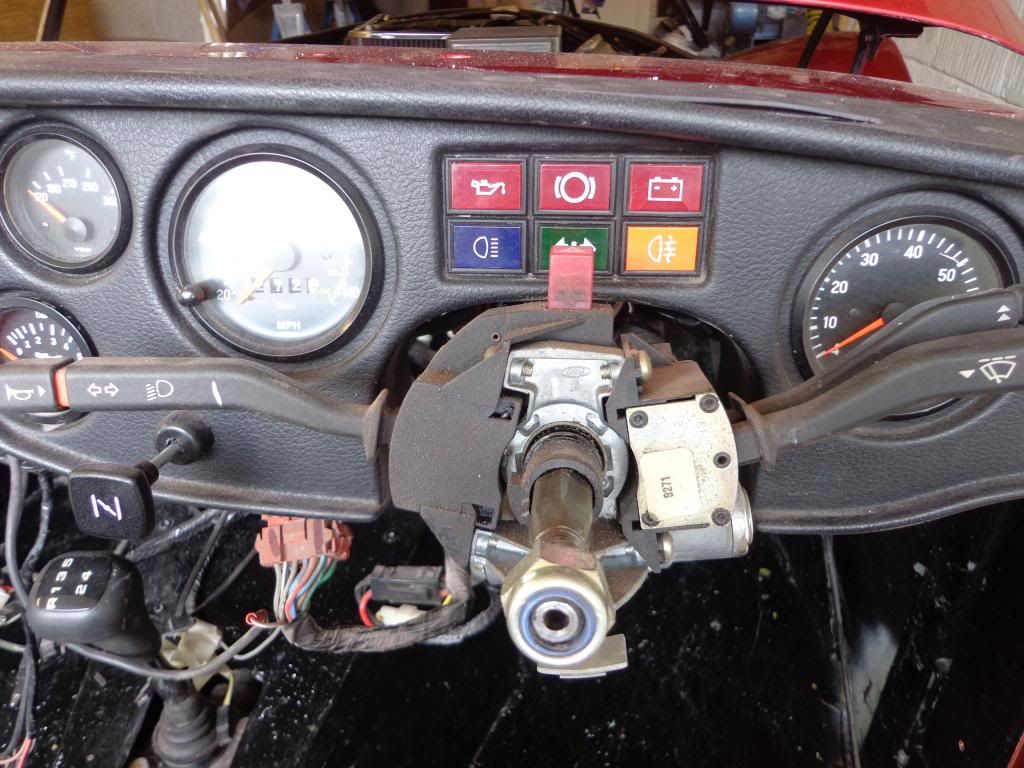
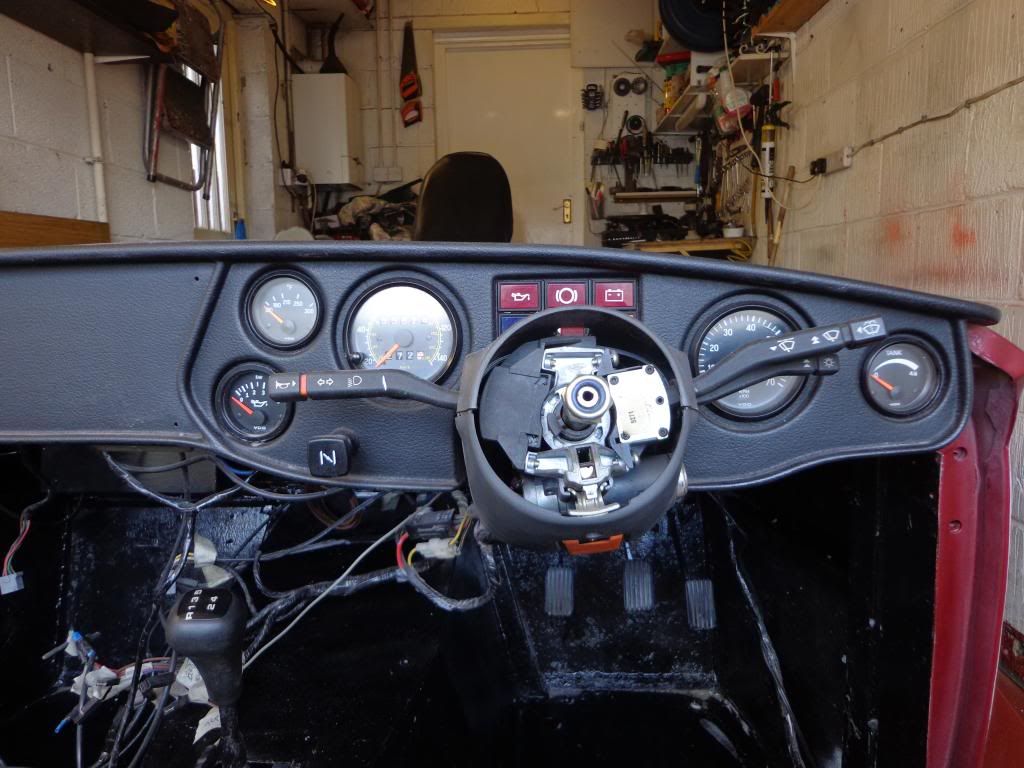
The main job today was the dash, it was a bit of a worry but in the end was quite easy, I had a few tips from Terry B which made it easier.

I started by removing the steering wheel and drilling out the rivets that support the underside of the dash.

Next came the cowl, this is in two sections with 3 screws on the underside.

And one real nasty one directly on the top and at such an angle that a screwdriver won't fit, I used a screwdriver tip on a ratchet which just fit under the lip of the dash and out it popped.

I also have the new choke cable fitted, so I disconnected this from the carb and pulled it free, I have since broke the pull end when I dropped it so now I need to buy a new choke pull. Will try to find a chrome one, sure someone makes them.
After feeling under the dash I found the speedo cable connection which luckily was only finger tight and unscrewed easily enough.
The dash was still trapped by the indicator stalks which are only held on by a couple of screws so I removed these.
I also disconnected the main power supply to the dash, the big orange plug.
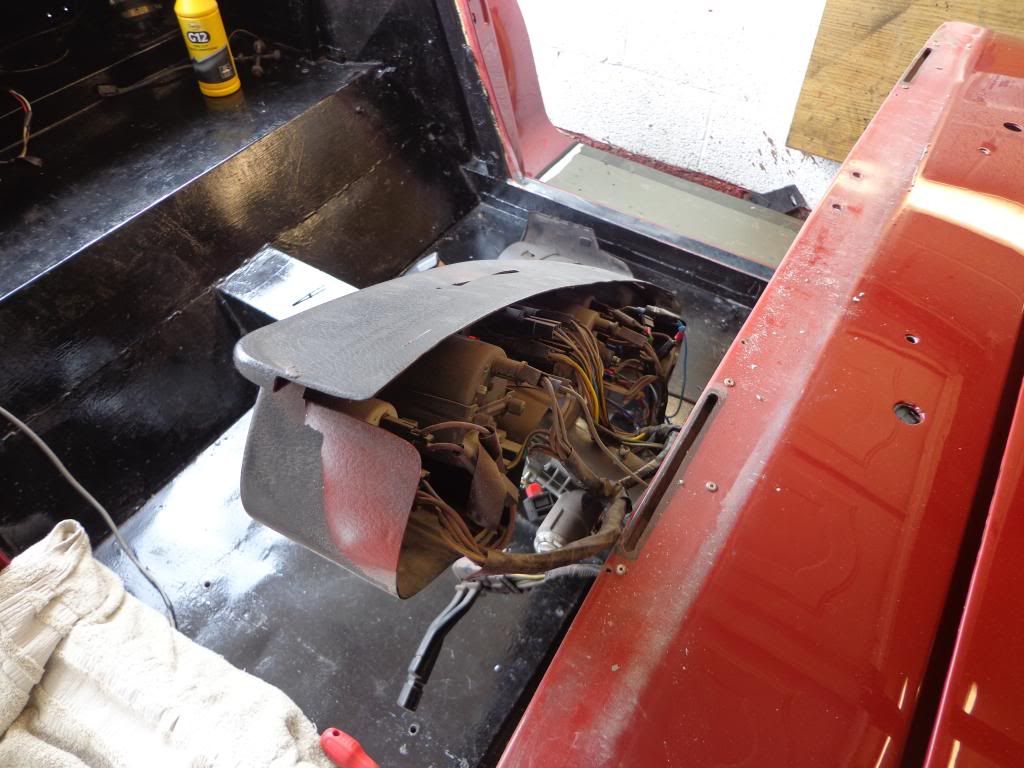
Once the stalks were off then the dash pulled forward for easy access.

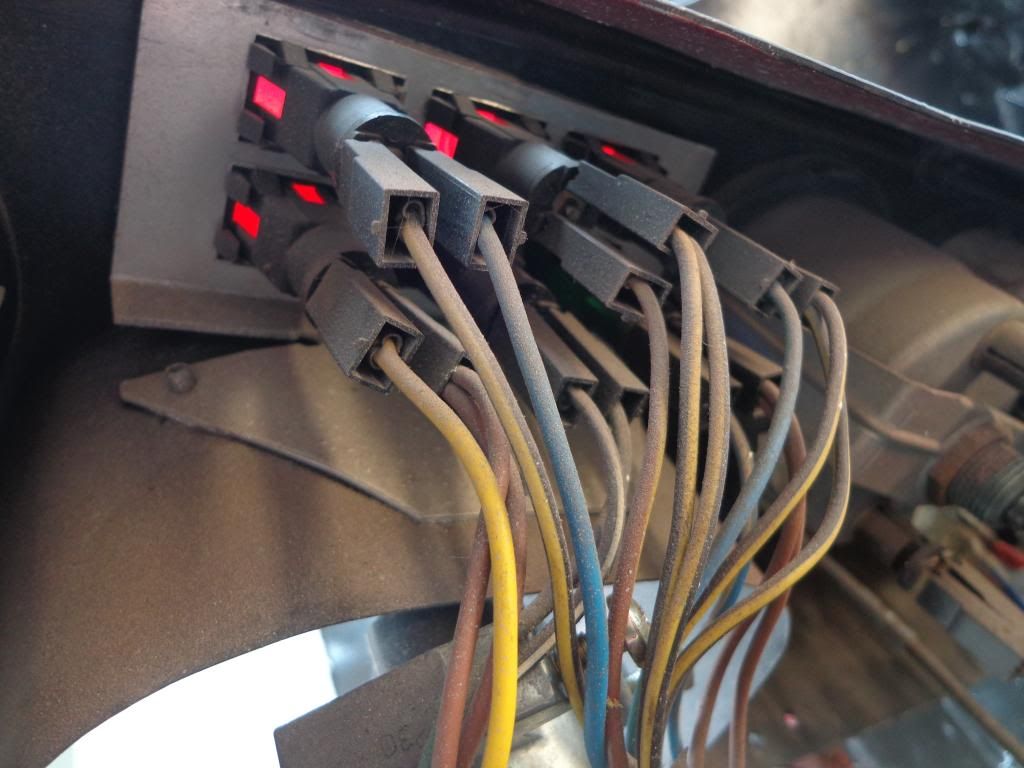
 It was just a matter now of disconnecting each gauge in turn then removing them from the dash.

Once out I replaced all of the wires and where necessary I marked with a tag.

The indicator display is held in place by 3 rivets, I drilled these out and the display comes off as a whole, the large dials were a lot more difficult and I had to lubricate with washing up liquid the get them moving.


Once finished I replaced the stalks to keep them safe, it looks a bit of a mess but should go back together again. I shall sand out the holes so as to fit the dials easier than they came out as I do not want to damage the new paintwork.


I gave the dash and the centre console a wash and that is mostly what needs to be taken to the sprayers, I shall strip the rear valance tomorrow.


One good thing is that access to the heater is much more accessible with the dash gone so I'll maybe able fit the heater without removing the bonnet, got to get a carpet first.

see ya Paul