Thursday, 9 May 2013

Paint Shop

Hi
Not a lot done this week as I had a paint brush and a couple of litres of white gloss put in my hand, so everything in sight has been prepped and painted and still not finished.

Managed to get back on the car and started on the wiring, I knew I had one repair to do as I caught an indicator loom in a rotary wire brush and ripped the outer sheath off, so this was the first job.
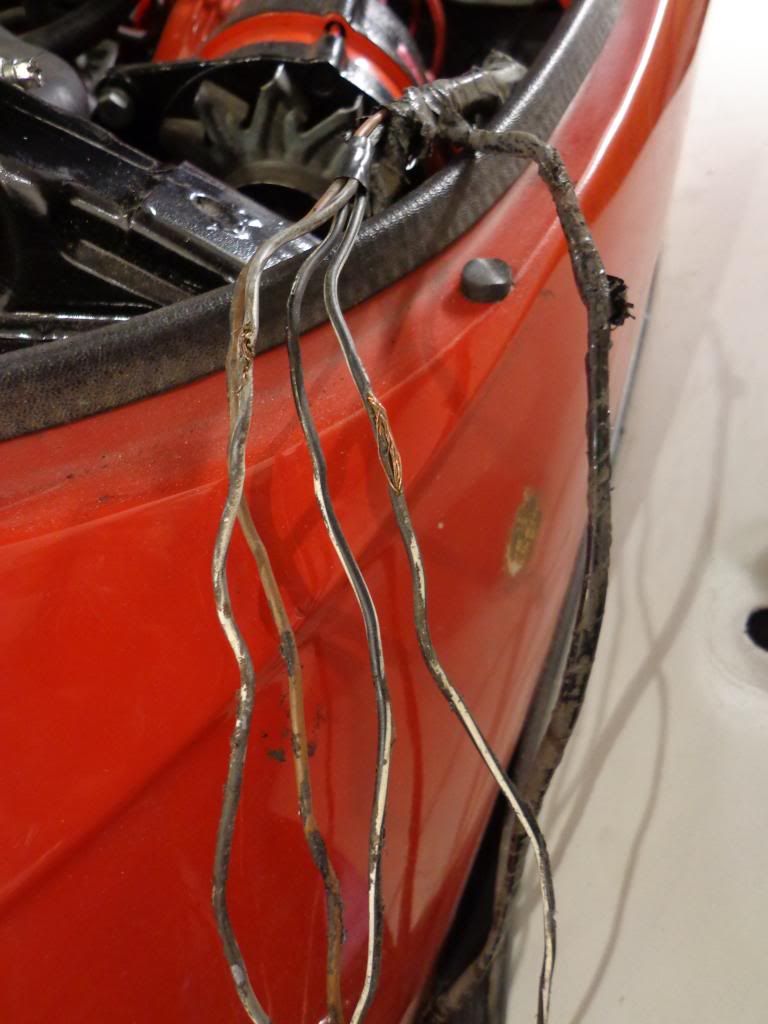
The repair was simple on the single wire as I slipped on a shrink wrap sleeve and shrunk it in place, the other wire was a twin as 2 wires went into a single bullet. To fix this I snipped the bare wire and fitted a wire connector and crimped the ends then I tested the indicators to ensure the connections where good before covering the wires.
I had bought a couple of meters of 12mm shrink wrap in preparation a long time ago and got busy stripping all of the tape from the front loom. I then slide on the shrink wrap over each loom section and shrunk in position.
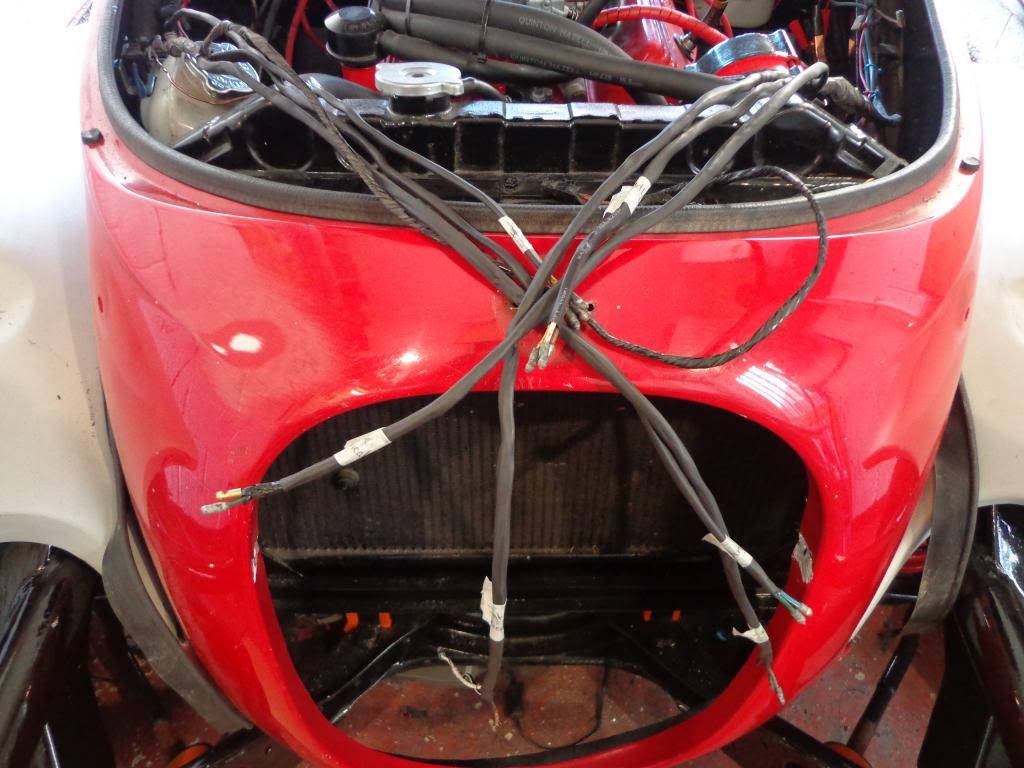
You can also see in the photo that I removed the brackets that held in the grill, and this was not an easy job as I ended up having to grind of the heads of the screws which scored the aluminium surround which will have to be filled.
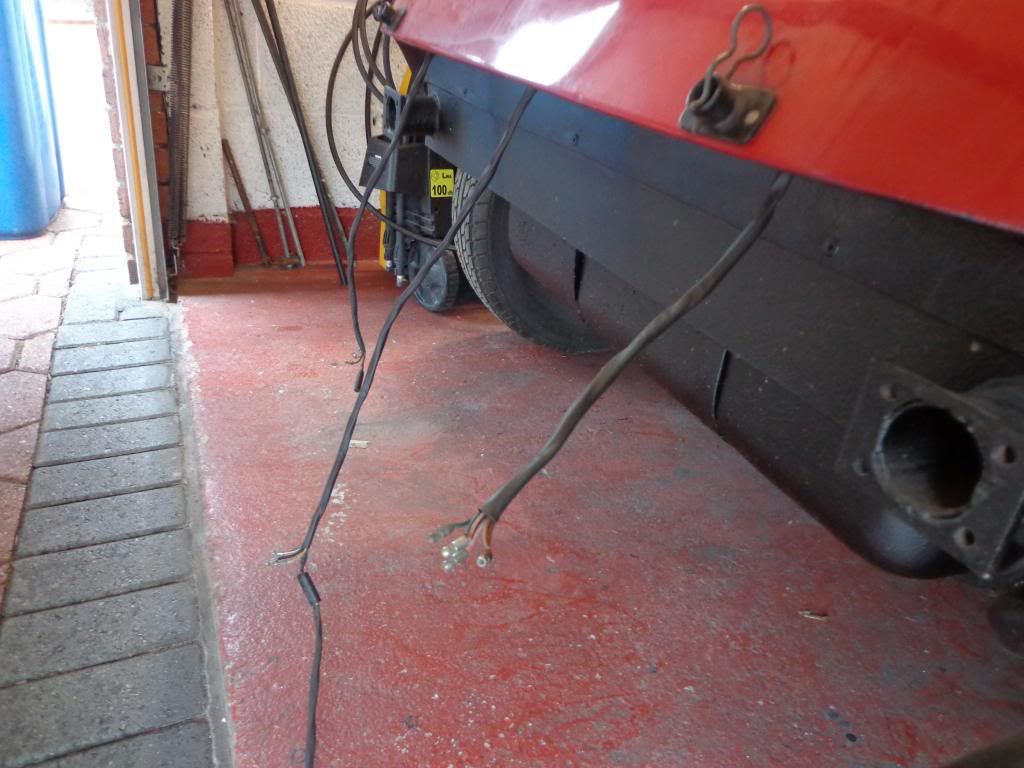
I carried on the wire sleeving on the rear wiring which where looking a little weary.
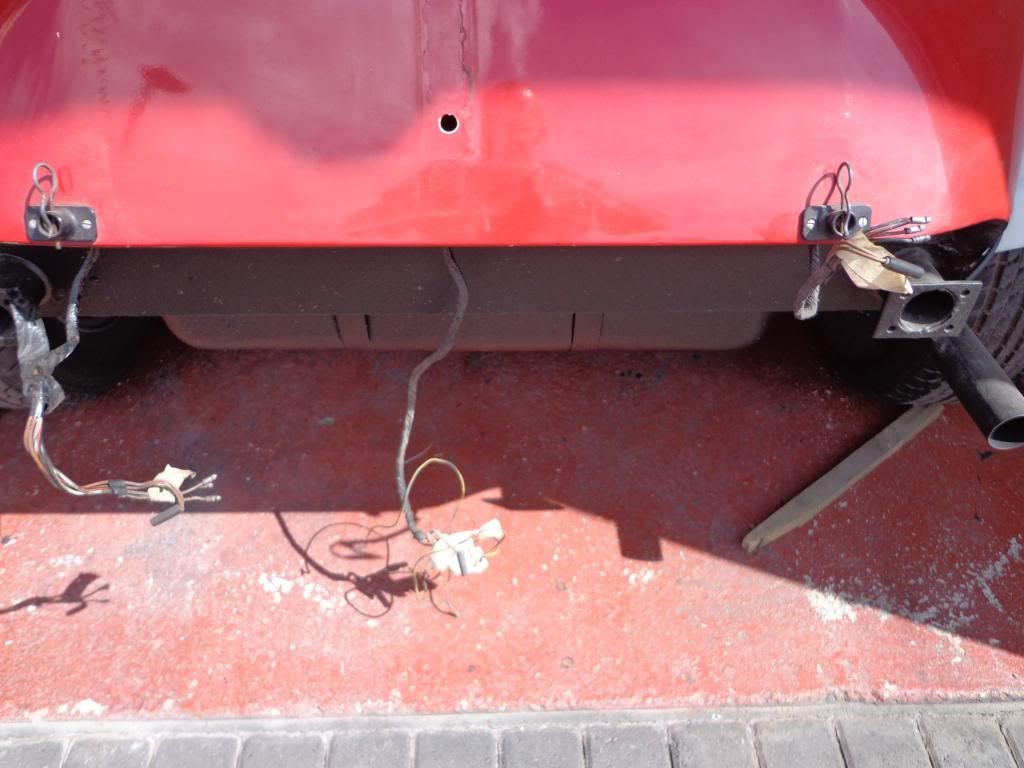
Looks a lot neater now.
I was removing the wings yesterday and noticed a bulge in the side paneling, I had noticed a difference when I was originally rubbing down the sides and thought it was a weld, that was a long time ago now and it has got a lot bigger.
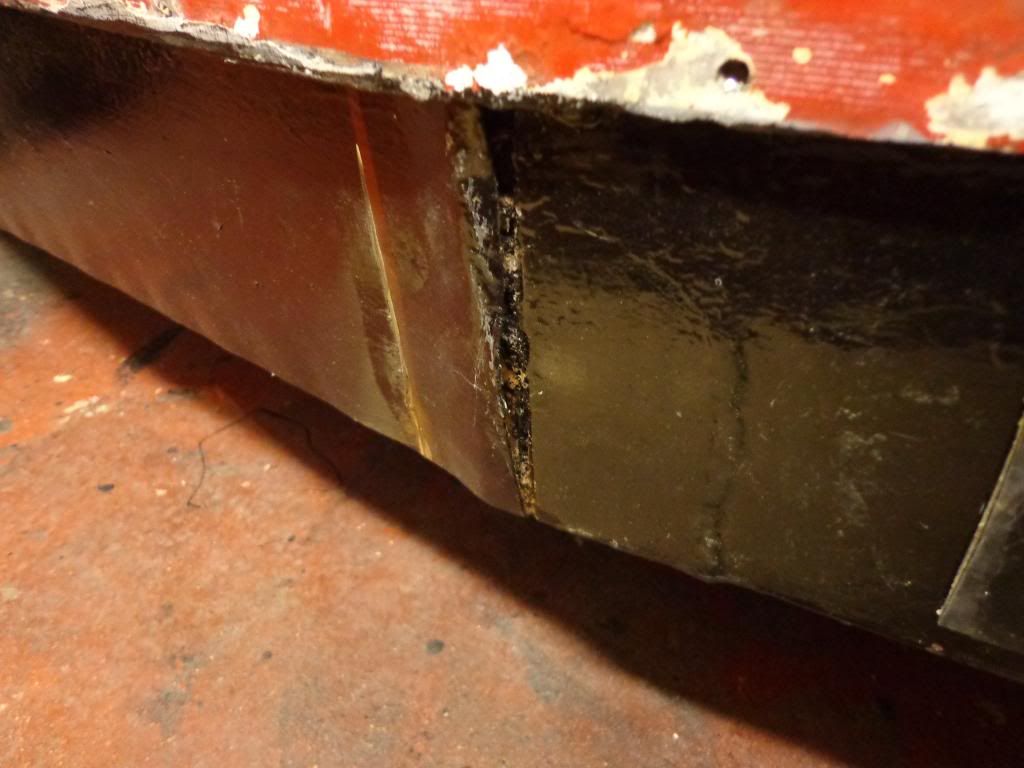
After a poke around I started pulling out rust, so out with the grinder and I cut a section of the siding off.
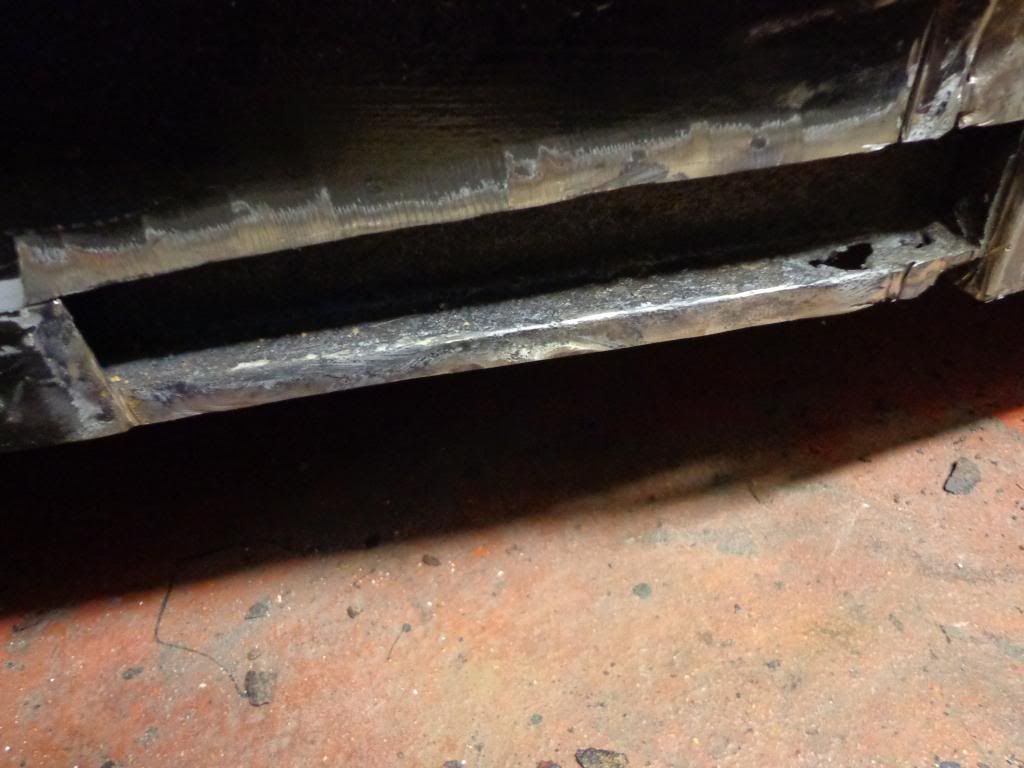
You can see the hole in the box section that I poked through, I scrapped out all of the rust and after a feel around underneath I found a drilled hole that I had missed, maybe this never had a rubber in and allowed water ingress. Once cleaned out I sprayed in rust converter then siliconed a patch over the hole, this is not a load bearing section but just to hold the side paneling in place.
I then made a paper template and cut a steel patch to weld in place.
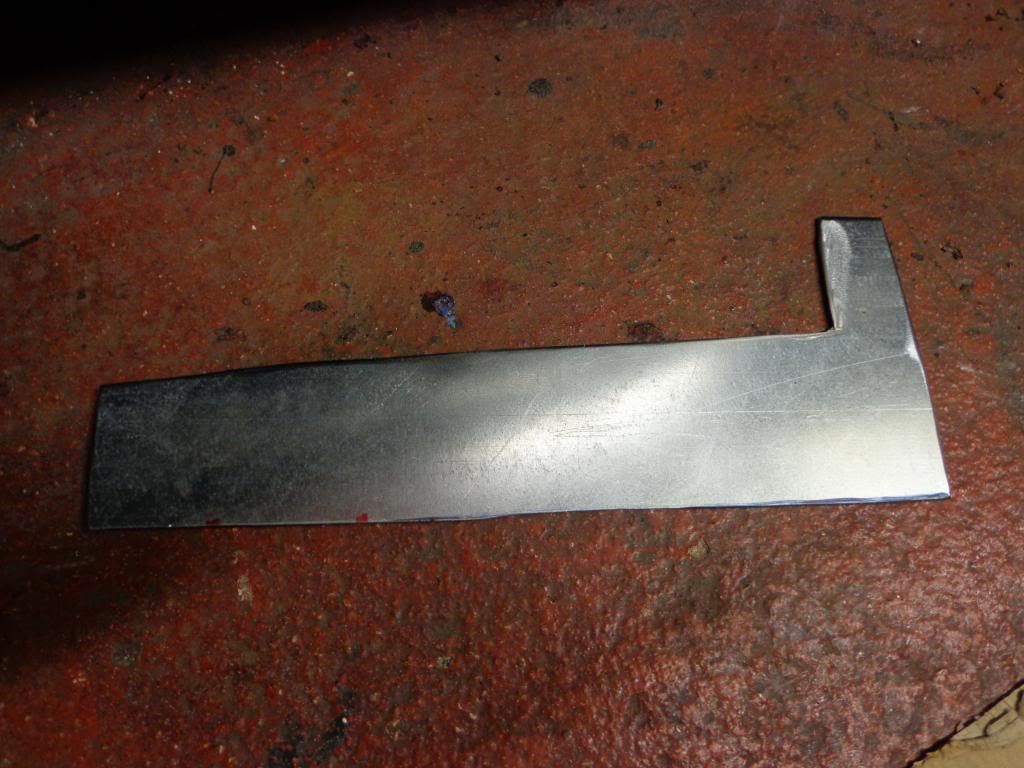
I tacked this in place.
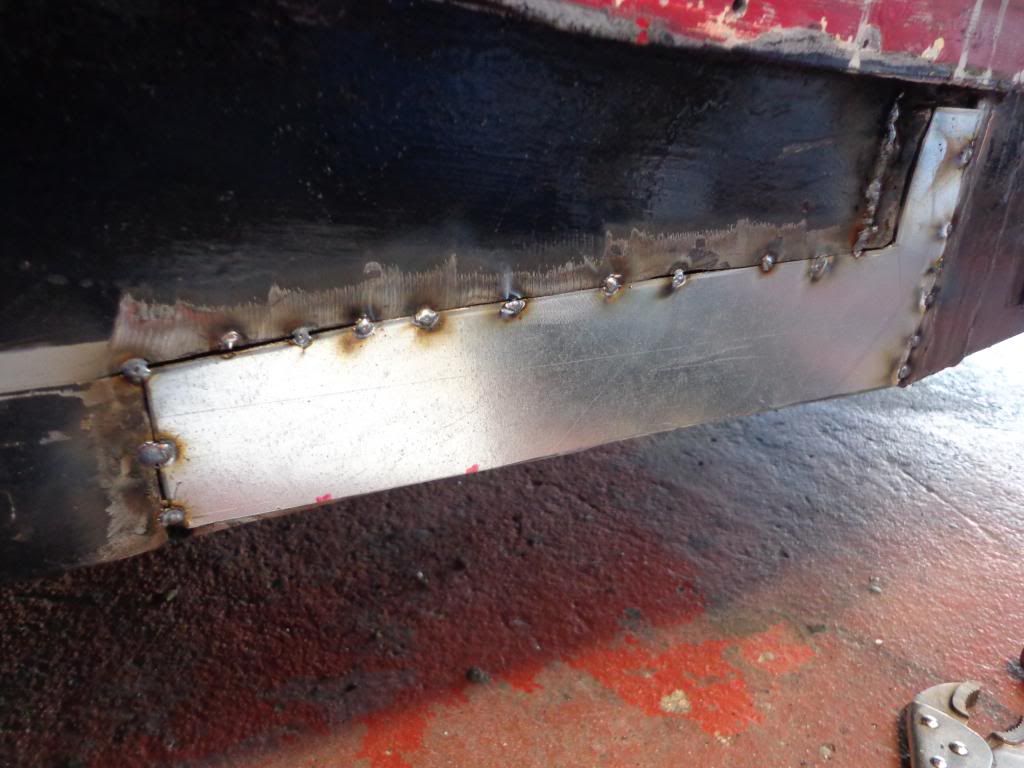
Then welded up.
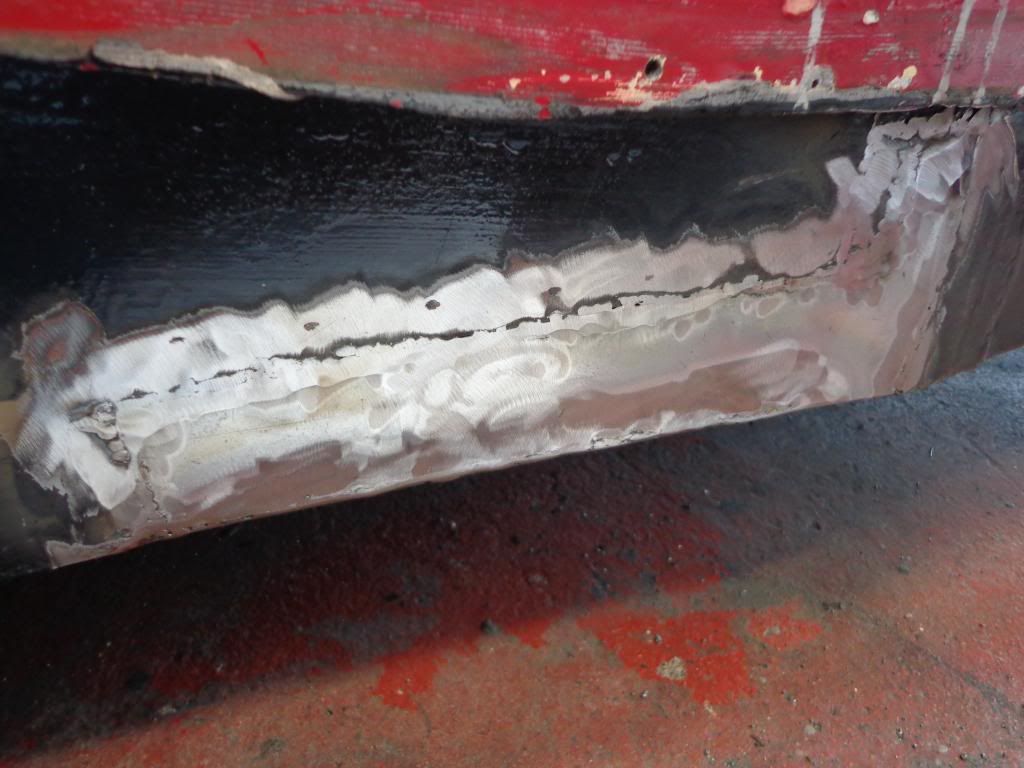
I sprayed with acid etch primer then gave it a good coat of stone chip paint.
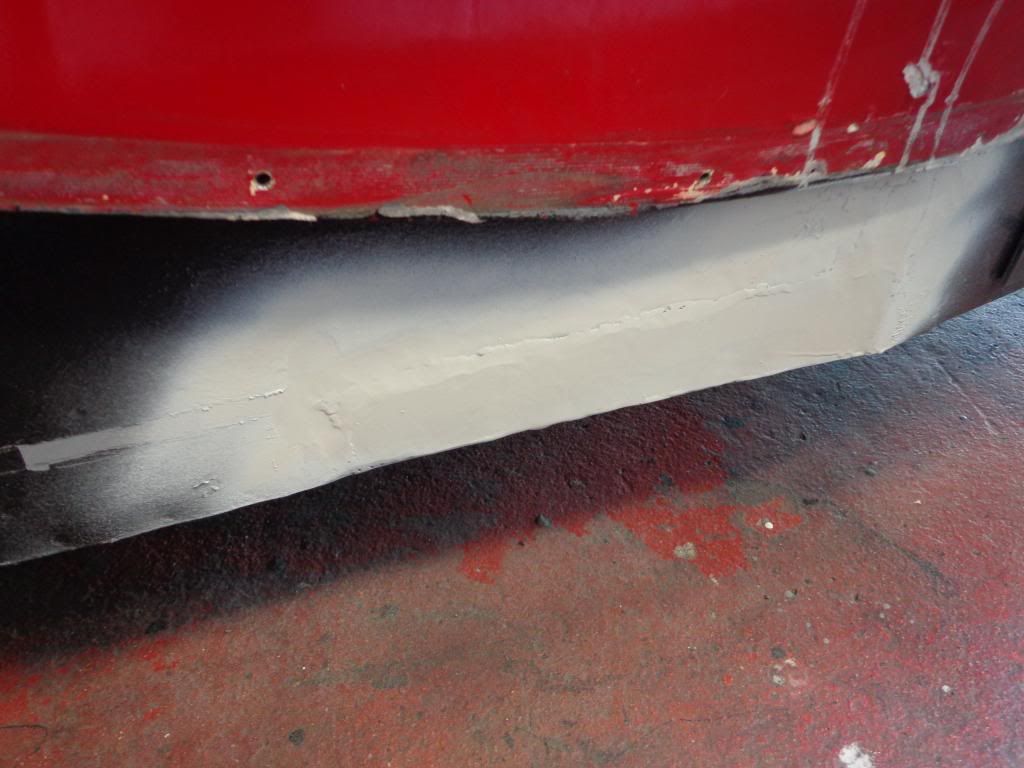
I warmed up a tin of waxoil and poked the tube through the hole in the box section and gave it a good spray, I have had a look around to see if I had missed any other surprises and thankfully I could find no more.

Well its finally happened and the paint job has been started.

I am having it done by the same business that did the work on my MX5 and they made a very nice job on that so I have been through the colour cards and have picked 2. 
The main colour is to be a Mitsubishi Red Pearl.
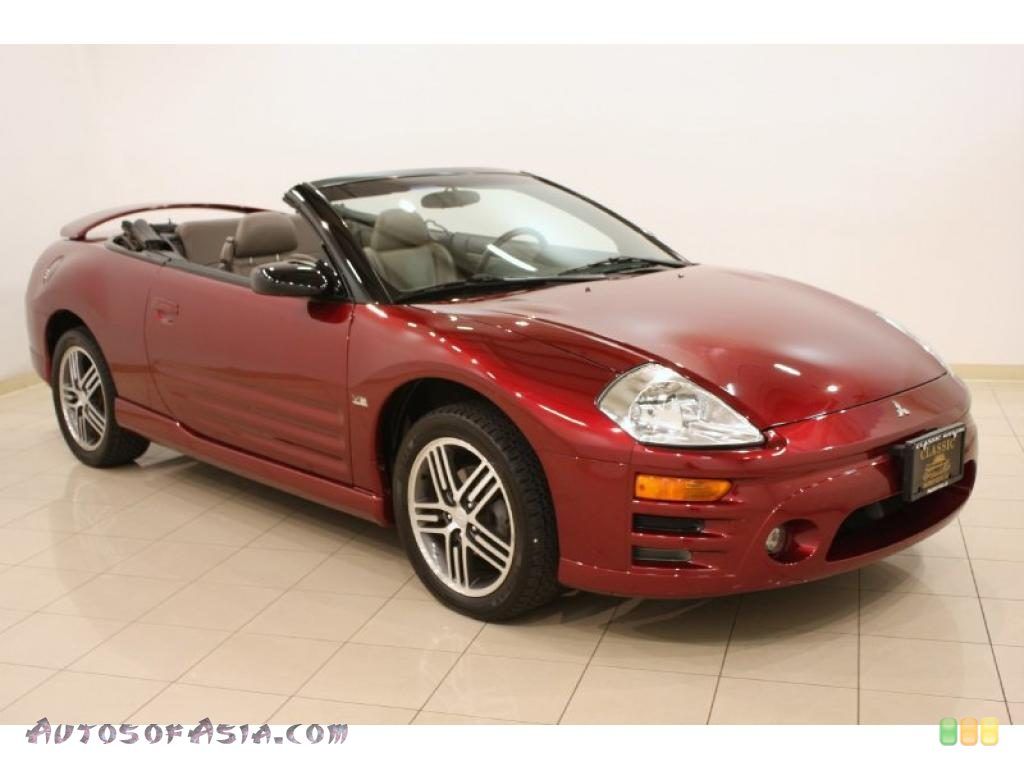
The second colour is to be Nissans White Pearl.
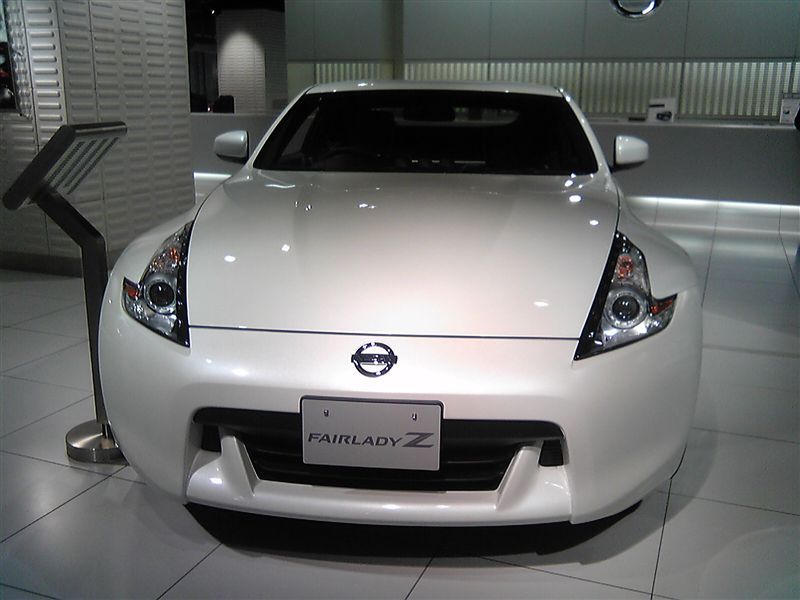
Tony the owner of the paint shop came round this morning to help transport the parts to be painted.
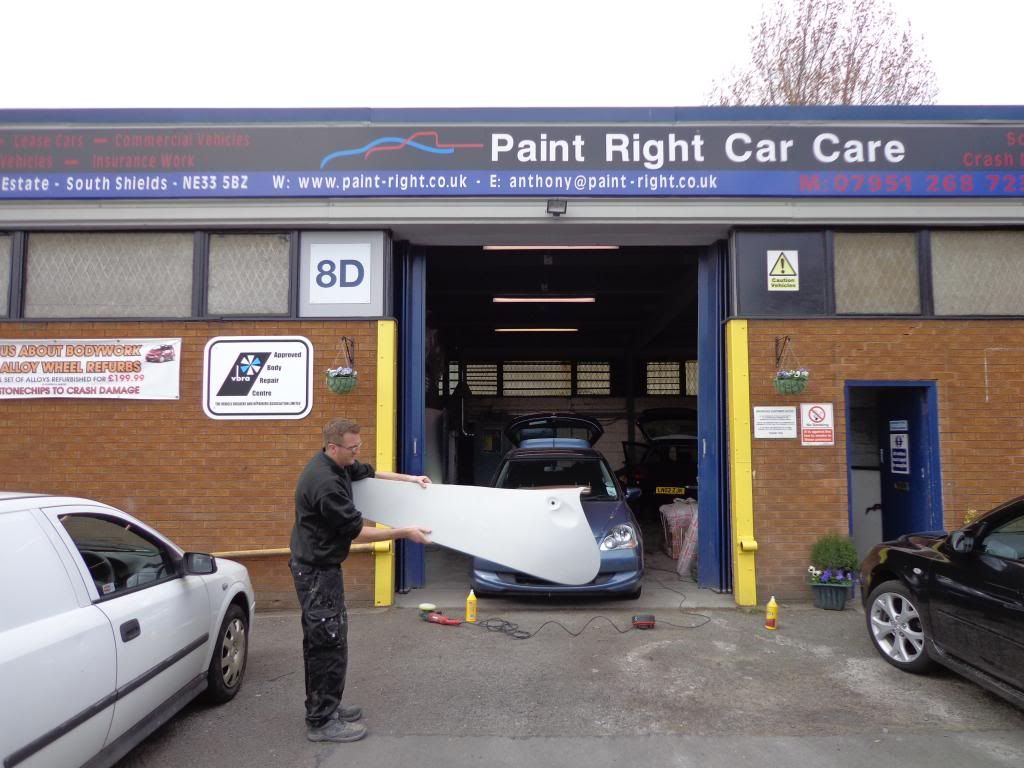
The plan is to do all of the parts that can be taken down and to spray with the red, then when I get back from my next trip away I shall have the car transported so work can be started on the body.
Once the body is painted red the doors will be fitted and then we can mask up to paint on the White Pearl.

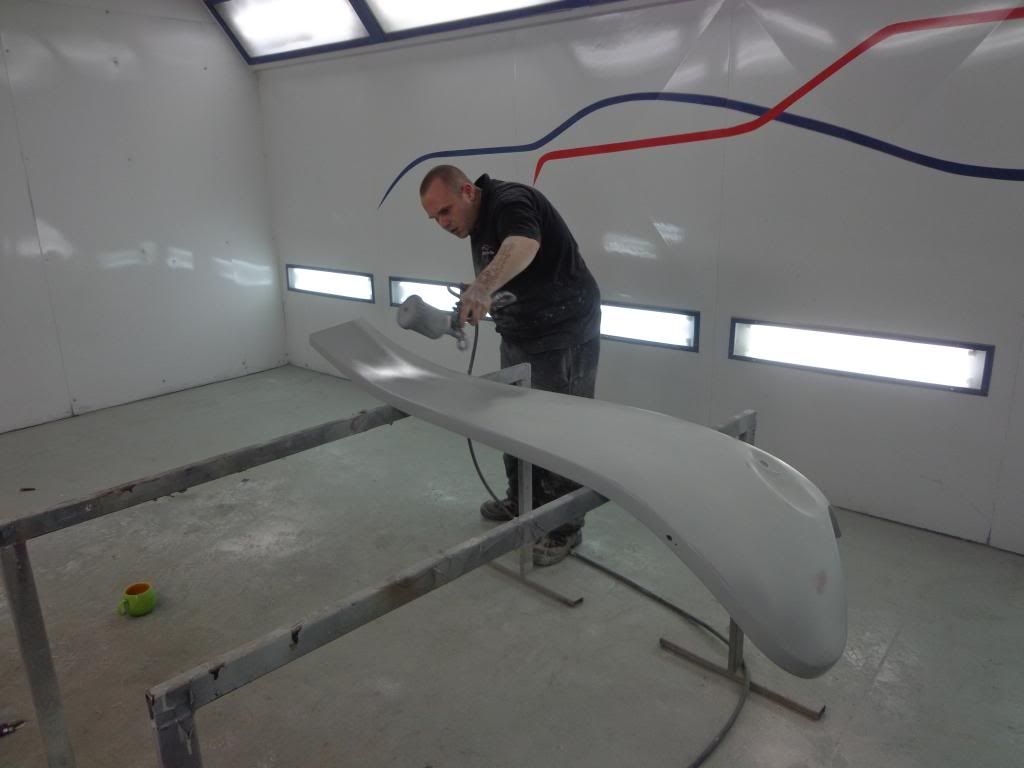
I have spent the day at the paint shop as I am quite friendly with the boss Anthony (holding the wing), so they don't mind me being there, learning the job and helping with the sanding.

The front wings where up first.
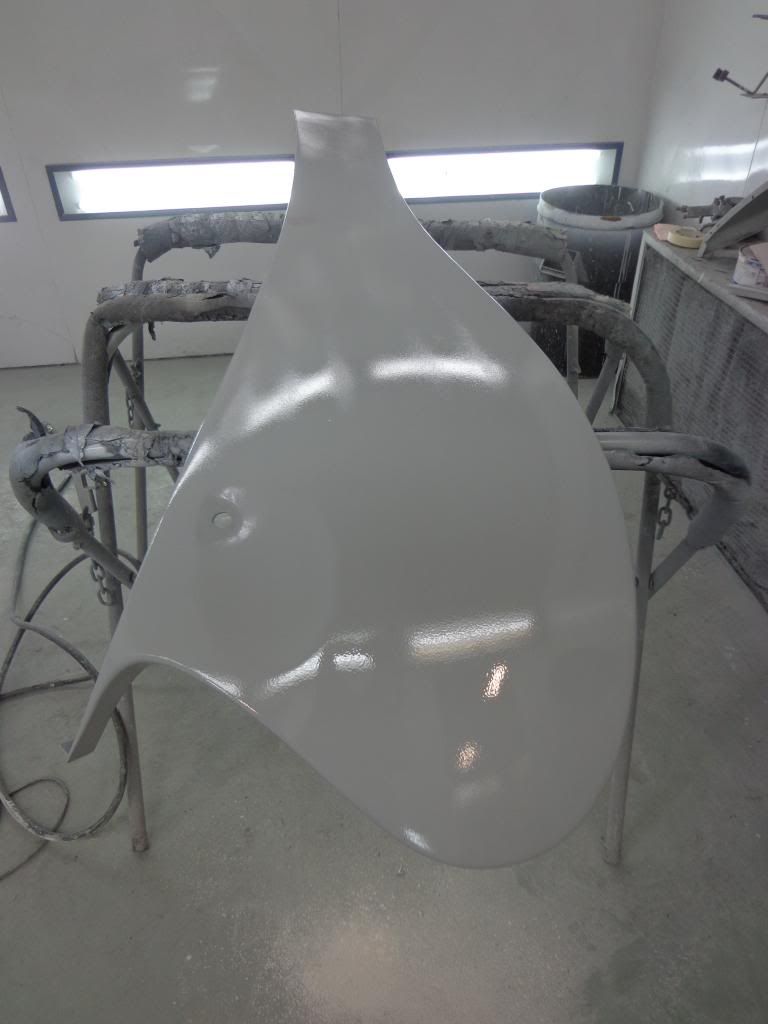
I had already given them there first coat of primer so it was just a matter of sanding down and filling any areas that required it.
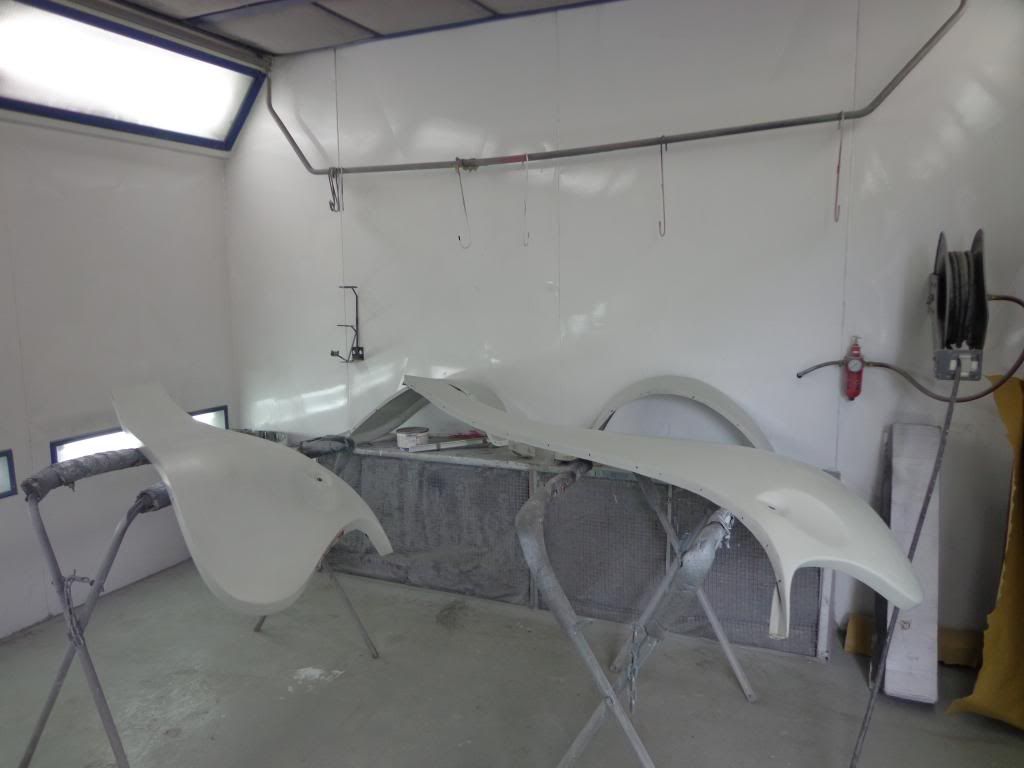
When happy Mike started the first of 3 coats of primer.
The primer will be nice and dry tomorrow when it will be blocked down before moving onto the other part's until they are all ready for the first coat of Red.

Looking forward to tomorrow.

See ya Paul

Tuesday, 30 April 2013

Front Indicators

Hi
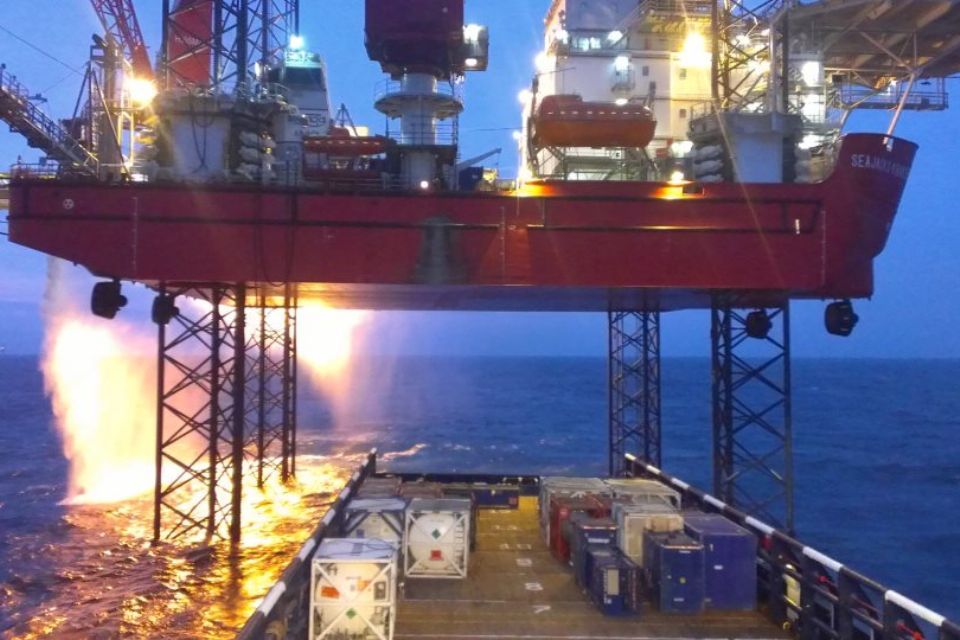
Back again, good trip nice and quiet, got given a good photo taken from the supply boat of the gas being flared off from our boom. The reflection showing on the seawater overboard from the aft end makes it look like everything was on fire.
I have been searching eBay for the indicator lights I require and found everything I needed.
The side indicator was easy to find as there are lots for sale, this is the Lucas L734 and I picked it up for £12 inc p+p.
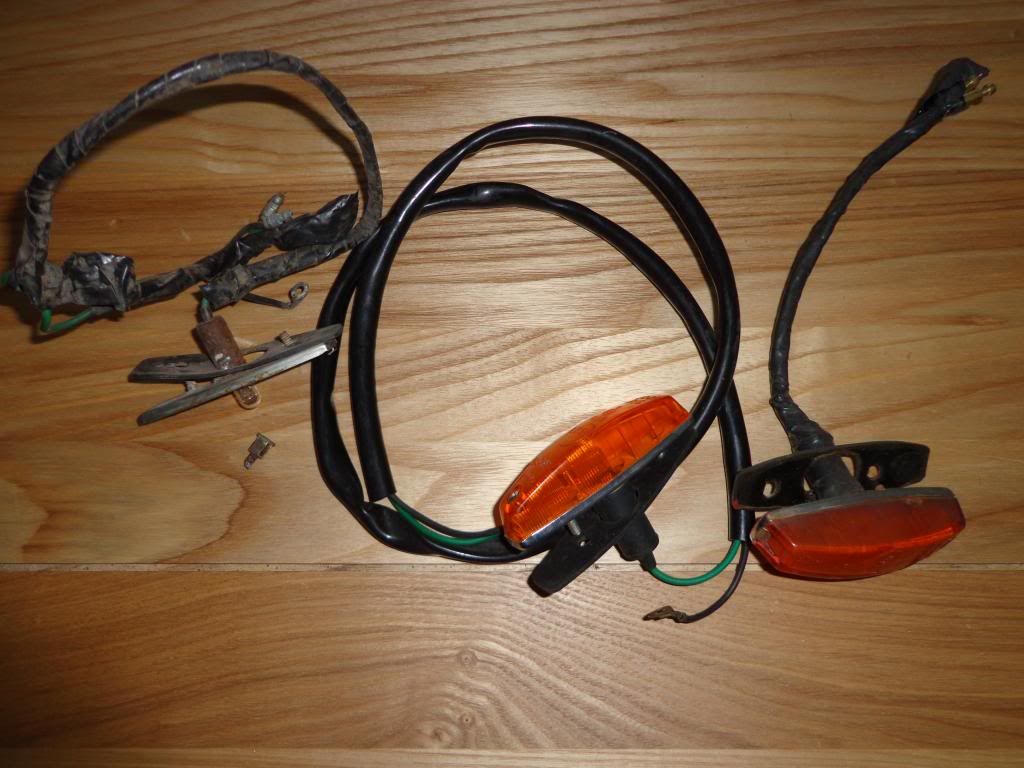
The new/used one is in the middle and you can see from the one on the left why it required replacing, I should be able to clean up the other although it has a broken thread but I shall make one good one from the two.

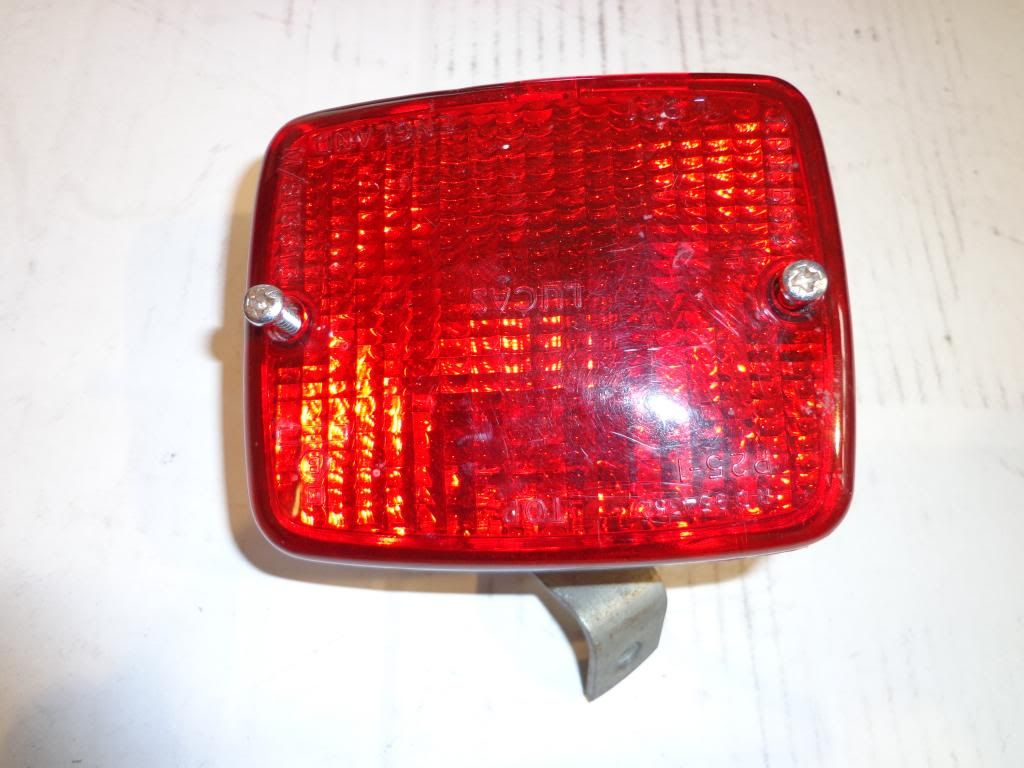
I also bought a fog light Lucas L 921 as mine had a broken back which was more than likely caused by me trying to remove it from the rear valance, this one has the chromed back and is in great condition for only £8.
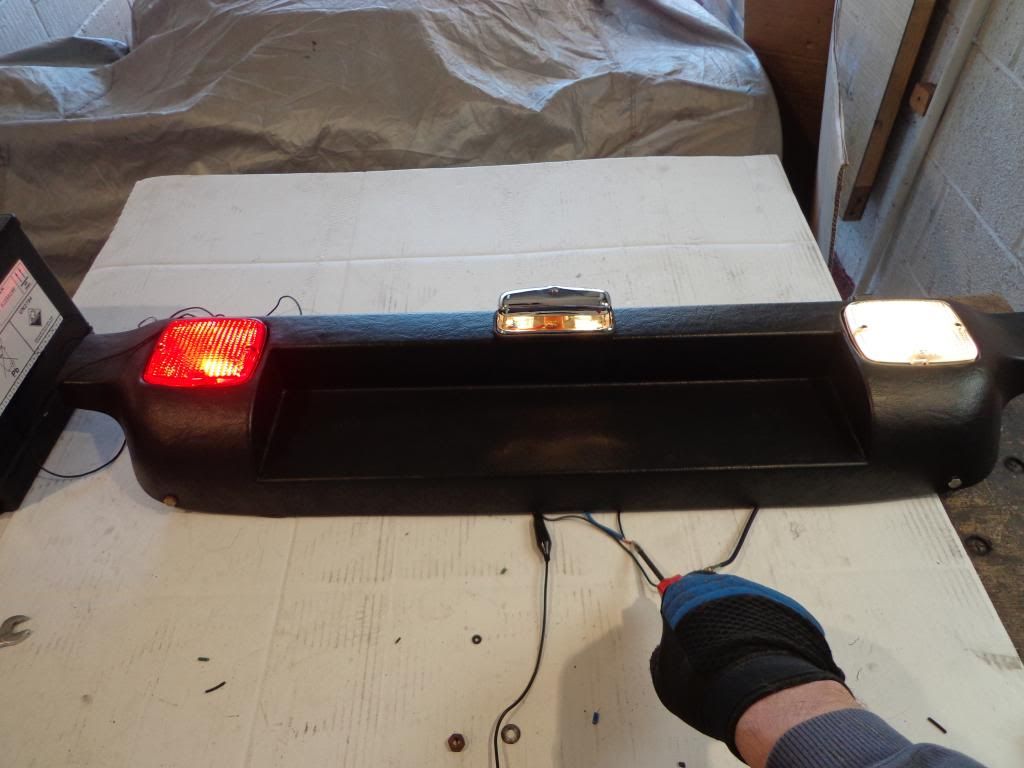
I stripped off the exterior bracket, polished the glass and fit in position, I tested that it worked before fitting then wired everything together and tested all three lights.
I have spent some time searching through images on Google and searching eBay for the best looking and fitting front indicators, and I came up lucky.

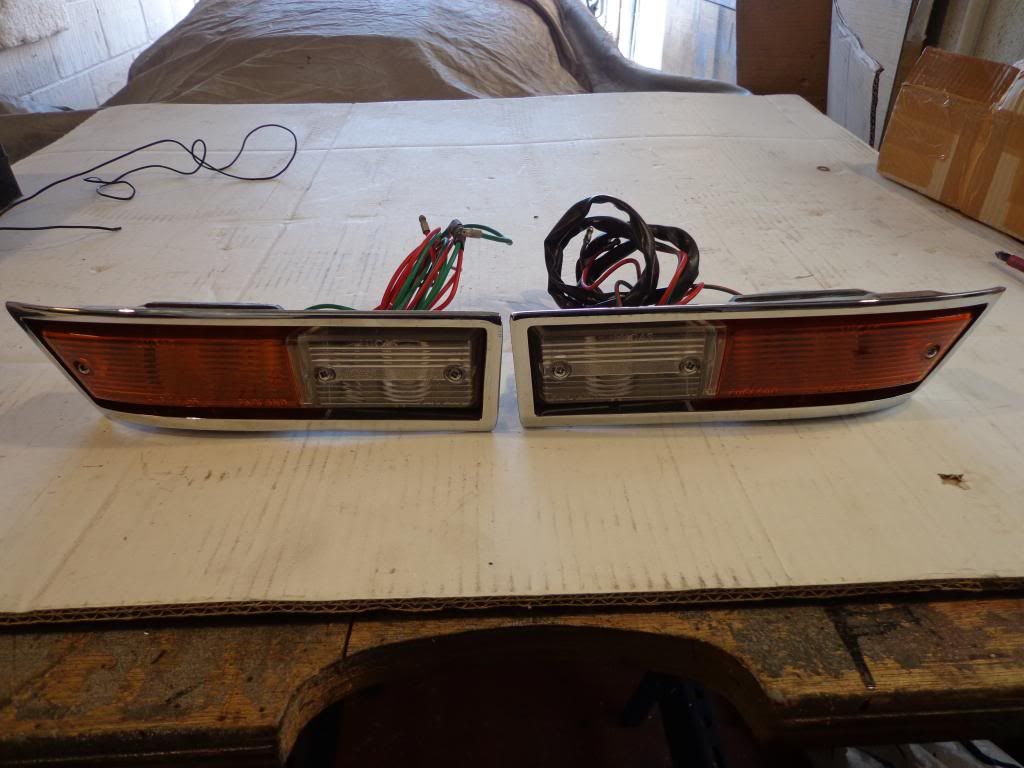
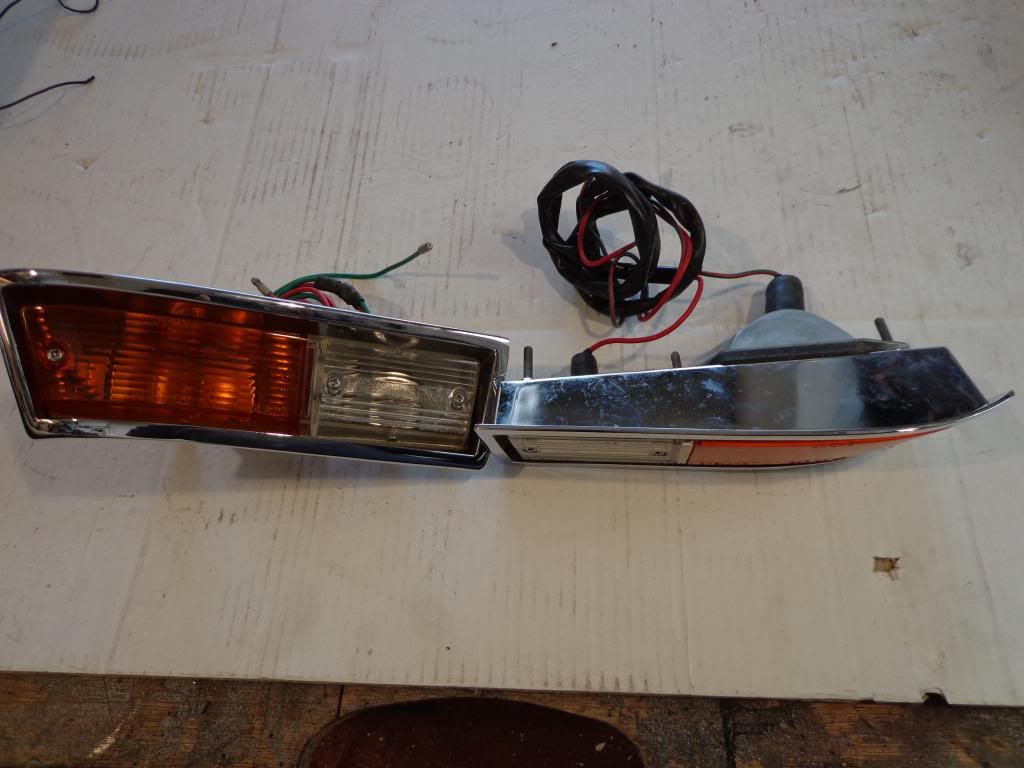
I found a Lucas L781 left hand indicator from a Vauxhall PC Cresa & Vicount from the 70's that looked perfect unfortunately there was no right one, so I contacted the seller who deals in Vauxhall parts and he knew who had the left unit. It was another Vauxhall dealer who had the twin and both indicators where new old stock, so I took a chance that they would fit and bought the pair for just under a hundred pounds.
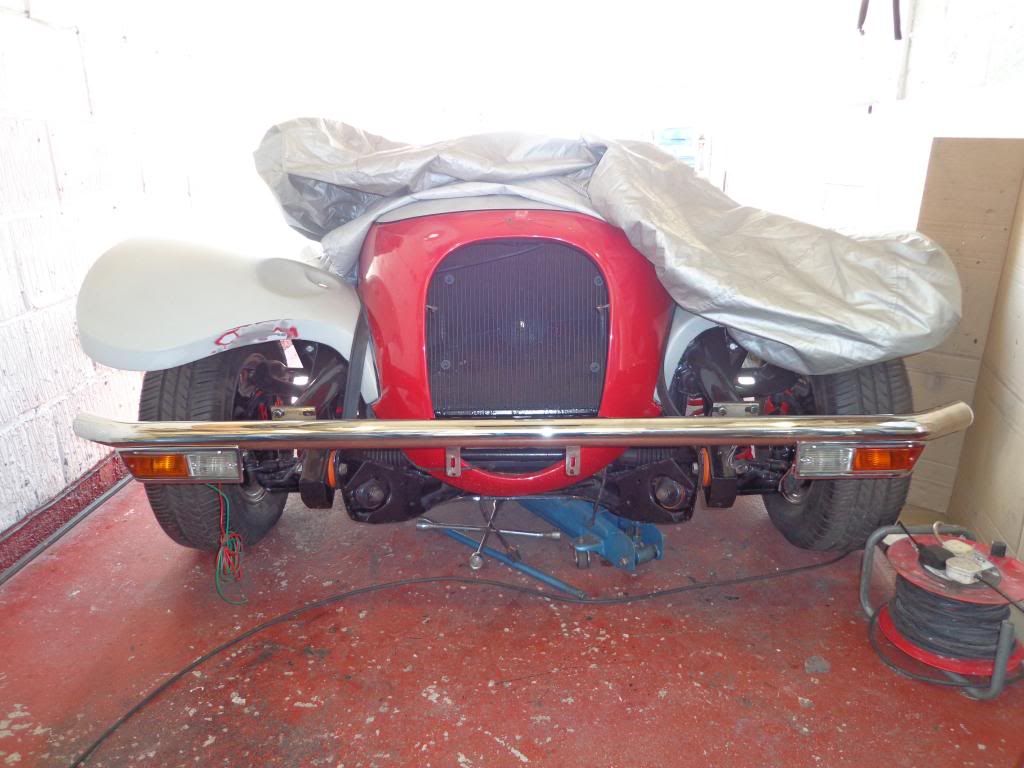
What made these perfect was that they followed the curve of the bend in the bumper, or near enough and weren't to big.
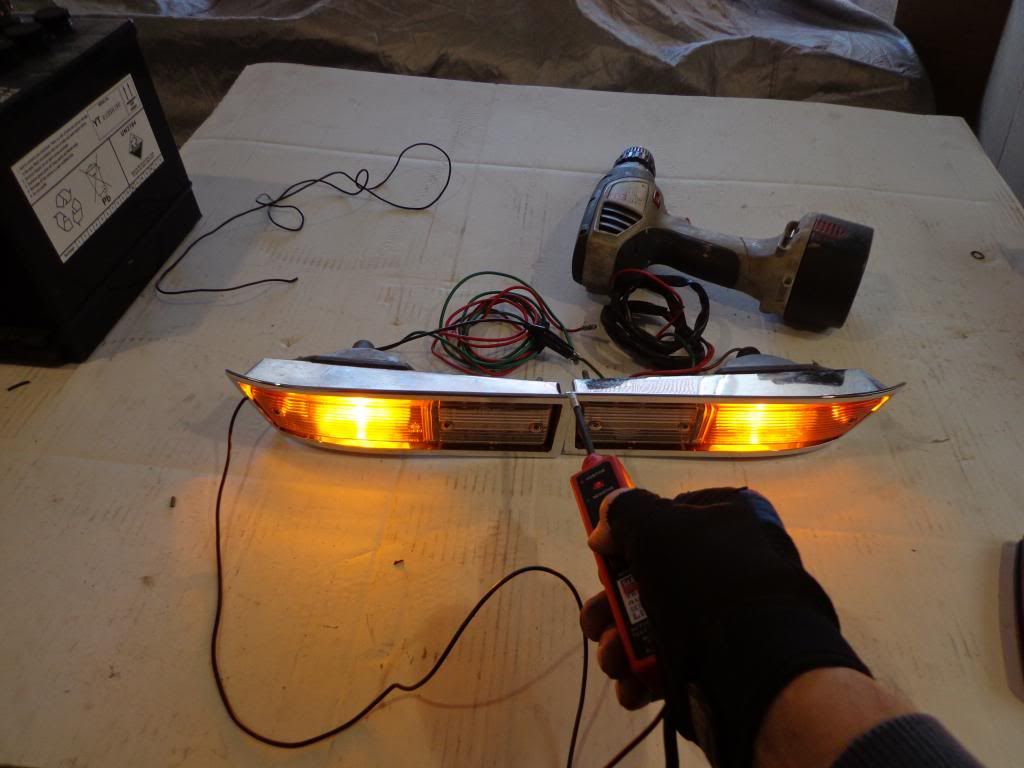
I tested that they worked and had to replace one of the lamps as it blew straight away.
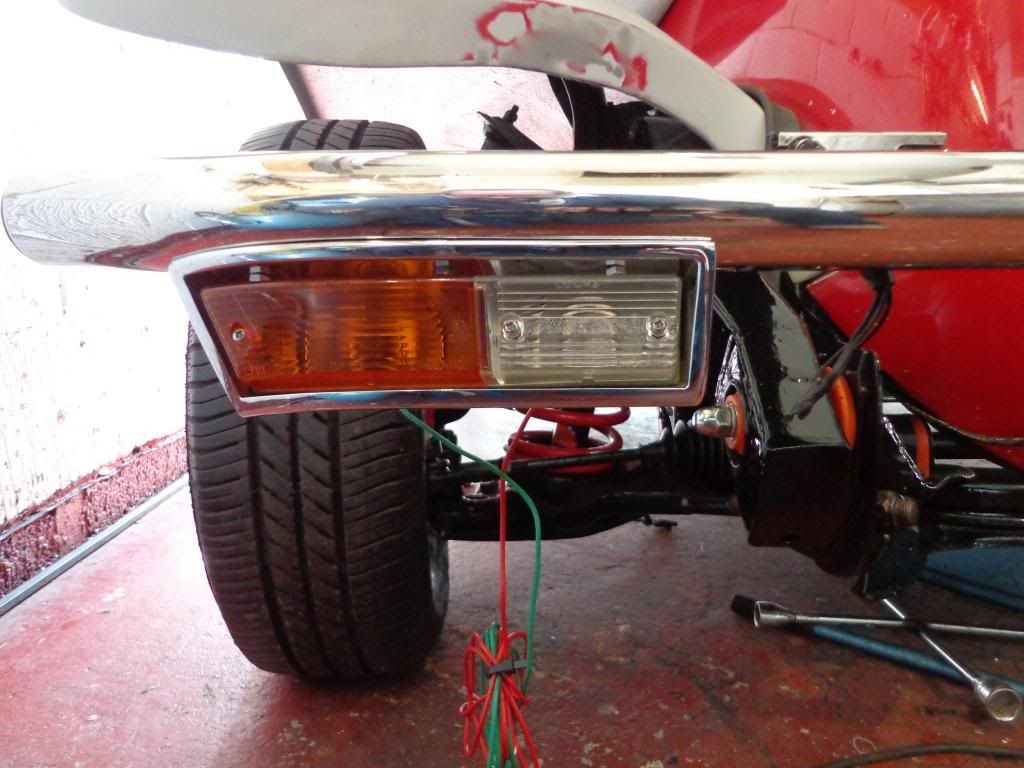
I was thinking that I would have to make brackets to fit these but after a test fit I realised that I could bolt them directly to the bumper.
I masked off the bumper and indicator them marked off the best position and drilled.
I then marked and drilled the bumper for tapping 5mm threads, then bolted the indicator in place.
I was lucky that the heads of the 5mm bolts allow the lens to fit without hindrance, the curve of the indicator is a little sharp but nobody will notice at 70 mph.
I matched up the other side as best I could then bolted that in position, I have fitted the bumper and crossed my fingers hoping it looked good.
The only problem is that they aren't enclosed fittings and you can see the lamp fitting at the back, I can't hide the back but I can paint it black then wax oil which will disguise them and protect them.
Not bad for a first day home, I have a few projects in mind which I hope to complete and to test and repair all of the indicator and headlight electrics.

see ya Paul

Saturday, 13 April 2013

Quarter Light Seals

Hi
Last day home and managed to get a couple of hours work in on the quarter lights, polished the last one yesterday and the seals arrived this morning.
I was was going phone Bruno up for the seals but thought I'd have a search and the first place I found was Sussex Classic Car.
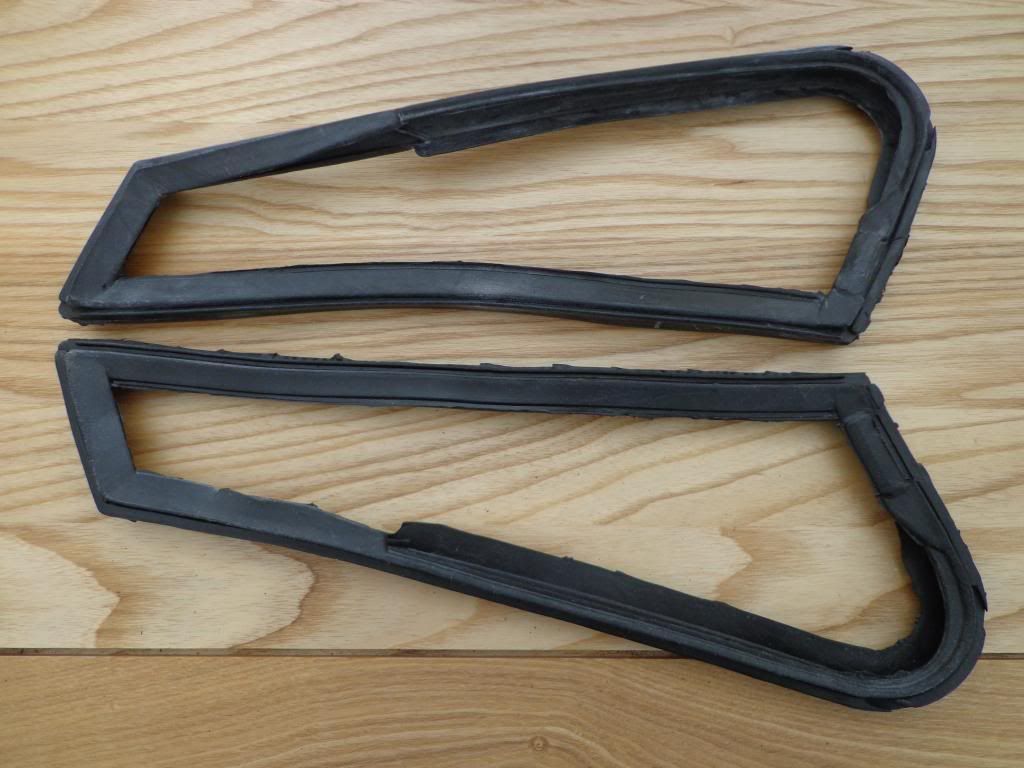
They had everything on site and the prices where great so I put my order in straight away and the seals turned up this morning, the main quarter light seals are Midget RH #AHA7416  L/H #AHA7417. These are very reasonable at £11.88 each.
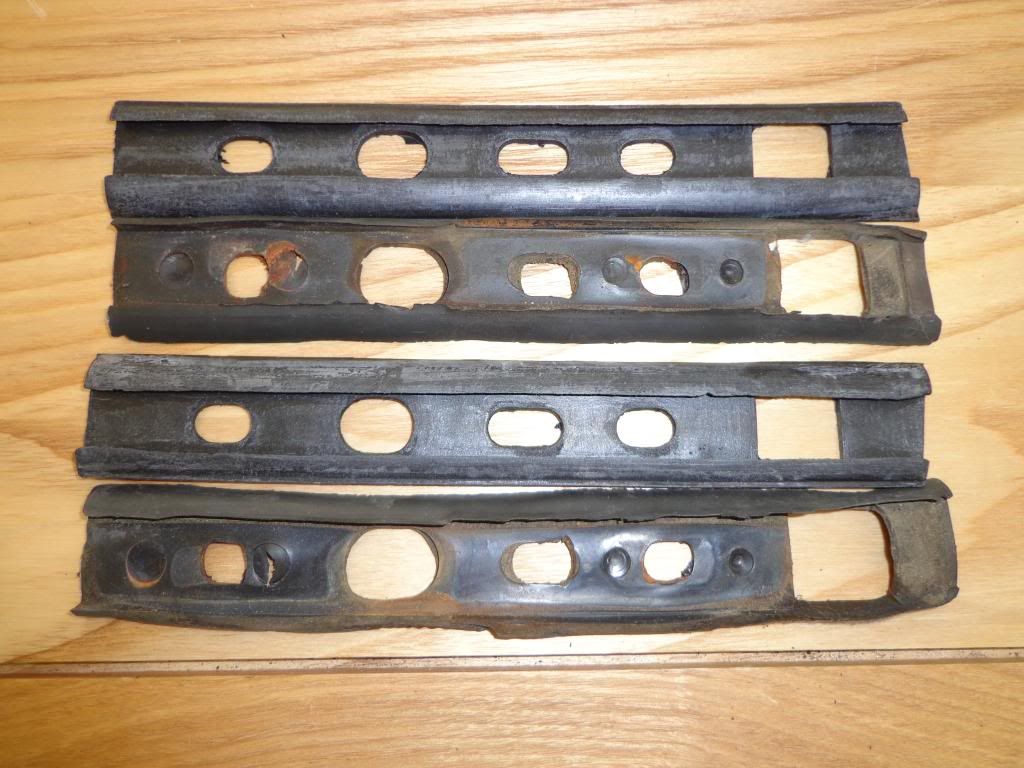
I also ordered the lower Quarter light to door seals these are Midget RH # AHA7746  L/H #AHA7747.
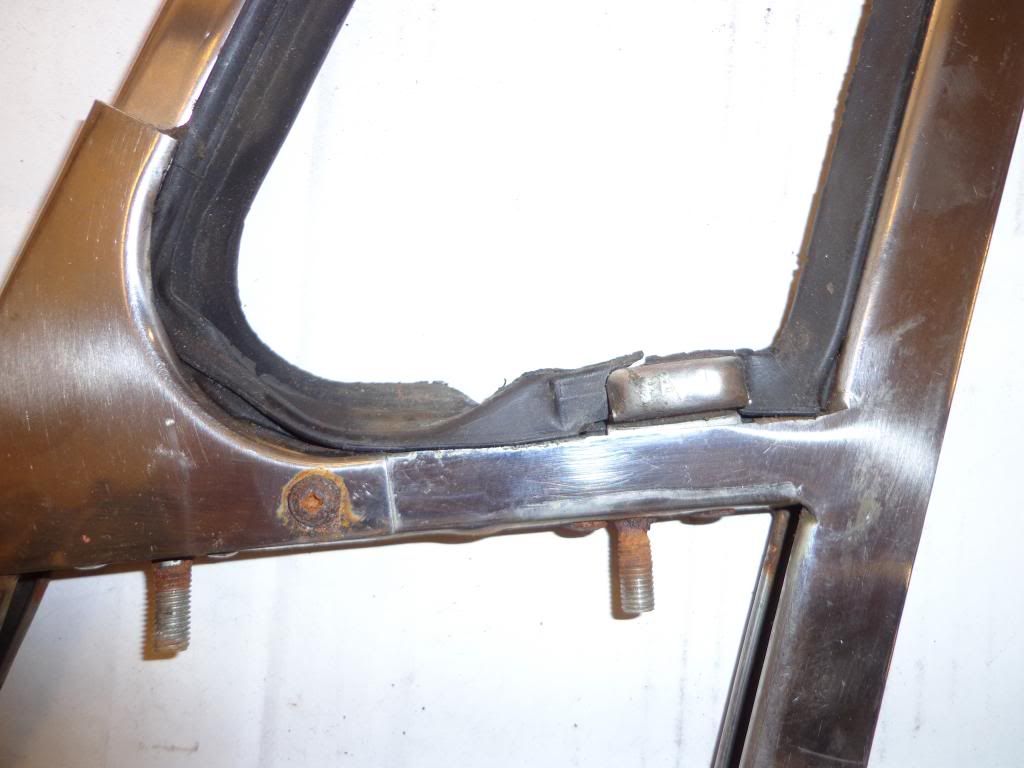
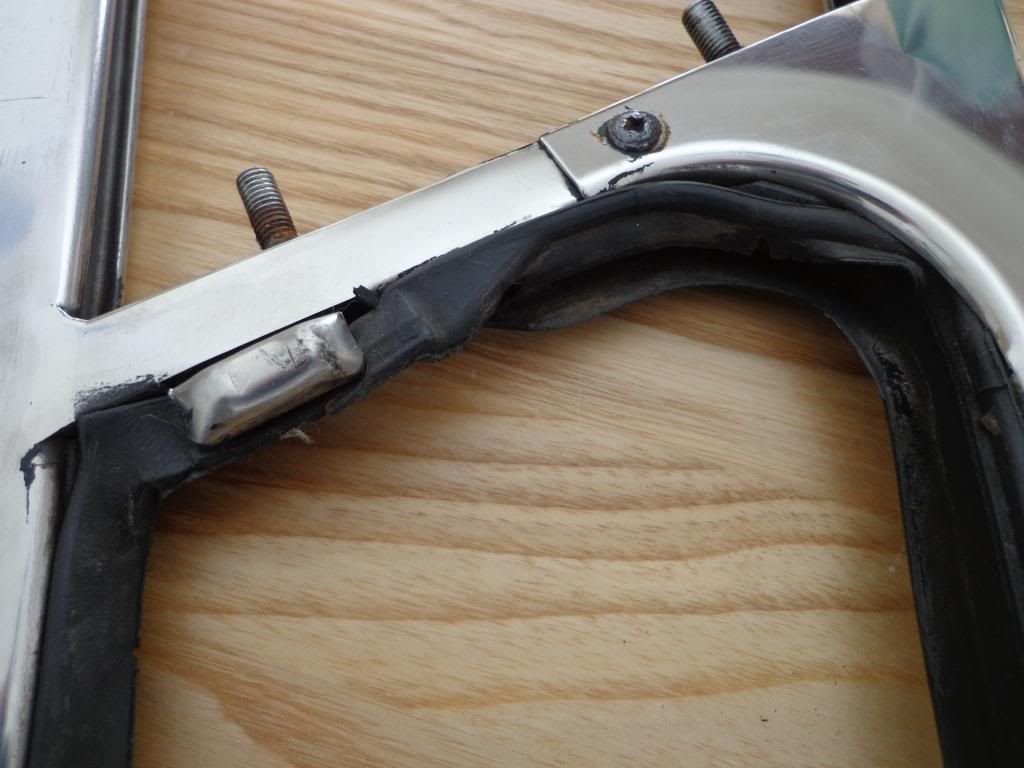
There are a couple more seals I still need to order, they are the Corner Blocks for the S/S frame. I was going to order with the other seals but wanted to double check which ones they where as there are 2 different types, for the S/S and the Chrome frame. I removed one when I pulled the seal and checked it against the picture on the web site.
These are only 84p each so very cheap I shall also order new felt guides @ £3.38 each.

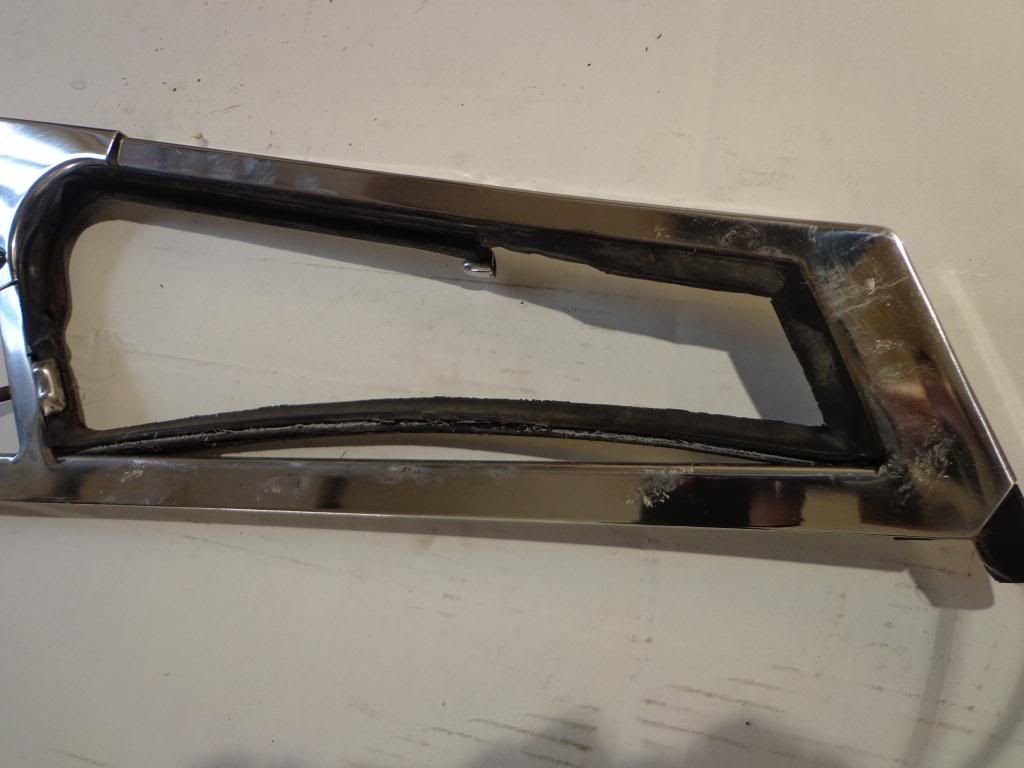
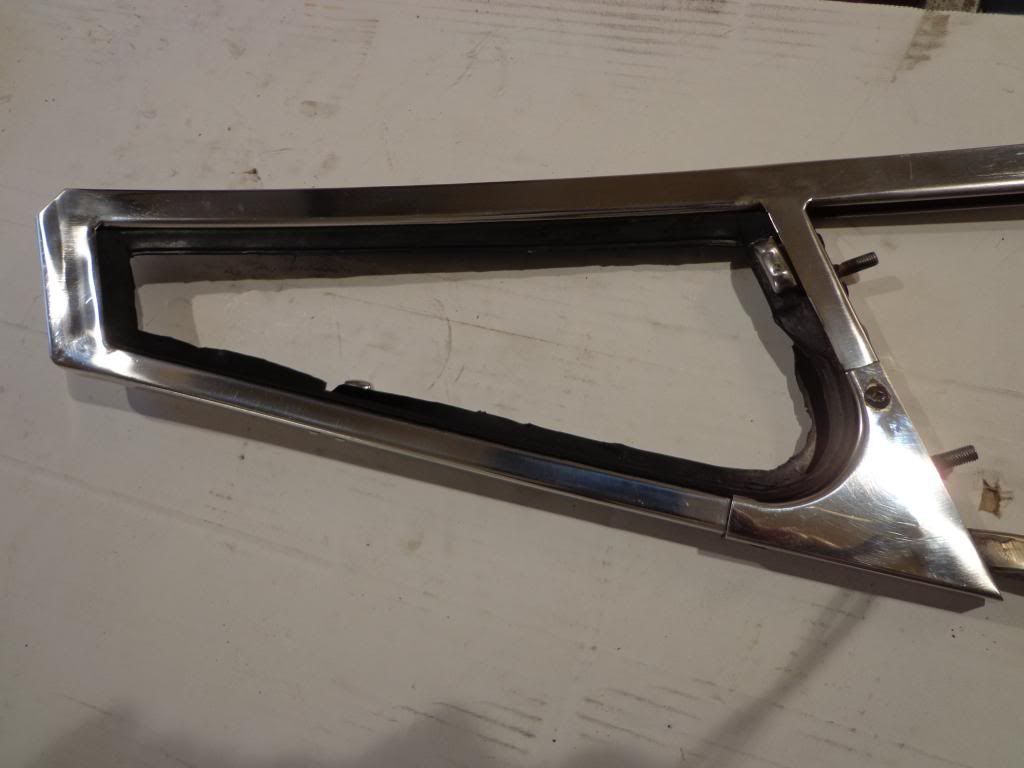
The old seals have received a lot of wear and tear over the years and you can see where the water has gotten in.

Fitting the new seals was a lot easier than I had first thought, but I found that starting on the long leg I could pry's a section out with a little force just using my fingers.
After it starts to come out then it's a simple matter of forcing the rest of it out.
Once removed I had to re-polished the frame as a lot of gunk came out with it and stuck on the shinny, the new seal required a little lubrication to assist its fitting so I gave it a good spray of silicone lubricant.
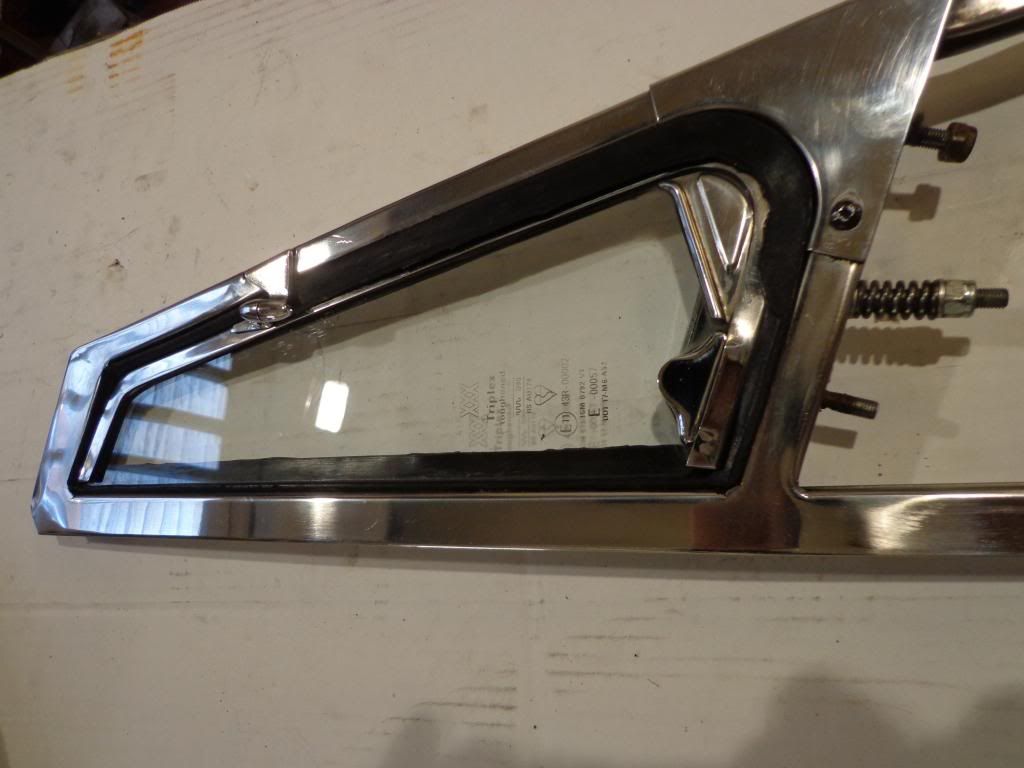
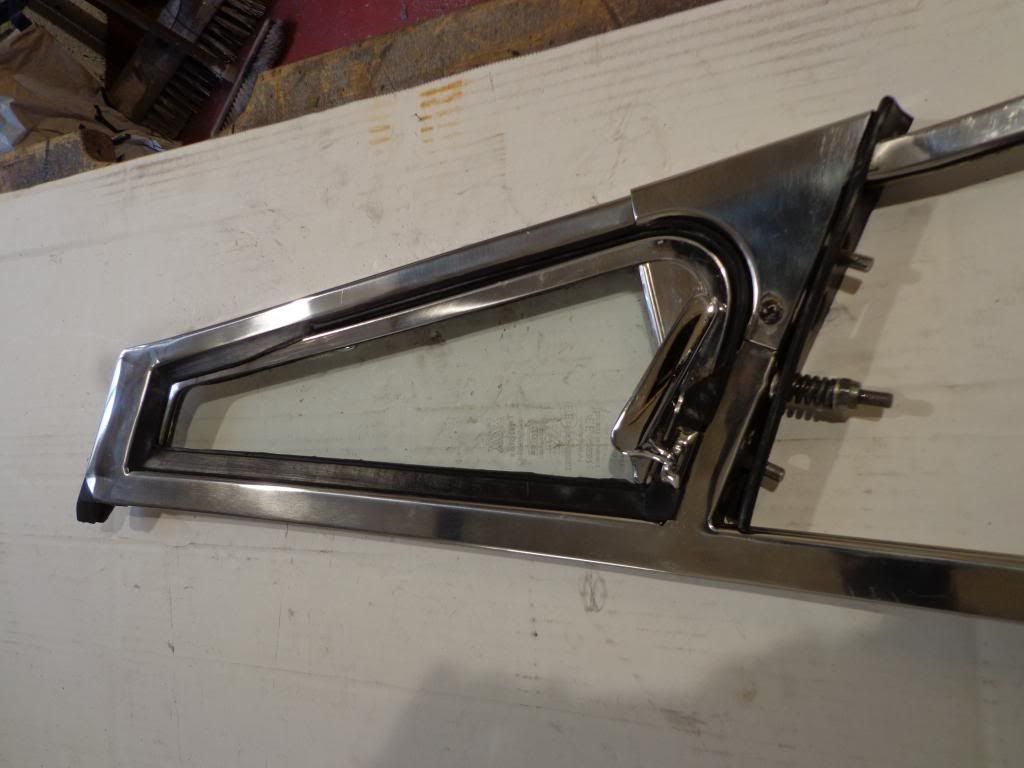
 I found that by positioning the seal in position above the rounded section I could fit one edge and with a flat bladed screwdriver I could lever the rubber into it the groove. Once started it was a simple matter of working around until it was all in position.
I then Fitted the glass and tightened the spring, a couple of swings and it settled into the rubber seal very nicely.
The other light went a lot faster than the first after I learnt the procedure.
Well that's the start of the polishing and everything is wrapped in bubble wrap and put away nice an safe, back in 2 weeks and will get a bit more done.

see ya Paul

Thursday, 11 April 2013

Polishing

Hi
I have started polishing the large amount of shinny bits to be re-fitted, some of the parts that got damaged on removal like the door handles and side mirrors will be replaced. The damage was caused by having to drill out the rusty self tappers, you would have thought that the manufactures would have realised that rust would attack the screws, just a few more pence and they could have fitted stainless, mad.

I started out though by checking that all of the lights work, I bought a Sealey electrical tester the other year but haven't really had a chance to use it. I have a meter but these testers use the battery and allow you to put a current through whats to be tested and light it up or if its a small motor like my heater fan will run it.
You can do a variety of testing but I just used it to check that the lights work.
I connected to the battery and clipped the return to one side of the light circuit and put the probe on the other side.
I am pleased to say that all of the lights worked as they should.

I am very pleased I built my polisher, it would have been a lot of elbow grease without it or extra cost sending everything to a polisher.
I started on the bumper bars to get the biggest items out of the way, I removed what brackets I could and polished these separately.
I started with the medium polish to get rid of all the oxides that have developed before moving onto the green high polish of the cloth wheel.

A while ago I bought a set of chrome end caps that I found on eBay on a search for Kallista parts and they look great, in fact I have searched eBay for a set for the badge bar and found some under bicycle handlebars and have bought them.
That's the bumpers all finished even the parts you can't see look great.

Next up was the badge bar, the bar itself is in excellent condition but the chrome on the support's are a little worse for wear. 
 
I managed to slacken the lock screws off easily enough and slide the supports off the bar to polish separately and made things a little easier.
Still, even with the pitting it looks good and hopefully the new end caps will fit.

Once these were finished I thought I would start on the door parts, the quarter lights need a little work so I started by removing the bottom seal and the hinge nut and spring keeping the glass panel in place.
There was damage done to both doors due to water getting in through part of the seals, possibly the bottom seal which did not look in the best condition so I will replace all of the seals to ensure I find the correct one. I shall ask Bruno for a couple of sets but I believe they are from an MG Midget and are easy enough to get hold of.
Again mild steel screw were fitted instead of stainless, I've polished them up but doubt I'll be able to remove them without drilling so unless I need to remove them to fit the new seals then they are staying put. 
All in all I am pleased with the end result , the polishing looks great.

see ya Paul

Tuesday, 9 April 2013
Rear Valance and Indicators

Hi
One of the things I have been looking into this last week are the indicators, I have been finding the i.d numbers and tracking them down. 
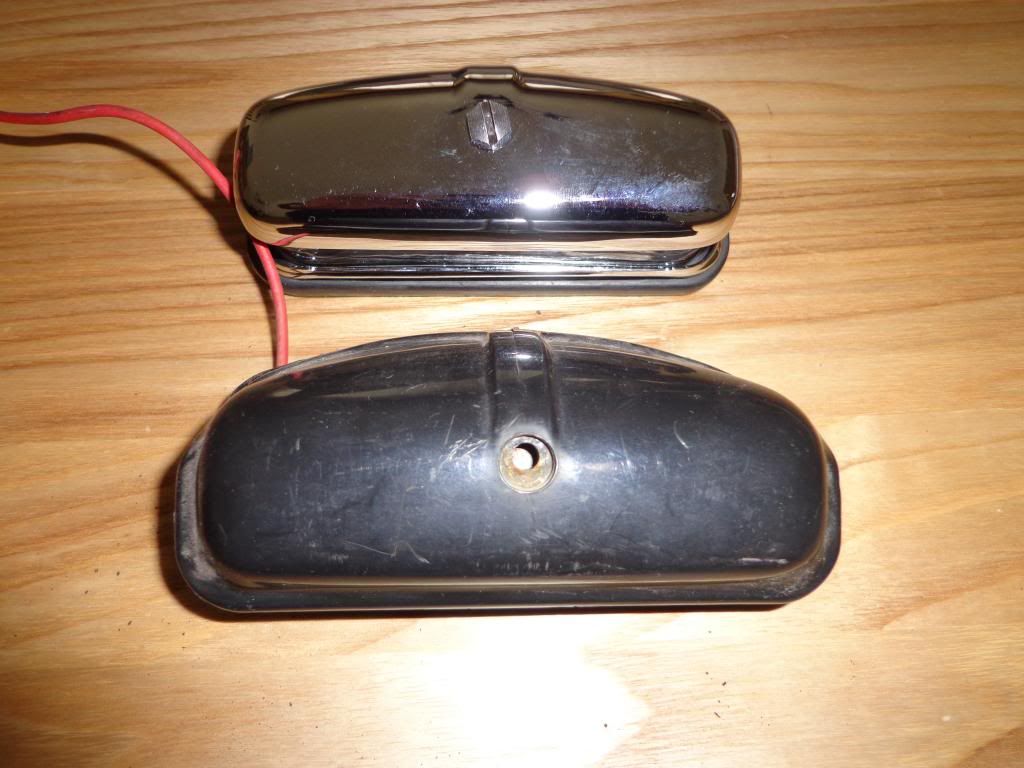
I started with the licence plate light as this was the easiest to remove and had the broken lense, this is a  plastic version of the Lucas L467, I found a new one on ebay for £25. This one is the chromed brass light with a glass lens, very good quality.

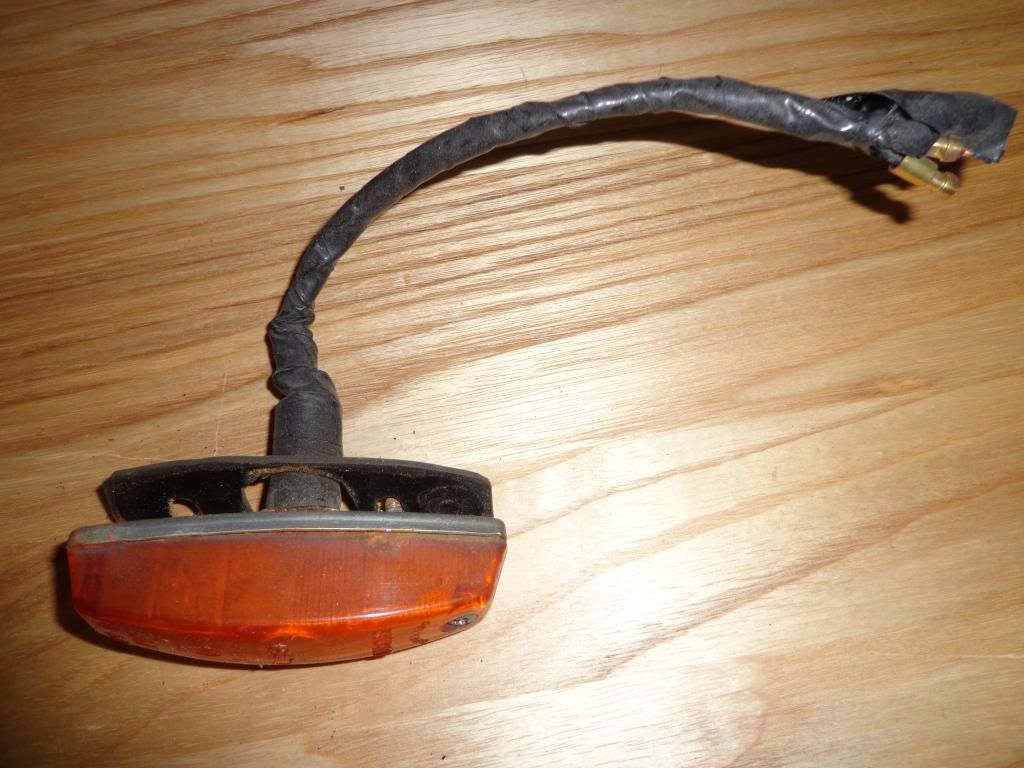
The next ones to find where the side indicators, these are Lucas L734 and are easy to find on ebay for around £35 a pair and other sites.
One of mine could be salvaged but the other is in terrible condition.

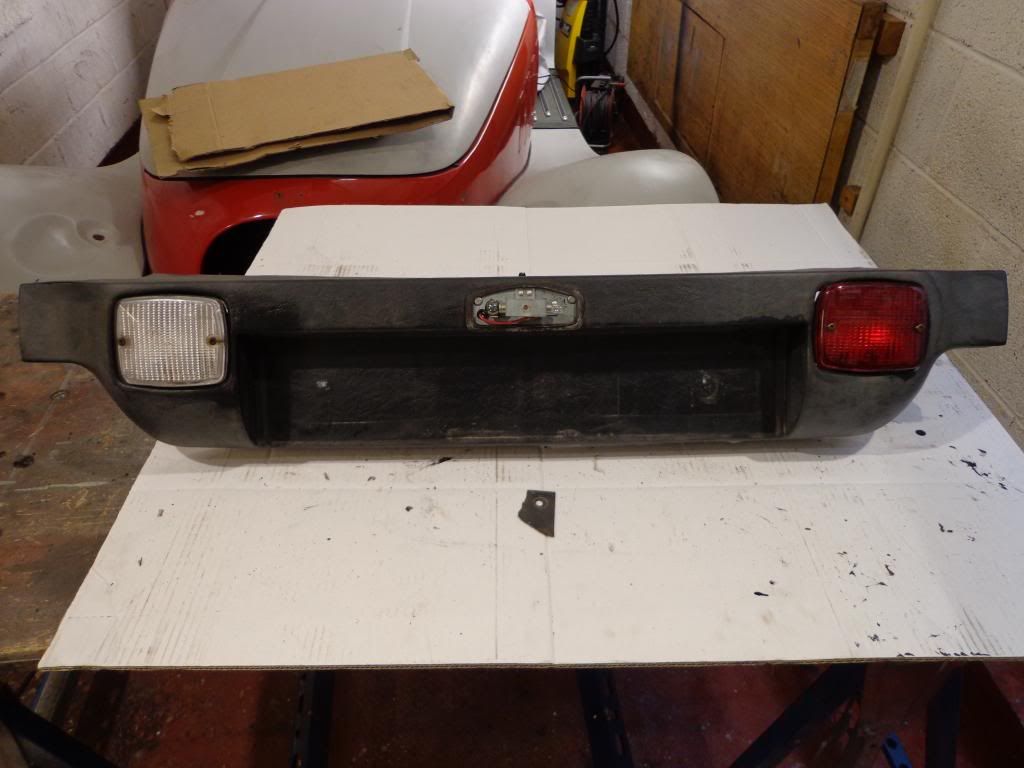
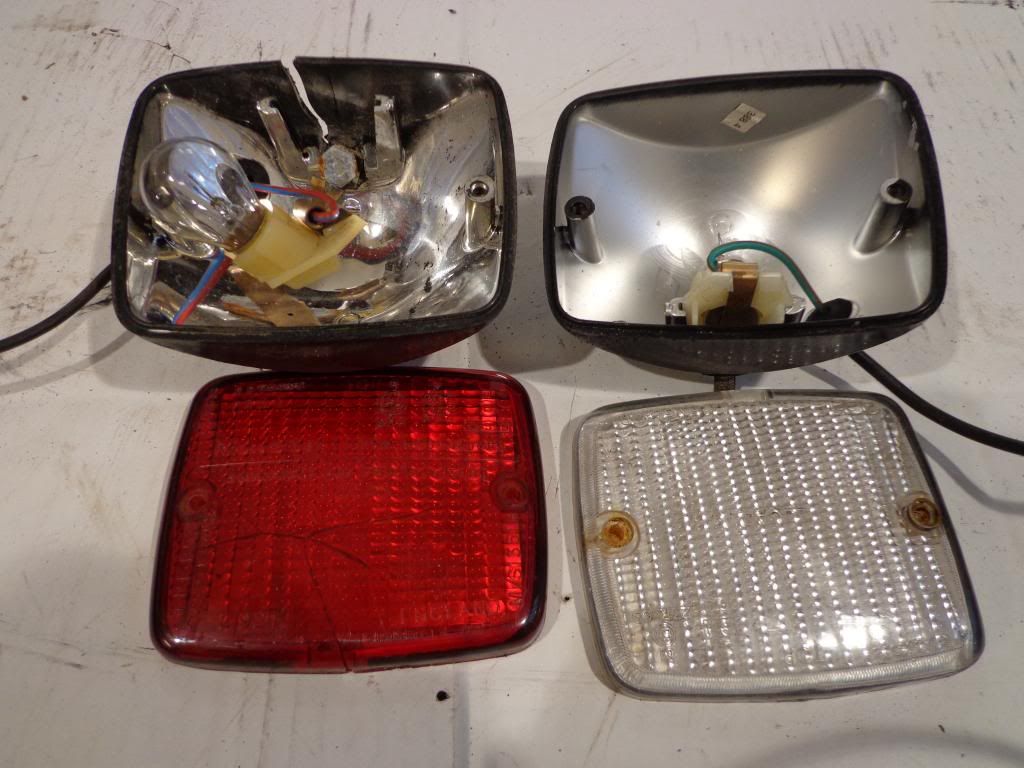
The rear valance has 2 lights attached, these lights have the same body and only the lenses change, these are the Lucas L921 in red as the fog light and in clear as the reverse light.
These are the black plastic bodied lights although they also come in chrome finish, my reverse light is in good condition but the fog needs replacing as the lense is all cracked and the surround is broken. I have found one on ebay so shall buy that one.

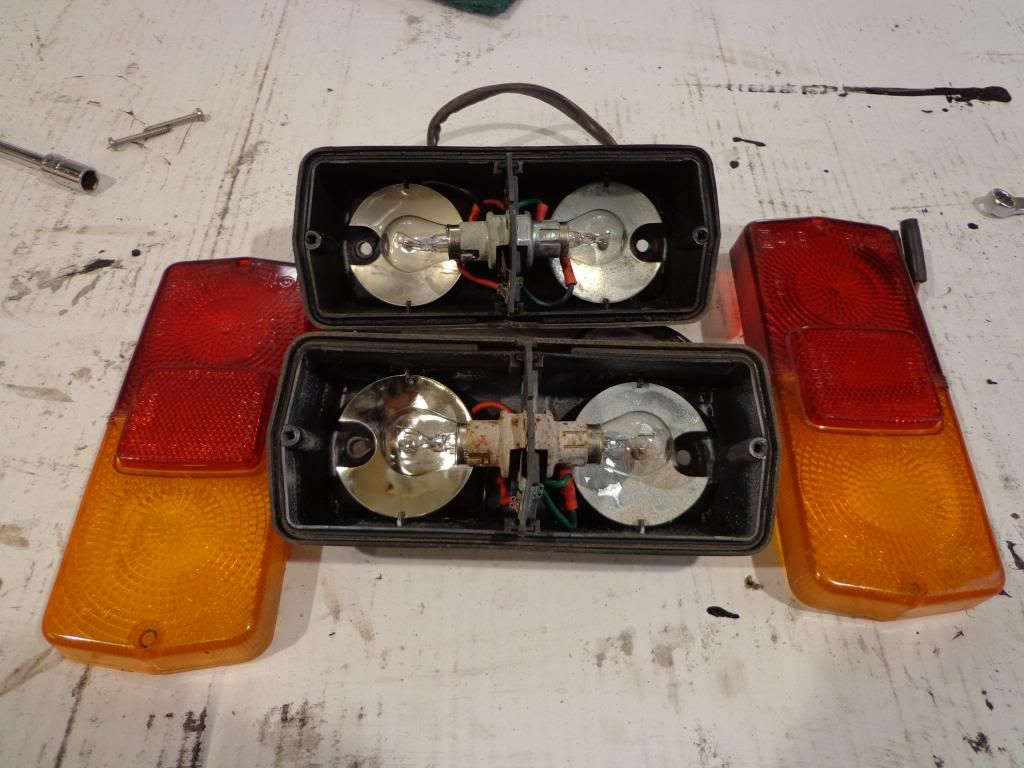
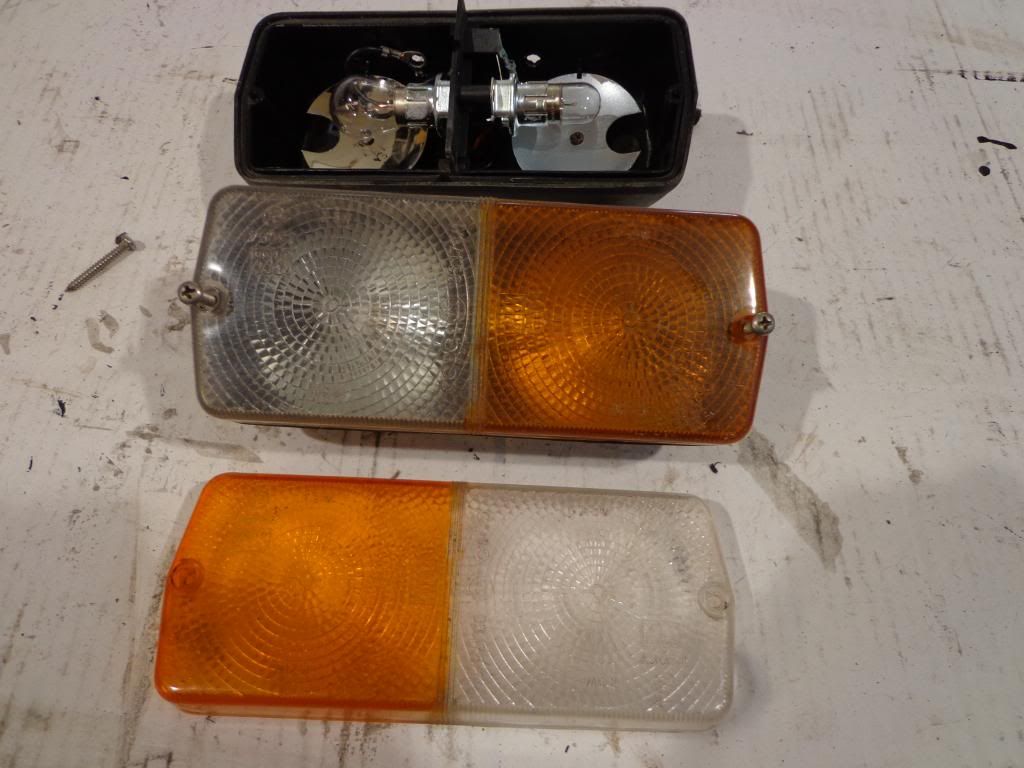
The front and rear indicators are from a company called Cobo and are more from the industrial side of motoring, I have tracked them down for sale from a company called Malpas Online and are the Cobo 02.356 Rear combination light for a Massey Ferguson tractor at around £34 each.
Mine are in very good condition and will clean up great, I have other plans though for the rear indicators and think that the tear drop shape of the Lucas L815 would look great.
The front indicators are also Cobo and have 03.178/1 stamped on the lense unfortunately I can't find this on the Malpas site but can find it down as an 03.189 Front combination light at £27 each also for a Massey Ferguson tractor.
Both the front and rear lights have stood up well to the years of abuse from the weather although a couple of the reflectors are a bit dull, but I can mix and match from the rear lights.

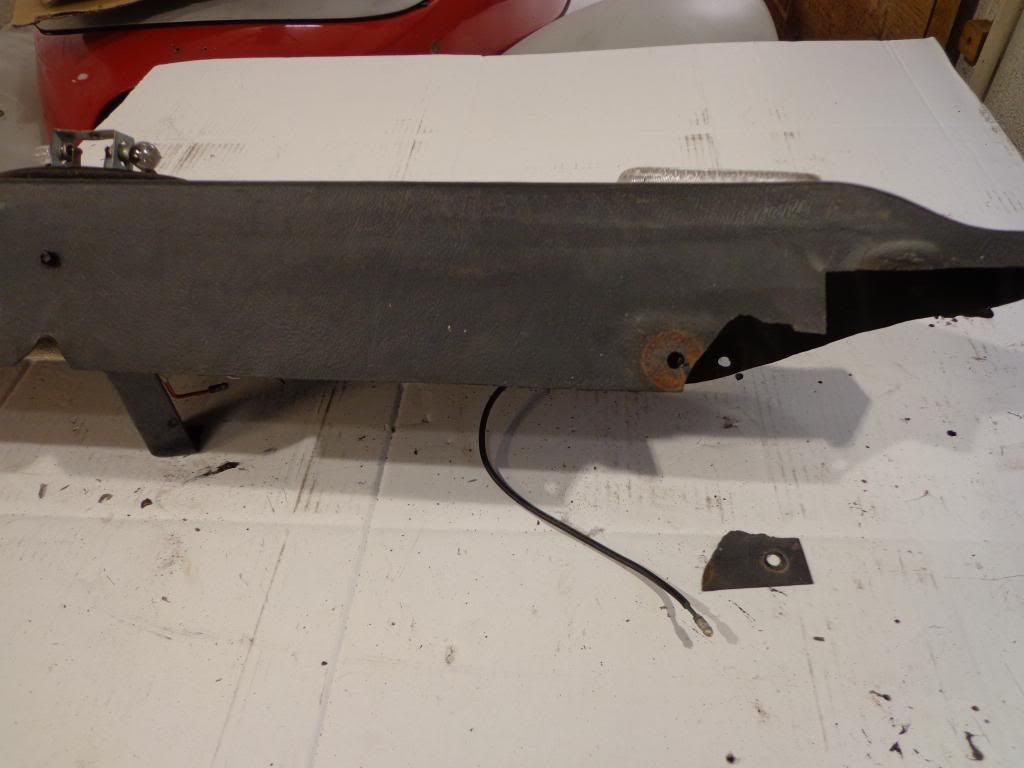
The rear valance has had a bit of a rough time with bits broken off and a few cracks.

I stripped out the lights and gave it a good clean with de-greaser.

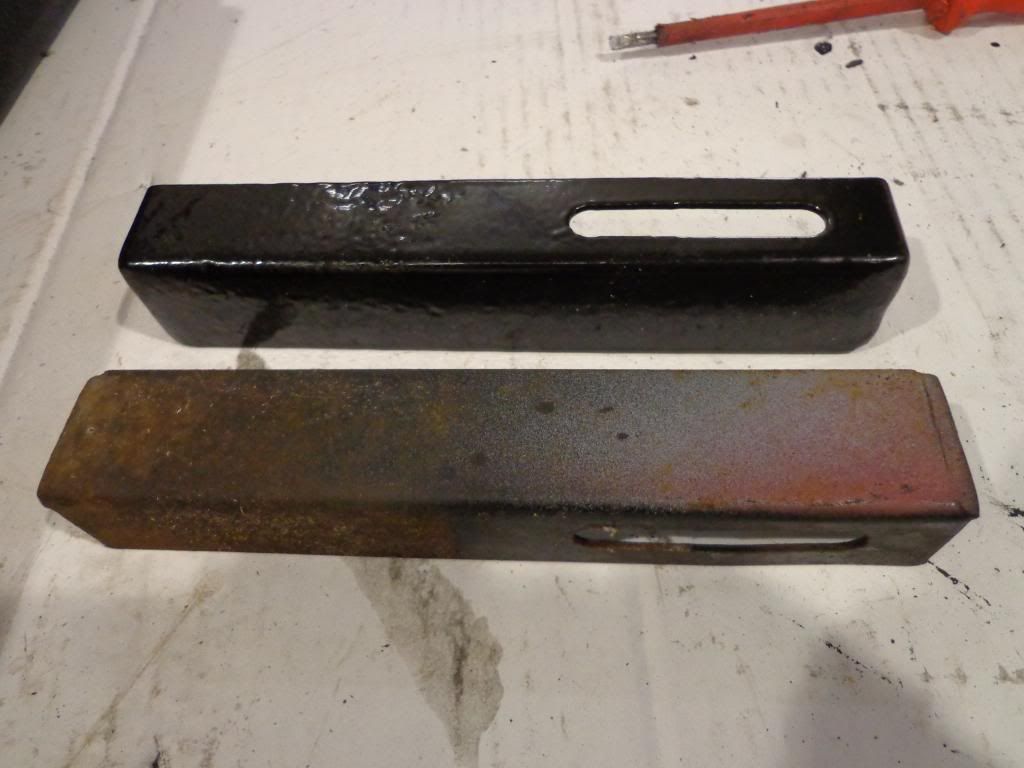
I never realised when I had all of the small parts powder coated that a bracket was still attached to the valance, so now I have 1 nice powder coated bracket and 1 rusty bracket.
I shall give it a sand blast then prime and paint.

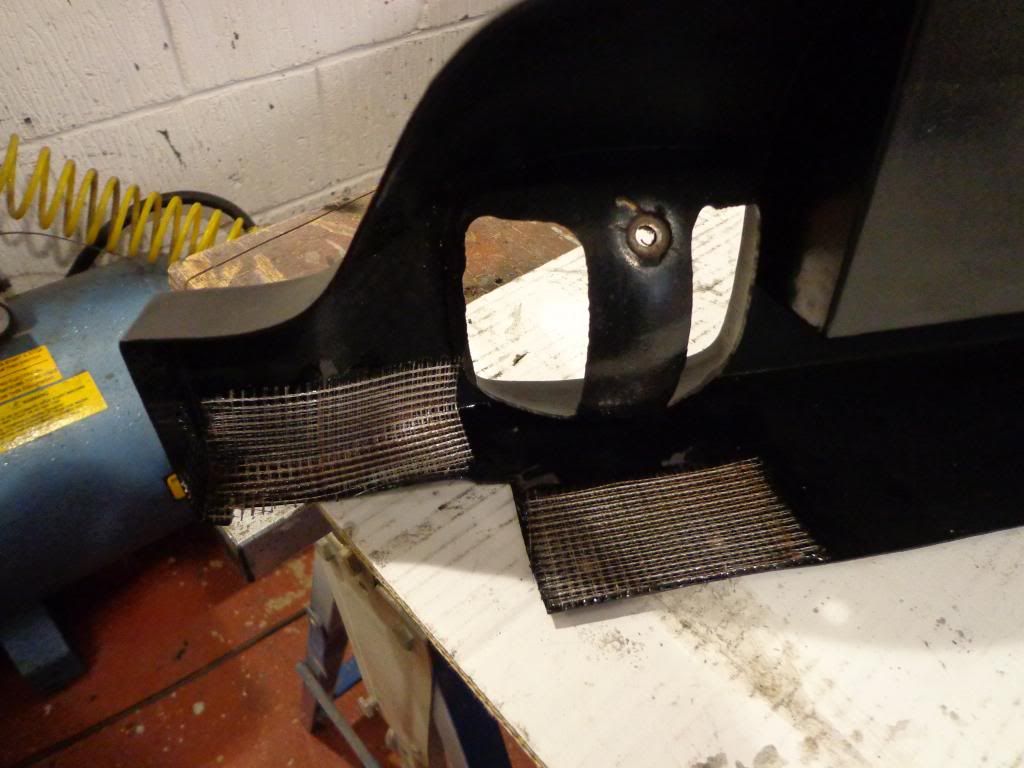
I repaired the valance by super gluing the broken section in place and run some glue around the crack, I used fibre glass to repair the damage but as the broken area is where the bracket sits I did not want a big lump sticking up. To make a neat thin repair I used Jointing tape that is used to put a skim between plasterboard joints, this is sticky backed so you can place it where required and it will stay until the resin is applied.
Once all dry I had a search around the loft and found some Turtle wax Black Chrome polish designed to restore bumpers back to original condition, I was very pleased with the results as after only one coat it came up like new. I shall let it harden of overnight and give it another coat tomorrow, I attached the down light to see what it would look like and it was a perfect match for the holes.
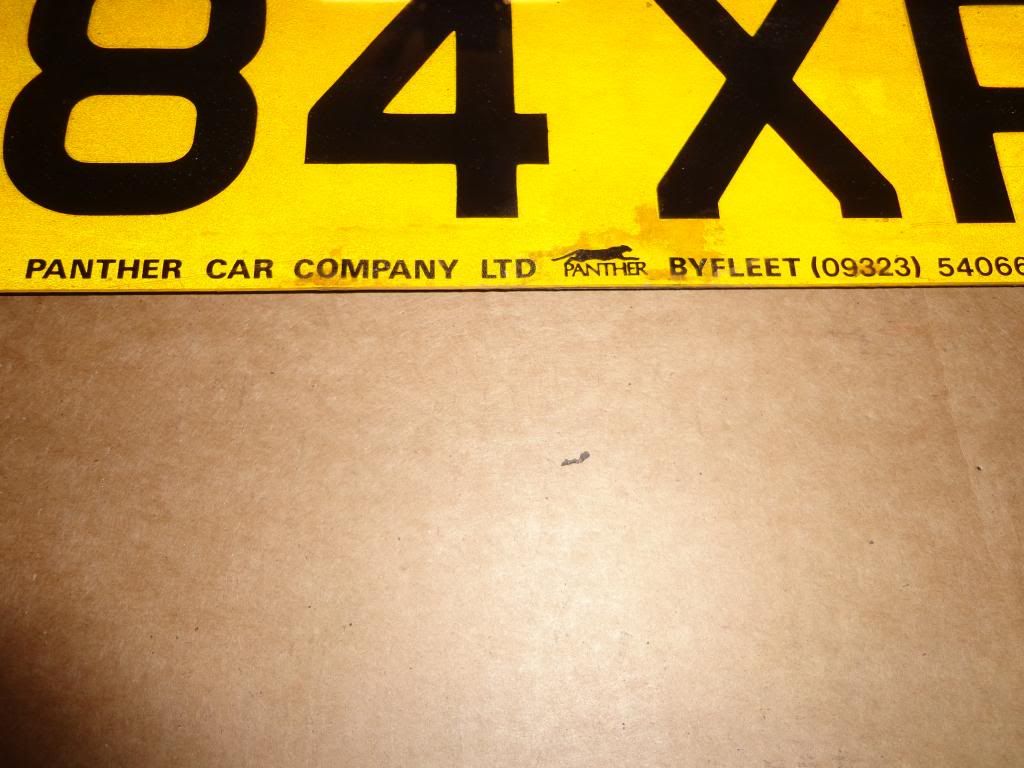
The number plate is a little flyblown but I am loath to replace it as it is the original Panther plate with the logo and address, so anyone know of a firm that can replicate it.
Next job while I have the bumpers off is to get the polisher out and give them a good buff up, I have also bought chromed plastic end covers to fit so that's tomorrows jobs sorted.

see ya Paul