
Very pleased to say I have finally got the dash finished, well the veneering side of it as I still need the cut the underside to take the new courtesy light.
I am also pleased to say that the little episode with the superglue yesterday didn't permanently damage the lacquer, I guess I got there in time.
I started with the 1500 wet and gave it a good rub until there was no glossy areas left and started with the polisher

I did one half with the polisher so as to see the difference.

This after two polishes, polish then buff x2.


I always found it strange that you had to sand down the laquer first but it seems to work just fine.

I gave it 3 polishes then a good buff with the glaze.

And finished of with 2 coats of wax.

Of course it didn't go as smooth as that as I managed to get a couple of chips in the veneer and had to do a bit of work getting them covered but I've managed to blend them in ok.
The new round blank of brushed stainless arrived and I set up my drill press to try and drill the holes a bit more accurately than the last one I drilled, I think it came out pretty close to what I was after.

The holes are 12mm and the nearest I had was 11 mm so I had to use a tungsten rotary file and a cone drill to smooth of the jags caused by the rotary file. I was originally after a straight cut along the bottom but after holding it against the dash I realised that following the curve of the dash underside would look a lot neater.
I covered the back with double sided foam and stuck it down, I removed the wax in that area with panel wipe first.

The original holes I had drilled in the dash did not quite line up so I ran them through with the rotary file to line them up.
I then covered the whole of the back in the foam tape and stuck it down.

The warning lights fit pretty well and look quite good.

I shall label all of the wires on the dials that are left on the car and get them fitted to the dash.
The centre console did not quite go as planned as the expansion of the glue had pushed the fillet sections of the substrate out too far and there was a small gap between the console body and the fillets so I cut the sections apart and found all of the super glue I had in the house and stuck it (and my fingers) back together. I also found a spray tin of mitre glue activator that made it go a lot faster.

I gave it a good sanding and marked of the holes and cut.
I made a bit of a mess of the hole for the starter button as I used a flat bit and it went all over the place but you can't see it around the edge of the button so it will be ok. I test fit all of the parts to see what it would look like.

Looks like a draw handle on the bottom but thats the choke pull.
I have used filler on the substrate to smooth over the chips in the plywood and cut the veneer ready to glue on but this is not as easy to do as the flat areas of the dash as the meeting edges have to be pretty perfect.

The problem is that I am using a burl veneer and there are only a couple of areas on the sheet that are actually flat, most of it is all lumpy and bumpy. I knew this was a problem a while ago and I have been looking for a veneer softener which makes it pliable and you can flatten it easily. The main one is called Supersoft but is only available in the States, there are however lots of recipes for homemade softener, it is made from Glycerin, delineated alcohol (meths), glue and water. You soak the veneer in this and let it dry for 24hrs between sheets of paper with a heavy weight to keep it flat and it turns out nice and pliable and flat, but I don't have any glycerin.
What I do have are lots of mistakes and the mistake I made the other day was to glue up the wrong side of the maple backing veneer. No problem I just cut another piece and glued it on, the maple veneer was very dry and brittle, it cracked all over when I was cutting it yet the next day when the glue had dried and I went to throw it out I found that it could bend in a tight curve and was easy to cut.
So I have tried this on the burl veneer and hopefully in the morning it will be lovely and pliable.

I shall check in the morning and get it stuck on.
I ordered the new front badge for the car from Val at the club and it arrived today and doesn't it look nice.
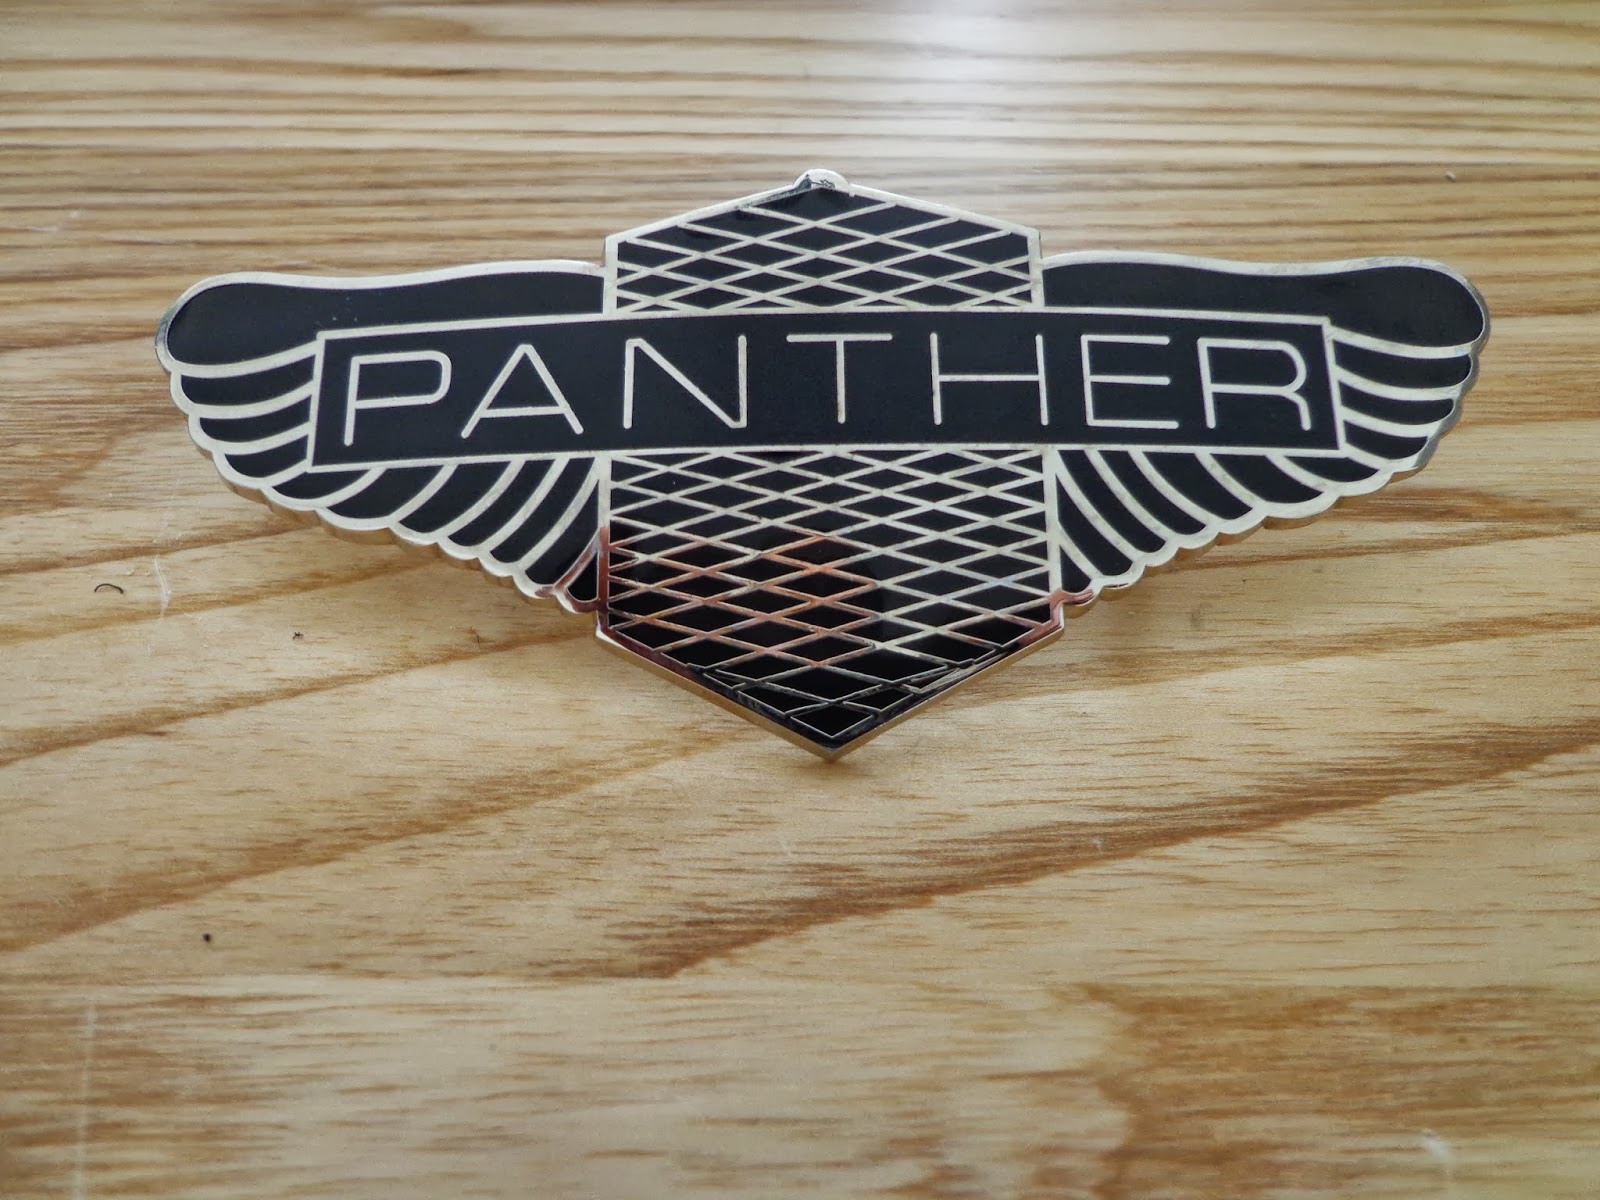
The pcd of the holes are different but I shall mark of the front and drill some new holes, I originally had the round corporate badge which is very detailed and looks great but I love the winged badge so it is going on.
see ya Paul
No comments:
Post a Comment