
Up nice and early this morning to check on my little softening experiment with the veneer and it worked, maybe not as good as using the real stuff but for my purposes it's good enough.

There was quite a few high spot from where the glue wasn't evenly distributed but a 60 grit sanding disk soon sorted that out.

I had filled all of the broken bits of plywood veneer and the slightly not quite meeting edges and the rubbishly drilled center hole yesterday with filler and it was all sanded ready for the veneer.

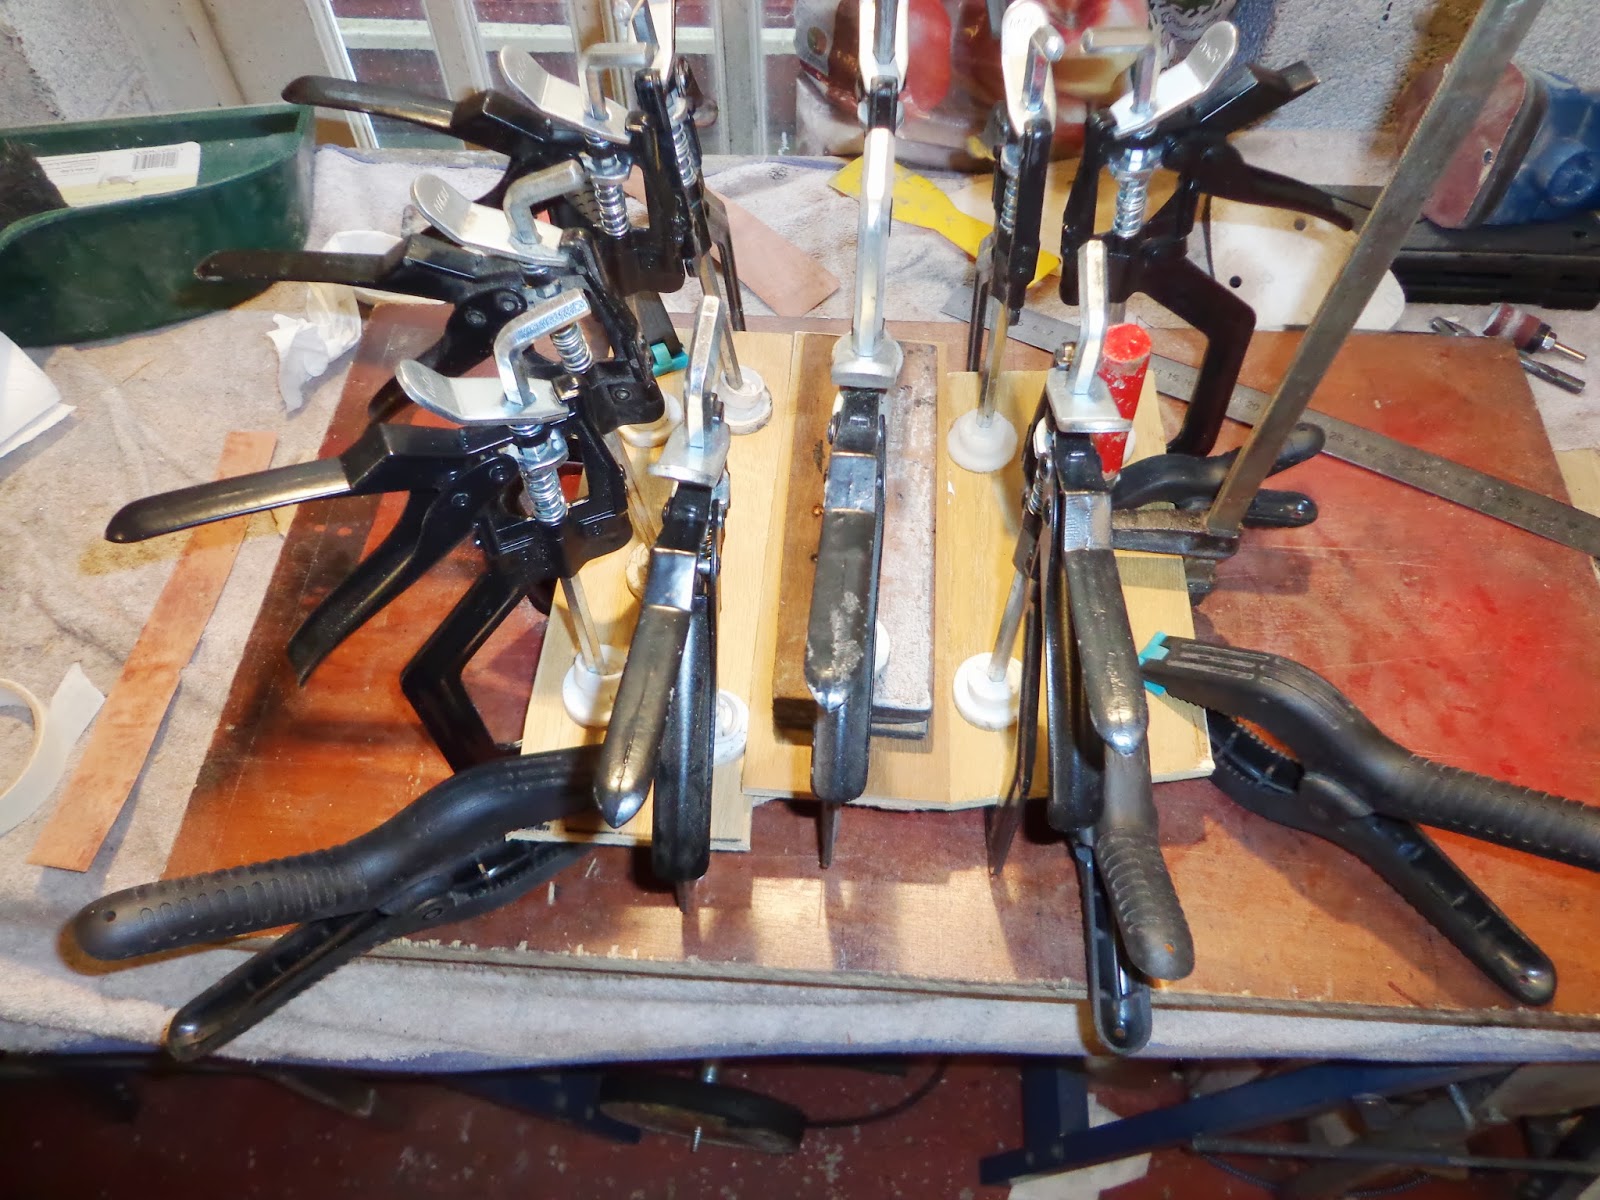
So out with the glue and clamps and I stuck everything down and left it to dry, I remember the day I bought these clamps thinking will I ever have a use for them all, well the day has come.
I had all this done before 0830 this morning then took Lynne out shopping in the rain.
While I was waiting for the glue to dry I had a look at the courtesy light I had bought off eBay, this is from a Fiat Punto and the electrical connections are a plug in type of which I don't have.

So out with the soldering iron and the heat shrink end seals.

I had already done a power test on it last time home and shall repeat before I fit to make sure everything is Ok, its a lot bigger than the original and I think I shall reposition it from the original position and use the cutout material to blank off the existing hole.
By 1100 I could not wait any longer and removed the clamps, I had only put on the 3 main pieces of veneer and I still had the fillet sections to fit. These were a lot more trickier than the larger pieces but I managed to find some thin latts and made up a clamping arrangement.
Another couple of hours drying and with the aid of a heat gun I finally got round to sanding.

It looks quite good although somehow I managed to crack the center veneer, I have since filled by mixing some very fine sanding dust of which I had collected from the dash and mixed it with a bit of lacquer, you will still be able to see it but what the hell it adds a bit of interest.
I mentioned yesterday about using the activator spray I had leftover from my mitre glue, if anyone has never heard of this then the mitre glue is a thick superglue used by woodworkers to quickly glue mitred frames together. One side of the mitre has the glue applied and the other half is sprayed with the activator, you then put the two parts together and 10 second later they are stuck.

I have planned to use the rest of the dental inlay on the center console and to stick it down quickly I have bought some more, this lot cost just short of £11 from Screwfix a bit expensive but it works.
I was originally going to just put the inlay around the edges to hide the plywood edge but I found a bit of an error in the making of the console and the inlay helps to disguise it. The error is in the top fillet section and it tapers down around 5 mm, which makes it look a little out of square, strange how it happened as I had the substrate clamped to the console while I glued it.

Anyway I had lots of inlay left and I was loath to waste it as it looks great so I stuck it all on, the original plan was the edges and around the vent adjuster but when I fitted this I realised it had rounded corners and it would look strange unless I trimmed the adjuster plate, so it ain't getting done, (you can't see it anyway).

The edges smoothed over nicely.

The inlay disguises the error rather nicely and when it is lacquered I will show it.
I have given it its first coat of lacquer to seal the veneer, it was supposed to be a very thin coat but I got a bit carried away which means a lot more sanding to bring it down level.

Just another 10 or more coats and it should look rather nice.
see ya Paul
No comments:
Post a Comment