
Well I managed a full day on the car and am pleased with the progress.
Today was all about the dash.
The passenger side was quite simple to shape, I just clamped it to the original section and with an edge trimmer routed around the edge until nice and flush, quick sand and finished.
I have been looking on eBay for quite some time for a retro radio and last week I found one, its from the sixty's / seventies, it's only MW and mono but has been converted to to play DAB, MP3 and portable CD, just about anything that a 3.5 jack can plug into it. So until that and the voltmeter arrives I am unable to carry on with that section.
I have been looking on eBay for quite some time for a retro radio and last week I found one, its from the sixty's / seventies, it's only MW and mono but has been converted to to play DAB, MP3 and portable CD, just about anything that a 3.5 jack can plug into it. So until that and the voltmeter arrives I am unable to carry on with that section.
The drivers side is another matter and that is what I have been working on today, I dragged out my homemade sanding machine and fitted the grinder to it. I sanded around the edges until it was a mostly perfect fit to the dash.

The inside edges were sanded with a drum sander attachment for my drill.

Once I was happy I flipped the dash and marked of the holes for the dials and using a hole cutter I drilled them.

The holes were a little tight so again out with the drum sander until the dials fit nicely, I also freed up the holes in the dash plastic as the larger dials were very difficult to get out.
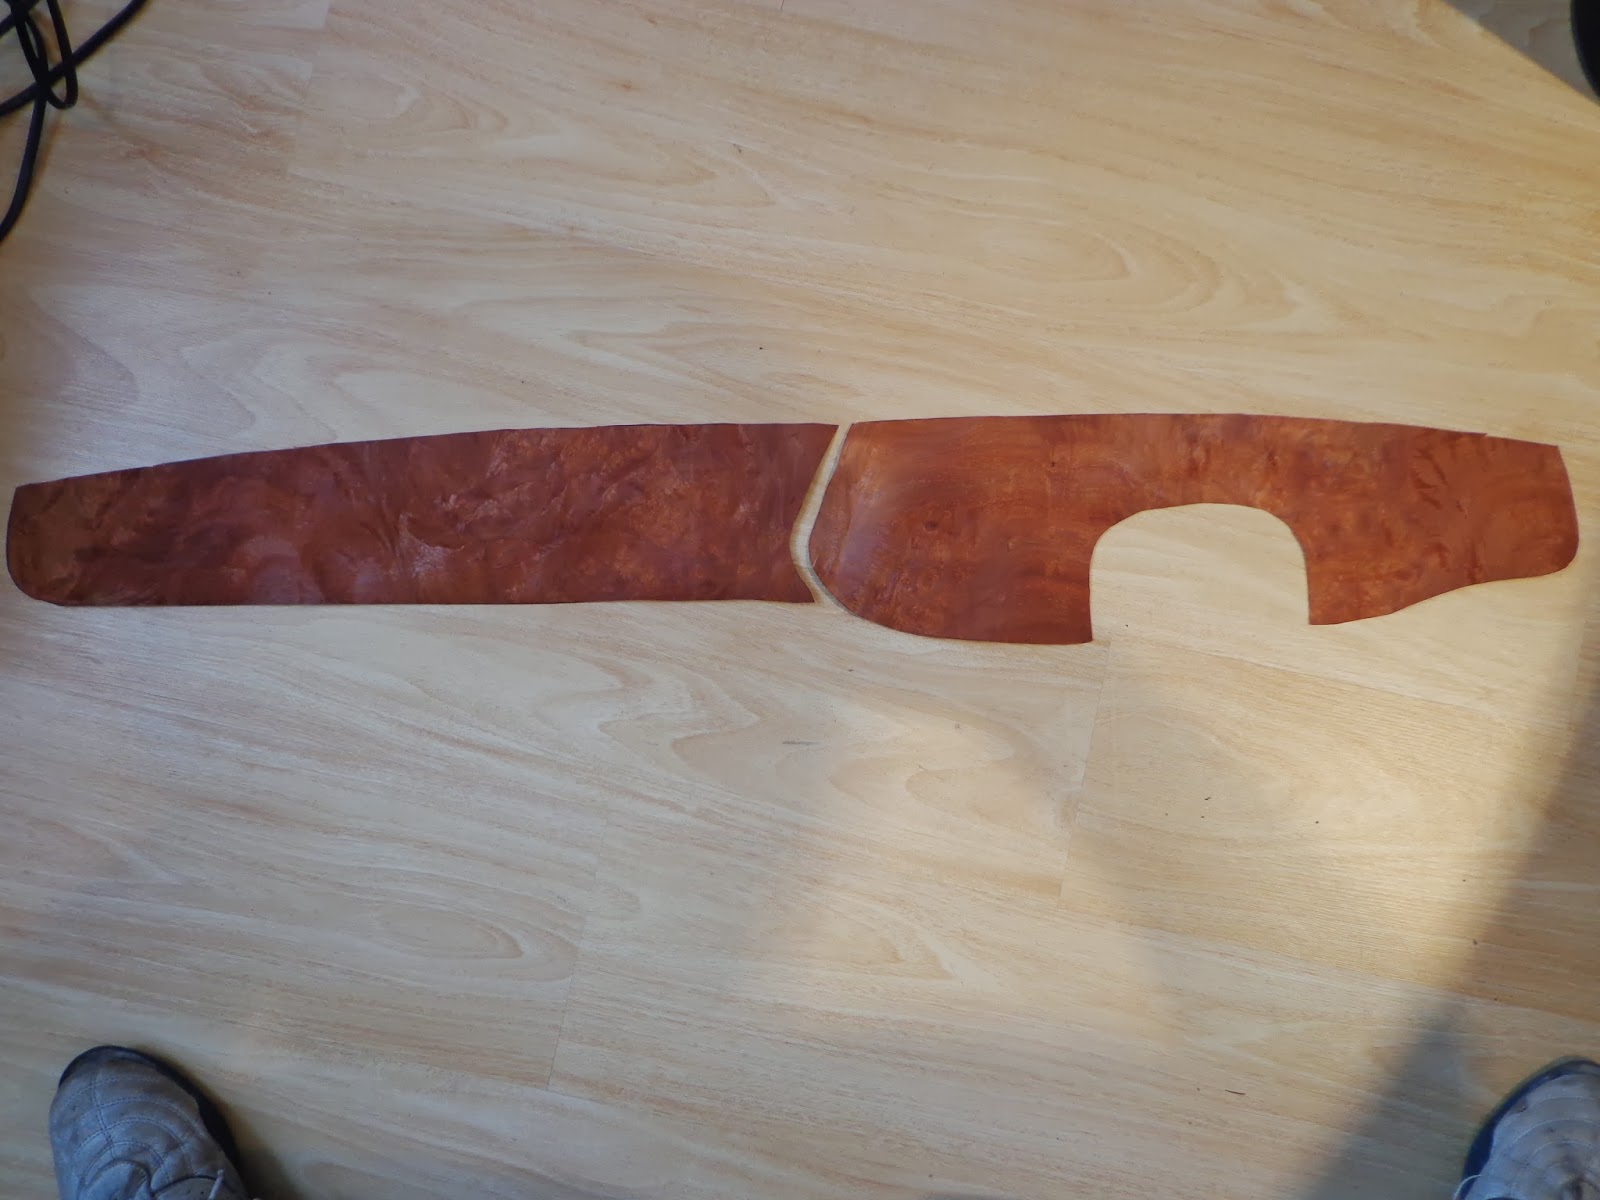
Once I was happy with the fit I positioned the substrate on the veneer and drew around it, I have 2 pieces of this veneer and was very lucky that both pieces fit nicely onto the one piece as the other is for the centre console and at £20 its expensive veneer.

Once marked of I used a scalpel and rough cut the pieces out leaving a few mil over for sanding flush.
Just a check on the dash.

Looks nice already, I wanted to embellish it a little so in the area that I had drilled for the choke pull I decided to inlay a Panther. I am going to do away with the cigarette lighter in the center console as there ain't no one gonna smoke in my car. I shall fit the choke pull were the lighter socket was and I have bought a 12 volt female socket to fit to the side of the centre console, this will do for the power for the DAB and sat nav etc.

I used my plotter to cut a panther and positioned it on the veneer.

Then cut it out.

The inner section of the template was stuck on a piece of the black veneer.

I then cut this out.

I then positioned it over the first cut out and ran the scalpel around the edge trimming any excess of until the black inlay popped into the hole. Once happy with the fit I tapped over the design with masking tape and turned it over.

I then rubbed glue into the gaps and using a roller I kept rolling it down until perfectly fit into the hole with no raised edges, then let it set.
Once set I positioned the veneer over the substrate and drew the holes for the dials, then carefully cut them out.

The Panther looks great, look better when varnished though.

Next was to stick it on the substrate, with it being a burl wood it is very stiff and lumpy in places and flat in others, so to do the initial sticking I used a vacuum bag to pull it down until the glue had a chance to stick. I have used PVA glue and applied it to the substrate, positioned the veneer taped the edges over then popped it in the bag. These bags are just ordinary ones for putting clothes and linen in to pack them down and can be bought from the pound shop. Once you remove the suction you lose the full vacuum but I only needed 5 minutes.

Once under suction I used the roller and kept pressing any air bubbles down.
When I took it out of the bag it was perfectly flat.

Still belt and braces, I used another piece of ply and clamped it all together over night.

I also got down to the paint shop today and picked up the last of my pieces.

The 2 top pieces are the air flow inlet and the cover I bought for the wiper motor, the bottom pieces are the cheek plates just inside the door and rivet to the upright.
I also picked up the sidelights and boy am I pleased the way these came out, I have had the plinths coded ivory and the lamps to red and what a contrast.

I had to adjust to get a perfect fit so it was out with the dremel and a little grinding on the inside of the plinths allowed the lamp bases to fit snuggly.
I gave the inside a squeeze of silicone.

Then bolted the two parts together.

Believe me they look great close up.
Unfortunately the wiring for the lamp inside is not as nice so I will have to rewire before fitting.

I have one more piece to fit to the dash and that is the underlight, the original is looking a bit rough so I had a search through ebay and came up with one from a Punto, hell there is already around 20 different cars involved in the building of one of these Panthers so why not one more. Unfortunately the photo showed the colour a little lighter which was the reason for the purchase but its a little greyer than I thought.

I shall think of something.
See ya Paul
No comments:
Post a Comment