
Hi
Only a few days left to get all of the items for colour coding stripped and ready before I go back to work, so I hope to get them all ready to take down tomorrow.
The headlight are all prepared so to finish of the lights I needed to start on the sidelight plinths, I had a bit of a problem with these and that was matching the curvature of the wing.
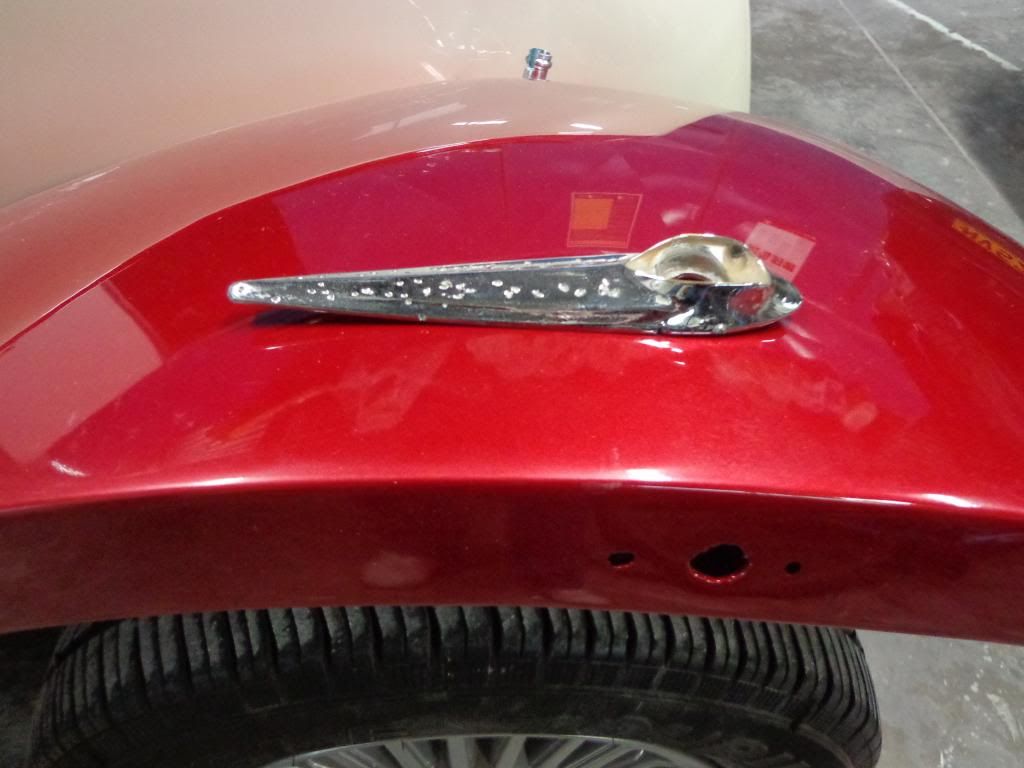
Luckily I had bought 3 as the first one I tried to bend ended up in 3 pieces. oops!
The plinths are made of cast zinc with virtually no malleability in them, so I was going to make up the curve with ally filler then I realised that is was the edges preventing any movement, so I just ground off the edges then with my best Uri Geller impersonation I gently bent them to the curve.
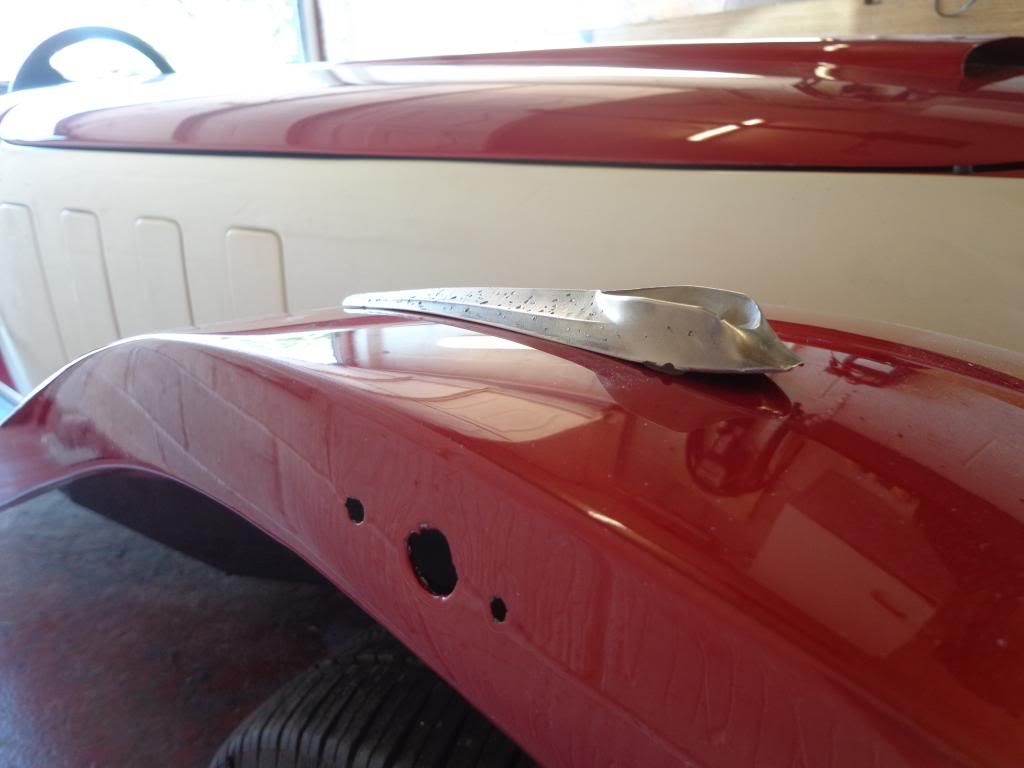
I couldn't do much about the front so I mixed up some filler laid a piece of paper on the wing, filled the underside and pressed it onto the paper.
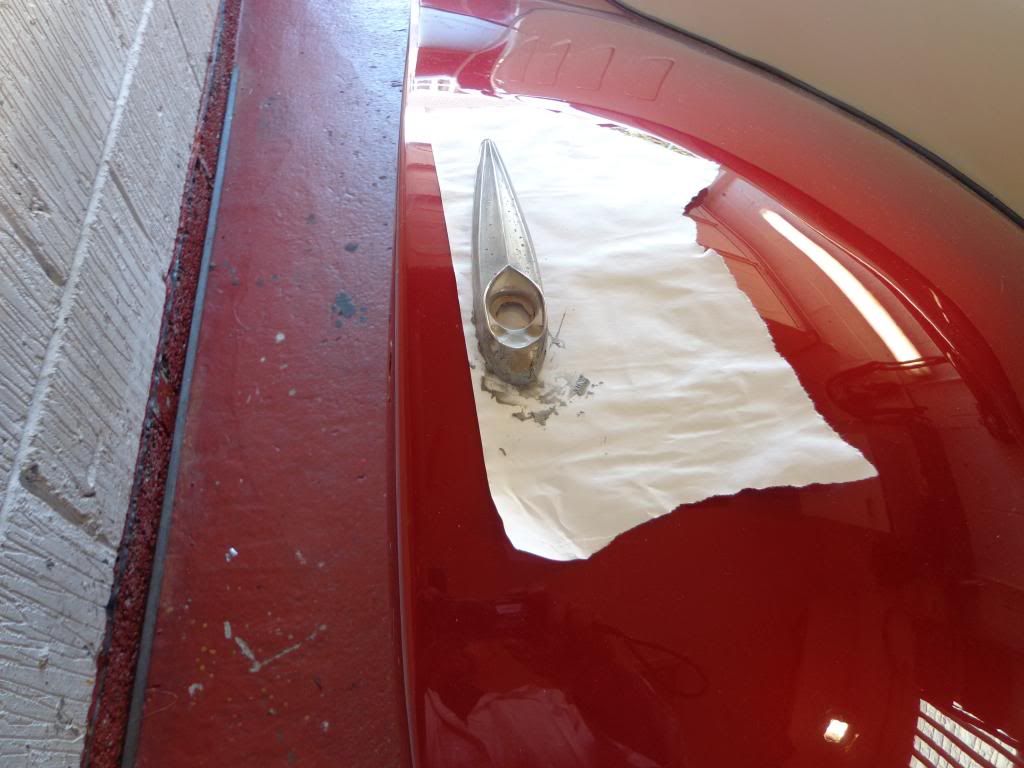
Once it dried I peeled off the paper, filled the rest of the underside and sanded smooth.

Once the pits are filled and colour coded they will give some great definition to the wings.
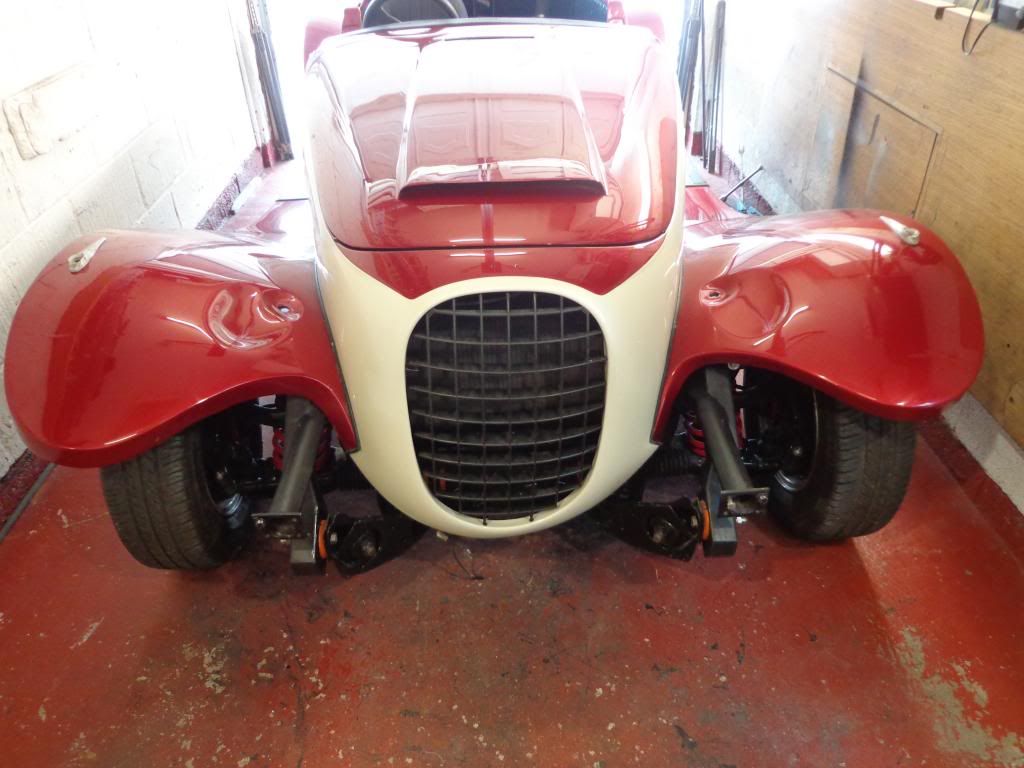
One of the other jobs was the grill, I first polished up and fitted the brackets and the rubber grommets to the inside rim.

I had to do a fair bit of repairs to the grill as one of the top bars had disappeared so I cut off the bottom centre and stuck it on the top, plus a few more cracked and broken bits got glued.
I also plan on getting a chrome grill from Bruno but until then I shall have the option of having the front colour coded (headlights, sidelights and grill) and when I get one I can swap for chrome (headlights, sidelights and grill) when ever I feel like it.
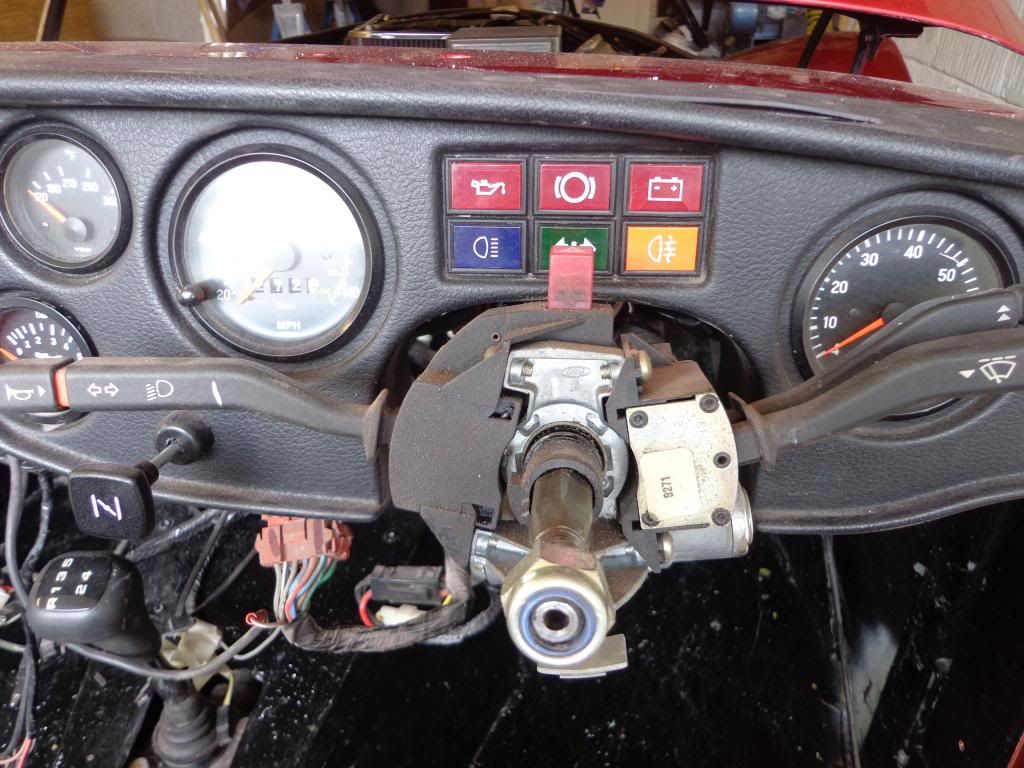
The main job today was the dash, it was a bit of a worry but in the end was quite easy, I had a few tips from Terry B which made it easier.
I started by removing the steering wheel and drilling out the rivets that support the underside of the dash.

Next came the cowl, this is in two sections with 3 screws on the underside.

And one real nasty one directly on the top and at such an angle that a screwdriver won't fit, I used a screwdriver tip on a ratchet which just fit under the lip of the dash and out it popped.
I also have the new choke cable fitted, so I disconnected this from the carb and pulled it free, I have since broke the pull end when I dropped it so now I need to buy a new choke pull. Will try to find a chrome one, sure someone makes them.
After feeling under the dash I found the speedo cable connection which luckily was only finger tight and unscrewed easily enough.
The dash was still trapped by the indicator stalks which are only held on by a couple of screws so I removed these.

I also disconnected the main power supply to the dash, the big orange plug.
Once the stalks were off then the dash pulled forward for easy access.

It was just a matter now of disconnecting each gauge in turn then removing them from the dash.
Once out I replaced all of the wires and where necessary I marked with a tag.

The indicator display is held in place by 3 rivets, I drilled these out and the display comes off as a whole, the large dials were a lot more difficult and I had to lubricate with washing up liquid the get them moving.
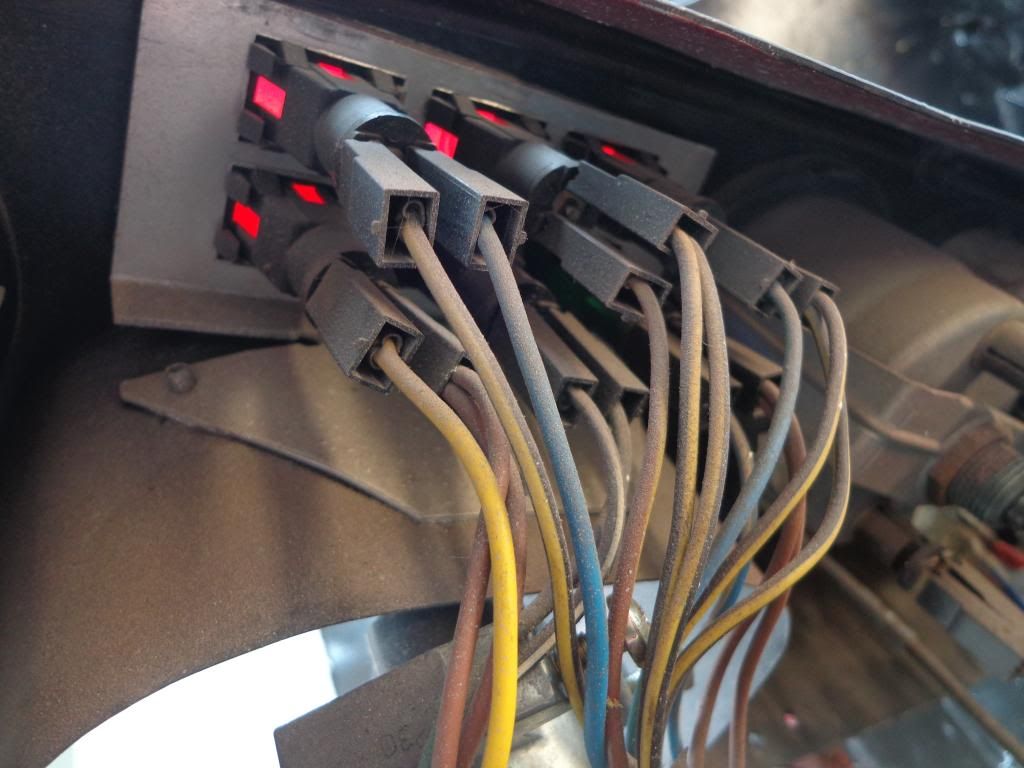
Once finished I replaced the stalks to keep them safe, it looks a bit of a mess but should go back together again. I shall sand out the holes so as to fit the dials easier than they came out as I do not want to damage the new paintwork.

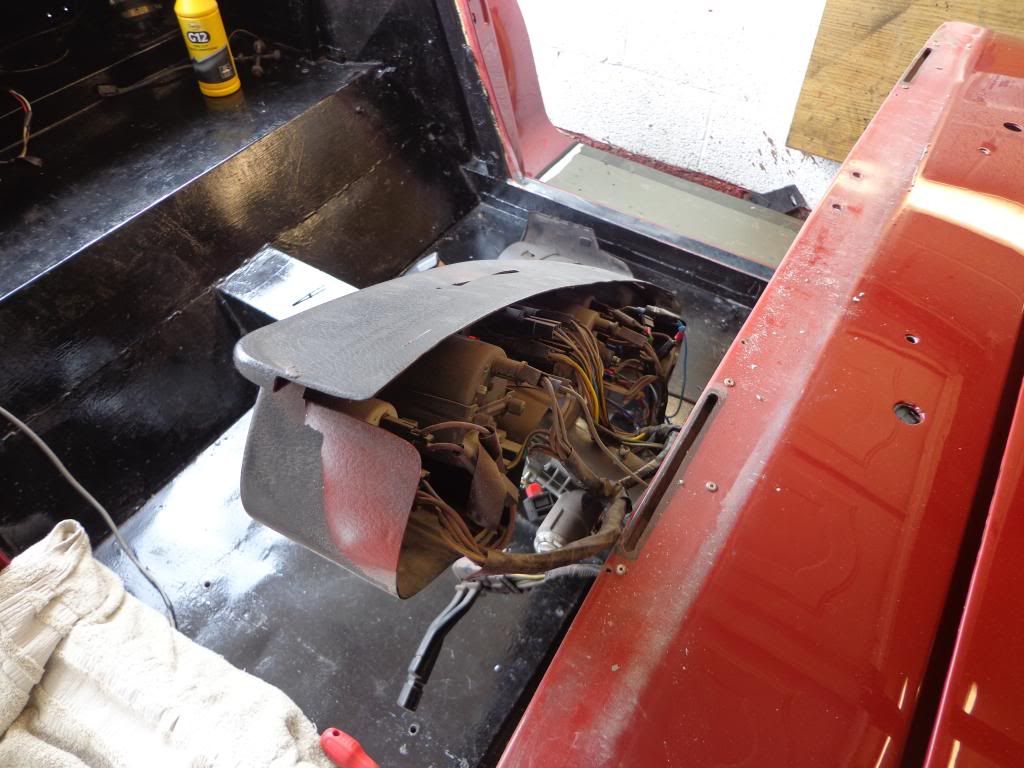
I gave the dash and the centre console a wash and that is mostly what needs to be taken to the sprayers, I shall strip the rear valance tomorrow.

One good thing is that access to the heater is much more accessible with the dash gone so I'll maybe able fit the heater without removing the bonnet, got to get a carpet first.
see ya Paul
No comments:
Post a Comment