
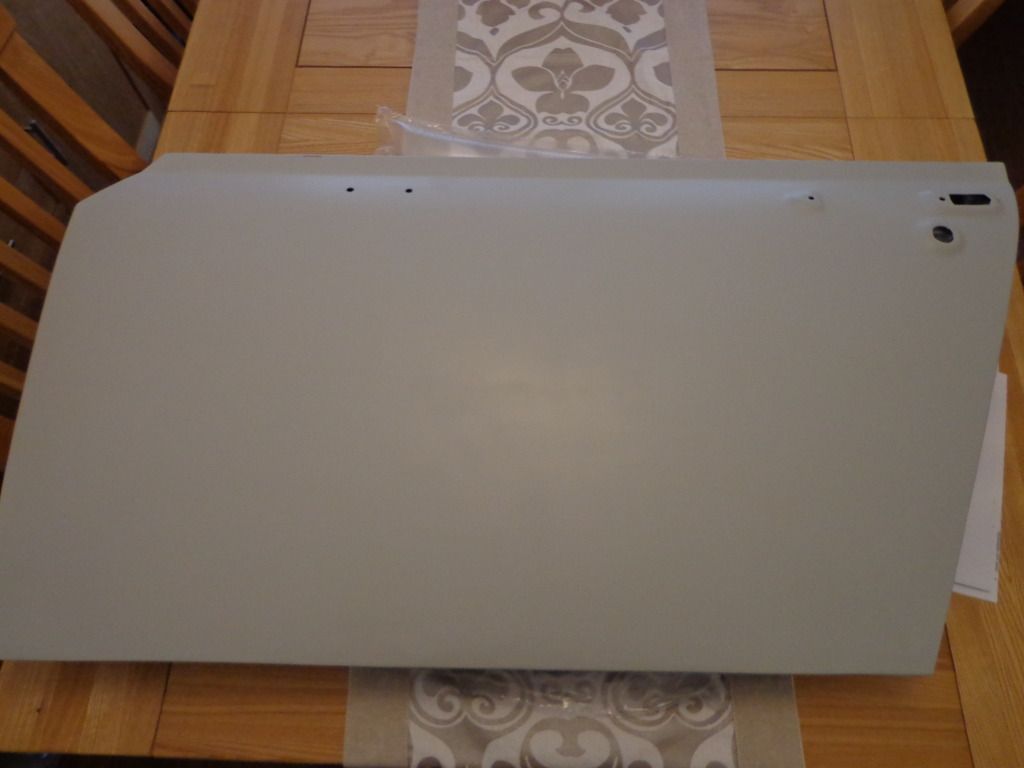
Things went as planned today, the primer on the passenger door was hard so I blocked it down with 800 wet & dry then with the scuffing compound until it was nice and smooth and only managed one small rub through.
The garden boxes arrived that I had planned to stow my parts in to tidy up the house a little but have now decided against this idea after getting an informative email from Terry B concerning the moisture absorbency of the primer. So, I shall bubble wrap each part and make room in the loft, Lynne has the house so hot in the winter that the loft should be an ideal place to keep them dry. The boxes will now stow all of my paints and oils and make room in the shed for the bonnet.
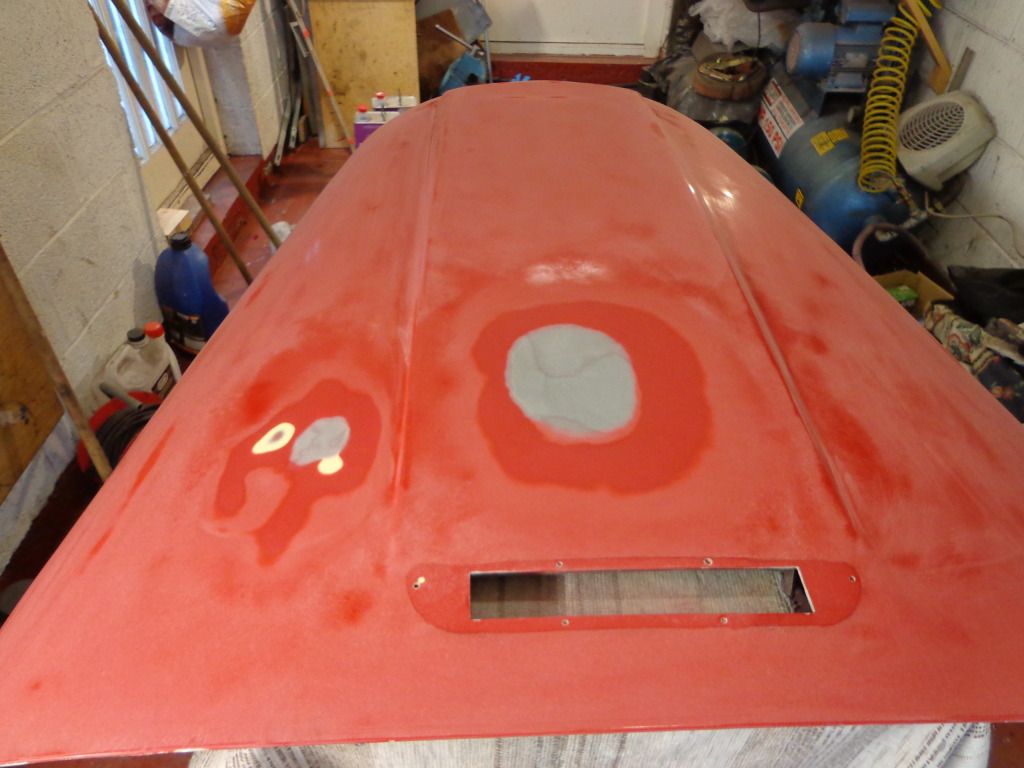
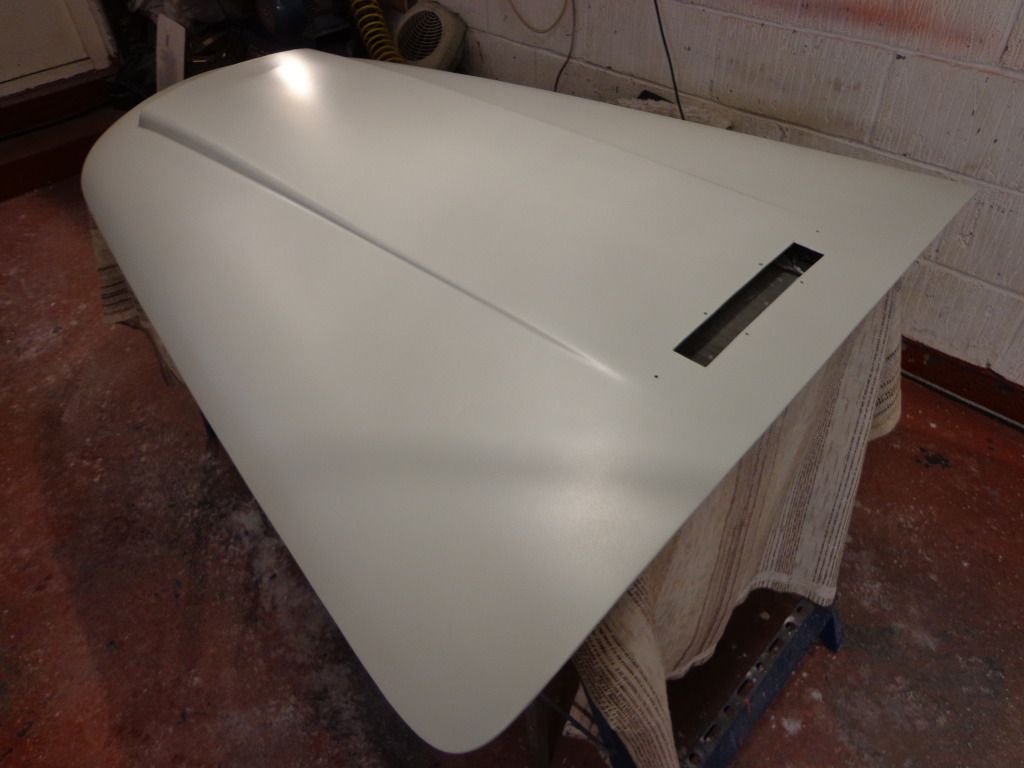
I got started on the bonnet this morning and it is now drying nicely in the garage and is looking pretty good.
There where only 2 dints in the bonnet that I could see, unfortunately one of these was caused by me, I had knocked it a few months back but other than that it is in pretty good condition. There is a deformation at the front of the bonnet where the air scoop inner bulkhead touches the bonnet skin, over the years it has made some kind of impression but nothing that I can do about.

I was thinking of cutting a section of the double skin underneath to access the dint and try knocking it out then riveting a patch on the skin but have been talked out of this idea by the guys from the paint shop and Joe who has been giving me tuition. So, it is back to the filler.
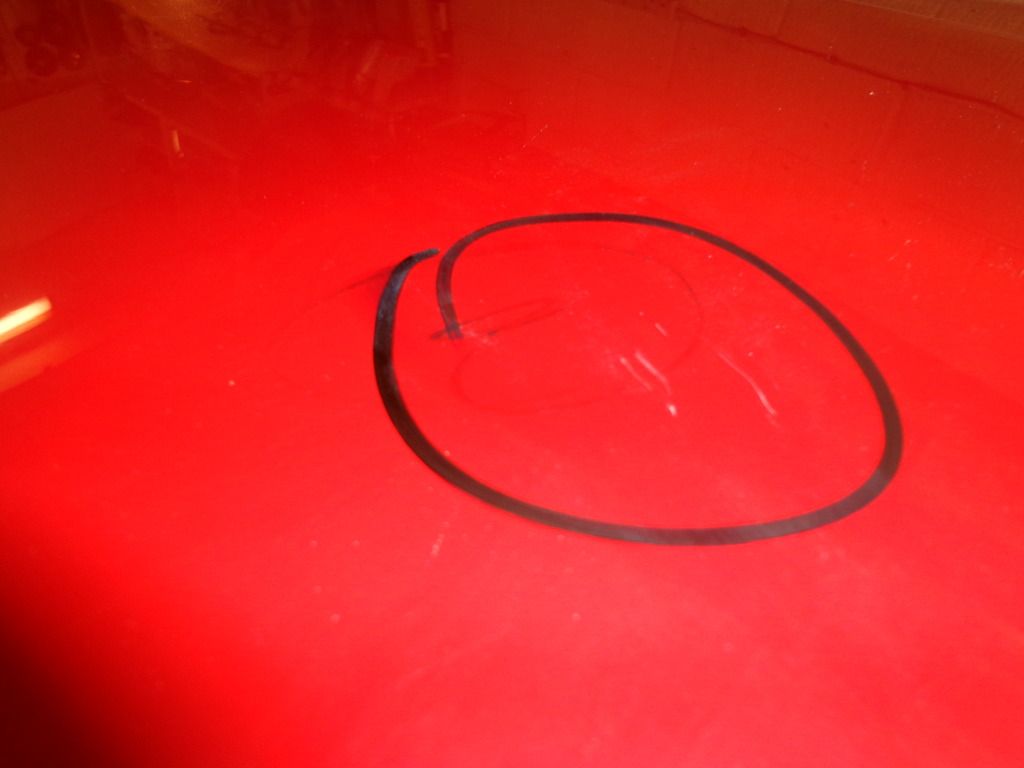
It is not to easy to see in this shot but it is a mil or so deep and a few inches around.
I ground of the paint and feathered in all around the dint with 120 grit on the DA sander until I had a good area of ally showing.
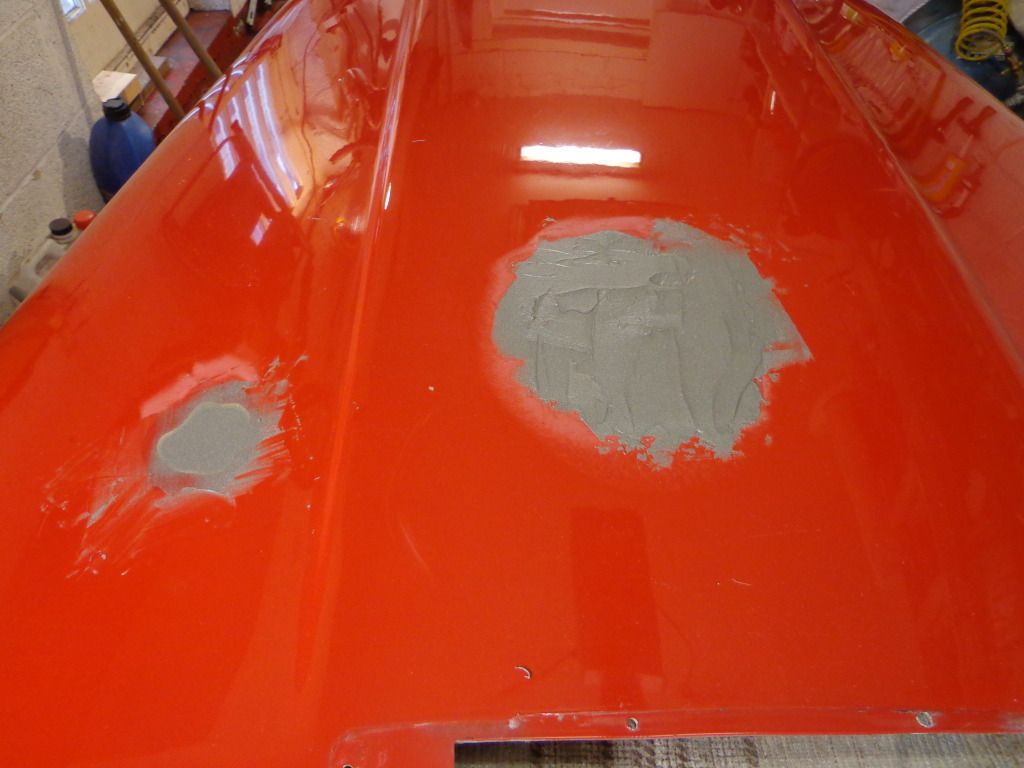
As it was drying I used the DA with 120 grit and rubbed down the rest of the bonnet then took the filler down until smooth. It took 3 mixes of filler to get it as good as I could get, I used a straight edge to skim across the filler and this managed to get it pretty good before the sanding.
I gave it a good wash down to remove all of the paint and filler dust then used a heat gun to dry it before paint prep and tack ragging.
Because it is such a large area I decided to have a go at getting my large spray gun to work, I had removed the 1.4 needle and fitted it with a 2mm for primer and it was this that was leaking so I replaced it with the 1.4 and perfect, it worked first time.
I started of by spraying the edges and the worked on areas to give them a slightly thicker coat then carried on with the whole bonnet.
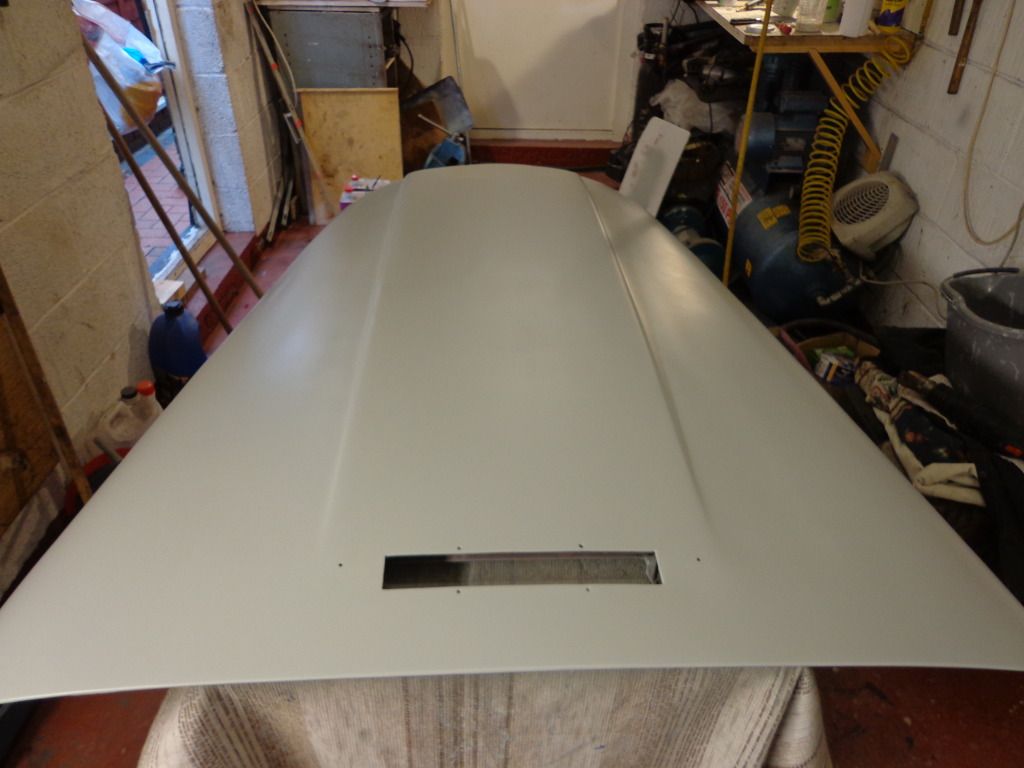
I was right about being able to use a small spray gun in that using a large one would be easier and it was, as its all down to getting the 50% overlap correct which is difficult on the small one but much easier on a large spray pattern gun.
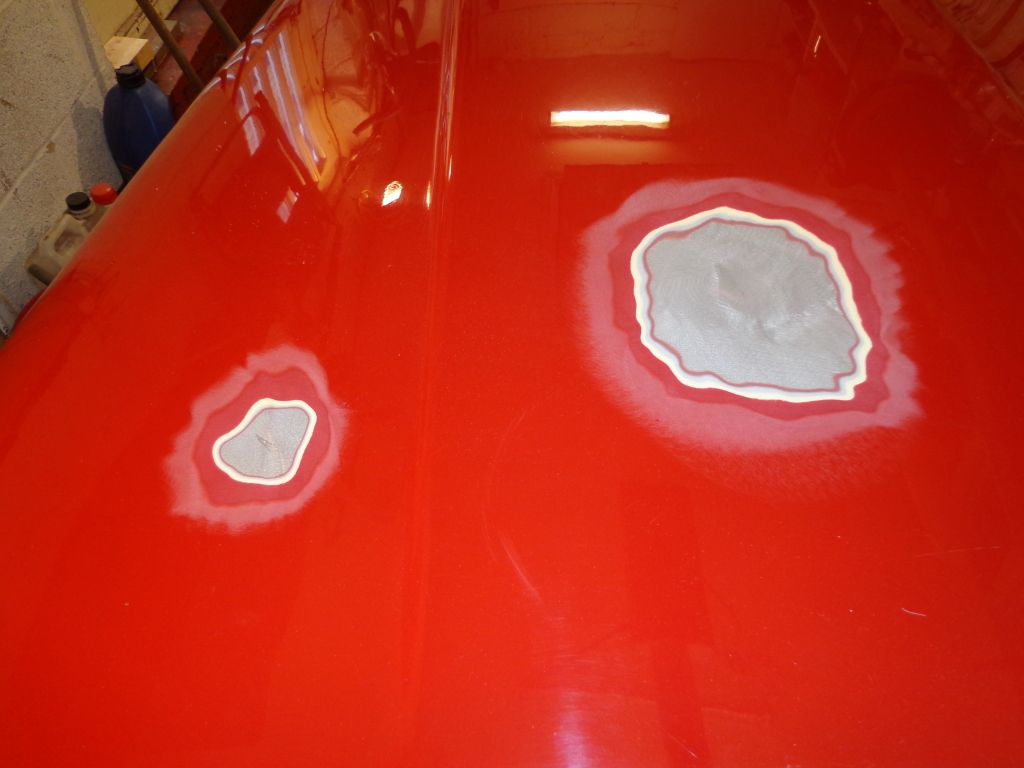
I let this dry then gave it a shadow coat with the matt black then using 120 grit on the DA sander I started rubbing it down, I put plenty of water on the bonnet even though the discs are not wet & dry. This gave a nice smooth finish and the added bonus of keeping the dust down.
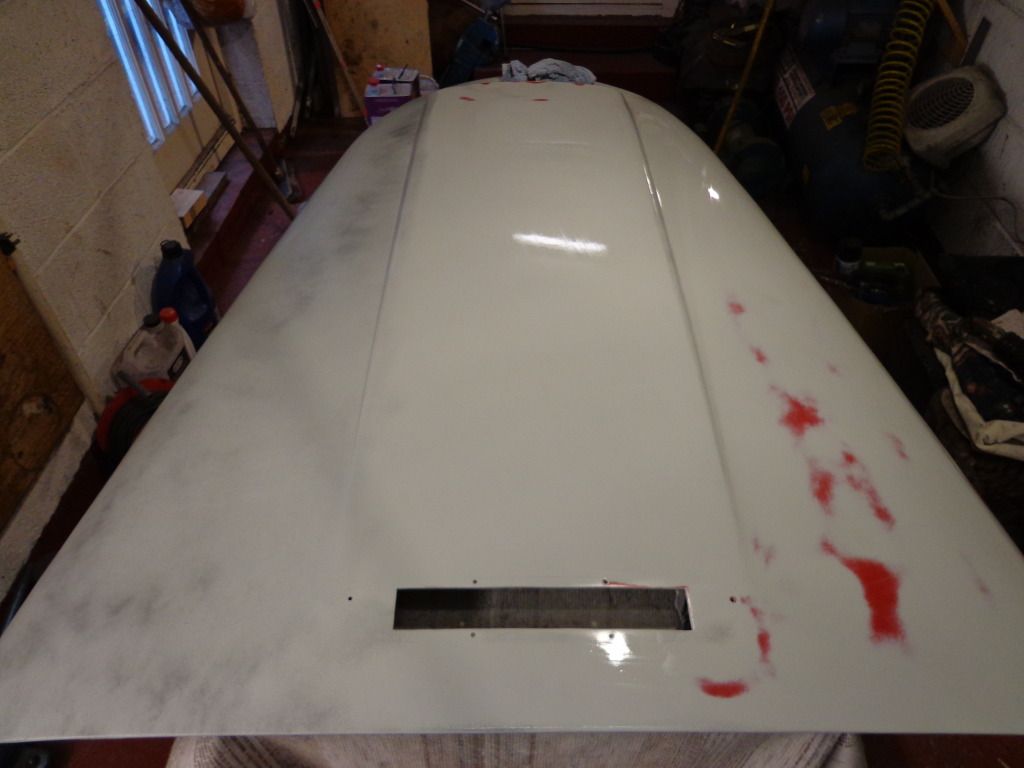
You can see in this shot one half sanded and the shadow coat on the other, I was very pleased that the repaired area came out perfectly flat with no black showing in any low spot. The rubbed through areas in red show where the original paint work was slightly higher than the rest.
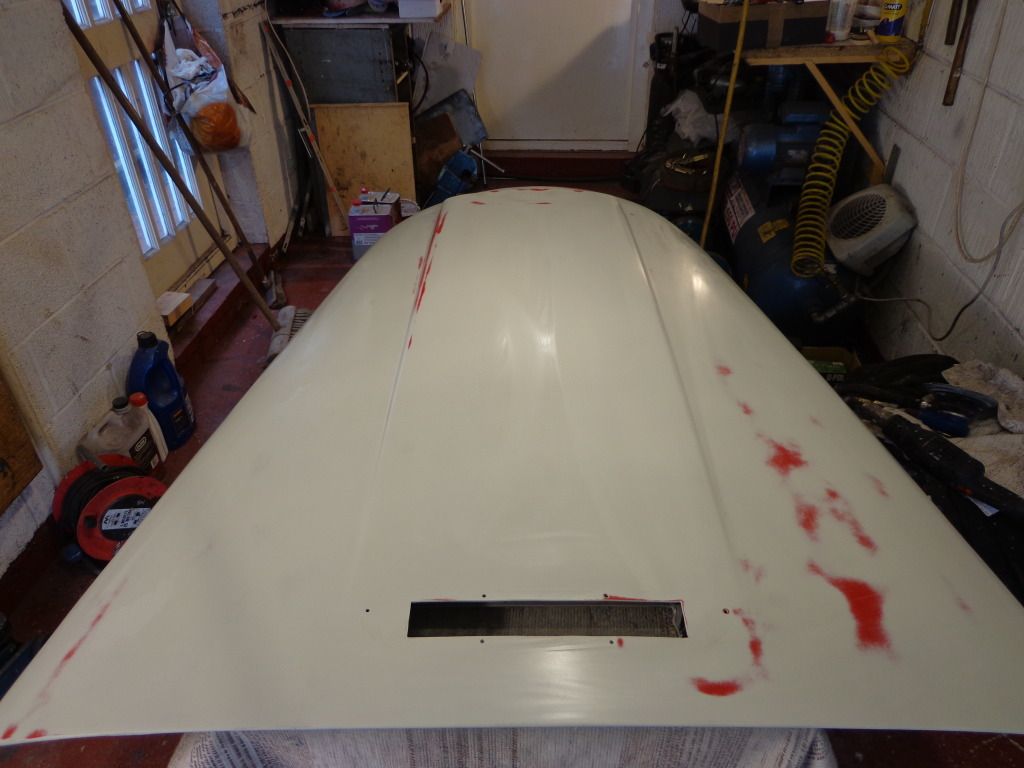
I finished the whole bonnet in 120 and hand rubbed the edges and the sides of the air scoop, there are a number of low spots with the black in them and on the next coat I gave them a spray first to build them up before going over the rest of the bonnet.
The second coat went on very nice as I am getting the hang of the spray gun and getting the overlap nice and even.
I have left this to dry hard overnight and got on with the cleaning of the garage with a pressure washer, its amazing how much dust accumulates.
I shall rub it down tomorrow and get started on the next part.
see ya Paul
No comments:
Post a Comment