
Got home around midnight Monday after 2 weeks working nights so work on the car was a little delayed due to being totally lazy for a few days, but now time to get stuck in.
Another vertical learning curve ahead but luckily I know a few pro bodywork guy's who are willing to teach me the basics. I thought I would get all of the parts I have removed done before starting on the bodywork, so first off is the drivers door.
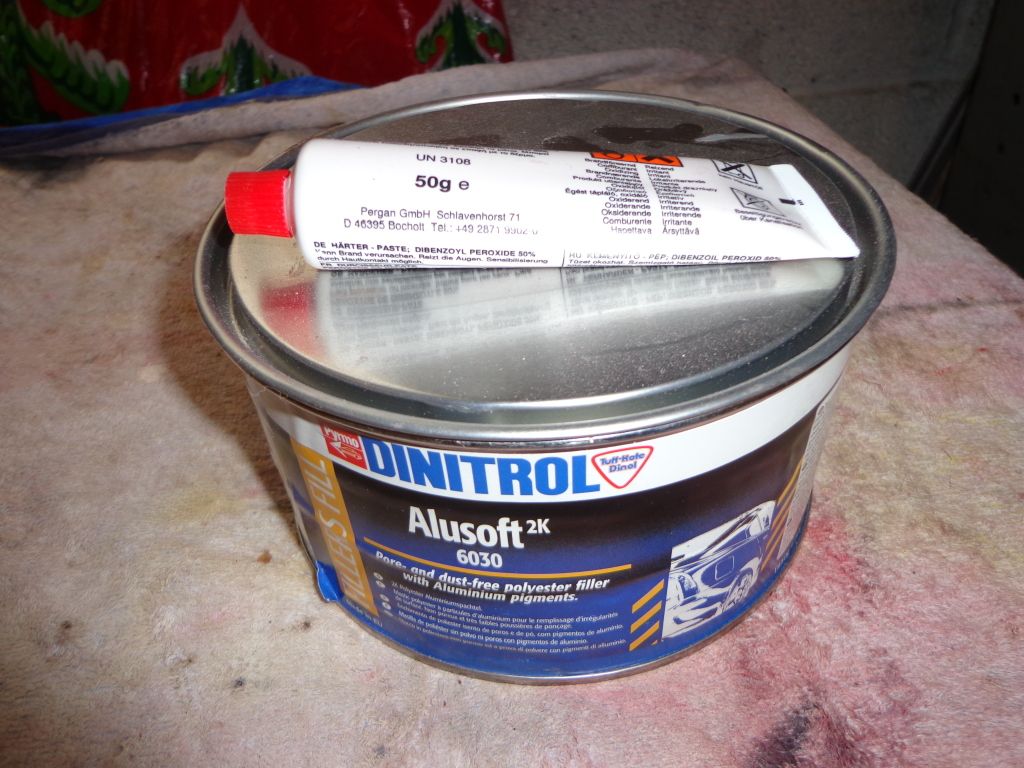
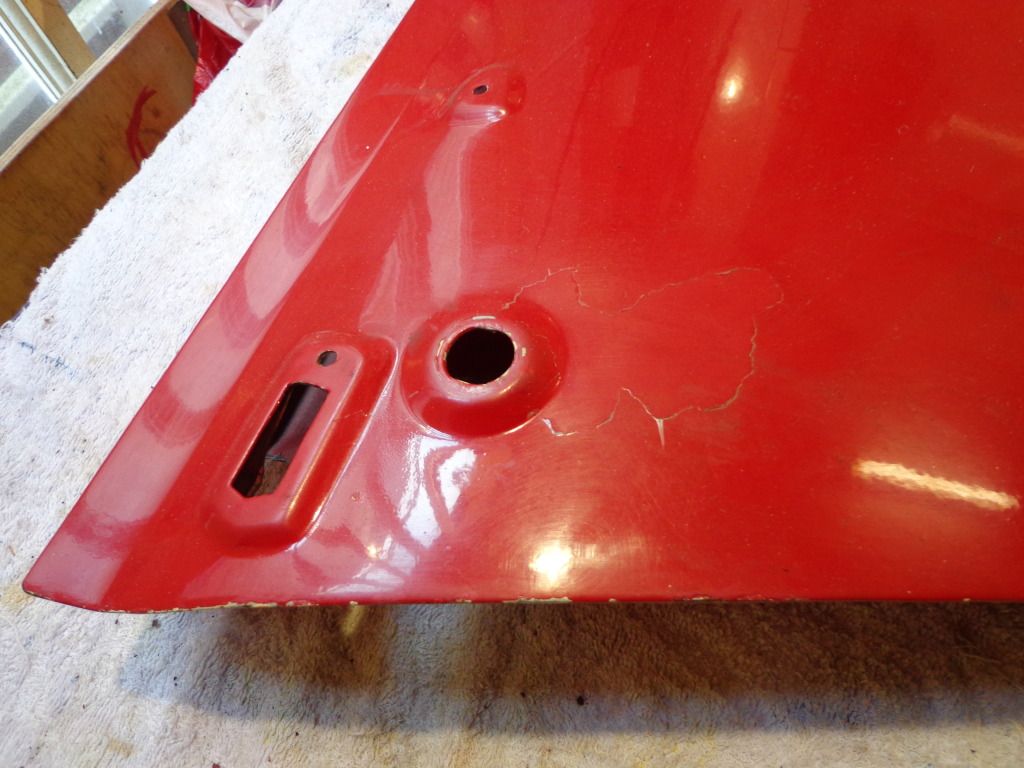
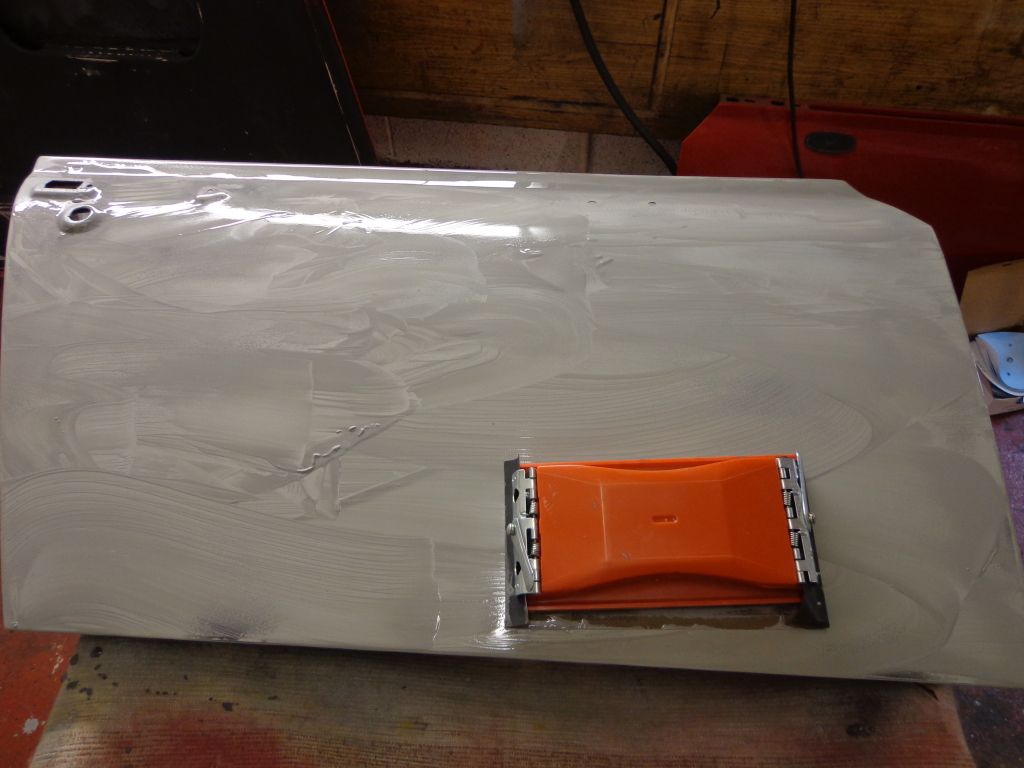
I had already removed the rust and filled the hole with A-B molecular metal a few months ago so all that was required was to fill and sand smooth, the filler I bought was Dinitrol Alusoft. A lot more expensive than ordinary filler at £27 inc p+p but better I hope on the ally body.
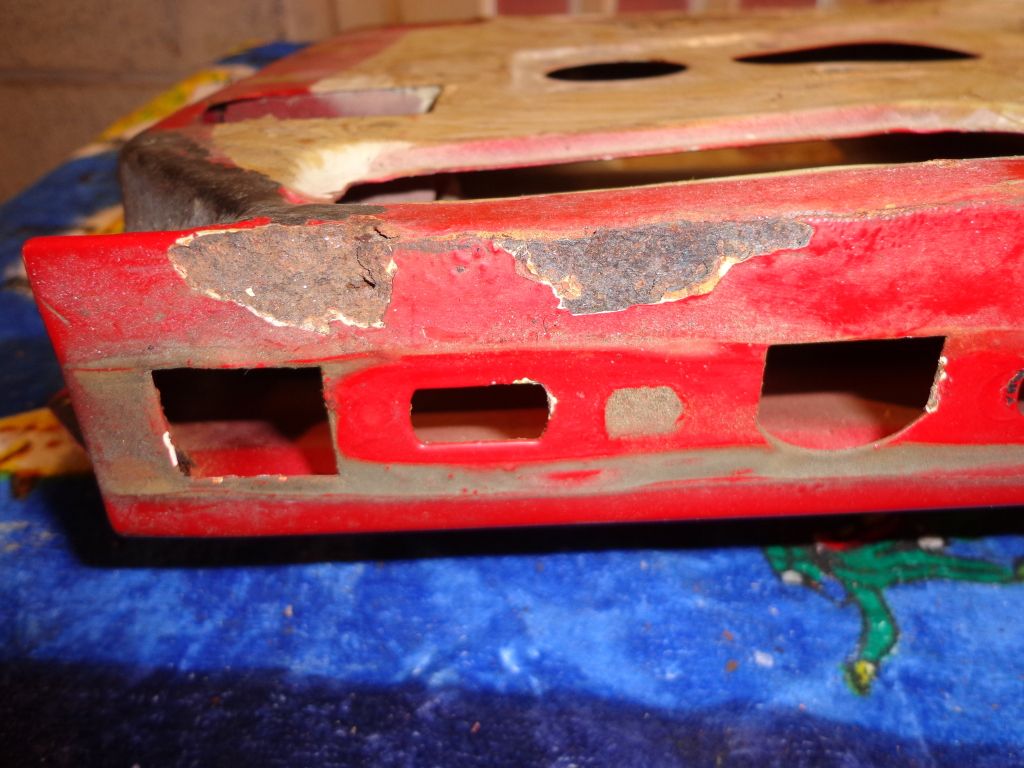
The top leading edge of both doors were badly corroded and I imagine this will be the case with a lot of cars so remove the capping and have a look.
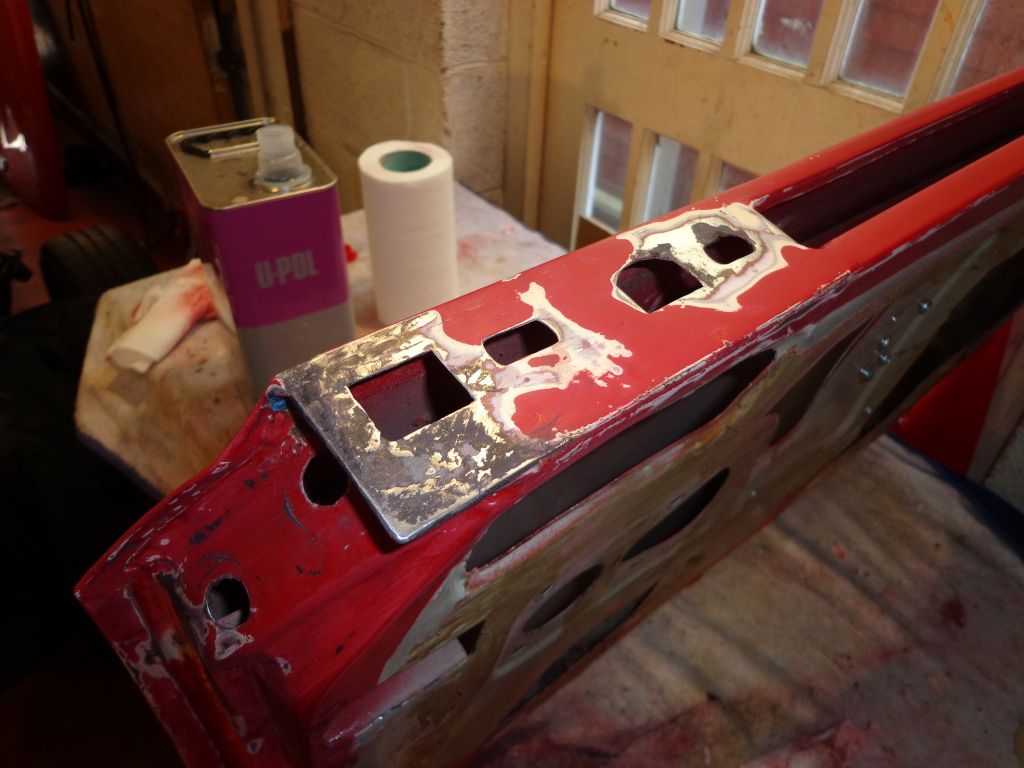
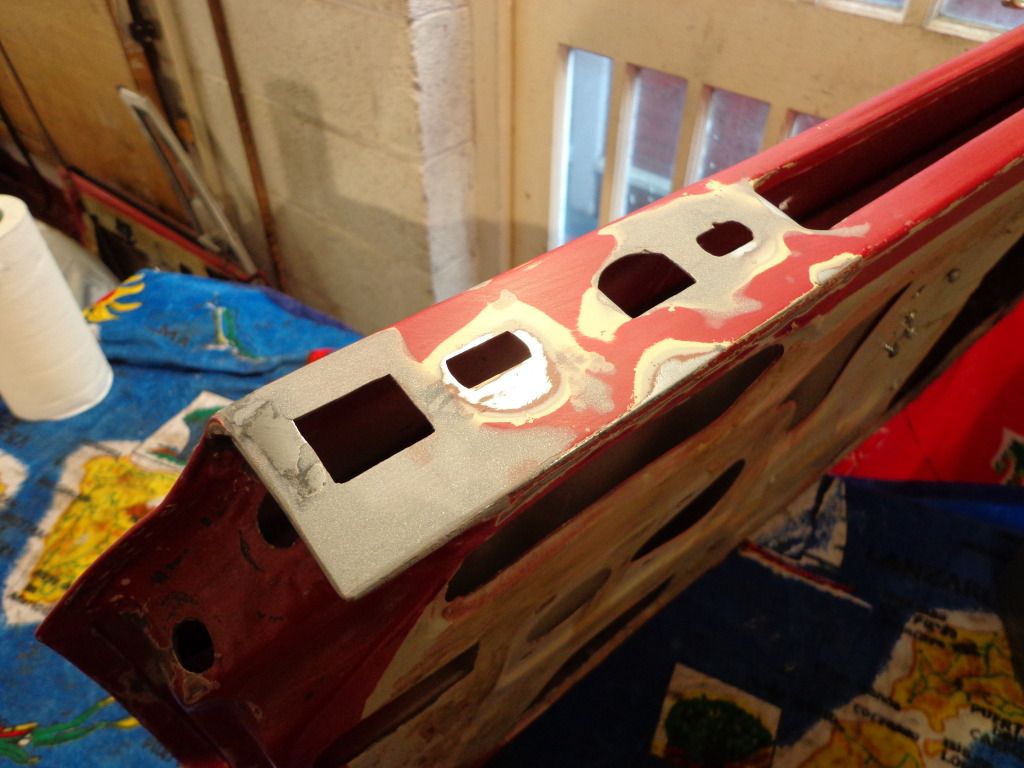
The filler mixed very well and dried quickly, I think the main thing is that it sanded easily and came out very smooth.
The paint work also had problems with most of the edges chipped, the worst being the bottom edges of the door also the clear coat had started to separate from the paint coat and this needed sanding and feathering in.
There was a number of areas like this so I used a 320 grit on the D.A sander to take all of these down and feathered in, all of the edge and stone chips were sanded out and where necessary filled.
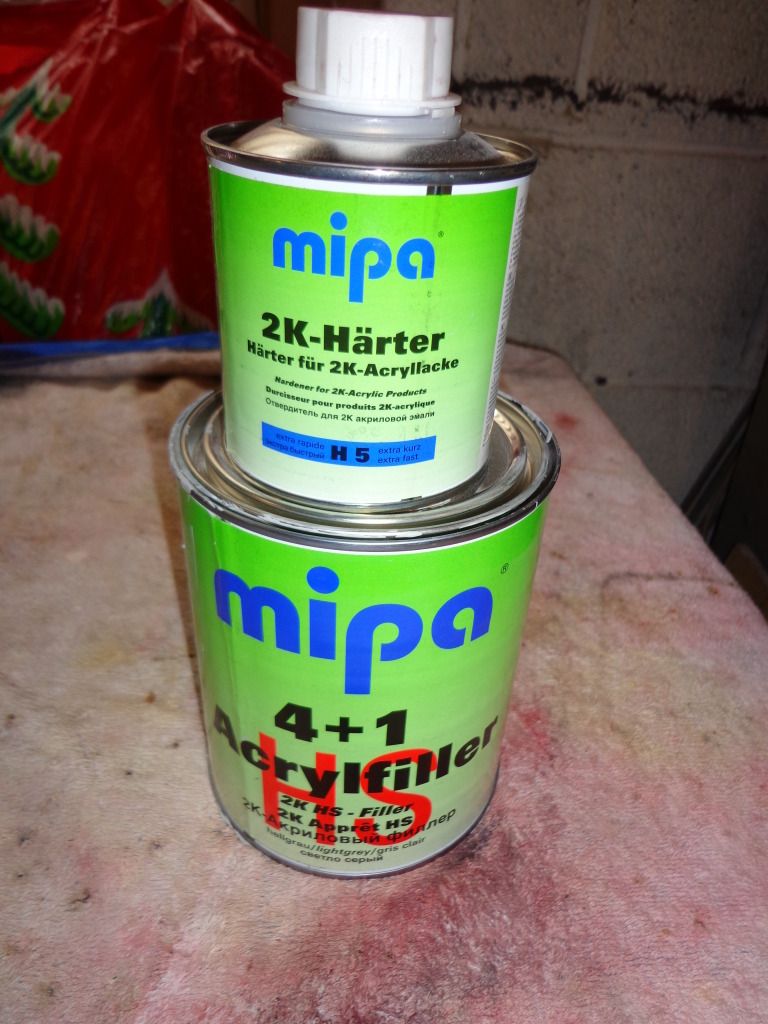
I am using an Acrylic filler primer made by MIPA, it is a 4 - 1 mix with the hardener.
I got my first tuition today in body prep and spraying, hopefully when I have the whole car prepped for the re-spray I will be as good as Joe who is showing me the ropes (doubtful).
The door was laid flat on a trestle to prevent any runs and the final sanding was completed then wiped with paint prep ready to take the paint.

The primer was mixed in a graduated mixing cup to get the correct ratio then a little thinners added to thin down more.
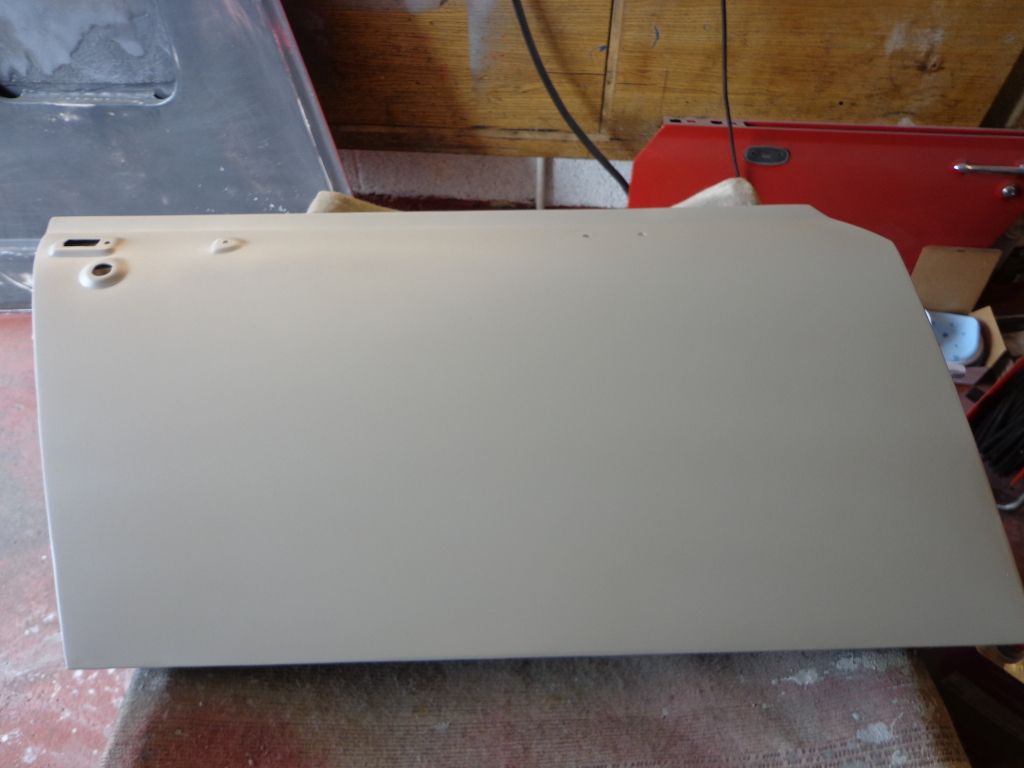
All of the feathered edges were sprayed first as to build up these areas until flush with the original paintwork.

When this was dry I mist sprayed with black mat in what is called a shadow coat, the idea being that when the paint is sanded down any low spots will be shown.
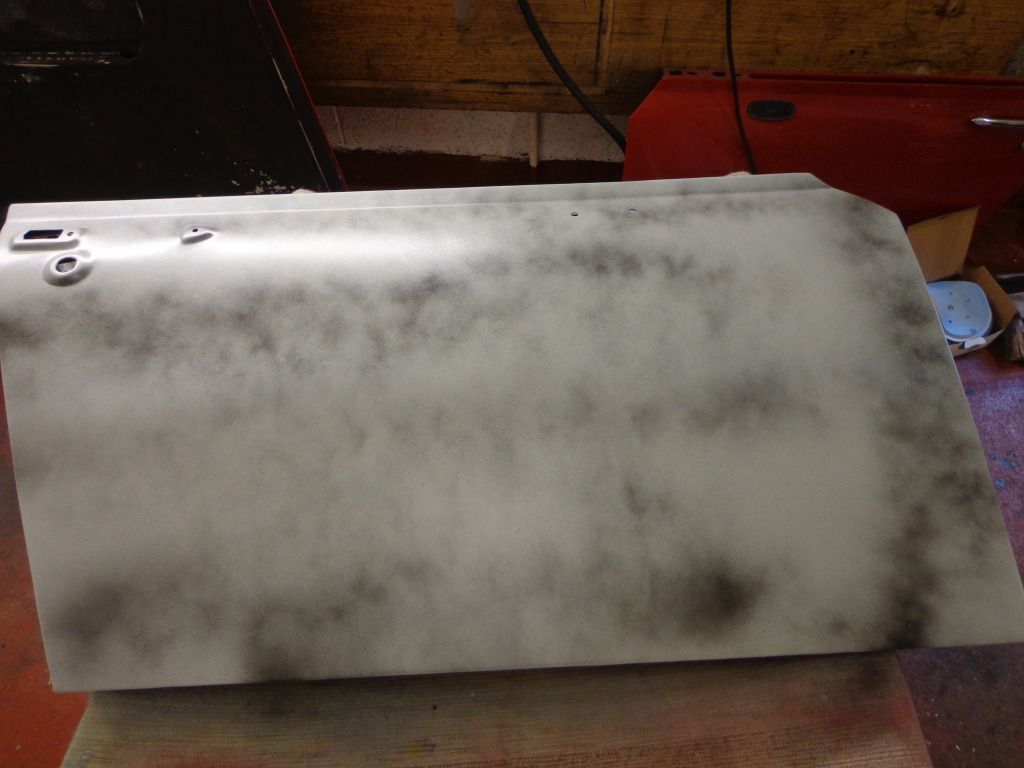
When all was rubbed down I washed of the residue and could see where the second coat was required.
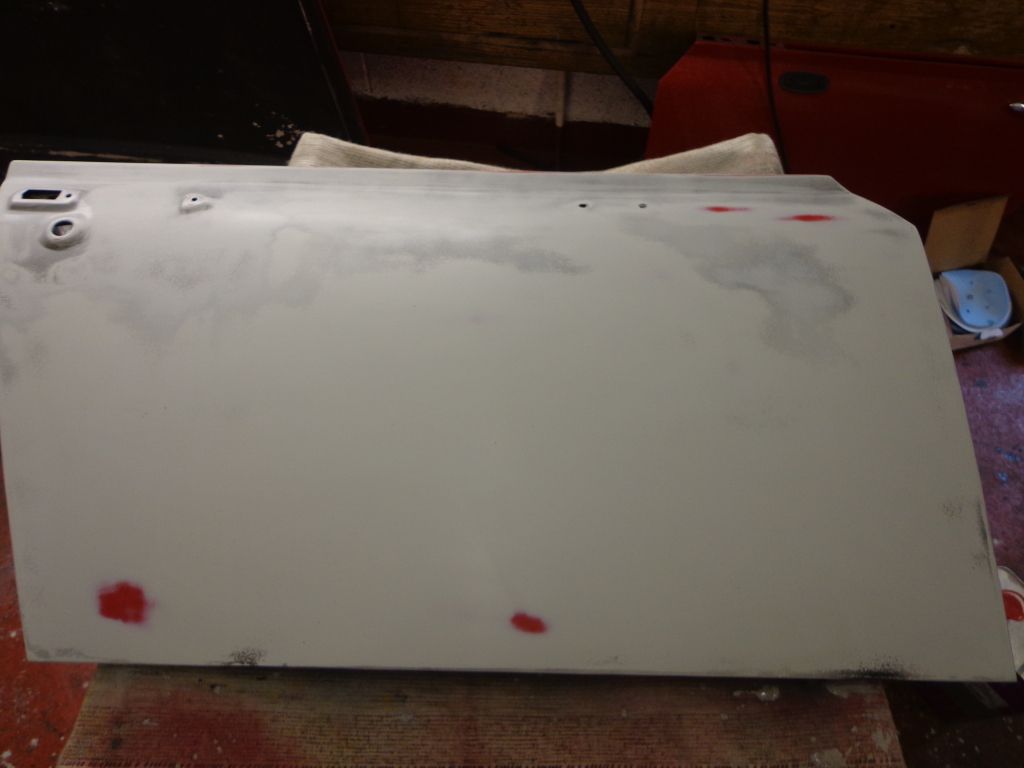
The darker areas are the shadow coat and I gave these areas the first spray then the whole door a second coat and let it dry overnight and shall rub it down again tomorrow.
I also managed to strip the other door down although I still have to get rid of the rust, fill and rub down to prepare it for priming.
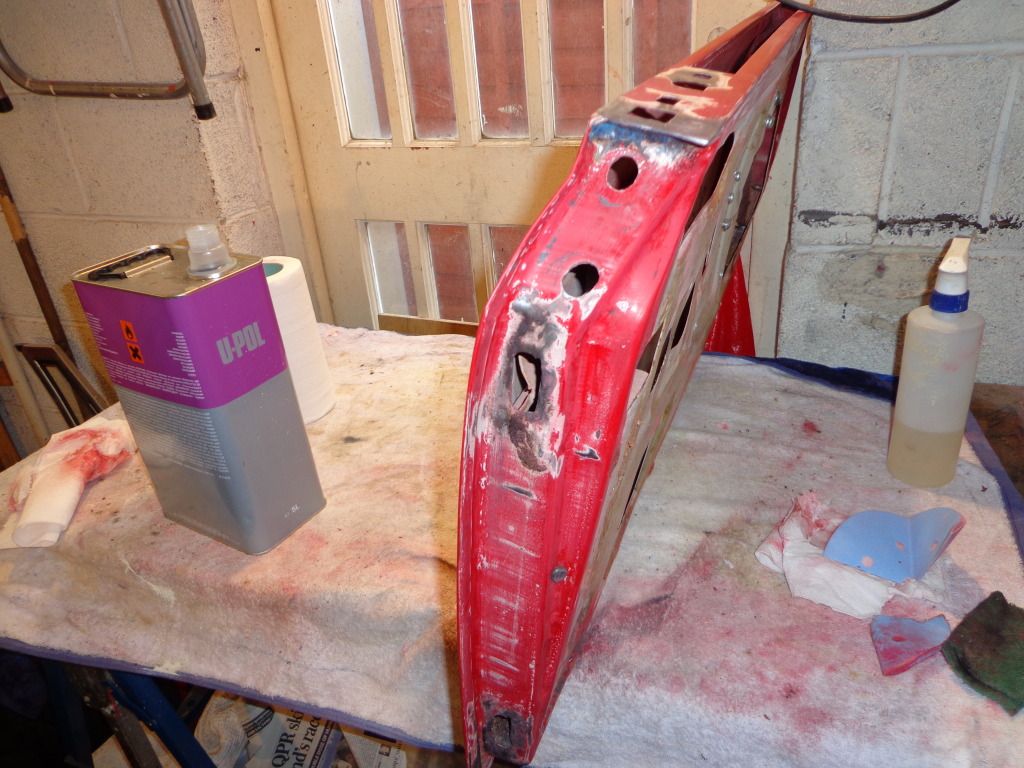
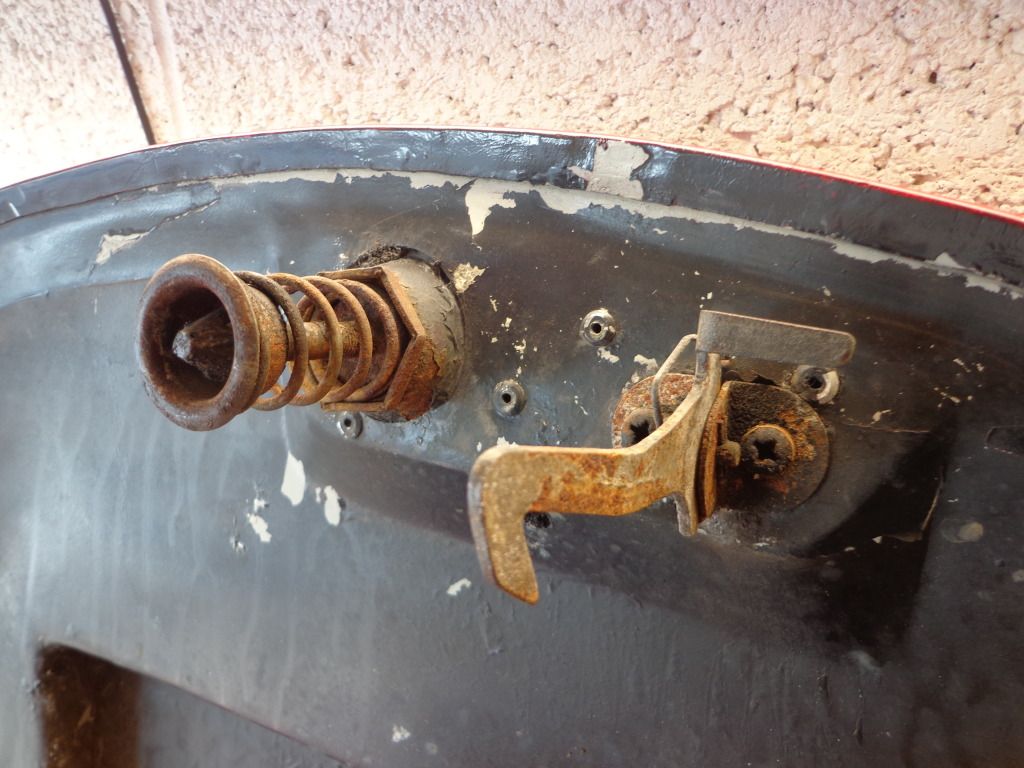
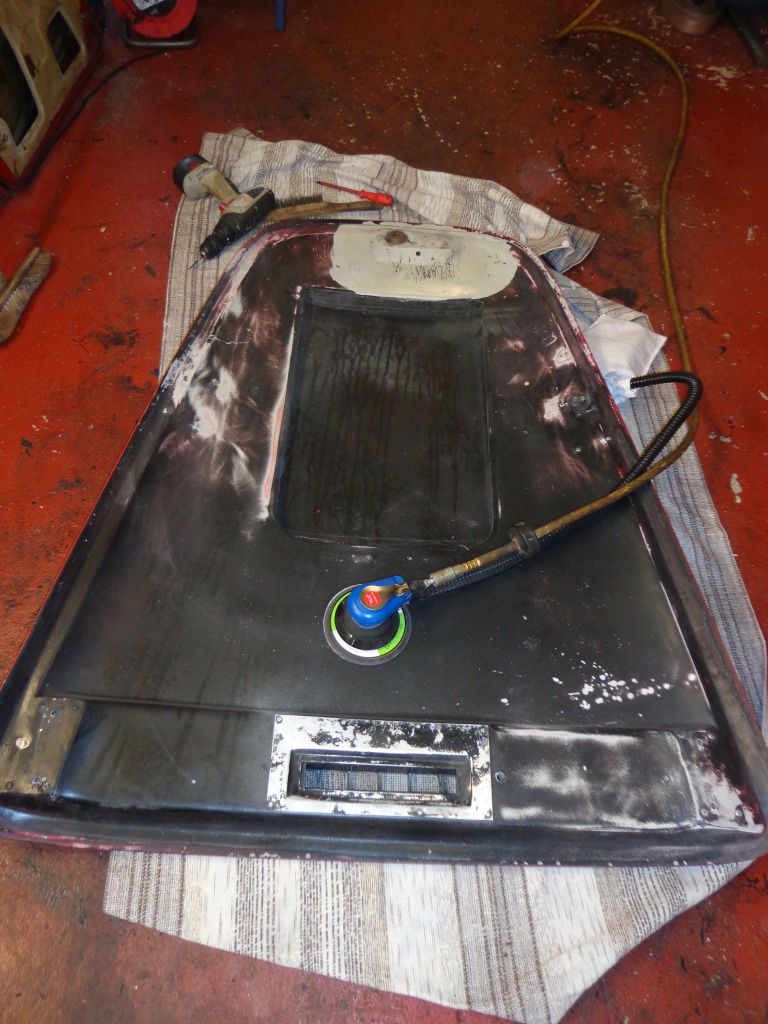
The bonnet is also on my hit list and I started preparing this by removing the catches and rubbing down the inside ready for priming.
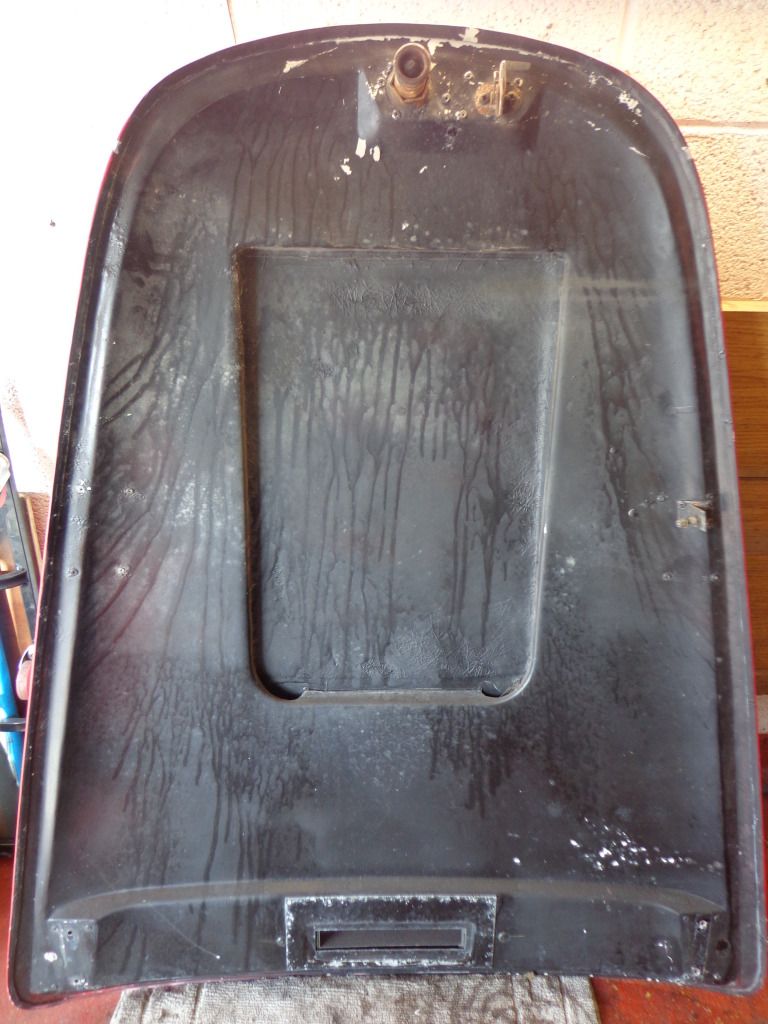
The catches are in a bad condition and have them soaking in Bilt Hamber rust remover.
I have used the DA sander and a wire brush to remove all of the loose paint and to sand out the blisters caused by oxide build up.
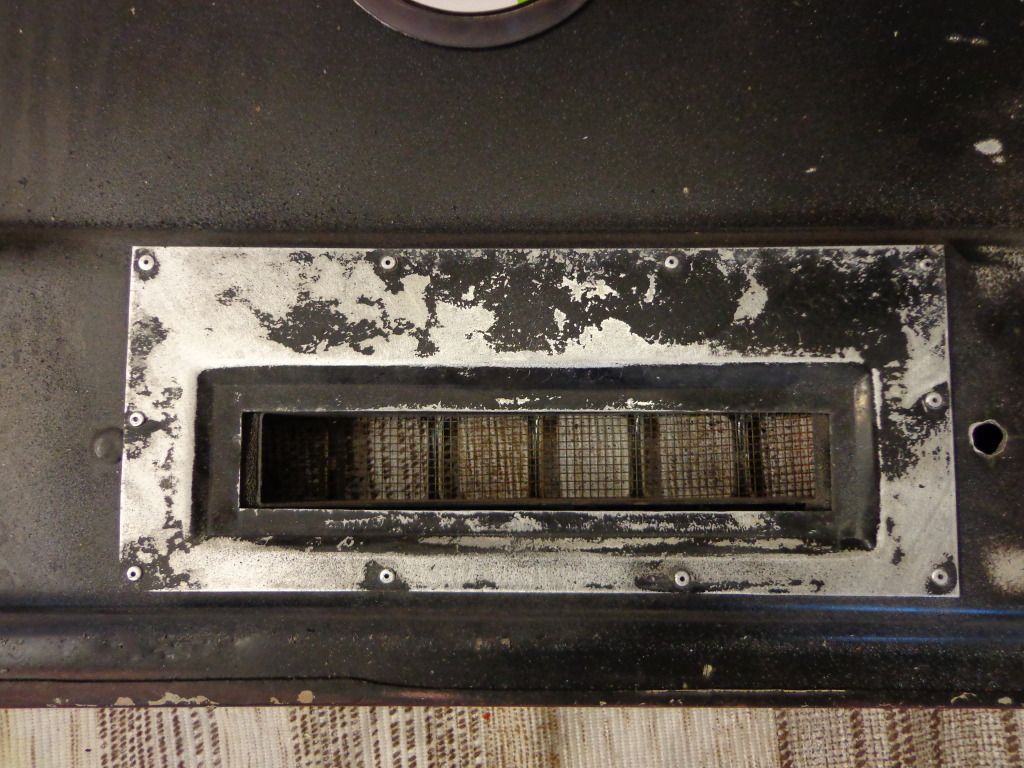
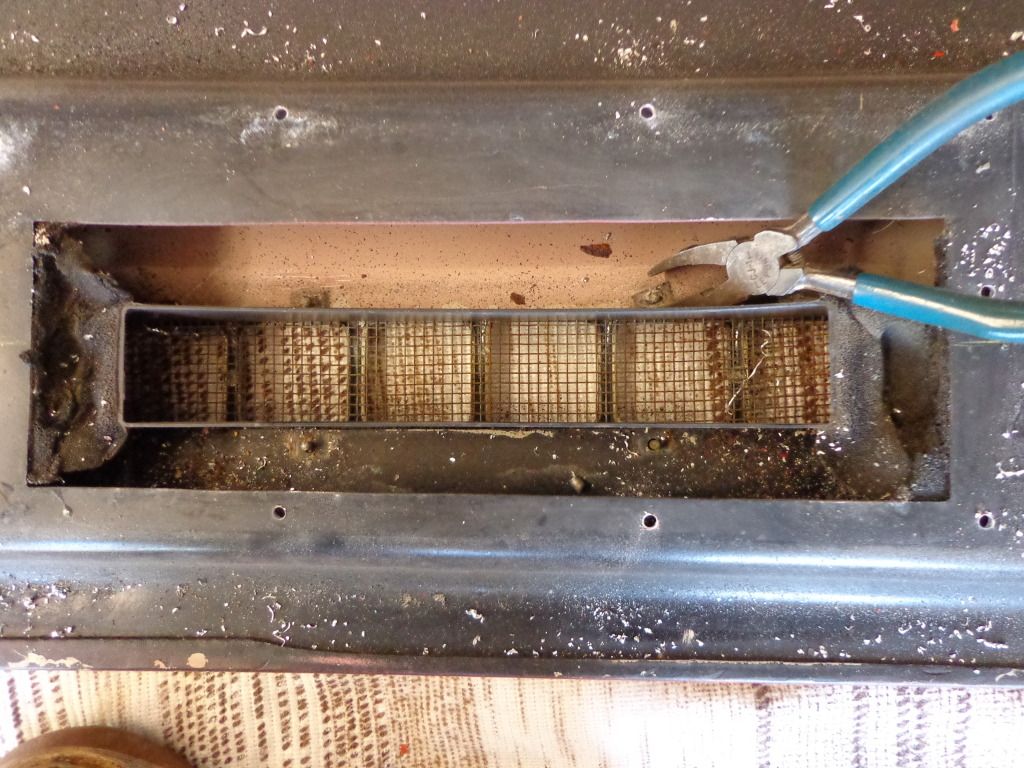
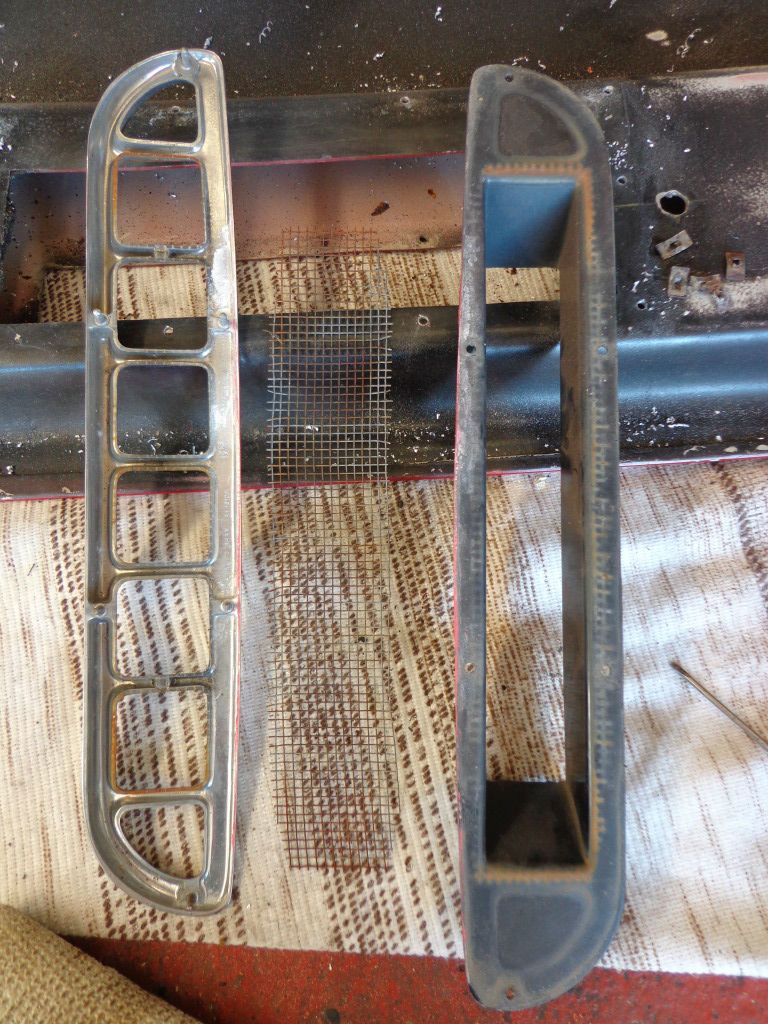
Before any work can be done on the top of the bonnet the chrome grill had to be removed, access is under the riveted plate.
See ya paul
No comments:
Post a Comment