
Checked over the paint work on the bonnet this morning and I'm quite pleased the way it turned out, I shall fit a section of sound proofing over the center section where the fibre glass looks rough and it will look great.
I started on the wings today, the driver's rear wing was nearest to hand so that got the first shot.
It's amazing that after 26 years they are in such good condition, a few dings and a lot of pitting around where the bolts and rivets where but nothing a bit of filler couldn't sort.
The wing was stuck on with double sided rubberized tape and when I removed them I needed a knife to slide between the wing and the body to seperate, bit of a job.
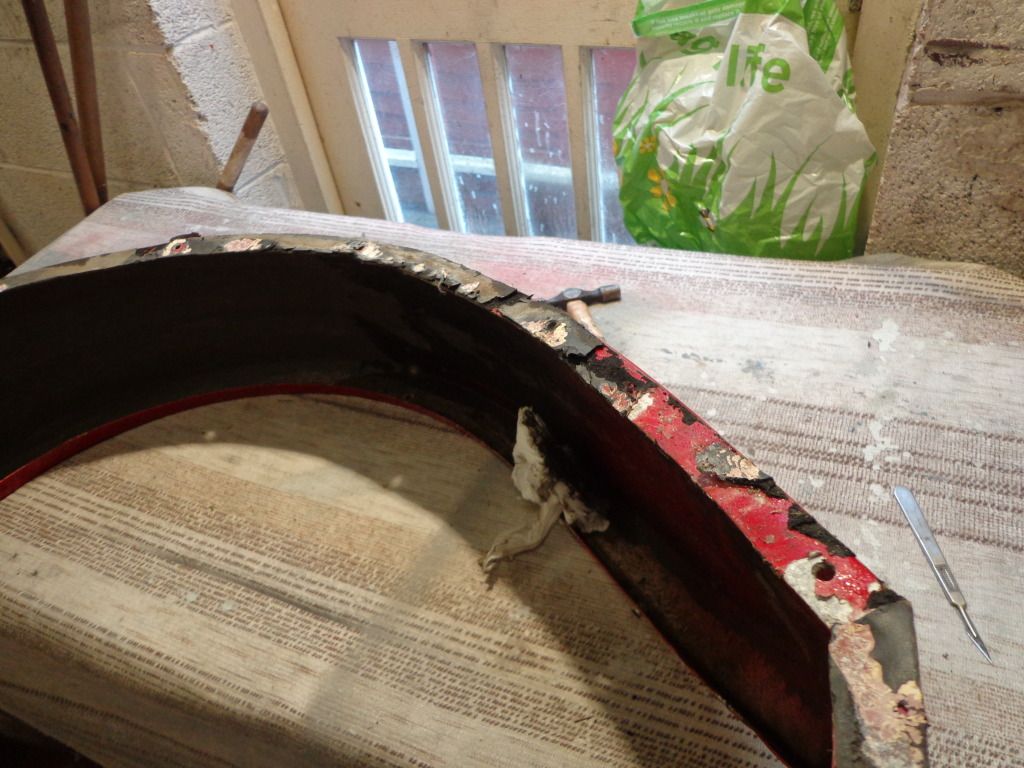
Once scrapped off you could see all of the pitting on both sides, I used a sanding pad on my grinder to remove all of the oxide.
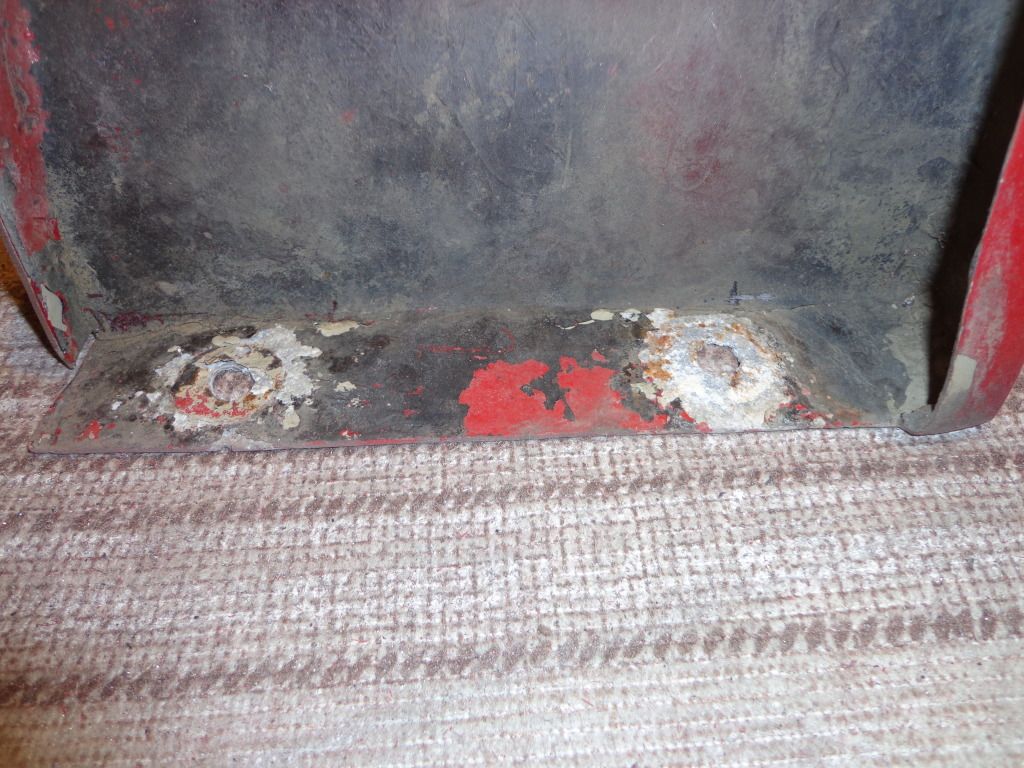
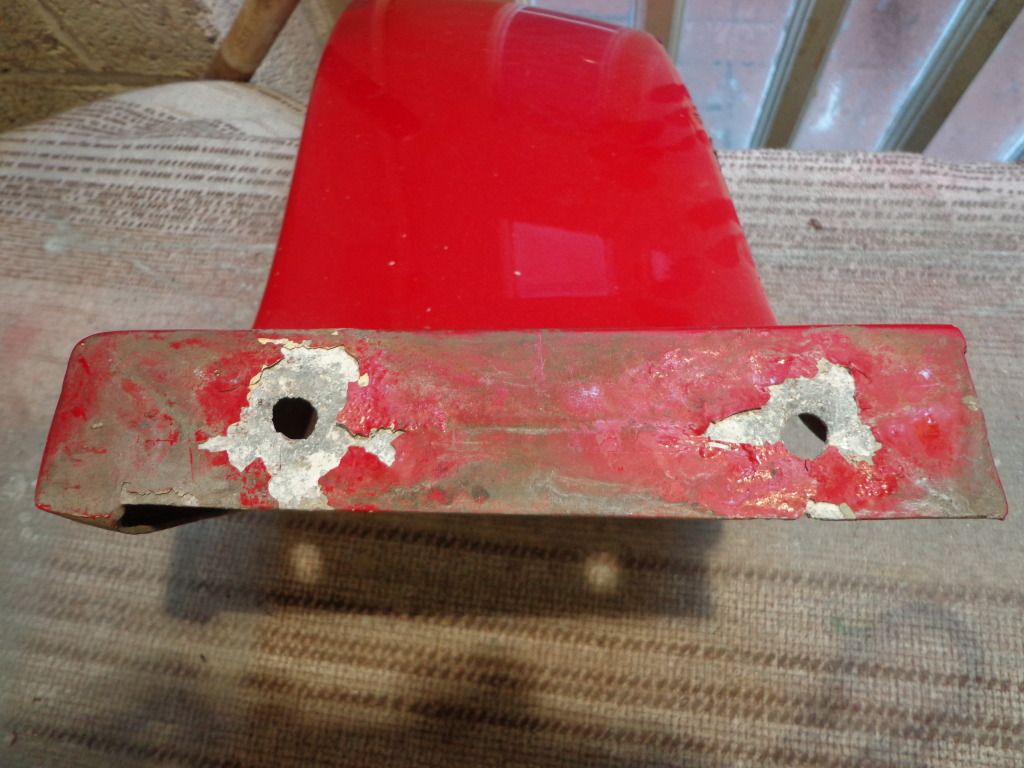
Before I ground out the oxides I had to straighten the flange areas especially where the rivets and bolts had been, these areas had been pulled out of shape by the rivet and bolt tightness pulling the metal into the rubber, so out with my tapping hammer and the anvil section on my vise. When straightened I checked the alignment to the car body as the flange is bent to the curve of the body and not at 90 degs.
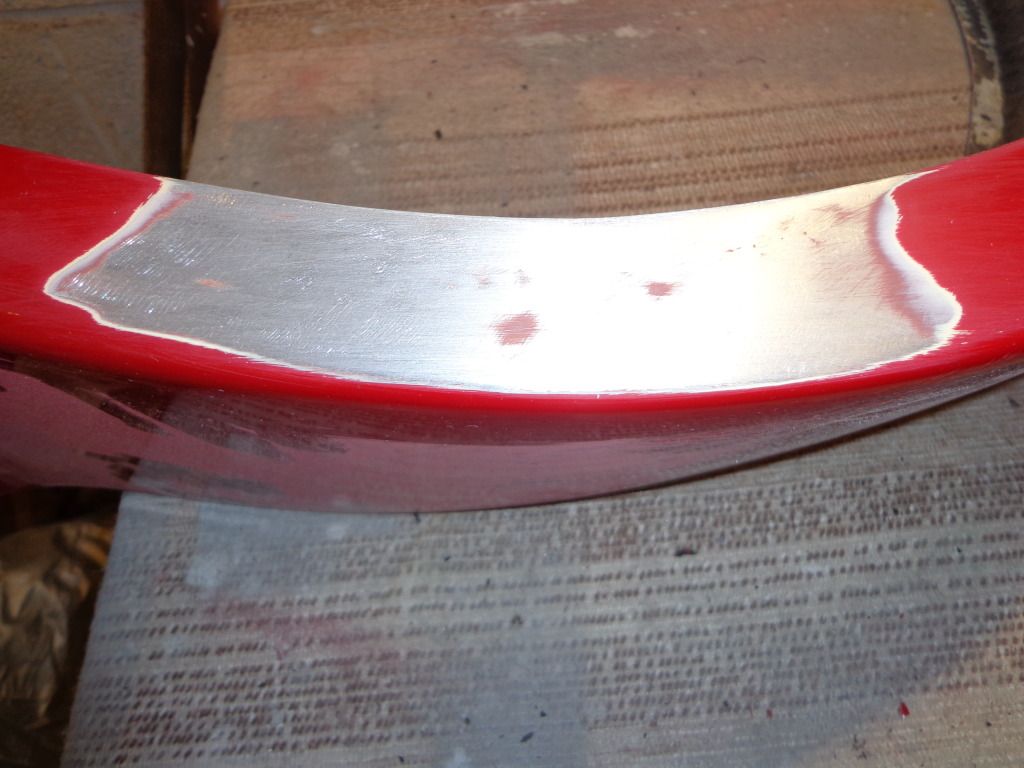
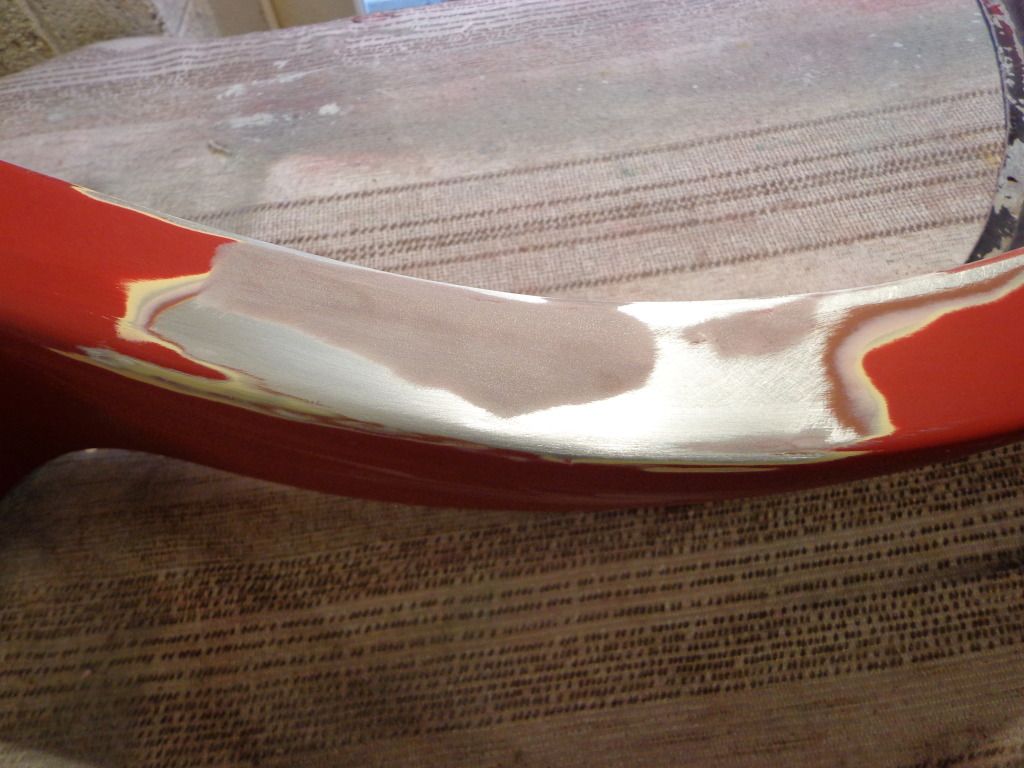
There was only one ding and that was on the outside edge and was a straight line knock which deformed the shape a little.

You can see it where it has pushed the side in a little, again out with the tapping hammer and anvil and I got it as back into shape as possible before sanding and feathering the paint off ready for the filler.
The inside had a lot of years of road dirt hiding away so it was out with the scrubbing brush and I gave it a good clean, I shall use stone chip on the insides of all of the wings.
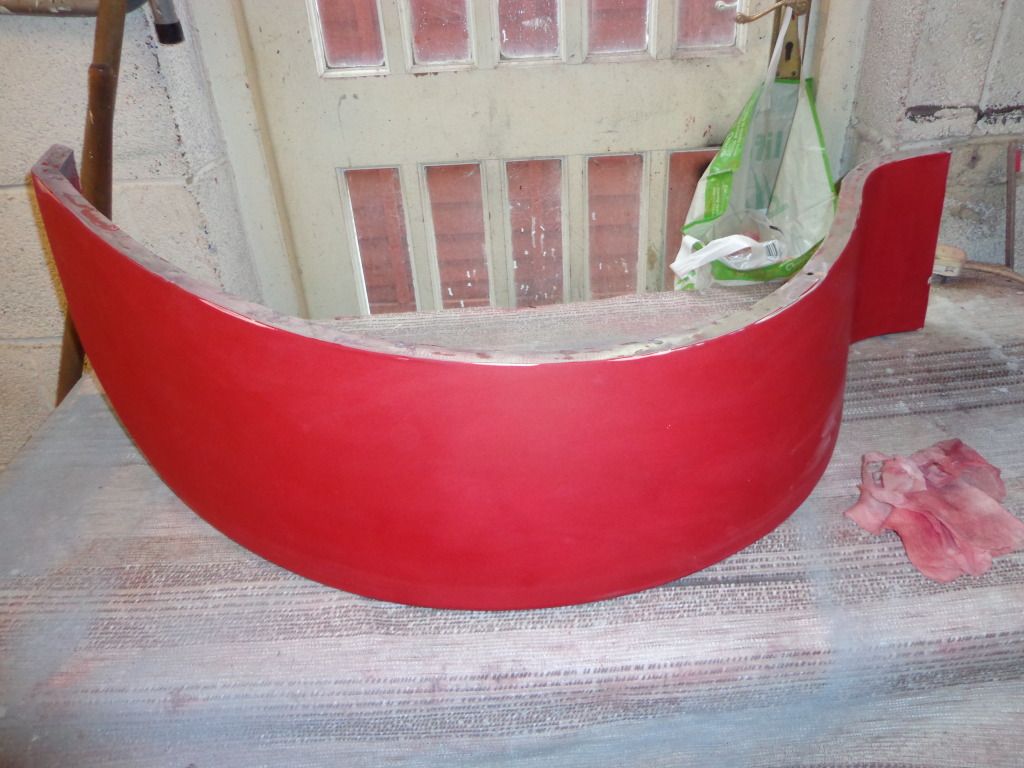
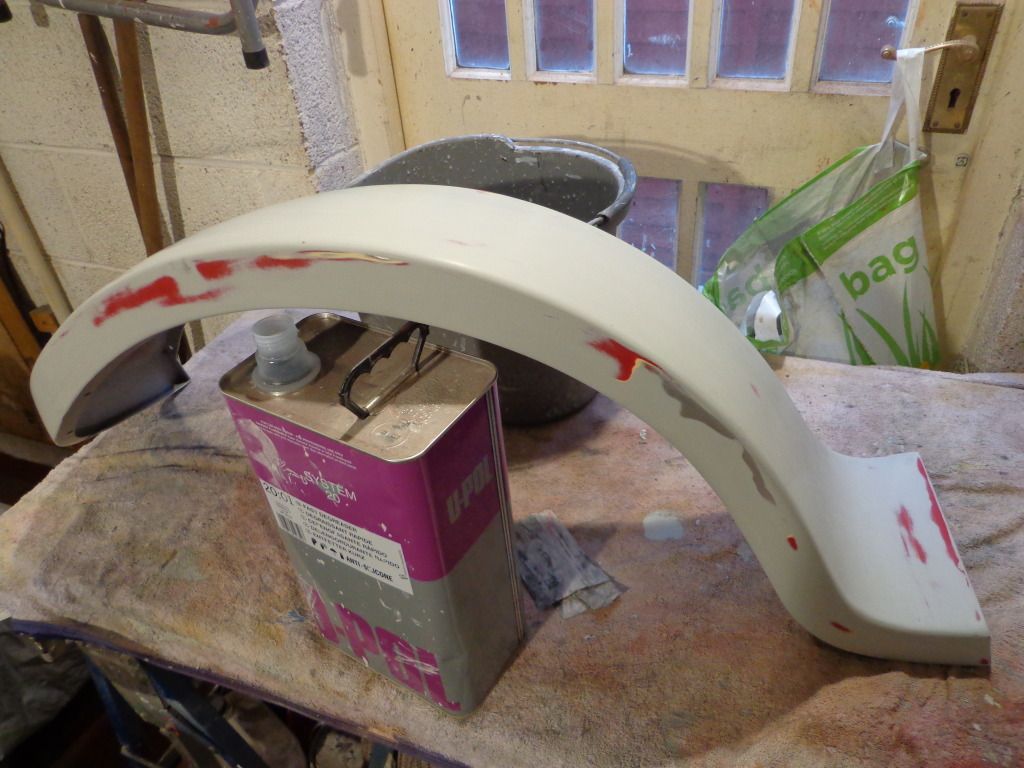
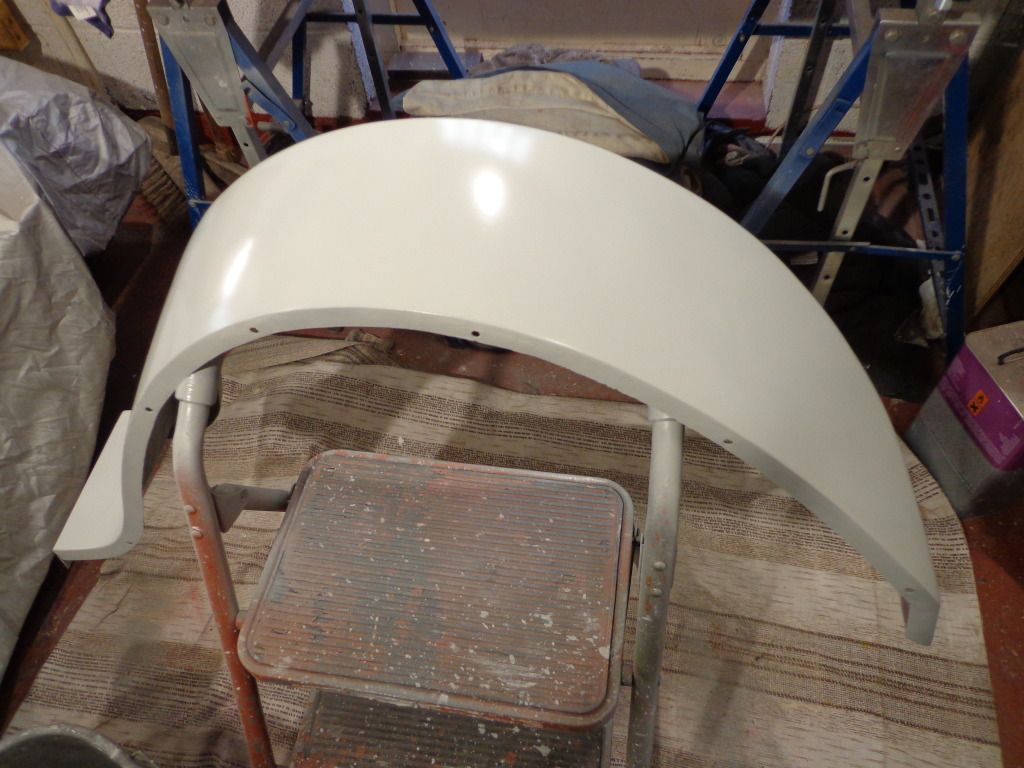
Once everything was filled and sanded I mixed up the primer and gave it its first coat.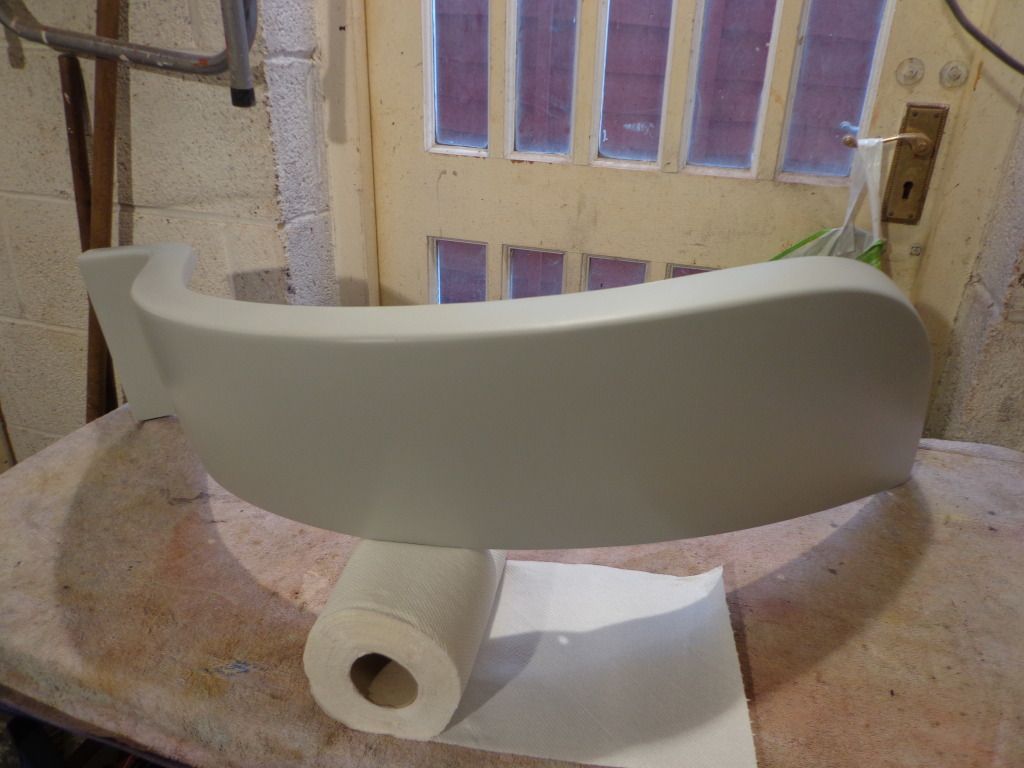
I went back to the small spray gun for this wing and it came out nice and even, I gave it a shadow coat of matt black when dry and got to work with the sand paper.
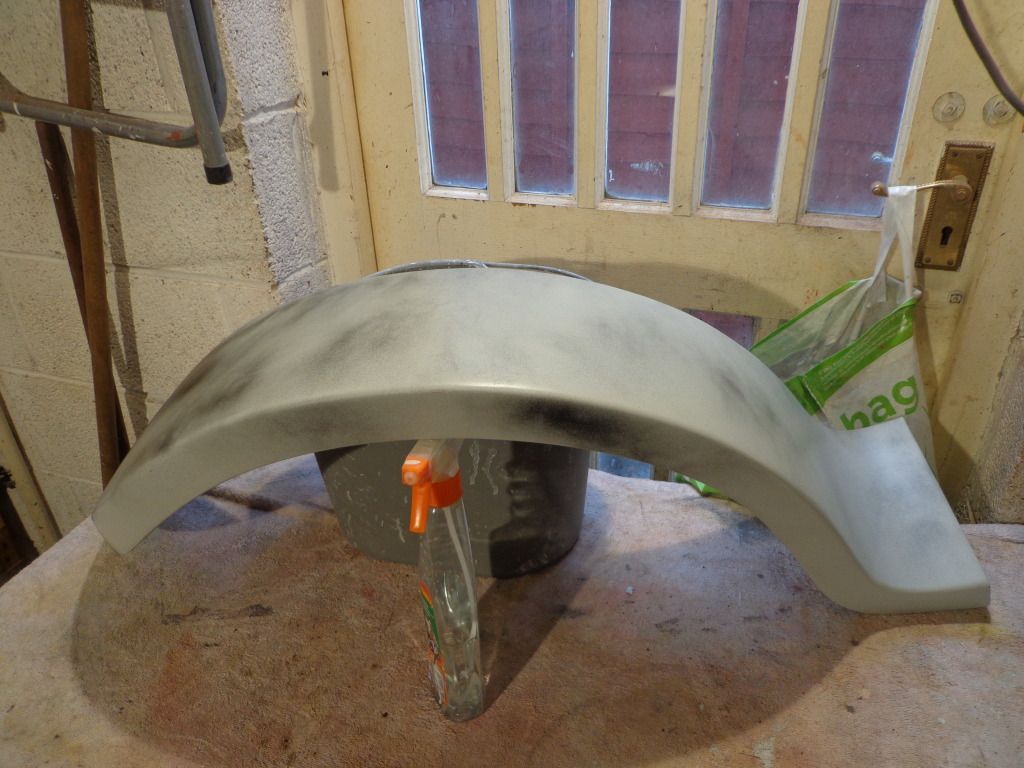
I have learnt my lesson about starting with the finer grits and got started with the 220. This quickly removes the primer and takes down the high spots before I smoothed down with the finer grits.
see ya Paul
No comments:
Post a Comment