
More progress on whats going to be a bit of a long slog but am learning how to prep for paint, mostly about how to rub down and fill and the most important part is how to use a spray gun correctly, not as easy as you may think.
I bought 2 guns, a large one and a small one for smart repairs, unfortunately I can't get the larger one to seal properly and the paint runs straight out of the needle. No doubt its a simple problem but I just put it to one side and carried on with the small gun and if I can learn to spray large areas with a small gun then it should be a doddle with the large gun.
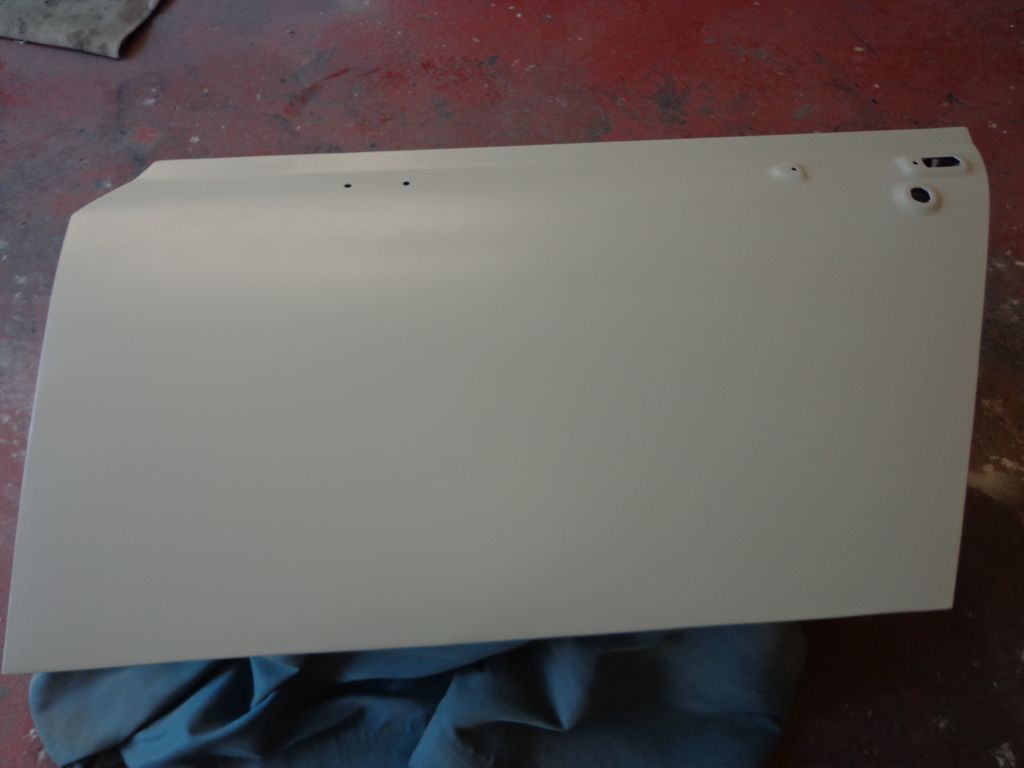
I was not happy with the finish I had on the drivers door as I had a lot of rub through around the handle area and the edges.
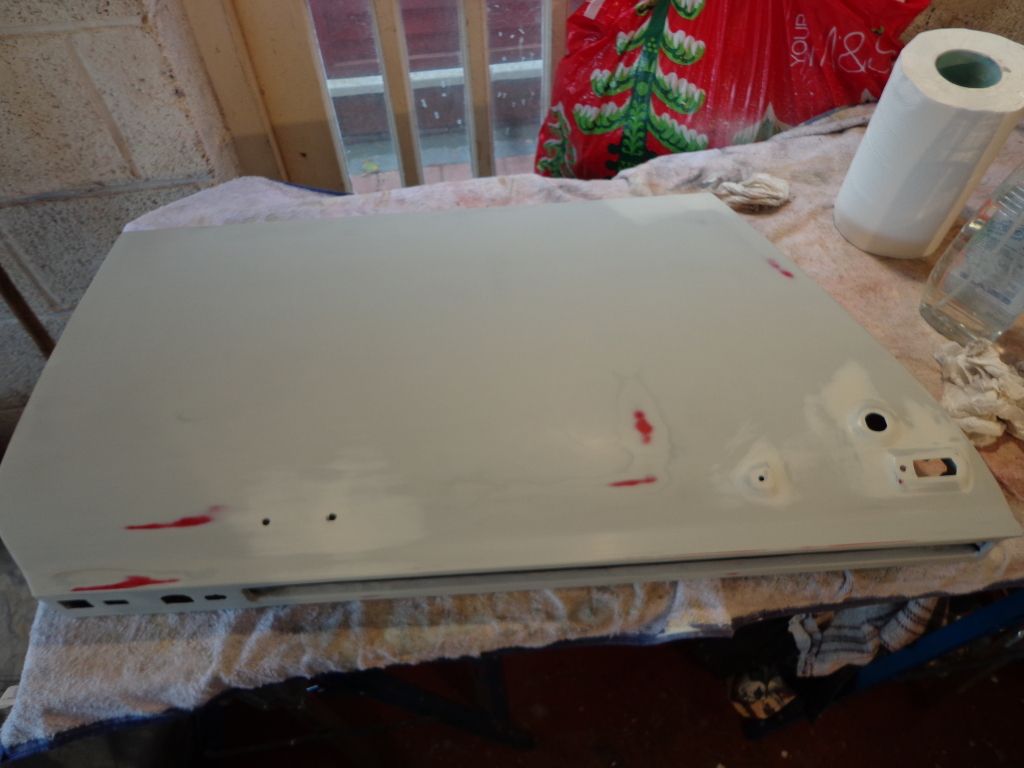 I was told that this is not a problem and is actually a normal part of the prep but being as how it is my first attempt I had to try to get it the best I could. So, after the normal Sunday visits I got stuck in and gave it another coat of primer and let it dry overnight. I had flatted down the earlier coats with 600 grit wet & dry after putting on the shadow coat and it came out pretty good apart from the rub through so I decided to use a different finishing method this time. Block down the first or if necessary the second coat with the 600 grit then use 800 grit and scuffing paste for the final finish.

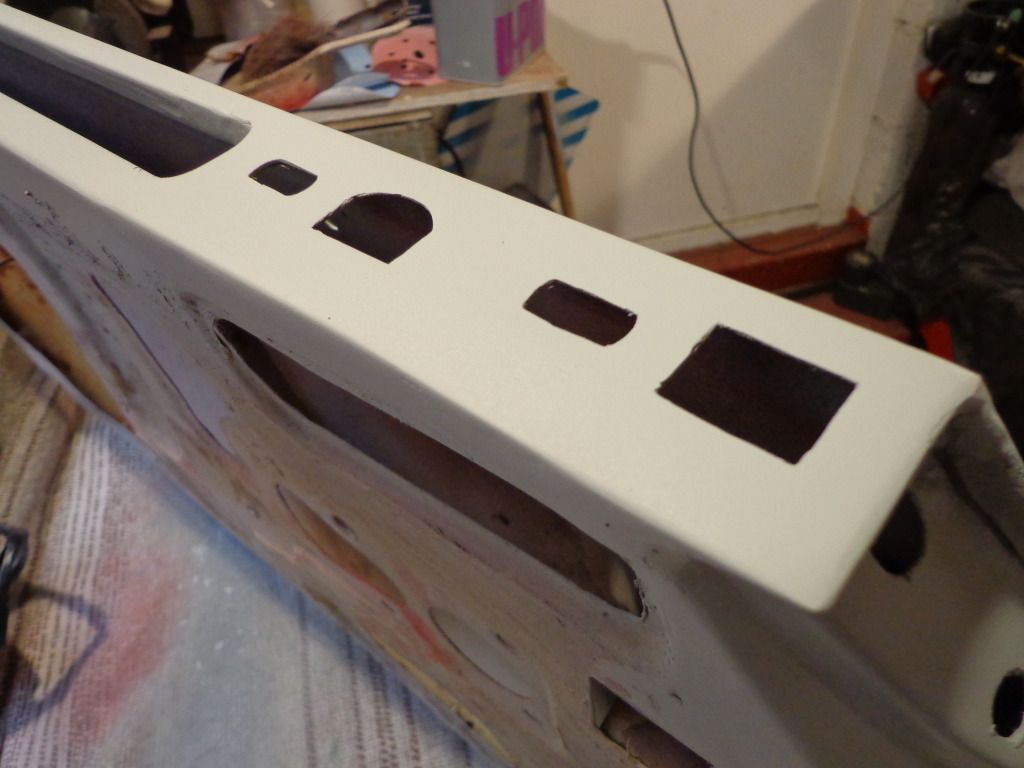
I first gently blocked the paint with the 800 grit to remove high spots then fitted the scourer to the block and worked away with the scuffing paste, very pleased with the results. No rub through and a lovely smooth finish.
If the paint shop wants to do any more rubbing then ok but I shall try to make each panel as good as this one.
I think I have solved the problem I have with all of the pieces of car lying around the garage, utility room, bedroom, dinning room, loft, and shed; and now I shall have lots of primed bits that can easily get scratched, so I have bought a 100mt roll of bubble wrap and 2 large plastic garden boxes which I hope will arrive soon so all of the hard work will not be in vain.
Today I have carried on with the passenger door, this had a worse rust problem than the drivers and required grinding out.
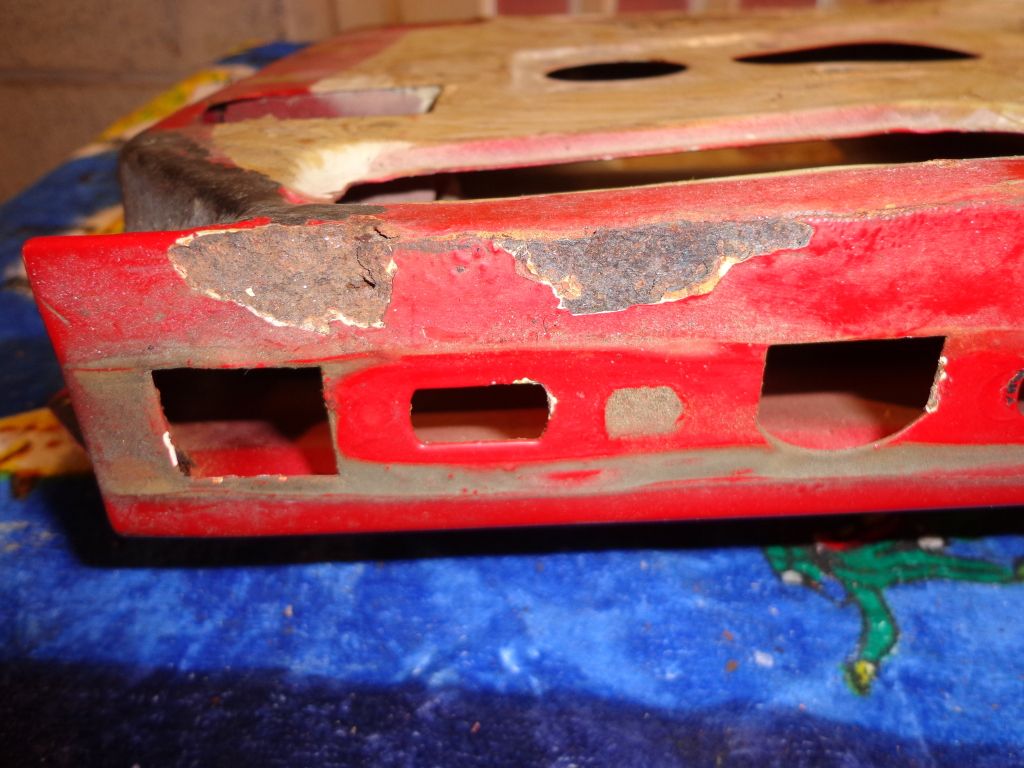
Once the bad areas were cleaned of rust I painted all of the areas that I was unable to get at with Vactan rust converter and have let them dry since Saturday.
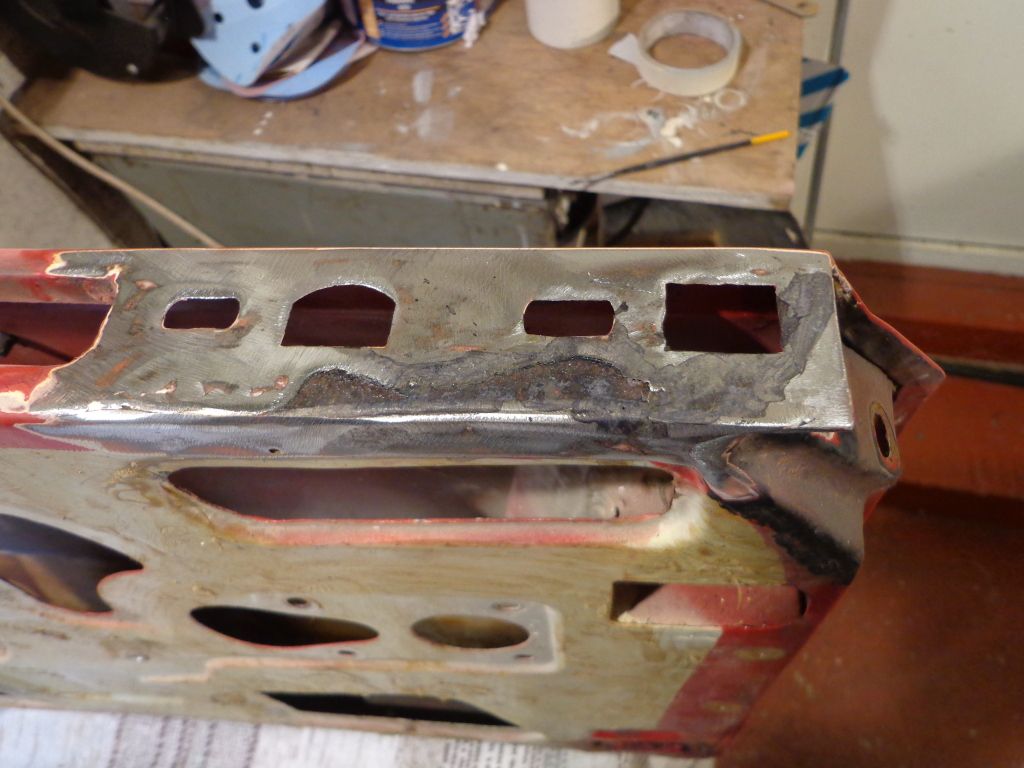
You can see the darker areas which are where the vactan has done its job.
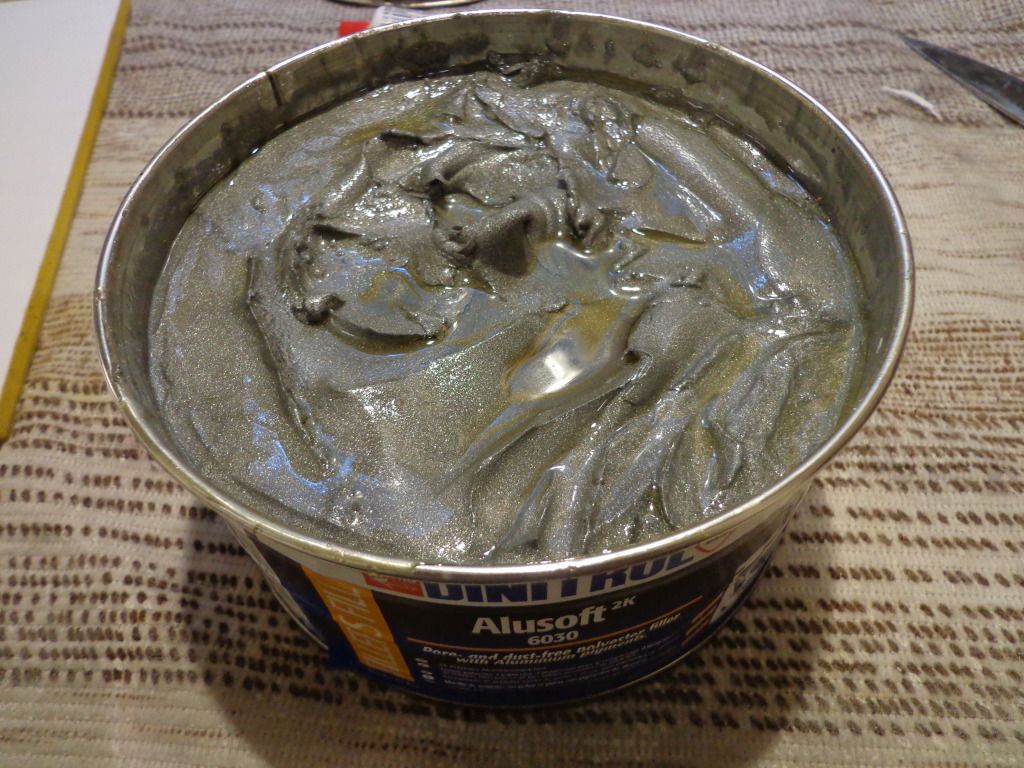
This area was filled with the Alusoft, you can see the difference with this filler than normal as it has a very high percentage of Aluminium in the mix.
I have also cleaned the inside of the door, removing all of the old waxoil and dirt accumulated over 26 years.
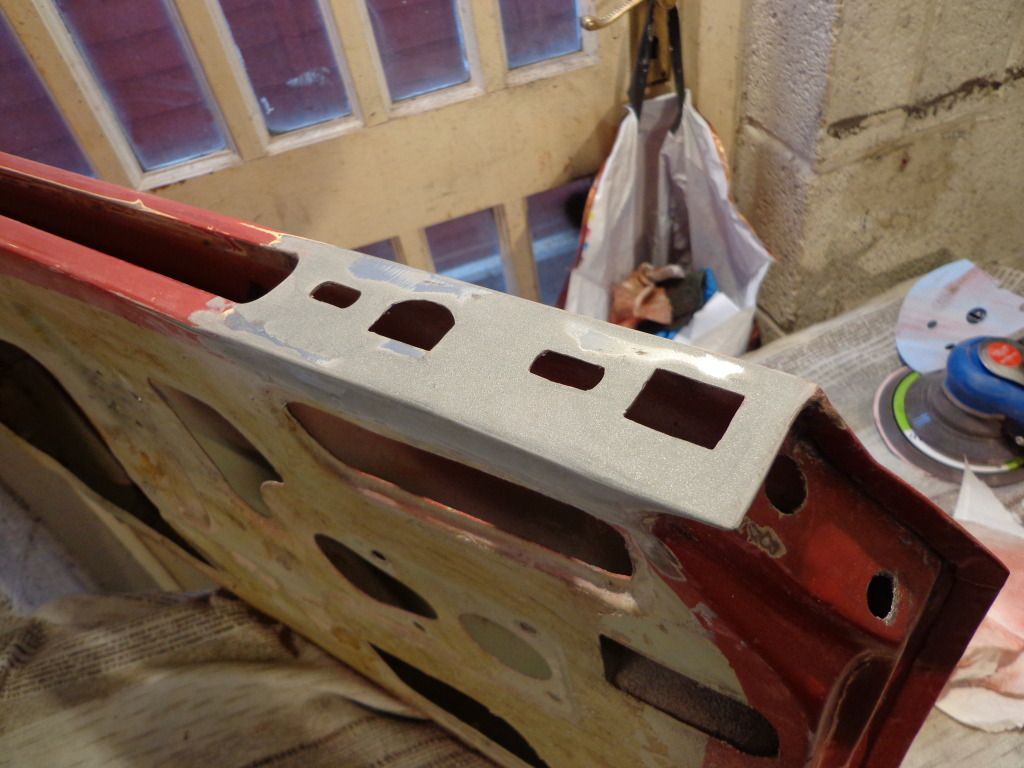
The paintwork has been rubbed down with the sander and all of the chipped edges rubbed down. The first coat went on well and I let it dry with a little help from my heat gun.
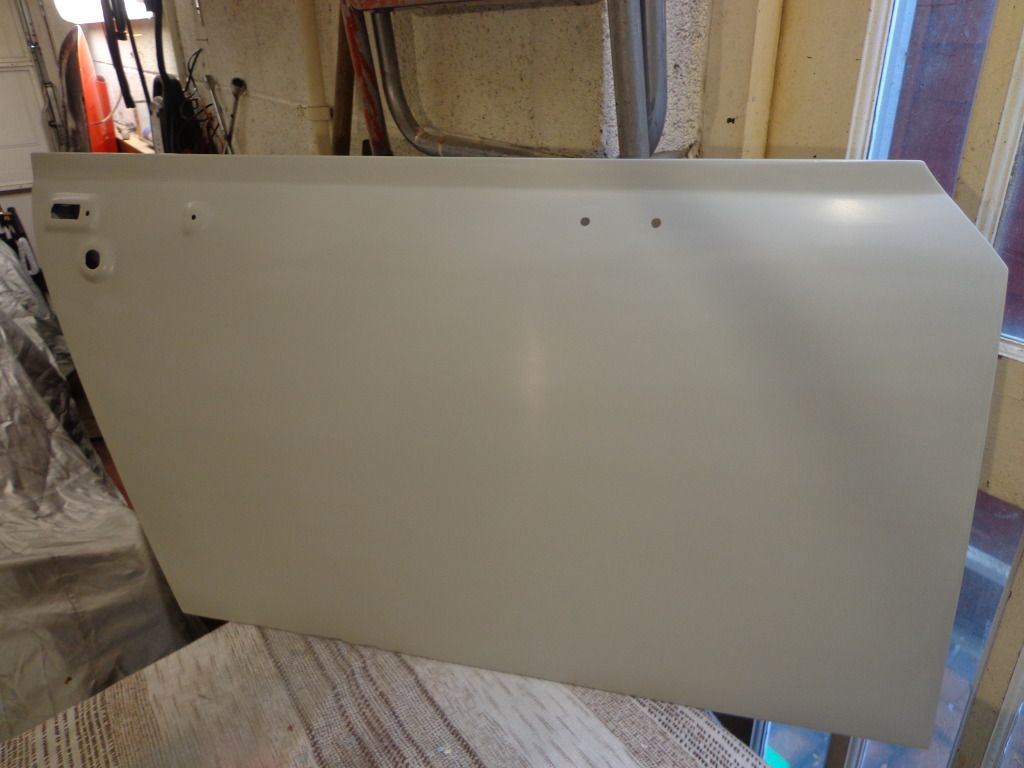
The repair to the top of the door came out quite well.
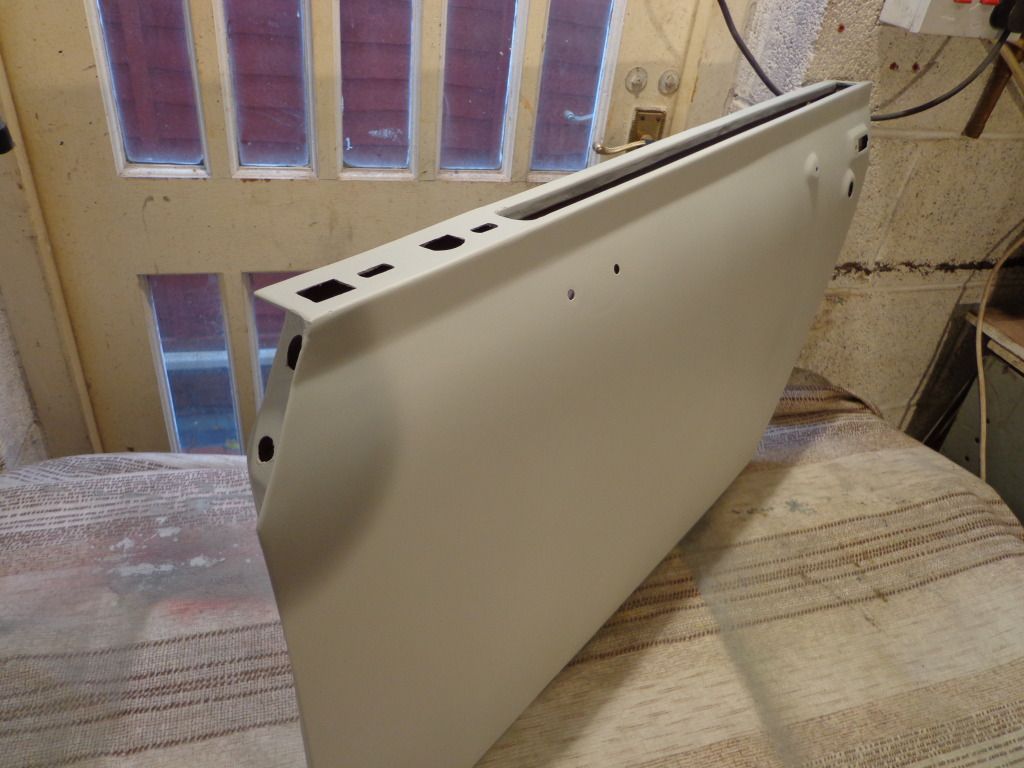
I have put on the second coat and shall leave this to dry overnight and shall do the same to this as with the drivers door with the 800 grit wet & dry and the flatting paste to get a good finish.
I also carried on with the inside of the bonnet while waiting for the door to dry, I had already sanded it down and all it need was a good clean with paint prep and then a couple of coats of primer.
The darker patch in the center panel is where I ran out of paint and shall finish when I mix another batch, I have a tin of VHT black paint and shall finish it with that.
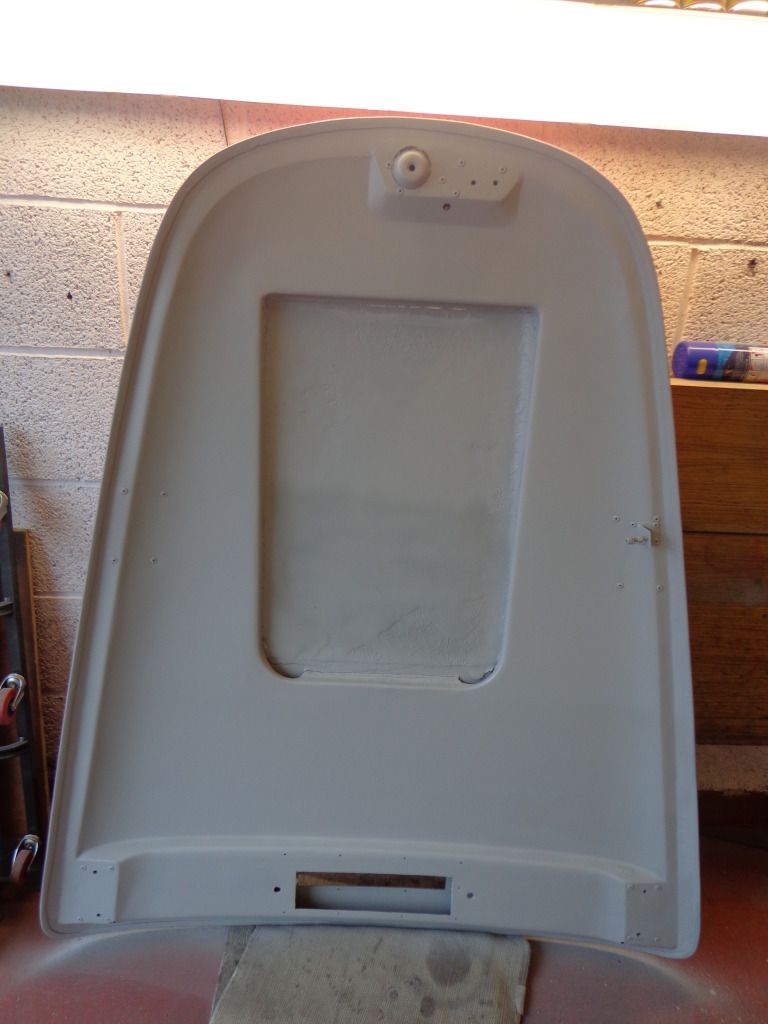
The bonnet top is the next to complete so I can get it stored away safely as the next project is to temporally re-fit the wings so as I can build the new steps. I have already bought the steel angle iron and am looking forward to getting the welder out again and getting them made.
see ya Paul
No comments:
Post a Comment