
Well as sure as eggs is eggs is what I said and the phone call half and hour ago which confirmed my cynicism, so I am off tomorrow for a week. Still it will pay for my wire's.
Had a good day up until the call, with the morning out in Tynemouth and a walk over to Saint Mary's island (the tide was out)
| Saint Mary's Lighthouse |
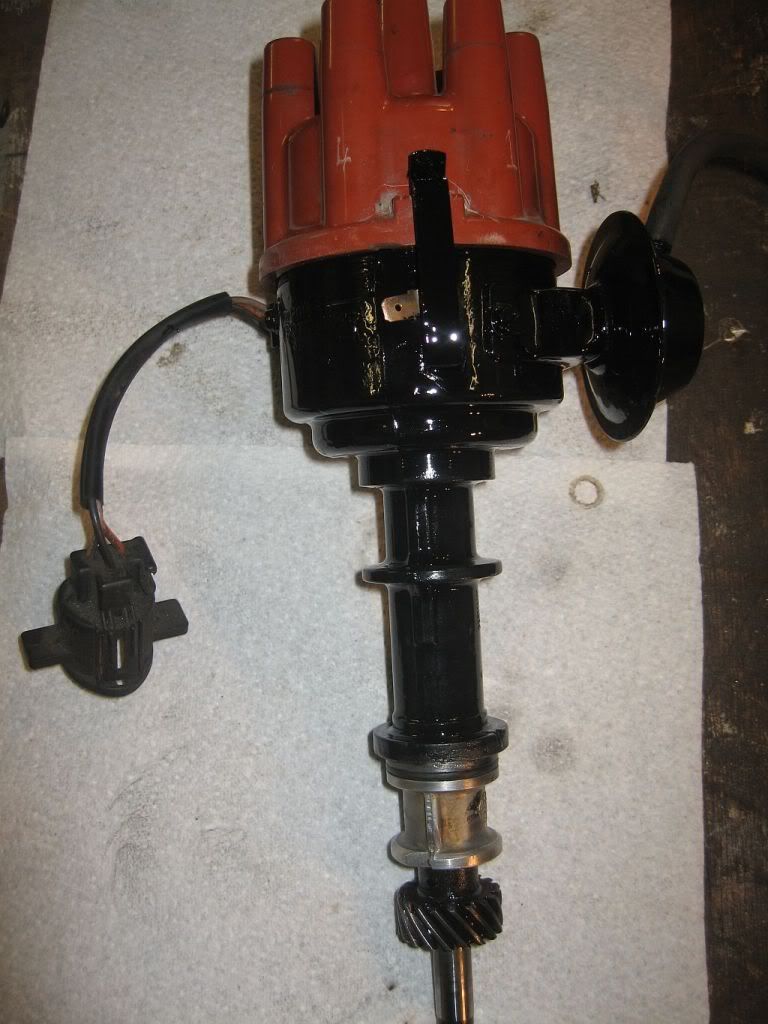
I managed to get a little work done yesterday and some more today, yesterday I only had a couple of hours so I concentrated on the Distributor, it was in a bit of a state so out with the rotary wire brush and it came up very nice. I stripped it down as much as I could.
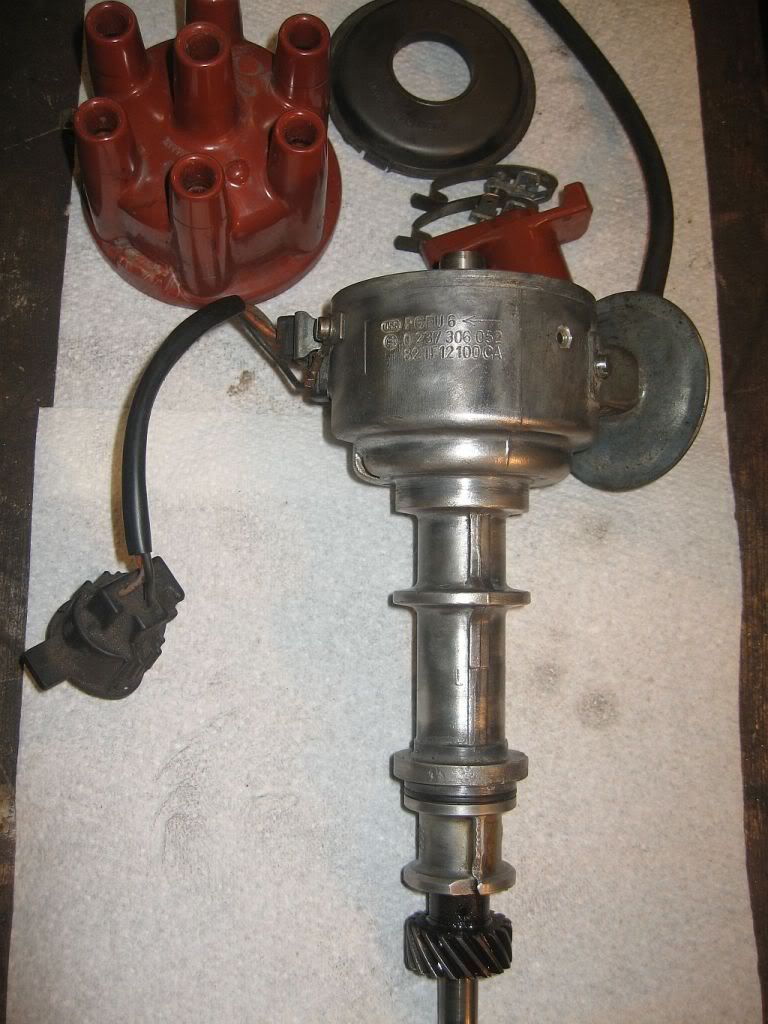
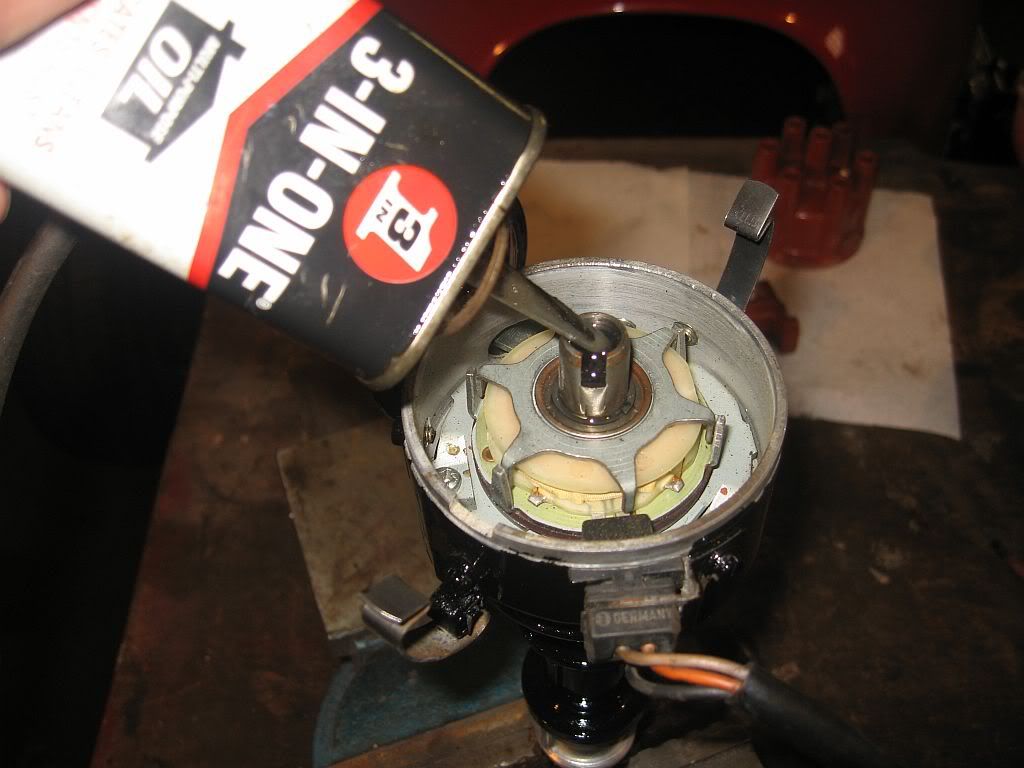
Which just really meant the rotor being removed, the cover plate and clips, there is not much I could do with it, if it works leave it alone. I tried to pull a vacuum by sucking on the hose but I just ain't got the puff, I did check the arm attached to the vacuum device and it moved ok. The other thing I could do was to oil the felt pad to lubricate the bearing.
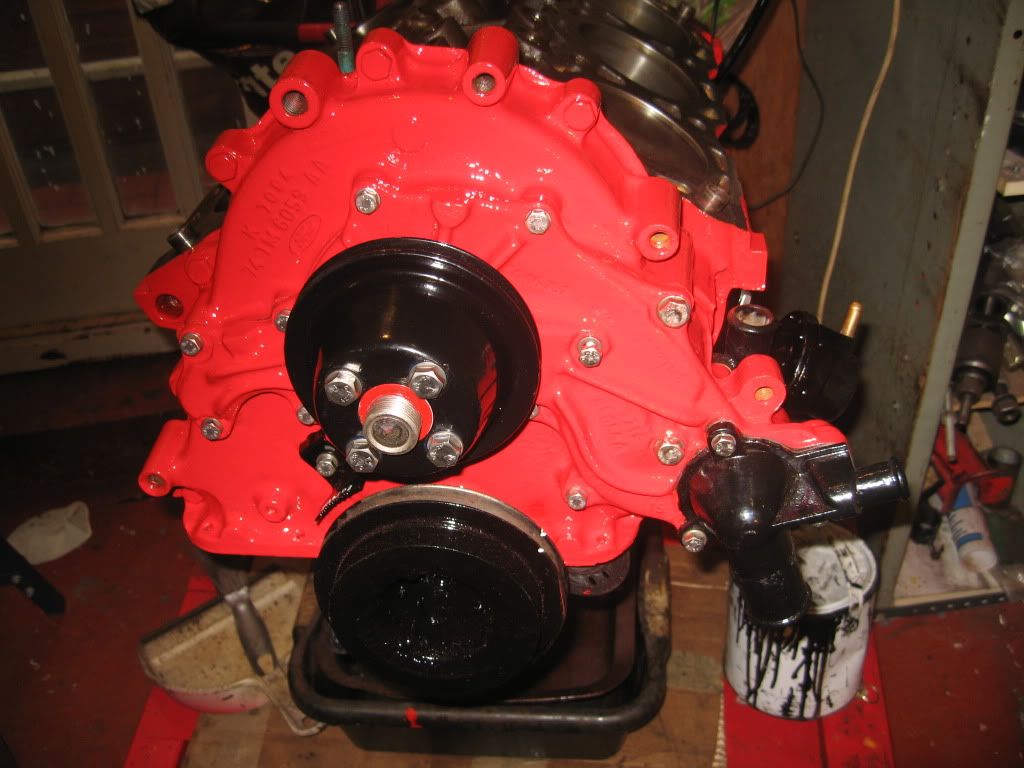
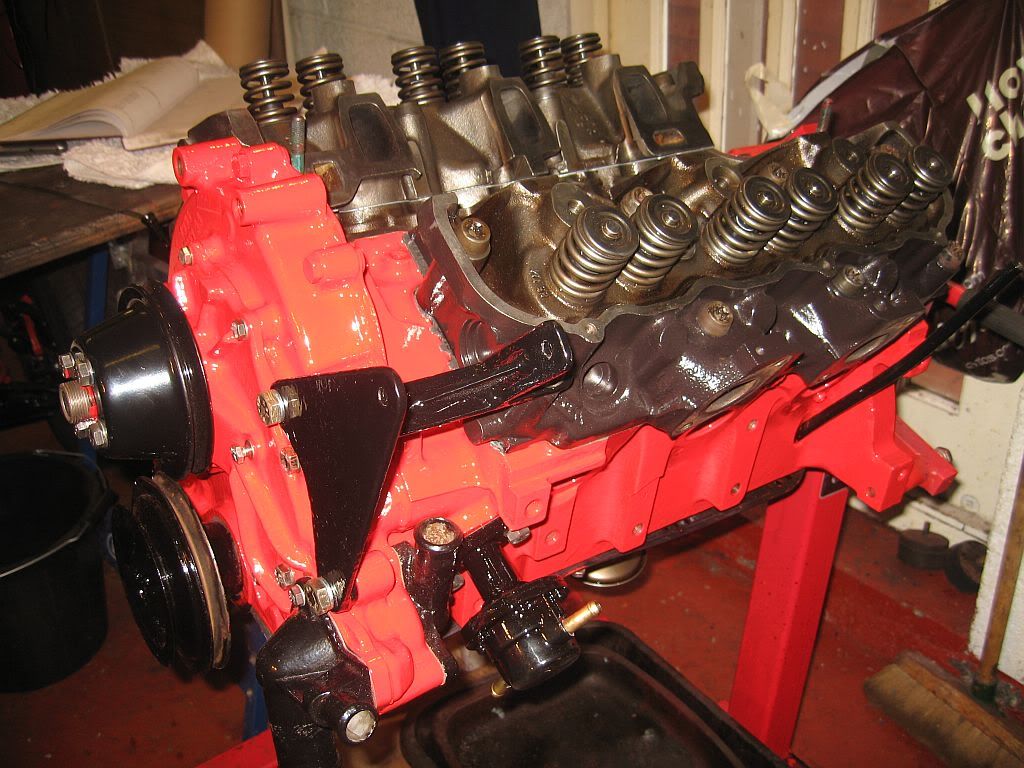
Todays work was on the other engine components and also the engine paint job, as I said I was going to look for a touch up paint but decided to get a tin of red hammerite and hand paint the engine again. I gave it a rub down with a scotchpad before painting and it has come out quite good and I have a load of touch up paint left.
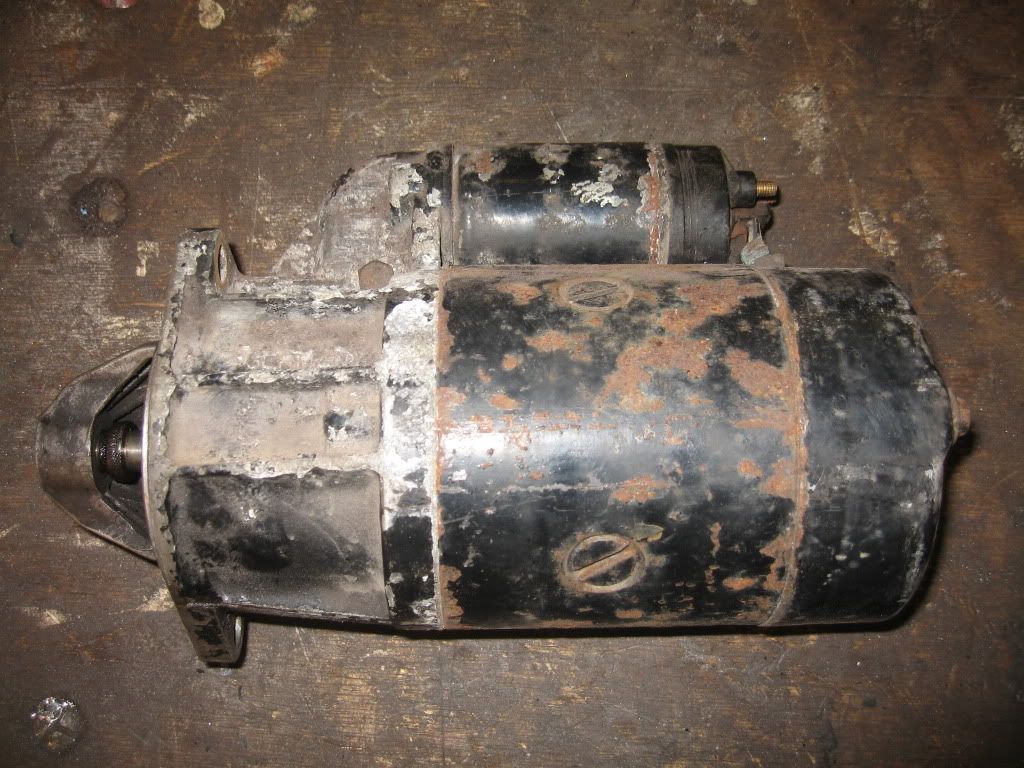 |
| Before |
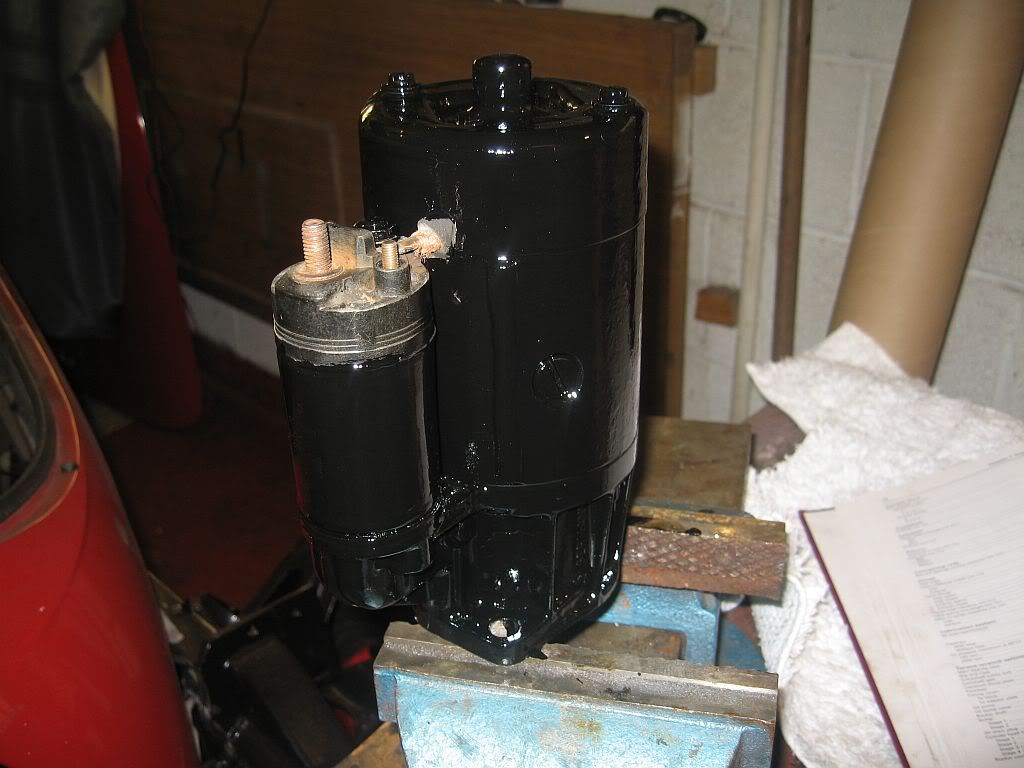 |
| After |
The alternator came next and cleaned up very well before getting its painting.
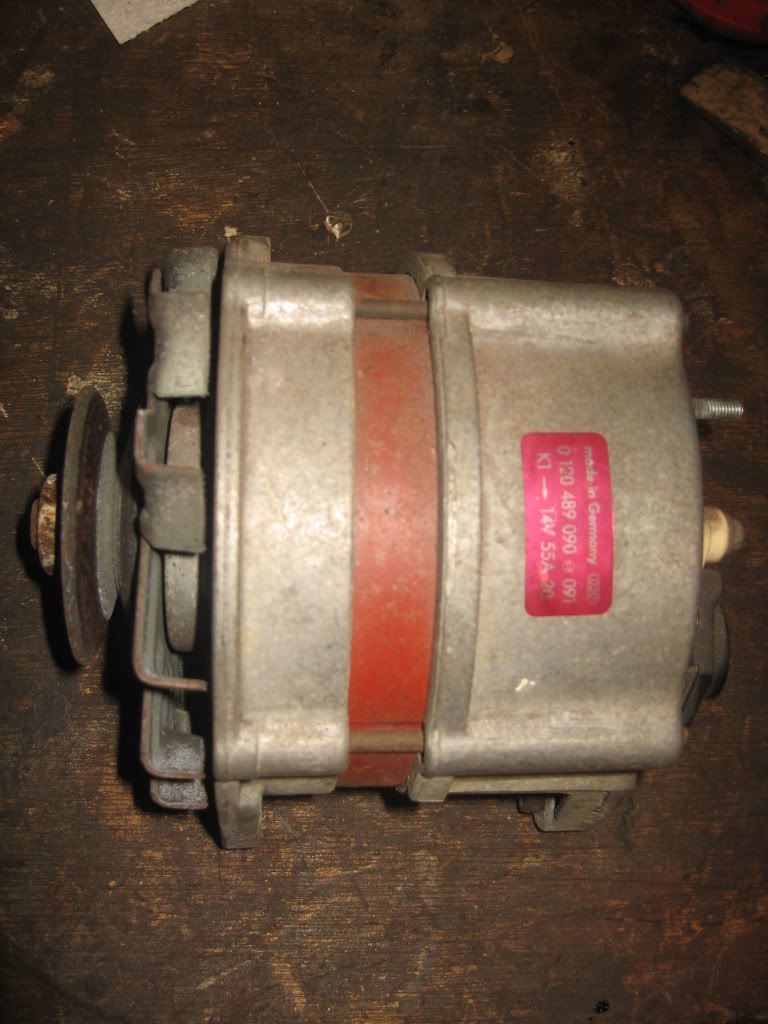 | |
| Before |
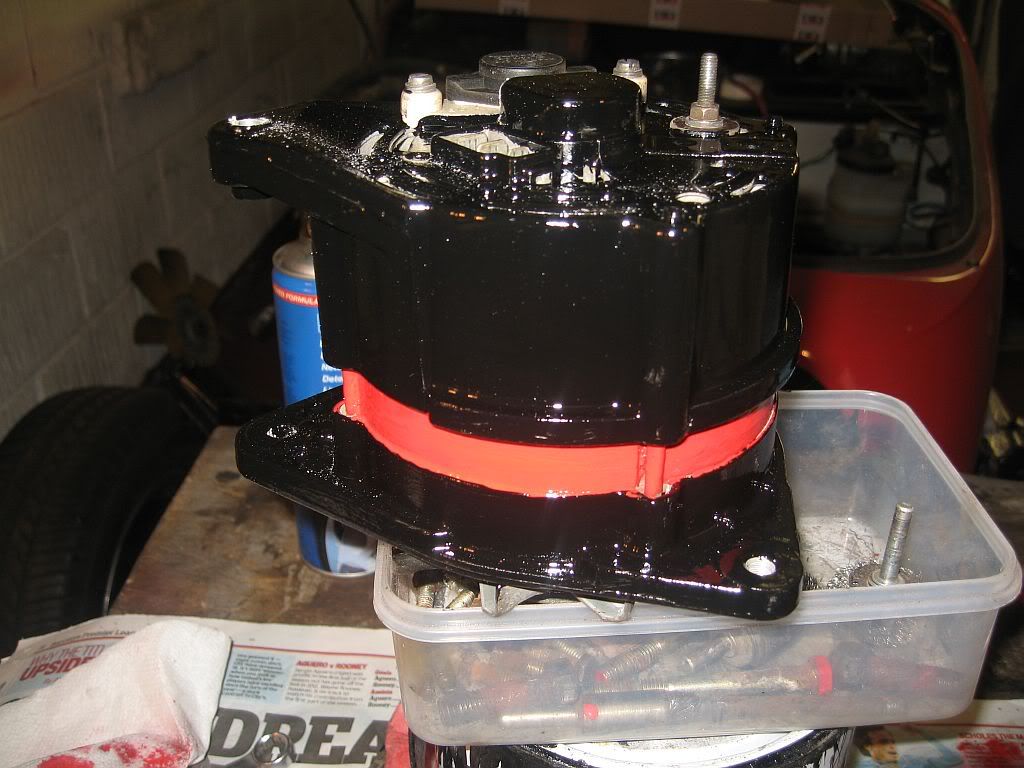 |
| After |
I attached all of the powder coated parts to the engine and decided that it was about time the heads went back on, the brush for cleaning inside has still not arrived so I will add a cooling system flush agent and it will get a good clean once I start it and as with the oil I shall drain it and hopefully any bad bits will come out.
The gaskets have stamped on them front top so no getting it wrong and the heads just popped straight on, I had already cleaned all the faces and the bolts which just needed a little copperslip before fitting.
The torquing came from the Haynes manual for the Granada Mk2 2.8 which differs slightly from the 2.8 Capri but not much, the rotation starts in the middle and working out spirally, first stage 39 -54Nm second stage 54 - 69Nm then wait 10 to 20 minutes then third stage 95 - 115Nm well this is what the manual says. I did it by doing a small 10Nm to ensure the head was perfectly flat before any heavy torquing then 40Nm then 65 and waiting 15 mins then finally at 110Nm
Once the engine is run for 15mins at 1000rpm the torque is to be checked again at 110Nm.
I finished of by painting the inlet manifold and setting it on the engine, I had hoped to fit this tomorrow and the rockers, still next time.
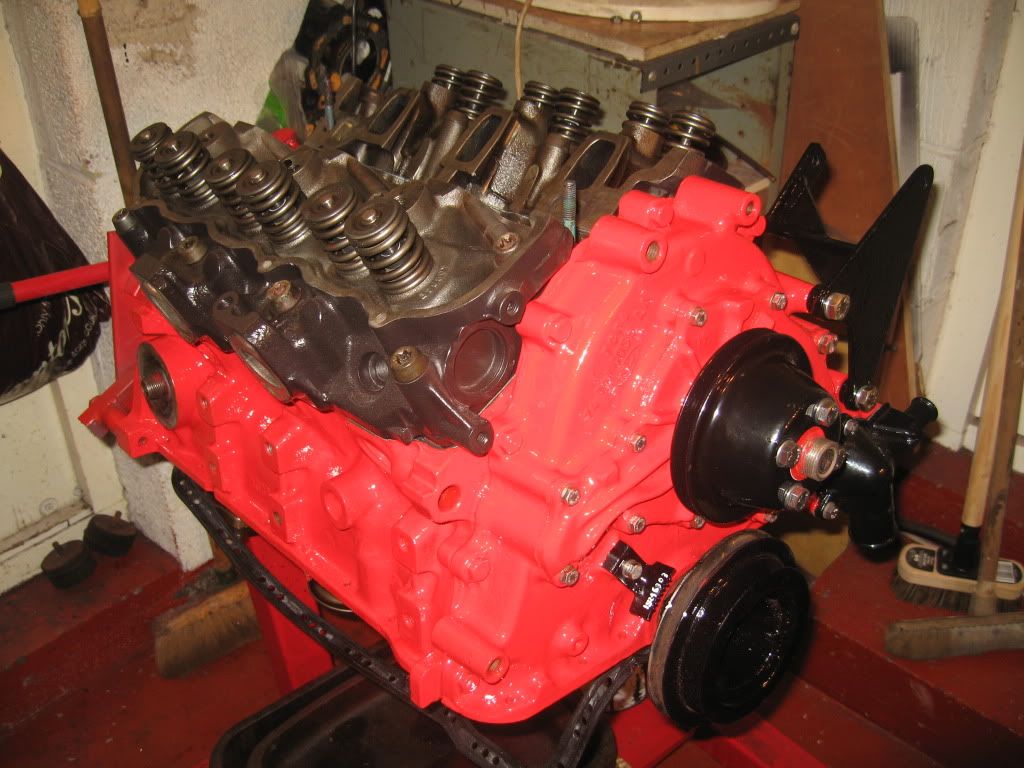 |
| Heads on |
paul
No comments:
Post a Comment